How to use Traktor's Remix Decks and Loop Recorder
Get creative with NI's DJing software

The Remix Deck is one of Traktor's most involved features, and one of the things that sets it apart from other digital DJing software. It's not very well understood, but despite its seemingly complex nature, it's actually an evolution of the Sample Decks that debuted with Traktor 2.
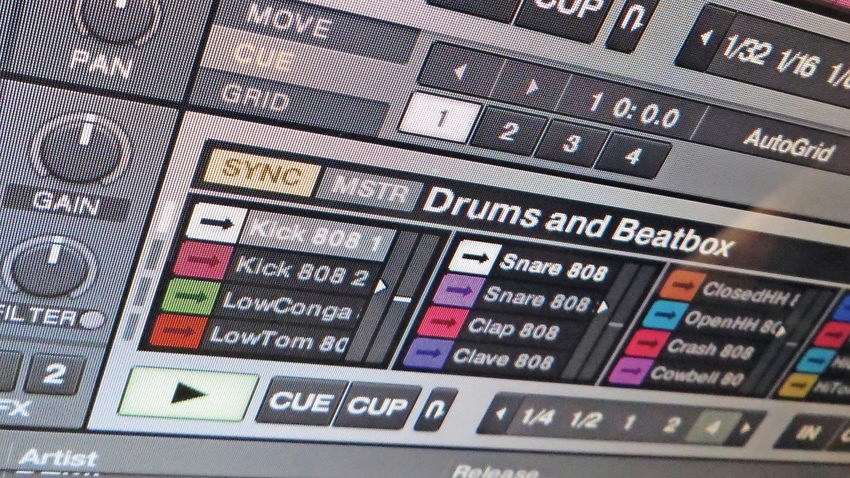
Each Sample Deck enabled you to play up to four one-shot samples or synced loops simultaneously, but in Traktor 2.5 they were superseded by Remix Decks. These work much like Ableton Live's Session view, with each slot having a capacity of 16 samples. So, you can play four samples at once from a palette of 64.
That's a lot of sounds, and the idea behind having so many available slots is that users can purchase Remix Sets, which include tracks broken down into separate elements - eg, beats, bass, vocals, lead line, FX and so forth. Using these elements, the user can 'remix' the track in real time, creating a performance that's a halfway house between traditional DJing and an Ableton Live-based set.
"Remix Decks work much like Ableton Live's Session view, with each slot having a capacity of 16 samples."
Of course, four slots with 16 samples each is a bit much to deal with when you're working with a fiddly laptop trackpad, and Remix Decks are really designed to be used with a MIDI controller. Native Instruments' own Traktor Kontrol F1 was specifically created to control the Remix Decks, and features a 4x4 matrix of pads which change colour to indicate which sample they're assigned to - a nice visual touch for live performances.
Another reason why Remix Decks are tricky to get to grips with is that Traktor doesn't include Remix Sets in its default installation. The best way to get your head around Remix Decks is to install the free Remix Set pack from Native Instruments. Download the pack, unzip the contents, and simply drag the .trak files onto Traktor's interface.
You can now find the new content in the All Remix Sets folder - simply drag a Set onto a Remix Deck to load it up. If you don't have a suitable MIDI controller setup you can experiment by clicking a sample's button to play it back. The triangle fader on the right of each slot controls its volume level, and the fader to the right of that is a one-knob filter that's moved up to hi-pass filter and down to low-pass filter.
To stop a sample playing, hold Shift and click its button again. There are also Keylock, FX, Monitor and Punch modes for each slot -these affect how the samples are played back, and you can read about them in Traktor's manual.
Want all the hottest music and gear news, reviews, deals, features and more, direct to your inbox? Sign up here.
Finally, it's also worth noting that it's possible to add samples yourself by dragging in samples from your hard drive, from the Loop Recorder, or by looping a track on a Track Deck and dragging the track name onto a slot to create a loop.
Getting To Grips With Traktor's Loop Recorder
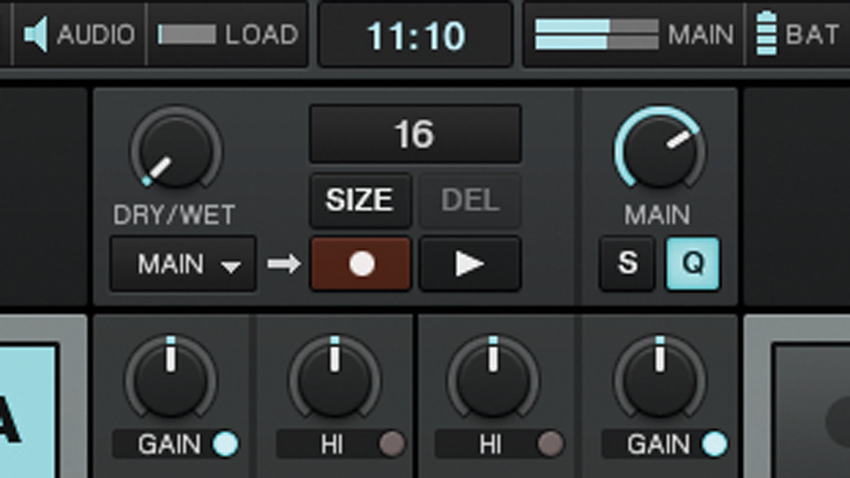
If you're keen to push Traktor to the limits, investigate the Loop Recorder. User friendly and quick to use, it is one of the most powerful tools Traktor has to offer. Simply set how long you want it to record for with the Size button, then hit the Record button to begin. Once the recording has finished it'll automatically play back, allowing you to mix it back into the live signal immediately.
The Loop Recorder's input can be set to Traktor's main output, Traktor's cued output (allowing you to record 'behind the scenes'), the signal assigned to the Input Send channel, or the signal assigned to the aux channel - meaning you can record a mic input to manipulate vocals live. You can also drop loops from the Recorder direct into Remix Decks, making it possible to build up entire tracks in real time! Here's a quick tutorial...

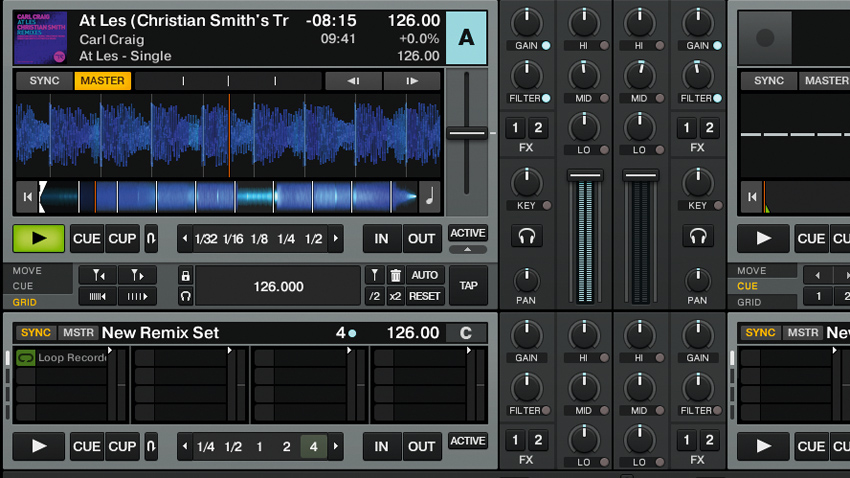
Step 1: Select View>Layouts>Mixer from the menu so that the Loop Recorder is visible, and start a track playing in Deck A. Click the Size button to set the length of the loop in beats - here we're going to go for 16 to give us a four-bar section.

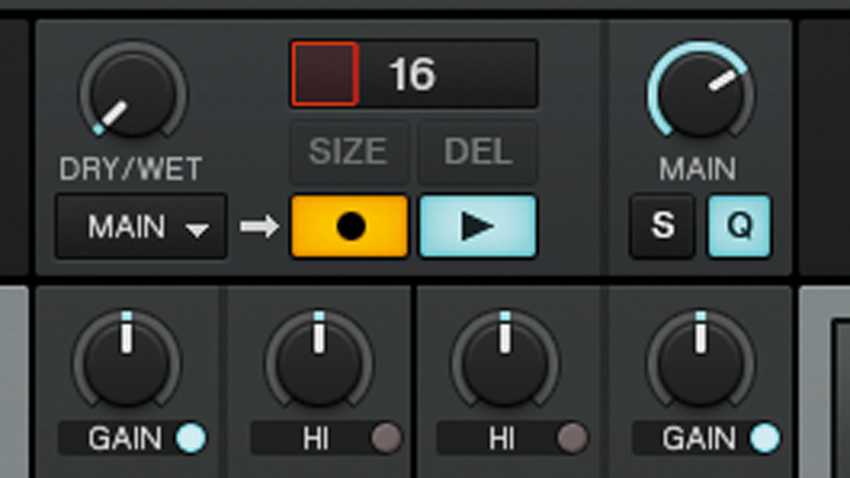
Step 2: Press the record button to begin recording. At the end of the designated number of bars the Loop Recorder will stop recording and begin playing the loop back. However, the Dry/Wet mix is set to +0.0 by default, meaning that you won't be able to hear it in the mix.

Step 3: To hear what you've recorded, turn up the Dry/Wet knob, and you'll hear it fading in over the top of Deck A. If you want to use multiple recordings, drag from anywhere on the Loop Recorder onto a Remix Deck, which frees up the Loop Recorder.
For more suggestions on how you can get creative with your digital DJing check out Future Music 282, which is on sale now.
Future Music is the number one magazine for today's producers. Packed with technique and technology we'll help you make great new music. All-access artist interviews, in-depth gear reviews, essential production tutorials and much more. Every marvellous monthly edition features reliable reviews of the latest and greatest hardware and software technology and techniques, unparalleled advice, in-depth interviews, sensational free samples and so much more to improve the experience and outcome of your music-making.
