How to use custom effect and resampling tricks in Cubase
Your DAW offers a multitude of audio processes, most of which are great for inventive FX creation. Here we look at Cubase's offerings
Want all the hottest music and gear news, reviews, deals, features and more, direct to your inbox? Sign up here.
You are now subscribed
Your newsletter sign-up was successful
Resampling is the act of applying of effects or other processes to an audio clip, then rendering it as a new clip for use as is, editing and/or further resampling.
Effects like reverb and delay are perfect for this kind of creative rendering approach, as their long feedback tails deliver variations on the original sound that are easily chopped out and repurposed.
Vocal sections work especially well here: cut out a small portion of vocal or spoken word from elsewhere in your track, apply a huge effect, render the result, then get busy with audio processes like reversing, pitch-shifting and timestretching.
Here we'll take a small vocal snippet from a drop section, and using it to create a pitching uplifter in the initial build-up. Audio processes are also applied to the beat section and a crash cymbal to illustrate how simple these techniques can be.
For more on creative rendering, pick up Future Music 284, on sale now.
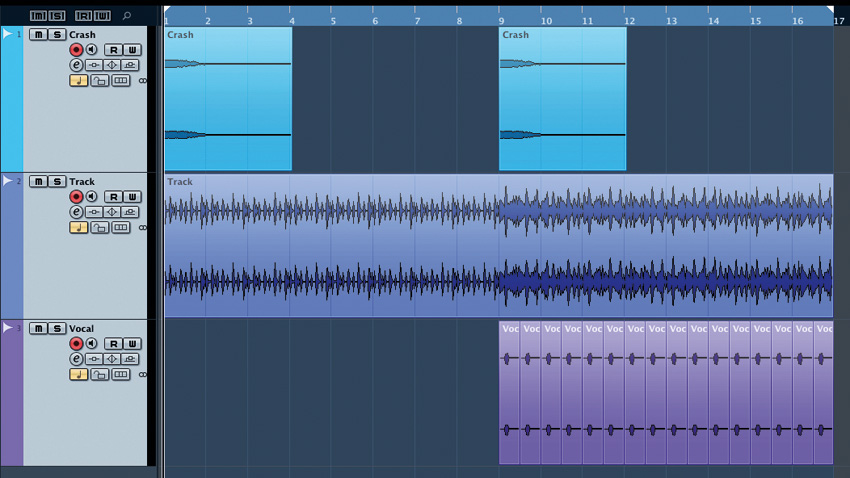
1. We're starting off with a laid-back 128bpm house groove, which consists of a backing track, vocal chop and crash cymbal. The first eight-bar section is our intro, which leads into an eight-bar drop section. Let's use creative audio processing to intensify this rather tame build-up.
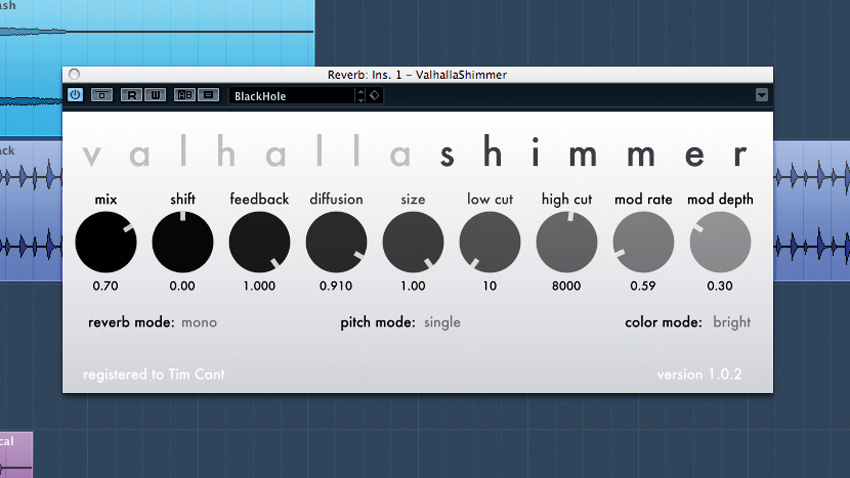
2. A portion of vocal is duplicated to a new audio channel, where a liberal amount of reverb is applied to it. Cranking up the decay time and feedback gives us a near-endless swamp of vocal reverb, which we then render as a new audio clip.
Want all the hottest music and gear news, reviews, deals, features and more, direct to your inbox? Sign up here.
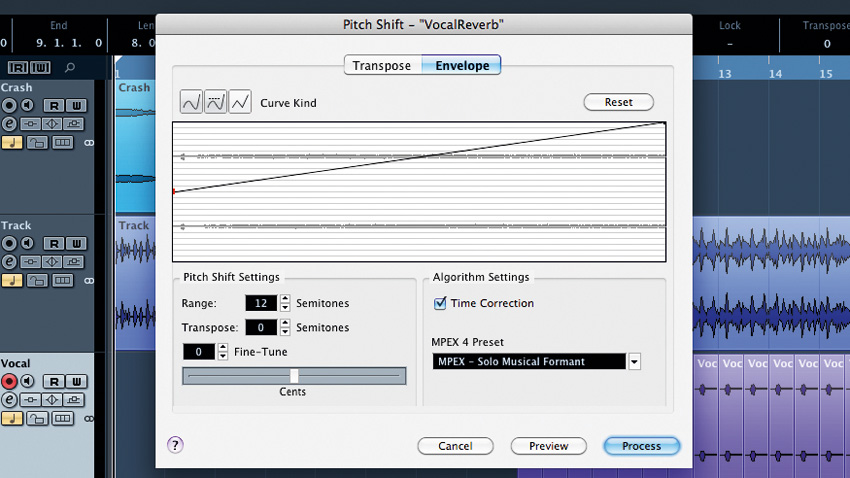
3. We import the new file, then delete the original reverb channel. After trimming the clip down to its first eight bars, we select Audio>Process>Pitch Shift. In the Envelope section, we draw an upwards line and pitch the sound up by 12 semitones.
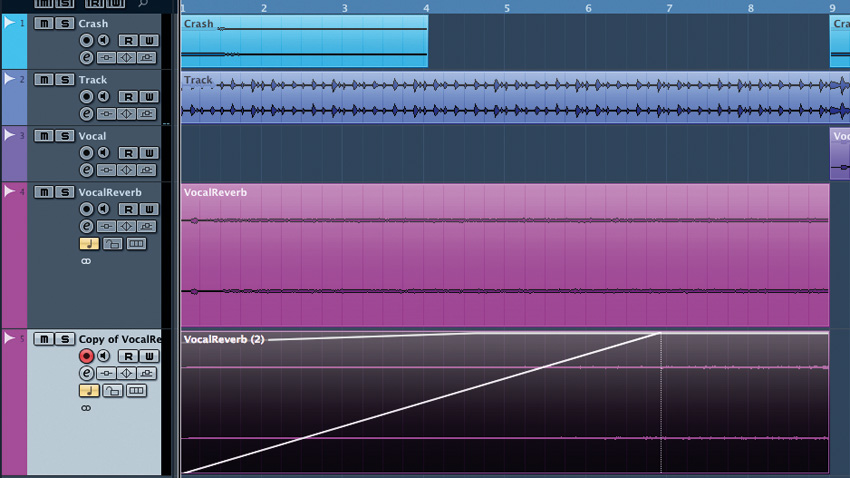
4. After using the pencil tool to draw subtle volume automation on this rising reverb region, we duplicate the channel and pitch the second copy down an octave, thickening out our rise. This pitched-down layer is slowly introduced via a gradual fade-in.
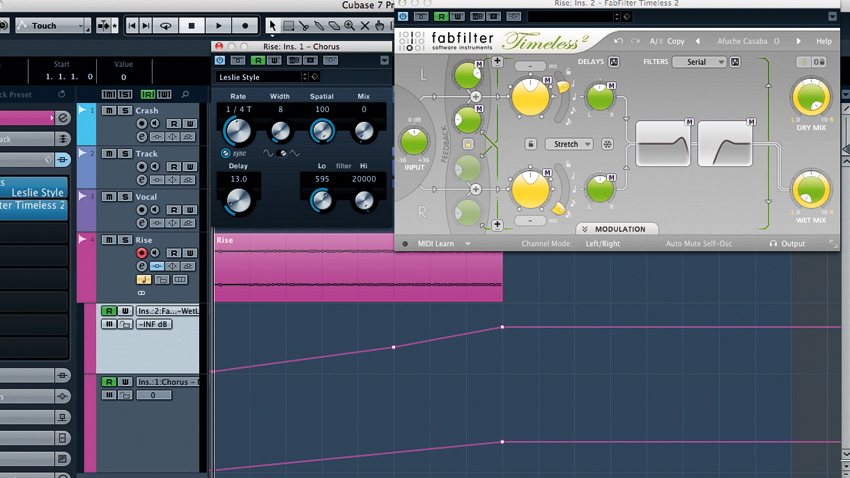
5. The two rise layers are now rendered as a single 'rise', then reimported into the arrangement. For more depth and interest, the wet levels of a chorus and dirty tape delay are both automated up over the eight bars.

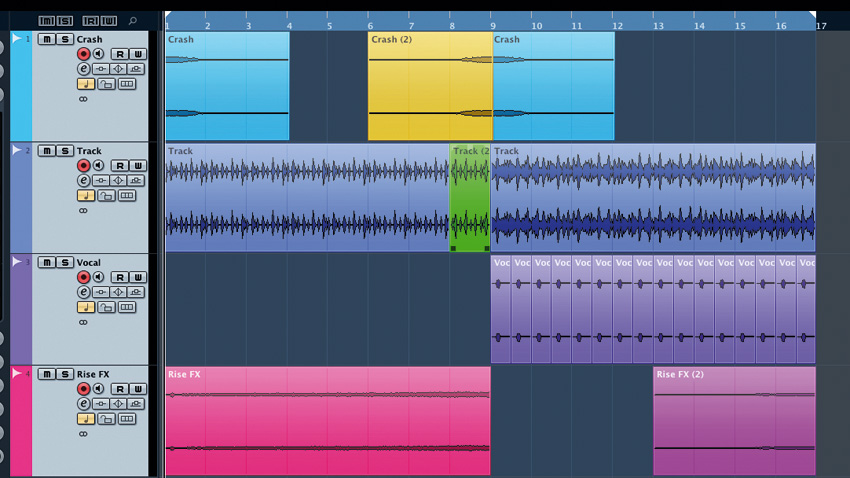
6. Again, our processed rise effect is rendered and reimported. The delay tails are chopped off and reversed, making an alternate rise-type effect for use later in the arrangement. We also reverse the cymbal and drums before the drop for even more impact.
Future Music is the number one magazine for today's producers. Packed with technique and technology we'll help you make great new music. All-access artist interviews, in-depth gear reviews, essential production tutorials and much more. Every marvellous monthly edition features reliable reviews of the latest and greatest hardware and software technology and techniques, unparalleled advice, in-depth interviews, sensational free samples and so much more to improve the experience and outcome of your music-making.
