How to remix a breakbeat track with Ctrl-Z
The kick drum
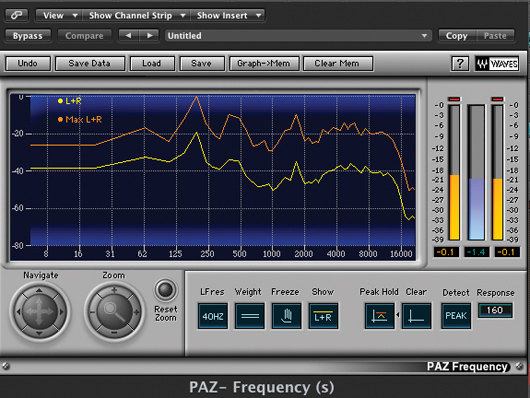
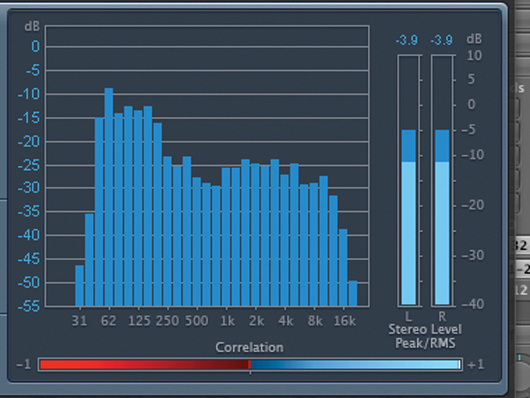
Step 1: In this tutorial, Tommy Dash of production duo Ctrl-Z is going to show you how they remixed The Freestylers’ classic Ruffneck (listen to it on the Ctrl-Z MySpace page). The first element of the track to be laid down is the kick drum. Tommy uses a spectral analyser plug-in to check that the sample is peaking at the right frequency. MultiMeter shows that it is loudest between 60 and 100Hz, which, as Tommy eloquently puts it, is “the premier league of kick drum frequencies”.
More snares
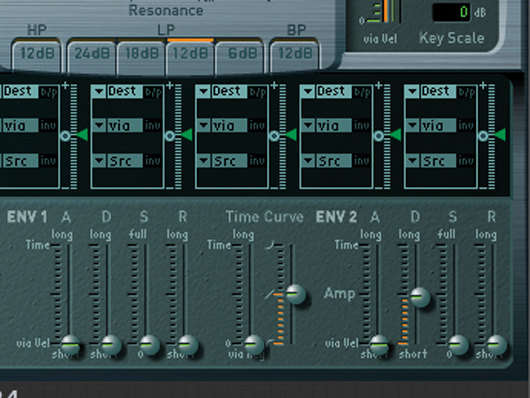
Step 3: To add an old school, Aphrodite-style metallic snap, a couple of other snare samples are layered over the top of the original snare. These are played back via Logic’s EXS24 sampler – here you can see its amplitude envelope has been set with a short decay time to tighten up the hits.
Reverb
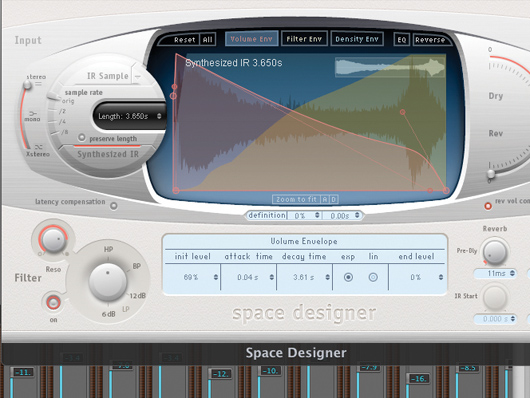
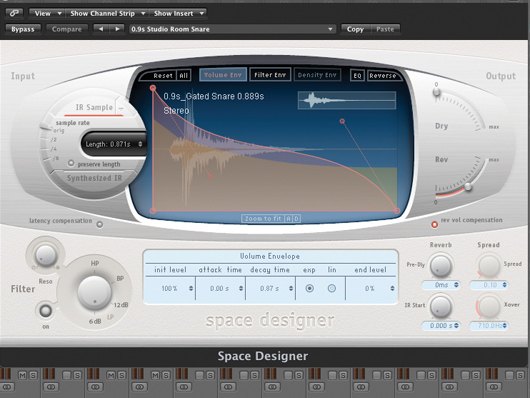
Step 4: A short decay gives the overall sound a punchy attack but takes away some of the natural ambience. To rectify this, all of the snares are then bus-routed, so that they can be processed as a single group. Logic’s Space Designer convolution reverb effect is used with its Studio Room Snare preset to lend a small tail.
Open hat
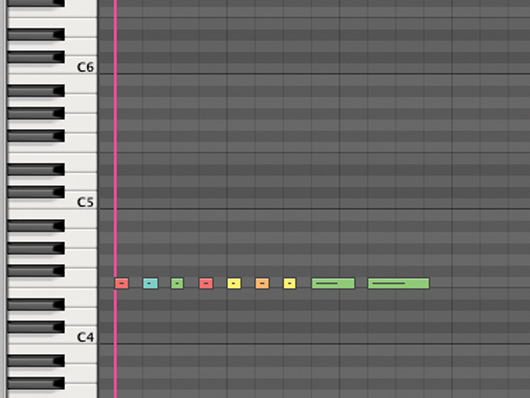
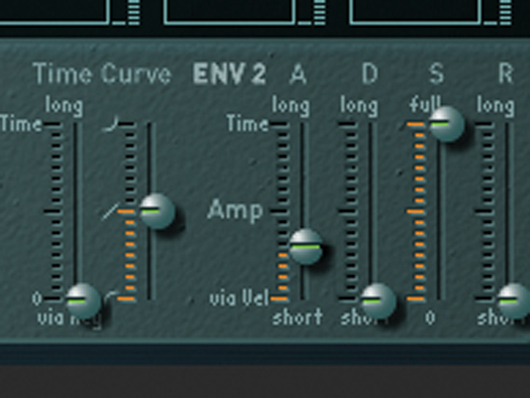
Step 6: To ease the transition between the kick and the snare, an open hat sample is used. This sample is also played via the EXS24 and, to make the transients less prominent, the amplitude envelope’s attack time has been turned up. This creates a lovely sucking effect between the main elements.
Breakbeat
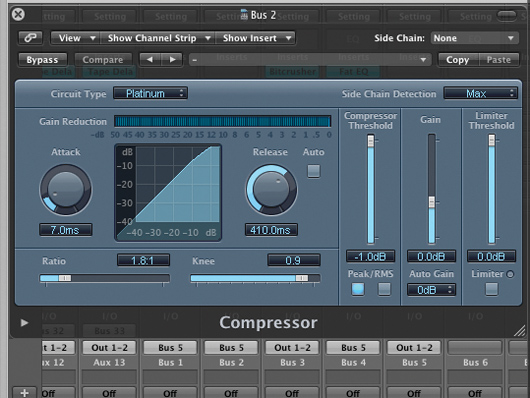
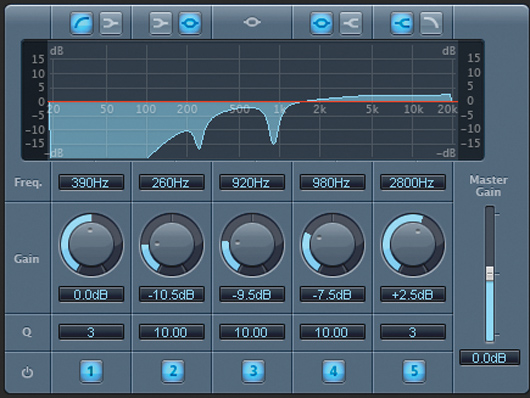
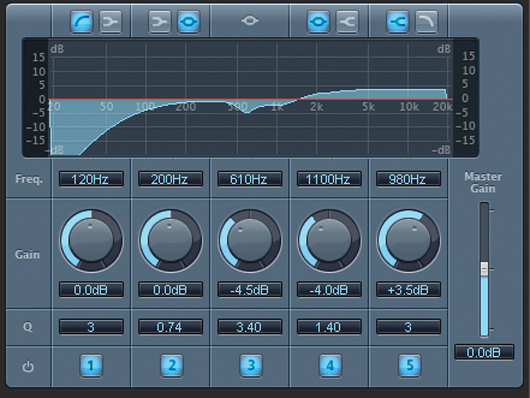
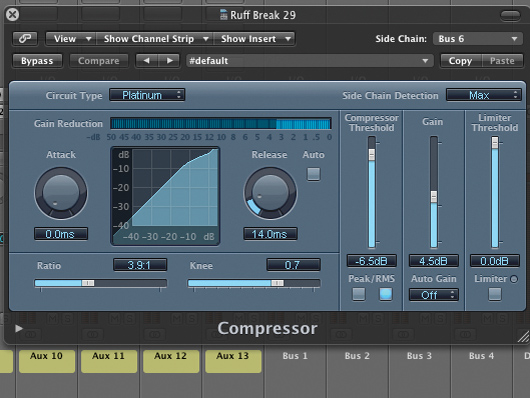
Step 7: The hip-hop breakbeat from the original version of the track is added next. This has a lot of bass content that could potentially interfere with both the bassline and kick drum, so Tommy attenuates this with Logic’s Fat EQ. The beat is also compressed, with a silent kick acting as a sidechain input.
Hi-hats
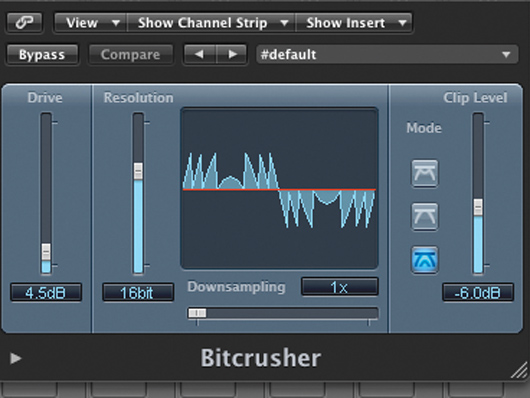
Step 9: To top the beats off, several sets of hats are used. Some of these already have a natural pan present in the sample, whereas others are mono and are panned manually in Logic. While the rest of the rhythm section is sent to a single bus, the hats have their own bus, so that they can be processed separately. A bitcrusher is used to brighten and roughen the hats.
Starting the bass
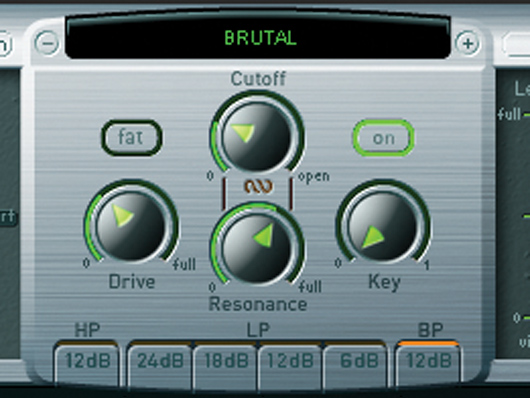
Step 10: The original source of the bass is the Brutal Electro preset from Native Instruments’ Massive – Tommy admits that it is an overused patch. Rather than playing it directly from the synth, he samples a single note and plays it back via another EXS24, which has its band-pass filter modulated by an LFO to create a very cool talkbox-style effect.
Effect pedal
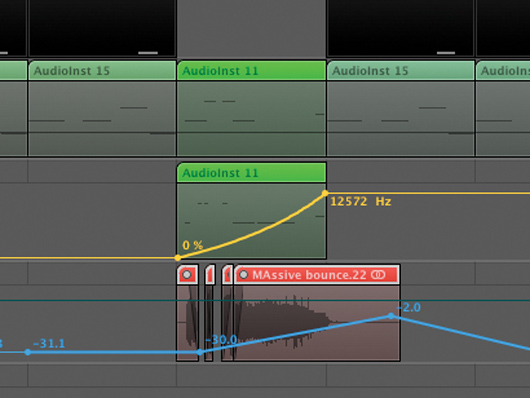
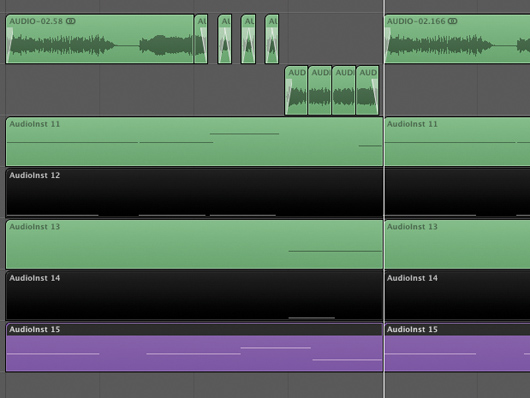
Step 12: The output from the EXS24s is then run through a Boss ME-50 guitar effect pedal with a cabinet emulation setting. The output from this is bounced to a new audio track, and the distorted audio version of the riff runs alongside the EXS24s. The audio is chopped and faded to add more rhythm to the bassline.
Stereo effects
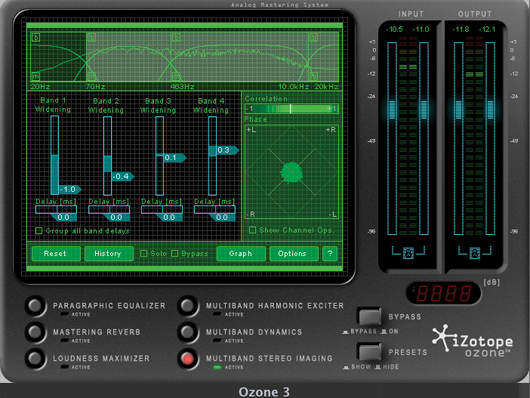
Step 14: Tommy likes the top end of his bass noises to be stereo, so Logic’s Sample Delay effect is used to apply a short echo to the right channel of the bass bus. This creates the impression of stereo from a mono audio source. iZotope Ozone’s multiband stereo imager is used to centre the lower frequencies, while the higher frequencies get progressively wider.
Low-end bass
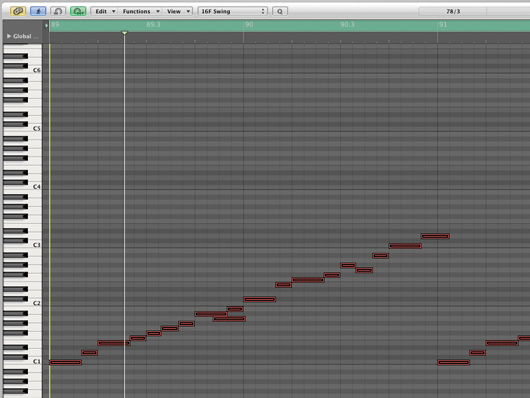
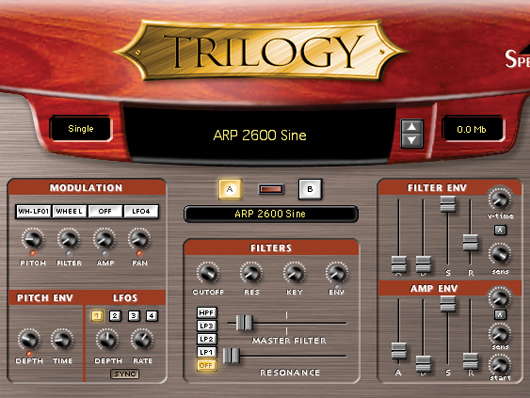
Step 15: The lower end of the bassline is provided by Spectrasonics Trilogy, which plays a simplified version of the pattern using a basic ARP 2600 Sine patch. The highs of this are EQed out, and the rest of the sound is routed to an overall bass bus, so their volume can be controlled as one.
Alternative bass
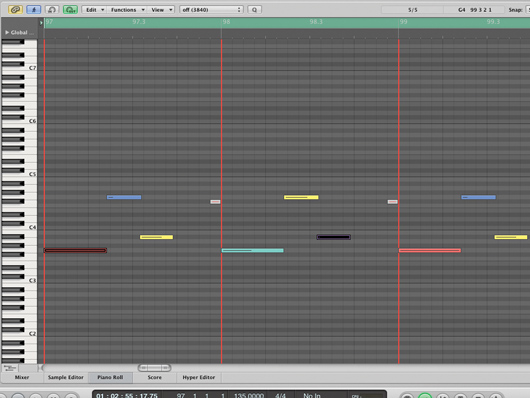
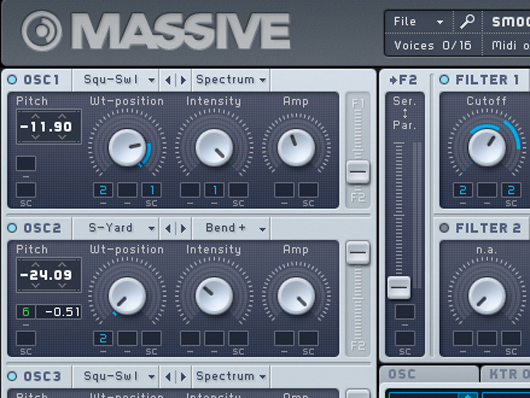
Step 16: The alternative bass noise played at the end of the main riff is another bounced sound from Massive. Here, the patch was created using the Scrapyard wavetable, pitch modulation, feedback effect and Massive’s Daft filter modulated by an envelope. The amplitude of the pitch-modulation LFO is controlled by the key position, so the effect becomes more obvious higher up the scale.
Twisting the sound
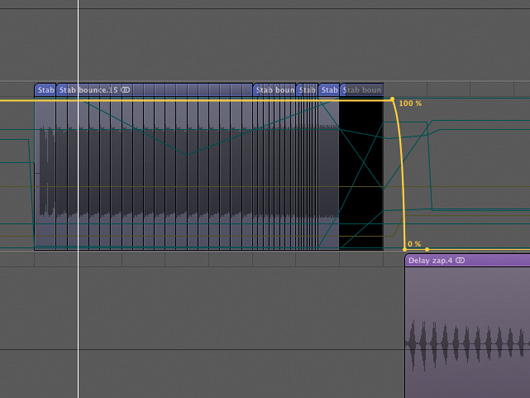
Step 21: As the drop approaches, Logic’s Ring Shifter is used to twist up the sound with its wacky ring modulation, and another filter is used to quickly remove the effect at the end of the bar. This creates a sharp ‘zap’ as the filter closes – a delayed version is then bounced onto the next audio track.
Rising effect
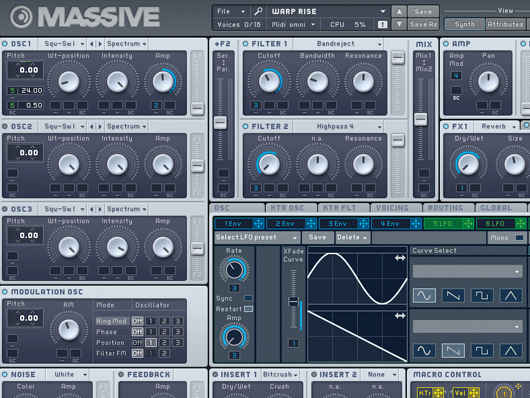
Step 22: The Sub Focus Timewarp-style rising effect over the build-up was created in Massive, using an oscillator modulated with a couple of LFOs, which themselves have their rate and amplitude settings controlled by an envelope. This envelope is also used to modulate the two filter cutoff frequencies.
Acid synth
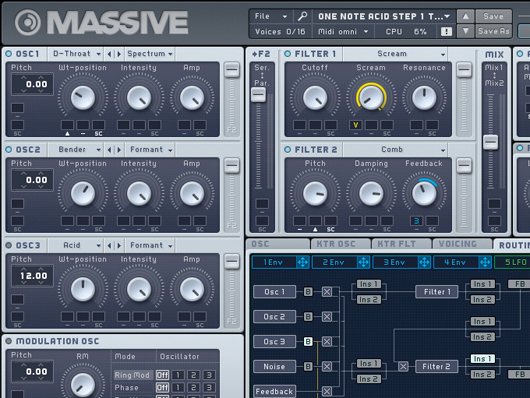
Step 23: The dirty acid synth after the bridge was created in, you guessed it, Massive. Tommy uses the harmonically rich D-Throat and Bender wavetables to get the basis down. The Scream filter gives a characteristic harshness, and feedback is placed at the end of the signal chain to make the whole thing a little nastier.
Computer Music magazine is the world’s best selling publication dedicated solely to making great music with your Mac or PC computer. Each issue it brings its lucky readers the best in cutting-edge tutorials, need-to-know, expert software reviews and even all the tools you actually need to make great music today, courtesy of our legendary CM Plugin Suite.
