How to get creative with modular spring reverbs
Spring theory
Want all the hottest music and gear news, reviews, deals, features and more, direct to your inbox? Sign up here.
You are now subscribed
Your newsletter sign-up was successful
Put the clock back a few decades and even the synths of the '70s had built-in effects. And they were as analogue as you can get…
In ancient days of yore, when synths were wooden and cost as much as a house, synth manufacturers were presented with the problem that the Hammond Organ company once faced in the '30s: how to make an organ at home sound like an organ in a cathedral, as ears were used to hearing them in. And for the synthesists it was a bigger shortcoming - a total lack of ambience coming from the raw output.
If you think about it, 20th century ears were the first to hear sound without any hint of an acoustic space wrapped around it and, then as now, a lot of dry synth can grate on the ears.
Back then, we needed electro-mechanical means to put the synth into space. Hammond had pioneered the use of hanging springs to simulate cathedrals in their home organs, leading to the Type 4 spring reverb tank in the '60s which made it possible to fit a mechanical reverberator inside a small case. Following in the footsteps of Fender, synthesists went for the spring.
Spring sounds
All solutions have their drawbacks. Spring reverbs don't really sound like acoustic spaces - acoustic spaces don't go 'pyoing' when you hit a drum in them. But spring reverbs can sound gorgeous and lush in their unique way, and that sound is intertwined with the history of electronic music. The Roland Space Echo had one, the Synthi A and VCS3 had one, the ARP2600 had one. And we can have one in our Eurorack too.
Let's bathe our beats in electro-mechanical reverb then perform a little open heart surgery…
Want all the hottest music and gear news, reviews, deals, features and more, direct to your inbox? Sign up here.
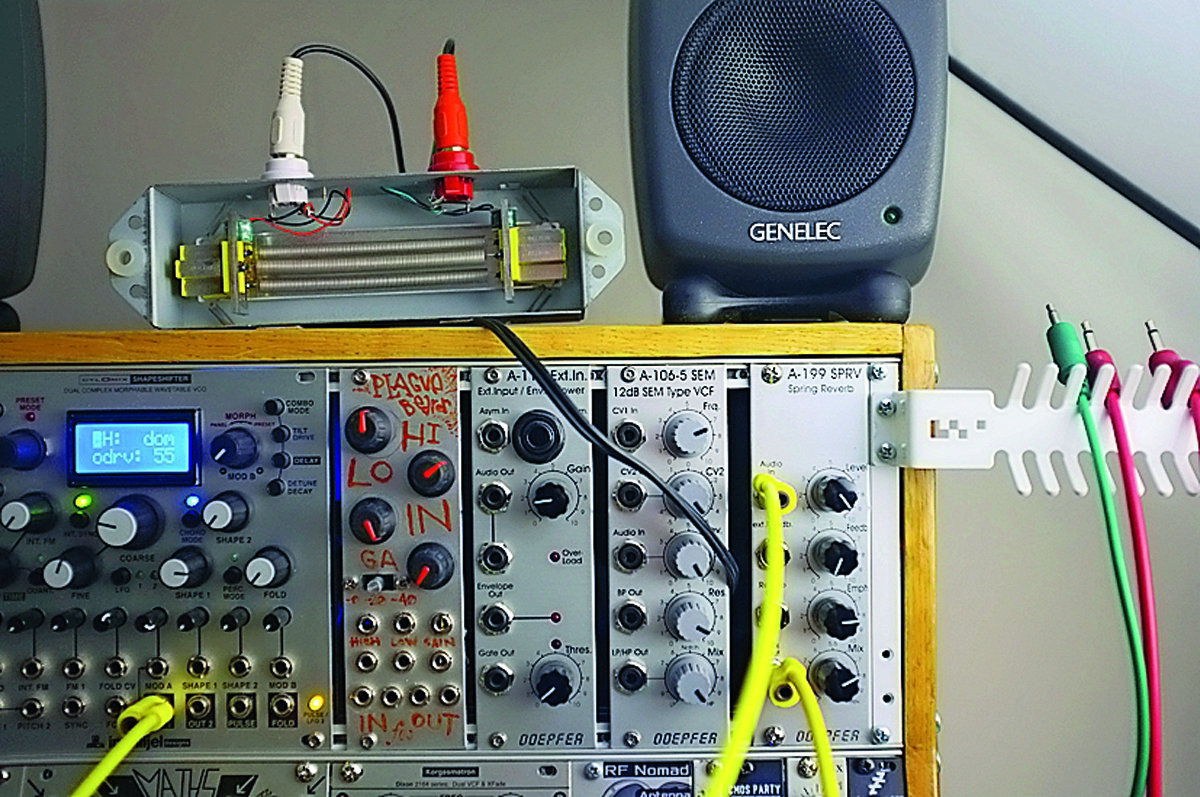
There are numerous spring reverbs available in Eurorack, like the tricked-out Intellijel Springray, tubey Metasonix R-56, and more. One of the most affordable is the venerable Doepfer A-199, which packs a module and a three-coil Belton tank for well under £100, and it sounds great - lush, vibey and dense.
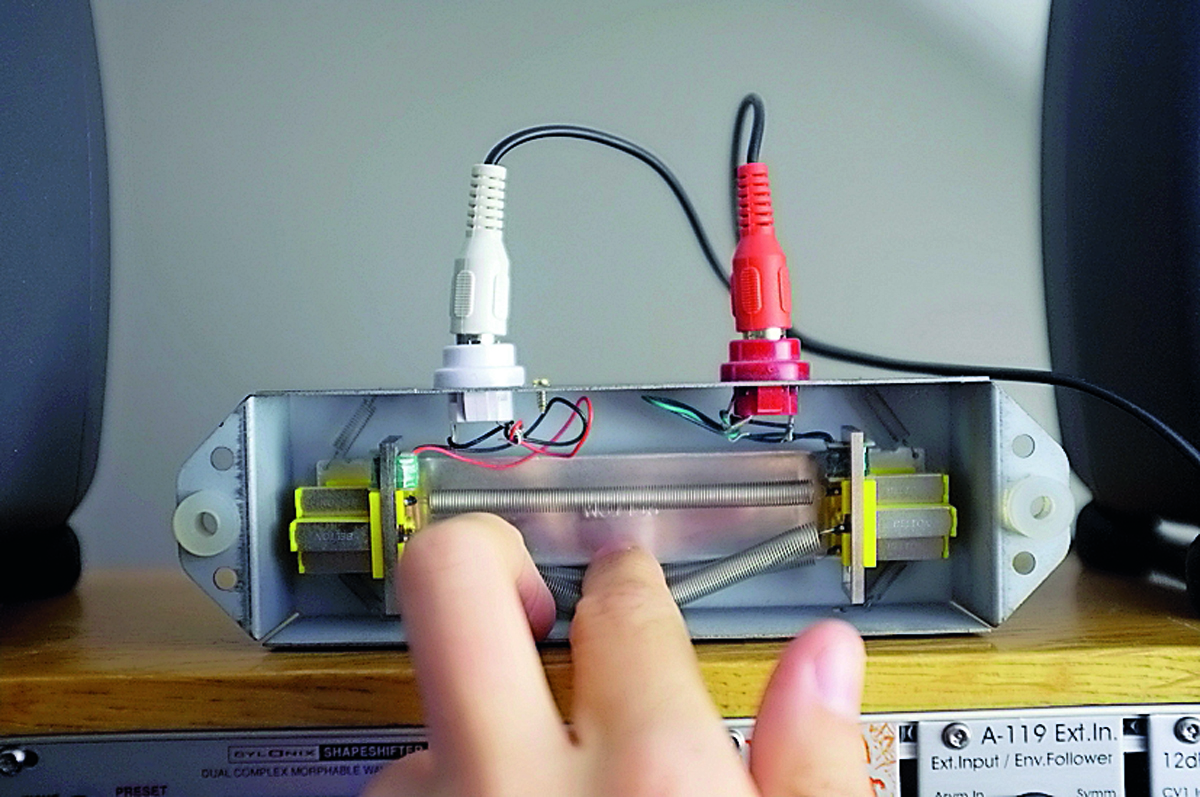
Tank placement is all important to reduce interference and hum. Try outside the case to get acceptable noise - which is cool since you're actually able to touch, scrape and ping the springs themselves to mad effect.
Most spring reverbs have feedback paths letting you self-oscillate them into tones, and best of all put external modules into that path to turn an effect into an instrument. Let's bounce...

Step 1: Patch sound into the spring. Bathe in its dark pseudo hall sound. Adjust emphasis to bring brightness and presence. Record full wet in multiple passes and then stack, offset and spread different passes in your DAW for lush stereo ambience.

Step 2: Turn up feedback and hear the runaway tone generation. No need for an input signal! Patch Reverb Out > a Bandpass Filter and Filter Out > Ext Feedback In. The filter will make specific frequencies sing, sweeping filter tunes the pitch.

Step 3: Take this further. Modulate or sequence the filter, put a VCA in the feedback path and modulate that with an LFO, recording the results. Scrape, squeeze and ping the springs themselves, adding delay if you have it. Fill your sampler up.
Future Music is the number one magazine for today's producers. Packed with technique and technology we'll help you make great new music. All-access artist interviews, in-depth gear reviews, essential production tutorials and much more. Every marvellous monthly edition features reliable reviews of the latest and greatest hardware and software technology and techniques, unparalleled advice, in-depth interviews, sensational free samples and so much more to improve the experience and outcome of your music-making.
