9 ways you can use EQ to slot your kick and bass together
A range of tricks and techniques for getting these two crucial low-end elements happily sharing the frequency spectrum
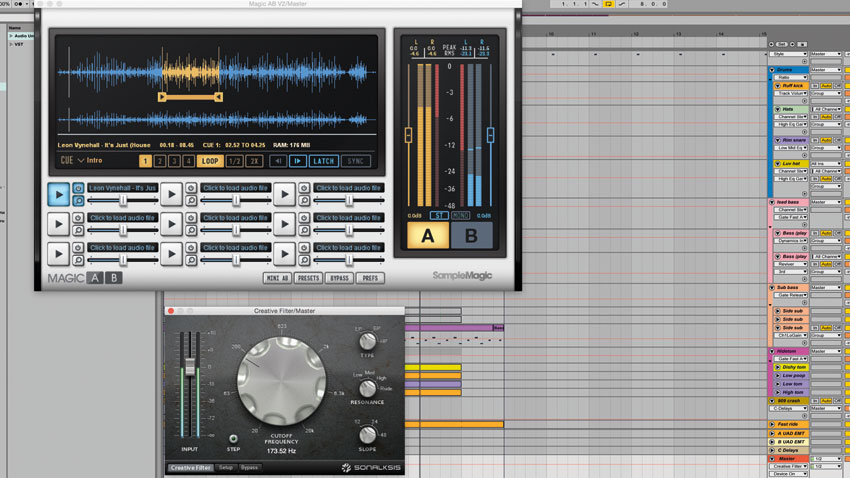
1. A/B… a lot!
One of the best techniques for EQing kick and bass is to constantly A/B your material against a pro reference mix (or three!) with a low-pass filter applied to the master output so you’re not distracted by the upper mids and high frequencies.
Here, we’ve added Sample Magic’s MagicAB 2 to the master output, plus Sonalksis’ Creative Filter. We then assign shortcut buttons to the bypass of each plugin.
Loop with no output filter
Loop with output filter
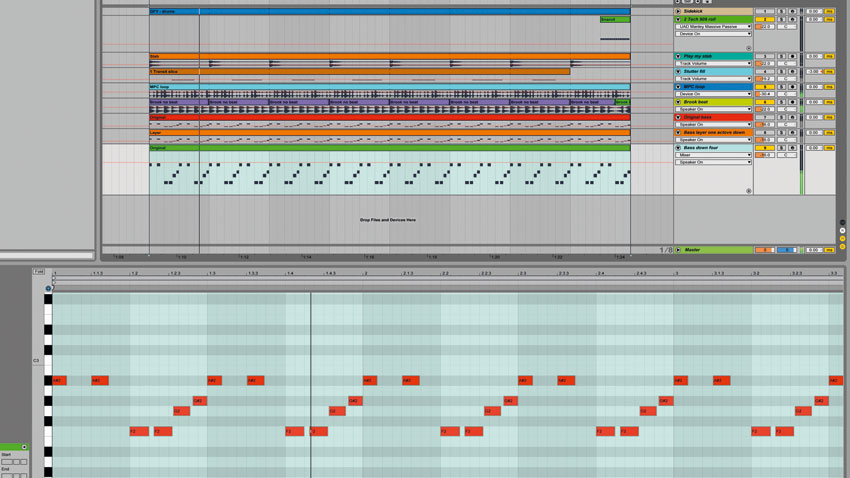
2. Check your tuning
Remember, EQ is a tool, not a solution, so if you can’t get your bottom end sounding heavy in five minutes with EQ and compression, it’s almost certainly playing in the wrong key.
Listen to this bassline with a layer an octave (12 semitones) down, and then without a layer transposed four semitones down. The four-semitone version is clearly cleaner and weightier.
Original bassline
Original bassline plus sub layer one octave down
No layer - bassline transposed
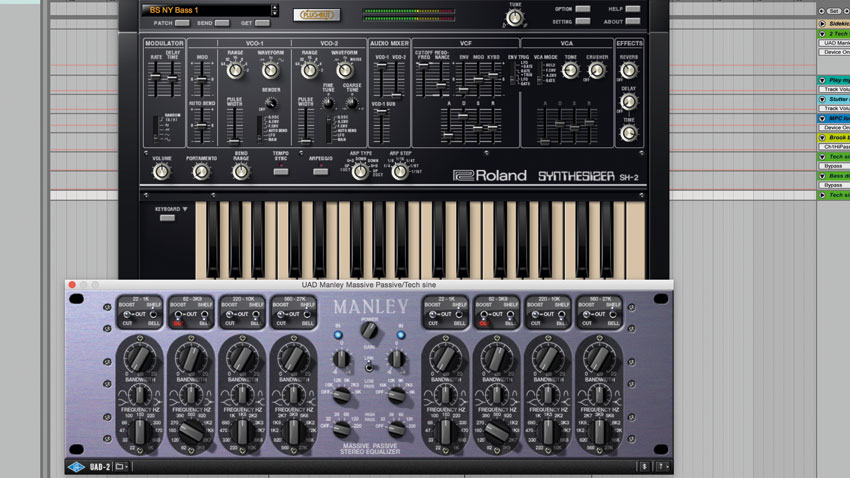
3. Box cutter
A simple trick to achieve that pro sound in the bottom end is by removing lower-mid boxiness.
Here, we're cutting 1-3dB at around 250-300Hz from all of our track elements. Notice how the bass appears ‘warmer’. We dial out a little from the bass too, but are careful, as too much sculpting can remove a bass’s character.
Loop
Loop with cut
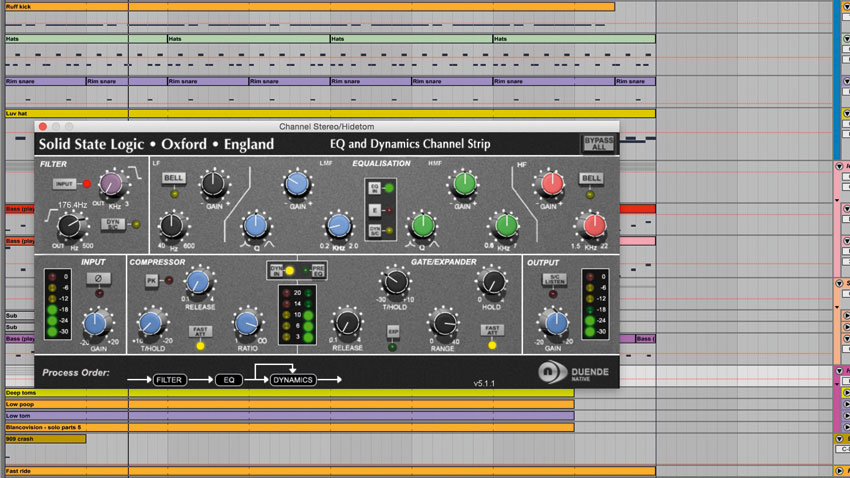
4. High-pass everything
Mixing kick and bass is easier when you make space for them, high-passing everything that doesn’t need those low frequencies.
For dance mixes, we regularly find ourselves cutting below 250-500Hz on a lot of elements, but if you find that makes the mix a little thin, lower the cutoff on some sounds or adjust the steepness of the filter. Check out the effects of our filtering on this busy loop.
Loop with no low-cut
Loop with low-cut applied to all elements
5. Filter the kick and bass
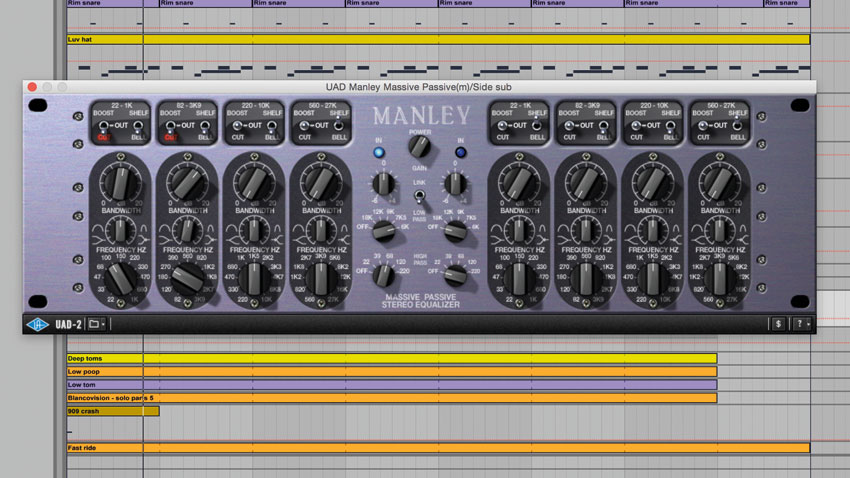
Don’t neglect your kick and bass when applying high- and low-pass filtering. In electronic music, you should almost always cut everything (channels and mix bus alike) below 30Hz, and often as high as 39Hz: it’s easier to put a bit of bass back in than to clean a bass-damaged mix.
Also, don’t forget to roll the top-end off your bass. Just as making space highlights bass, so, too, does keeping it distinct.
Loop with no low-cut
Loop with low-cut applied to kick and bass
6. Find the fundamental
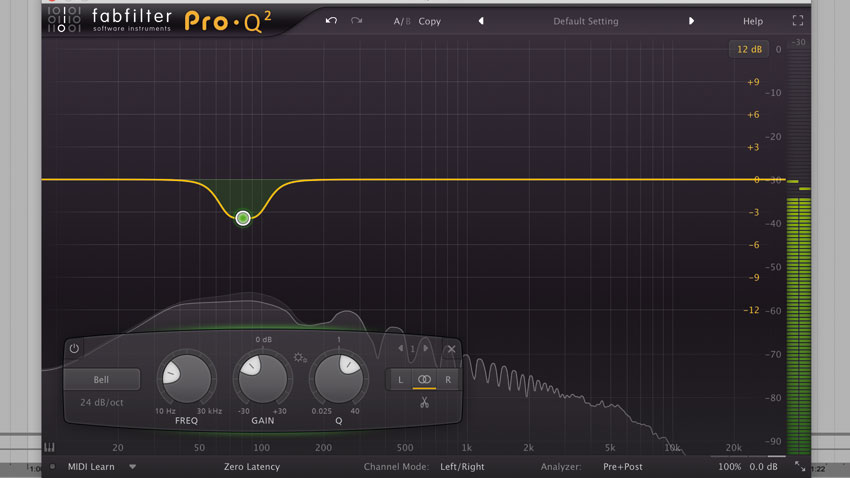
You can make space for your kick by finding its fundamental frequency and dipping the bassline at that frequency.
To find the fundamental, use a narrow 3-4dB bell boost - ideally with a frequency analyser - and sweep between 20Hz and 120Hz. The fundamental frequency is the one that leaps out! Once found, pull the EQ boost down to make it a cut instead.
Kick and bass - no cut a fundamental
Bass cut at kick fundamental
7. Harmonic filtering
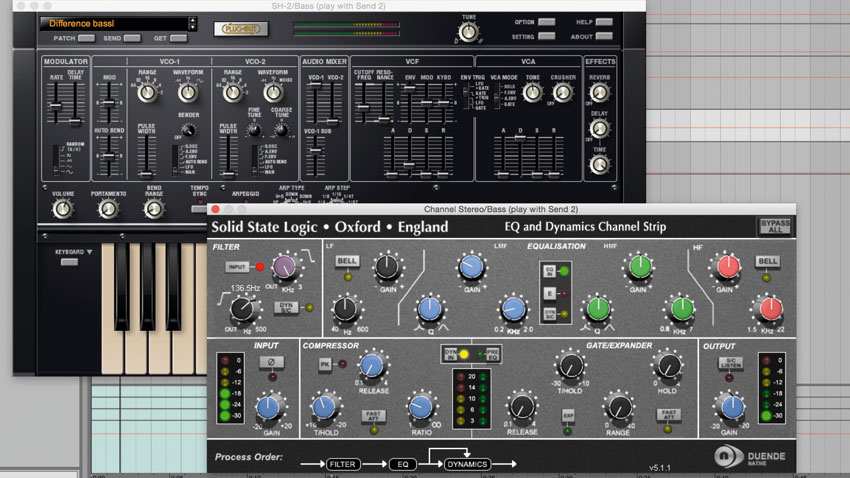
In this example, our loop features a long, deep kick which requires space and priority. We can high-pass the bassline above its fundamental, which will reduce the level of that frequency considerably. The bass’s second harmonic, above the kick, now provides the perception of low-end.
Harmonic generating plugins such as Waves MaxxBass or UAD’s Precision Enhancer Hz can help here.
808 kick plus bass
Low fundamental cut from bass to make space
8. Thin out the kick
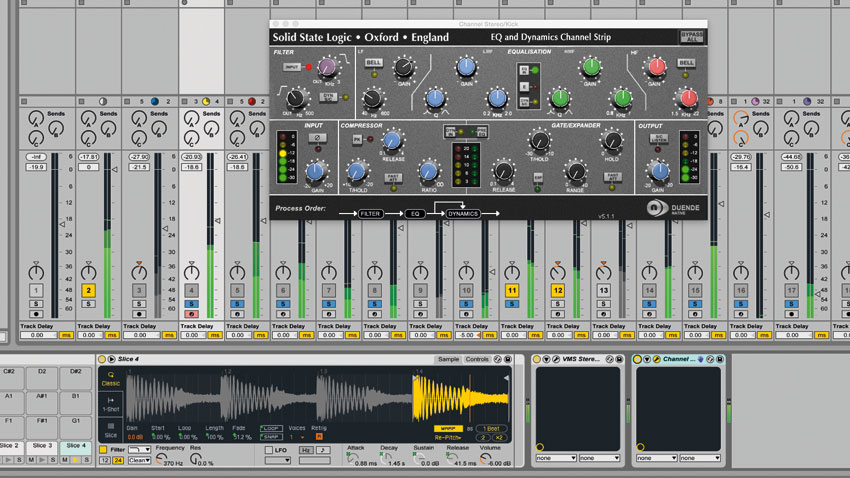
If your bass demands priority, like in this example, you’ll need to thin the kick out with EQ.
To do this, raise a high-pass filter until the kick appears a little thin, then dial it back a little. You might then also want to add a little low-shelf to the kick at 100Hz to thicken the low end. Don’t be afraid to high-pass much higher than you think you should - we regularly cut kicks below 70Hz, as long as it works in the overall mix.
Loop with no kick low-cut
Loop with kick low-cut and 100Hz shelf boost
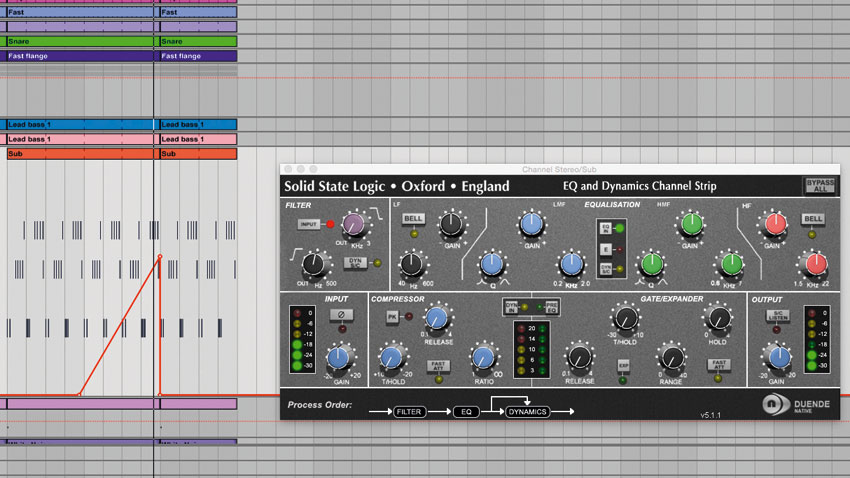
9. Ready for the drop
But what if the bassline drops out of the arrangement, like in this example? The track becomes thin, but we can lower the kick drum cutoff with automation. We could also consider adding a low sub kick to the mix very quietly, during sections when the bass isn’t playing.
If it’s the kick that drops out, try high-passing the bass as well, so that when the two come back in together, it’s a real double whammy!
No filter and EQ automation
With filter and EQ automation
Computer Music magazine is the world’s best selling publication dedicated solely to making great music with your Mac or PC computer. Each issue it brings its lucky readers the best in cutting-edge tutorials, need-to-know, expert software reviews and even all the tools you actually need to make great music today, courtesy of our legendary CM Plugin Suite.
