30 all-star production tips
Tips from those who've been there and done it

Intro
Whatever type of music you make, there's no better advice than the advice of a professional. And if you read on, you'll find precisely that from everyone from Richie Hawtin and Gui Borrato to Martin Solveig and Aeroplane.
We rounded up our famous friends and asked them each for a production tip; a segment of exclusive knowledge from them to you. So flick through our tips gallery and learn new techniques to help improve your music today!
Next: Richie Hawtin

Richie Hawtin
“Everything shouldn’t be all digitally clear and tight. There should be some slack, as I call it, so we always do some analogue tube compression at the front of house just to really beef it up.
Sometimes it’s the bass, the strings or the 303s. Even if people have been listening to music for the last 18 hours at a festival, when Plastikman comes on, we want to give them a ‘wake up’ slap in the face.”

Abel Ramos
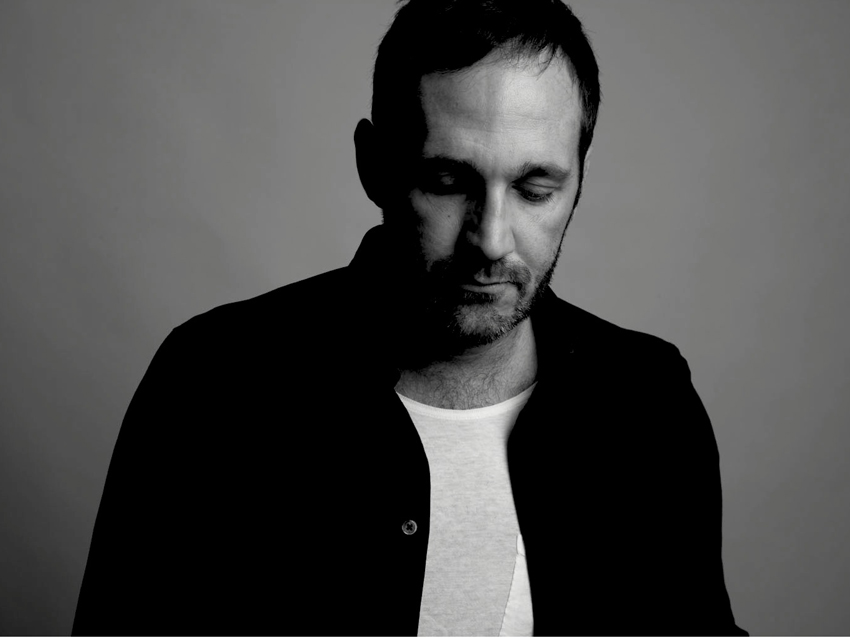
“I love big breakdowns and big effects when bringing the track back to the groove. This is the effect I use to bring some emotion to a track, to create the moment when the crowd go wild – this trick works every time.
“Place a delay on a loop or rhythm track. The only parameters that you need to automate are the delay time and the feedback. Delete a bar in the kick drum track to make room where you want the effect to go so that it’ll be stronger and be the main element.
“Now just adjust the volume of the track when raising the feedback. The audio will rise a great deal which can cause saturation. Now just automate the volume of the loop back down again.”
Steve Lawler
“When writing and producing the first thing I do is build is the drums, starting with a nice kick or maybe two kicks EQ’d to sound right.
"When I add percussion I always un-quantise themby pulling back the track delay so it brings the percussion slightly off the kick so you get a more live organic sounding drum loop, I do the same with shakers, tambourines – it all makes your drums more organic.
“When I come to add bass or bottom end to my track, these days I use sub bass more than anything to give the track a heavy dark sound. I don’t use any bass sound or module, I simply open up the EXS sampler and play the MIDI controller with no sample going through and get that tone. I then play in my bass melody on the lower keys, and use the Sonalksis TBK filters to get the tone sounding nice and smooth.”

Burns
“One thing that’s really affected my production has been the use of master buss compressors.
"When I went to Toulouse to work with Fred Falke on our single YSLM (YouStopped Loving Me) I learned a lot about how hardware compressors can really improve the overall sound of a mix, gel things together and help with the ‘pump’ of a track.
"Personally, I think the key is to get a decent compressor for your master buss and find what settings work best for the sound you want. You can be much more subtle with sidechaining and letthe master compressor do the work.”

Dimitri From Paris
“When I mix an old track or something that I want to give a vintage feel to, I find it good to only use the style of effects of that time.
"For example, if it's a pre-80s flavoured track, I would only use two reverb plug-ins in aux tracks for the whole mix. A room to emulate a virtual studio for light ambiance, and a longer tail reverb you can clearly hear. I also create a very short delay aux that I feed straight into the long verb. This acts as a pre-delay that sounds great on vocals and it allows for two options without adding another plug-in.
“I find only using one audible reverb gives a more cohesive mix. For post-80s tracks, I may introduce a third reverb, typically a gated one, and some delay lines, combined with the room and longer verbs. Having been schooled in the old 24-track tape days, when I produce, I try not to go over 30 tracks. I also try to do things in a natural way, like I don't need three hi-hat patterns in my drums or four snare lines etc. Also, not everything needs to be used in stereo, especially virtual instruments or sound banks with reverb and FX that don't belong to your track. This takes a lot of clutter out and makes the mixing process easier.”

Full Intention
“Gone are the days when we’d have to manually cut up audio parts by hand to get those cool DJ type effects. Sugar Bytes’ Effectrix can do all of this with ease using a simple step time based grid.
“Insert the plug-in across a spare group on your sequencer and try routing all the drums, music parts or whatever else you like. We find it works best if used sparingly so maybe try the effect over the last bar of 16. ‘X-Loop’ gives you some awesome frozen delay type effects – you can even make the pitch go up or down while ‘Vinyl’ is great for deck stops and scratching effects. ‘Crush’ and ‘Reverse’ work well too. Once you found the effects you like try placing a different one for each beat on the grid. You can turn a basic drum loop into something else, seriously!”

Aeroplane
“This is the trick Bruce Swedien used on the song Thriller for the horns in the intro. They’re a mix of real horns and a Roland Jupiter-8 brass sound, but used in particular way.
By the way, you don't need a Jupiter-8 to do it, it works with any synth that can layer two patches and that has separate outputs for each layer. For example, a DX7 IID has an A and B output.
“So here is the trick: instead of trying to layer different sounds, like a plucked sound with a long pad or something like that, just create a simple brass patch, and save it. Then, as the second layer, use the same preset you just programmed. Route one layer to the A output and the other layer to the B output. On a mixer, pan the A output left and the B output right. This will already sound really wide. Tweak and detune one of the two presets slightly and you'll see what happens. You'll get "the biggest pad you've ever made" according to Joakim, who tried it and loved it! “But he’s also got a Jupiter-8 so maybe the trick is just to buy one of those...”

Human Life
“The original Sound Interface Device (SID) chip that came with the legendary Commodore 64 was one of the reasons many of us fell in love with Electronic music back in the day.
"Today, using the software based Plogue Chipsounds you can get that classic sound. Set the preset to ‘empty’. Now on channel one, choose ‘Pure Chip, SID, 6581 (NTSC)’. Go to the ‘Controls’ section on top and in the Chip subsection set the following parameters: PWM = 45%, PLFO Freq = 17%, PLFO Depth = 45%.
"If you play along while you tweak you can hear what each of these is doing to the audio signal. PWM affects the general thickness of the tone in this case, and leaving this in the middle is best. PLFO Freq acts almost like a chorus or flange effect when applied with some PLFO depth. Keeping the frequency low and depth mid-range gets that classic flangey, sweet piercing C64 lead synth that we love. Add some extra personality with the modulation section on top and add some Portamento. Set it to 0.08 seconds as it’s very touchy!
“Some delay will fatten everything up too – a ping-pong delay three- quarter beat is our choice for this synth. No tweaking needed!”

Haji & Emanuel
“When starting a remix, the first thing many people do is put the vocals into Ableton Live to manipulate the timing. But don’t expect to just put in the old and new tempos, sit back and have it all done for you. Don’t stretch what you don’t need to stretch.
“Try to preserve as much of the original tempo as you can. When using any ad-libs cut them tight and place them at original tempo. Try not to slow down anything that doesn’t need to be slowed down, especially sustained notes at the end of phrases. Why make it sound bad when you don’t need to?
“In the same way, if you’re speeding up a vocal then the end off phrases don’t need to be sped up as much. If you take this approach it will help preserve the character and vibrato of the original vocal.”

Junior Boys
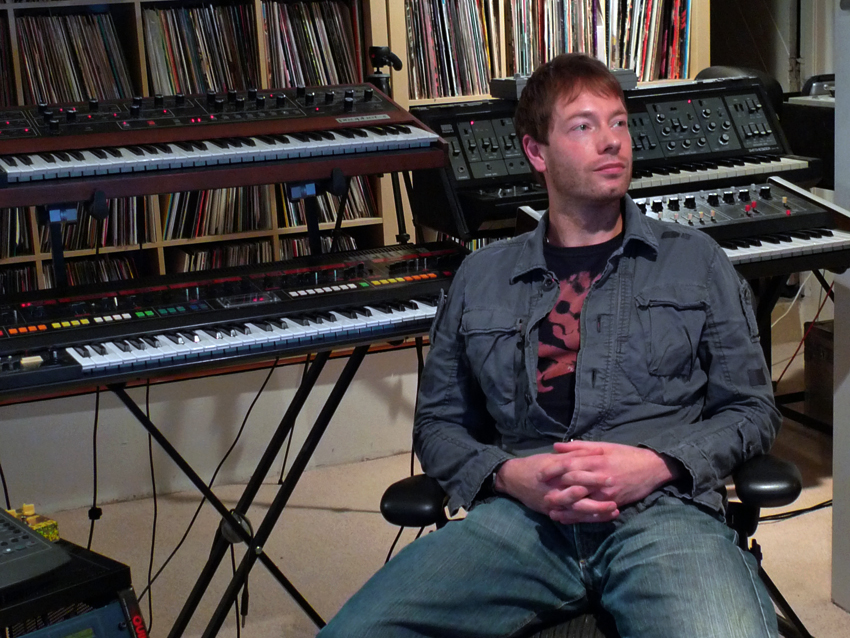
“Spend your money on a preamp. It’s definitely the most important piece of gear you can own. If you have a good, clean, strong signal, it’s hard to screw it up.
If you have a bad recording, it’s next to impossible to fix it and because you make loner Electronic music, and only record your own synths and occasionally the girl you want to sleep with who can kinda sing, you generally don’t need to record tons of instruments at once. An excellent pre or a stereo pair is all you need.”
“Don’t worry about the hiss. I love the sound of good hiss – it brings you into a mix and lets you hear the process. I hate the sterility of digital clean mixing, so I don’t spend too much time worrying about it. It’s important to get rid of all the bad unwanted noises, but just as important to keep in some of the good ones to remind people that they’re listening to a mix.
Think about all those times you heard a Carl Craig track and thought, ‘God I love that I can hear the hiss’... Why shouldn’t people be able to hear your hiss too?”
Jody Wistenoff
“When working on the mixdown, I find it’s very easy to loose perspective and the way I combat this problem is to have two or three reference tracks that I know to be amazingly well mixed and of a similar style.
"While working on my mix, I will switch to one of these sonically perfect tunes, and what is lacking from the mix will be pretty clear.”

Marc JB
“First try ‘The reverse vocal haunt’. This involves a haunting reverb slowly rising out of the mix and then melding into the first syllables of a vocal line.
"Put the first two seconds of your vocal onto a new track and reverse the audio. Insert a reverb with a very long decay time – 10-20secs – with 100% reverb mix on your reverse vocal. Mix that down making sure you capture all the decay. Reverse the audio of the reverb mixdown then push that audio back so it overlaps the front of your original vocal. Now just play the reverse reverb and original vocal.”
“Next there’s ‘The room bass drop’. This is an amazing way to twist your bassline, it works particularly well with nasty electronic basses as a one-bar or half-bar drop at the end of eight or 16 bars. If your bass is MIDI, you will need to make an audio mixdown of it. Take a half or single bar chunk of bass from the end of an eight- or 16-bar pattern and drop it onto a new track. Now insert a room reverb on the new bass track, set the predelay at zero and the reverb time about 0.3secs. Now the bass should sound twisted and in your face. Drop the drums out at the point of the bass drop or even better, mix down the drums and give them a high-pass filter at 350Hz and a bitcrusher. Now you should have an insane bass drop that sounds like your speaker cones are about to blow.
“Finally there’s ‘The percussion/ bass/synth reverse reverb riser’. This is a reverb effect that has become a classic production technique in modern House music.
“Mix down a good 16 or 32 bars of your sound onto a new audio track. Now insert a wide hall reverb with a 100% mix and six seconds of reverb time. Mix this down onto a separatetrack but leave a bit of space after for the reverb to die away. Now put a fade-in going right up to the end. Play this with your original pattern. To make it stand out even more, automate the reverb decay time from 0.3 seconds at the start to around 10 seconds at the end.”

Mark Knight
“Too many tracks nowadays sound like they have been made in a day. In this time of throwaway music, too many producers have adopted this ideal and used it as there mantra for making music, why?
“Most of my tracks take weeks, even months of road testing and refining to get the finished article. If you want to write a record that you’ll still be pulling out and playing in five years, here are some simple tips.
“After a day in the studio always bounce down the track at whatever stage you are at and listen to it on your way home. You hear it in a completely different way – as a piece of music rather than an arrangement on the screen. It's best to do this straight after the session as you’re still hearing the detail.
“Go in the next day and work through your list without listening back. Try ‘road testing’. If you’re in a position to play a record out you should take as many opportunities as you can before committing to the master, refining all the way. If you’re not, make a mix tape and insert the track in the mix where you wouldperceive it being played out.
“Does it match up to the track you’re aspiring to? When working on your final master always look at the record and think, ‘Can I get another 10% out of this? Could the drop have more drama? Is the mix down the best it can be? Is the arrangement completely on-the-money?’

Goldfish
“Working in the box, especially with electronic music sometimes leads to a very fluorescent and sterile sound. Not everyone has access to expensive summingequipment or vintage valve preamps togive your productions character.
"Here’s oneway to give your tracks some ‘sampled’ flavour. Take your existing recorded track/stem and open a second track of ambience noise, gentle vinyl crackle, or anyorganic noise source alongside it.
"Try city sounds, wind, sea, forest ambience, background conversation from the pub, whatever! Send both tracks to a singlegrouped track and blend the vocal and ambience track levels to taste. Load up a compressor on the group track – such as PSP Vintage Warmer – which will help glue the two tracks together. Experiment with the drive and knee settings to add a little more colouration.
“For added character pull up athree-band EQ and brutally chop all the bottom and tops off. By now your vocal will be taking on that vintage sample feel. Or – if you’re in Live – right/ctrl-click and select ‘Slice to New MIDI Track’ option. Now you’ve chopped up a retro sample like itwas all done on an old MPC.”
Hybrid
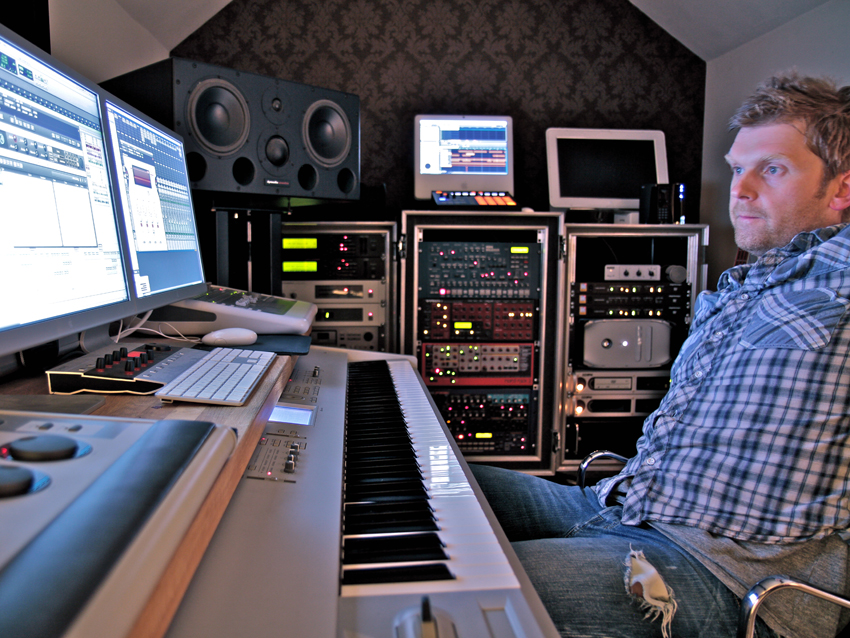
“A deadly trick for gluing a mix together is to take a snippet of audio from the main riff or hook and make an ambient wash to place in the background.
"Just strap a good long reverb across the channel – a large plate or deep hall works really well – set the dry/wet mix to about 80% so there’s still a bit of the original in there and bounce it off.
“Import your new bounce and put it back on the same channel with the reverb. Apply a time-stretch and stretch it by about 200%. Then, reverse the stretched piece of audio and bounce it again, still going through the reverb. Repeat this until you have a glistening pad that’llprobably be a couple of minutes long. If you mix the new effect quite low behind the original dry sound, it gives a ghostly tail that’s much more interesting than a standard reverb.”

MYNC
“One of the most important things when working ‘in the box’ is to make sure you don’t overload your channels or master buss!
"When clipping occurs in the digital domain, distortion is added to the signal but it doesn’t happen in a smooth satisfying way as it does in the analogue. Even if the distortion is barely audible, the cumulative effect over an entire mix can be really detrimental as your headroom gets eaten up by unwanted information.
“Don’t mix in to limiters! You may feel that the mix is pumping harder with a limiter on the output but you are reducing your options enormously. In a nutshell, every time you try to turn something down, the limiter is trying to turn it back up again. Leave this to the mastering stage.
“Think about the key element in your mix whether it be a vocal or a lead line and get them into the mix nice and early. You can then fit the other elements around this and you won’t find yourself struggling to make space for them later.”

Nicky Romero
“So you play in your chords but the velocity is different for each note and the length doesn’t match, right? There is a very easy way to fix this problem.
“Open the Piano Roll in Logic and select all notes. Then push E on your keyboard. You’ll see the whole list of keys you just recorded. Hit Alt+Shift and move one of the values up or down – the whole list changes to the same velocity and length. This trick saves a lot of time and speeds up your workflow.”

Richard Grey
“I start off with a hard compression with a ratio up to seven with short attack. I find the Waves C1 does it perfectly.
"Then I pump up the bass with the channel EQ and finally the SSL EQ to get back any bass lost during the compression process. Most importantly, I put the L3-LL Ultramaximizer to get maximum volume.”

Marc Romboy
“For about ten years now, there’s been a huge discussion about digital versus analogue, something I have never really understood.
"It’s not necessary to be either a digital hater or an analogue purist! My philosophy is to think hybrid in all possible ways! Take EQ as an example: we cut certain frequencies all digitally because it’s more precise and afterwards we boost with our analogue μ-HDE250 EQ (built by Steffen Mueller) because it gives an extra edge and sounds much warmer! Why not use the best of both worlds for your advantage?”
Shadow Dancer
“In Ableton Live, load up a sample kit that maps across the keys, create a bar-long clip consisting of hits every 1/16th measure on one note and set it to loop.
"Now drag the ‘Pitch’, ‘Random’ and ‘Arpeggiator’ MIDI Effect devices to your sampler track set it playing and start adjusting the parameters of each. Instantly you’ll stumble upon rhythms you wouldn’t have dreamt up by glumly painting notes on a piano roll. Route the output to an audio channel and start recording to ensure you don’t miss any gold among the random patterns. Next, sift through the audio you’ve recorded and find the good bits!”

Thomas Gold
“Treat stereo sounds in mono to make them sound different – people are not really used to hearing a simple mono synthesizer sound anymore – so this can add a lot of vintage attitude and uniqueness to your track.
"Or why not go back a bitand use stereo sounds in mono mode? Let’s say you have a pad or lead sound with wide stereo panning – you can introduce itin the mix by downgrading it to mono and narrowing the stereo basis of this sound. There are many plug-ins that do this, such as Logic’s Direction Mixer and the Waves S1 Imager.
“You can even add some evolution to the sound in the track: open up the stereo basis of the sound at a later stage – when you want a track to ‘get bigger’ for the climax or the chorus, for example...”
Morgan Page
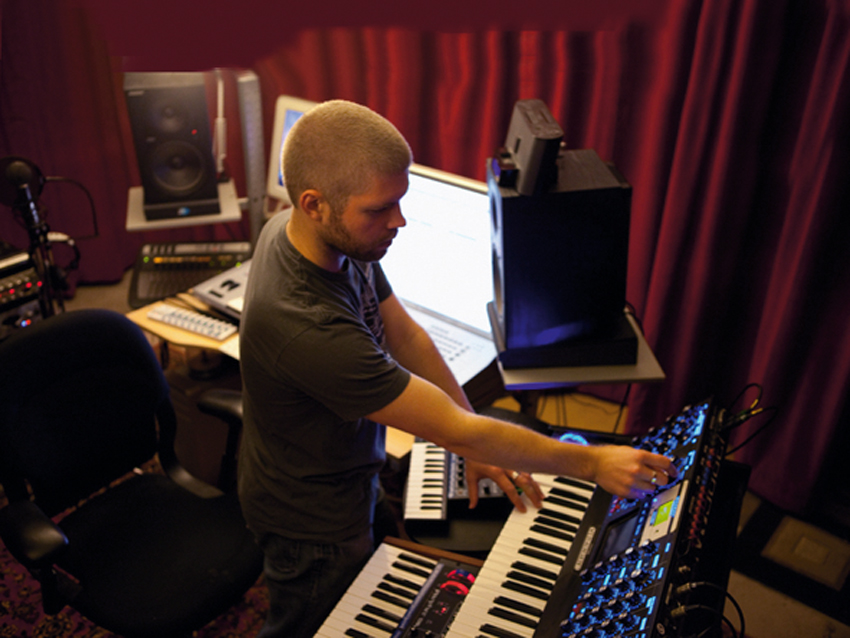
“The Moog Voyager is my go-to synth for bass. I love the randomness, that analogue flux.
"Often though I’ll take a cool, percussive, non chromatic sound and record a bunch of passes while making adjustments with the controls.Then I cut up the audio to make percussion sounds and risers. The touchpad is great for making random sounds happen. And – a cool trick the guys at Moog showed me – if you touch the metal parts of the synth while doing this it intensifies the effect of the pad!”

Koen Groeneveld
“A lot of DJs and producers ask me ‘how do you manage to get your tracks so loud and powerful, you must use some very special compressors, maximisers and stereo enhancers, right?’ Nope! Not at all... I only use a few standard Cubase tools to add spice and pump up my final mix.
"The most important thing in achieving a loud, clear and powerful mix is to make sure all the ingredients are already well compressed, enhanced and EQ’d before you pimp your stereo master channel.Cubase’s Maximiser can pump unbelievably loud and I sometimes even push it way over 0dB, sometimes up to even +3dB!I use the ‘Dance Master’ preset in the StereoEnhancer in Cubase and it does its job exactly as it should.
“Last but not least, I add a little bit of compression to melt things together nicely, again using the Cubase Compressor in ‘Dance Master’ mode.”

Wally Lopez
“Try using two reverbs, one for items that are nearby and one for parts that are further away.
"For distant parts, I’ll use a predelay of 30 to 60ms and a longer reverb time. The next step is to EQ the reverb – cut a little treble on the distant reverb but leave the nearby reverb as it is.
"Another trick is to use very short delay, no more than 25ms on left and right. Now mix the dry signal with the delays through the dry/wet parameter. Listen to how the brain perceives the delays, as a single element placed further away.”

Chocolate Puma
“Gay Country & Western from the '50s, awesome tapes from Africa, Disco from the early eighties, Russian Horror New Wave, Dutch Folk songs – you can find it all on music blogs.
"You really have to take your time to find the cool blogs, but once you’ve found the real gems, they’re a great daily source for all your sample needs. Of course we’re not promoting copyright infringement, but a cowbell played by a German hippie does sound way cooler than the Logic percussion.”

Evil Nine
“Camel Audio’s Alchemy is great for manipulating samples and has become our favourite way to create interesting pitched build effects that have texture and movement.
"With your samples loaded, bring the Stretch parameter down to 0% to ‘freeze’ the sample and select an upward pitchbend amount of an octave, try any amount you like but an octave is a good place to start.
“You can now automate the position parameter so it sweeps through the sample and automate the pitchbend to raise the pitch... In Ableton, add a note the length of your required build and create a pitchbend across it via the envelopes box which is accessible by clicking the capital ‘E’ in the bottom-left corner of the clip display and selecting the pitchbend parameter. Now select the Position parameter in the automation lane – confusingly, it appears as ‘S1Start’ – and draw an automation sweep across the length of the region from low to high. And you’re done.Sidechaining the build and/or adding LFO pan or delay can sound great.”

Martin Solveig
“A good vocal or analogue synth recording will probably benefit from compression, giving a more plain and balanced sound at every frequency. But it might also bring up all the noise and hiss that you don’t necessarily want…
“For an optimised compression make it work at the relevant frequencies. If your sound source has no highs, compressing might just give you extra noise. To do that you canplace two EQs, one before compressor, one after to control the frequency range you want to compress."
Future Music is the number one magazine for today's producers. Packed with technique and technology we'll help you make great new music. All-access artist interviews, in-depth gear reviews, essential production tutorials and much more. Every marvellous monthly edition features reliable reviews of the latest and greatest hardware and software technology and techniques, unparalleled advice, in-depth interviews, sensational free samples and so much more to improve the experience and outcome of your music-making.


