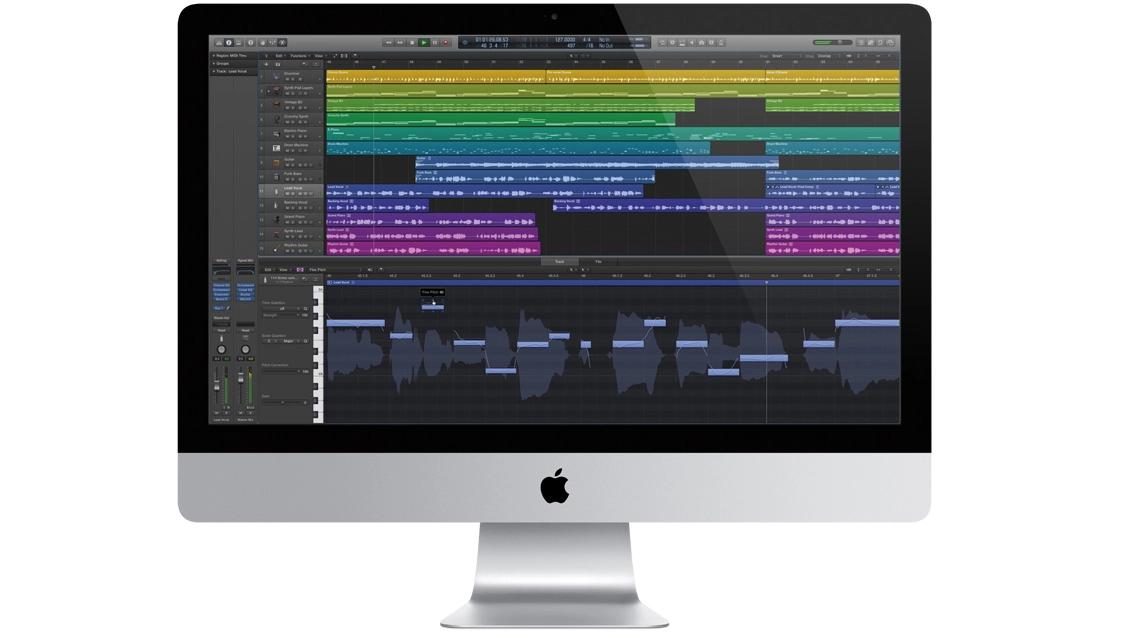
The moment you opened Logic X for the first time, or if you've pored over screenshots from last year's update, you can't have failed to notice that one of the most striking differences between this and previous versions is the design and new look. Darker overall, of course, but also brighter, with much clearer distinctions between the dark grey livery and the shinier colours of soloed regions, record mode, and so on.
However, Logic's design overhaul goes far beyond its choice of colour scheme, and we're going to explore some of its key design aspects to understand their capabilities and how they can impact on your workflow.
See what you want
The first difference is that you're now free to choose how many of Logic's Pro features you want to enable for use. Seasoned Logic users will want them all, of course, but for those making the transition to Logic Pro from GarageBand, the program has been streamlined to allow you to choose a customised set of 'full' features to ensure that you don't get overwhelmed by Logic's feature set.
The Preferences menu contains an Advanced Tools tab, so if you've migrated from GarageBand and you're looking to explore the more involved editing and recording options, open this and click to enable all of the extended features you wish to make available for use. Remember: these aren't activated on a per-project basis - once they're ticked, they'll be available in all of your Logic Pro sessions
Modes of Transport
The Transport bar is now at the top of Logic's Main Page, which prevents unwanted Dock reveal moments should your mouse inadvertently drop too close to the bottom of the screen. However, as the default Transport display within Logic X is close in design to that of GarageBand's, the new appearance drew anything from mild concern to outright rage from some established Logic users, who seemed to feel that, on first sight, Logic X was going to be their worst nightmare: a slightly more sophisticated version of GarageBand.
Now, of course, we know that this isn't the case at all, but if the default Transport display still gives you chills of over-simplicity, our advice would be to switch it to the Custom option which appears when the icon on the far left of the Transport bar is clicked.

Take control
As you may not know, assorted other parameters can also be added to the Control Bar (the name now given to the entire upper section of Logic X, including the Transport Bar). Simply Control-click close to, but not on, any of the buttons here and select Customise Control Bar and Display when the option appears.
Among the most useful additions you can make to the default button set is Low Latency Mode on the right-hand side, which lets you temporarily suspend the actions of many plugins, allowing you to record MIDI or audio tracks without latency becoming overwhelming.
Tooled-up Toolbar
You can expand Logic X's set of readily available parameters by heading to the View menu and selecting Show Toolbar. This adds a collection of useful commands, such as Split By Playhead, Bounce Region and Move To Playhead, as well as Arrangement controls for cutting, repeating and inserting new sections into a track. Again, this bar can be customised - from the same menu.

Latency management
Another important consideration for anyone working on intensive projects is that the default Automation Latency options may well cause problems. If you're drawing or recording automation accurately but hearing it play back early or late, head to Preferences within the Logic Pro X menu and select Audio. Here, click the General tab and ensure that, from the top drop-down menu named Sample Accurate Automation, you've selected Volume, Pan, Sends, Plug-In Parameters.

Files and settings from other projects
If there's a particular sound and channel strip that you want to import from another production into your current one, click the Media Browser button in the top right-hand corner of the Control Bar. Click All Files and use the 'computer monitor' button to navigate to wherever that Logic project resides. Double-click on its name and, rather than opening as a new song, it will display each track of that project, complete with instrument and effects settings.
You can click the checkbox(es) of the sound(s) you want and, if you want the MIDI notes or audio files, the Content button, too. Click Add to bring them into your current project.
Library and channel strips
Perhaps the most pleasing aspect of Logic X's design overhaul was the moving of the Library to the left-hand side of the screen, ensuring that signal flow is from left-to-right, rather than jumping from right to left as it did in Logic 9. Better still, when selecting sounds and Channel Strips, the Library is now set up to allow you to break out from preset mode much more quickly.
Here's why: if you set up a new Software Instrument track and open the Library you can, of course, select a ready-made Channel Strip which will load a sound and a set of appropriate effects to enhance it, including both Inserts and Auxiliary routings. However, if a whole channel strip seems too 'preset', you can click next to each of the plugins loaded into the Insert slots and the Library browser will then display a series of alternative treatments, allowing you to flick through specific settings for each in turn, without affecting the instrument loaded above. This is true for any MIDI FX you've set up, too, so if you want to explore alternative Arpeggiator settings, for instance, these can be loaded from a long list of possibilities.
"The Library is now set up to allow you to break out from preset mode much more quickly."
Strip club
Of course, clicking next to an instrument name will also let you browse its own presets, including an extended choice of both the Factory Library of content and your own sampler instruments if you're working with the EXS24. As there is an infinite collection of Insert and Auxiliary configurations possible for any given channel strip, it's no surprise that Logic X structures its browsing of preset content like this on a per-instrument and per-plugin basis, rather than providing endless streams of its own channel strip configurations. That said, you can, of course, save any channel strip setting you like and, again, this can be recalled from the Library.
However, there are channel strip solutions ready to load for the Main Output channel, so that if you're keen to add a DIY mastering solution and aren't quite sure which settings to use, there should be something there to push you in the right direction.
To load one of these, click the Settings button above the Output channel and drop to the Factory tab where a number of style-based starting points can be loaded. Tweak these to suit your track for the best results.
Quick tune-up
If you're recording guitar or any other instrument, you may want to check your instrument's tuning before committing to a recording.
You can set up a dedicated Tuner plugin on your chosen input channel and use that to check everything's as it should be, but if you're recording on audio input 1, a quicker way is to click the 'tuning fork' icon in the Control Bar, which activates the Tuner. Strum or play your open strings and the tuning of each is monitored, making sure your takes won't be let down by your instrument sounding wonky.
Into the mix
As adopters of Logic X will have noticed, there have been radical updates to the GUI design of the Mixer screen too and, again, these go beyond the choice of colour scheme. Metering is now much clearer but, more significantly, if you choose to enable Logic's Compressor rather than a third-party model, an extremely useful Gain Reduction screen keeps you in touch with multiple dynamic levels at once.
In terms of workflow, however, the more significant development is the ease with which Logic now allows you to configure, insert and move plugin effects. Now, not only can you drag effects around, but you can also click between them to insert effects between two others, without first having to make space for an effect between two existing ones. Indeed, hovering over an effect reveals that each contains three options without the need for a modifier key.
From left to right, these include the option to bypass an effect, open its GUI, and bring up the menu from which effects can be selected, allowing you to swap your current one for another.
Customise your mixer
Another change in the mixer is that you can adjust how many individual channels can currently be seen. The All tab show you a project's full collection of channels; the Single option shows you only the currently-selected track and any Auxiliaries to which it is routed; and the Tracks option shows you collections of tracks which have been grouped together.
This last option is particularly useful if you're working with Track Stacks, as the Mixer will focus on showing you only tracks assigned to that Stack.
As was true in previous versions of Logic, if you decide to automate effects parameters or the fader level of an auxiliary, this channel will be added to the Main arrange page automatically, but you might find that, by default, creating a volume fade for the Main Output track in Latch mode doesn't add this channel to the Main page too, which can be frustrating if you decide to edit, move or remove a volume curve.
This can be overcome by heading to the Track menu, where you can enable the option to Show Master Track, which will immediately add the Output Channel to the bottom of the Main page's track list.
Searching for content
Don't forget that you can search Logic's loop content by keywords. So if one of the tabs doesn't give you what you need, try typing an instrument or genre name into the window at the top of the browser. You can refine the search by clicking relevant 'sound type' buttons below, too.

Help! Quick!
The Quick Help function can be activated via the '?' button next to the Smart Controls button. This is a quick browse option which, when activated, shows you the function of any button you hover over. A particularly useful start point for Logic newbies.
