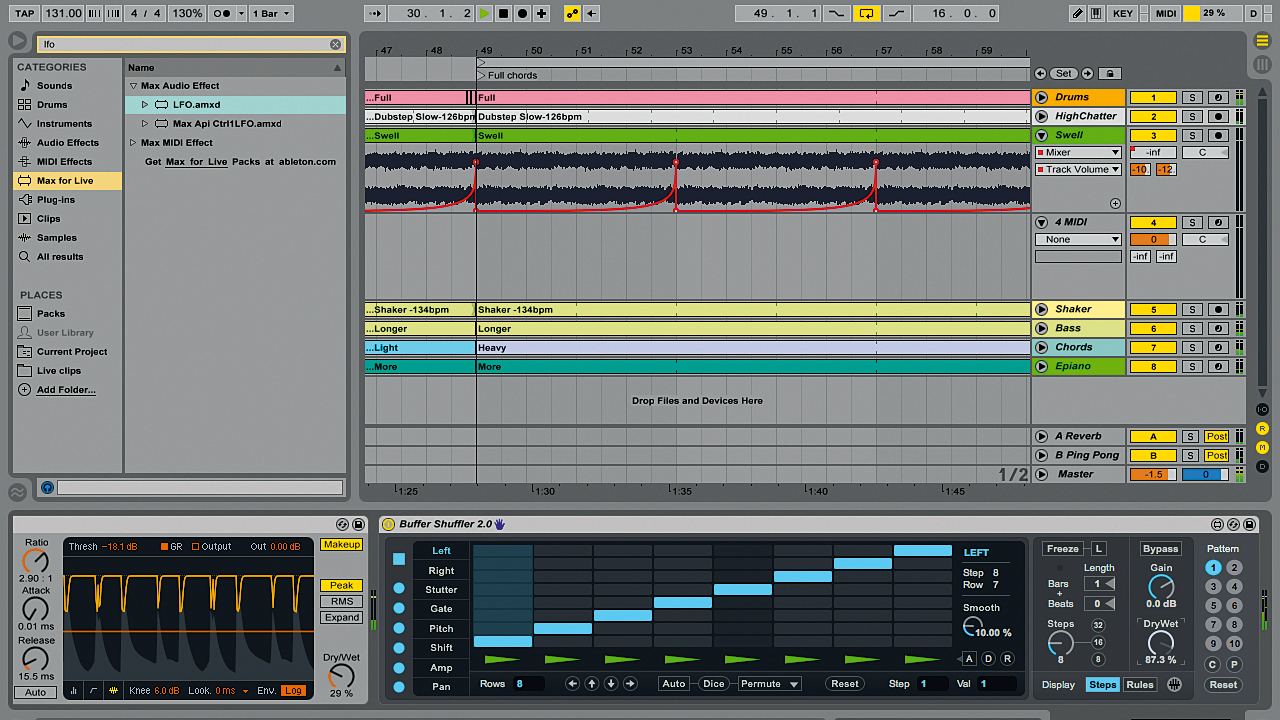
11 Ableton Live 9 tips and tricks
Master the new functions of Ableton's DAW

Ableton Live 9 brought us features such as Audio-To-MIDI conversion, the Glue Compressor, the revamped EQ Eight and all the MIDI editing tweaks.
Here we bring you 11 tips and tricks aimed at helping you to work smarter and more creatively, and to get the most out of all of Live 9's new features.
• For many more Ableton Live guides go to our massive learning hub: Learn Ableton Live and Ableton Push: music production tips and tutorials
1. Mix with your eyes
Good mixing is all about making space for your parts. EQ Eight now offers a large and clear display and analyser to apply to every channel, without causing much CPU strain. The note value display is useful for making space for an instrument whose notes you know. If you're trying to make space for your bassline in, say, a string chord, it's easy to notch out those notes by sight.
2. Electronic body music
Try writing an entire track using your mouth, a mic and Convert Audio To MIDI. So, humming, singing, whistling or even scatting all your musical parts and beat-boxing your drums. It sounds quite contrived, but you'll quickly realise how much more expressive many of us can be when we use what is, for most of us, the most direct path from our imagination to realisation.
3. Finders keepers
Use Audio-To-MIDI on some complex solo instrumental music such as energetic piano jazz and then cut out the tasty little fills, flourishes, slides and descending segues that are so hard to program by hand. Convert them to MIDI, then pop them all in their own folder with a link in the Browser's Places. Now you can tailor the notes to your own tracks.
4. Kick it off in Arrangement View
If you usually start tracks in Session View, try a more conventional approach using an eight-bar loop in the Arrangement View and then transfer it to a Scene. This way you can create less blocky and linear eight-bar loops, since it's easier to insert gaps and mid-loop variations in Arrangement View.
Want all the hottest music and gear news, reviews, deals, features and more, direct to your inbox? Sign up here.
5. Modulate using Max
Remember that you can use the Max For Live MIDI devices to modulate other devices. This could be an LFO modulating the rate of a step-sequencer or the wet/dry control of a Convolution Reverb or Buffer Shuffler - just go nuts. And don't forget to experiment with the full range of controls on the modulation source (such as the aforementioned LFO.)
6. Clean then convert
When converting audio to MIDI, it is often useful to gate the audio, for cleaner results. Alternatively, if it's part of a full and busy loop, slice the audio to a sampler track, delete all but the notes you're after, freeze and flatten the result and then convert it to MIDI.
7. Mirror your MIDI
If you have a one-bar MIDI riff or other part playing over eight bars, try using the MIDI drag and reverse to create a backwards version for the eighth bar. This is even more effective when the riff is obviously ascending or descending, like an arpeggio.
8. Key knowledge
Spend some time learning the new key commands. There aren't so many as to be off-putting, but they can dramatically speed up your workflow.
9. Make it Max-only
If you're a Suite owner, try to make a track using only Max For Live devices (external samples are allowed!) Whenever you can't find something you need, try to make it. This is a great way to get to know what Max offers and how you can adapt its devices.
10. Master the MIDI functions
Ignore the new MIDI functions at your cost. Duplicate Loop will almost certainly be the most commonly used, but the transposition section will probably be a close second and third. Even if the old way of transposing is second nature to you, do yourself a favour and learn the new method.
11. Keep your Places tidy
The new Places section in Live's Browser is very handy, but many of the benefits are lost if you let it get cluttered. Remember: it's just as easy to remove folders from Places as it is to add them, and it doesn't delete the data, just the link.
Computer Music magazine is the world’s best selling publication dedicated solely to making great music with your Mac or PC computer. Each issue it brings its lucky readers the best in cutting-edge tutorials, need-to-know, expert software reviews and even all the tools you actually need to make great music today, courtesy of our legendary CM Plugin Suite.

