


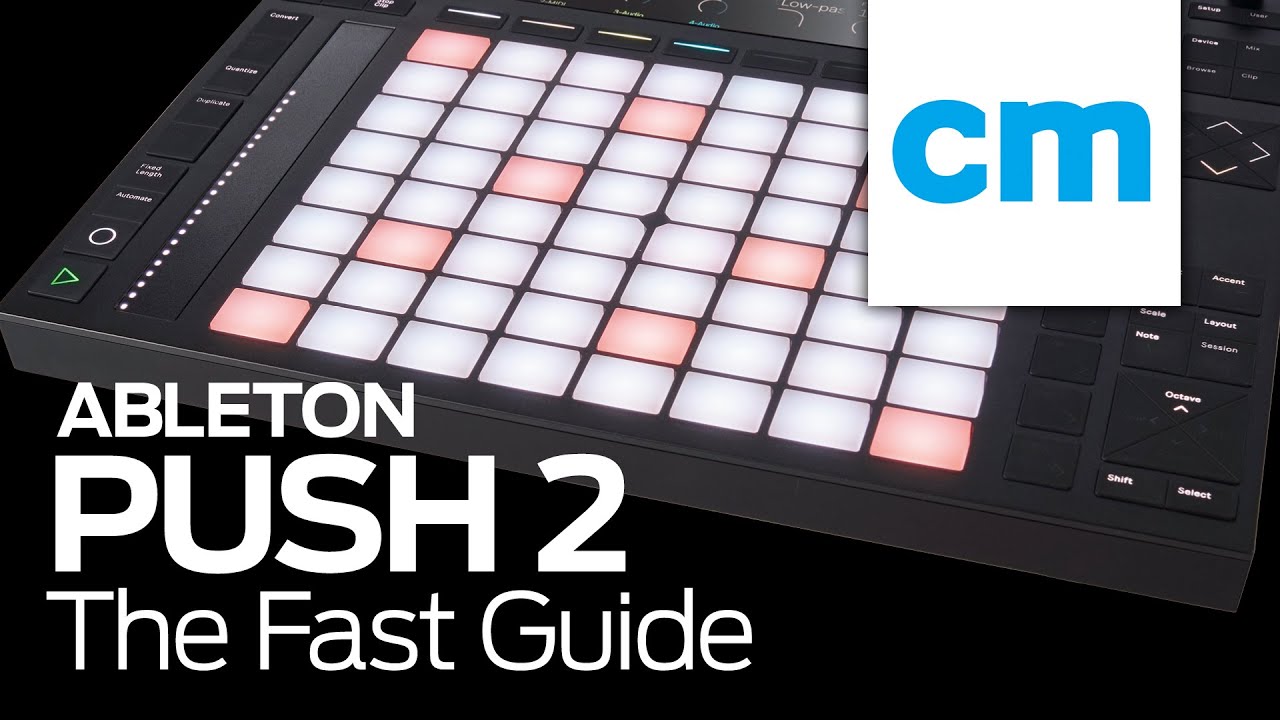
The ultimate Ableton Live controller
Released in 2013, the original Push was an innovative, creative instrumental MIDI controller that worked symbiotically with Ableton Live to elevate the compositional aspect of that DAW to new heights, despite a lack of true mixing functionality and total disregard for the Arrangement View. Indeed, it was successful enough to warrant a sequel: Push 2, launched at the end of 2015.
While the original Push was designed by Ableton and built by Akai, Push 2 is a 100% Ableton production. Perhaps surprisingly, then, it's smaller, lighter and even better built than its predecessor, with vastly improved pads, satisfyingly clickier buttons, RGB LEDs all over the place, and a beautiful high-res full-colour display that makes the angle-sensitive orange dot matrix of the original feel suitably last-gen. Even though the Live 9.5 update has given Push 1 functional parity with Push 2 in most areas, the increased accessibility, streamlined workflow and transformative visual feedback of the latter are on another level altogether.
Here, we'll show you all the new tricks that Push 2 brings to the table, from its upgraded mixing and browsing features to loop slicing, the Convert button and more.
• For many more Ableton Live guides go to our massive learning hub: Learn Ableton Live and Ableton Push: music production tips and tutorials

1. Browsing for presets
We’re amazed this feature took so long to implement, but at last you can now call up third-party VST and Audio Units plugins from the Push 2 (and, indeed, Push 1) browser. Even better than that, though, you can even access presets directly for certain instruments and effects, depending on how the manufacturer has implemented preset reporting.
To get a preset loaded, hit Push 2’s Browse button and scroll down to the Plug-ins category then select VST or Audio Units in the second column and work through your plugins until you find one alongside which the columns on the right are populated with greyed-out preset names. To load a preset, press the top-right button to activate the list, then scroll through using the encoders in the usual way and hit Load when you get to the one you want.

2. Octaves and Pages
Push 2’s repositioned Octave up/down buttons shift the pad range up and down by an octave at a time for melodic instruments, or 16 cells at a time for a Drum Rack, with a greater degree of precision than is afforded by the touchstrip.
The Page left/right buttons, meanwhile, step through pages of steps in the melodic and drum step sequencers. In Session View, all four buttons can be used to move the pad focus around in banks of eight tracks or Scenes.

3. Slicing in Simpler
Push 2 and Live 9.5 let you instantly slice a loop in Simpler and map it across Push 2’s pads for triggering, with deep editing using the rotary encoders, and full visualisation on screen. Here’s how…

Step 1: With a MIDI track selected, start by browsing to a loop and hitting Load. A Simpler is automatically created with the loop loaded in Classic mode and Warp mode set to Beats, enabling pitched play of the whole thing up and down the pads. Switch to Slicing mode using the right-most encoder.

Step 2: The loop is automatically sliced at its transients, and each slice is assigned to its own pad, so that you can now play the loop like a drum kit. If you get too many slices, lower the Sensitivity; and to adjust a slice point, select a slice by tapping its pad, then use the Nudge encoder to shift its left-hand boundary. Zoom in with the Zoom encoder if necessary.

Step 3: To add slices manually, turn the Pad Slicing encoder to On, and hit an unused pad when playback reaches the point at which you want to insert a slice - it’s hard to do this accurately, so expect to use the Nudge function. In the Simpler’s various edit pages, you can make all the usual adjustments to your loop, and apply processing and modulation.

4. 64-Pad mode
When using a Drum Rack or Simpler in Slicing mode, Push 2’s default Note Mode layout divides the 64 pads into three areas: a 4x4 bank for note triggering and entry, another 4x4 bank for sequence navigation and range adjustment, and an 8x4 bank at the top for entering sequence steps. The touchstrip and Octave buttons are used to scroll the 16-pad bank up and down through large Drum Racks and sliced Simpler patches (which top out at 64 slices), but what do you do when you want to simultaneously access two sounds more than 16 pads away from each other?
You switch to Live’s 64-pad mode using Push 2’s new Layout button - that’s what! This simply turns all 64 pads over to triggering duties, so you can either play them live or hit one and switch back to the regular three-section layout to sequence it. Sadly, however, the 16 pads in the three-section layout don’t shift to reflect the last pad struck in 64-pad mode.
Mad Zak’s 64-Pad Lab Live Pack was built with 64-pad mode in mind – download it for free.

5. Mute and Solo
Push 2’s Mute and Solo functionality ditches the old multichannel system of the original Push in favour of simply muting or soloing the currently selected track when said buttons are pressed. However, you can still silence and isolate multiple tracks together by holding down the appropriate button and pressing as many track selection buttons as required, together or one after another.

6. The new Setup menu
Push 2’s new Setup button reveals six handy operational settings.
The Workflow option has two settings. In Scene Workflow, the New and Duplicate buttons duplicate all playing clips in the current Scene and seamlessly switch playback to the new Scene; in Clip Workflow, only the clip on the selected track is duplicated and playback of the original Scene continues for all other tracks. Similarly, the up/down Arrow buttons either trigger Scenes in Scene Workflow, or just clips on the selected track in Clip Workflow.
Display and LED Brightness are generally best left at their default 100% levels but can be dimmed if necessary.
The Pad Sensitivity, Gain and Dynamics settings adjust the pad response by altering the mapping of stroke input strength to velocity output, and the spread of velocities along the resultant curve.

7. Mixing essentials
Push 2 features a dedicated Mix Mode that uses the top buttons to switch between adjustment of levels, pans and sends for multiple tracks at once, and combines peak and RMS metering on the display.

Step 1: To enter Global Mix Mode, press the Mix button. The display shows the level meters for the first eight tracks in the project (including Return tracks), with the graphics, track selection buttons and pads all reflecting your colour assignments in Live.

Step 2: The top buttons switch the rotary encoders between adjusting volumes, pan positions and sends. The Volumes and Pans options are always visible. Pressing Mix again flips to Track Mix Mode, in which the volume, pan and send controls for the selected track are all collectively accessed.

Step 3: Group Tracks and Drum and Instrument Racks get their own icons. To unfold one, press its selection button once to select the track, then again to open it, and once again to close it. Finally, to toggle between the Master track and Global or Track Mix Mode, press the Master button.

8. Loop extraction
Push 2’s waveform view enables clip editing directly in that spectacular display. Browse to the track you want to lift a loop from and load it into a Simpler. Turn Loop mode on, and use the Start, End and Zoom knobs to home in precisely on the section to be looped. Then, in Simpler’s Warp page, turn on Warp - if it isn’t already - and press Warp as X bars to stretch the loop range to the specified number of bars. Draw a C3 note on the Simpler track to trigger the loop at its default pitch, and press Crop to get rid of all the audio on either side of it in Simpler.

9. Get converted
The all-new Convert button enables instant interchange of Simpler, Drum Rack and audio tracks. Press it with a Slicing mode Simpler track selected to convert the Simpler to a Drum Rack, with each slice in its own cell and all transferable settings intact.
With Simpler in Classic or One-Shot mode, a new MIDI track is created with a Drum Rack (and copies of all effects) loaded and the Simpler on the first pad.
Pressing Convert on a Drum Rack track creates a new MIDI track containing all the devices in the selected cell. And finally, Converting an audio track bungs the audio clip into a Simpler on a new MIDI track.

10. It's all contextual
Finding the sound, instrument or effect you want is made easier than ever for users of both Push 1 and 2 with Live 9.5, thanks to the newly context-sensitive Browser, which only ever shows you appropriate devices for the selected track.
So, if you’re on an Audio or Return track, you won’t see any instruments or MIDI effects in the Push Browser - just audio effects. It might, then, seem odd that audio files are made visible for MIDI tracks, but they actually load into Simpler, rather than directly onto the track itself.
While we’re in the Browser, you probably already know that samples and Live’s own instruments are now previewed as you scroll through them, but did you also know that you can change the volume level of that preview directly from Push 2? Hold down the Shift button and twist the Master volume knob.
