Guitar modding: how to solder guitar parts
Changing pickups, pots or switches? Keep calm and solder on
Introduction
A lot of guitar mods, like swapping out pickups, involve a fair bit of soldering, so it's worth getting your iron-wielding technique up to scratch.
The best result you can get when soldering is that everything works when the job is done. Neatness is pretty damn important if you want to take pride in a job that’s perfectly executed, with no messy lumps of solder to show you up as an amateur.
Follow our step-by-step guide below and you’ll nail soldering like a pro.
1. Get the gear
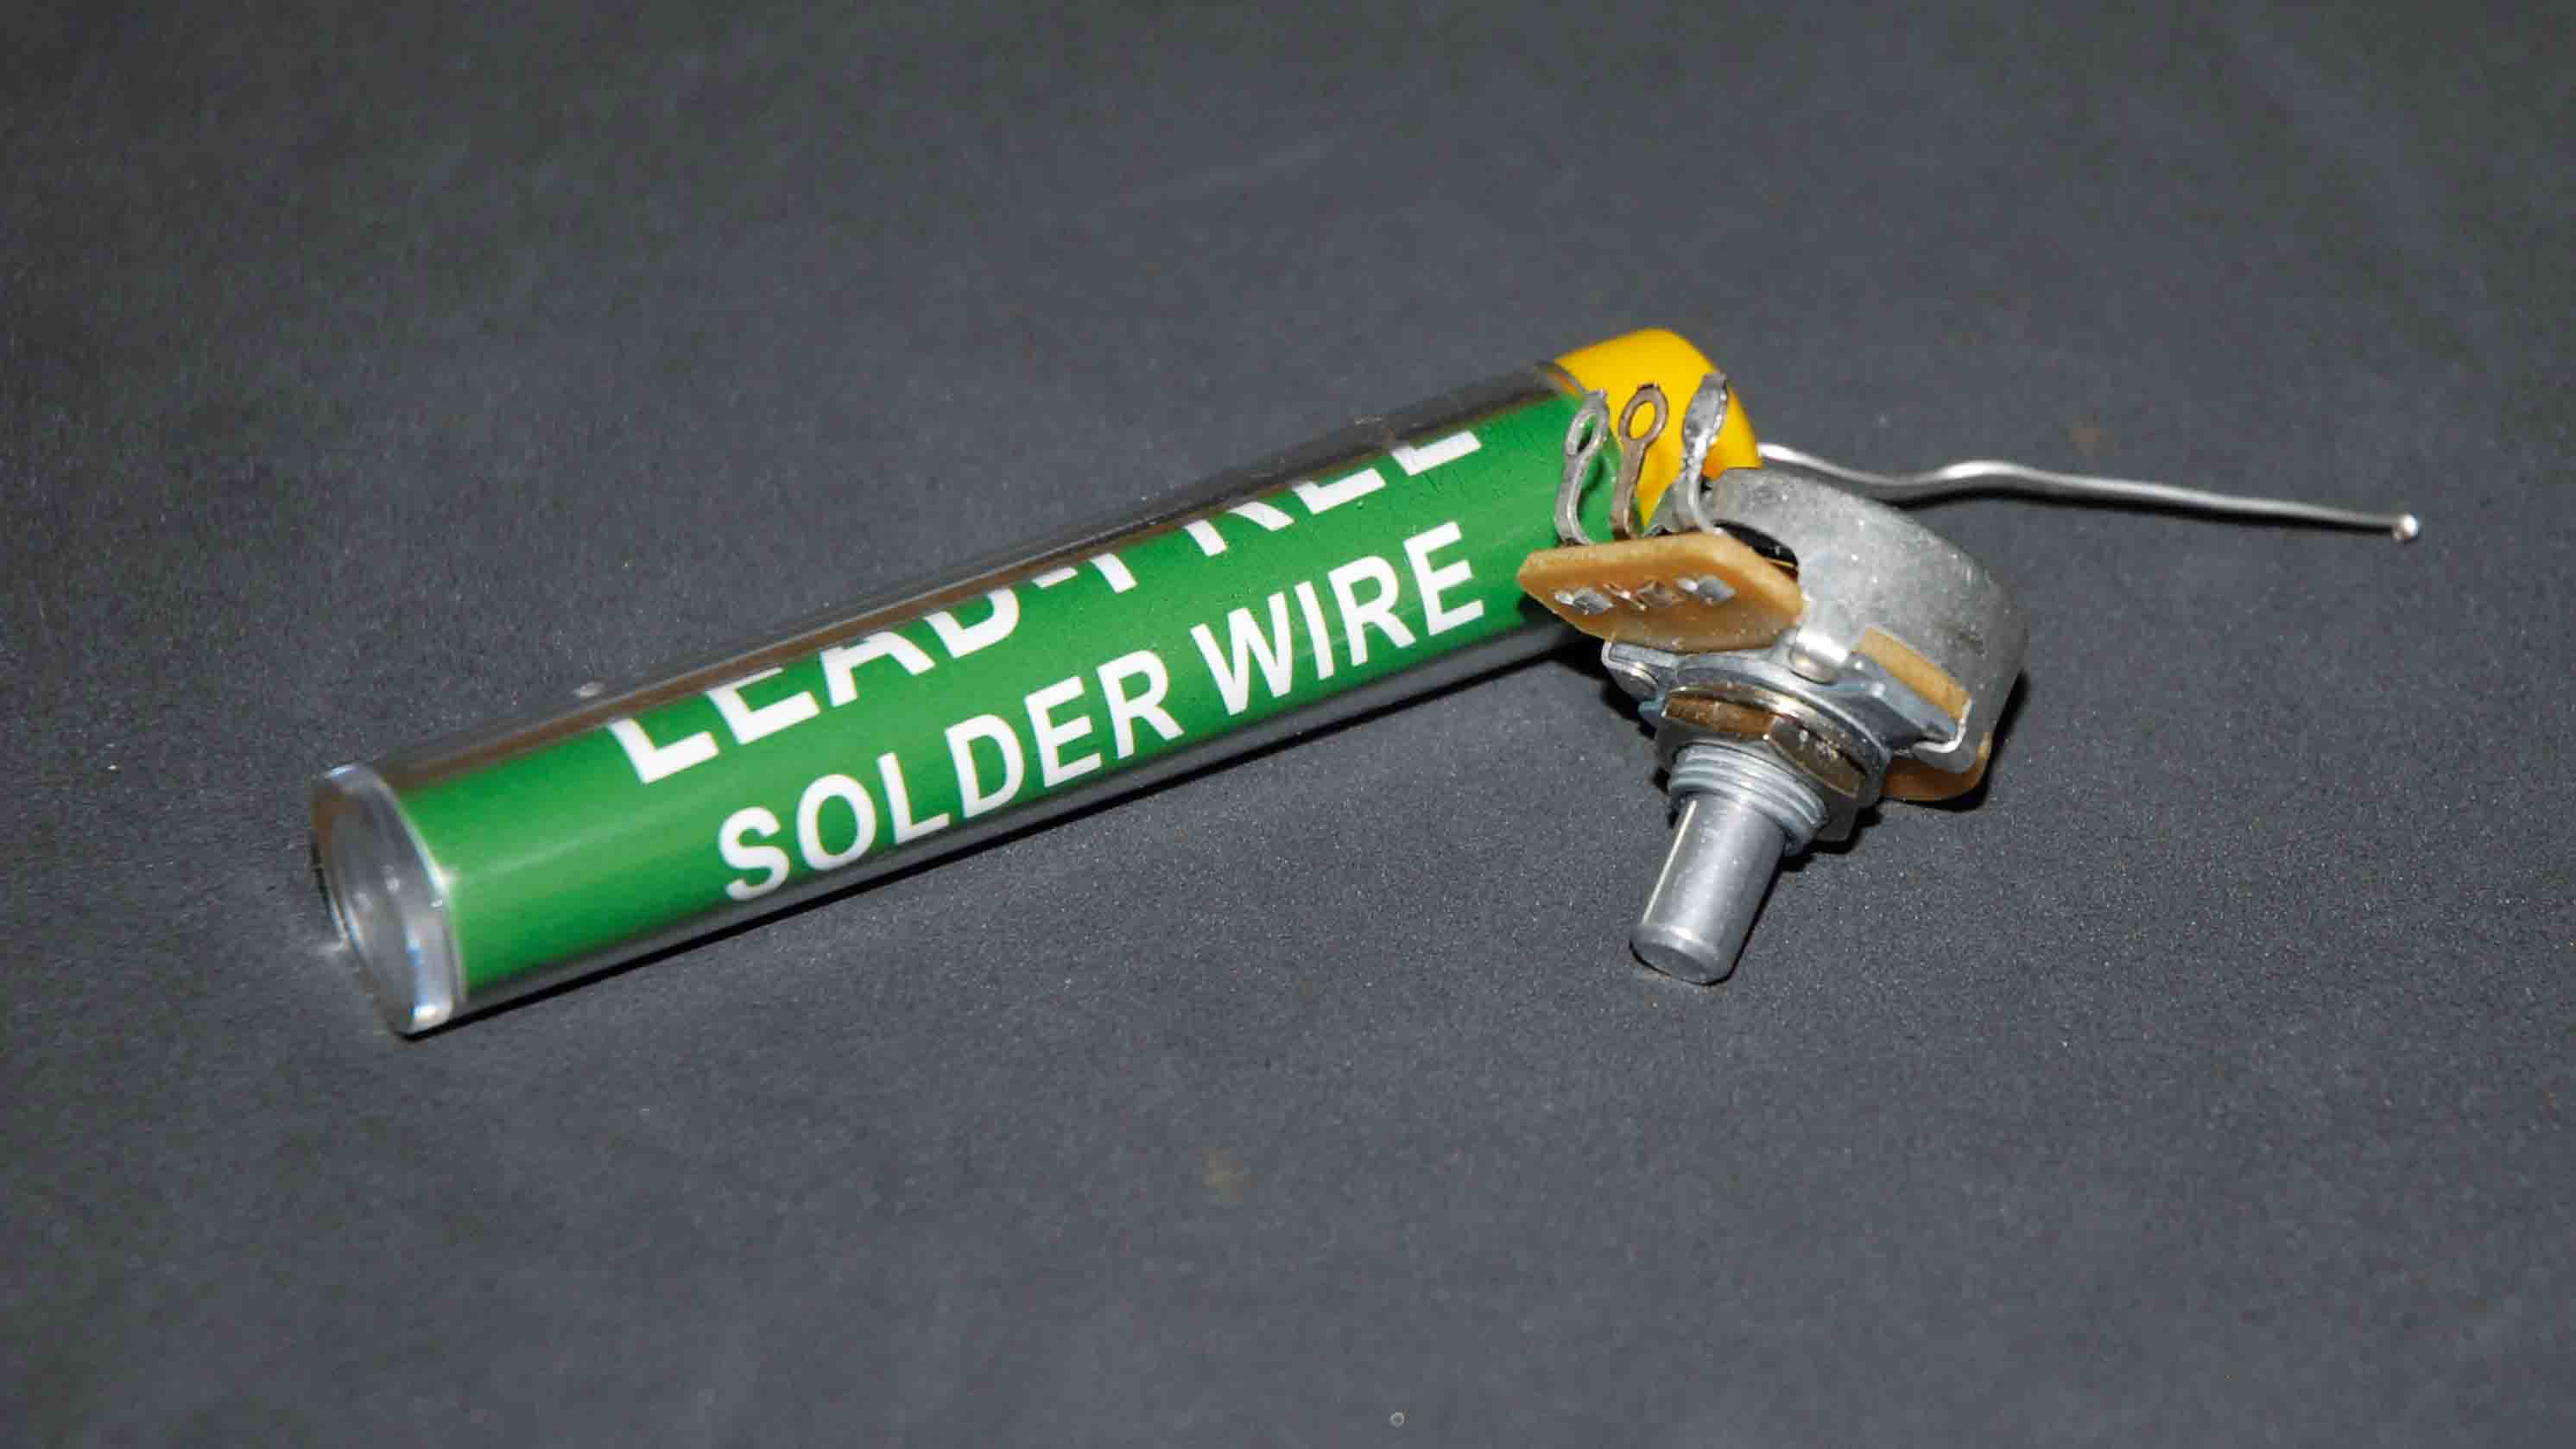
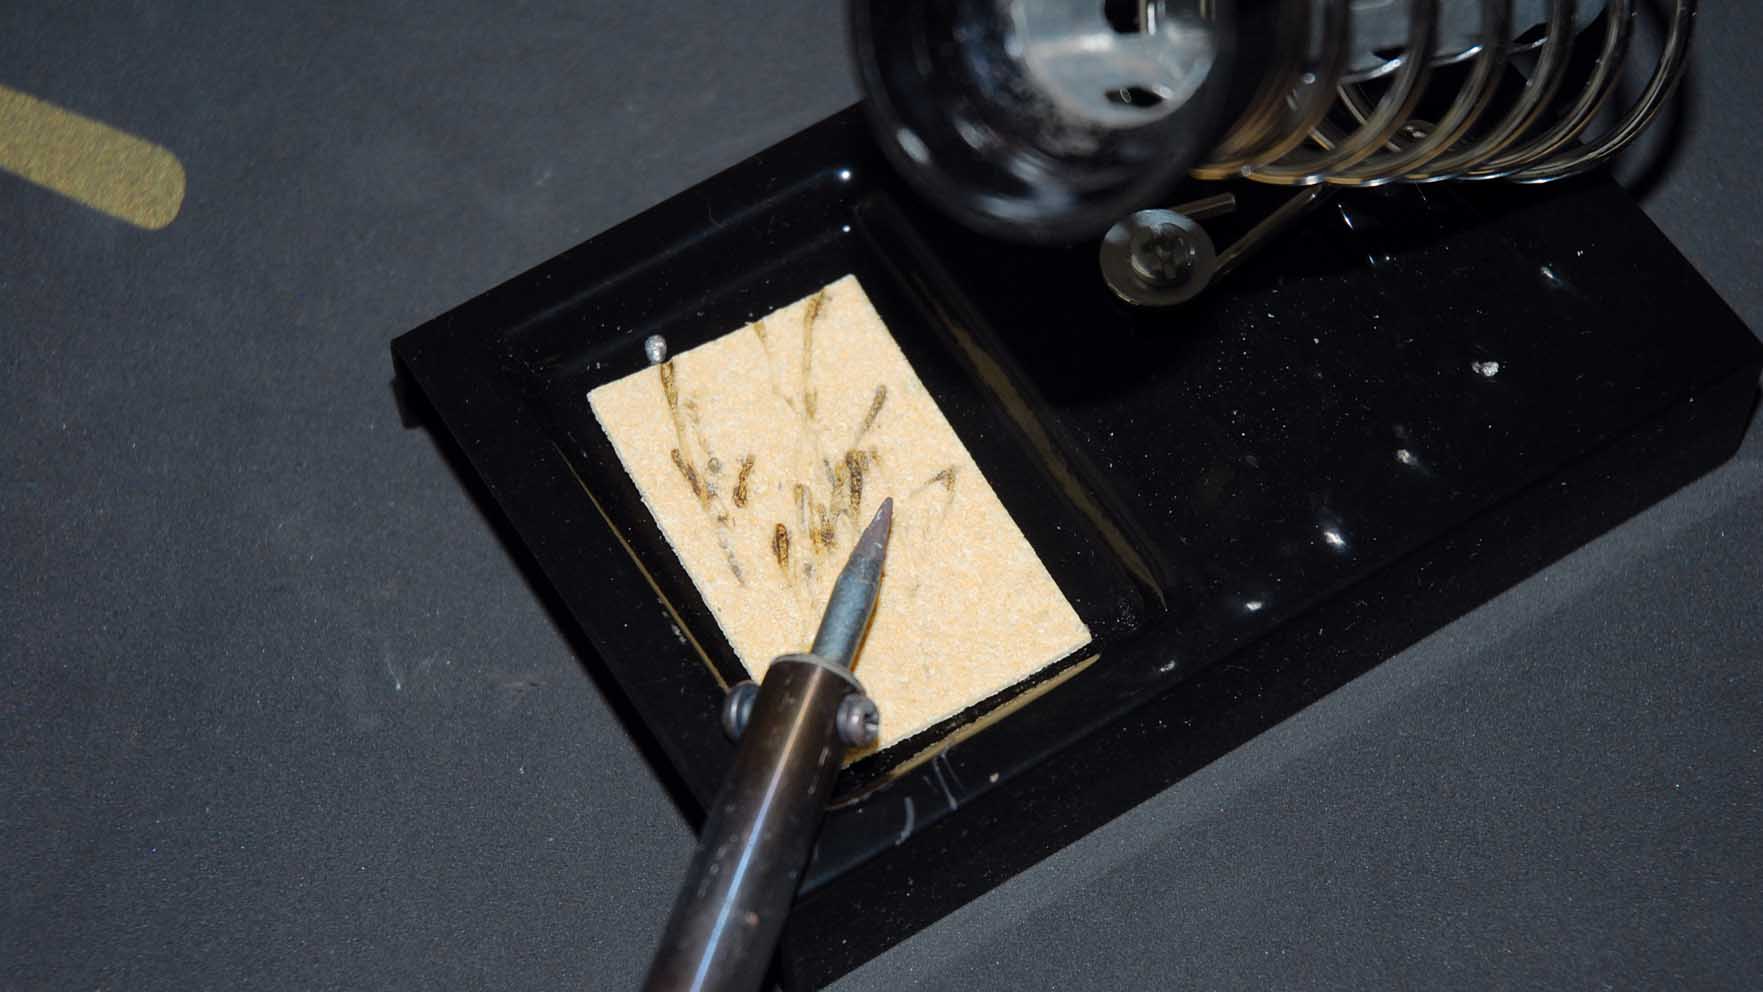
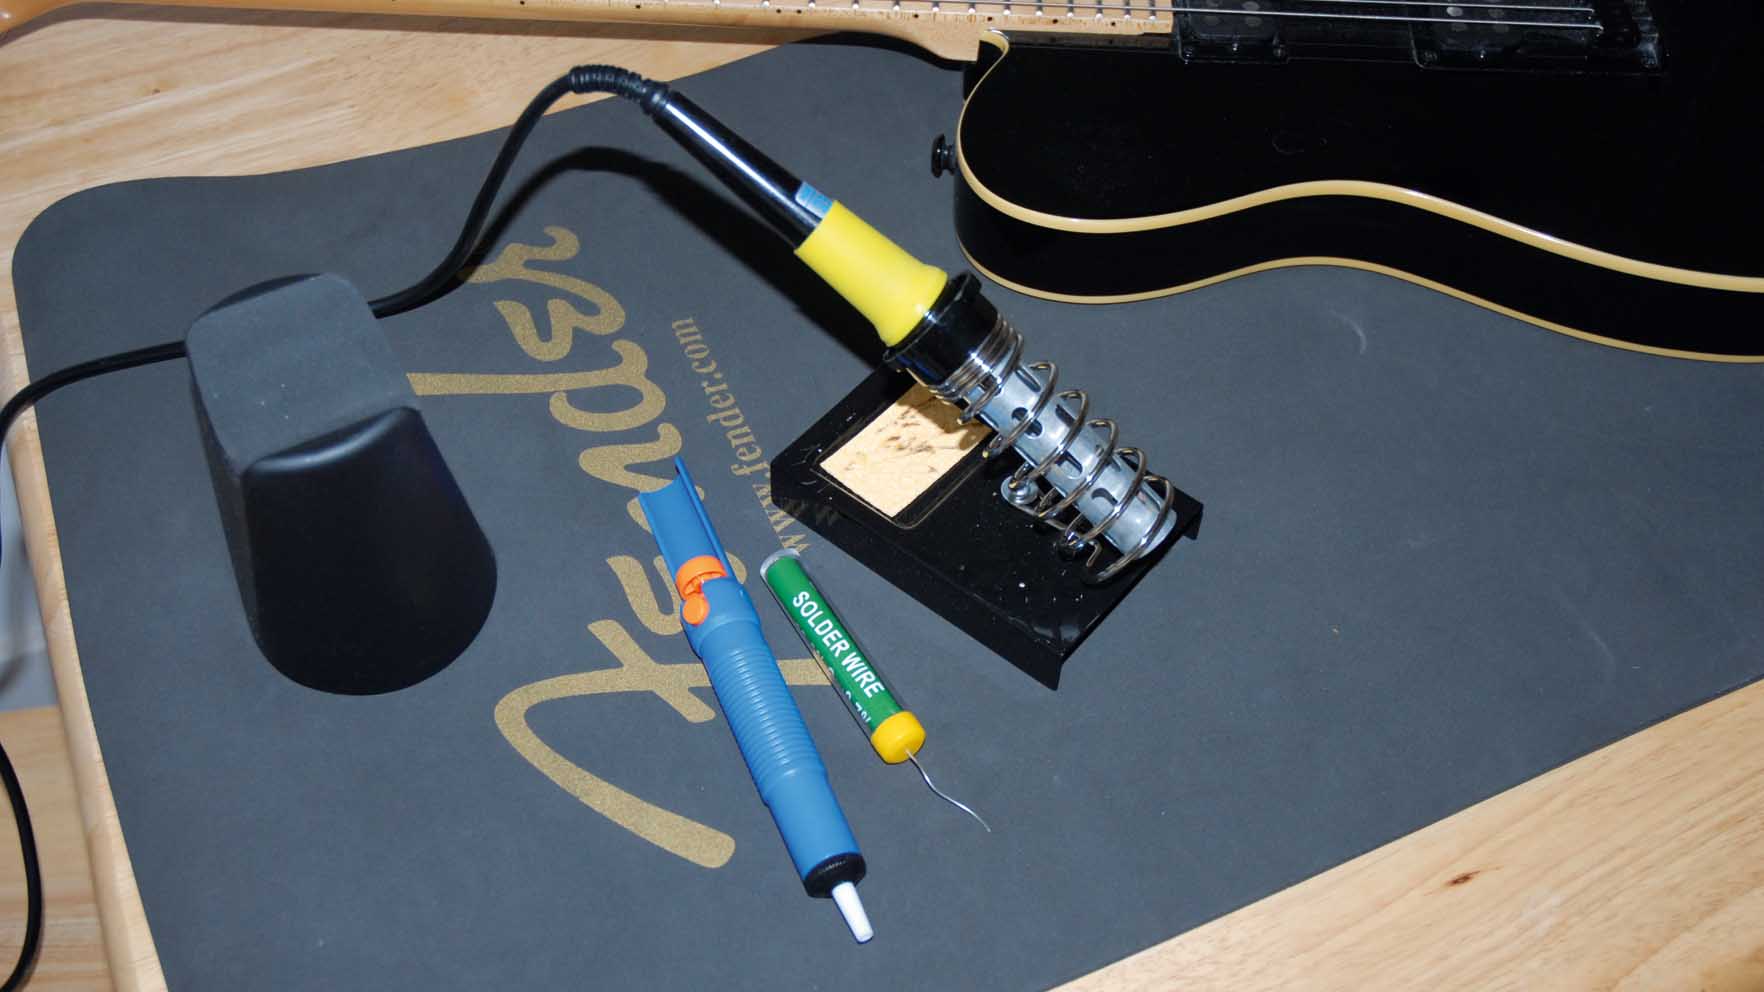
You’ll need a 40-watt soldering iron with a pointed tip, a stand, a sponge, a roll of lead-free solder and a solder sucker. We got the soldering kit above at Maplin Electronics.
2. Safety first
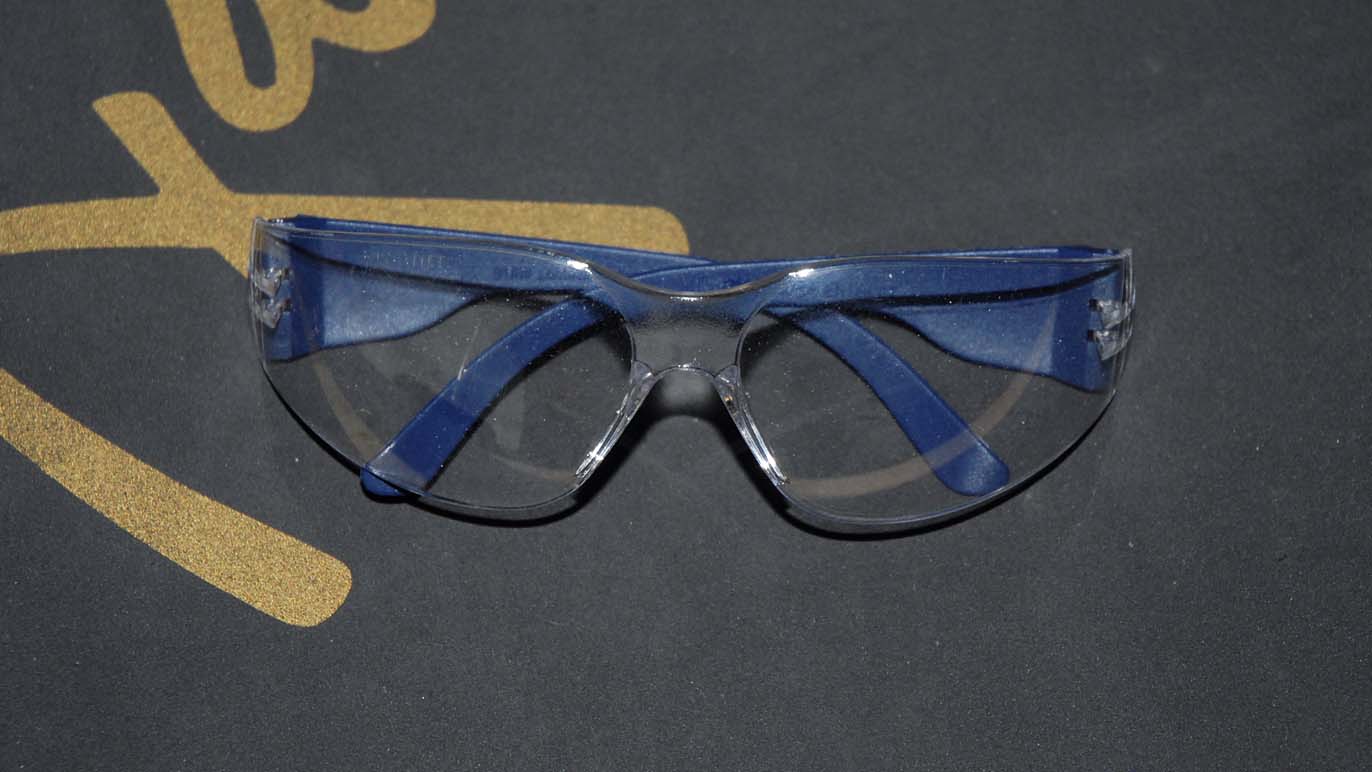
Pay attention to your safety: always wear protective glasses. That’s £10 well spent to prevent hot solder spitting right in your eyeballs.
Oh, yeah… and work in a well-ventilated area. Solder gives off unpleasant fumes.
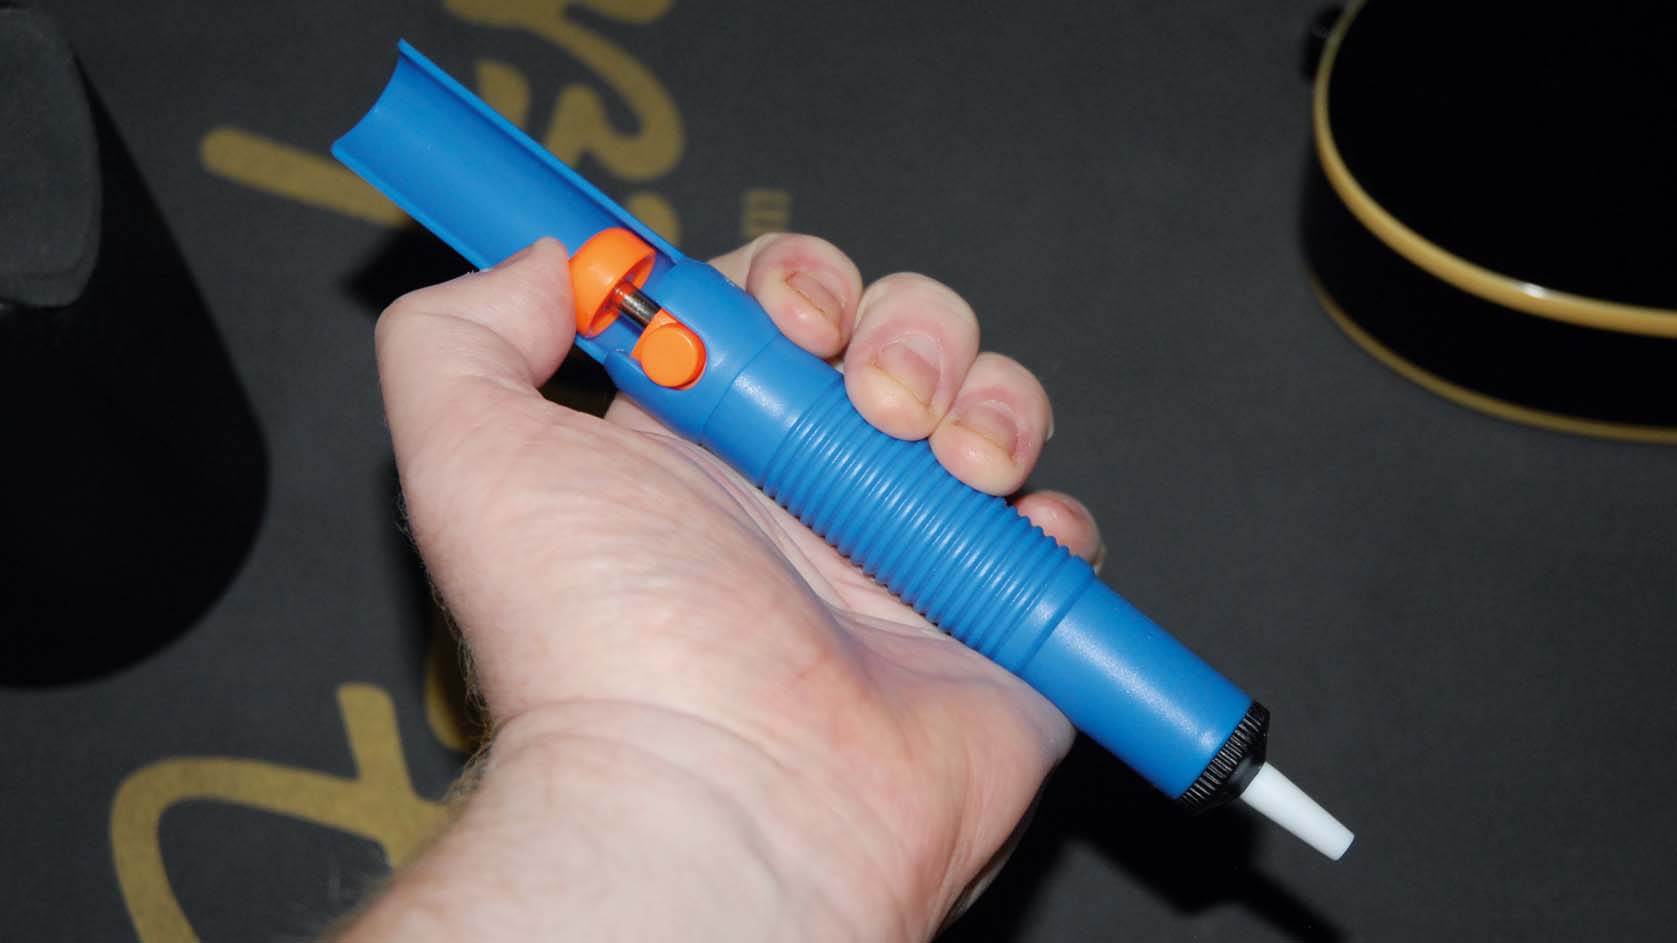
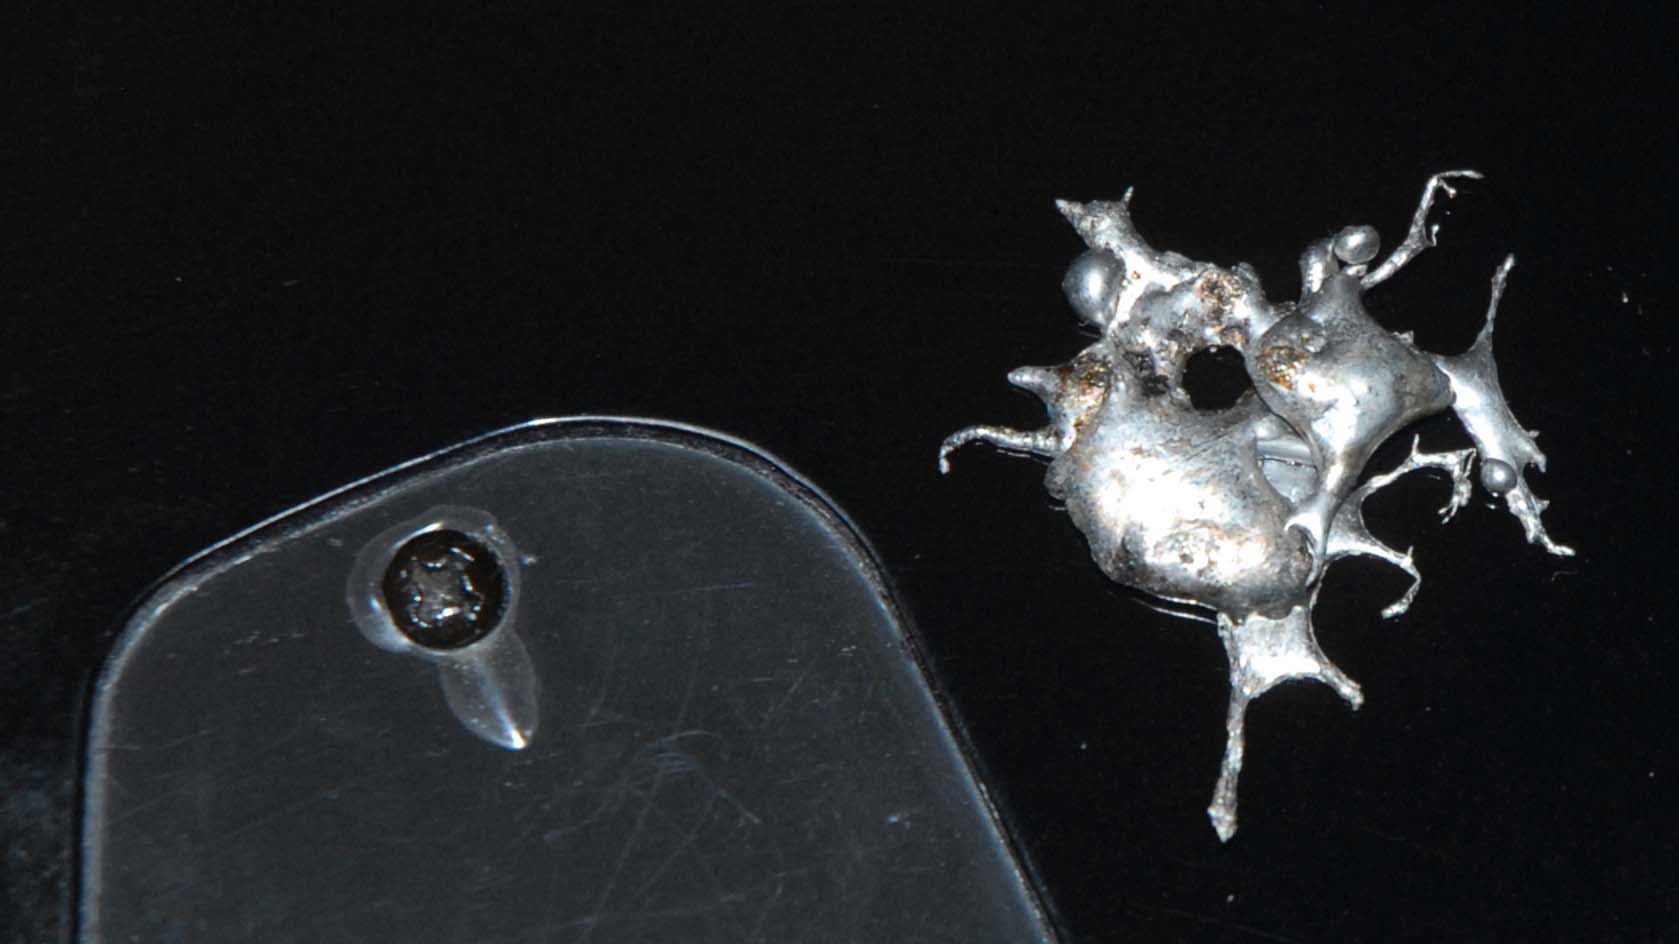
3. Solder sucker
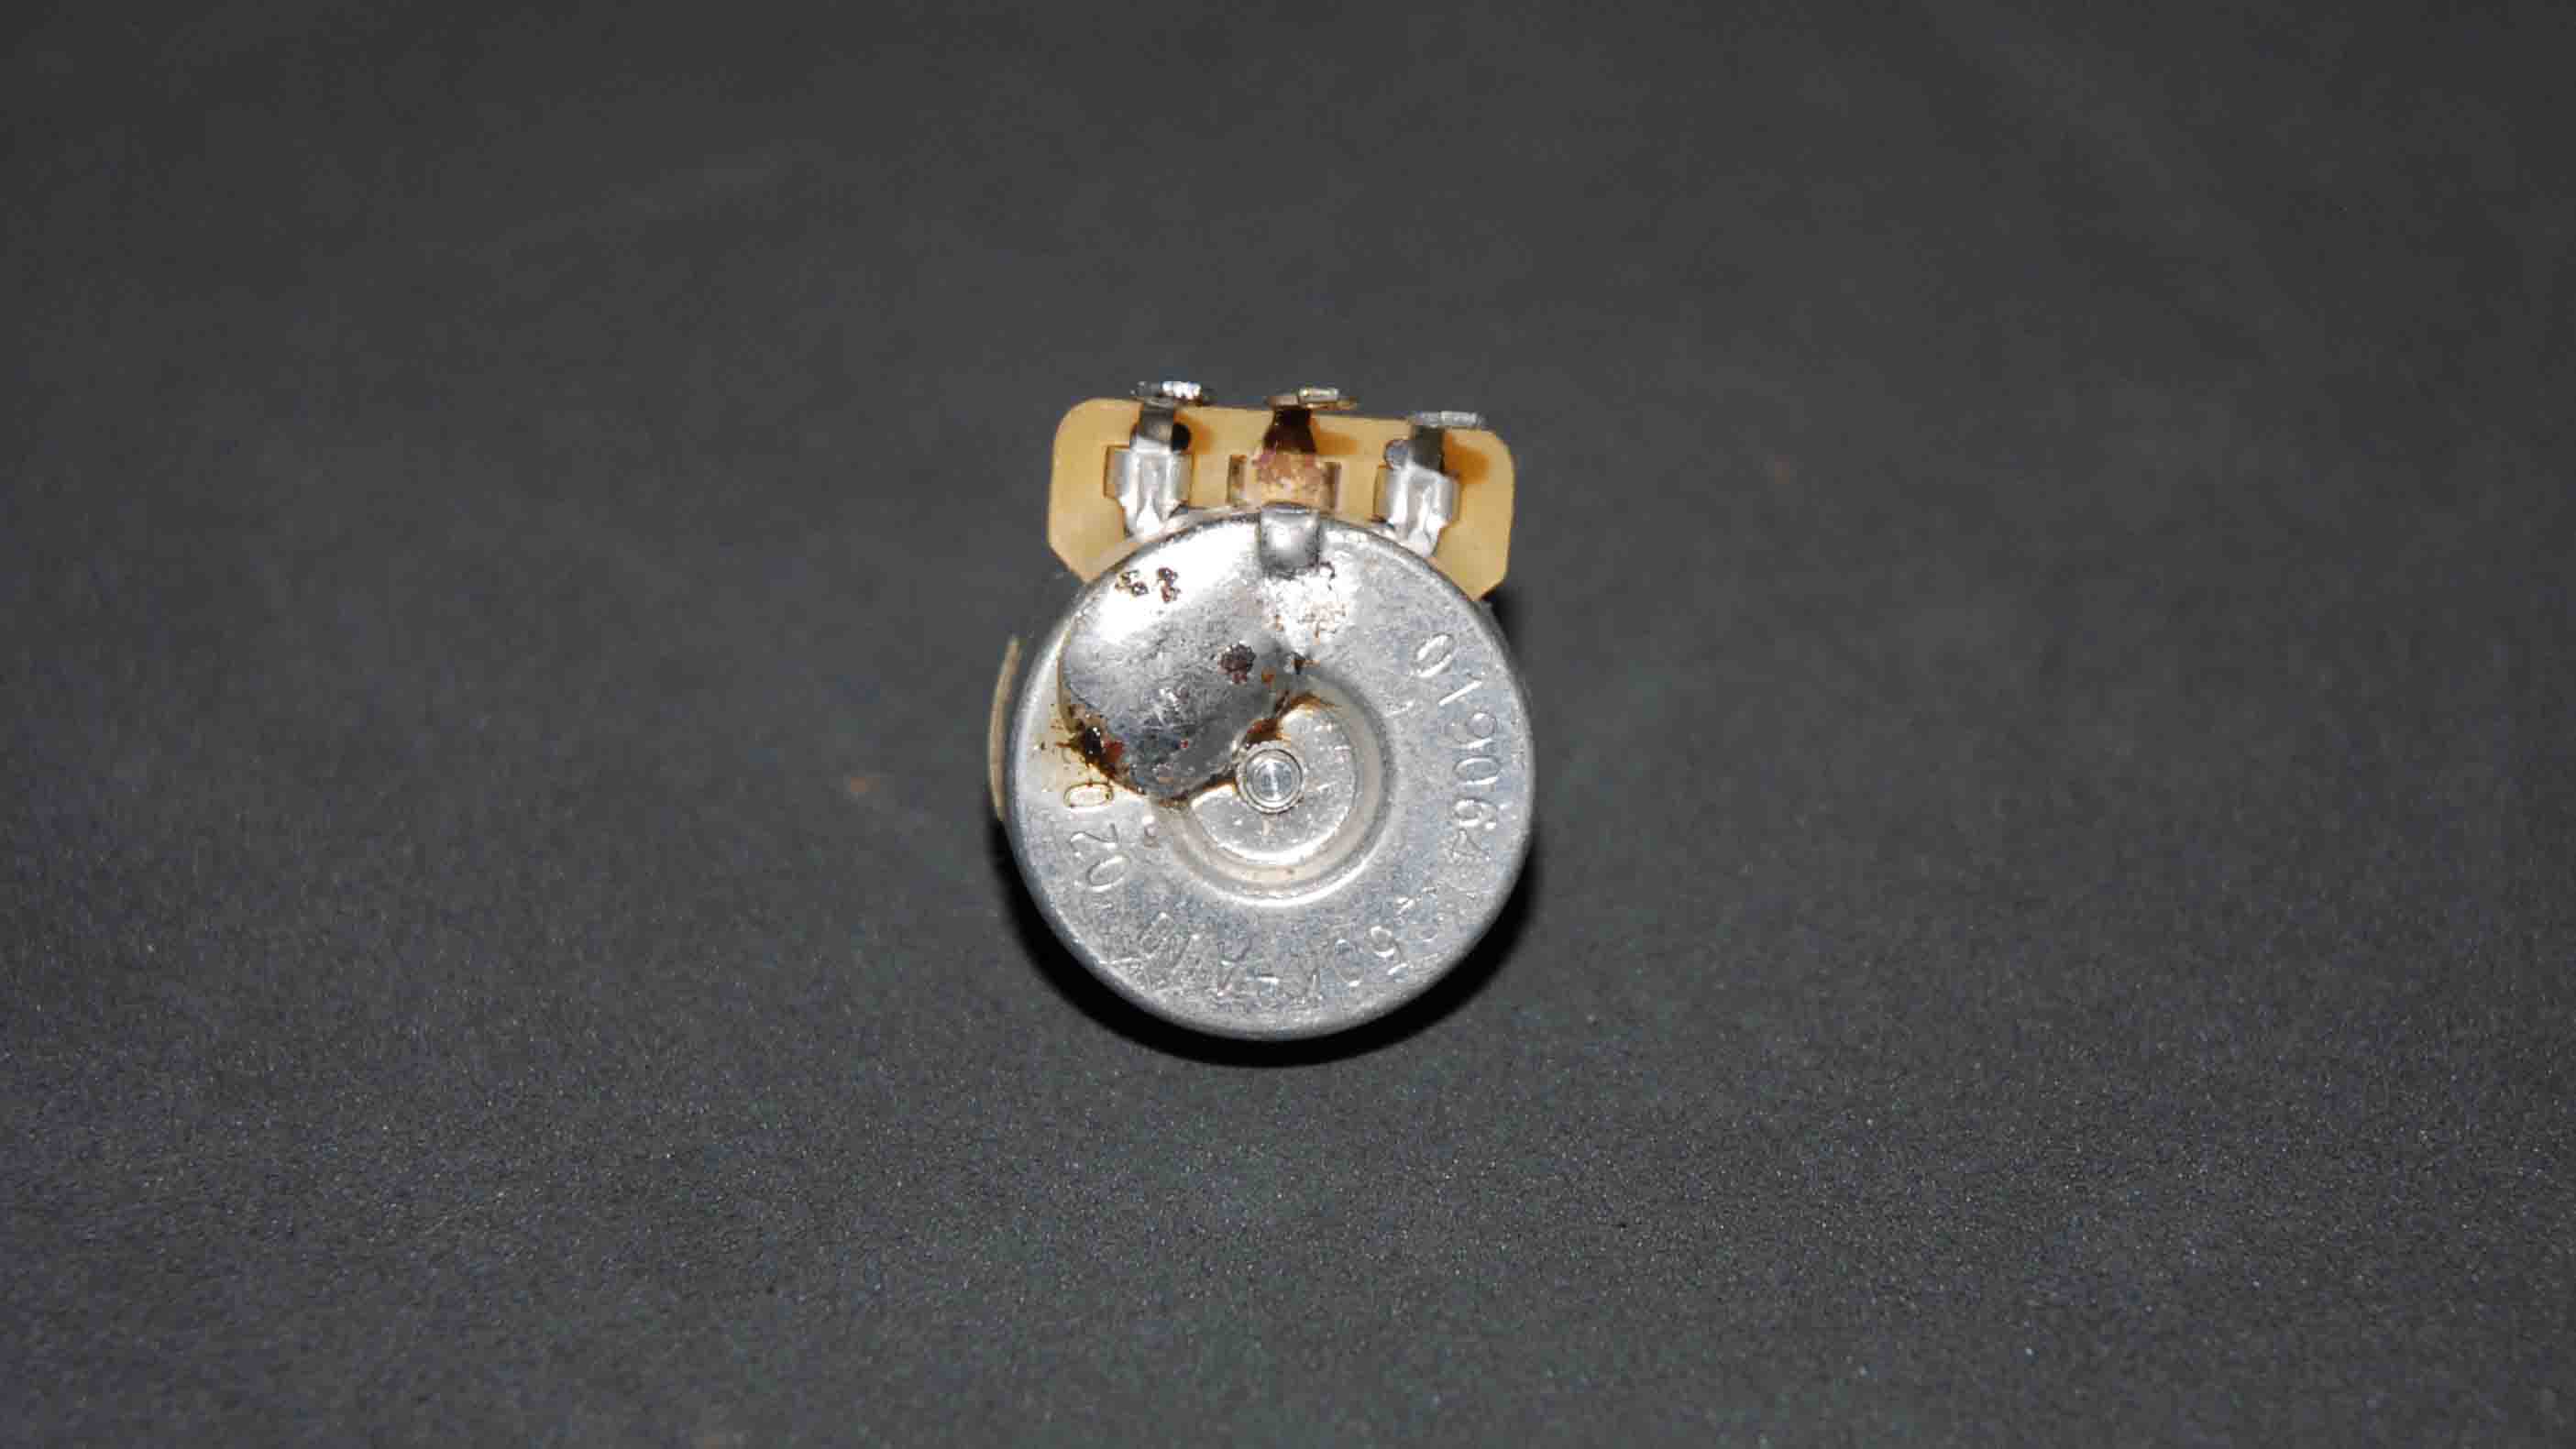
Next, you'll need a solder sucker. This brilliant gadget gets you out of a tight spot when you’ve applied too much solder to a component, as above.
4. Suck it
To get your sucker doing its thang, press down the orange-topped plunger as shown. The sucker is spring loaded, you see.
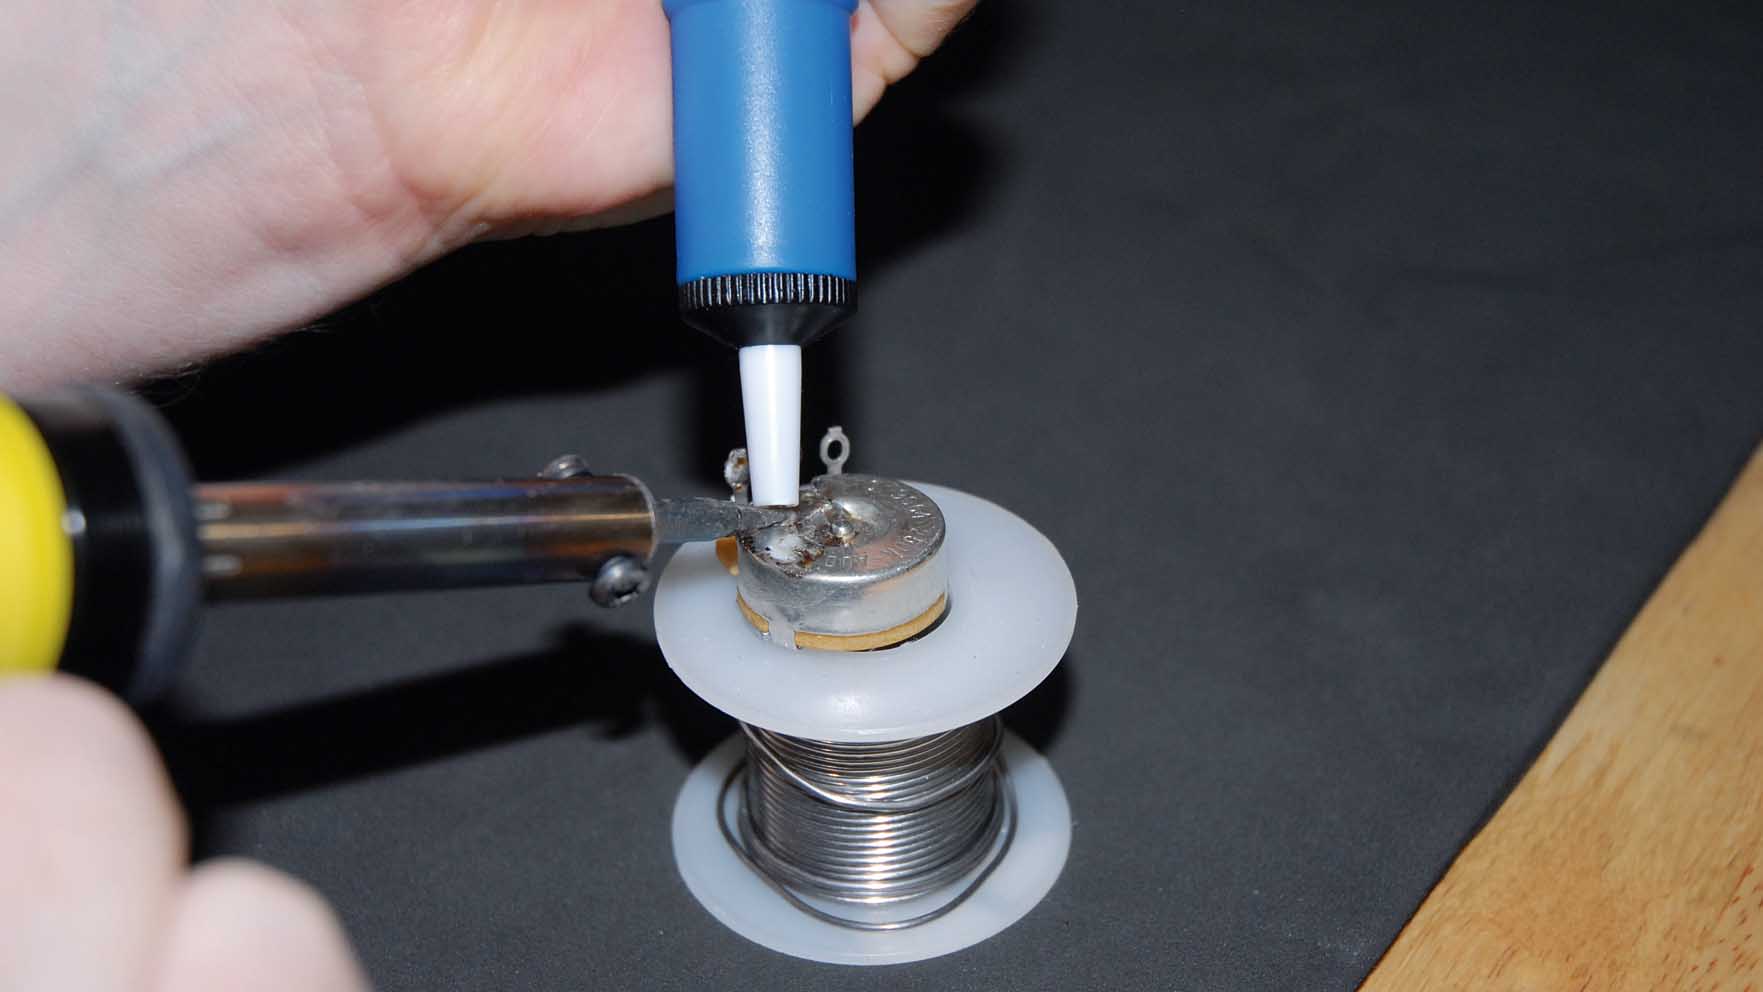
Next, heat the blob of solder you wish to evacuate with your iron.
5. Push the button
With the solder hot and fluid, place the tip of the sucker on or as close to the solder pool as possible and press the button to release the spring-loaded part of the device.
6. Solder be gone
The sucker, well, sucks the hot solder from the component and rapidly cools it in little silver balls and shards.
Repeat step five until you’ve evicted all the excess solder. You can then apply some fresh solder… sparingly, this time.
7. Ex-spunge
You’ll occasionally find that the tip of the iron has too much solder on it. That’s where the sponge comes in.
Keep the sponge damp and use it to wipe off any excess solder that builds up on the tip.
8. Make room
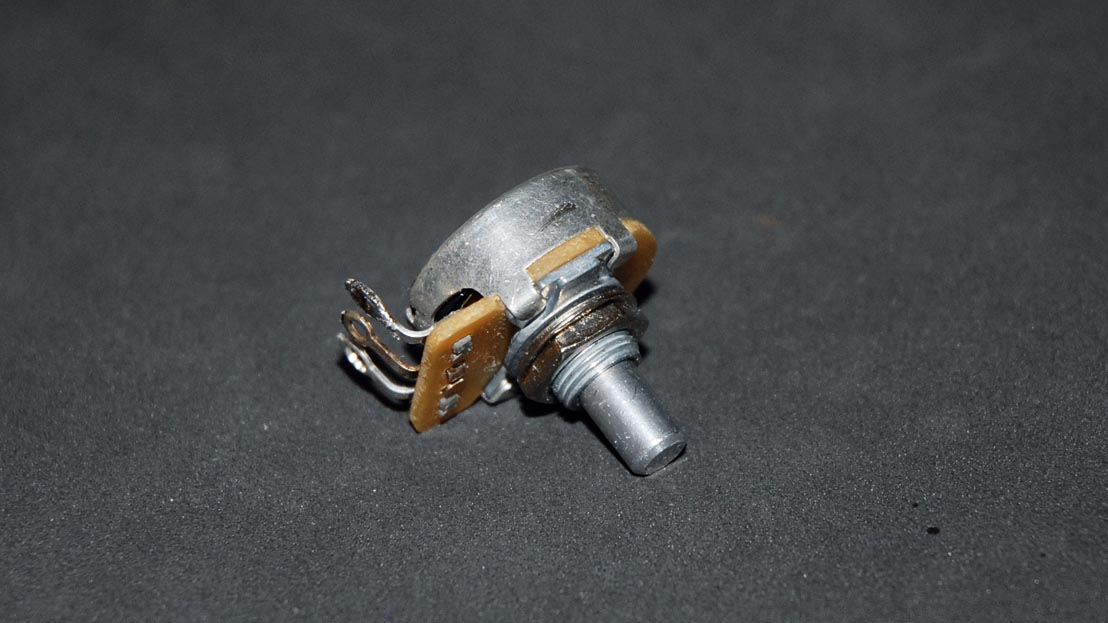
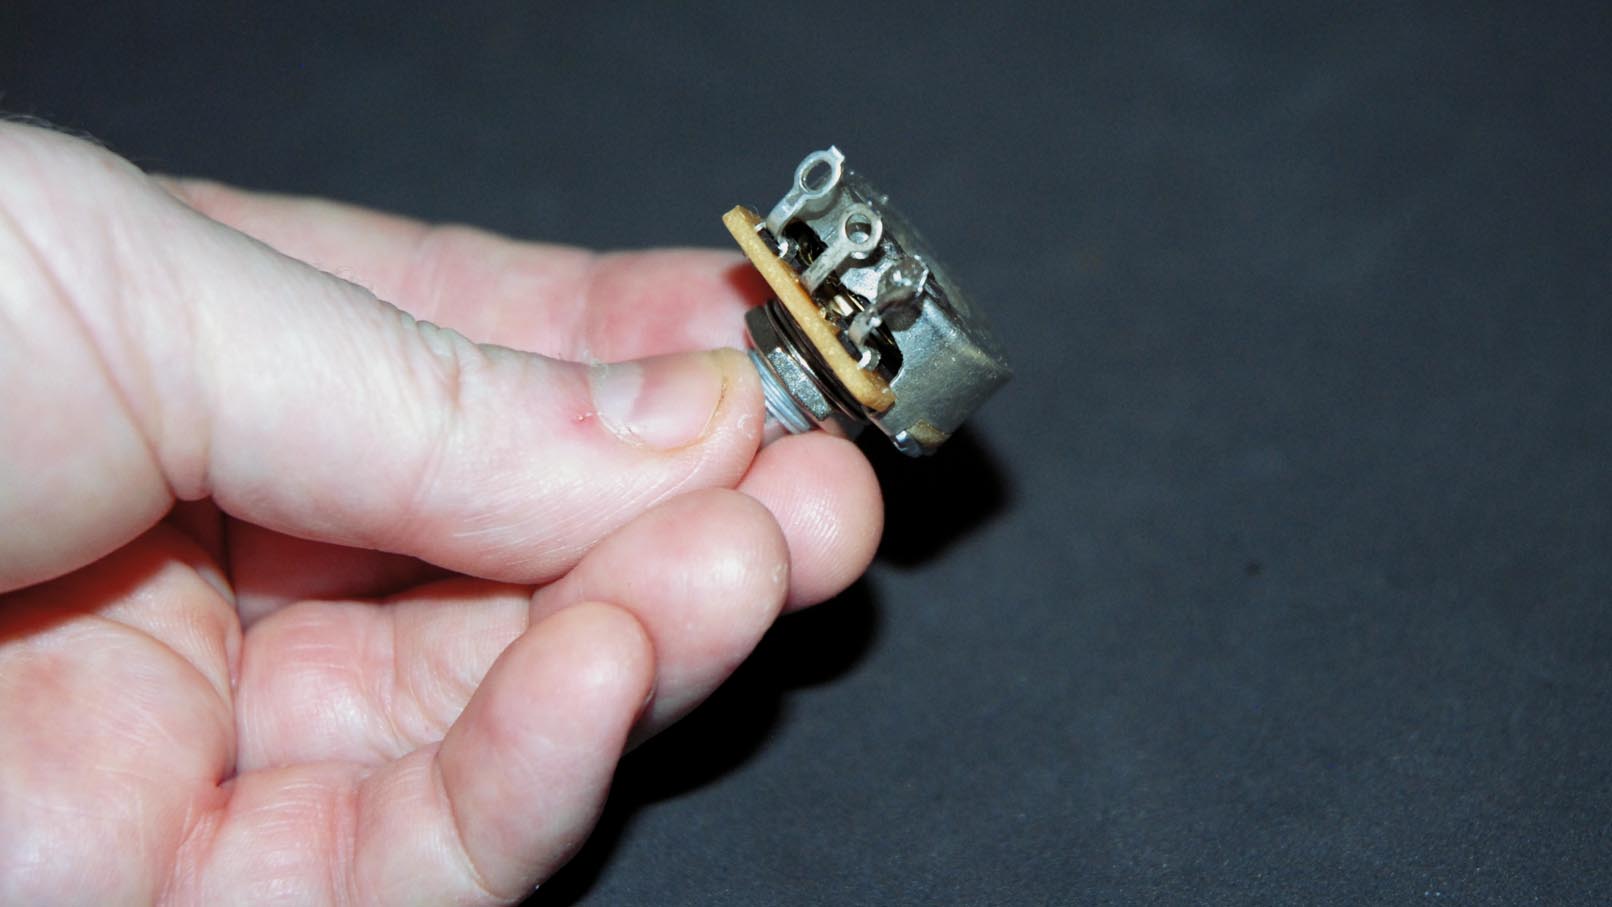
Don’t be afraid to remove components and wiring from the guitar’s control cavity if you need more space to work. It’s too easy to cause damage with the tip and shaft of a hot soldering iron.
9. Let it flow
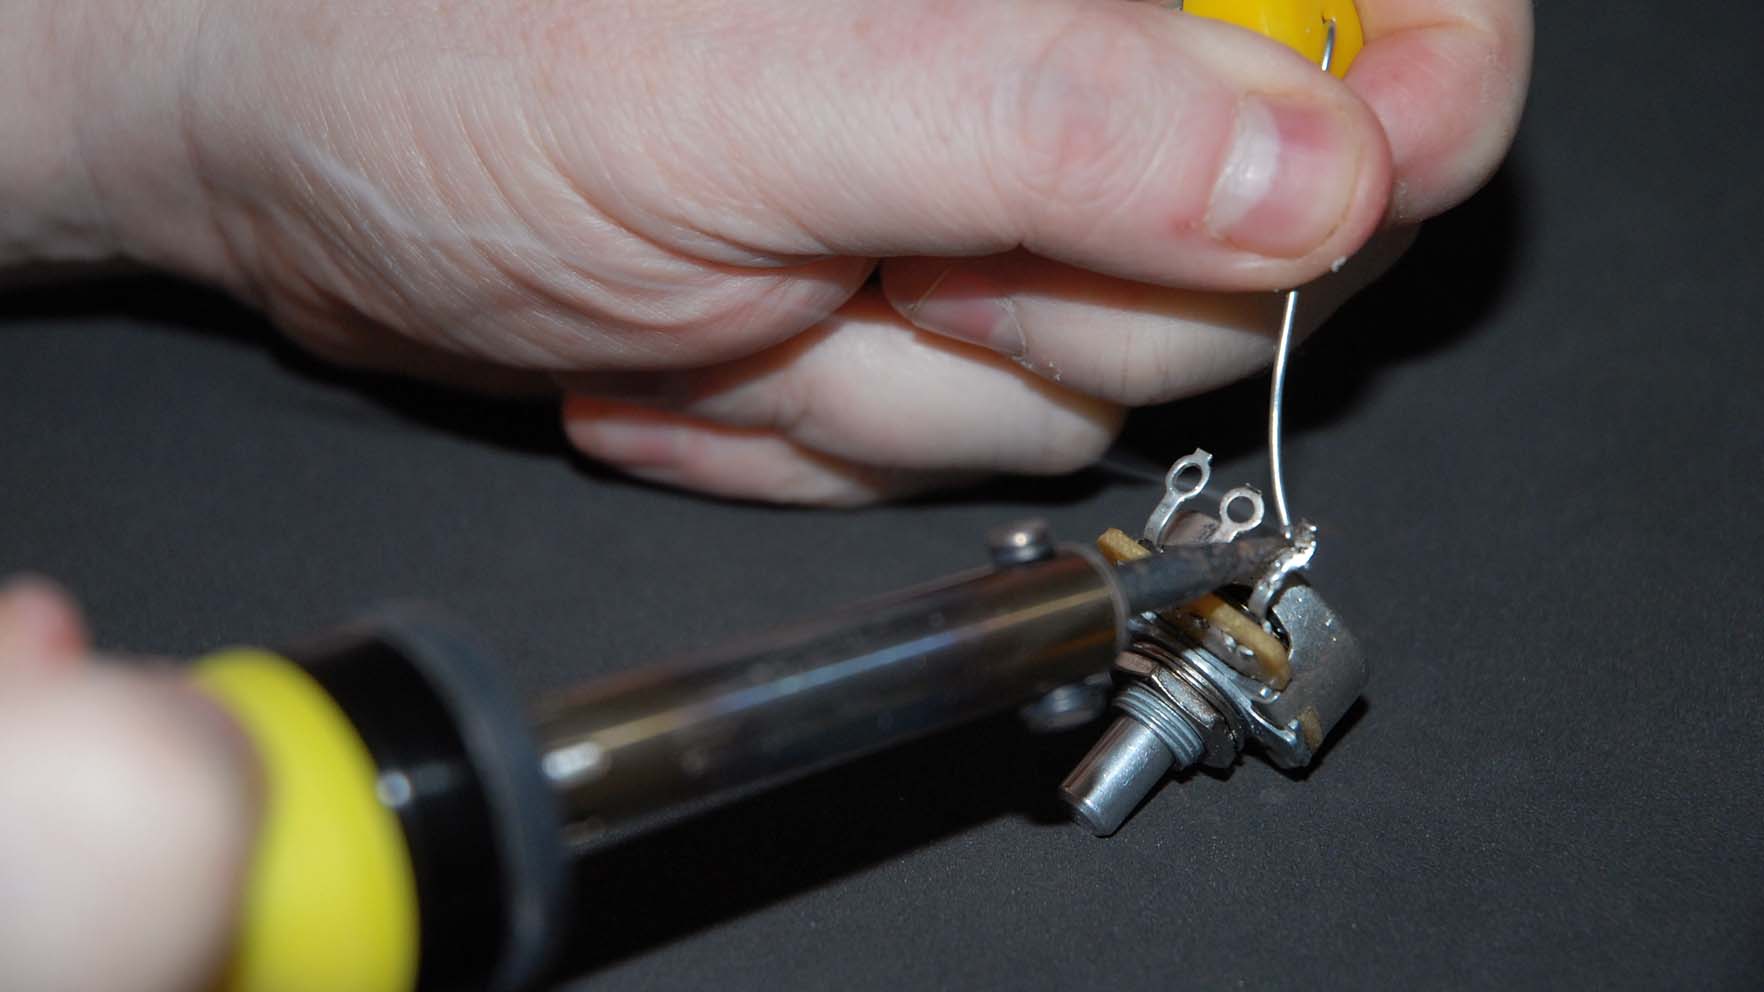
Let’s solder. Touch the part of the component you want to apply solder to with the tip of the iron. Heat it up for a few seconds, then introduce the solder and allow it to flow over the area.
10. Gleam or try again
Just use enough solder to do the job. When it hardens, solder should look shiny, not dull.
If it doesn’t gleam, reheat it with the iron and add a little more solder if necessary.
11. Avoid mess
Don’t leave little balls and shards of hardened solder rolling about in your guitar’s control cavity. There’s a chance they’ll get stuck between contacts on the controls and cause your guitar to cut out. So, get ’em out.
12. Wrap it up
Check that none of the wires have been damaged by the soldering iron.
If the internal core has been exposed, wrap some tape around it to stop it shorting out against the other components, which can kill your sound.
“I can’t play jigs or reels or any of that traditional Irish stuff, but I have got a good ear for blues, the tonality of it”: 3 ways to supercharge your lead guitar playing like Rory Gallagher
“A well-crafted sequence is successful wherever you may wish to use it”: Use these tried and tested chord progressions to build an engaging song