Guitar modding: how to change your guitar's pickups
The foolproof way to replace your humbuckers
Introduction
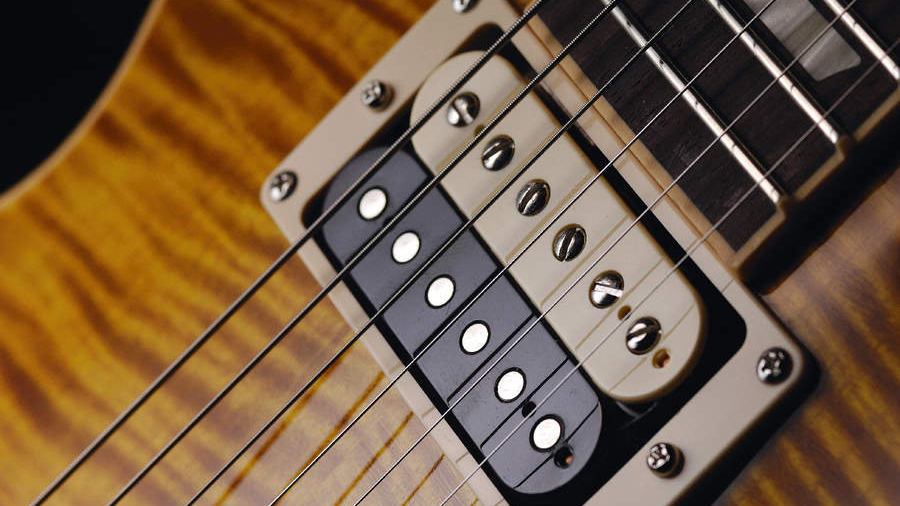
Removing the original pickups and replacing them with new ones is a straightforward process. That said, it’s always good to be cautious when you’re about to change the parts on your guitar, especially if it involves soldering.
The important thing is to be aware of what you’re doing. Using the correct tools will help prevent you from damaging parts such as screws. Taking your time will stop you from scratching the guitar’s finish or burning through wires.
Follow our simple step-by-step guide and you’ll get the job done without any silly mistakes.
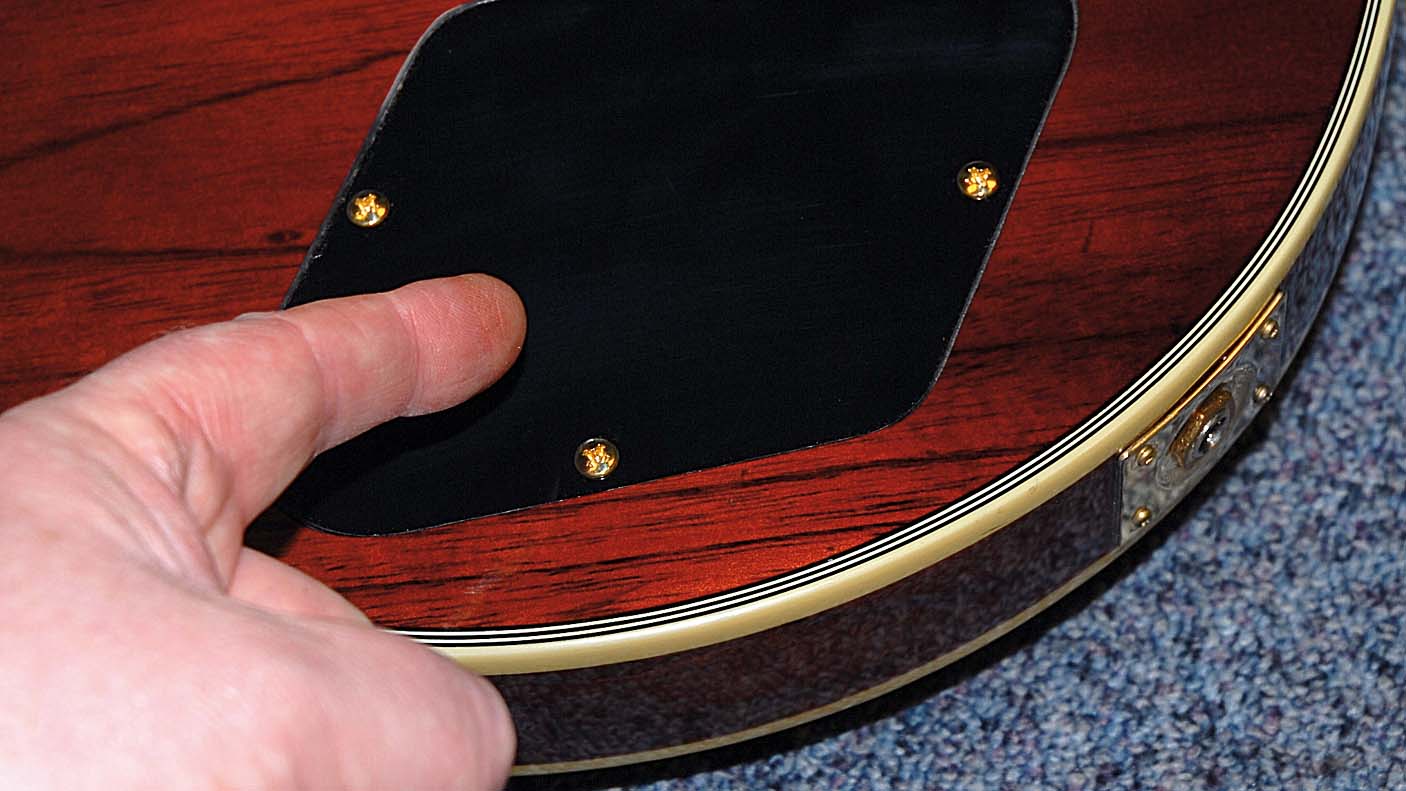
1. Face down
Place your guitar face down on a stable surface covered with something soft, such as a towel, to prevent finish damage. You’re going to remove the plastic plate that covers the control cavity.
2. Unscrewing
Using the correct-sized screwdriver, remove the screws holding the plate in place. Put the screws in a safe place.
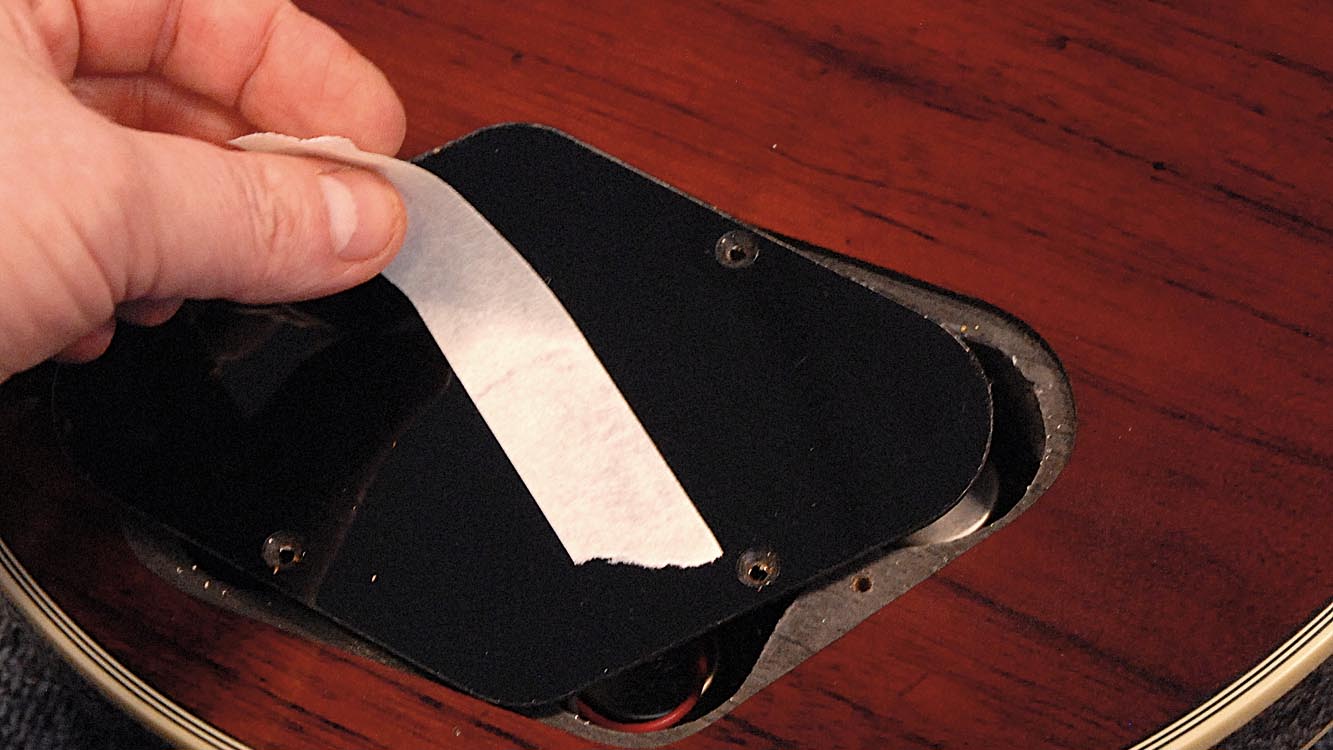
If the plate is hard to remove, attach some sticky tape and pull. That’ll shift it.
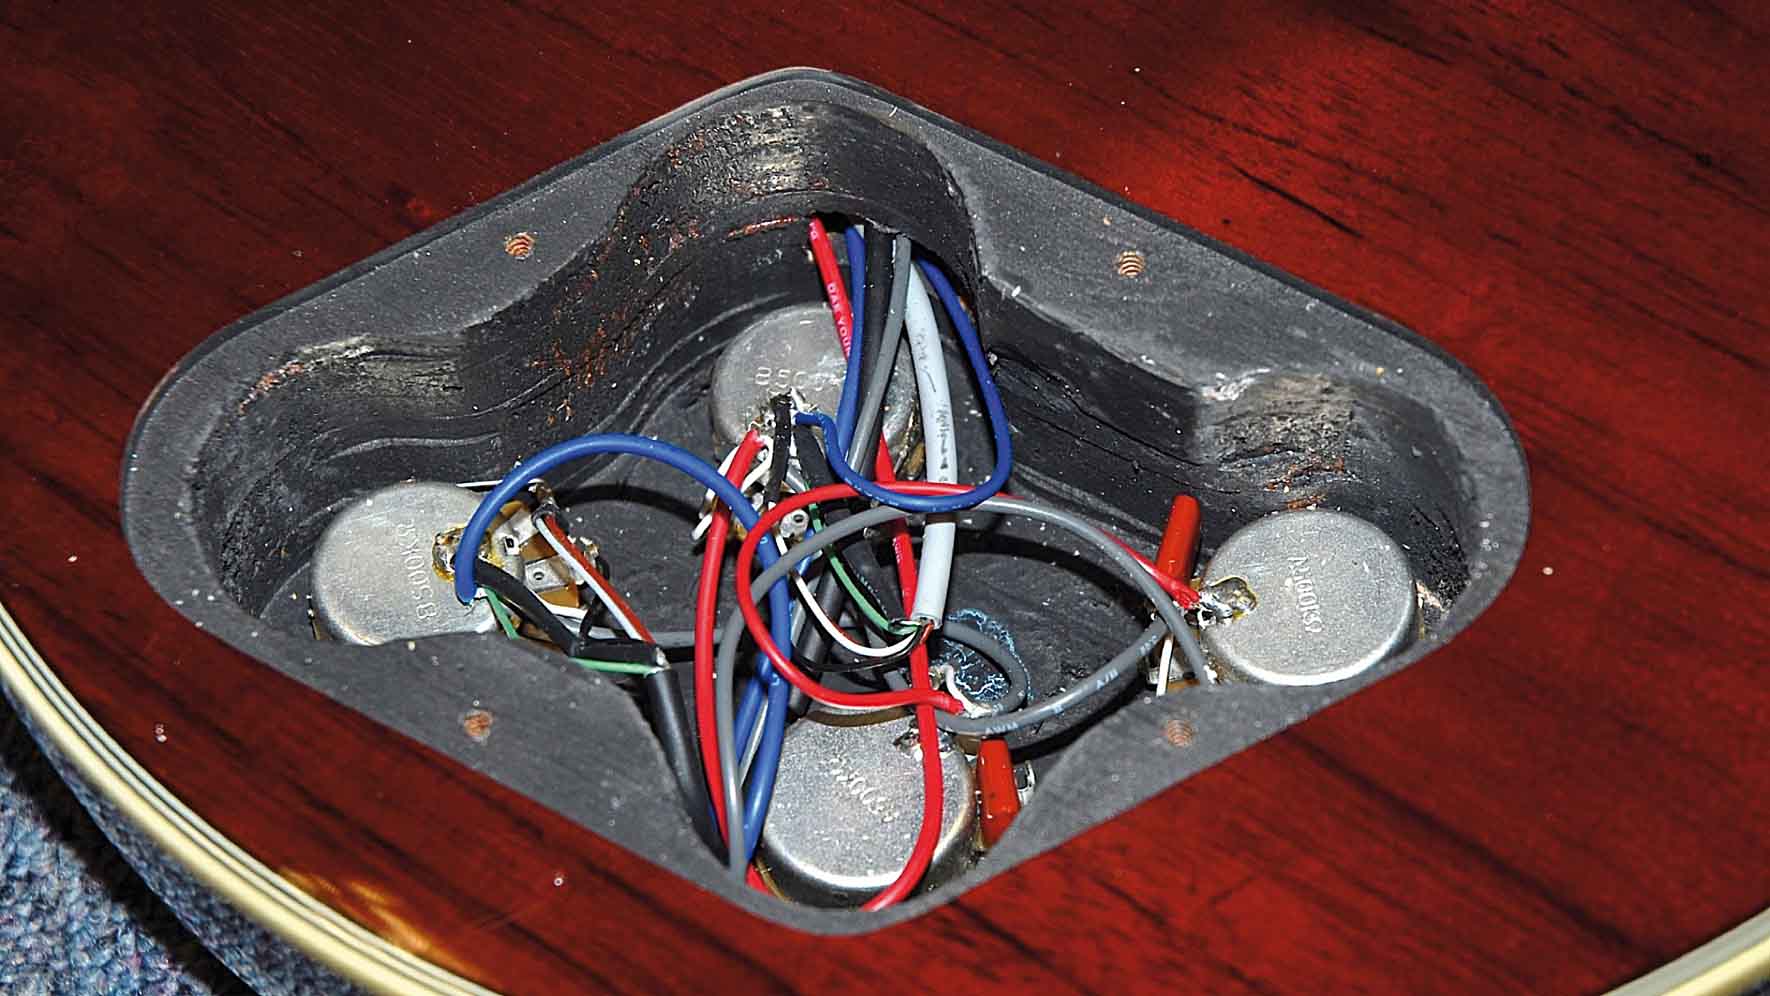
3. Cavity check
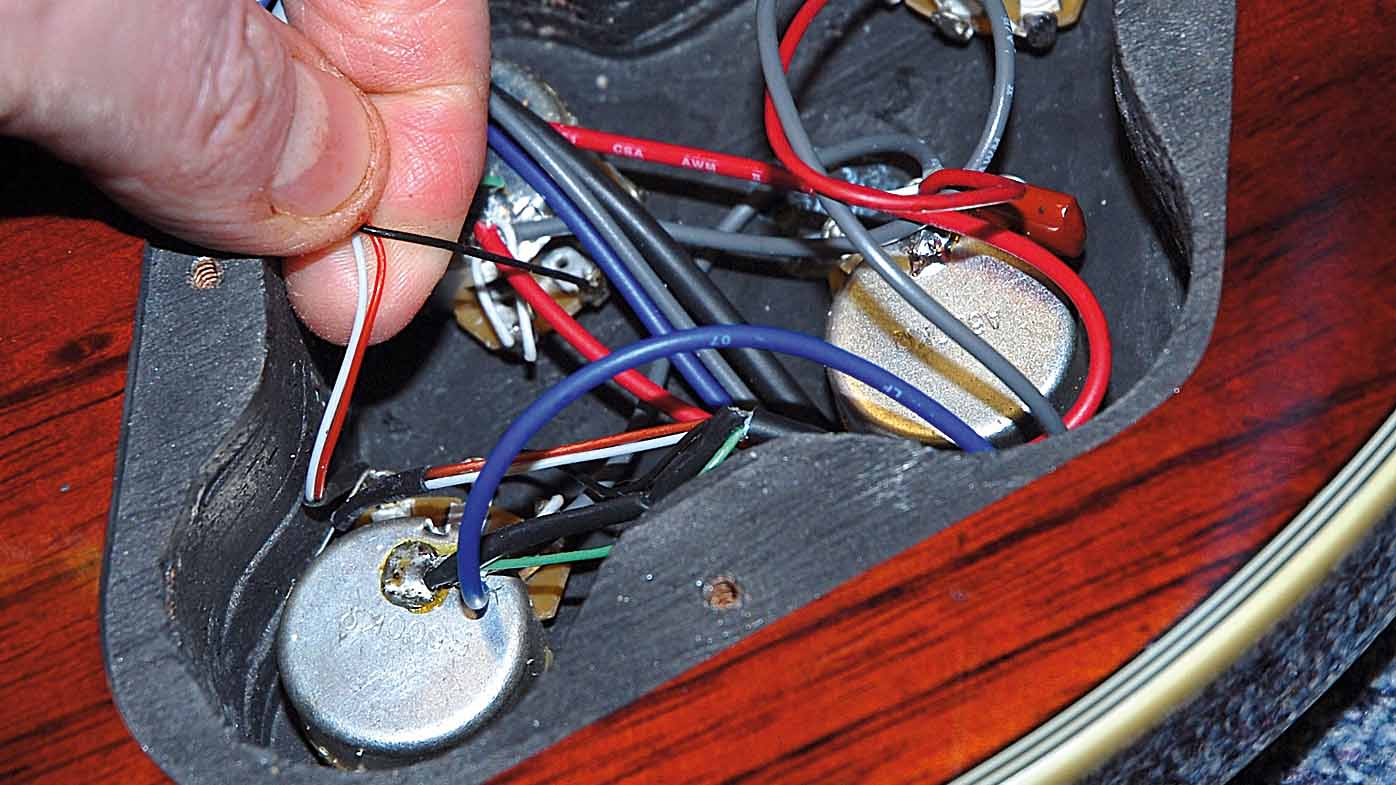
Take a look inside the control cavity. Get a pen and paper and make a note of where all the pickup wires are attached.
With that done, it’s time to heat up your soldering iron.
4. De-soldering
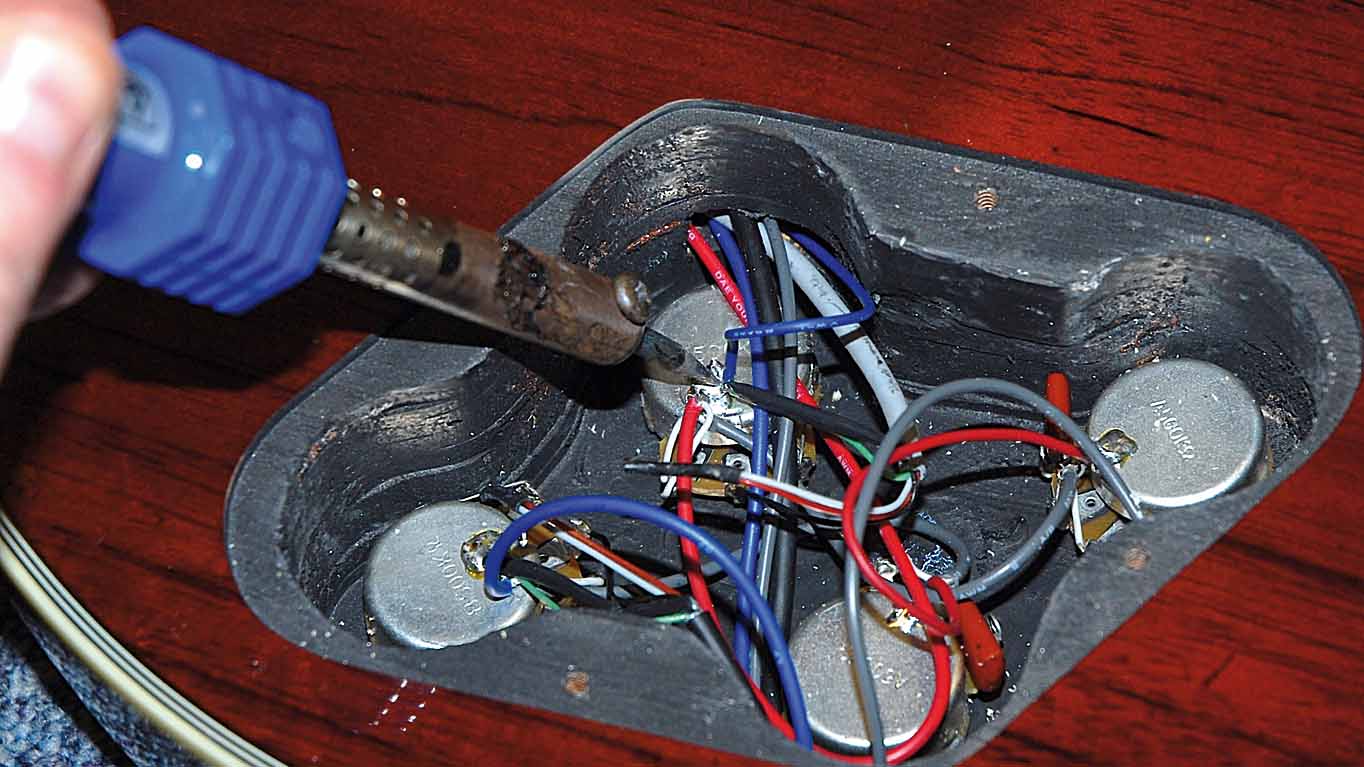
Always wear safety glasses when soldering. Next, de-solder each of the wires. Place the tip of the soldering iron where the wire is connected to the control and gently pull it off.
5. Remove loose hardware
Detune the strings and remove them. You’re best putting on a fresh set when you’ve replaced the pickups.
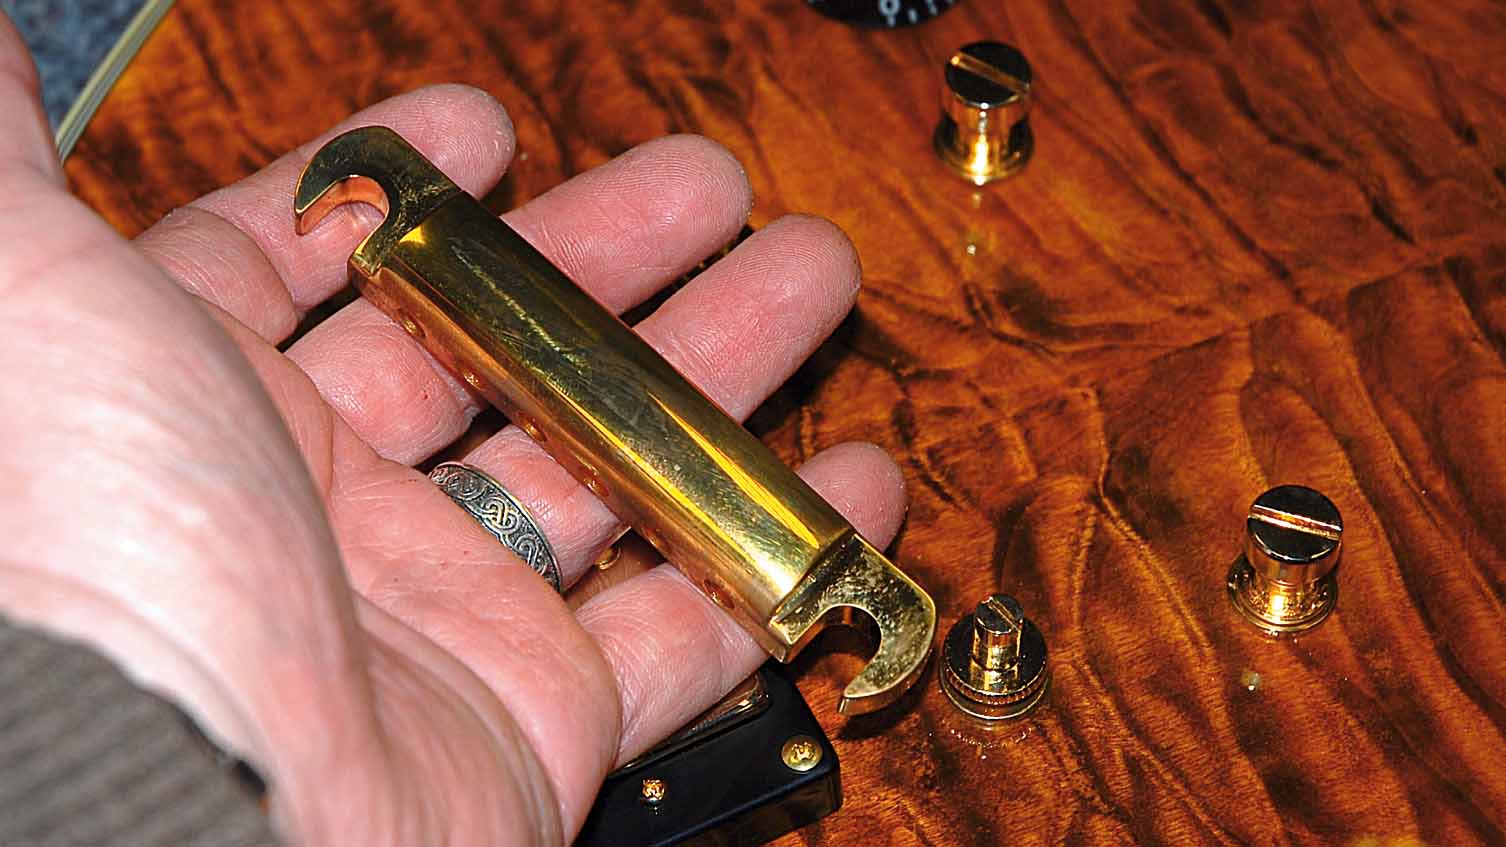
Before moving on, take off the bridge, tailpiece and any loose hardware, and store it all safely.
6. Pickup, take off
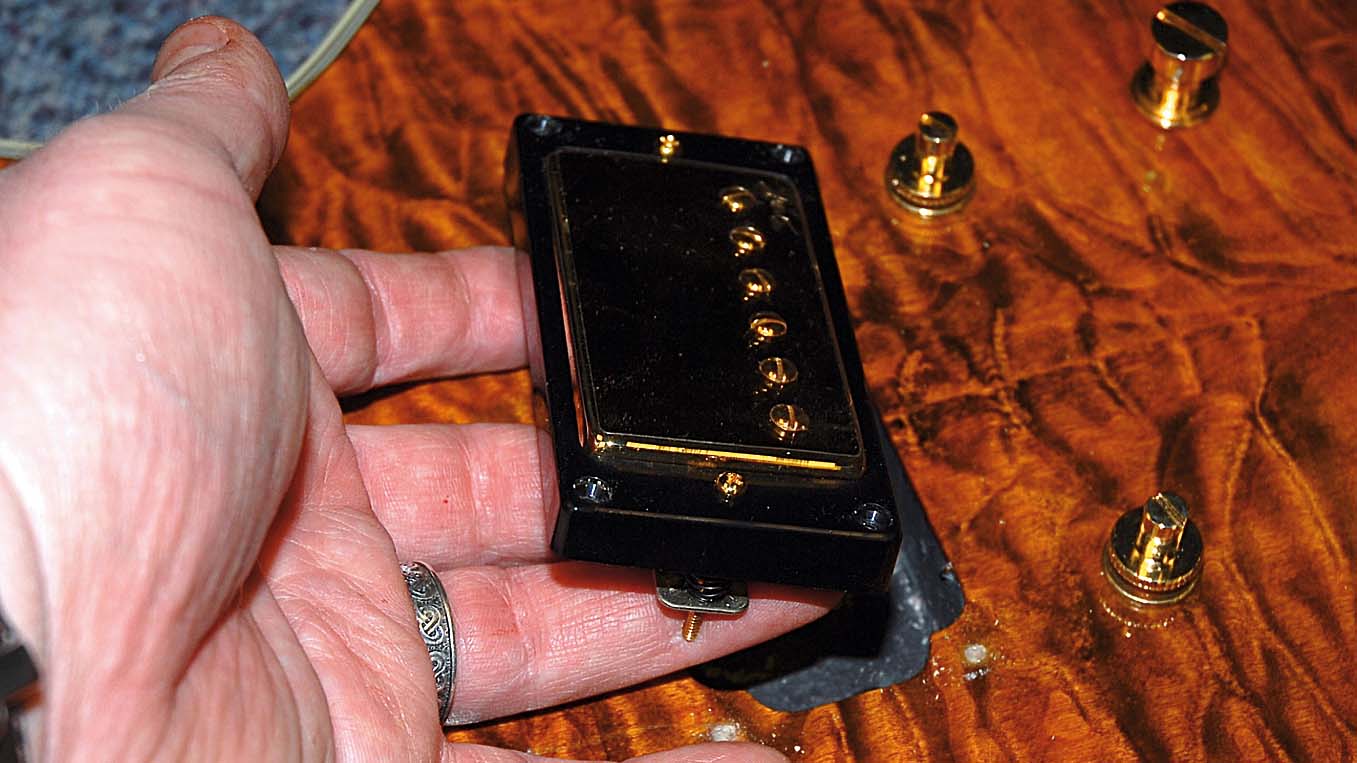
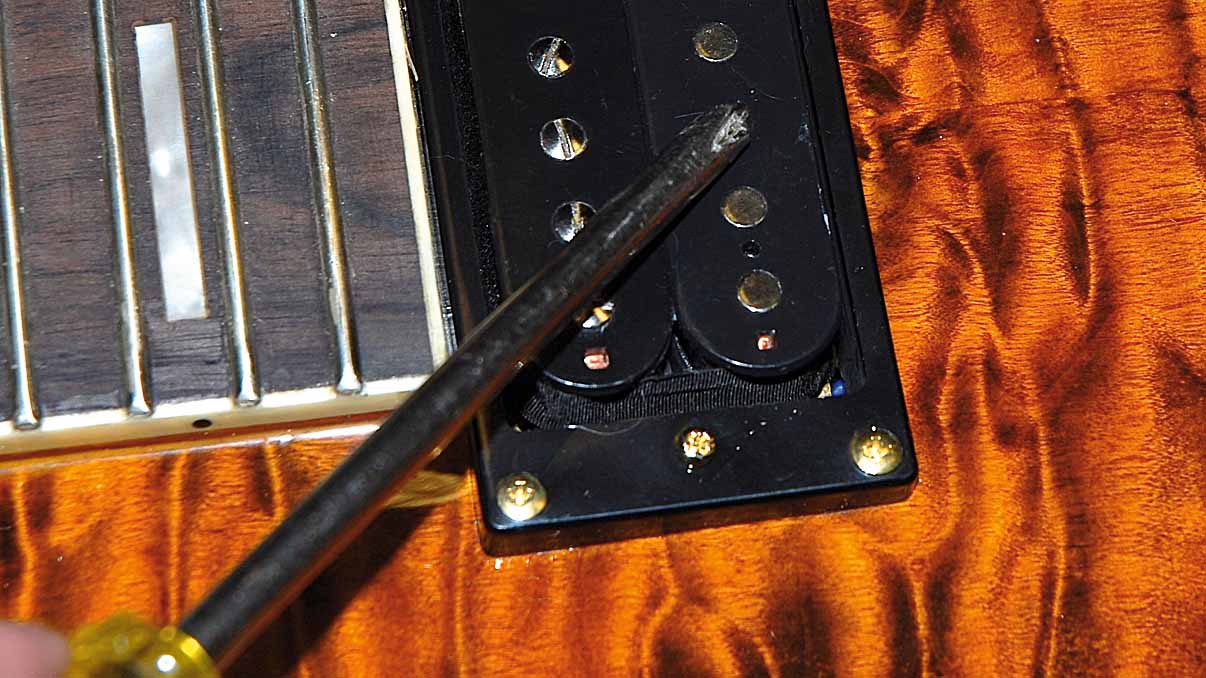
Remove the screws that hold the pickup surrounds in place.
You’ll need a smaller screwdriver for the backplate to avoid damaging the screws. Remove the pickups and surrounds.
7. Mounting
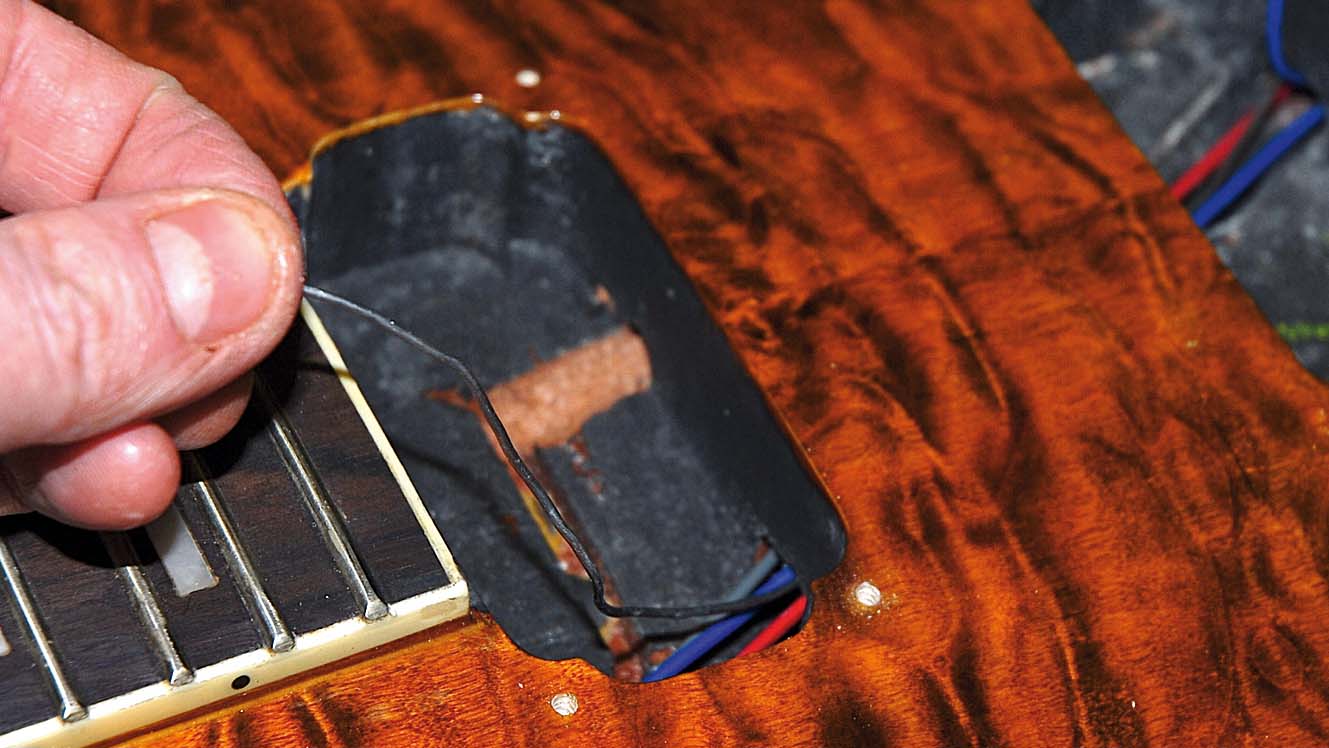
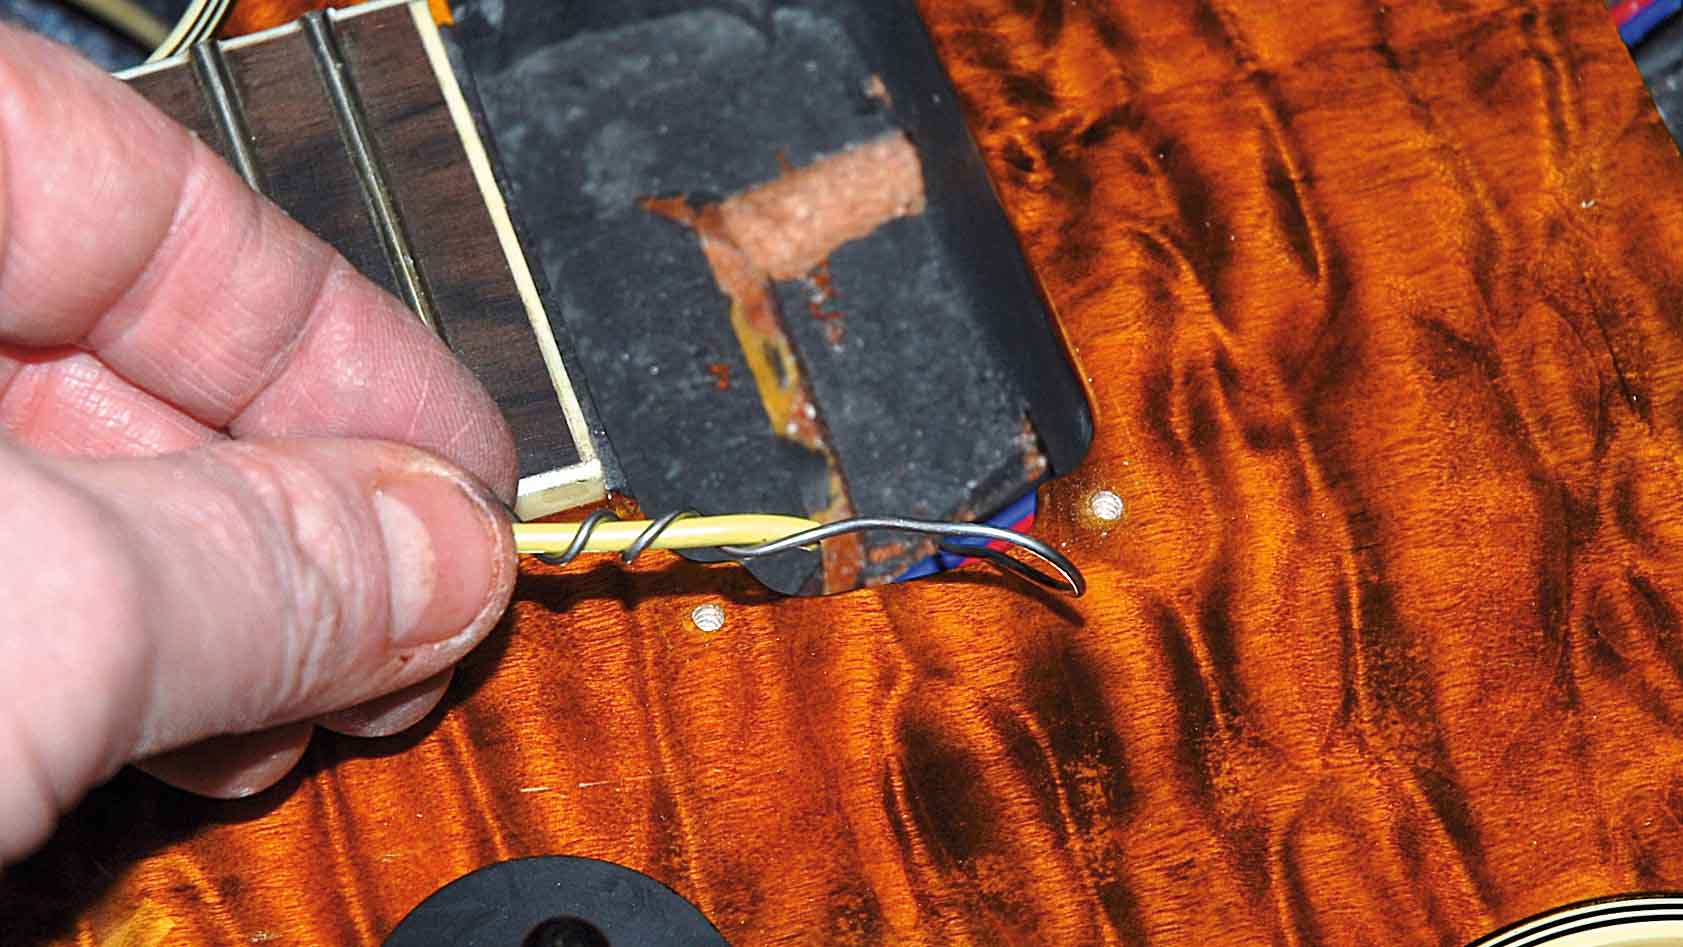
Unscrew the old humbuckers and mount the new pickups in their place. Feed a length of solder from the control cavity to the neck pickup cavity as shown in the photo above.
8. Wrap it up
Wrap the solder round the neck pickup cable and pull it until the wire appears in the control cavity. Screw the neck pickup in.
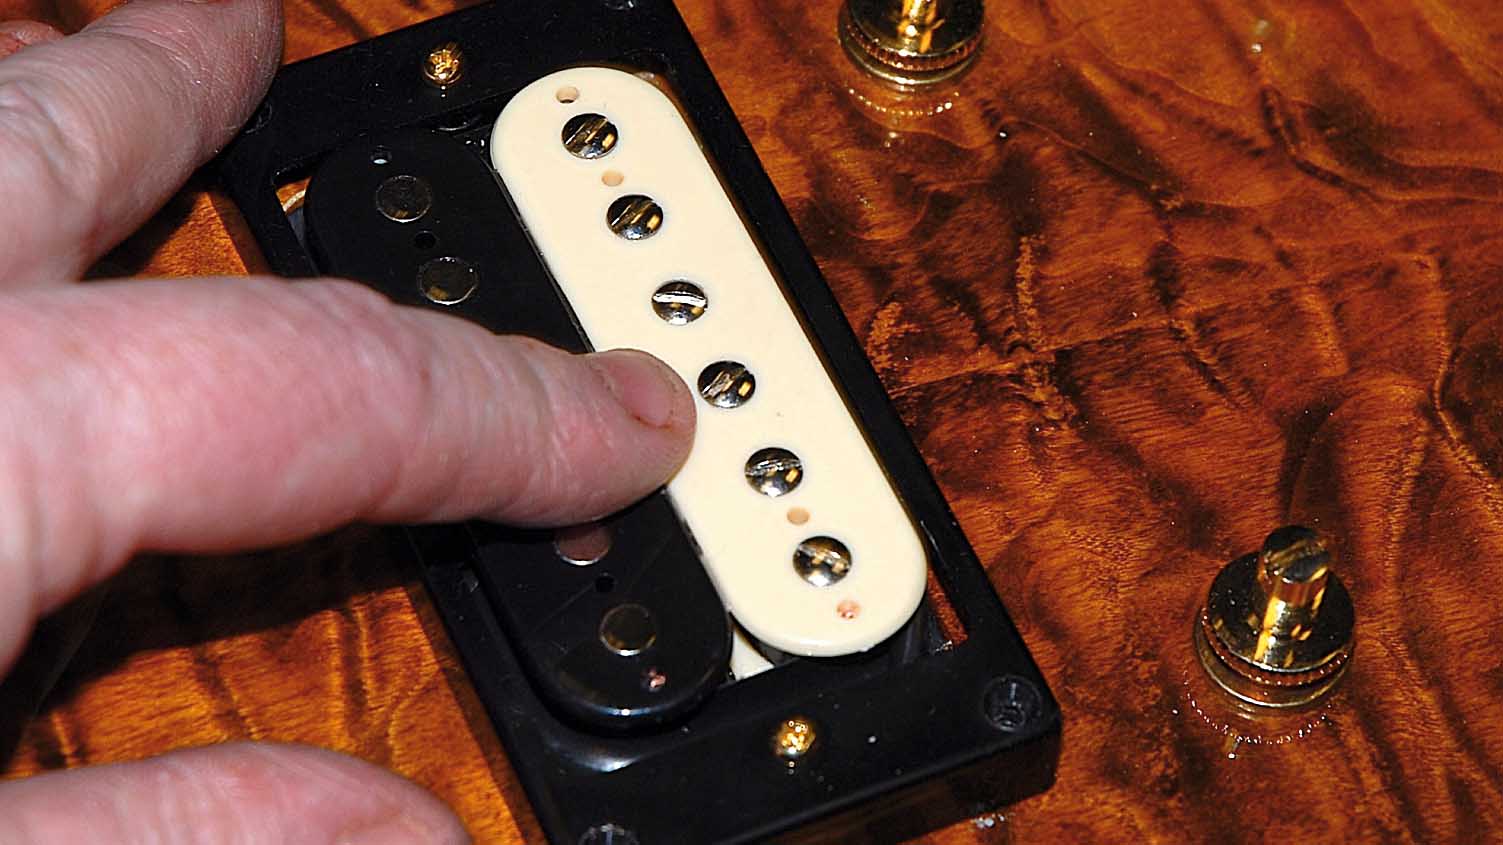
The slotted polepieces should be closest to the neck.
9. Poke and screw
Poke the bridge pickup wire through to the control cavity. Screw the pickup (placed the right way round) to the body.
The slotted polepieces should be closest to the bridge.
10. Get soldering
Using your wiring diagram, solder the new pickup wires in place.
Try not to touch the finish with the hot soldering iron. Your solder joints should be shiny not dull and also be able to survive a gentle tug.
11. Tap and test
Test the pickups through the clean channel on your amp. Tap the top of each pickup with a screwdriver. You should hear a clear thud. Test each position on the selector switch.
12. Restring and enjoy
If all is well, restring the guitar, tune up and play through your amp.
Check the volume and tone controls are working. Replace the backplate and enjoy your new pickups!
“For players who want more – more pickups, more speed, and more in-your-face Kramer attitude”: Kramer delivers the face-melting shred candy with six refreshed electrics, complete with US-made pickups
“The perfect magnetic combination to unlock the full tonal potential of your P/J Bass”: Fender releases a Tim Shaw-designed Chrome Cobalt pickups for the P/J configured bass guitar in your life