9 drum mixing tips to make your rhythm tracks sparkle
Mix your drums like a pro with these 9 tips

Want all the hottest music and gear news, reviews, deals, features and more, direct to your inbox? Sign up here.
You are now subscribed
Your newsletter sign-up was successful
Mixing drums is a deceptively complicated business, with many different aspects to consider. To get a good grasp of the fundamental principles, check out our introduction to drum mixing. Below, we present a mix of one-off tips - a grab-bag of 9 more specific techniques, practical hints and specific problem solvers to try once you're in the thick of it.
1. Reverb inserts
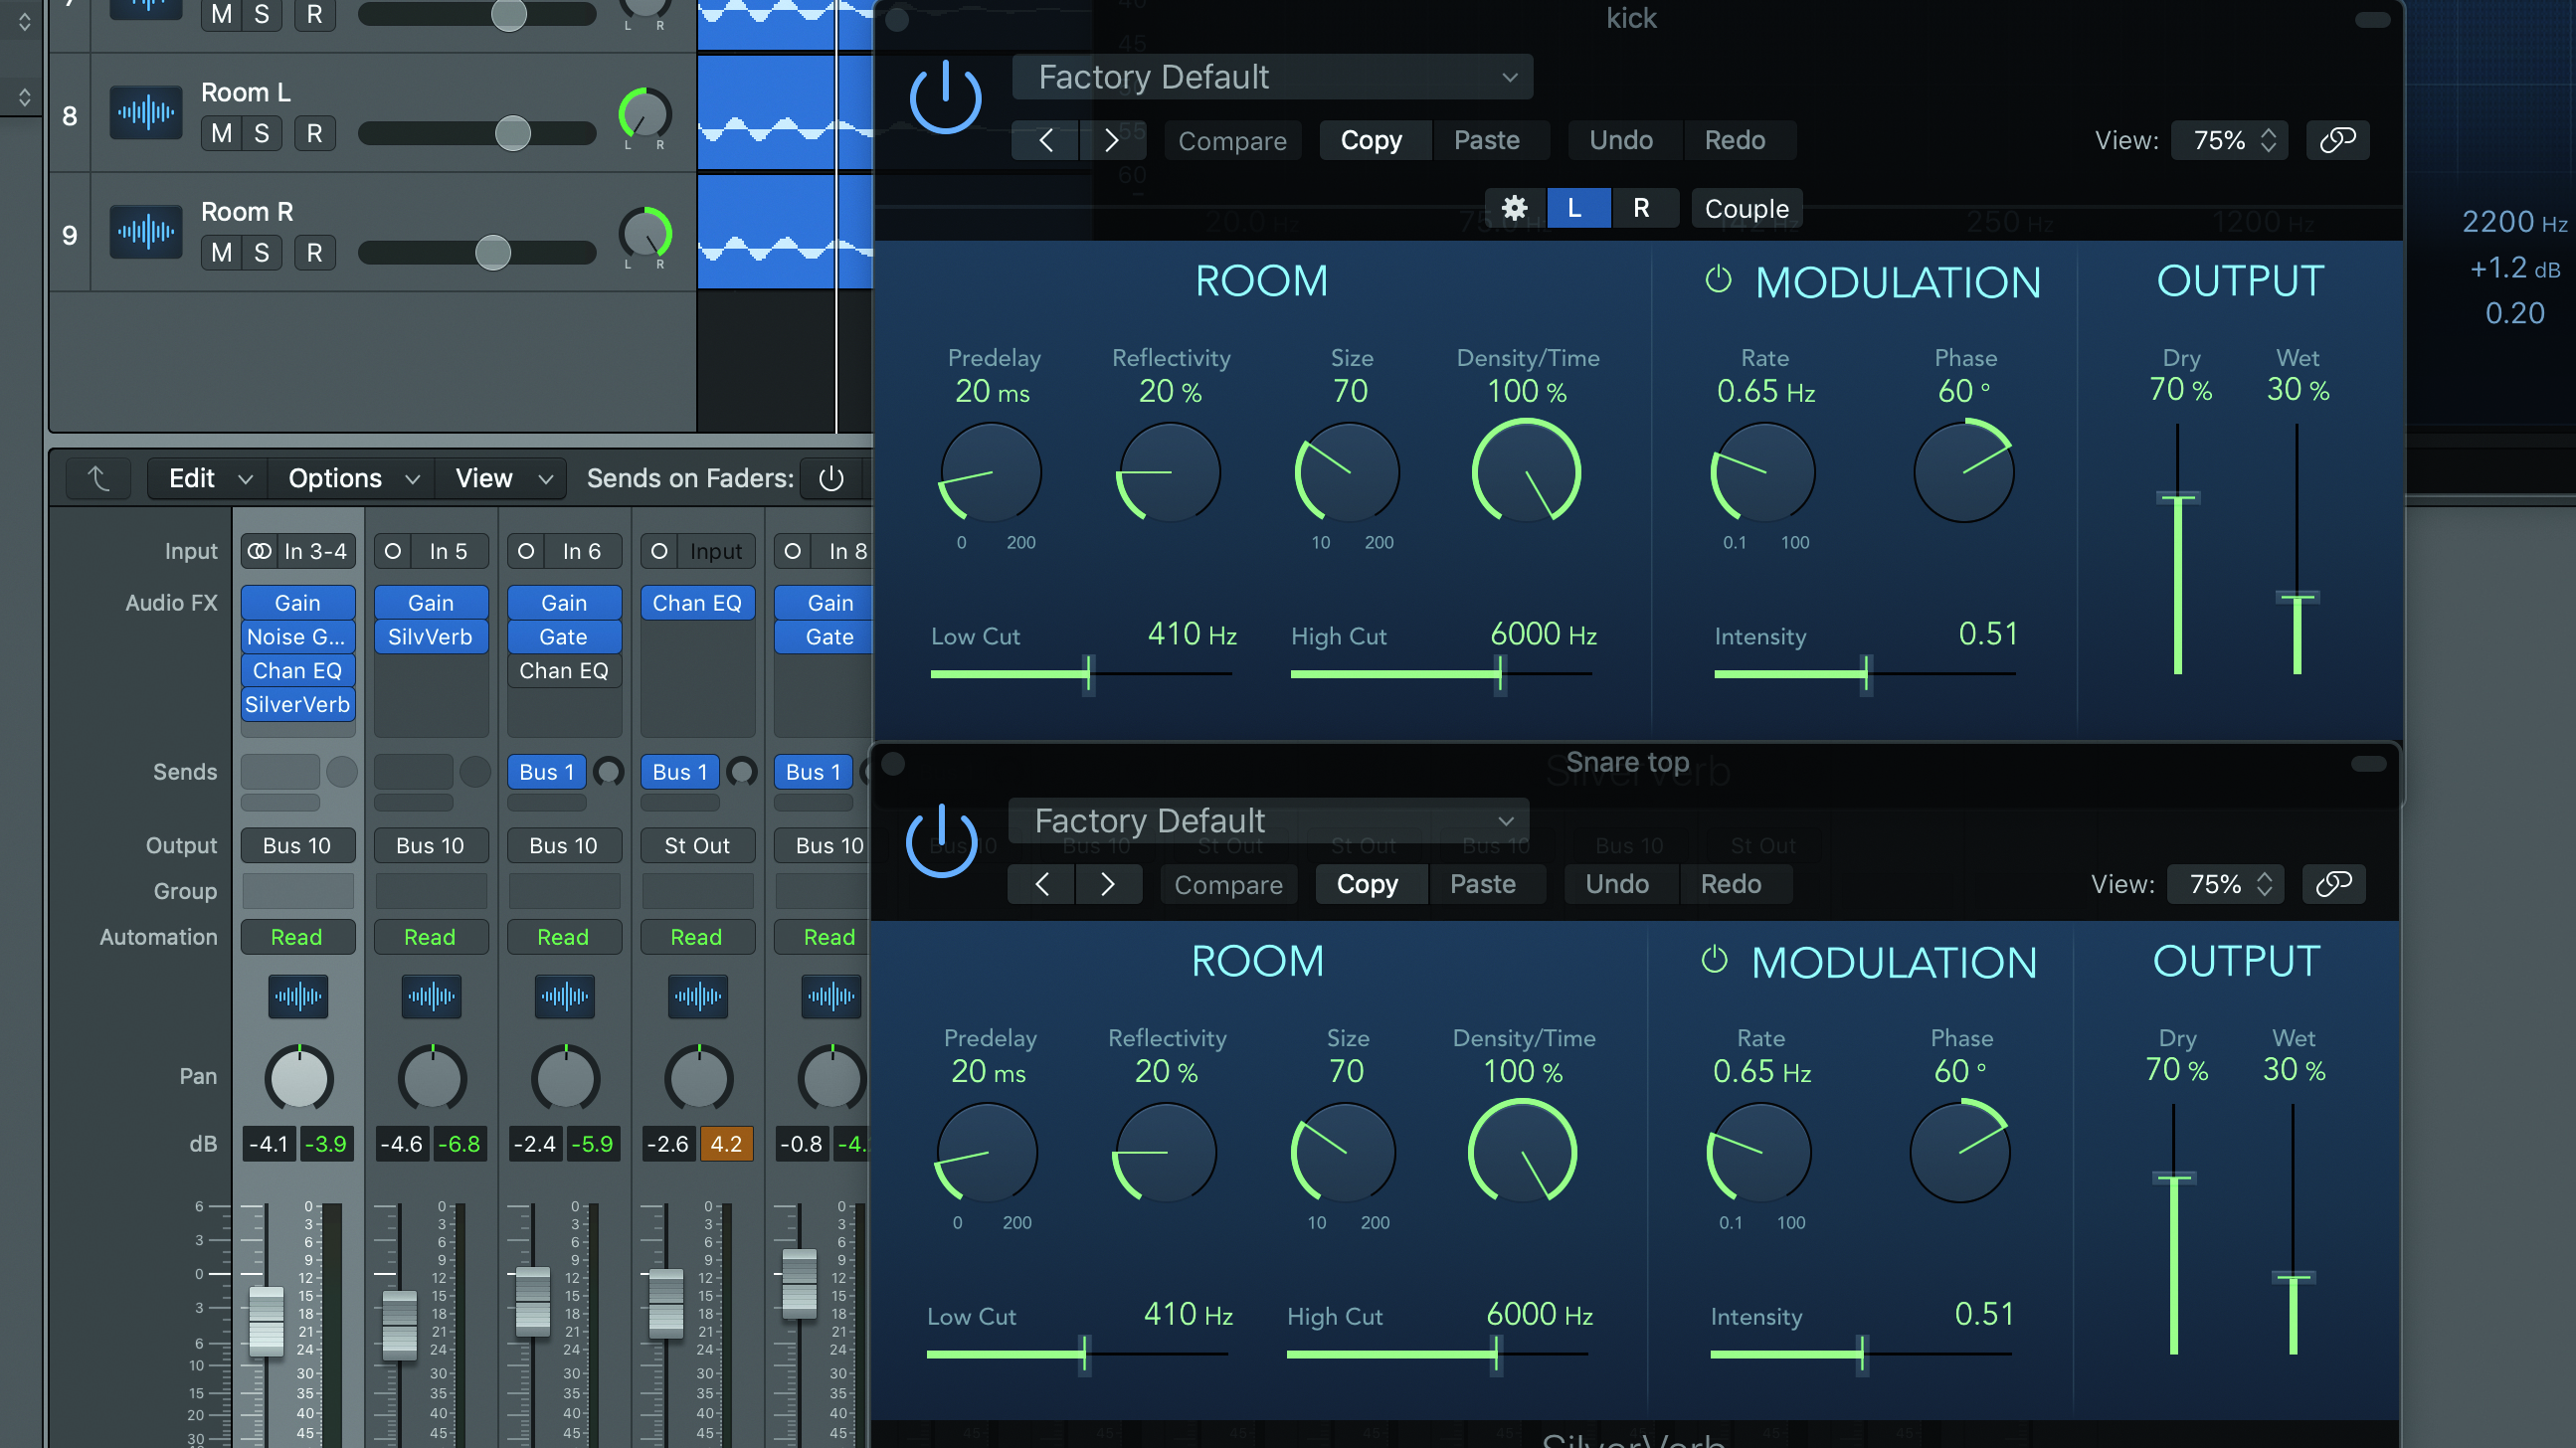
Although we used a single bussed reverb in our walkthrough, there’s no reason not to use inserted reverbs on your separate channels. A short, dark ’verb on the kick, a longer, brighter one on the snare, etc.
If you choose to do this, though, be careful not to make it sound like each of your drums is in a different space to the others – unless you’re going for deliberate weirdness, that is.
Article continues below2. Parallel compression
Parallel or ‘New York-style’ compression is simply the act of mixing compressed and uncompressed versions of the same signal in order to reduce the dynamic range but retain all those punchy attack transients.
Either bus your drum group through an auxiliary track with a compressor plugin inserted and mix it with the original, or use a compressor with a wet/dry mix control as we did on p47.
3. Sidechain the overheads
A range of cool effects can be created by putting a compressor/gate on the overheads channel and keying it from the kick, snare or hi-hats. Key a frequency-conscious gate from the snare to emphasise the airy overhead signal with each snare hit, or compress the overheads via the kick to draw the sides in with each kick hit.
4. Overhead processing
Applying a stereo widening plugin to the overheads channel can work wonders for the sense of breadth. Two things to avoid with overheads, though, are overly heavy EQ boosts above 10kHz and compression (though a touch of compression can be effective for a vintage-style sound). And if your overheads sound unexpectedly weird in any sense alongside the close mic channels, don’t forget to try flipping the phase.
Want all the hottest music and gear news, reviews, deals, features and more, direct to your inbox? Sign up here.
5. Bring the noise
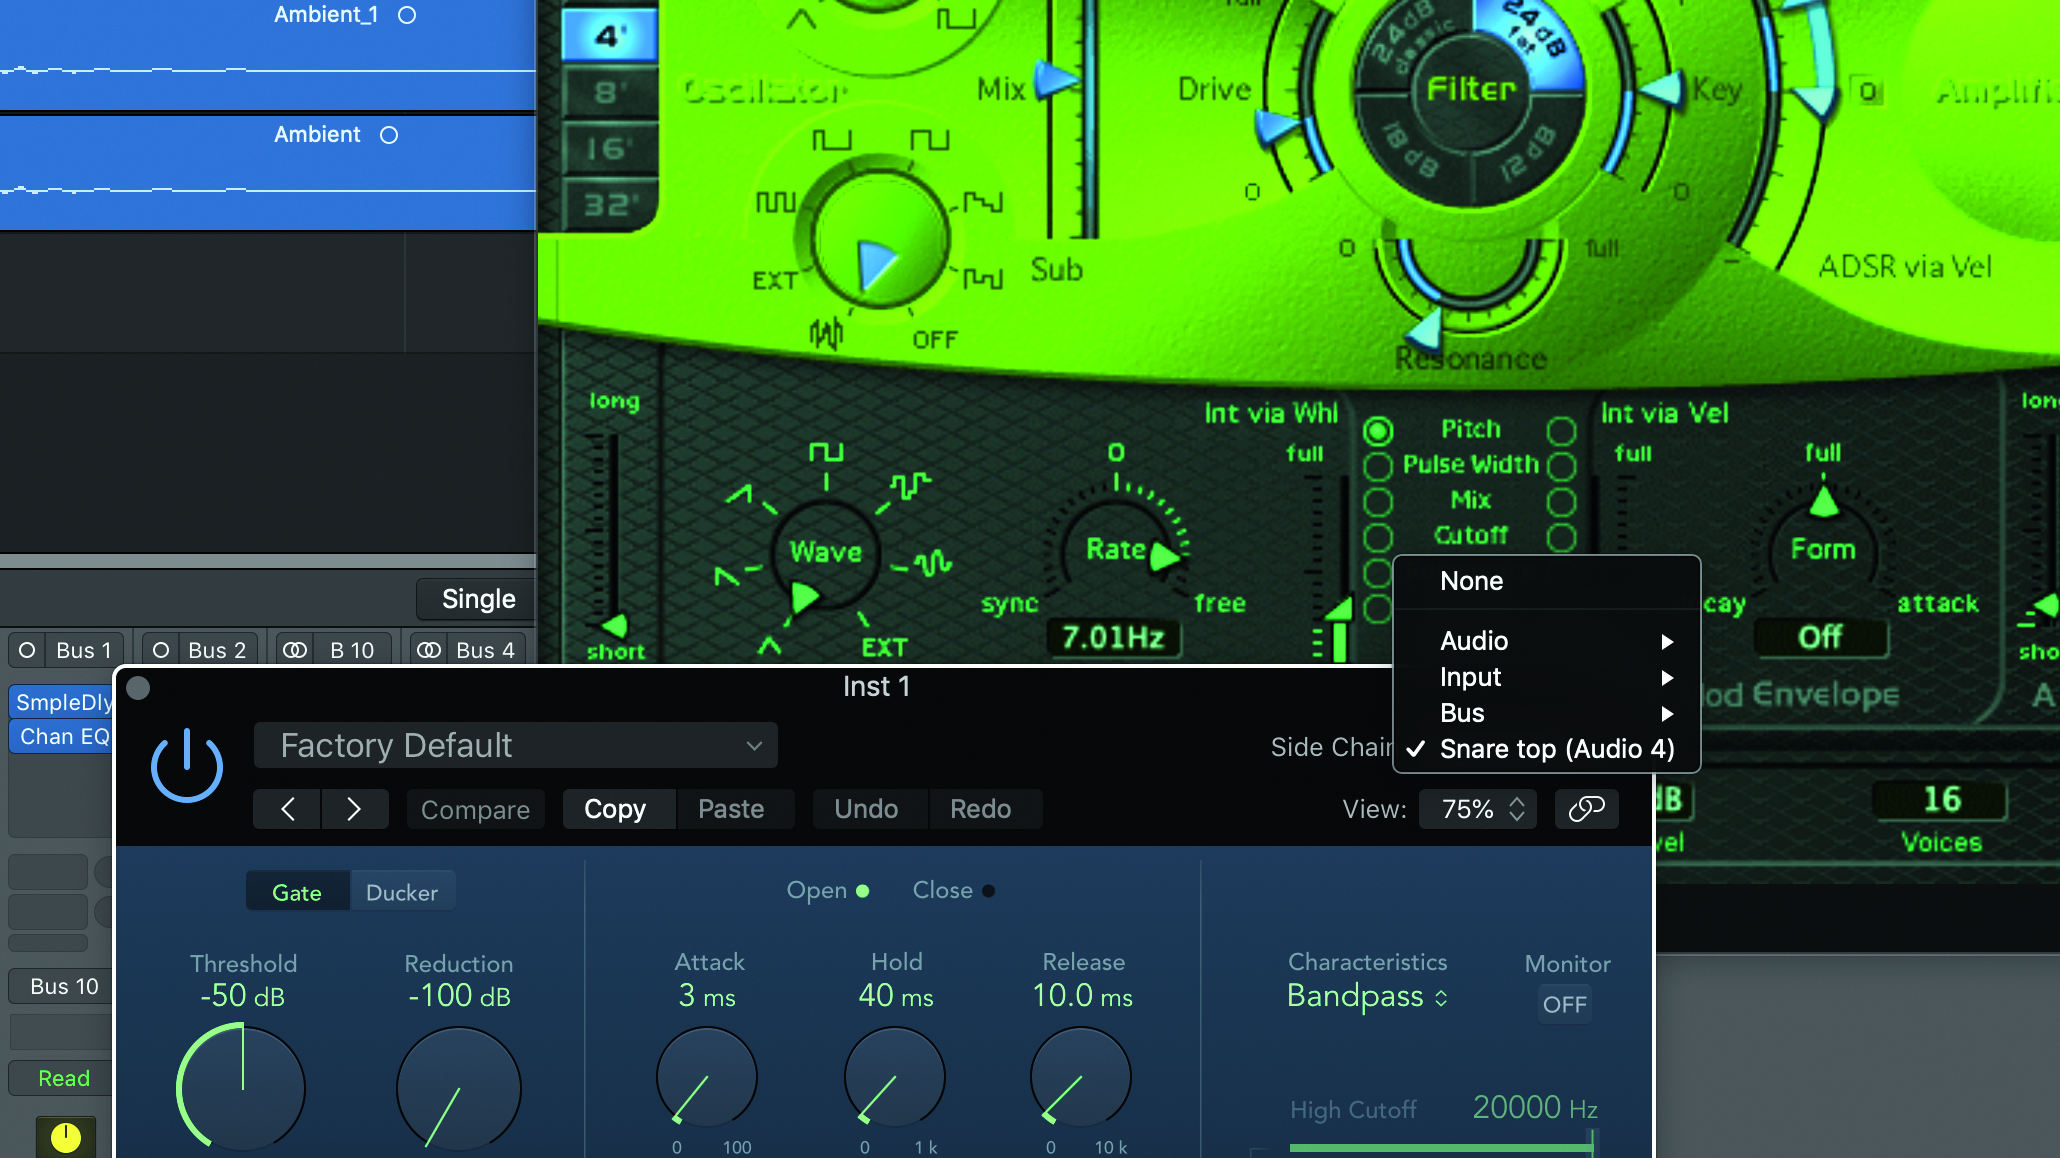
If the wires on your snare drum aren’t making their presence felt strongly enough, white noise can be used to add a synthesised back-up layer. Load any analogue synth with just a white noise oscillator active and tune it quite high.
Draw in a single MIDI note for the duration of your drum track and insert a sidechainable gate plugin onto the synth’s mixer channel. Key the sidechain from your snare track and set the gate threshold and envelope parameters so that the synth only triggers when the snare hits, then fades out quickly and smoothly.
Keep the level of the fake ‘wires’ low in the mix, and be aware that it might need muting during fills. The same trick can be used to add sheen to hi-hats and even – using a sine wave – sub-bass to kick drums.
6. Just a phase
Because a drum hit will take slightly longer to reach the overhead mics than it does the drum’s own close mics, its timing will be slightly smeared across the channels. This is part of the sound of recorded drums, and it can help to create some cool tones as well as smoothen sharp transients. However, too much can sap punch, power and clarity.
You may be able to manually adjust the timing of the recordings in order to improve their combined sound. In our example audio files, a subtle increase in low-end solidity can be created by moving the snare bottom mic channel back into time by about 4ms, so that the ‘meat’ of the waveform becomes a little bit more neatly aligned with that of the snare top mic channel.
Remember that you can typically only align one drum (the snare is your best bet), as the timing offsets will vary due to each piece of the kit being at different distances from the mics. And don’t get too obsessed with aligning your tracks – they might sound better messy!

7. Take the bus
In our walkthrough we processed every mic channel separately, but combining related drums/cymbals in group busses can be both convenient and sonically beneficial.
For example, grouping all your toms on one bus and inserting a compressor, an EQ and a reverb into that, rather than giving each separate tom its own treatment, can make them sound more cohesive, as well as placing them all on one handy level fader and saving on CPU cycles. Bargain!
8. Sample magic
While the idea when mixing a drum kit is to make the results sound like the bringing together of a set of simultaneously played elements to create a cohesive single instrument, there’s no point making life unnecessarily difficult for yourself in the name of keeping everything organic.
If your drummer neglected to hit an essential crash cymbal at the end of a key fill, don’t drive yourself mad trying to paste in a cymbal from elsewhere in the overheads track – just throw in a crash from your sample library (on a separate track, otherwise it’ll sound like a dodgy punch-in).
Similarly, if your snare’s just lacking a bit of top but is otherwise OK, double it up with a high-passed sample. Play with the mix settings, A/B with some well-chosen reference material and trust your ears more than your eyes.
9. Single hits
Further to the previous tip, when recording your drums, be sure to capture your drummer hitting each piece of the kit on its own a few times at hard, medium and soft stroke strengths.
Then, if you do need to layer in any ‘overdubs’ (or even replace any sounds completely), you’ll have a set of perfectly matched sounds with which to do it.
Computer Music magazine is the world’s best selling publication dedicated solely to making great music with your Mac or PC computer. Each issue it brings its lucky readers the best in cutting-edge tutorials, need-to-know, expert software reviews and even all the tools you actually need to make great music today, courtesy of our legendary CM Plugin Suite.
