The drummer’s guide to kit-share gigs
The gear dos and don'ts of a multi-band line-up

Want all the hottest music and gear news, reviews, deals, features and more, direct to your inbox? Sign up here.
You are now subscribed
Your newsletter sign-up was successful
You’ve perfected your drum parts, thoughtfully crafted a set that will take your audience on a journey, you’ve even got your band’s t-shirts printed ready for the hordes of adoring fans who’ll inevitably be lining-up to snag one from your merch stand. Now it’s time to take your band into the live arena, which means that sooner or later you’re going to hear two words: kit-share.
While some covers bands will come across this idea, a kit-share is more common for those playing in original line-ups. But what exactly is a kit-share gig? Well, it does what it says on the tin - to save time between sets on a multi-band bill, the backline gear is more-often-than-not shared between at least all supports to the main act (who will sometimes get to use their own gear exclusively), or every single band on the bill.
For our string-twanging peers, this means they might only need to bring their instruments, guitar or bass heads and pedals. For us drummers though, it means being flung into the unknown with someone else’s setup, while we add our own ‘breakables’. Remember that word, as it’s an extremely important, yet very often vague description.
So, if you’re about to take your first steps into the world of playing live at your local venue, here’s how to approach a kit-share gig for a smooth outcome.
Forewarned is forearmed

There could be anywhere from two to five or six bands on your gig’s line-up, which is why it’s a kit-share in the first place. The idea being that the drum shells (bass drum and toms) and key hardware will remain consistent throughout the gig.
Not only does this avoid a handful of drum kits needing to be setup and stored/swapped around after every band, but it also makes life easier for the sound engineer, who can keep microphones in position without needing to reset and carry out a complete overhaul for every band.
With this in mind, it’s important that you find out exactly what you’re going to need to bring with you before the day of the gig. Contact the promoter/whoever is booking the bands as they will be acting as the central point of contact for everyone who is playing. Find out who is providing the kit, what configuration they have, and compare that to what you might need.
Want all the hottest music and gear news, reviews, deals, features and more, direct to your inbox? Sign up here.
The general etiquette is that the headliner will allow the rest of the bands to use their gear, but this isn’t always the case, especially with more well known/touring bands, so it’s worth checking.
Befriend the other drummers
They say a rising tide sails all ships, and music - particularly in your area’s original scene - is a community where friendships are formed, touring partners are met and everyone is better off for it. Hopefully.
So, as well as talking to the promoter, think about getting in touch with the other drummers on the bill. If they’re from your town then you might already know them, if not, then it’s hardly stepping over any marks to reach out to the band via social media to introduce yourself and ask more specific questions about the kit before the gig.
It’ll give you a chance to figure out if you’re missing anything from your setup that might be required and either secure your own in time for the gig, or pre-arrange to borrow something, as well as helping to break the ice with any bands you haven’t met before. You never know, they might even watch your set!
The right to be left

We're not here to debate the pros & cons of being either a left or right-handed drummer. However, it does raise a logistical consideration when you're sharing a kit with other bands that unfortunately for lefties playing a left-handed setup, will be a common occurrence.
This will require an additional changeover, then possibly another to revert the kit back to whichever the more dominant orientation on the line-up is. So, while you're checking-in with the promoter and other bands, it's a good idea to let them know if you'll need the kit to be setup for playing left-handed. This way the organiser can adjust the schedule or times if needed, particularly if there are multiple mixes of left and right-handers performing.
‘Breakables’ is a loosely defined term
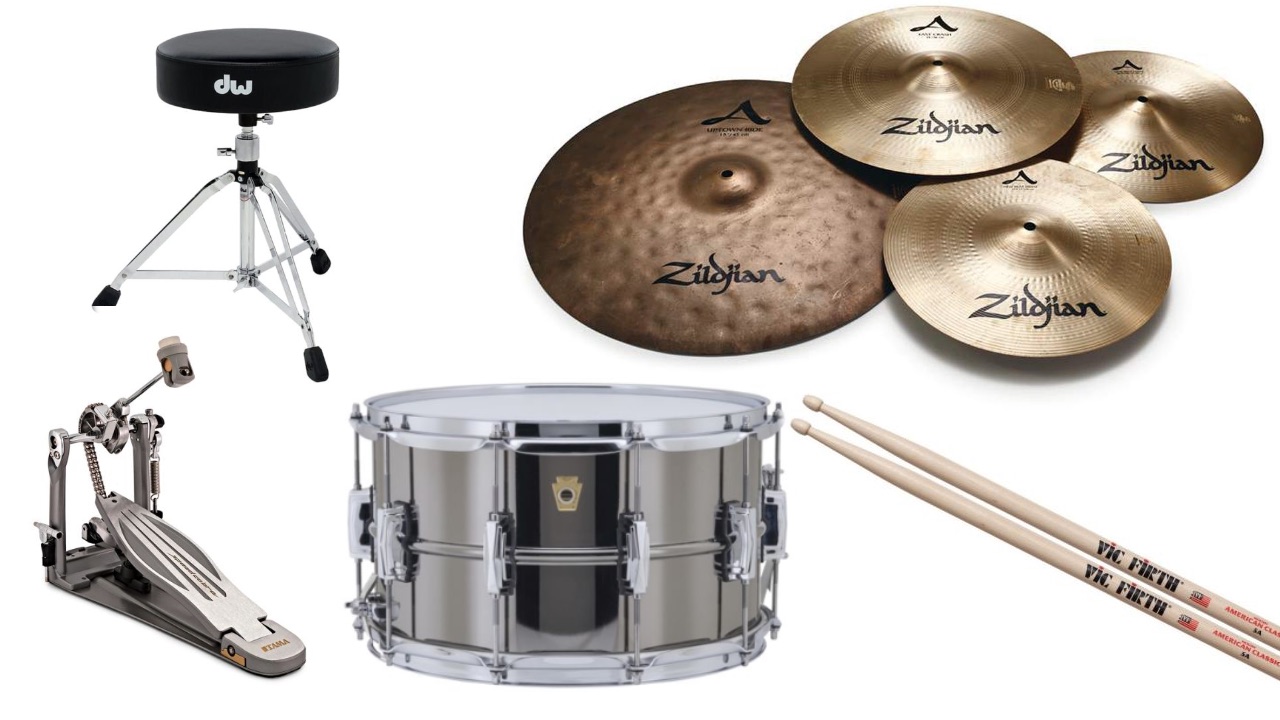
One of the biggest sources of confusion when playing a kit-share gig is the term ‘breakables’. So-called because it refers to anything that is ‘breakable’, but also extends to pretty much anything that is personal to your setup. This can be as basic as your snare drum and cymbals (obviously don’t forget your stick bag!), or as comprehensive as a hi-hat clutch or possibly a full stand, drum stool, bass drum pedal and any combination of these items.
It should go without saying that if you use a galaxy of cymbals, two snares, electronic pads and auxiliary pedals, it’s on you to make sure you have them. If you really need to have four crashes and symmetrical splashes/Chinas, then bringing the relevant stands is a must.
Multi-clamps and mini-booms can be your friend if you’re travelling light, allowing you to augment the gear that’s already there with minimal disruption. But if you’re already bringing your hardware bag, you might find it easier to bring a couple of extra full stands.
However, don’t overdo it. It’s a fine line between bringing exactly what is needed - plus the provisions for one or two spares - but don’t forget why you’re doing a kit-share in the first place.
Space at some venues can be a premium, and if you turn up with your whole kit when you know it won’t be needed, 'just in case', you run the risk of not being able to store it in the venue/getting in someone's way/having to put it back in the car where it’s potentially vulnerable to thieves. However, that’s all okay, because you spoke to the promoter and other drummers and worked it all out ahead of time…didn’t you?!
Be flexible with the shared kit
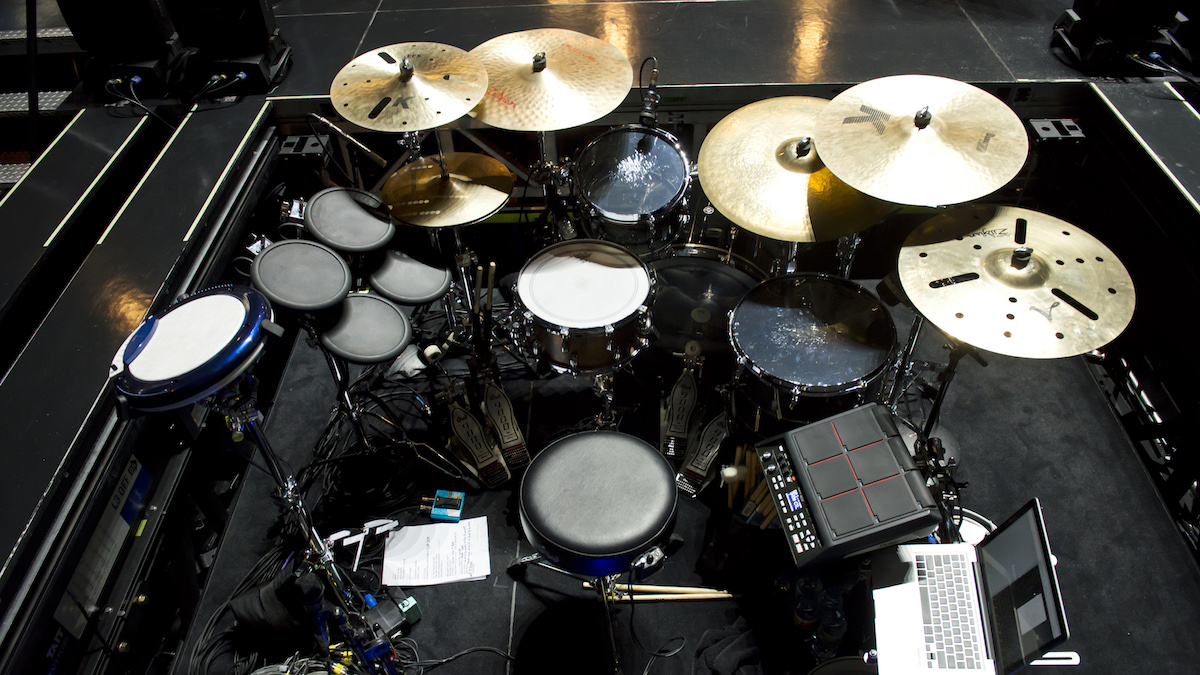
The downside of using someone else’s kit is that their choice of brand, sizes, heads and placement might not be to your liking. Unfortunately, there’s not a lot of room for argument, so if there is something that can’t be overcome, it’s better to see it as a chance to try something new than allow it to bog down your performance.
Most importantly, don’t be rude about the quality of the gear you’ve been loaned - you might be talking about someone’s pride and joy, and after all, they might not be overjoyed with a five-band bill beating the living daylights out of it!
Due to the fact that everyone is a different height, bringing your own drum stool might have been on the list, but it could also mean that you need to adjust tom angles, snare and cymbal heights, even placement of the stands or removal of drums altogether.
Most drummers won’t mind this, but it’s polite to check. Likewise, don’t disrupt any tuning of the drum shells unless there’s an actual audible problem from the engineer’s perspective (such as an unwanted buzz, boom, or floor tom growl).
The engineer’s mics (in most cases) will be clipped to the drum with only the bass drum, overheads and hi-hat mic (if there is one) on a physical stand, but if you do move something that will affect one of these microphones, be sure to let the engineer know so that they can adjust it at their end.
On the house (kit)
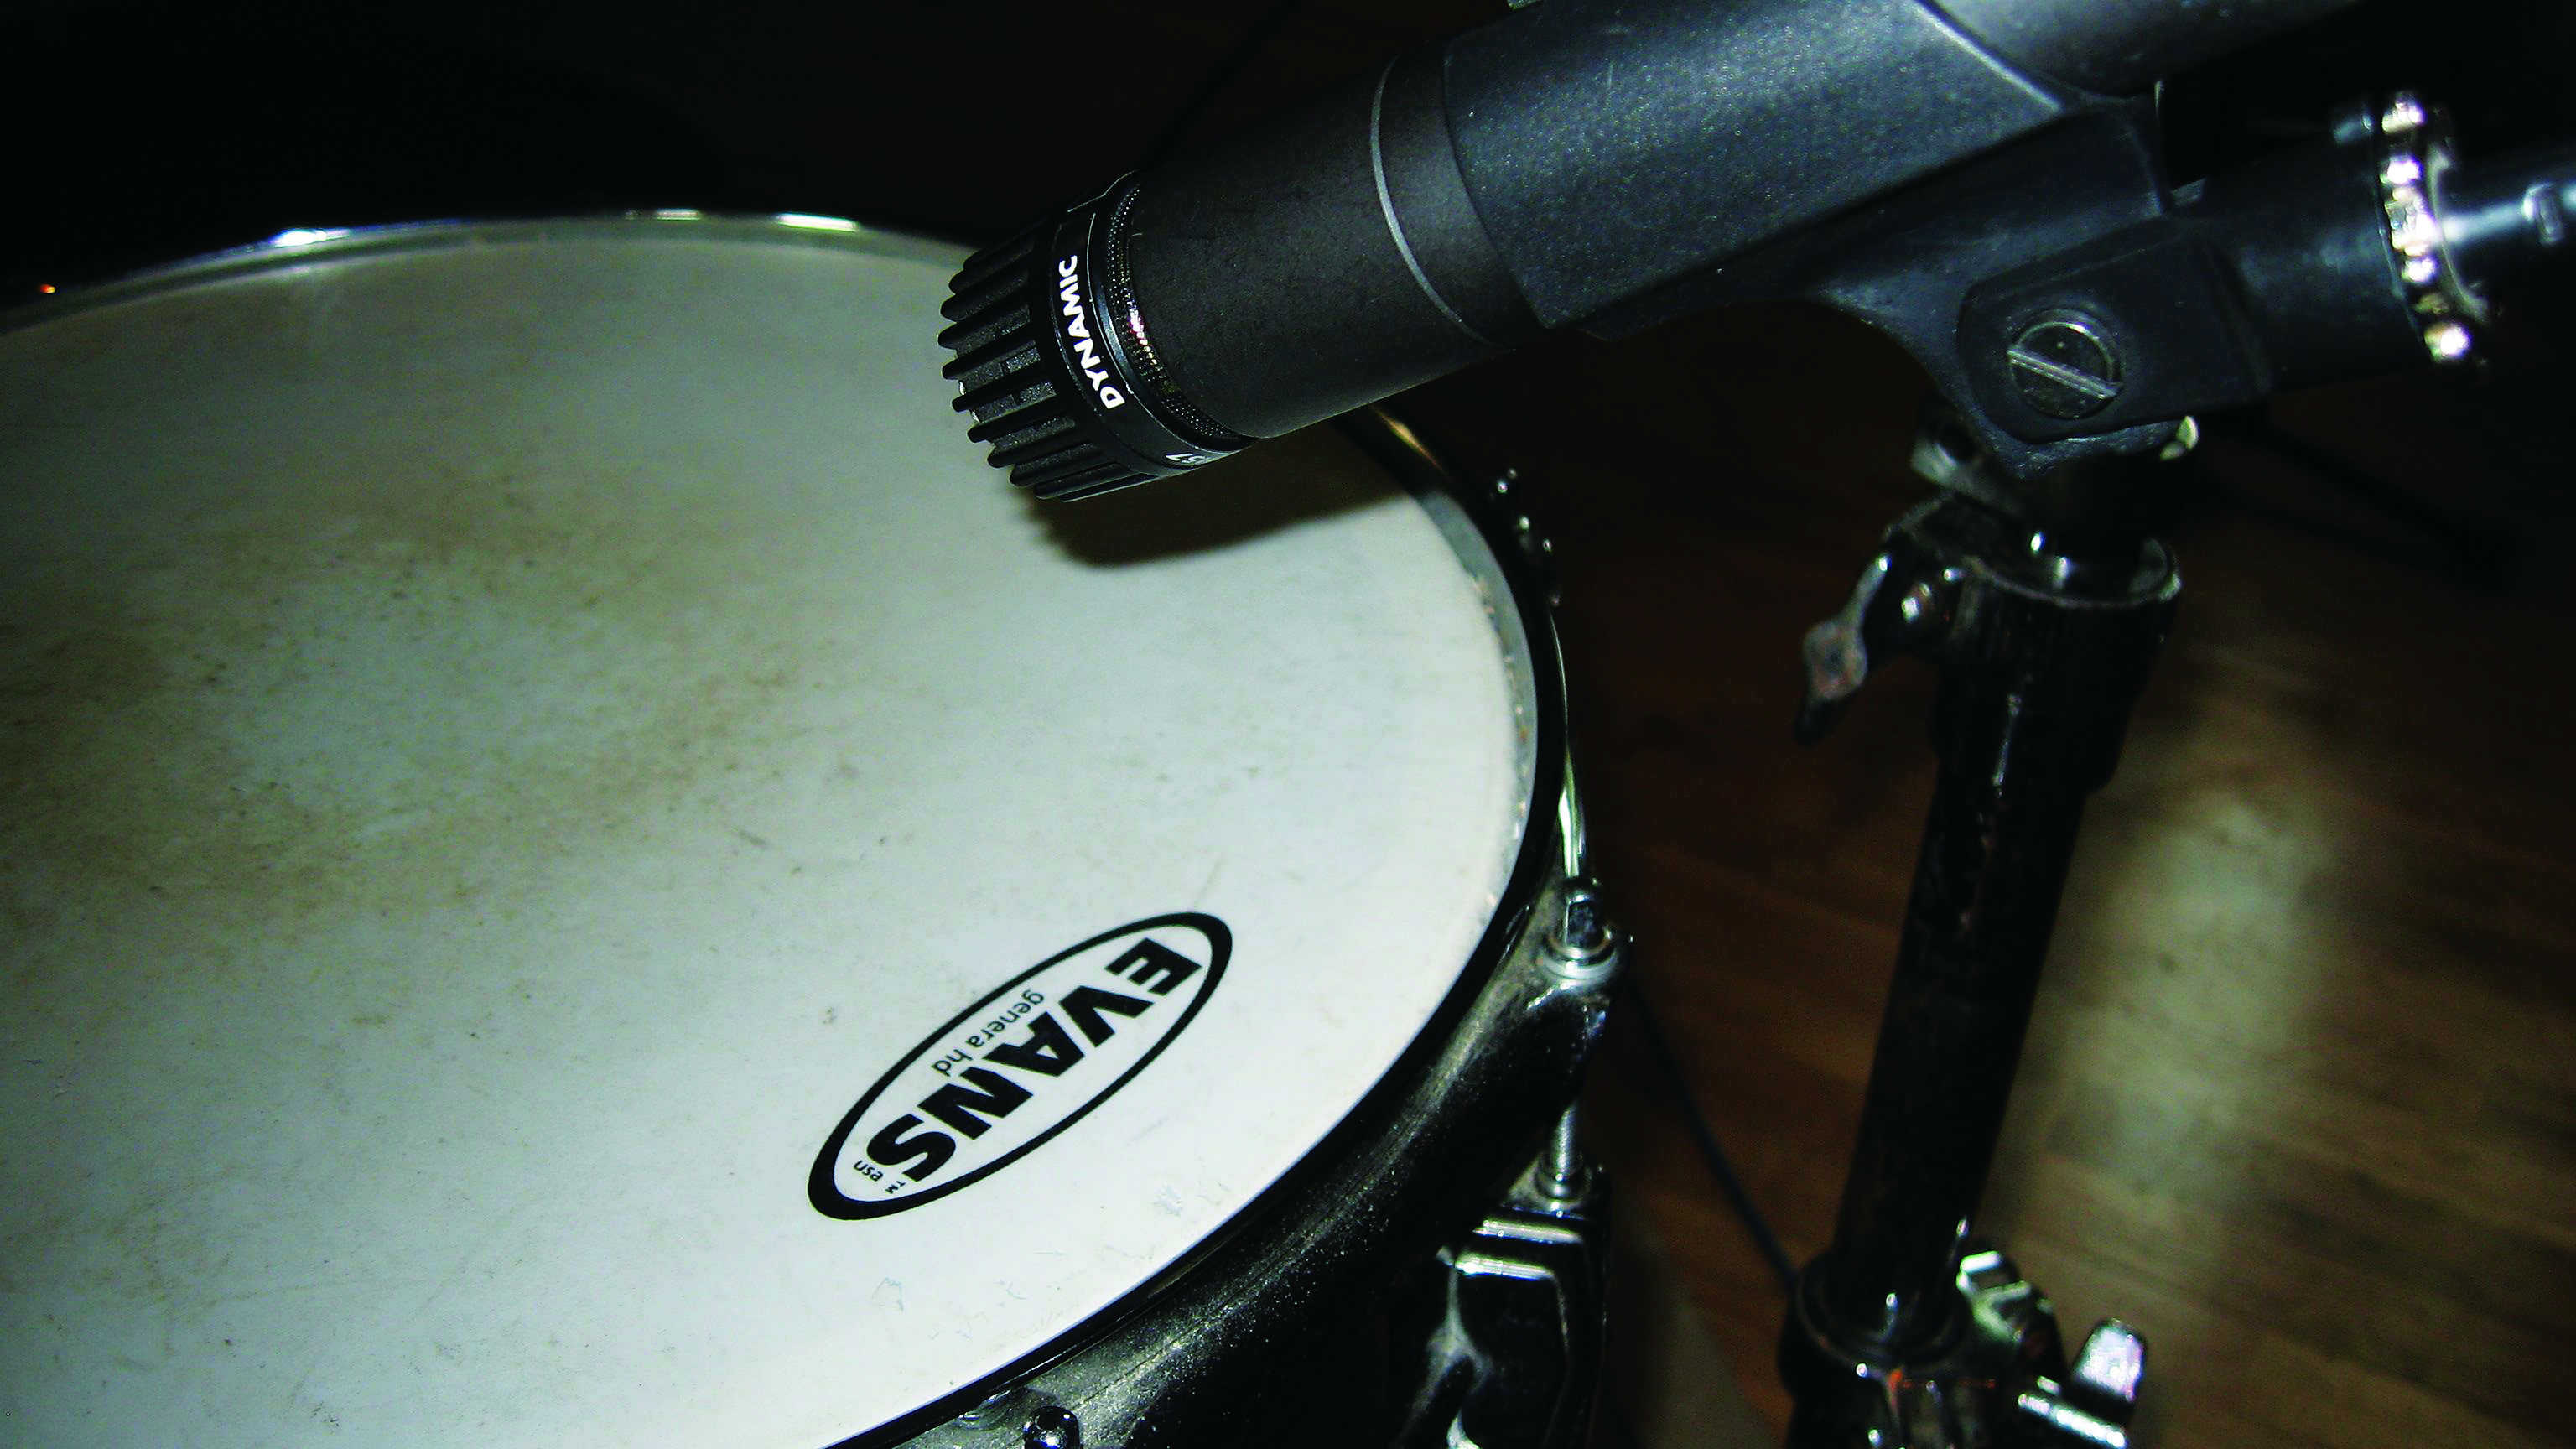
In some cases it could be the venue that’s providing the drum kit. The same rules about being informed beforehand apply here, but while you still need to treat it with respect, there’s understandably more acceptance of adjustments when it’s not someone’s personal gear.
Much like a rehearsal room kit, a venue's house kit will probably have seen some action. The pros of using a house kit is that it’s most likely been tuned to the room and will be a known quantity to the engineer.
Conversely, house kits can often be worse for wear or missing some parts. So, unless you want to potentially risk place your K Customs on stands without sleeves or felts, it’s worth assembling a first aid kit that you can keep in one of your cases.
A drum key (or two!), cymbal felts, a spare hi-hat clutch, washers, a couple of different tension rods, bass drum impact patches and gaffer tape can get you out of a hole when something goes wrong, and also help avoid damaging your own gear.
Respect the sound engineer!

Aside from the promoter and the other bands, your band’s closest ally when it comes to showtime is whoever is running the mixing desk. Irritate this person at your peril, as they have the power to influence how the audience hears you. Introduce yourself, and pay attention. They have the busiest job in the room and once your 30-minute slot is over, they’ll have to do it all again.
If you have any gear outside the norm (electronics, for example), let them know early, and don’t forget your cables. So, respect the sound engineer and you’ll guarantee safe passage to the best audio representation of your band possible!
Make the most of your soundcheck
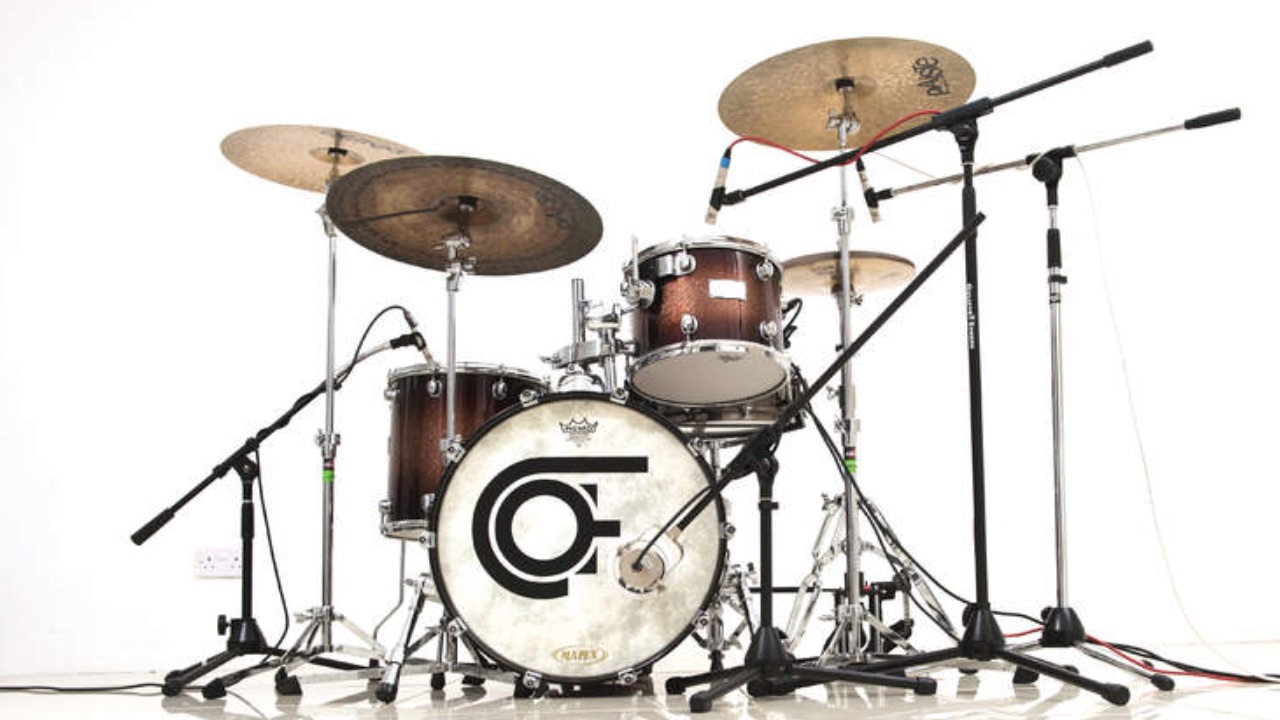
The promoter or gig organiser will let you know what time you need to arrive at the venue, and this will normally be before the doors open in order for you to have a soundcheck, so it’s important that you get there on time.
When it’s your turn to soundcheck, the attention to detail will probably depend on your placement within the line-up. All bands will usually get a basic ‘line check’, which for drums will include getting levels for the individual drums, the whole kit, and usually at least part of a song as a band.
It’s crucial at this point that you hit the drum that the engineer asks you to hit, and only this drum! Play single notes (now’s not the time to demonstrate your one-handed roll) and give each one time to decay before hitting it again - you don’t necessarily know what the engineer is adjusting at any given point (gain, EQ, compression, gates, reverb etc.) - and keep striking until they ask you to stop/move to the next drum.
As this is the time where the mic gain and levels are being set, it’s equally important that you hit as you intend to play. If you only play backbeats as rimshots, do it in soundcheck. Likewise, if your hi-hats spend most of their time in a semi-open position while you leather into the edge with the shoulder of your stick, don’t close them and tap the top with the stick bead for soundcheck.
The final part of the drum soundcheck is for the engineer to balance the full sound of the kit, and they might ask you to play the whole kit. Don’t confuse this with a drum solo, or a chance to demonstrate how ‘outside’ of your band’s style you can play. Choose a couple of parts from one of your songs, transitioning from say, a verse to a chorus where there are a couple of different dynamics and fills.
Soundcheck is also the time for you to request the other instruments you’d like in the monitors, or tell the engineer if you're using in-ear monitors. Can’t hear the vocals? Need more bass? Say now. Finally, remember to only play when the engineer asks you to, and definitely not when they’re setting the levels for the other instruments.
Smooth set-up
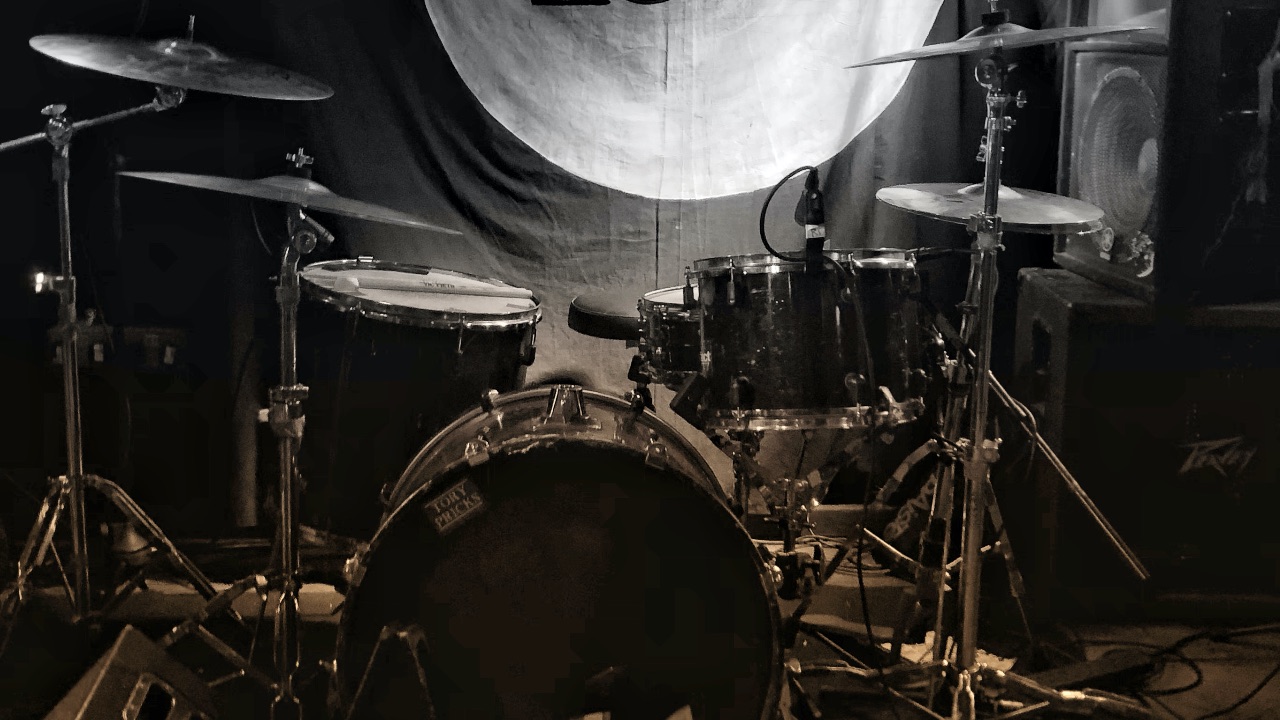
The momentum of the gig can be severely drained by long changeovers between bands. The aim here is to swap the gear around and start your set in as short a time possible before the audience disappear to the bar. Like so many other parts of playing a kit-share gig, the key lies in common sense and a bit of courtesy.
If you were the first band on the bill, chances are you sound-checked last and your gear is still in place. If you’re in-between two other bands then the band before you will need to get their gear off the stage.
You should give them space to do this - two sets of band members shuffling gear around a small stage is cramped, and a recipe for potential disaster, and if you’re trying to place gear on a kit while the previous drummer is still removing theirs you risk mixing up your stuff. By all means offer to help move gear off the stage, but try not to get in the way.
You can speed up the swap by getting anything that can be pre-organised ready beforehand. Any cymbal stands that aren’t part of the loaner kit can be set up before you go on stage. Fit a clutch to your top hi-hat if you’re not sharing, have your stool ready to go etc.
Given that the kit has just been broken down to a skeleton, it’s worth having a quick check of any bolts, bass drum spurs, floor tom legs or anything else that might have been loosened during the changeover, before you start playing.
Once your set is finished - assuming there’s another band after you - you need to get your stuff out of the way as quickly as possible. Don’t rush off to chat to your mates just yet.
Remove any mics that have been attached to your drums (most likely only the snare) and hand them to the engineer or place them somewhere safe (not on the floor). Don’t unplug the cable!
Save packing your gear - cymbals, snare, stands and any other hardware into its cases until you’ve got it off the stage - this way you won’t be rushing as much. Take a moment before you leave the stage to remove any glasses, bottles, set lists, broken sticks that you might have left there, and do one final ‘idiot check’ to make sure you haven’t left anything behind.
Won’t you stay?

Not only is it good form for bands that are sharing a bill to stay and watch each other’s sets, but remember you’ve just played a gig on someone else’s kit. Unless it’s a house kit that will remain on the stage, after the final band has played, someone has to pack up.
As you’ve probably already learned, giving a cymbal stand to a non-drummer to pack away is akin to expecting a toddler to perform brain surgery. So, it’s polite to stick around and watch the bands that play after you, and at least offer to help the drummer break down the kit.
If they’re a touring band, they may well have a tech with them to help make light work of this, but if nothing else it gives you the chance to thanks them for loaning you the kit.
Keep in mind that at some point in the future you’re likely to be providing the drums for the evening, so treat your fellow drummers how you’d like to be treated and everyone will have a better show.
Stuart has been working for guitar publications since 2008, beginning his career as Reviews Editor for Total Guitar before becoming Editor for six years. During this time, he and the team brought the magazine into the modern age with digital editions, a Youtube channel and the Apple chart-bothering Total Guitar Podcast. Stuart has also served as a freelance writer for Guitar World, Guitarist and MusicRadar reviewing hundreds of products spanning everything from acoustic guitars to valve amps, modelers and plugins. When not spouting his opinions on the best new gear, Stuart has been reminded on many occasions that the 'never meet your heroes' rule is entirely wrong, clocking-up interviews with the likes of Eddie Van Halen, Foo Fighters, Green Day and many, many more.