
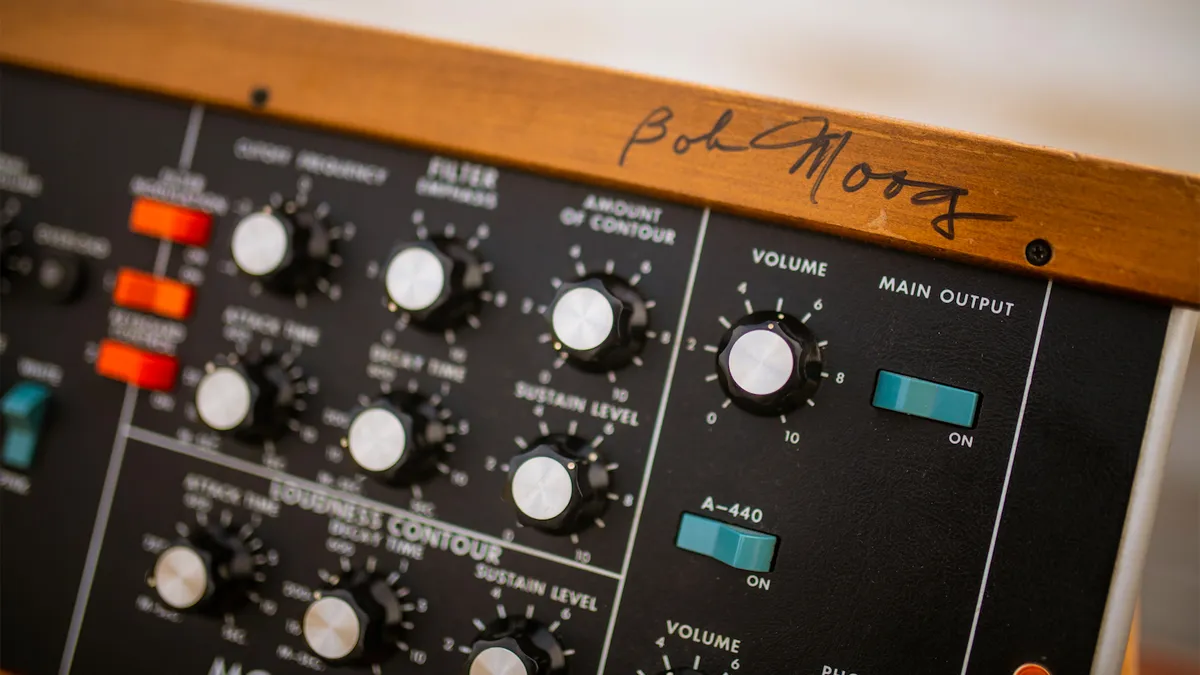
The Minimoog is arguably the most recognisable synth of all time. It’s also considered to be the first “classic” synth. It set the standard for future synths to follow and opened up a whole new world of sonic exploration.
How old is it? Over 50 years. The first model was in production from 1970 for just over a decade, until it stopped in 1981. More than 12,000 units were made during that first era of production. The company, RA Moog Co, only expected to sell 100 of them! Another fun fact is that the Minimoog was the first synth to feature a pitch wheel - standards were set with this legend.

After the 1980s, there was a rocky period for Moog synths. It wasn’t until the late ’90s that an updated version would hit the market. Most recently, Moog Music manufactured a reissue of the Model D from 2016 to 2017. Production had to stop because they were running out of parts faster than expected, due to the popularity of the synth.
There have also been tons of unofficial (and official) software versions of the Minimoog created. In our walkthrough guide here, we’re exploring the fundamentals using Behringer’s affordable and faithful Model D, but the principles work with any Model D, original, cloned or emulated.
What's so special about the Model D, then?
It comes down to fat, analogue bread and butter sounds, combined with a simple and straightforward interface to program and tweak. A faithful reproduction has no effects. It’s just pure synth tones. Obviously adding reverb and delay enhances the instrument tremendously, just like any guitar benefits from effects.
The original didn’t sync the oscillators (due to a voltage design) which inadvertently created a fatter-sounding synth. Since the oscillators tended to drift, the synth produced amazing analogue warmth, leading to iconic bass and lead sounds.
Nowadays, we’re spoiled for options. Behringer has created a super inexpensive Eurorack-compatible version of the Model D, and it sounds incredible. Roland even made the SE-02 which is inspired by the Model D, with some nice extras.
Creating a classic Mininmoog bass on the Behringer Model D

Creating a simple bass patch will get you familiarised with the panel easily. The first knob on the left is your tuning knob. This controls the first oscillator. Even the Behringer Model D version drifts in pitch, so you’ll have to tune your Model D as your studio heats up over time (unless you’re using software!)
Below the tuning knob you have options for glide and modulation sources/destinations. Let’s keep ‘glide’ set to zero for now. Moving to the right of the ‘Controllers’ section, you have your bank of oscillators. Oscillator 2 and 3 have separate tuning knobs that are relative to oscillator 1’s tuning.
All three oscillators have ranges that span from ‘LO’ (which is LFO territory) all the way up to 2’. The “feet” markings represent organ pipe lengths. So a 32’ pipe is going to produce a low bass tone and the two-foot pipe length produces the highest pitch. It’s old school.
Each oscillator can choose between six waveforms. The last three shapes are variations on square waves, with different pulse width values. What we love about the Model D is that we can make a fat bass out of any of the waveforms. Typically we’d say “here’s the sweet spot” for bass on a different synth. But they all shine on the Model D.
Setting the oscillators

So here’s what we’ll typically do for bass. Set the first oscillator to 32’ and pick whichever waveform you’re in the mood for. Let’s start with the first square wave (position 4).
Oscillator 2 we set to 16’ (one octave higher than osc 1) and waveform set to square 2 (position 5). Slightly detune the pitch as well. Don’t go too far. Just enough to create a slight difference from the first oscillator.
Oscillator 3 is basically the same as Osc 2, except choose the sawtooth waveshape (position 3). Also, detune the pitch in the opposite direction of Oscillator 2. In other words, make it sharp if you made Osc 2 flat.
The mixer

Now that our oscillators are set, we gotta mix them in the next section! For bass we typically set the first oscillator to 10 (max) and then osc 2 and 3 are set between 5-8 to taste. Noise generator is set to off.
There’s a particular trick with the Model D for getting extra fat and thick sounds. It’s the external input volume knob. If you route the output into the input and then crank it, you get an overdriven signal.
Modern versions of this synth have the output of the Model D routed into the external input by default. A little goes a long way for this. If you want your bass to be extra fat and round, turning up the external volume input will add more of a 100Hz bump initially, until it starts distorting and feeding back.
If you want a clean, classy bass that fits into a crystal clear mix, then keep this knob to zero or take it out of the mixing signal for good measure. We’ve found that around 6-7 on the external input volume seems to be the sweet spot on the Behringer Model D for thick basses that haven’t fallen apart yet from overdrive and feedback.
The filter

Dial in the filter and loudness contour to finish our bass patch; three switches connect the mixer to the filter section, Filter Mod and Keyboard Control 1 and 2.
The first switch patches in modulation to the filter cutoff frequency. For this bass patch we’ll keep it off (for now). The keyboard control switches defines how much influence the keyboard notes have on the cutoff filter frequency. For added character, these switches help a lot! Keep them on for now.
The filter on the Model D is also just as iconic as the Minimoog name itself
The filter on the Model D is also just as iconic as the Minimoog name itself. It’s only a Low Pass design, but has tons of character. In the filter section you’ll see six knobs. The first is the cutoff frequency point. Next is the ‘emphasis’ which in modern terms is ‘resonance’. And then you have ‘Amount of Contour’. This number sets how much the filter envelope influences the cutoff frequency.
For our bass patch, we like to set the cutoff frequency around -3 to start. The emphasis is tricky because the more you increase it, the less bass will be in the signal. Its design naturally pulls bass out of the signal as it gets more aggressive. Let’s keep it at zero for now. For the contour we like to set it to around 2 or 3 to start as well.

Both the filter contour and loudness contour have similar designs. You have attack time, decay time, and sustain. Now in modern terms, the decay is actually ‘release’ for a standard envelope. So think of it as an ASR envelope for both the filter and amplitude.
For this patch on the filter contour section, we keep the attack to around 5-10 milliseconds, short but just enough time for movement. Decay will be around 400-600msec. Sustain is set to zero.
In the loudness contour section, we set the attack to zero. For decay we typically start with 800msec to 1sec long so the bass notes have some “play” to them, and then get adjusted according to taste.
If the track is fast, say 140bpm or higher, then shorter decays can help to create quick bass accents in the production. Sustain is usually set at 10 to start (max level) and then adjusted accordingly for the song. Quick note: make sure the decay switch is turned on.
At this point, you’ve got a simple, down and dirty bass patch that’s usable across a lot of genres. Wanna switch it up? Change the waveforms for different flavours. Adjust the filter cutoff while you play to create emphasis on certain notes. Dropping the filter cutoff to -5 will create an even rounder, more flatwound-style bass. And don’t forget the external volume input to make your bass bark more or less.
Easy vibrato

Creating a simple vibrato for this patch is super easy. In the controllers section on the left-hand side, make sure the Oscillator Modulation switch is enabled. Then set the modulation mix all the way to the right for Noise/LFO and set the switch to LFO as well.
Now as you increase the modulation wheel, you get a wobble in the pitch of the oscillators. Adjust the LFO rate to control the speed of the vibrato. Wanna have the filter cutoff do the same thing? Enable the switch titled Filter Modulation that's between the mixer and filter sections. Now the filter will move with the LFO as you increase the modulation wheel, in addition to the oscillator modulation.
Detuning is your friend
When performing, grabbing Oscillator 2 for quick pitch detuning can create lots of sonic character. When a note is being held, this can be particularly useful. It creates drama and suspense hearing the notes detune briefly before coming back together.
Getting used to the oscillator tuning knobs can really enhance your expression on this synth.
Simple leads

Now that we have a down and dirty bass, we’re just a few steps away from a lead. To start, turn off all the oscillators except for the main one. Set it to range 16’ and keep it at a square waveform. Keep the mix volume set to 10.
Open the filter all the way up. Keep the emphasis and contour at zero initially. For the loudness contour, increase attack to around 5-10msec. Set decay to 200msec and drop the sustain to 5.
The Minimoog is such a simple synth with an incredible sonic palette
As you play with the patch, drop the cutoff frequency to taste and experiment with the external volume input. You may want to introduce some emphasis in the filter and contour for movement.
To make this lead a bit more complex, bring in oscillator 2, set the range to 8’ and the waveform to sawtooth. Mix this into the signal so it sits just under the main oscillator. In the controller section, bring the glide up to 3 or 4. In the modulation mix, set it to 5 so it blends between the LFO and Osc 3/Filter EG. Set to Osc 3 on the switch underneath the glide dial.
Next to Osc 3, in the oscillator bank, you’ll see an Osc 3 control switch, switch it off. This makes it so Osc 3’s pitch runs freely without influence from the keyboard notes. Now switch Osc 3 range to 16’ and the waveform to a square wave. Keep the tuning around 0.
Now as you increase the modulation wheel and play with the tuning of Osc 3, you’ll get some crazy frequency modulation effects in your lead, allowing for some interesting expression via the modulation wheel.
If the pitch modulation is too much, you can switch off the oscillator modulation and keep the filter modulation. This allows the modulation to be expressed in the filter cutoff alone. Increase the emphasis for more chirpy FX. And don’t forget to adjust Osc 3 tuning from time to time to get even more expression out of the modulation! Add in some reverb, chorus, delay to taste, and you’re good to go!
The Minimoog is such a simple synth with an incredible sonic palette. Learning how to program it is a valuable tool in sound design and music production.
Three great alternatives to an OG Minimoog
Arturia Mini V

A classic staple of the V Collection, Arturia’s Minimoog emulation captures the vibe, and adds some handy modern touches too.
Behringer Model D

Behringer’s hardware take on the Model D sounds close to the real thing, and can be used in Eurorack form too, with added patchpoints.
NI Monark

NI’s take on the Minimoog has lots of sonic heft – a great choice for powerful bass and authentically analogue-sounding leads.
