
Buying new gear is obviously a great way to upgrade your guitar sound, but it's not the only way – using what you have in new ways can make a big difference. Here's some of our favourites…
Use a stereo effects pedal to split your signal

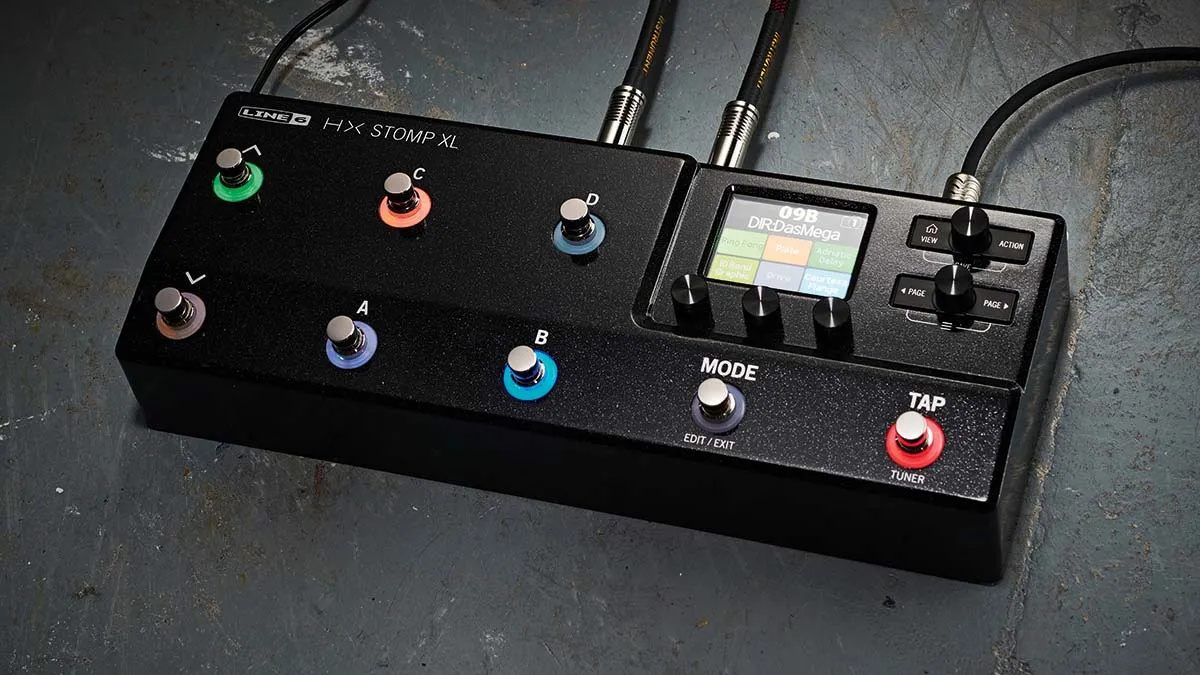
There are loads of dedicated signal splitters on the market, and they have their merits. But if you want to experiment with splitting your guitar’s signal, or save real estate, scour your ’board for a tuner, modulation or delay pedal with dual outputs.
Treat this as your splitter, and it’s your low-cost gateway to the guitar signal dual carriageway!
2. Power your pedalboard from a tuner

Many tuner pedals include a power output socket as well as an input. So, by powering up your tuner with one power supply, you can buy a ‘daisy chain’ of power cables for a few pounds to drive the rest.
Just add up the current draw of each of your pedals (the mA rating) and make sure it doesn’t exceed your supply’s maximum, then check they use the correct polarity and you’re done!
3. Use your effects loop

Those sockets you’ve been ignoring on the back of your amp or preamp pedal marked ‘send’ and ‘return’? Well, this might be hard to believe, but they do something – and it’s good!
Your effects loop allows you to diverting your signal between the pre and power amp stages of your amp. Why? Well, some effects (modulation, reverb, delay, etc) are designed to be placed after your gain has been applied. So, for example, by placing them at this point in the chain, you’ll get a delayed distortion, rather than a distorted delay.

You can also choose to place just a couple of pedals in the loop and use it as a way of bringing in multiple effects at once. Not everyone prefers this set-up, and there are no rules, so experiment!
4. Get more out of your amp and multi-effects unit
Are you running your multi-effects unit straight into the front end of your amp? There’s nothing wrong with that, but the mythical four-cable method could help give you extra versatility and make your effects sound better than ever.
All you need is an amp with an effects loop, a multi-effects with send and return sockets, and four cables. Plug your guitar into the your effects unit, then run a cable from your effects’ output to the amp’s effects in/return socket on the back. Then, you need to run a cable from the amp effects send into the pedal’s effects return, and finally from the pedal’s effects send into the amp’s main input.
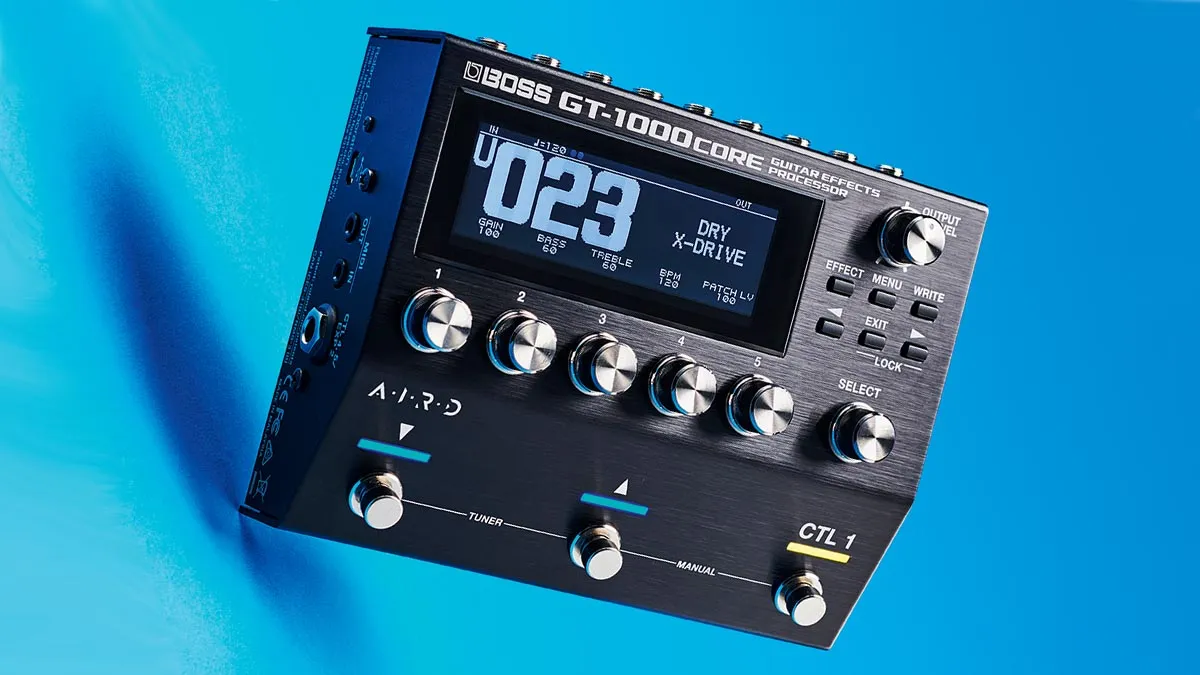
This not only will enable you to place effects in the amp’s loop as you would with physical pedals (most modern multi-effects units allow you to choose where the loop occurs in the signal chain), but it can also totally change the character of your amp.
If your pedal has built in amp simulations, and you’re prepared to spend a bit of time learning how your multi-effects’ signal chain works, you could bypass your amp’s preamp (the bit that gives it much of its tonal character), and run your amp sim sounds (without cab modelling of course) straight into the power stage for added realism and responsiveness. It might take you an afternoon of fiddling, but the results can be spectacular!
5. Find the sweet spot on any amp

The sweet spot is the point where you feel your guitar amp sounds best. Yes, it’s subjective and how responsive you judge it can vary according to context, but it’s there. To find it, set your amp at the level you’d usually play at without any pedals or reverb engaged and turn all the EQ settings to 12 o’clock.
Now dial down the treble and roll it up until you first notice an audible difference in tone. Do the same for middle and bass. If you have a master volume turn the normal volume setting down and gradually turn it up for the same test. Then use the master to control your level.
6. Change your valves and make them last

Valve amps are great, but tubes don’t last forever. Power valves (NOT preamp valves!) will start to wear out after about a year, depending on how much you use them, and will need to be changed.
Telltale signs of wear include weird microphonic whistles, dull, lifeless tone and a noticeable drop in output. Want to extend your valve life? Turn your amp off straight after a gig and let it sit for a few minutes before moving it. Vice versa: when setting up, as soon as you’ve got a power cable to your amp turn it on and let it warm up for as long as you can before you start playing.
7. Use your effects loop as a DI

If you need to run a DI onstage for monitoring, or in the studio to capture a track for reamping, you can hack your amp’s effects loop!
Simply use the ‘send’ half of it to run a signal out to another device and you’re there. This will only work on some amps (our Blackstar HT Stage 60 does it), depending on how the effects loop is wired. Always make sure you have your speaker connected when trying this, too.
8. Get your pedalboard in the right order

Did you know that the order in which you place your pedals in your signal chain has a significant impact on your tone? It does, and while there are no ultimate right or wrong answers, there is a generally accepted order that will get the best out of all the effects on your pedalboard.
The start point is generally wah, followed by any EQ or compression pedals. After that it’s distortion/overdrive effects, then boosts, then modulation effects (chorus, flangers, phasers, etc). Delay and echo should come next, and this is important.

A delay pedal basically takes a snapshot of whatever sound is played into it, so if you want your echoes to reflect your full tone, it needs come at the back of the chain.
Lastly, we have reverb, which works well in conjunction with delay repeats, and indeed everything else, so stick it right at the back. Finally, don’t forget this is just ‘default’ stuff, and a good start point – experimentation with effects is half the fun, so don’t be afraid to mix up your pedal order and see what happens…
Guitar pedal order: how to organise your pedalboard
