
In the seven years since Ableton’s Push 2 hardware hit the market, it’s successfully established itself as the go-to control surface for Live users.
While there are other great Live controllers out there, including many that do certain things better than Push – Ableton’s device is still notably missing a keyboard, and Push 2 lacked that versatile MIDI and CV functionality of Novation or Arturia controllers – its plug-and-play simplicity and tight workflow made for the smoothest way to interact with Live beyond a mouse/keyboard.
That success, however, must have presented Ableton with something of a challenge when designing the inevitable follow-up: how to make a new Push that felt like a substantial step forward without upending the established workflow of Push 2’s many users.

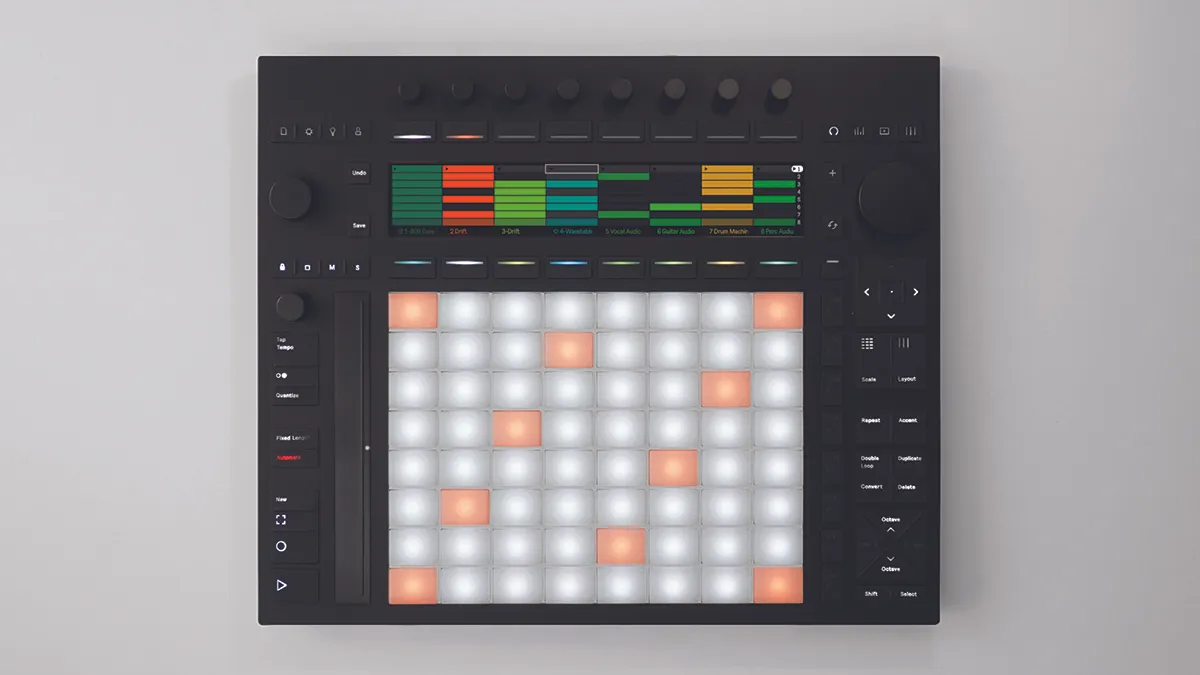
Push 3 is, on the surface, fairly similar looking to Push 2. The hardware itself is broadly the same size and shape, with a layout of controls that have been lightly shuffled rather than fully rearranged. Thankfully for existing users too, the general workflow hasn’t been radically changed. The process of playing and step sequencing sound, making parameter edits with the top rotaries and launching Clips and Scenes is, if not always exactly the same, at least fairly familiar. In short, your hard earned muscle memory isn’t going to be ruined by the act of upgrading.
There are several very significant updates for Push 3 though. The first is the newly enhanced, MPE-ready pad grid. This goes a long way to finally living up to Ableton’s vision of Push as an ‘instrument’ rather than a controller, as it turns the playing surface into something genuinely responsive and expressive.
There are massive enhancements to what the hardware itself can do too. For one thing, every Push now comes equipped with an audio interface and a vastly upgraded range of ins and outs to make use of this, meaning it’s possible to sample and record directly through Push itself.
Most headline-grabbing of all, however, is the fact that Push now comes in two specific varieties: the base controller version, and a standalone configuration that includes an Intel i3 processor with 8GB of RAM, that can run a bespoke, Linux-based version of Live directly inside Push itself.
Below, we’ll get stuck into a few of the things you need to know when starting out with Push 3, whether in controller or standalone mode.
1. Embrace standalone - even if you're connected to a computer
With Push 3, Ableton has designed a device that can work either tethered to a computer, or as a standalone unit via an internal processor. The control layout for both of the configurations is identical though, meaning that the workflow is pretty much identical too (aside from a few things, like the significant fact that you can control third-party plugins in tethered mode, but not standalone).
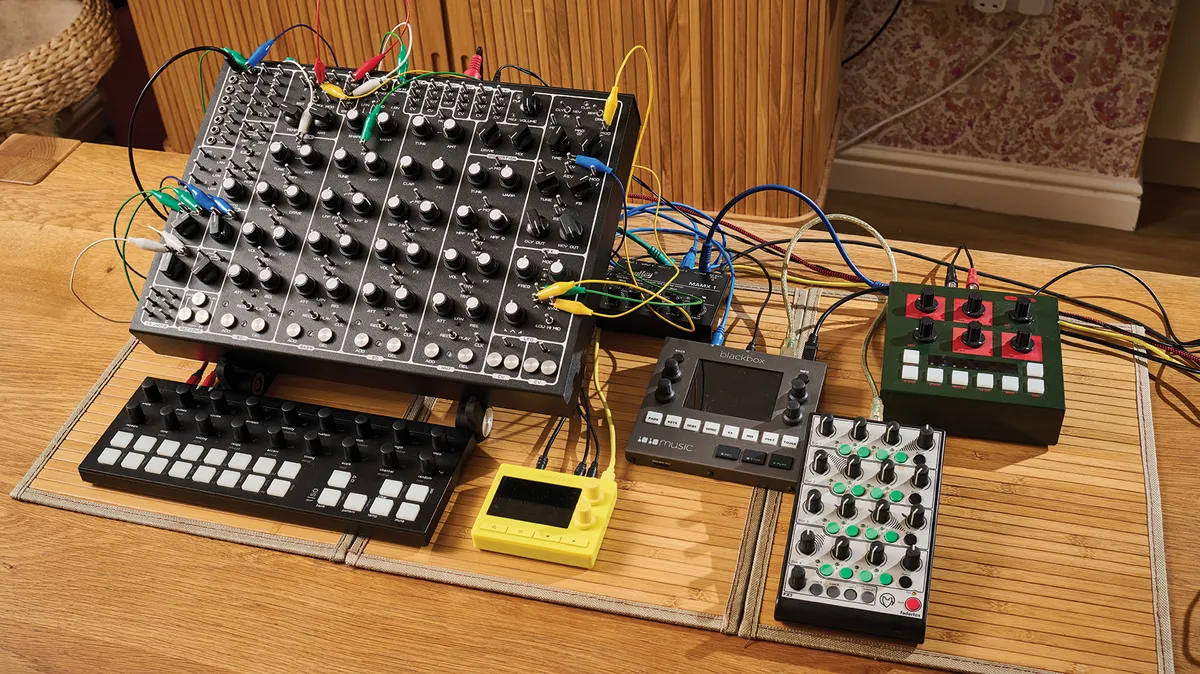
Lose the laptop: How to go DAW-less and make electronic music without a computer
The upshot of this is that you can treat Push like a standalone device even if your unit doesn’t pack an internal processor. Simply put the computer to one side and embrace the creatively-freeing nature of its all-in-one workflow. Since all versions of Push 3 have identical audio interface and I/O capabilities, you’ll still be able to sample and record, plus control external gear, in exactly the same way that a standalone user would.
2. ...but don't expect it to do everything!

We’ve seen some online reaction to the Push 3 announcement bemoaning the things it doesn’t do. Let’s acknowledge upfront that if you’re expecting to pick up a standalone Push 3 and be able to sell your studio computer because it’s no longer needed, you’ll be disappointed.
Even with a processor onboard, Push 3 is best considered as a complement to, rather than a replacement for, the desktop version of Live. Push 3, at least currently, doesn’t engage with Live’s Arrangement View, and while you can do a lot to build tracks using Clips and Scenes, realistically the final steps of finessing a project are still better done via desktop.
Even with a processor onboard, Push 3 is best considered as a complement to, rather than a replacement for, the desktop version of Live
Similarly, we can’t realistically see ourselves doing a final mixdown in standalone mode. The best approach is to work out how the hardware can most benefit your creativity and then decide what stages of your studio workflow it will fit best into. It’s also worth doing a little prep before diving in with the standalone mode. As we explore below, coming armed with some pre-configured presets, samples and templates will go a long way when it comes to speeding up your creativity.
3. Adjusting MPE

One of your first ports-of-call upon getting started with Push 3 should be the Expression and Sensitivity tabs in the settings page. Here we can adjust the behaviour of how the MPE pads respond to our playing.
There’s no right or wrong way to have this set up, but experimenting with different levels of sensitivity and the pitch positioning of each pad will really help adapt Push to suit your playing style and abilities.
4. Offline automation

The most obvious way to add automation to a clip with Push is to use the Automate button along the left-hand side. When this is lit red, the device will capture any parameter changes along with note inputs. However, Push allows for offline automation using its step sequencing modes too.
To access this, move over to any of the step sequencer layouts, hold down a pad corresponding to a sequencer step, and then adjust one of the parameter rotaries along the top of the unit. Push will capture the automation for the specified step. This also works when used with ‘empty’ steps without an assigned note input.
5. Moment-to-moment

Momentary button presses were introduced with Push 2, but they’re a more prominent feature of the workflow here. This means that some buttons can be engaged in two ways: a quick press, to toggle the function on/off, or by pressing and holding, which will engage that button’s functionality momentarily while held down, then disengage as soon as you release it.
With Push 3, this applies to both specific tools, including Repeat and Accent, and views, meaning that pressing and holding any view or layout selector will allow you to jump to that area of Push momentarily.
6. Freeze and flatten

Compared to some other ‘DAW-in-a-box’ devices, Push 3’s processor and RAM holds up fairly well to having multiple tracks playing at once. (If you want to know exactly how well, we put the standalone Push 3 to the test in a recent video.)
There’s obviously a limit to this though, and to avoid butting up against the unit’s capabilities, it’s worth getting into the habit of freezing or flattening tracks that aren’t being edited or automated. Access this by holding Shift and pressing the button that corresponds to that track below the screen. Freezing will temporarily bounce a track to audio, saving CPU load temporarily but in a way that’s easy to undo, Flattening makes the process permanent, effectively committing MIDI to audio.
7. Per-drum swing

As well as applying swing settings to a full Clip, if you hold down a pad in a Drum Rack before hitting Quantize, you can apply swing settings to just that sound, without affecting the rest of the Clip.
Similarly, selecting individual notes in Clip view allows you to apply quantisation to just the selected notes. In Clip View, the Nudge amount is effectively the same as your Swing setting.
8. Quick swing

Push 3’s tempo dial has two functions – adjusting the project tempo and the swing amount – which are accessed by clicking the dial to switch between them. Note though, that adjusting the swing amount won’t do anything until you then press the Quantize button to apply it to the currently selected clip. Because of this, it’s possible to apply different levels of swing to different clips within your project, even if they’re on the same track.
9. Colour change

Change the colour assigned to any track by holding Shift and pressing the button below that track on the screen. This will bring up a ring of coloured pad options which you can choose from. This can be helpful for organizing your clips and streamlining your workflow.
10. Using Follow Actions

Follow Actions are a tool in Live that let users specify what happens once a Clip has finished playing. You can, say, tell a Clip to loop a certain number of times before moving on to the next Clip on the same track, or assign a probability that dictates whether a Clip will loop again or move on.
You can’t currently set up Follow Actions using the Push hardware, but existing Follow Actions still function when Push 3 is in standalone mode. That means you can assign Follow Actions to Clips in the desktop version of Live, and then transfer them to the standalone hardware; something that will undoubtedly be a major asset for those preparing for a live show.
Bonus tip: How to use custom Drum Racks with Push 3 standalone
With a little prep you can port your favourite kits to Push with a minimum of fuss.

As Live users know, each pad of a Drum Rack can contain any one of a variety of sound sources, including any of Live’s instrument Devices or third-party plugins. A common use, however, is to load each up with a sampled hit, via individual instances of Live’s Simpler. Our example here uses 16 vintage drum sounds from FM’s Sample Archive.

By clicking the disk icon at the top of its UI, we can save our Drum Rack preset. Live’s Browser then allows us to drag this preset into the User Library on Push’s hard drive to access in standalone mode.
Simple, right? Problem is, if we try to open the preset on Push, we’re greeted by a Drum Rack full of missing samples that makes no sound. That’s because Live doesn’t, by default, save samples along with a preset.

The easy workaround is to transfer the Drum Rack as part of a Set. In the desktop version of Live, we create a new Set and load our Drum Rack preset. Now we ‘Collect all and save’, naming it My Presets.
By doing this, Live will bundle all of the samples used along with the set. We now drag the full folder for this set from our desktop browser across to Push’s user library.

As well as the Simpler instruments, our Drum Rack preset also contains several effect returns. These can’t be accessed using Push’s interface, either in Device or Mixer views. That doesn’t mean they’re not there though; our effects are still active but we haven’t got access to their parameters.

Again, we can work around this with a little prep. Back in the desktop version of Live, we assign any effect parameters we want easy access to as Macros in our Drum Rack. Here we’ve set up Macros to control the level of two different reverbs, as well as a parallel distortion, and set up a control to send our snare to a dubby delay.

Next, we transfer our updated version to Push by repeating the ‘Collect all and save’ process above. Finally, with our Set open on Push, we hold Save and press the button above our Drum Rack Device. Our finished preset – complete with samples – is now saved in the Push User Library for use in any subsequent project.
