How to record and comp a lead vocal in your DAW
This triple-stacked tutorial shows you how to produce a polished vocal recording by compiling multiple takes

Want all the hottest music and gear news, reviews, deals, features and more, direct to your inbox? Sign up here.
You are now subscribed
Your newsletter sign-up was successful
Recording top-notch vocals is a notoriously difficult feat, as we found out in last week's guide. Don't despair, though: polished and pristine vocals are within every bedroom producer's reach, and one way to get there is by compiling multiple vocal takes for a rich, layered sound. Follow the steps below to record and comp a pro-sounding lead vocal part in Ableton Live.
Finding the best sound
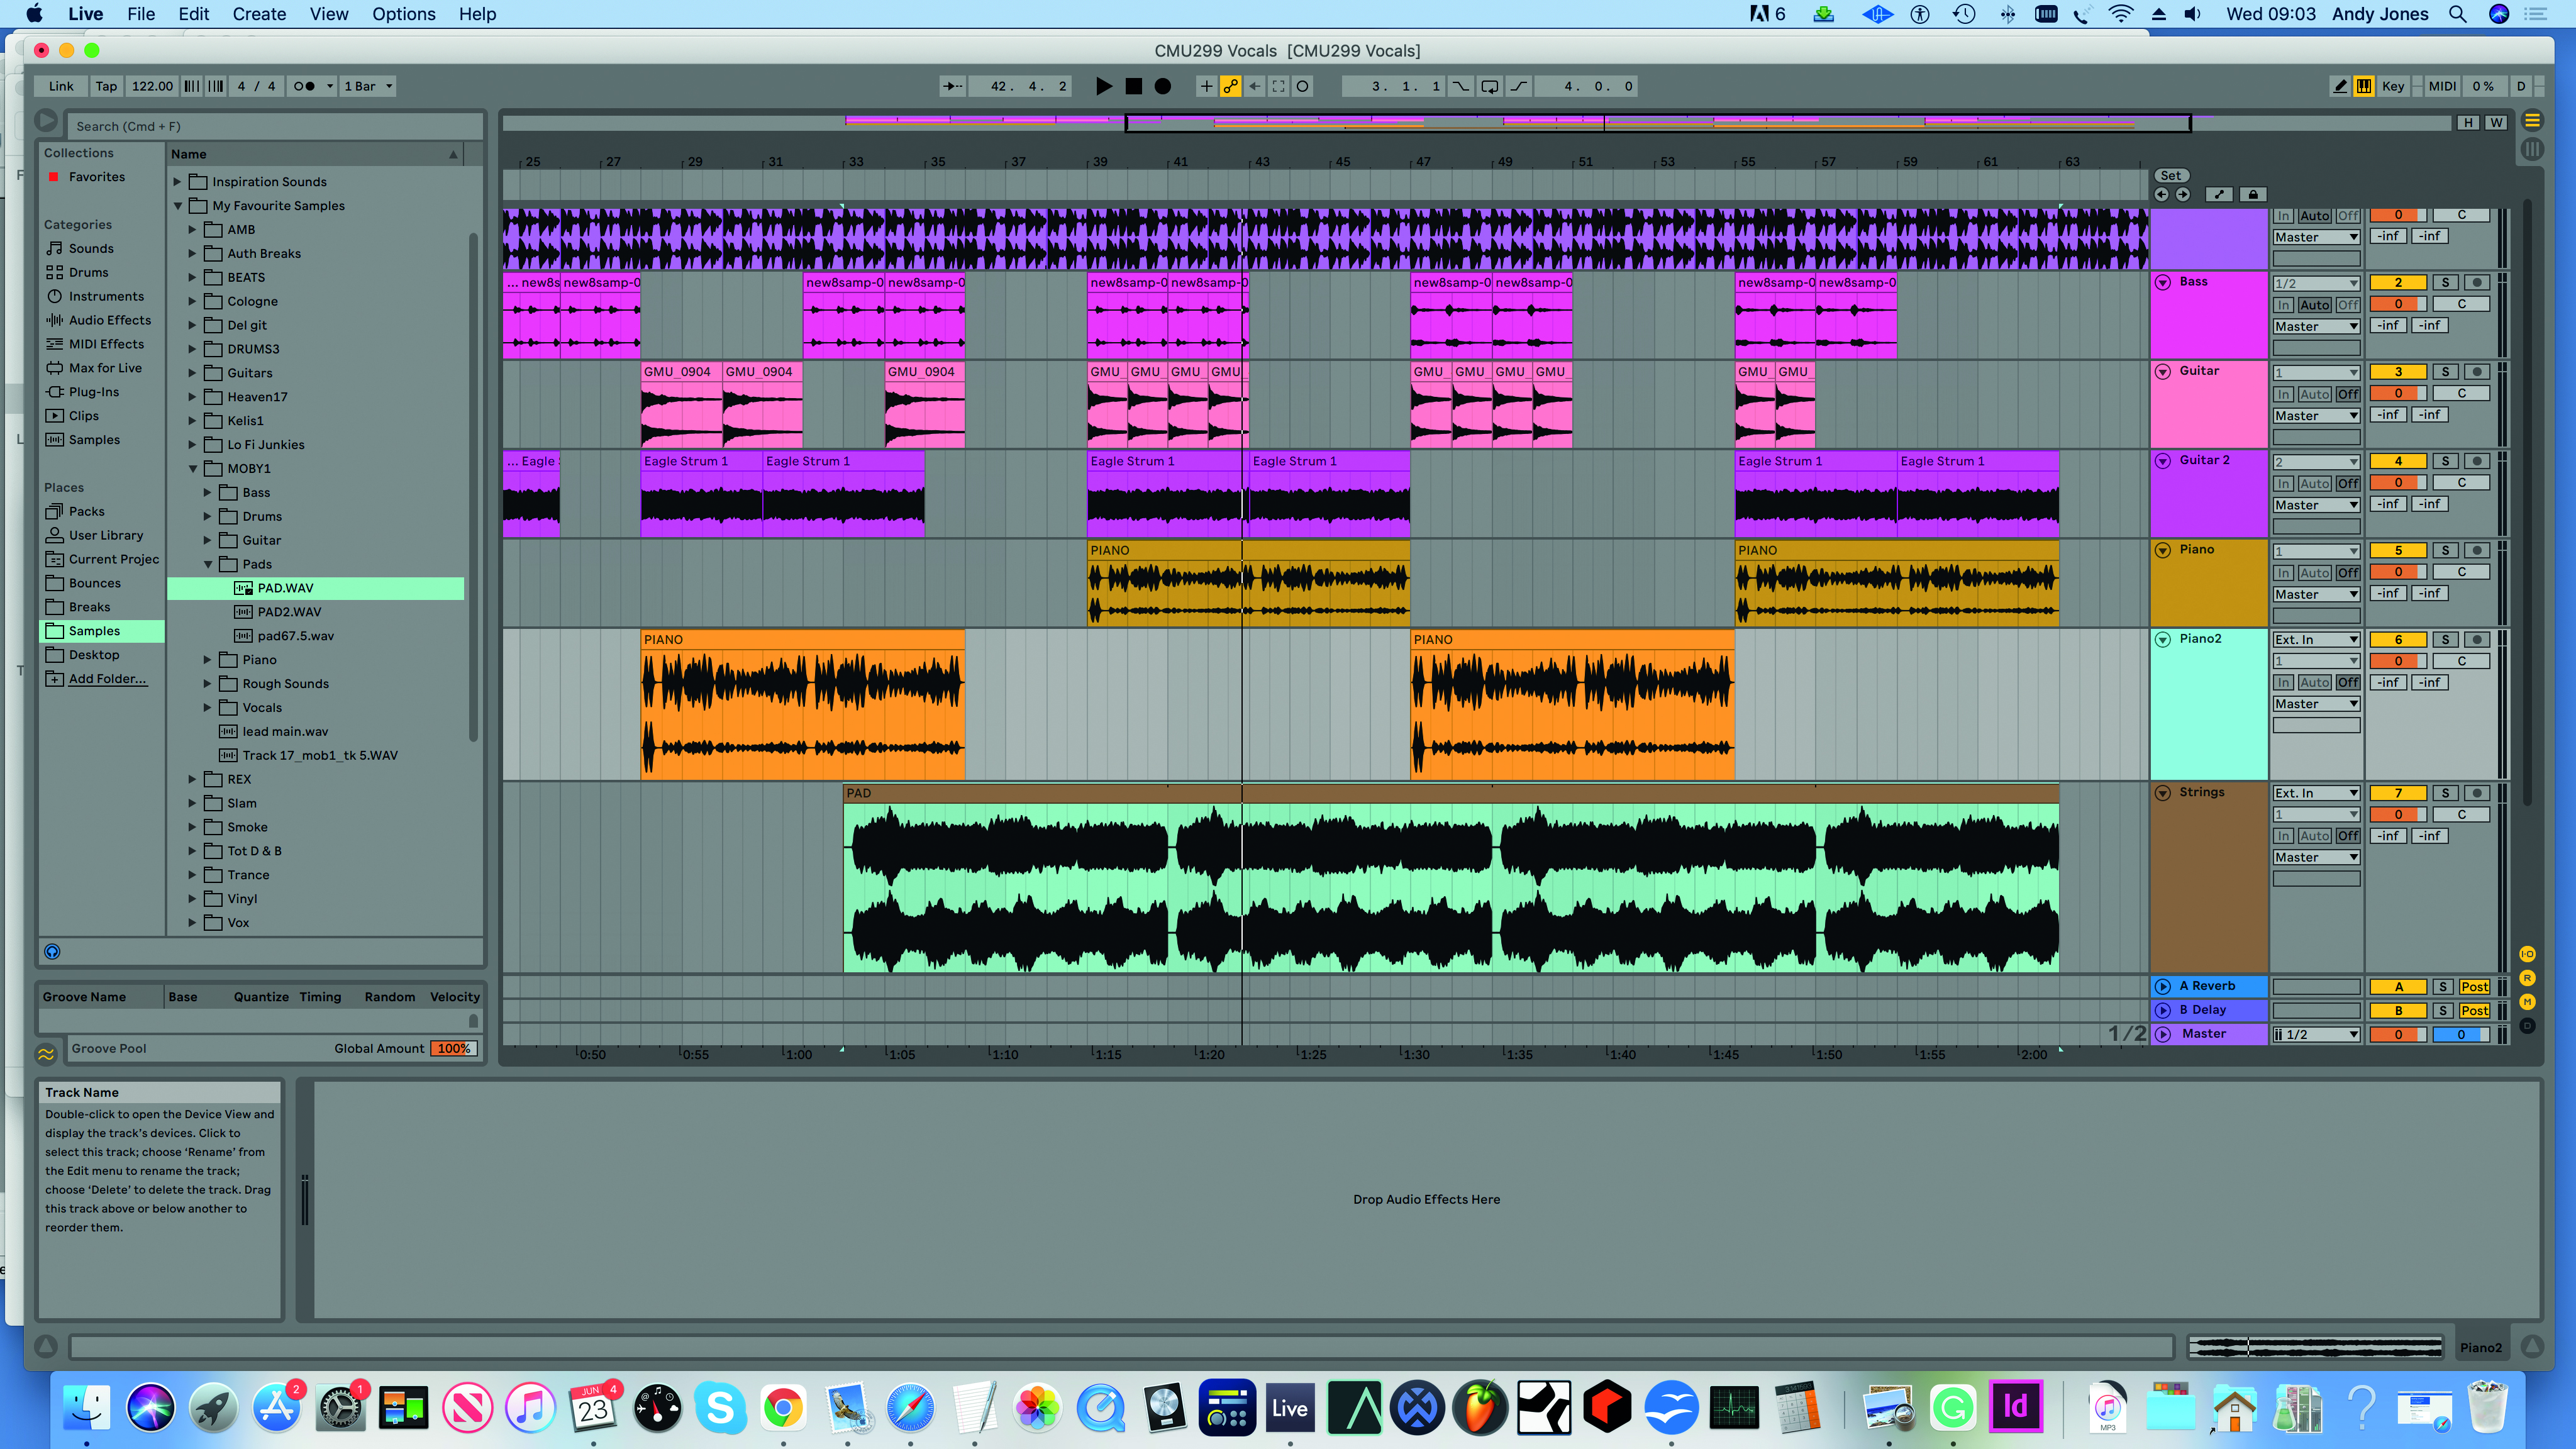
Step 1: Here’s our track ready for some vocal magic. It was chosen because the arrangement and instrumentation are fairly simple, providing our vocalist with plenty of space in the mix for both lead and backing tracks.
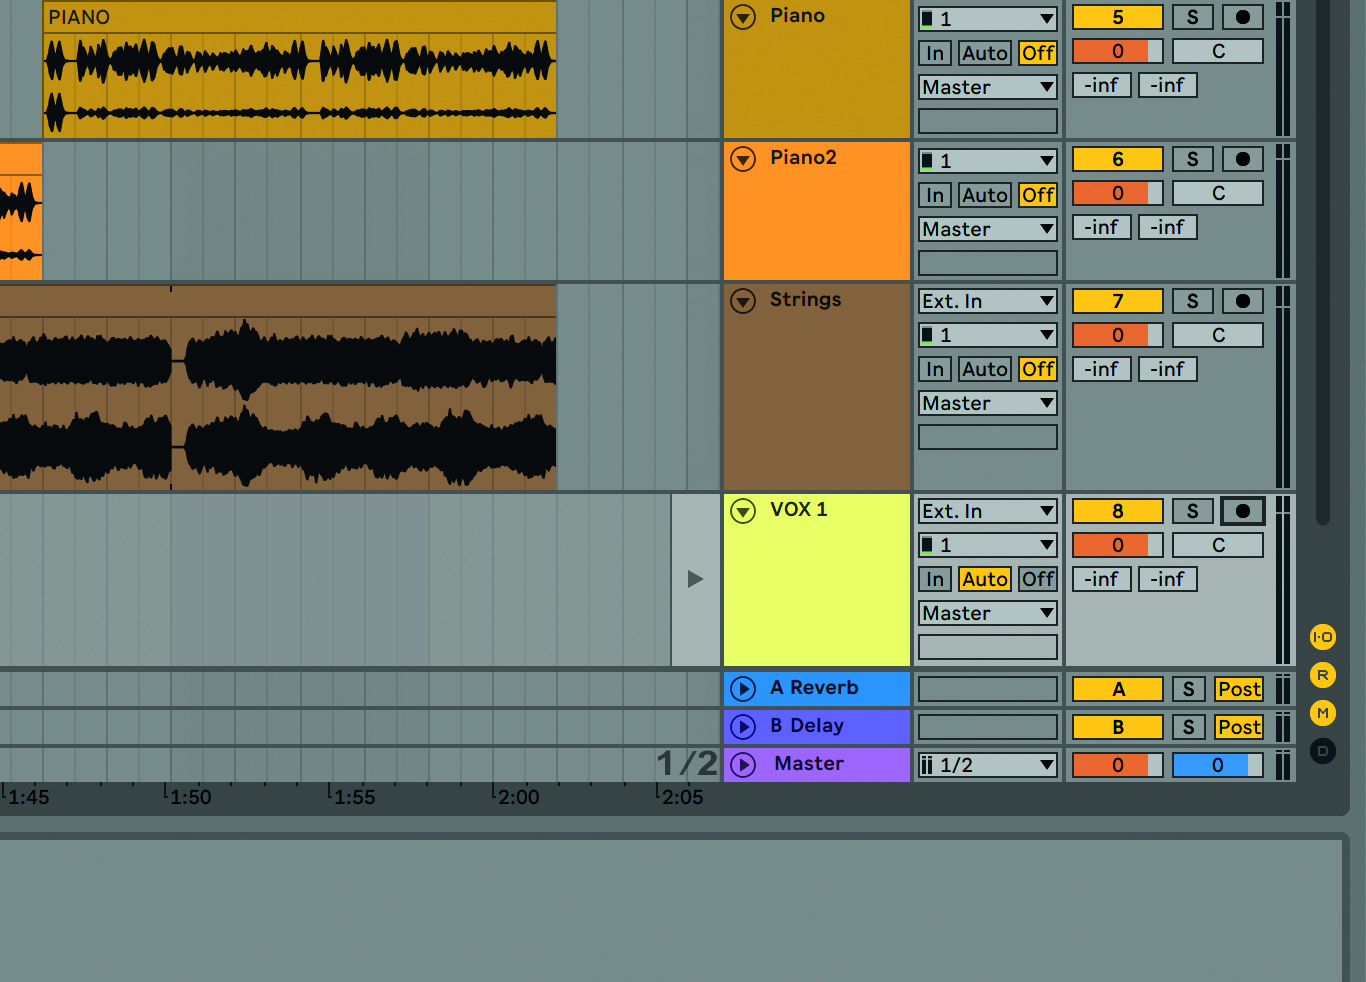
Step 2: We engage phantom power for our condenser mic, and as we’re recording in 24-bit, we get our vocalist to sing a few loud notes to check that our interface’s input is peaking around -12dBFS. We create a new audio track, set it to mono input and check that the vocals are clearly heard over the backing track in the headphones.
Article continues below 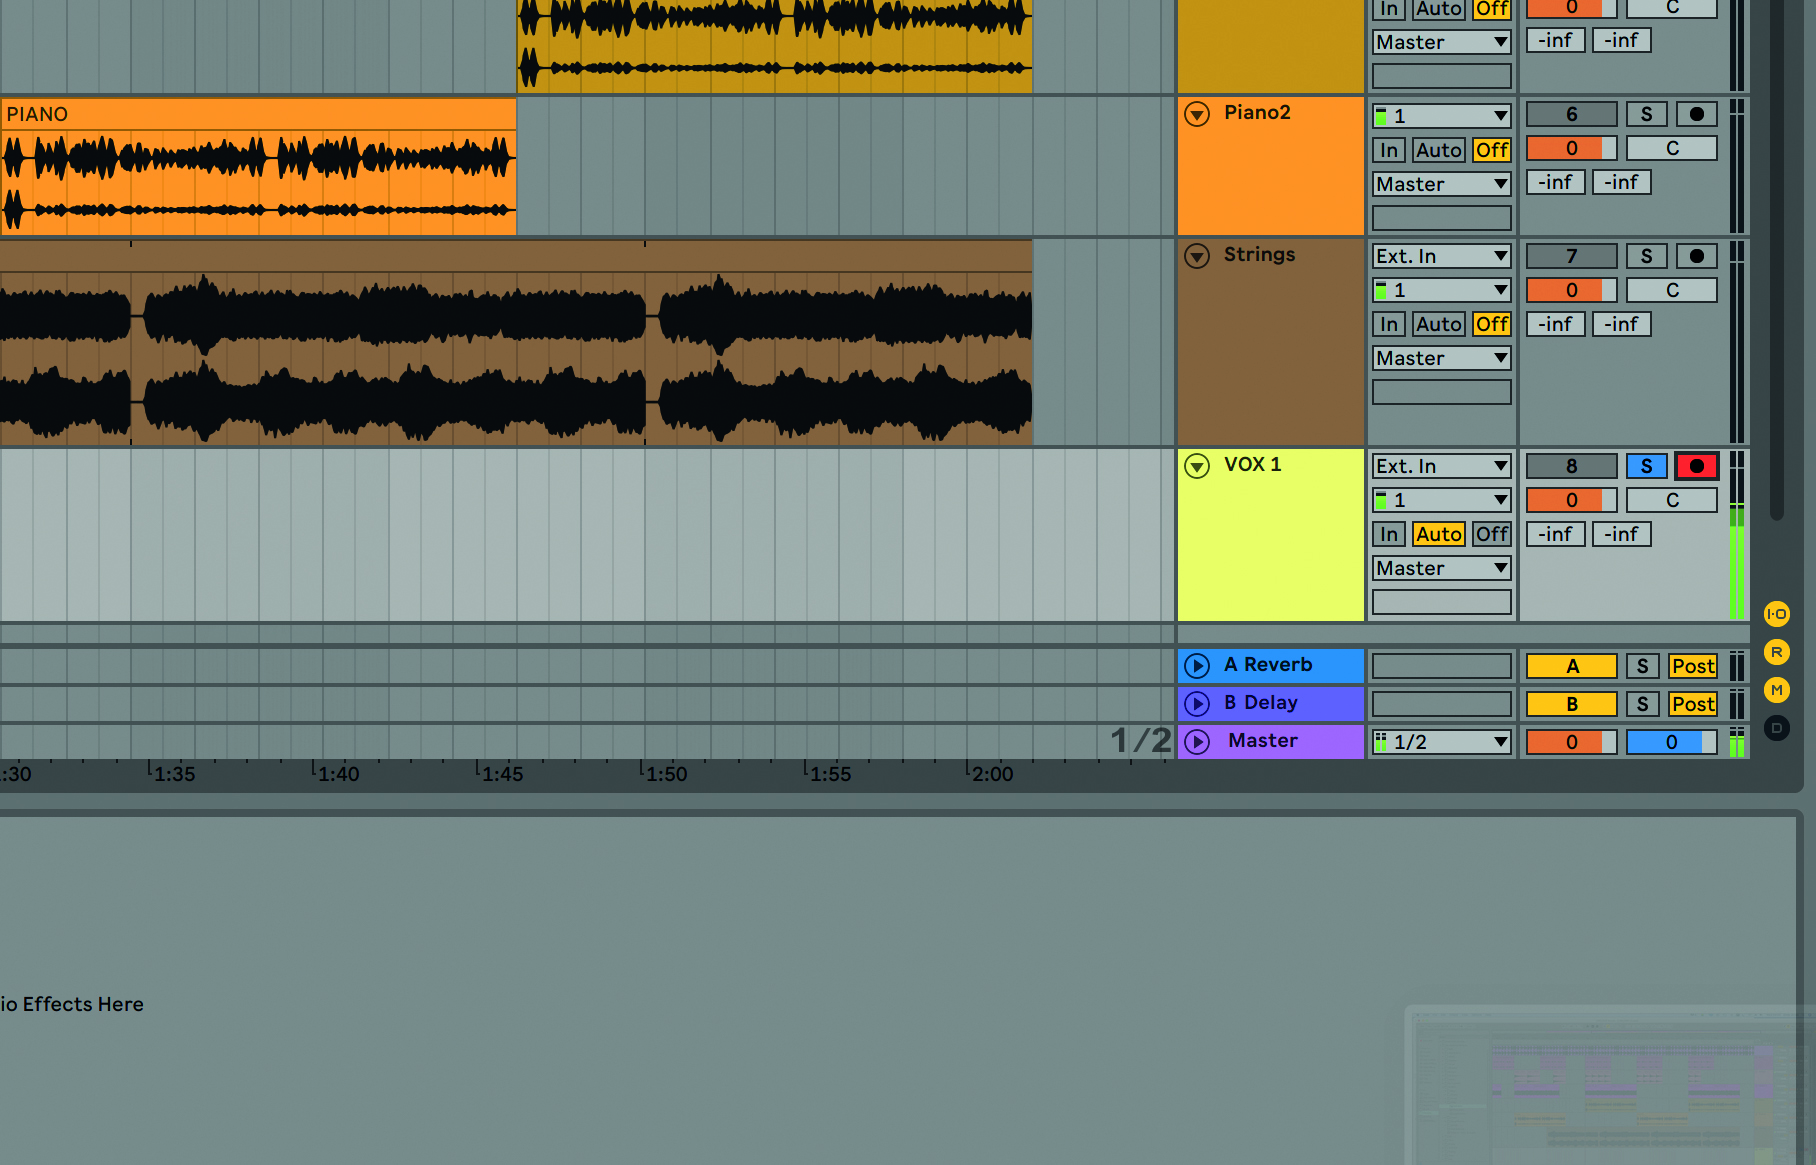
Step 3: Remember to rename all your tracks, as this will make things much easier later on. We’re now ready to record our first take, so we arm the Vox 1 track. Our vocalist is about five or six inches away from the mic for this one, and we decide to record the whole lead part in one go so that we can judge how it’s going to sound.
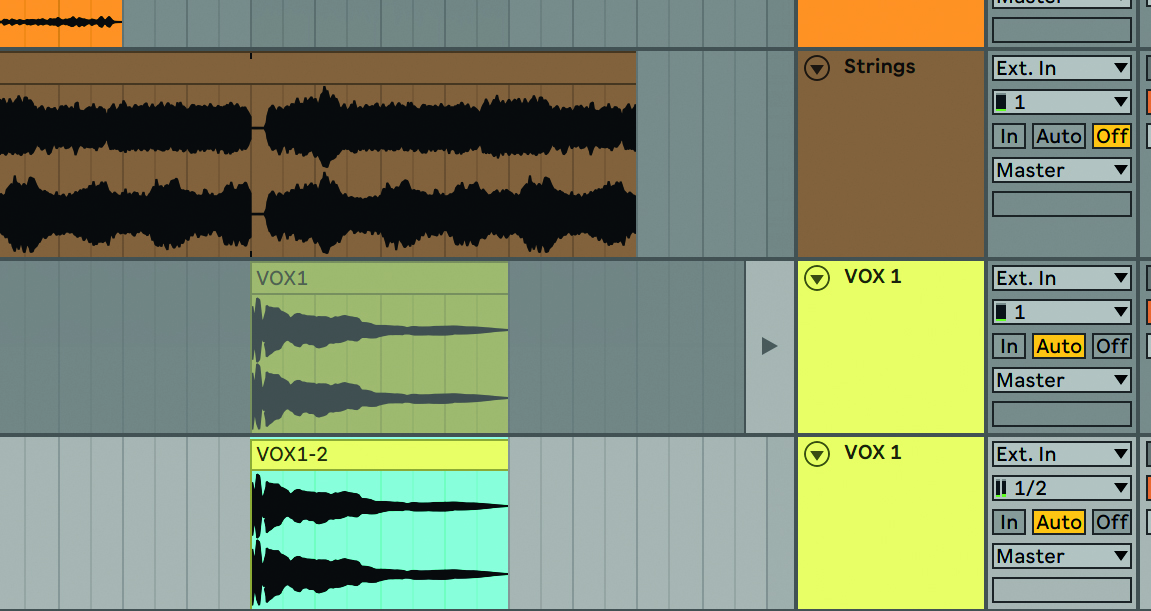
Step 4: We get our vocalist to move closer to the mic this time – about two or three inches away – for a more upfront sound, which may suit this particular track better. This is also the time to make sure your vocalist is happy with the monitor mix. We then create a new audio track, mute the previous one and go again.
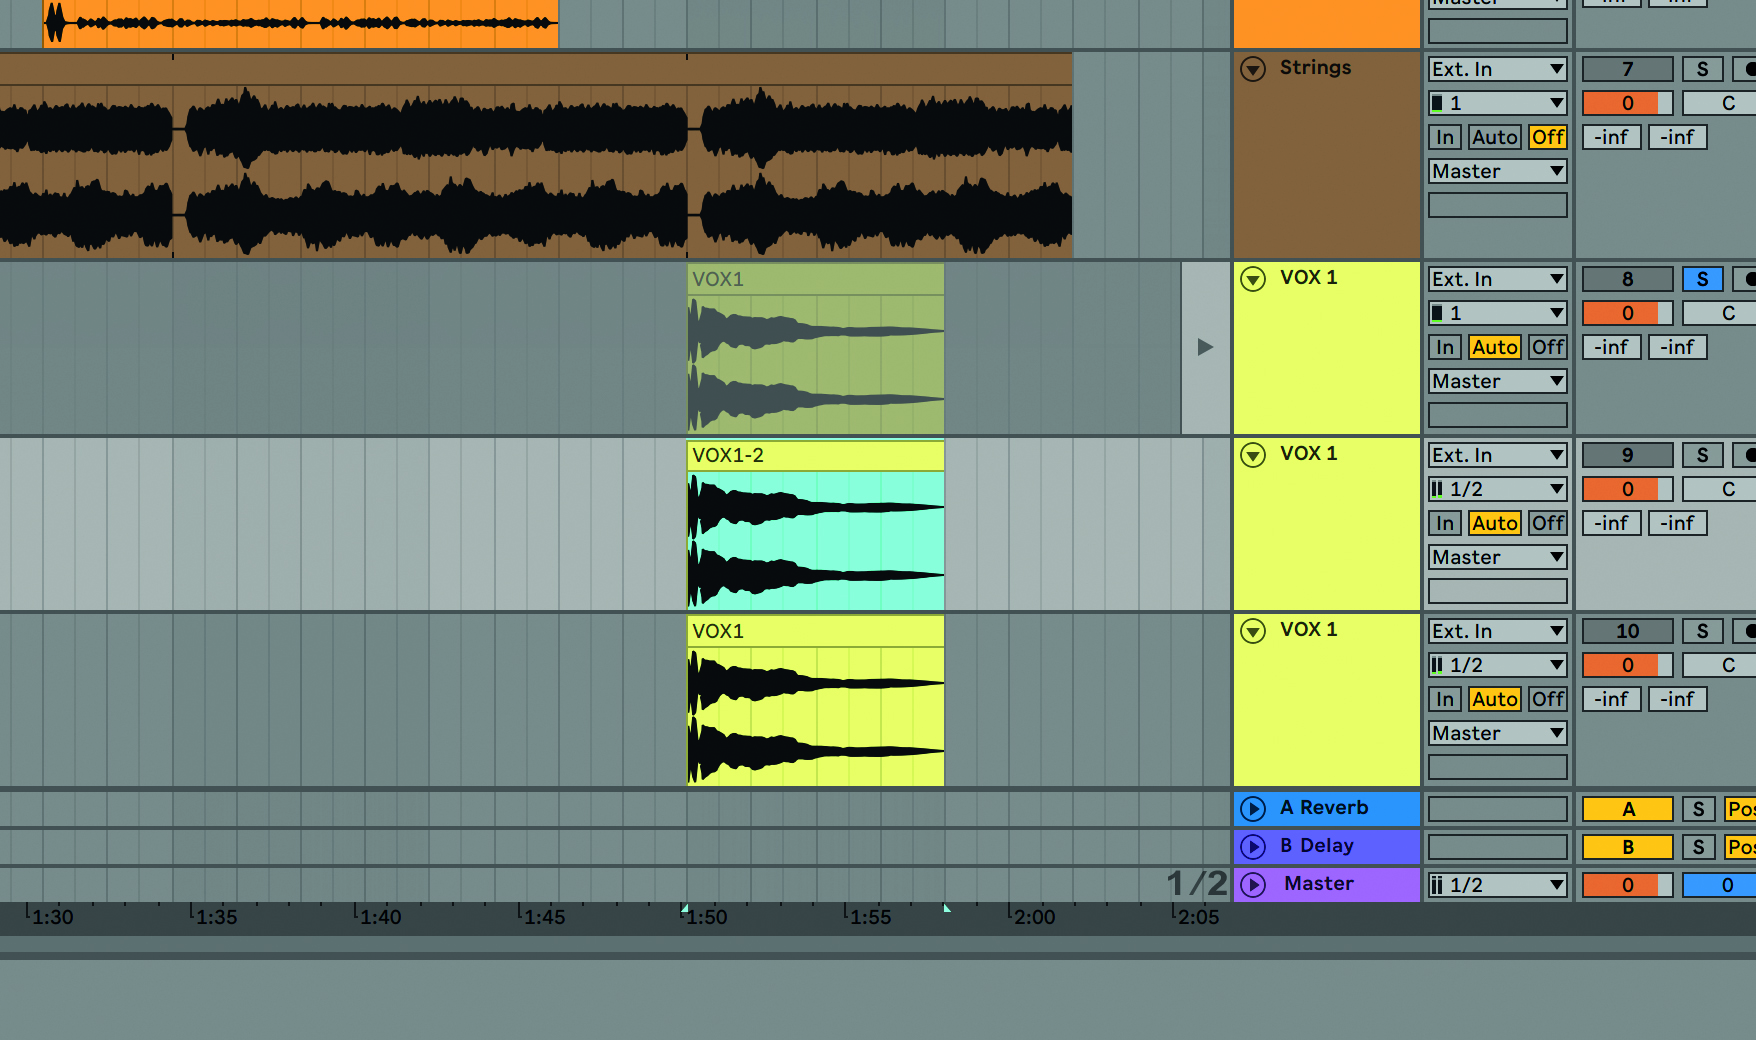
Step 5: It’s now time to pick which of the takes is working best. Listen back to each one in turn and get rid of any effects you’ve applied. After careful consideration, we decide that the second take (the one recorded closer to the mic) is the best in this situation – we’ll stick with this more upfront sound for all of our future takes.
Power tip... using reverb and compression
Some vocalists prefer to have compression on their vocals as they’re recording, to tame their dynamic range and enable them to hear every nuance clearly. The same is also true for reverb, which will help a performance sound more natural.
Want all the hottest music and gear news, reviews, deals, features and more, direct to your inbox? Sign up here.

This is fine, but don’t add too much of either as it’ll adversely affect pitching, and never apply any such effects to the actual signal that’s being recorded (that is, via hardware processors or your soundcard), or you won’t be able to change things later on if you overdo it. Instead, place a plugin on the audio track itself, which can then be removed after recording.
Recording multiple takes
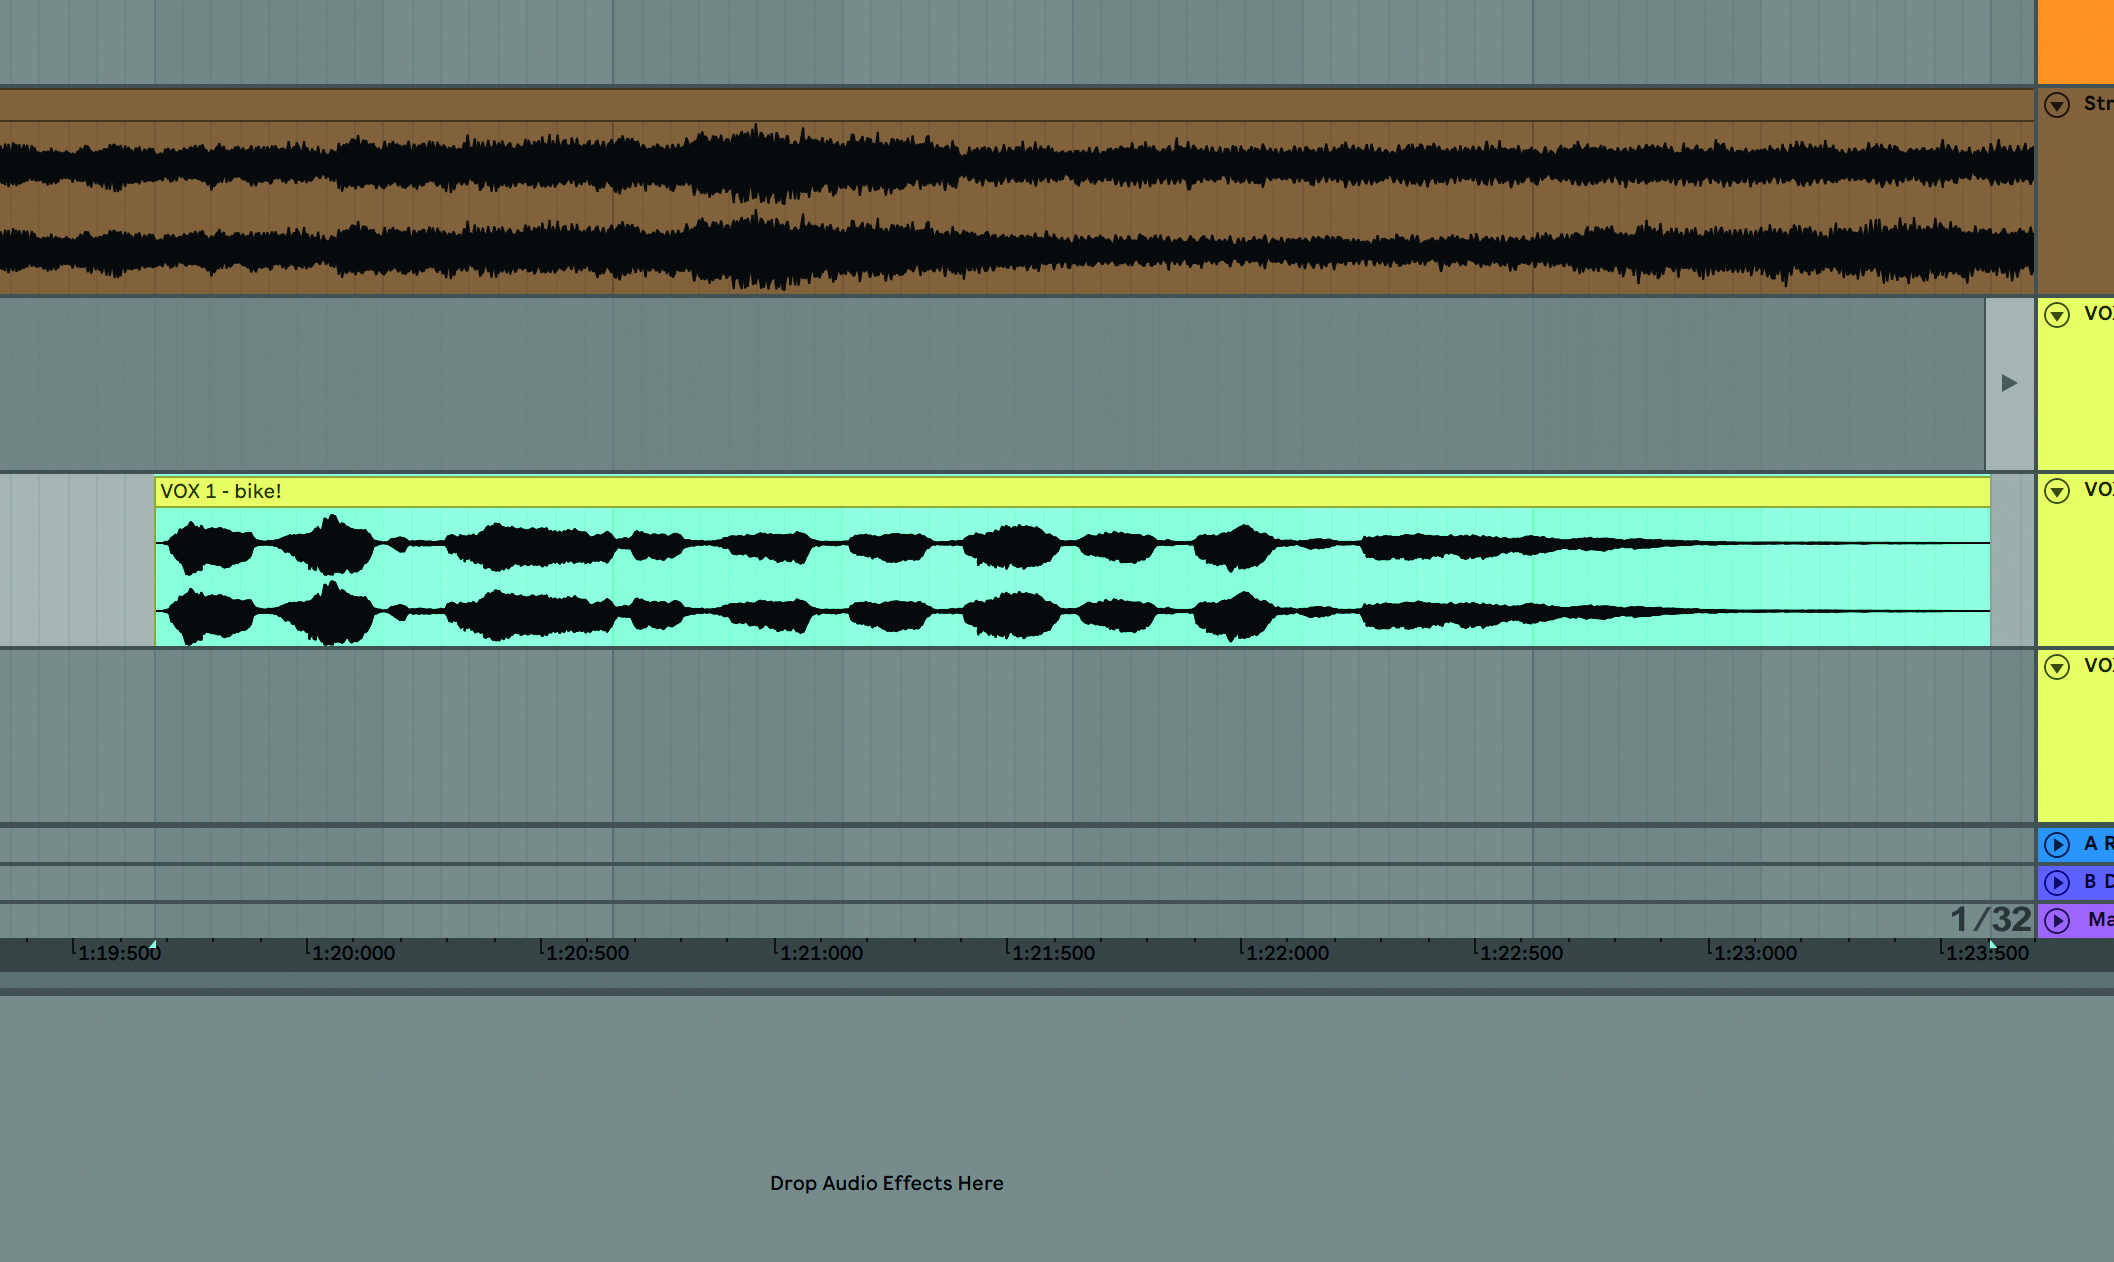
Step 1: Having decided that we prefer the closer vocal, we go for another take on a new audio track, making sure to mute the other vocal takes before recording. Alas, a very noisy motorbike outside our bedroom studio ruins the take, so we stop recording. We don’t delete this take, as some parts may still be usable when we come to compile them. We also label it so we don’t have to hunt for it later on.
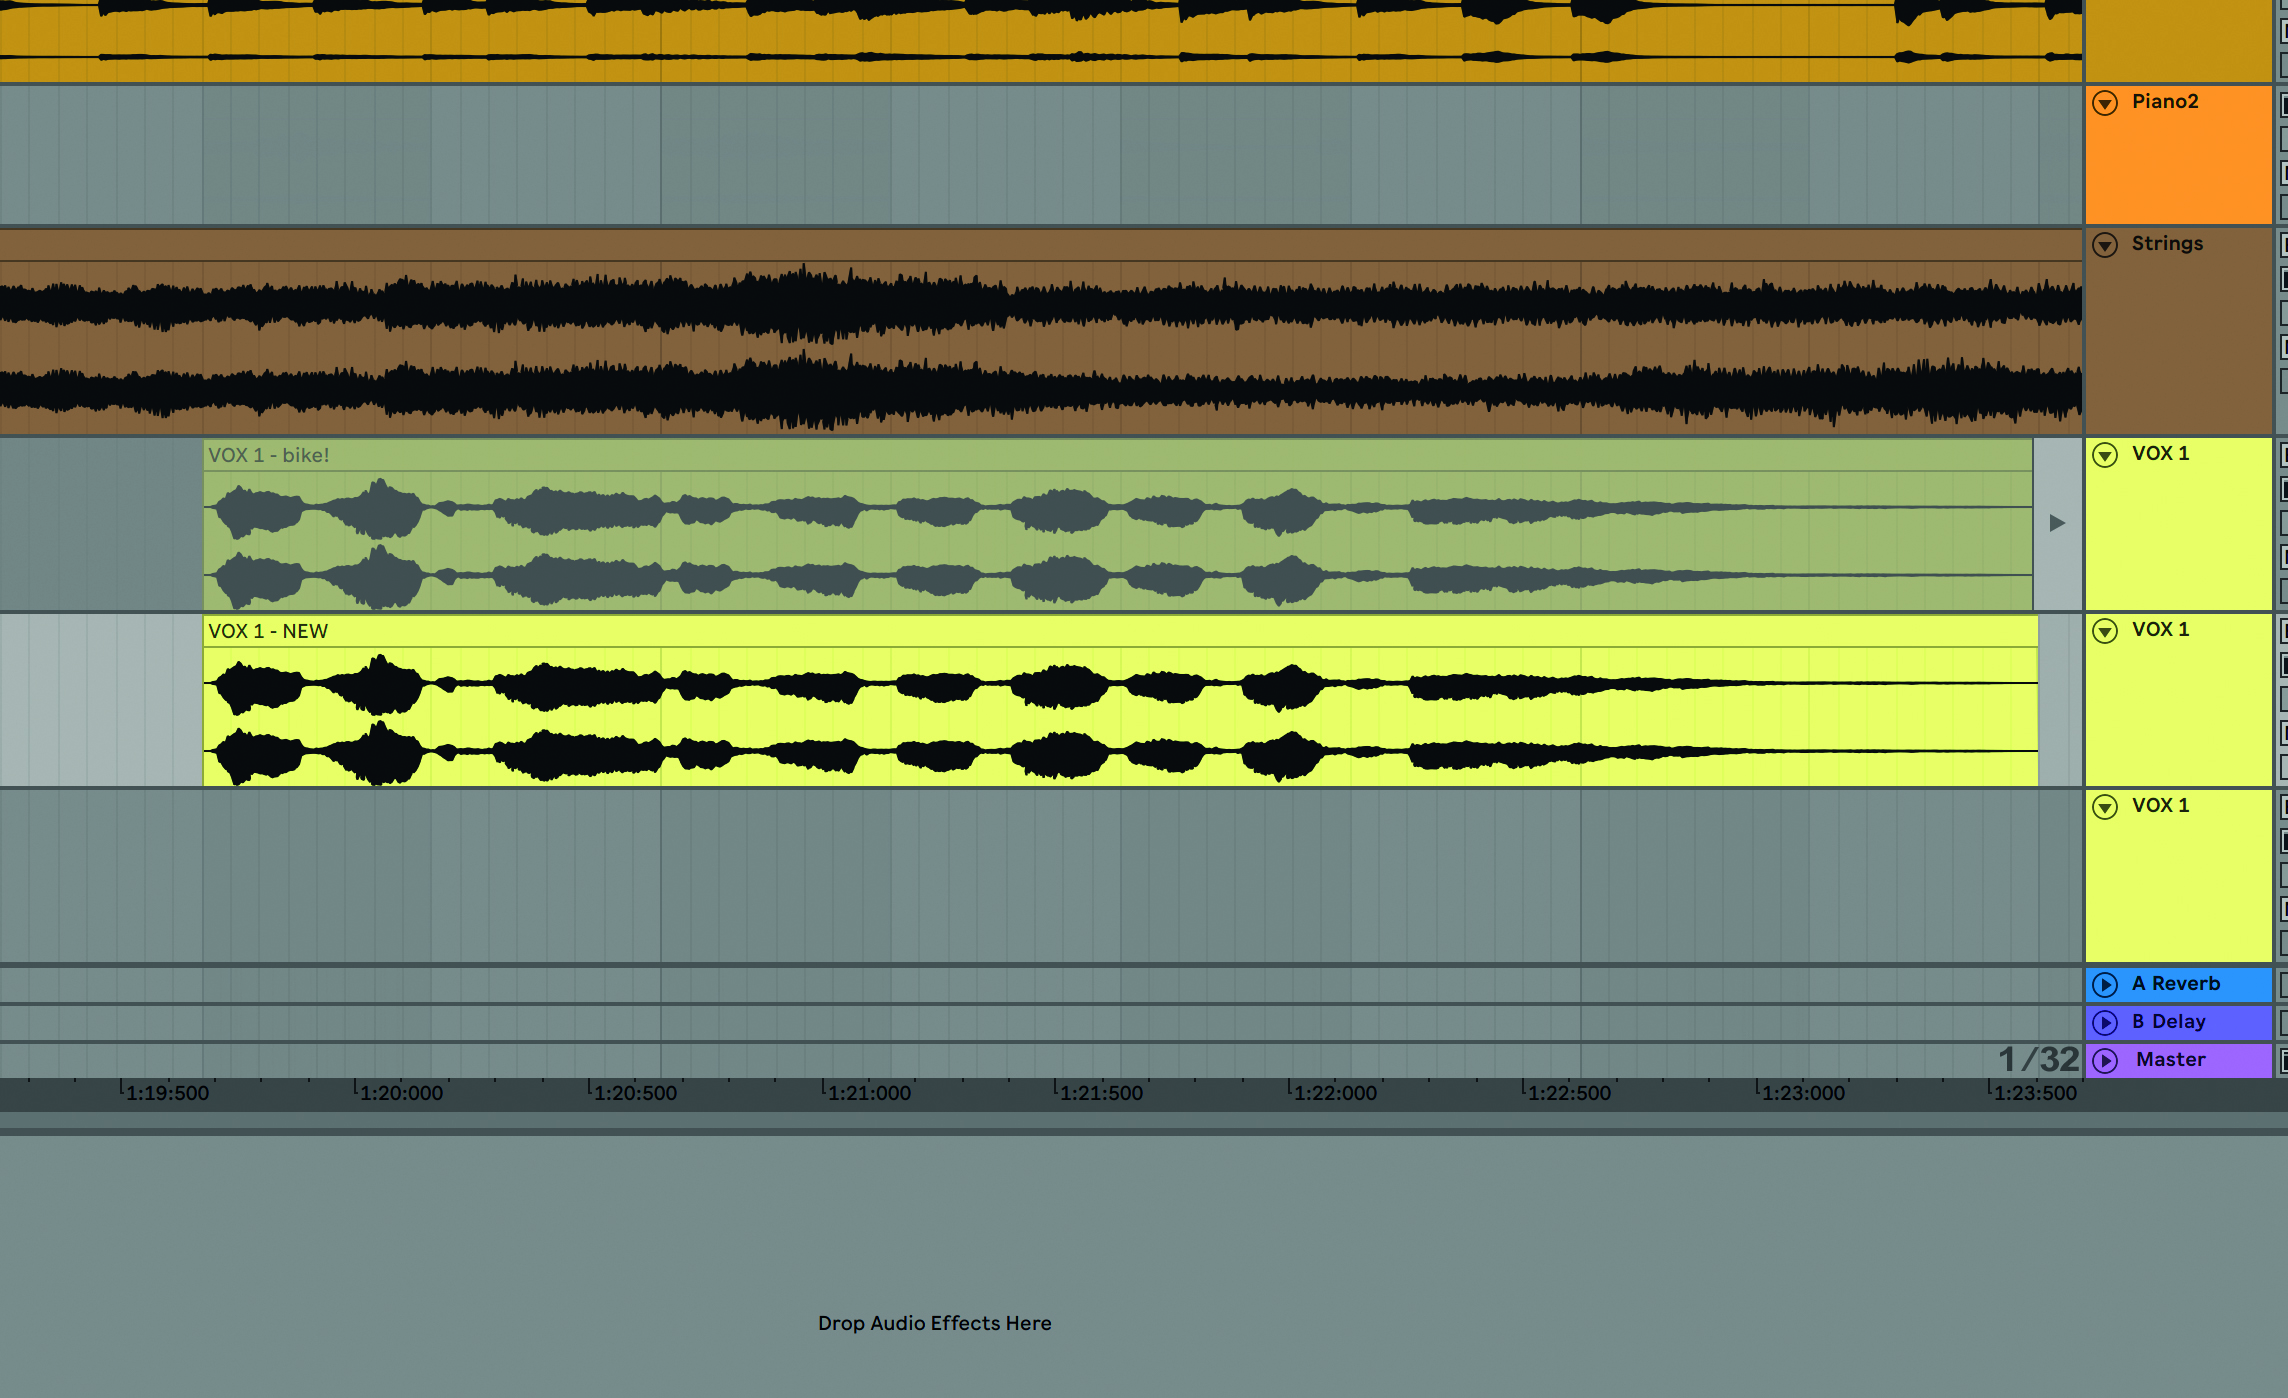
Step 2: It can be frustrating not being in a completely soundproofed studio environment when recording vocals, but remember that most background sounds in your home will be undetectable in the context of a full mix. All you can do is minimise any potential problems – using a mic stand is preferable to holding the mic in your hand, for example. We go for another take on a new audio track.
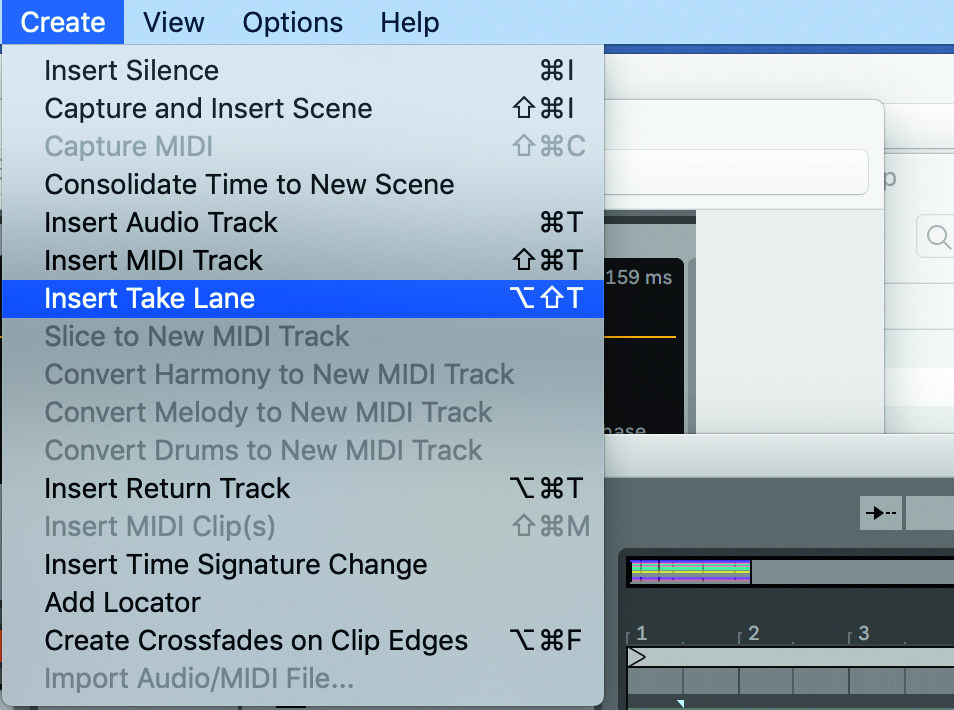
Step 3: At this stage of multiple takes, Live 11 users can engage the Take Lane feature which creates new tracks whenever you record a new take. Other DAWs have this feature too – it’s in Bitwig Studio 4 for example, and already present in Logic. We’ll assume you are either using this feature for multiple takes or just assembling them manually. It doesn’t matter – for either method we’ll end up with good results!
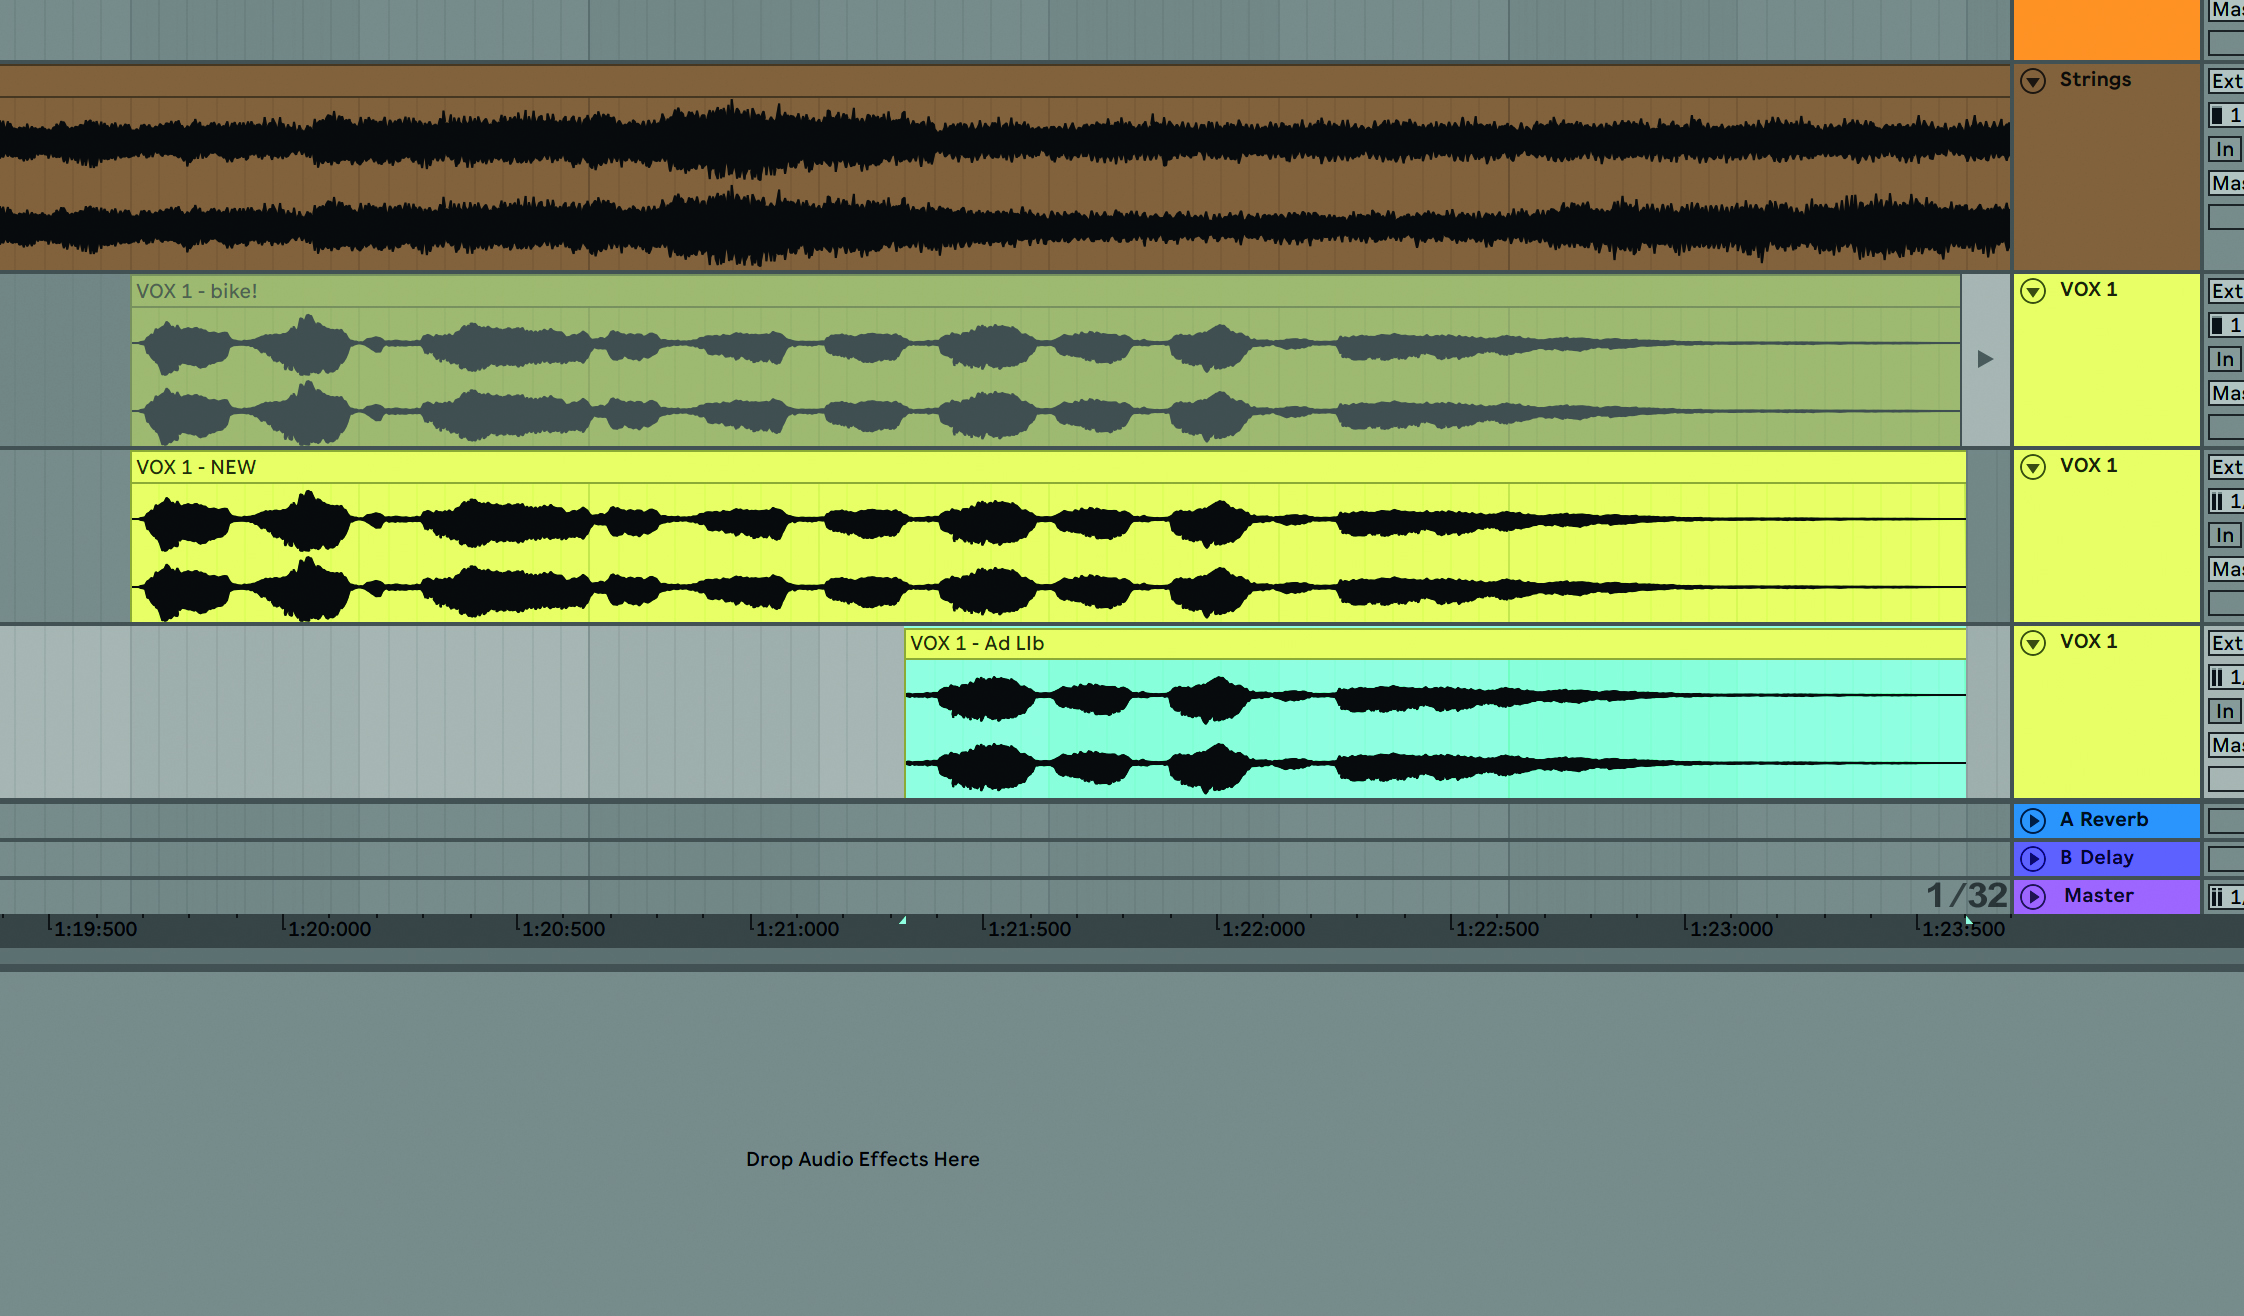
Step 4: We take a moment to check the first few takes, just in case any clipping has occurred, for example – there’s nothing worse than recording multiple takes only to realise later on that none of them are usable! We’re pretty happy with things so far, but decide that more takes are needed. The ad-lib section at the end of the second chorus needs work, for instance, so we decide to record this bit separately.
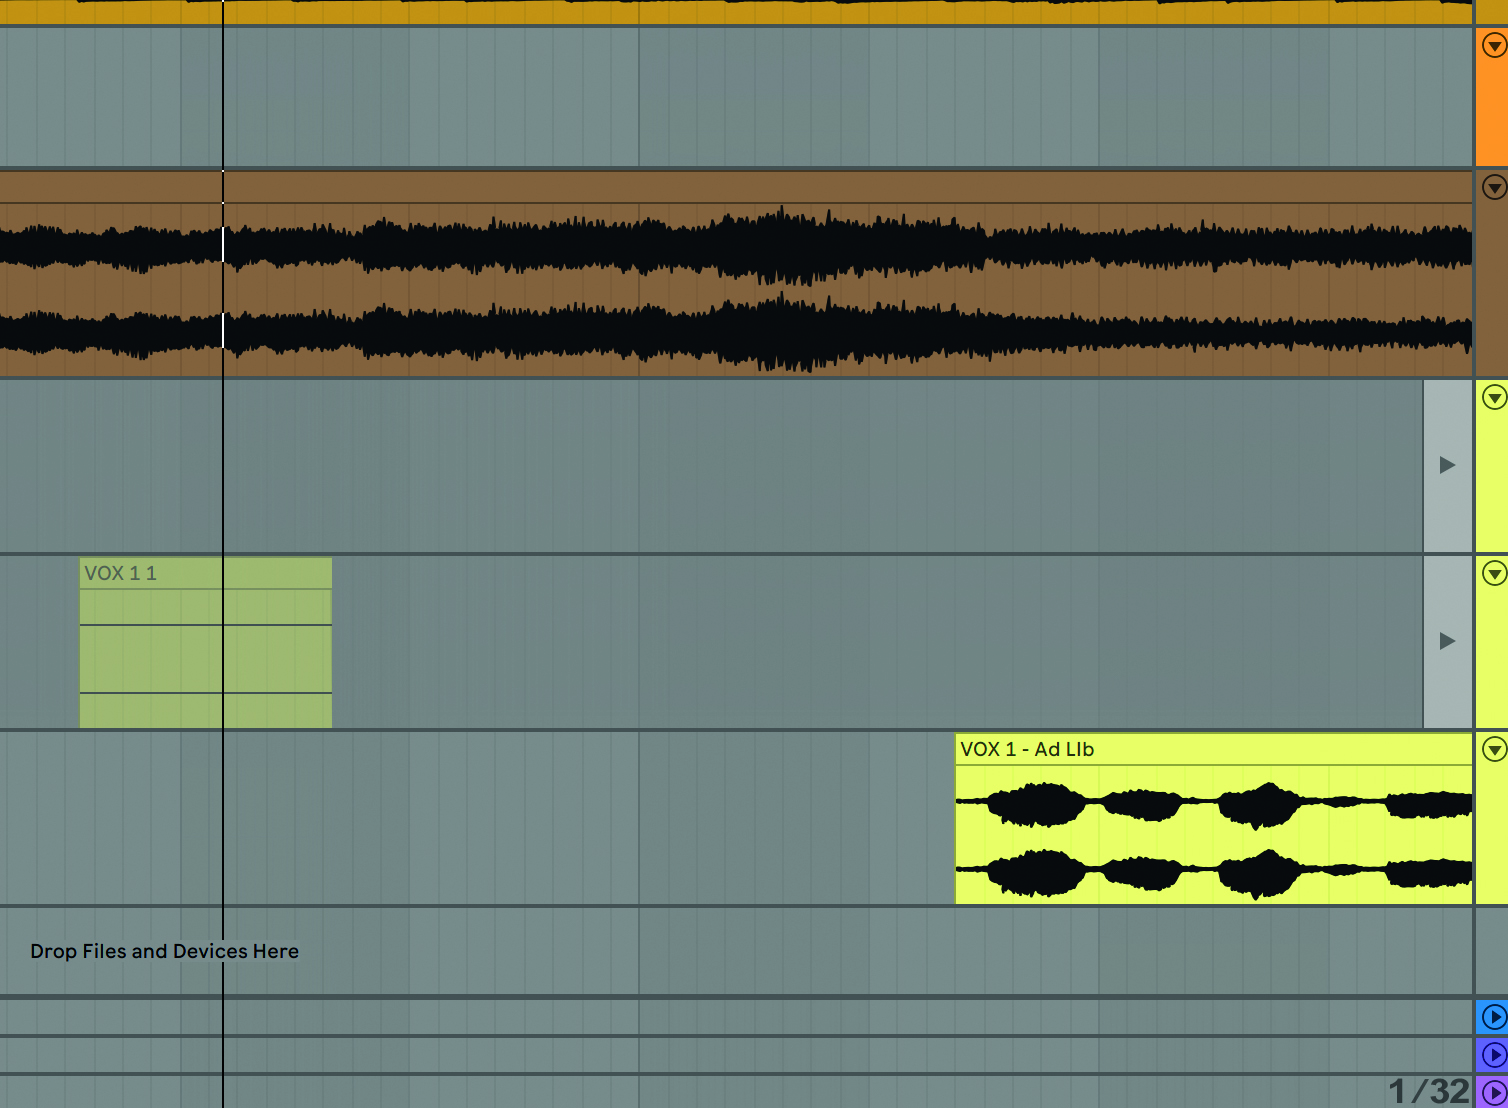
Step 5: We focus on nailing the post-chorus section by recording it again on a new audio track and renaming it accordingly. To give our vocalist time to get into the rhythm of the track and find the first note of the phrase we want to get down, we start recording a reasonable distance before the ad-lib section begins.
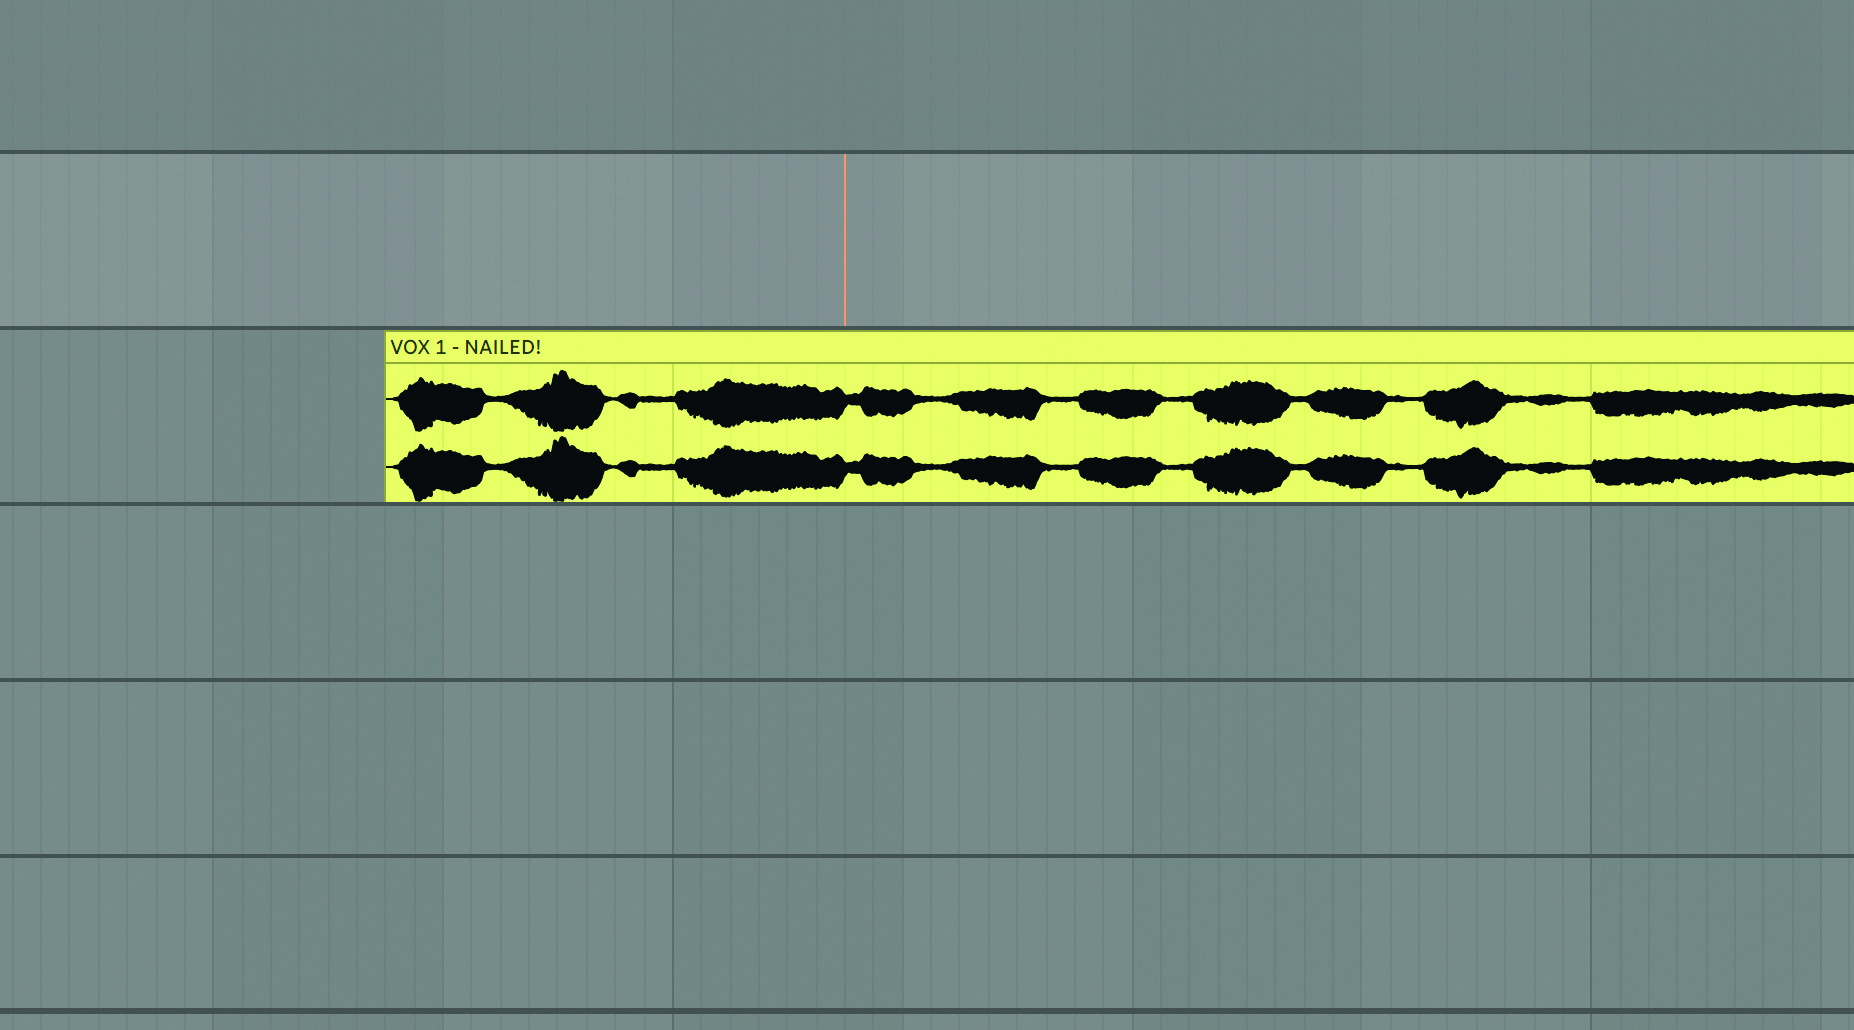
Step 6: We record the new take, then listen back to check the results. Our vocalist seems to have nailed this section on this particular track, but you can feel free to repeat this process as many times as necessary to get every part of the song just right – if your vocalist is happy to oblige, of course! Having said that, some singers actually prefer to record their parts in this step-by-step fashion.
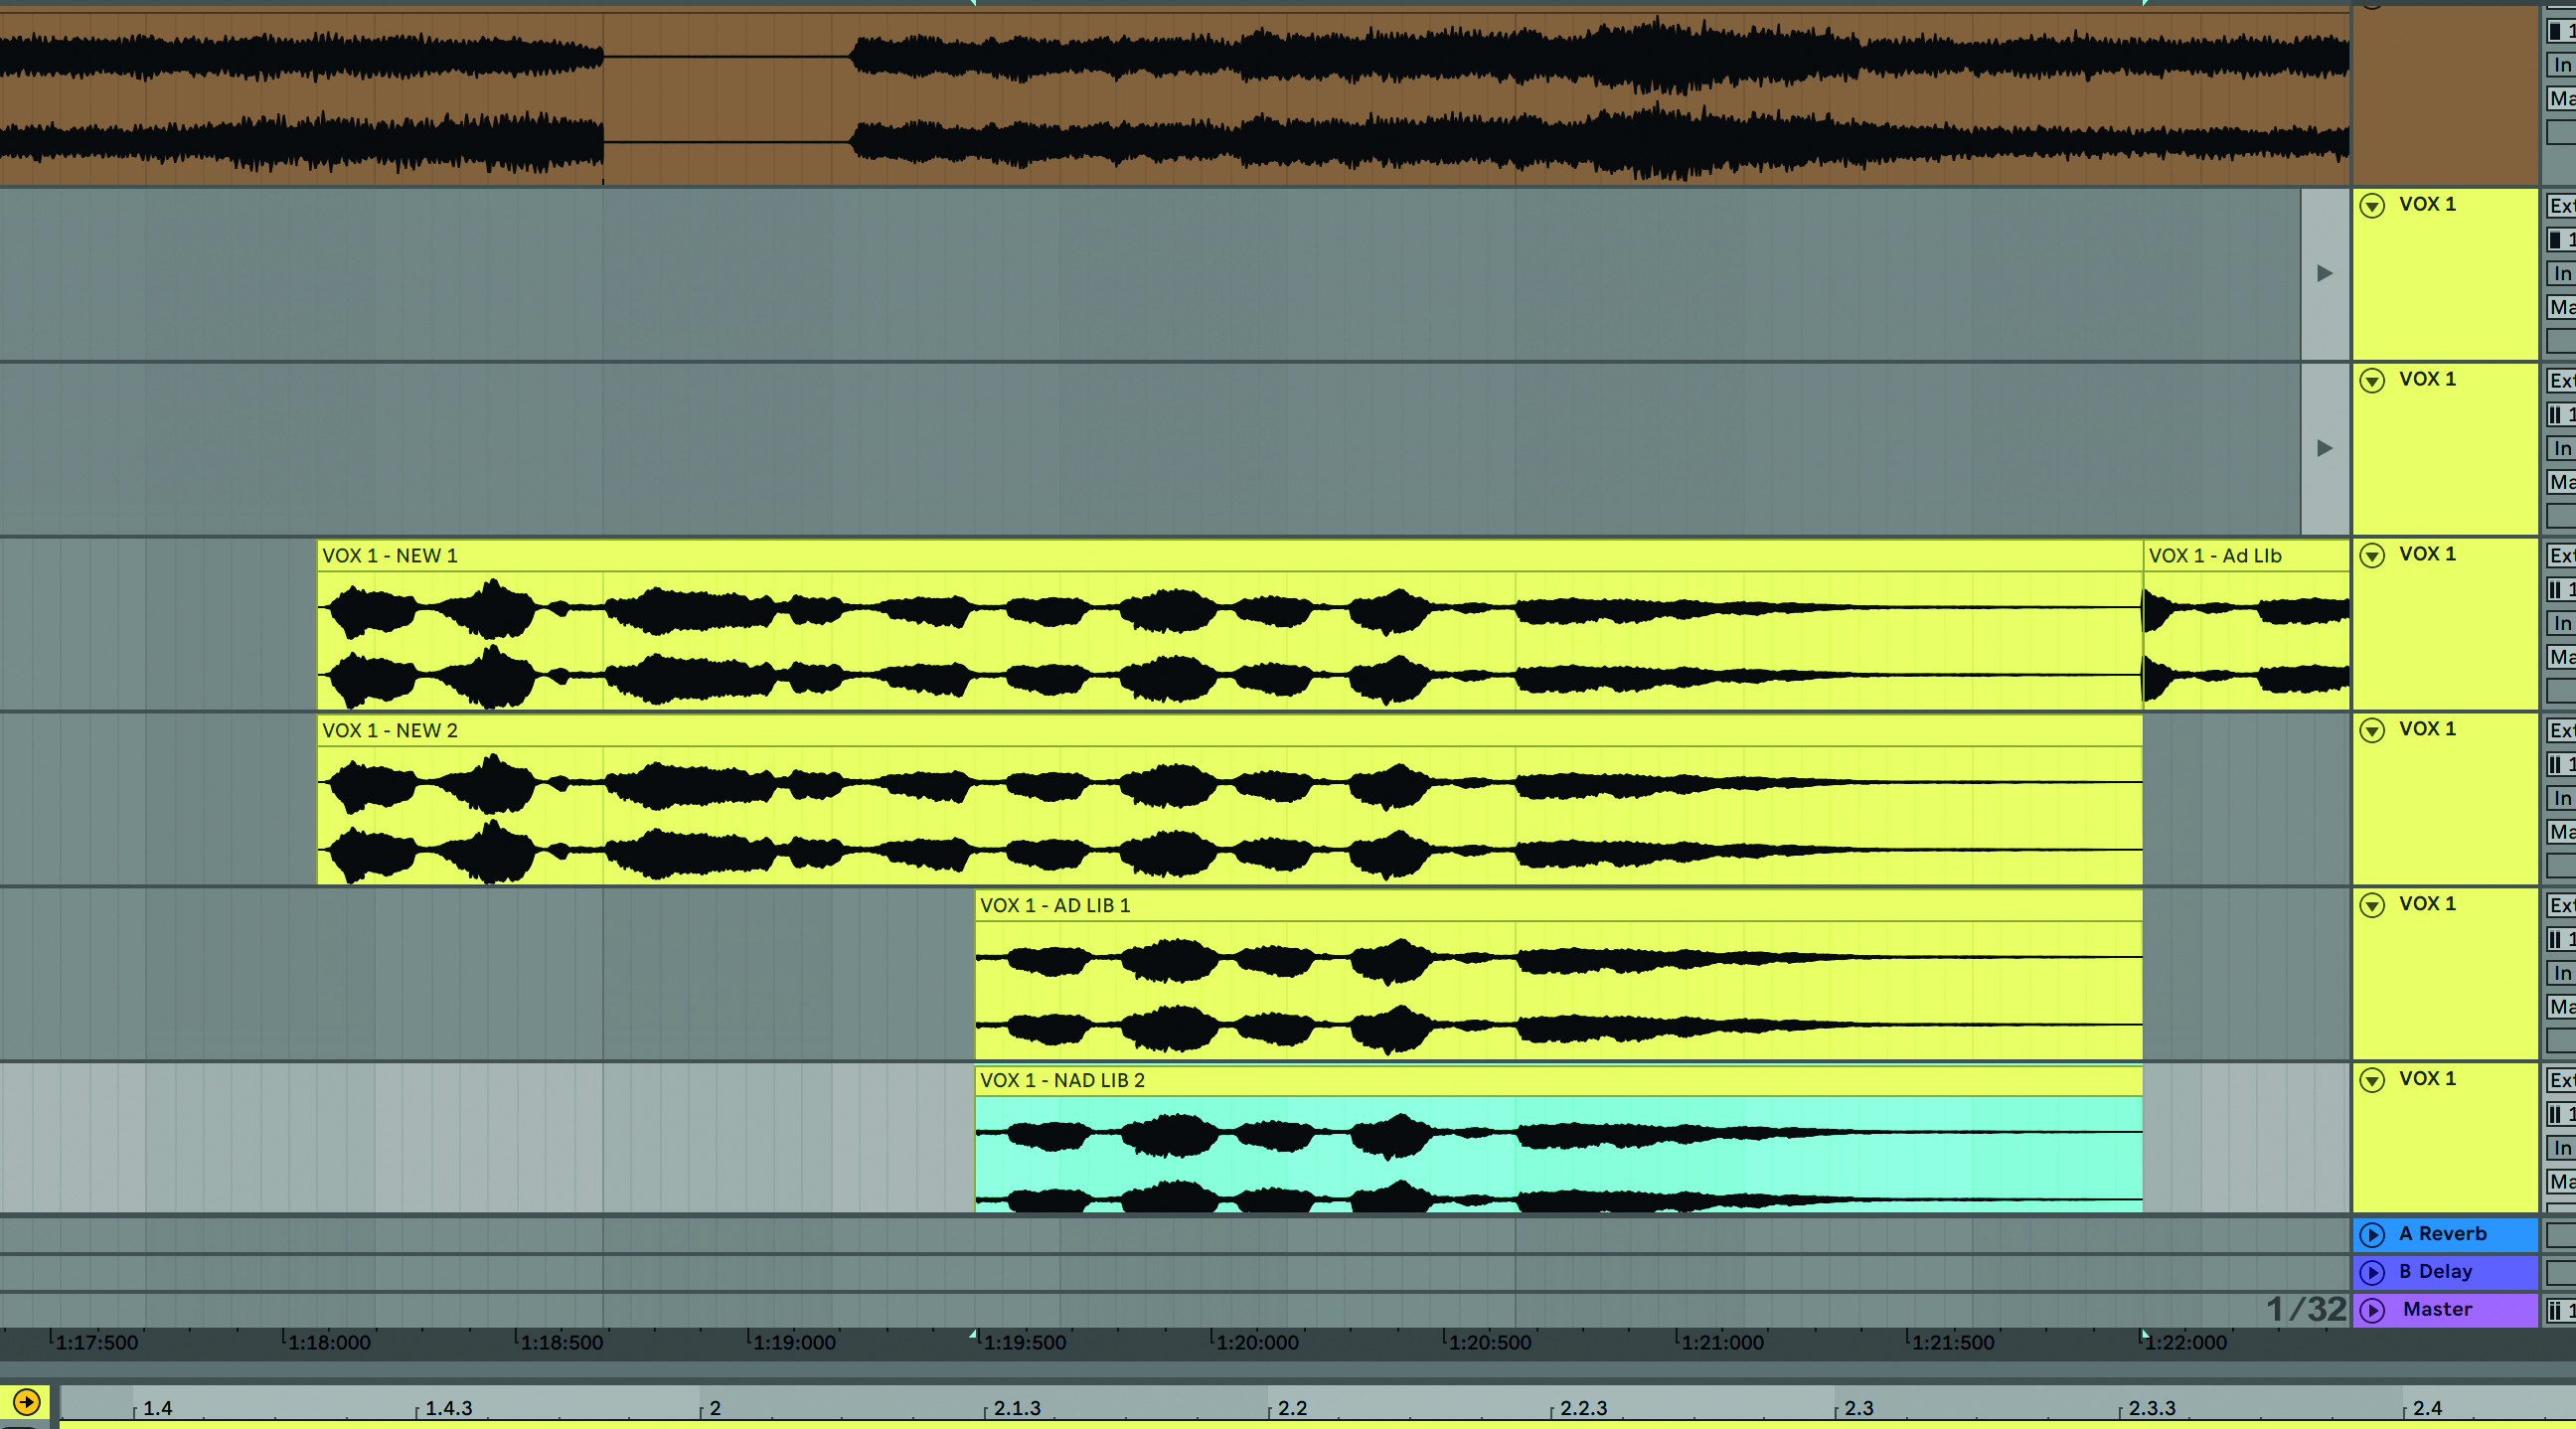
Step 7: Listen back again to make sure you have at least one or two good takes for each of the sections, then go back and re-record any sections that aren’t quite up to scratch. We’re satisfied that we’ve got everything we need to make a good composite lead vocal from all our takes, either from manual individual takes or using Take Lanes, so let’s move on to that in the next walkthrough.
Power tip... taking notes
When recording multiple takes, it’s a very good idea to go through your takes fairly regularly throughout the session and mark down the ones that you’re particularly happy with – you can rename tracks, use colour coding or write down notes on a piece of paper.
This is to make the task of comping that much easier to handle, as it can be a real headache to listen through dozens of takes without some indication of which ones contain the best performances. The other advantage of doing this is that you’ll know which sections of the track need the most work.
Compiling a lead vocal track
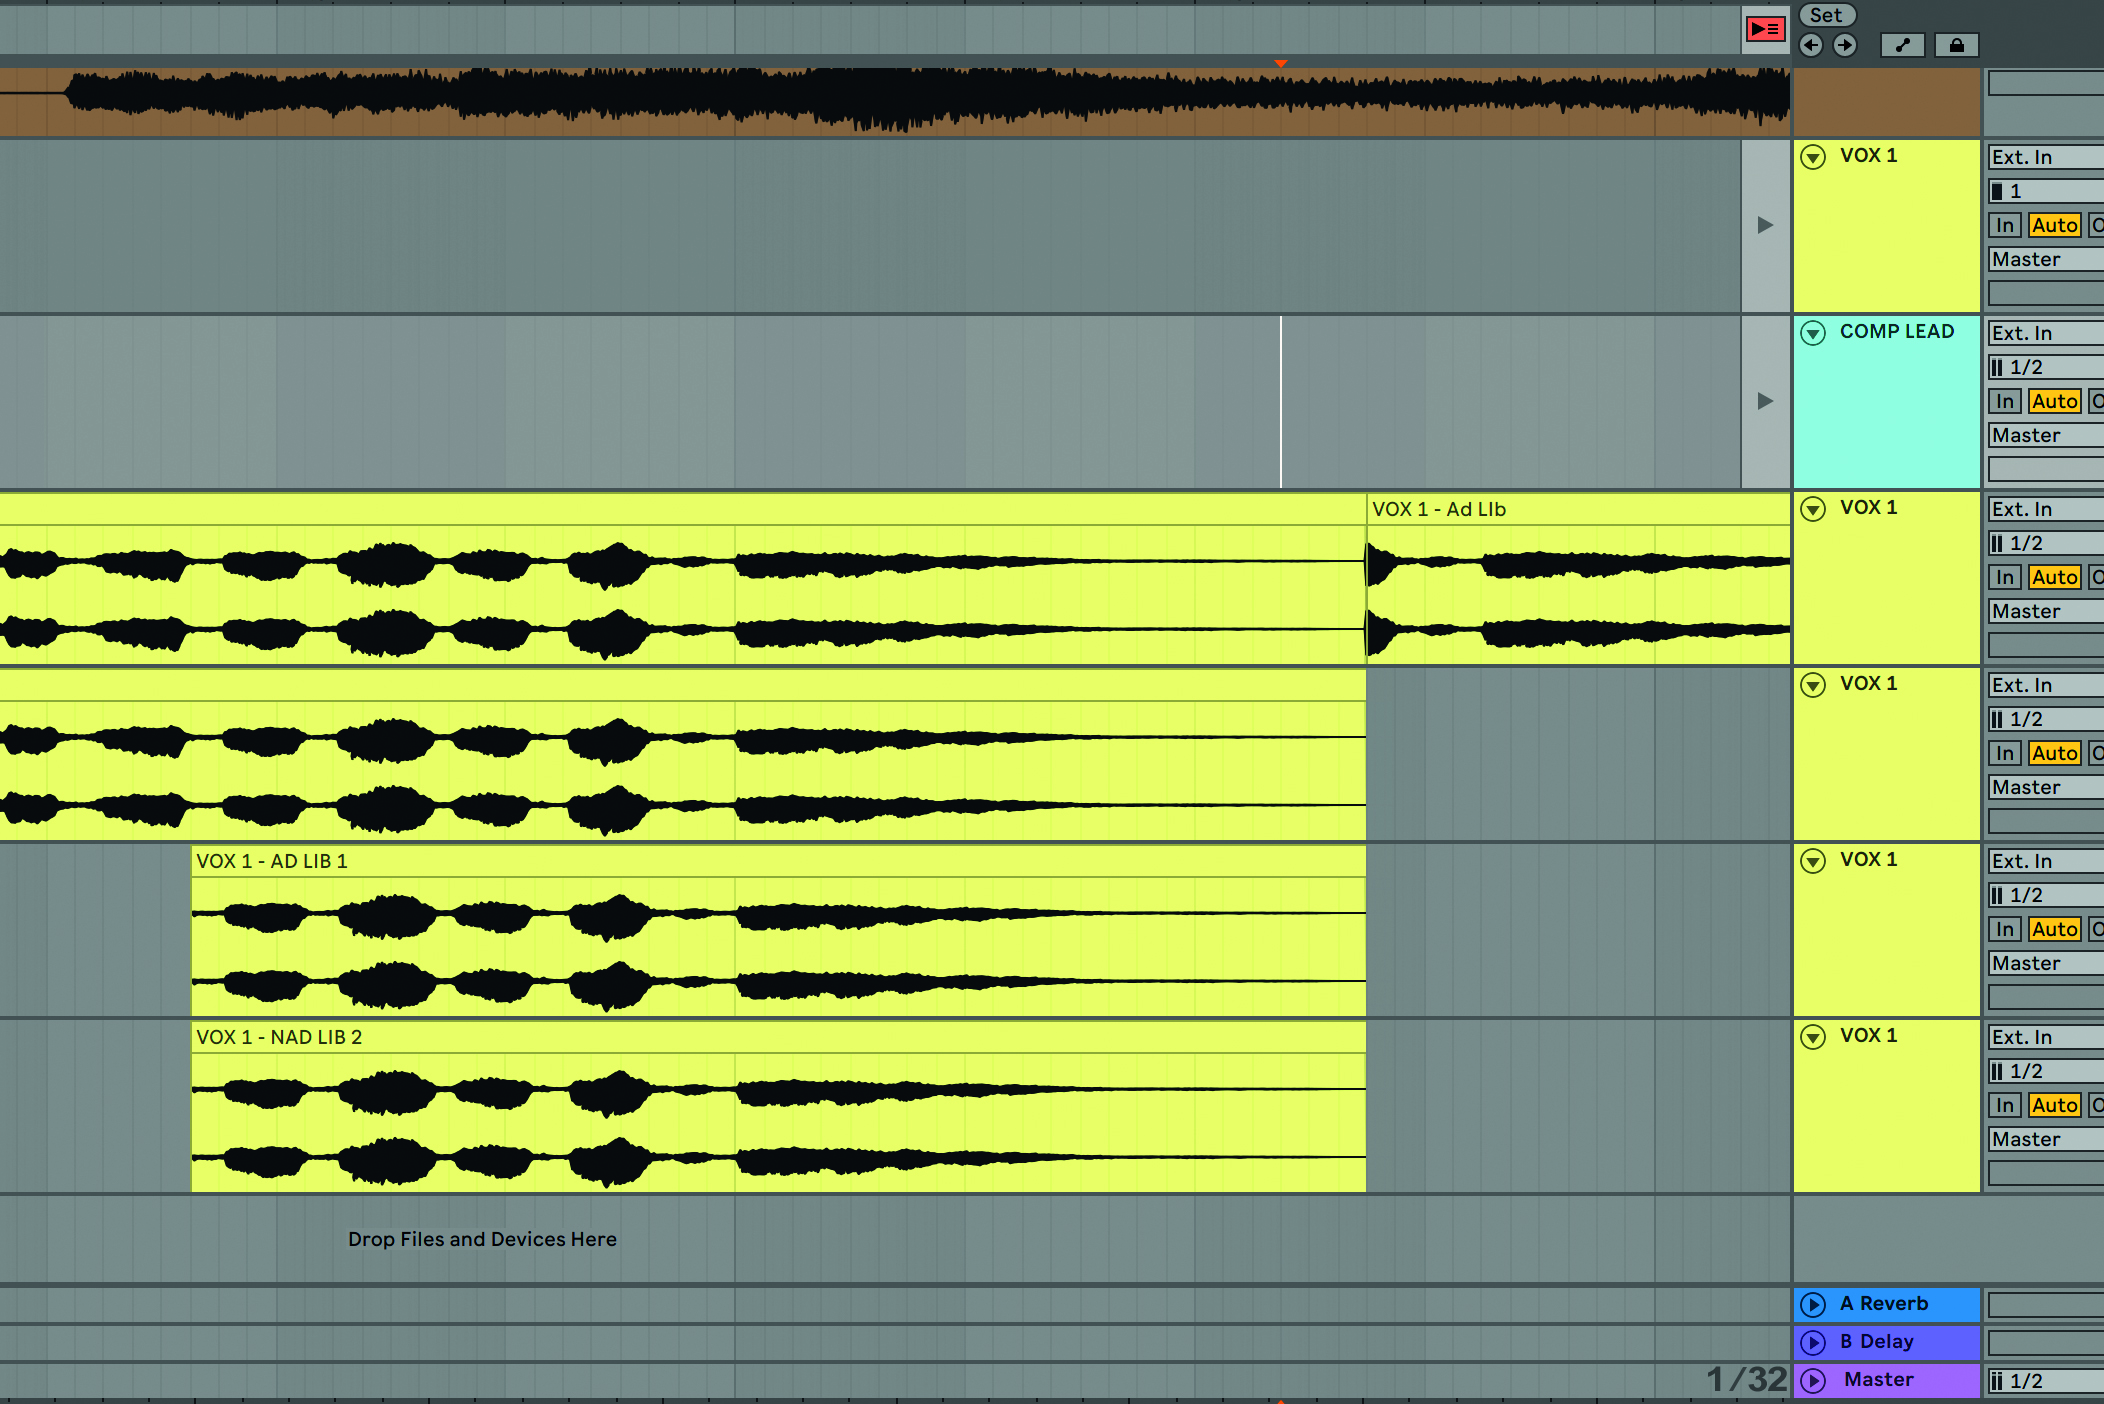
Step 1: Now it’s time to piece all of the best bits from all our takes together to create a ‘composite’ lead vocal. Again, we’ll show you how to do this if you are manually assembling takes and also using automatic comping features as in Live 11. Create a new audio track and rename it Comp Lead. This is where best vocal parts will reside, so it’s probably best to put this track above the other parts, just as we’ve done here.
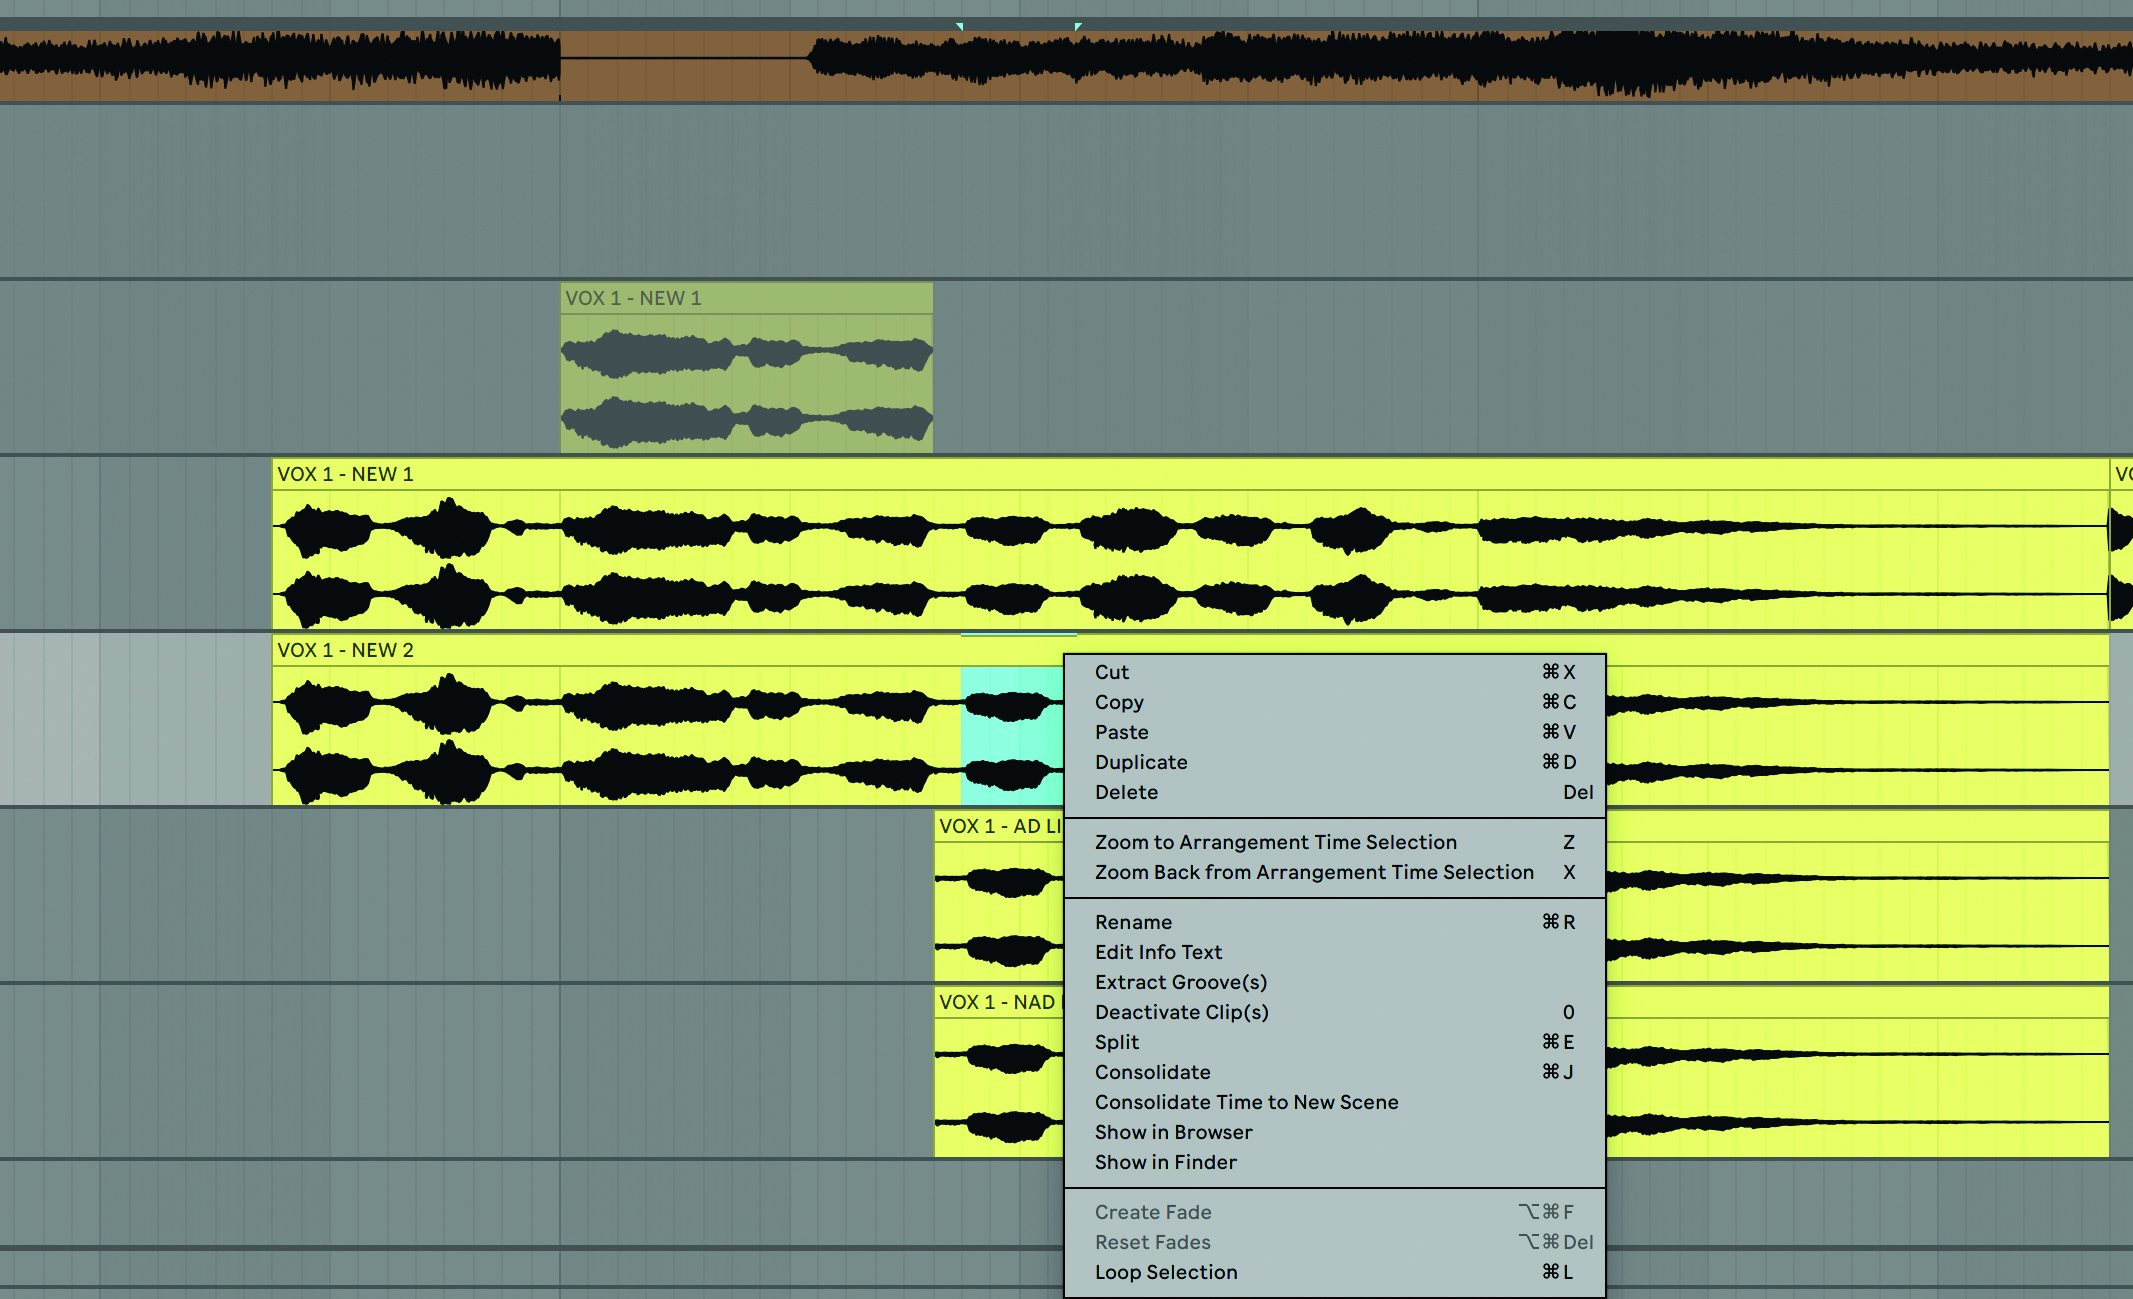
Step 2: If you’ve recorded the whole song in one take, copy and paste your best overall take onto the new track – otherwise, copy and paste the best take of each section onto this track instead. Here we’ve taken the first part of the first take and the second part of the second to compile a ‘best of’.
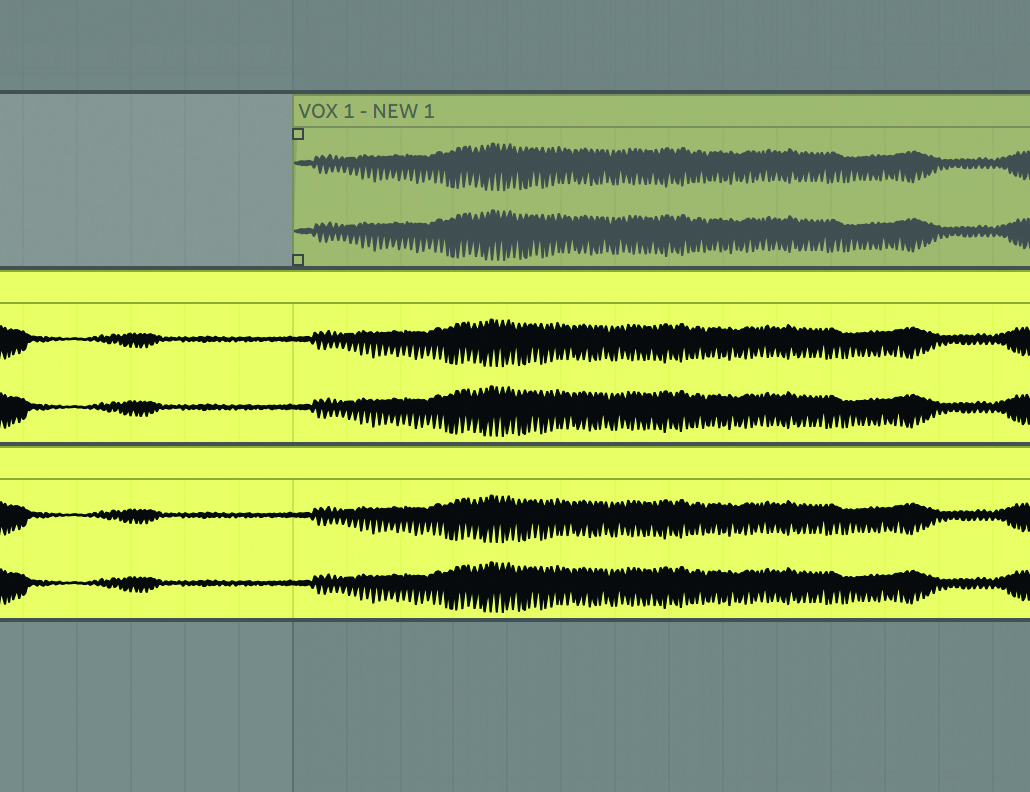
Step 3: It’s worth zooming in to ensure that phrases aren’t accidentally cut in the wrong place. Now listen to the other takes in turn for each of the problem sections, remembering to mute the Comp Lead track whilst doing this.
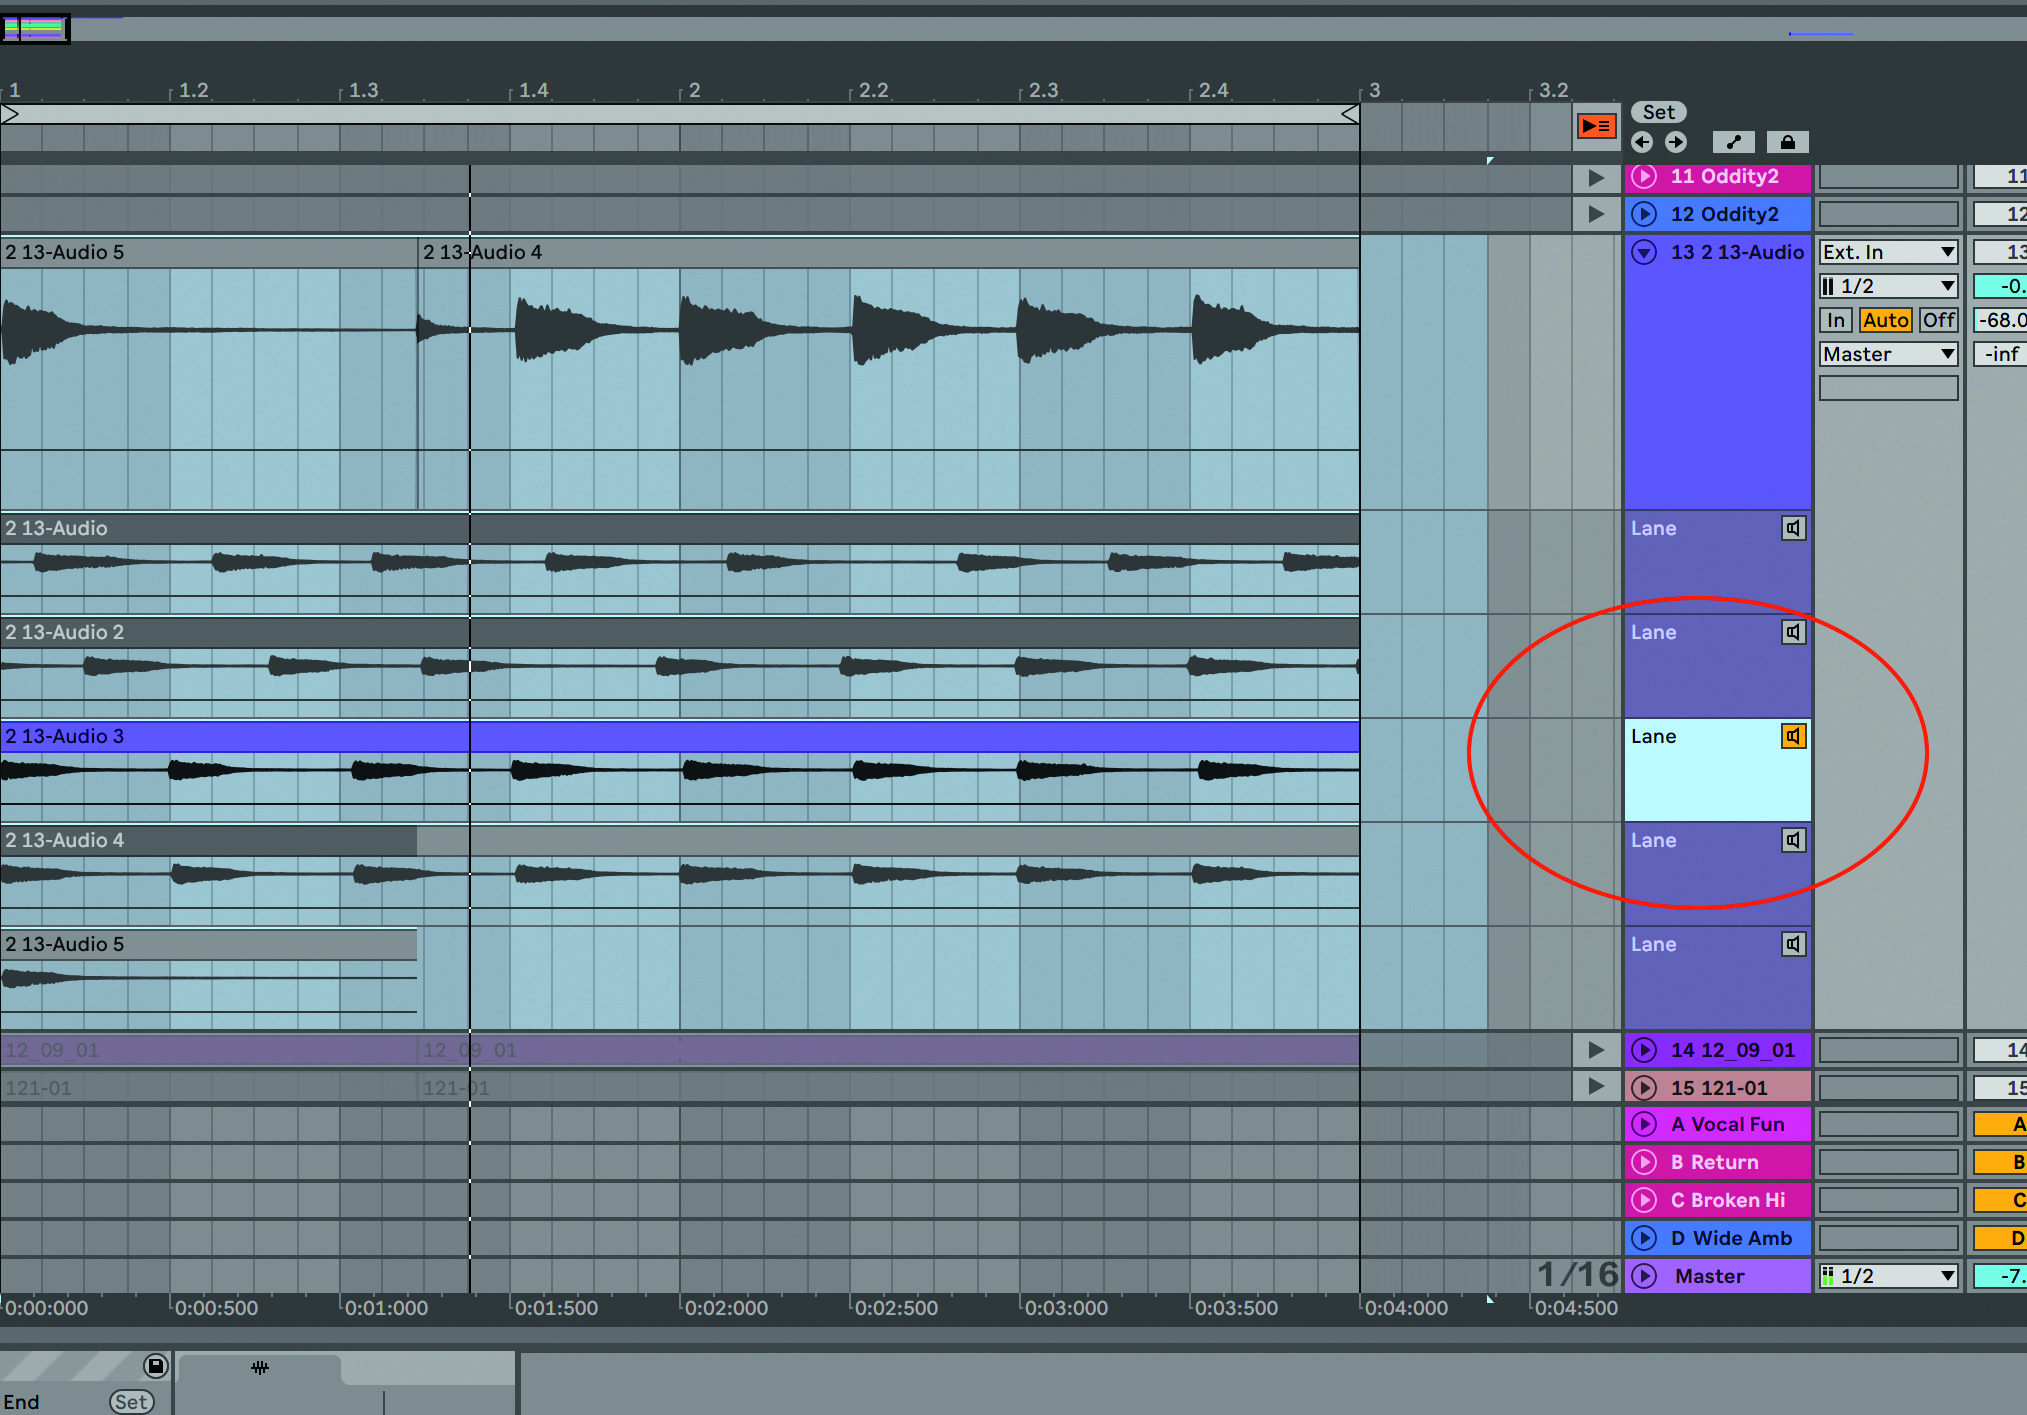
Step 4: This manual method can be a bit laborious but the automatic comping feature in Live 11 and other DAWs makes the process much easier. Here we’ve got multiple Take Lanes recorded in Live 11. You can audition each lane by clicking the speaker icon within each Take Lane.
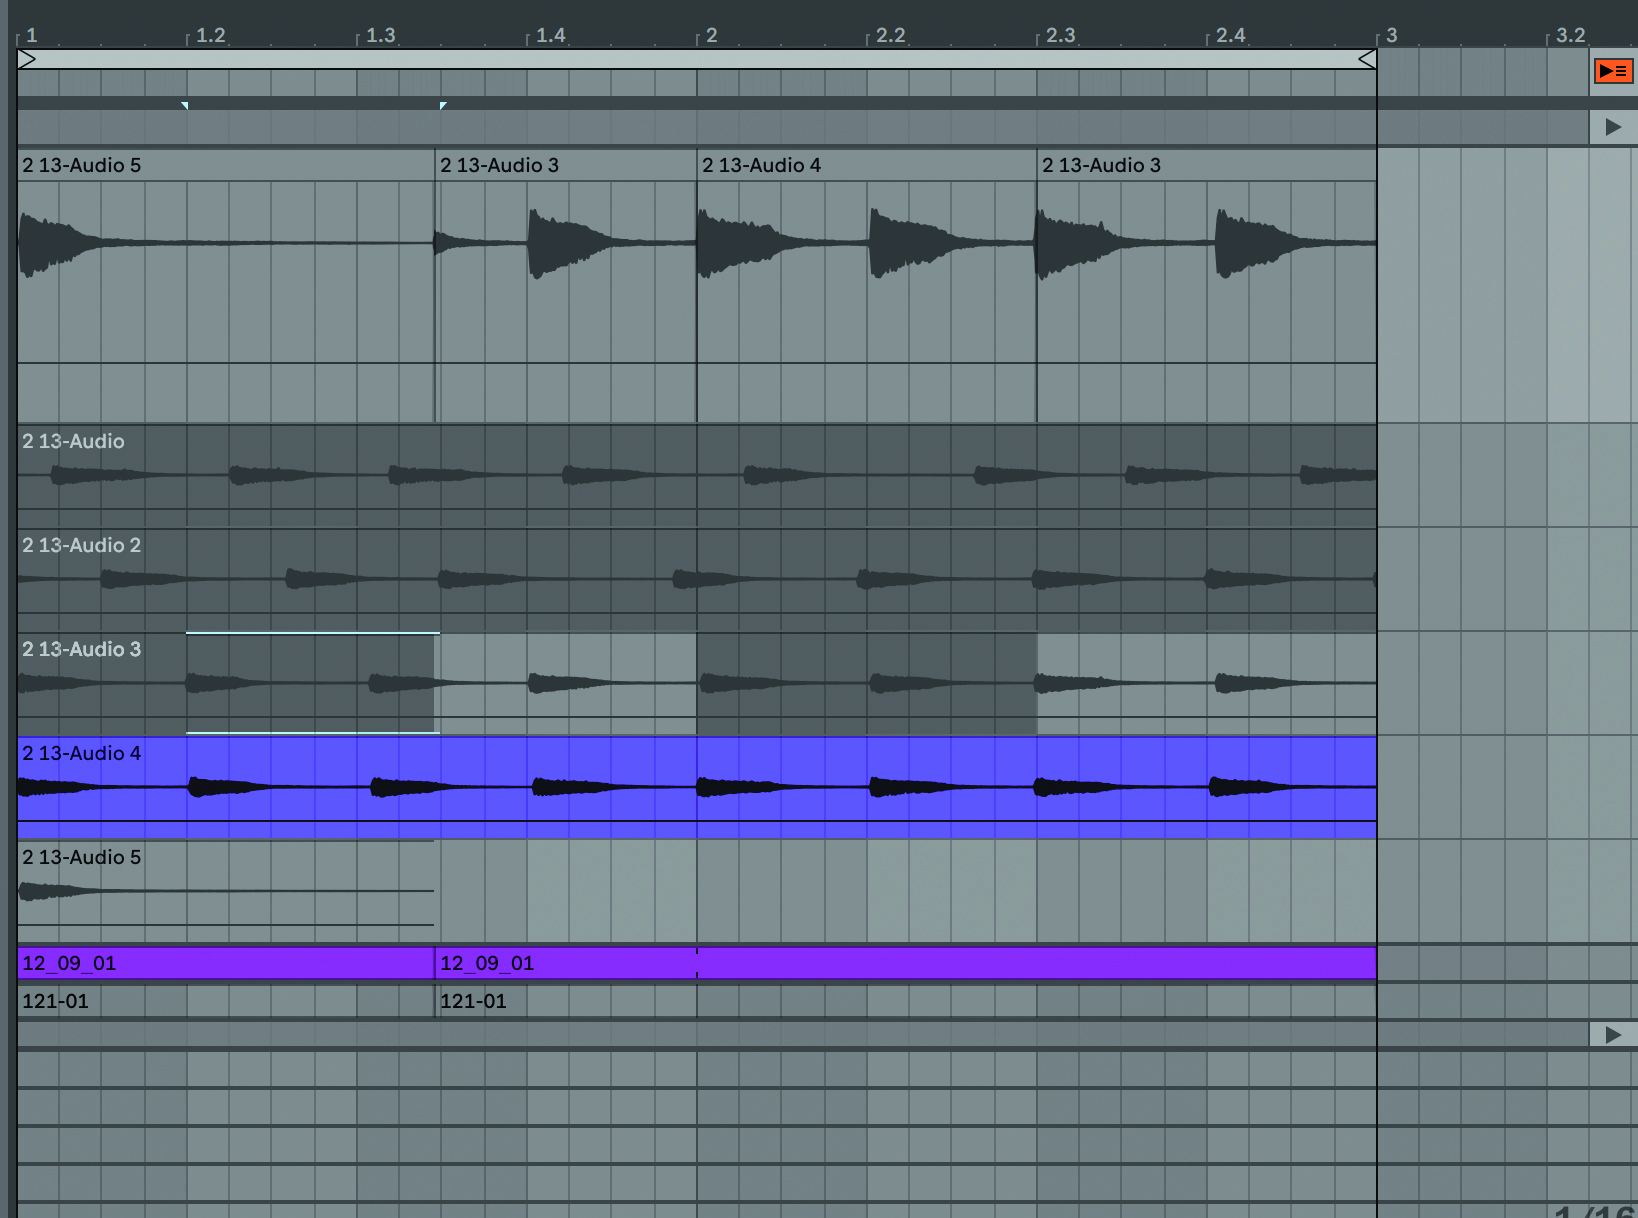
Step 5: Now you simply draw across the perfect parts on each take lane. This will then comp together these best parts of each Take Lane and they will come together with what is hopefully the perfect comp’d audio take at the top.
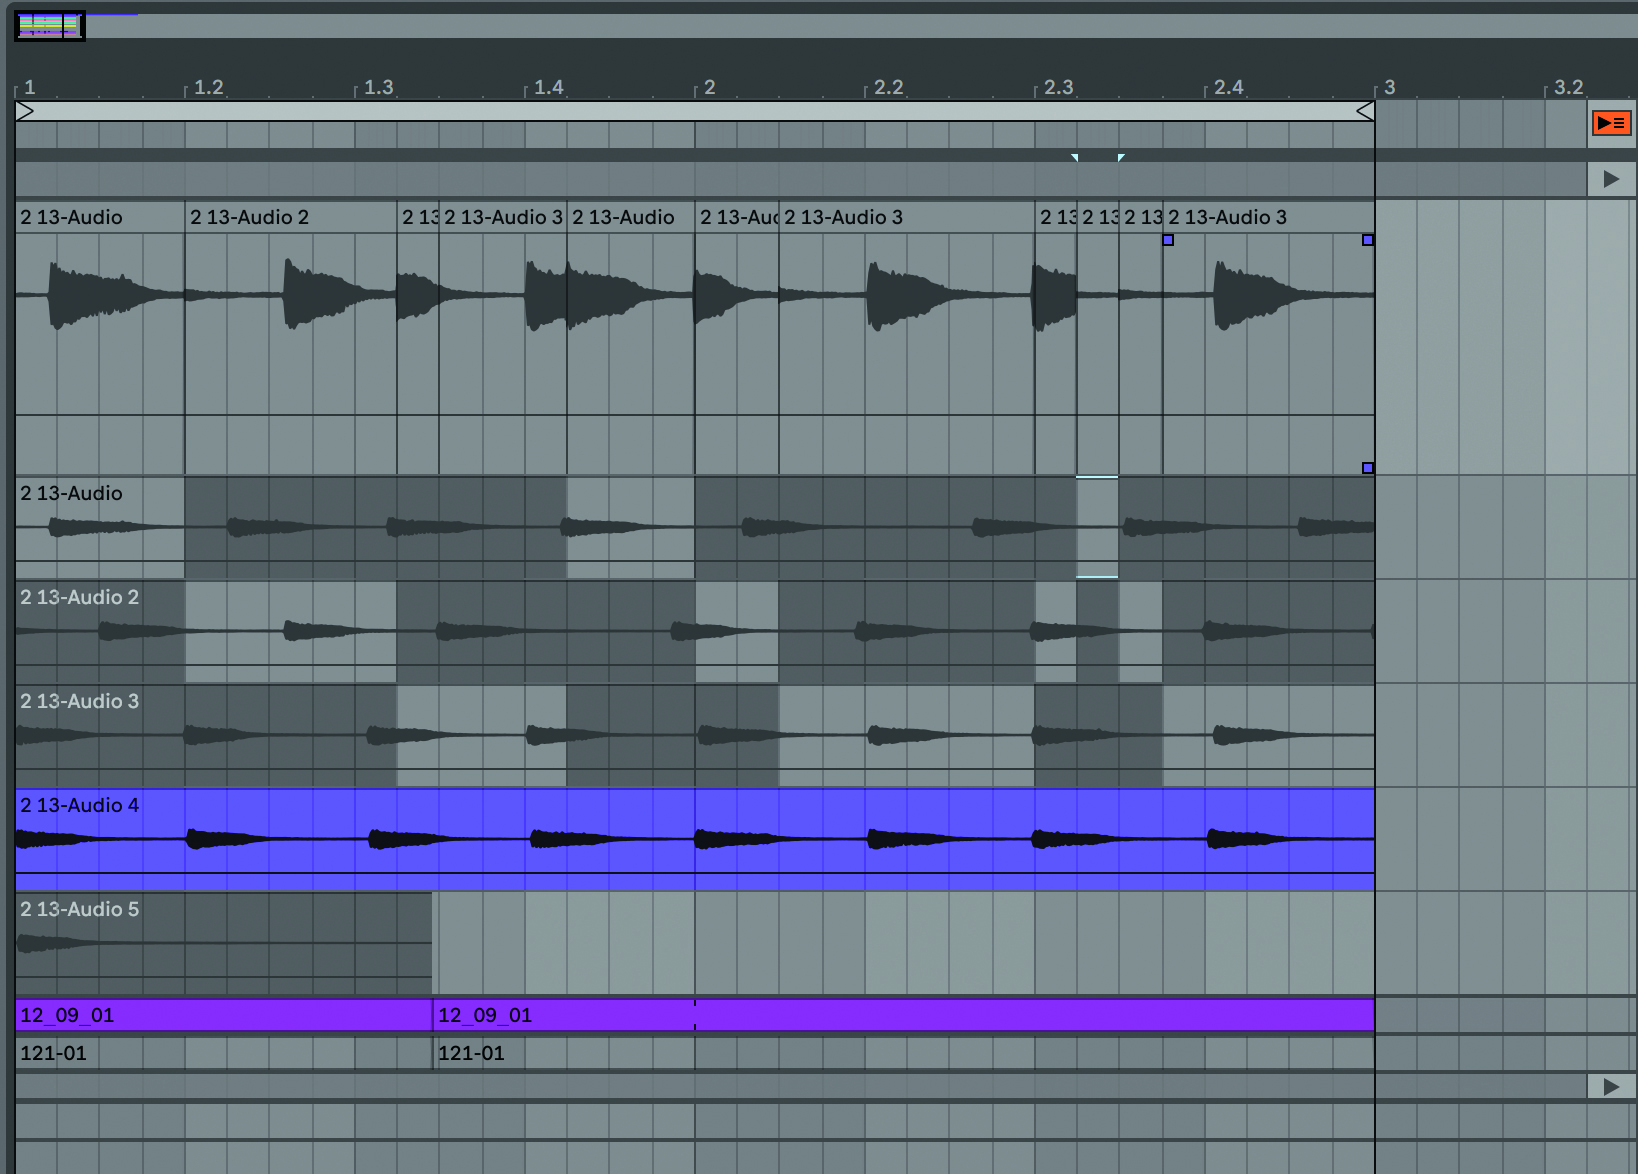
Step 6: Here we’ve gone a bit crazy just to show you how different Take Lanes can be sliced and diced to make a perfect whole. In reality you might have an entire section of a single take that is the best, or even an entire take.
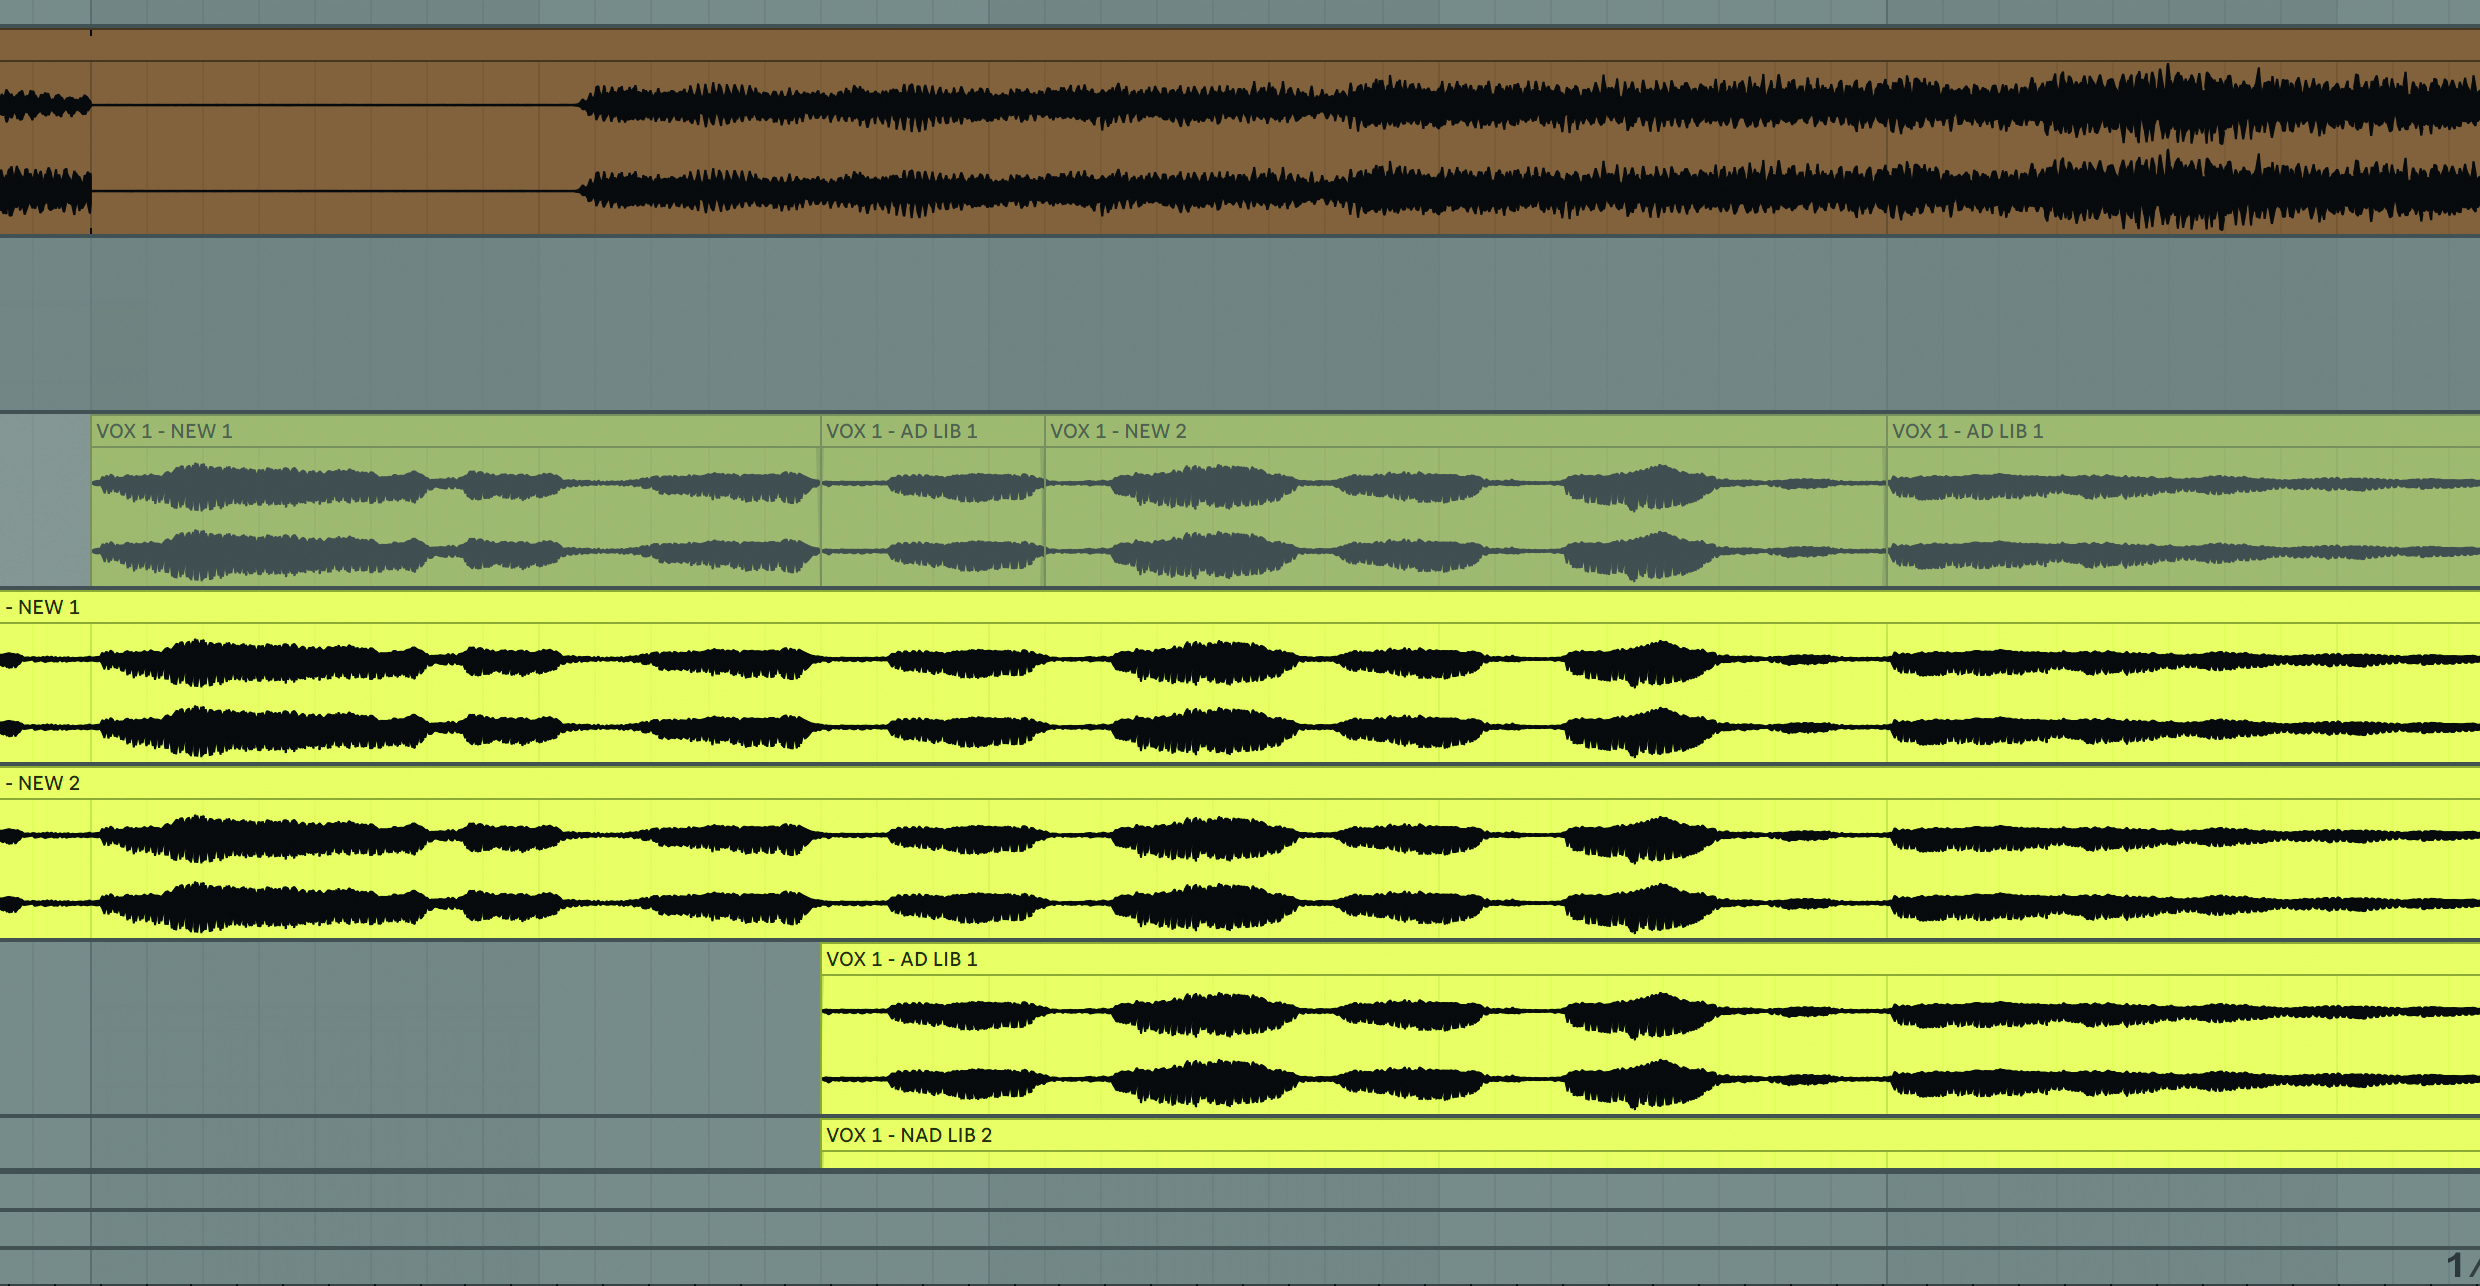
Step 7: Back to our manual vocal multiple take efforts and we’ve taken sections of three different takes to create our new complete Vocal Lead.
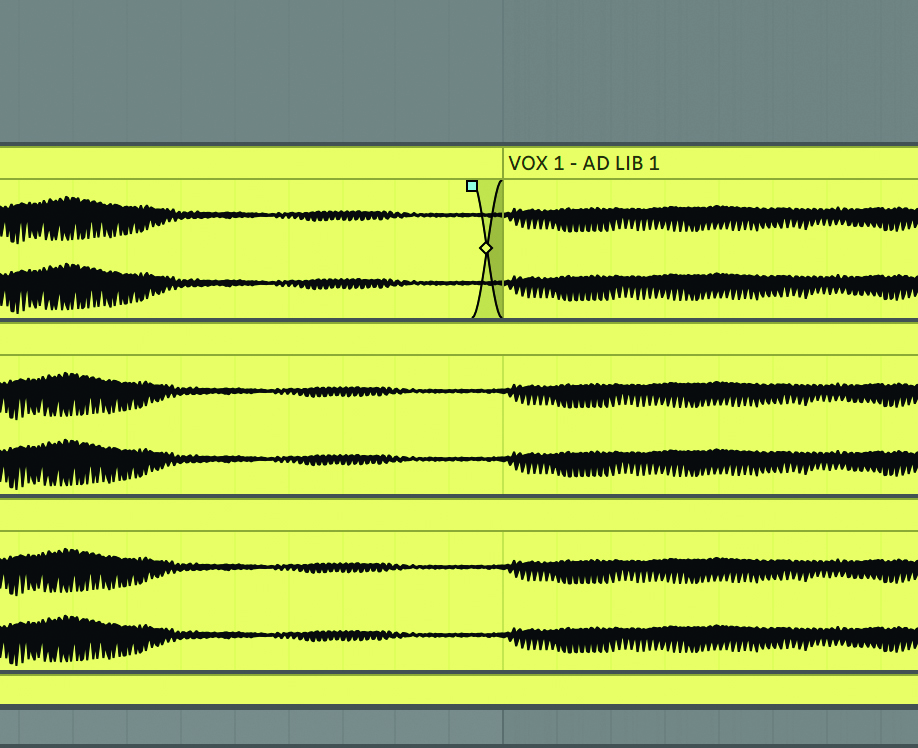
Step 8: Solo this Comp Lead track and listen out for any clicks between audio slices. If you hear one, zoom in on the area and use crossfading to smooth the transition (in fact, it doesn’t hurt to do this on every transition of the track). Either create a Fade (Opt>Cmnd>F) or use the ones automatically suggested between takes by clicking and dragging the pointers.
Power tip... the cutting edge
Try to leave as much space (or silence) around an edit point as possible, as it will make the job of comping easier and produce more natural results. It is possible to comp in the middle of phrases, or even words, but this is much more
time-consuming and the results are not always as natural as you might like.
Also, try to keep each syllable intact – cutting within a note will produce a very unnatural edit. Use your judgement in each case as to whether the comp sounds like it was all done in one take – otherwise, it may be worth re-recording some sections from scratch.
Computer Music magazine is the world’s best selling publication dedicated solely to making great music with your Mac or PC computer. Each issue it brings its lucky readers the best in cutting-edge tutorials, need-to-know, expert software reviews and even all the tools you actually need to make great music today, courtesy of our legendary CM Plugin Suite.
