'Upcycle' a drum loop in your DAW and turn it into something new - here's how
Chop it up, then rearrange and process the slices for instant inspiration
These days, most DAWs are capable of the automatic slicing of loops to a series of sampler cells and mapping of those cells to individual MIDI notes, and the usefulness of this feature when it comes to rearranging grooves can’t be understated.
Here, we're going to show you a less flashy, more intuitive and ‘tactile’ way of cutting up beats to achieve similar – but not necessarily the same – results.
Quite simply, we’re going to be taking a sampled loop, chopping it up manually in the arrange page, then rearranging and processing the slices to turn it into something new.
Why, you might ask, would you bother to do this, when you could just ‘Slice to MIDI’ in the DAW, as we described above? Because doing it this way lets you see the waveforms, which are more representative than a series of MIDI notes, and just makes you think differently about the shape and sound of the loop.
It’s also going to be a lot of fun, particularly when you start distributing the slices among multiple tracks, each with a different effects chain loaded up.
We're using Ableton Live here, but as is often the case, nothing that we're going to show you in the below is something that can’t be done in any digital audio workstation.
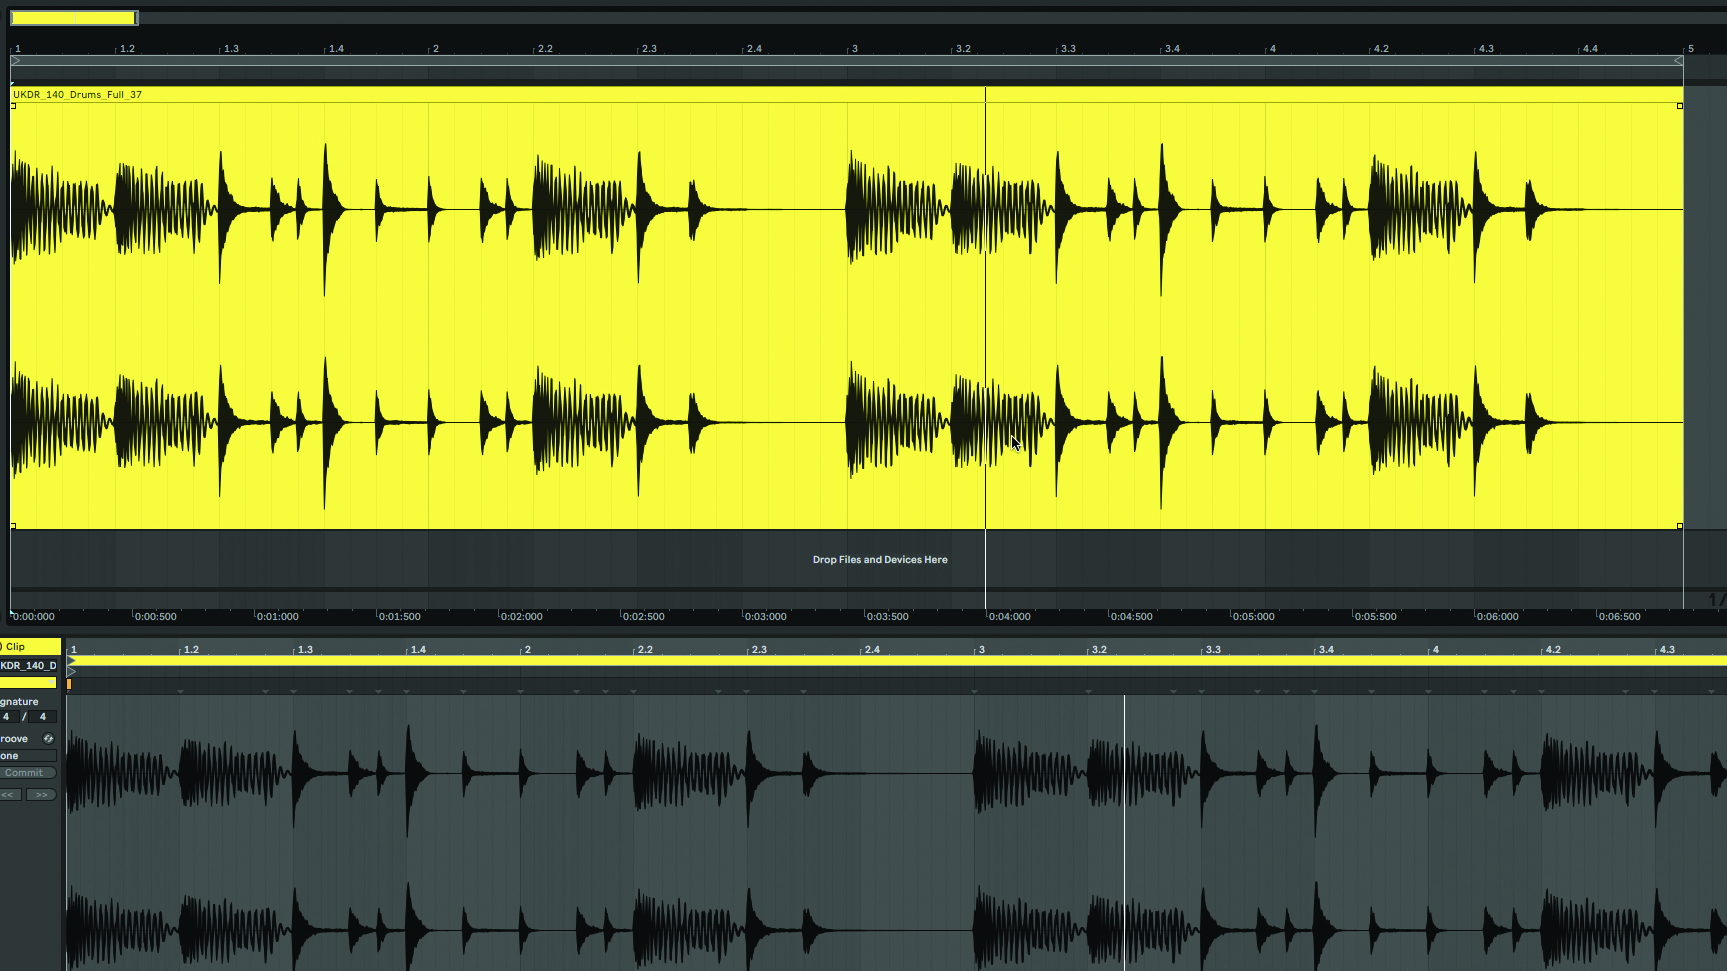
Step 1: The first thing to do, naturally, is choose a suitable drum loop for butchery. There aren’t any rules here, but the more distinct and ‘separate’ the hits are, the cleaner the sliced, diced end product will sound. Needless to say, those hits should also be interesting and variable throughout the loop.
Want all the hottest music and gear news, reviews, deals, features and more, direct to your inbox? Sign up here.
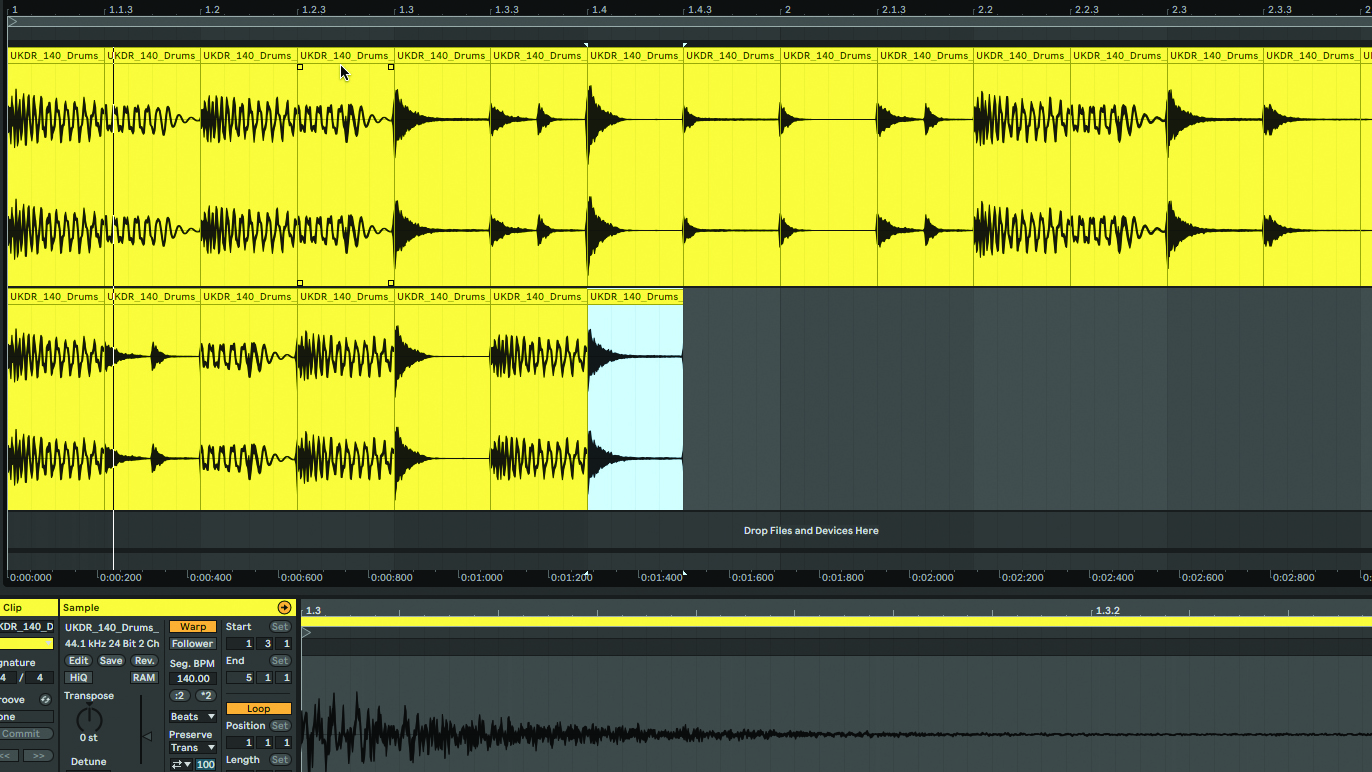
Step 2: With the loop in place on a track, slice it into eighth- or 16th-notes. Unlike Live, your DAW may have a modifier key that enables you to do this automatically using its cut tool. Now add a second track below and start copying slices down to it to create a whole new groove.
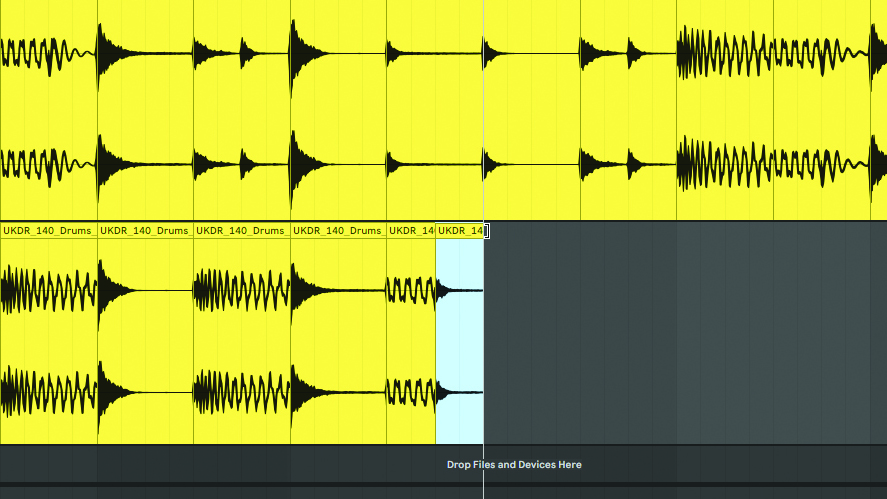
Step 3: Don’t worry about cutting into drum and cymbal sustains or reverb tails – the glitchy and broken segments that result are a large part of what makes this technique so cool. Feel free to shorten or extend slices as required to get your loop sounding how you want it, but aim to fill every space on the track.
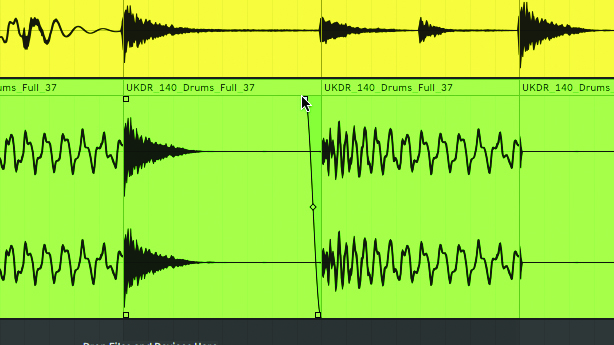
Step 4: With your loop completely rearranged, you can now process individual slices using your DAW’s audio editing functions – reverse, pitch shifting and volume adjustment. There will be clicks in the audio as slices start and end points miss the zero crossing line, so use your DAW’s fade functions to sort these.
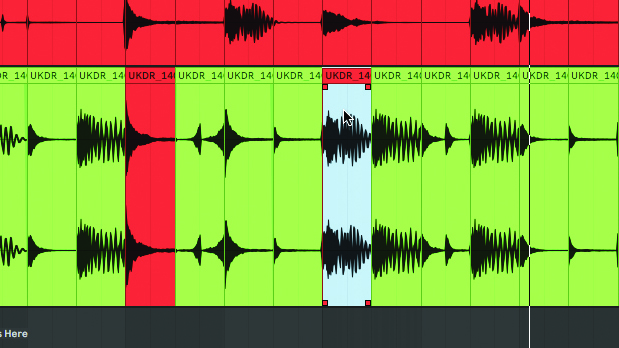
Step 5: If you feel like mixing things up a bit more, there’s nothing stopping you from grabbing another loop, slicing that up and flying some of the hits from it into the first loop. Indeed, why stop at two? Interesting things can happen when different loops are brought together like this, but do exercise taste and restraint.
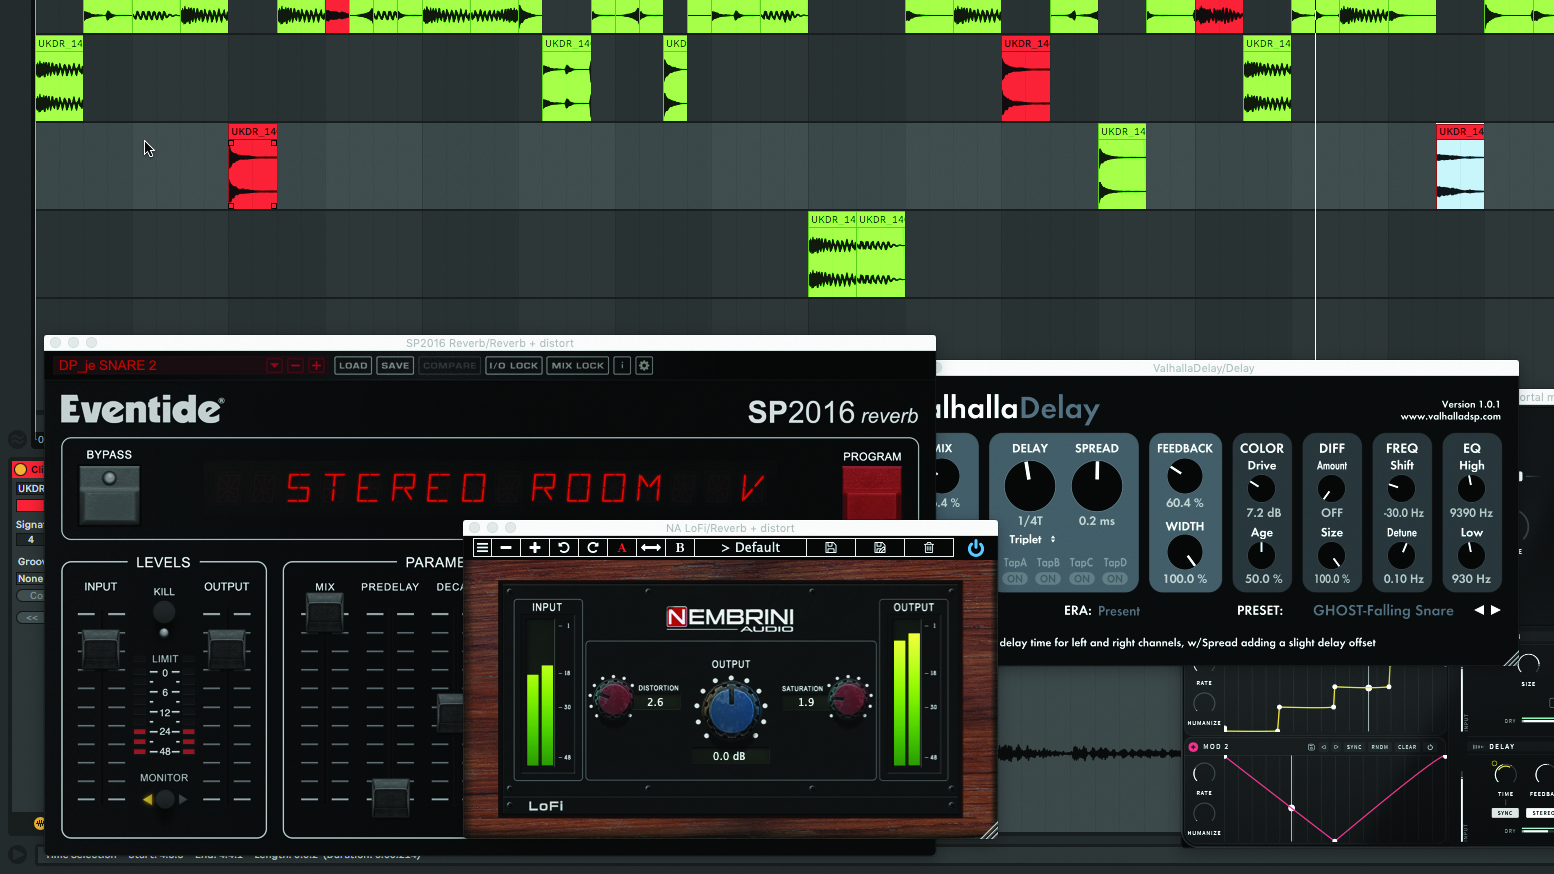
Step 6: Finally, create a few more tracks and load them up with various combinations of effects, then drag selected slices down to them to add spot FX to individual sounds within the loop. When you’re happy with the results, folder the tracks or render the whole thing as a stereo file for convenience.
Computer Music magazine is the world’s best selling publication dedicated solely to making great music with your Mac or PC computer. Each issue it brings its lucky readers the best in cutting-edge tutorials, need-to-know, expert software reviews and even all the tools you actually need to make great music today, courtesy of our legendary CM Plugin Suite.
