Hailing from Africa and now a staple of modern orchestral music and jazz, the marimba is the bigger, deeper brother of the xylophone. A large tuned percussion instrument, it consists of two rows of wooden bars, arranged like a piano, with a series of metal tubes suspended vertically beneath. The bars are struck with mallets, and the resultant woody tones are amplified by the tubes to produce a characterful sound.
Although usually played with just two mallets, the adept performer often uses four, holding two in each hand - a technique that goes by various originator-derived names including Stevens and Musser. This enables four-note chords to be played, as well as faster sequences of spaced-apart notes than would be possible with just two sticks.
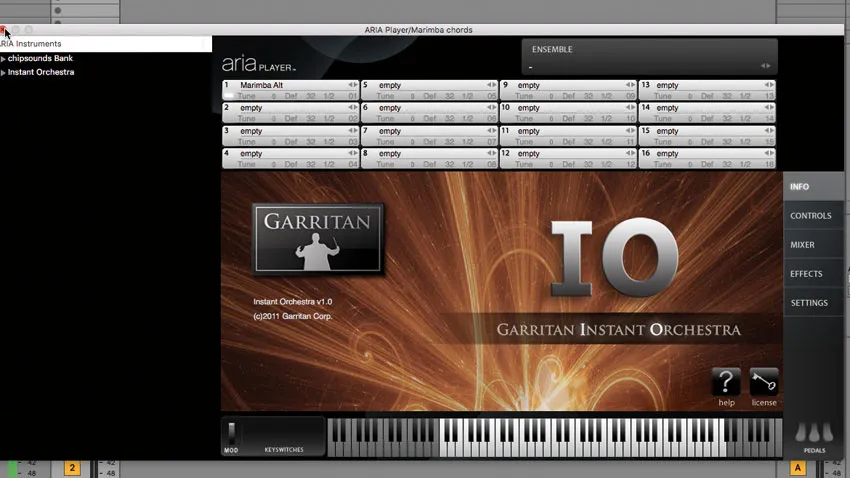
Here, we’ll put together a quick track idea over a drum loop, using just marimba emulations in Ableton Live. For our sampled marimba, we're using Garritan’s Instant Orchestra, while the synthesised stand-in is Live’s own Collision modelling instrument. You can get the same results with any source of marimba tones, though, such as Alan Vista’s free Marimbaphonic plugin.
Step 1: Let’s start with a chord sequence. We can use up to four notes at once for this, each pair spaced apart by up to an octave, emulating the four-mallet technique used by the skilled marimbaist. We load the Marimba Alt preset from Garritan Instant Orchestra into Aria Player on a MIDI track and create a clip.

Step 2: One eight-bar chord sequence later, we have a harmonic framework to build on. As we're programming rather than performing the part, we subtly space out the notes of each chord to emulate the striking variation of a real player. The Marimba Alt patch uses round robins, too, for further note-to-note variation.

Step 3: A marimba has decent low end, but a synthesised one is better for this setting. We tweak Live’s Collision-based Bright Marimba Instrument Rack, tuning Resonator 1 down two octaves, activating Resonator 2 and tuning it down one octave, dropping Bright Macro to 0, and raising Attack Macro. Nice and garagey.

Step 4: Now for a melodic riff, staying mechanical in rhythm and melody. We opt for the regular Marimba preset from Instant Orchestra. We want it to arpeggiate a chord sequence, so we insert Live’s Arpeggiator, and set it to the Classic UpDown Eight preset, but with Rate increased to 1/16, Repeats at 4, and Steps octave range at 0.

Step 5: Next, we copy the first track’s chords, move them up an octave, stretch the notes to fill each bar, then thin and reposition them to get a pattern that compliments the chords. We EQ the riff, and pan it and the chords slightly to separate them, then insert Live’s Echo filter delay after the EQ for a sense of space.

Step 6: Pads aren’t an option for marimba, but we get a similar effect using the single-stroke rolls technique. We load the Marimba Alt patch and program a 32nd-note pattern at varied velocity. We then lengthen Attack to soften it, EQ out much of the top end, and apply a heavy reverb send to smear the sound.
