How to organise a DAW session and improve your workflow
Inspiration is rare – don't let a messy project kill your creativity
Want all the hottest music and gear news, reviews, deals, features and more, direct to your inbox? Sign up here.
You are now subscribed
Your newsletter sign-up was successful
In music, workflow and organisation isn't just a necessary evil, it's a vital ingredient in success – when you're in the middle of your creative flow, do you really want to spend two minutes trying to locate a sample a plugin or even working out a routing between channels?
In this article, we'll show you several layers of organisation that you can apply to your session when producing and mixing, helping you to keep inspiration flowing when it strikes.
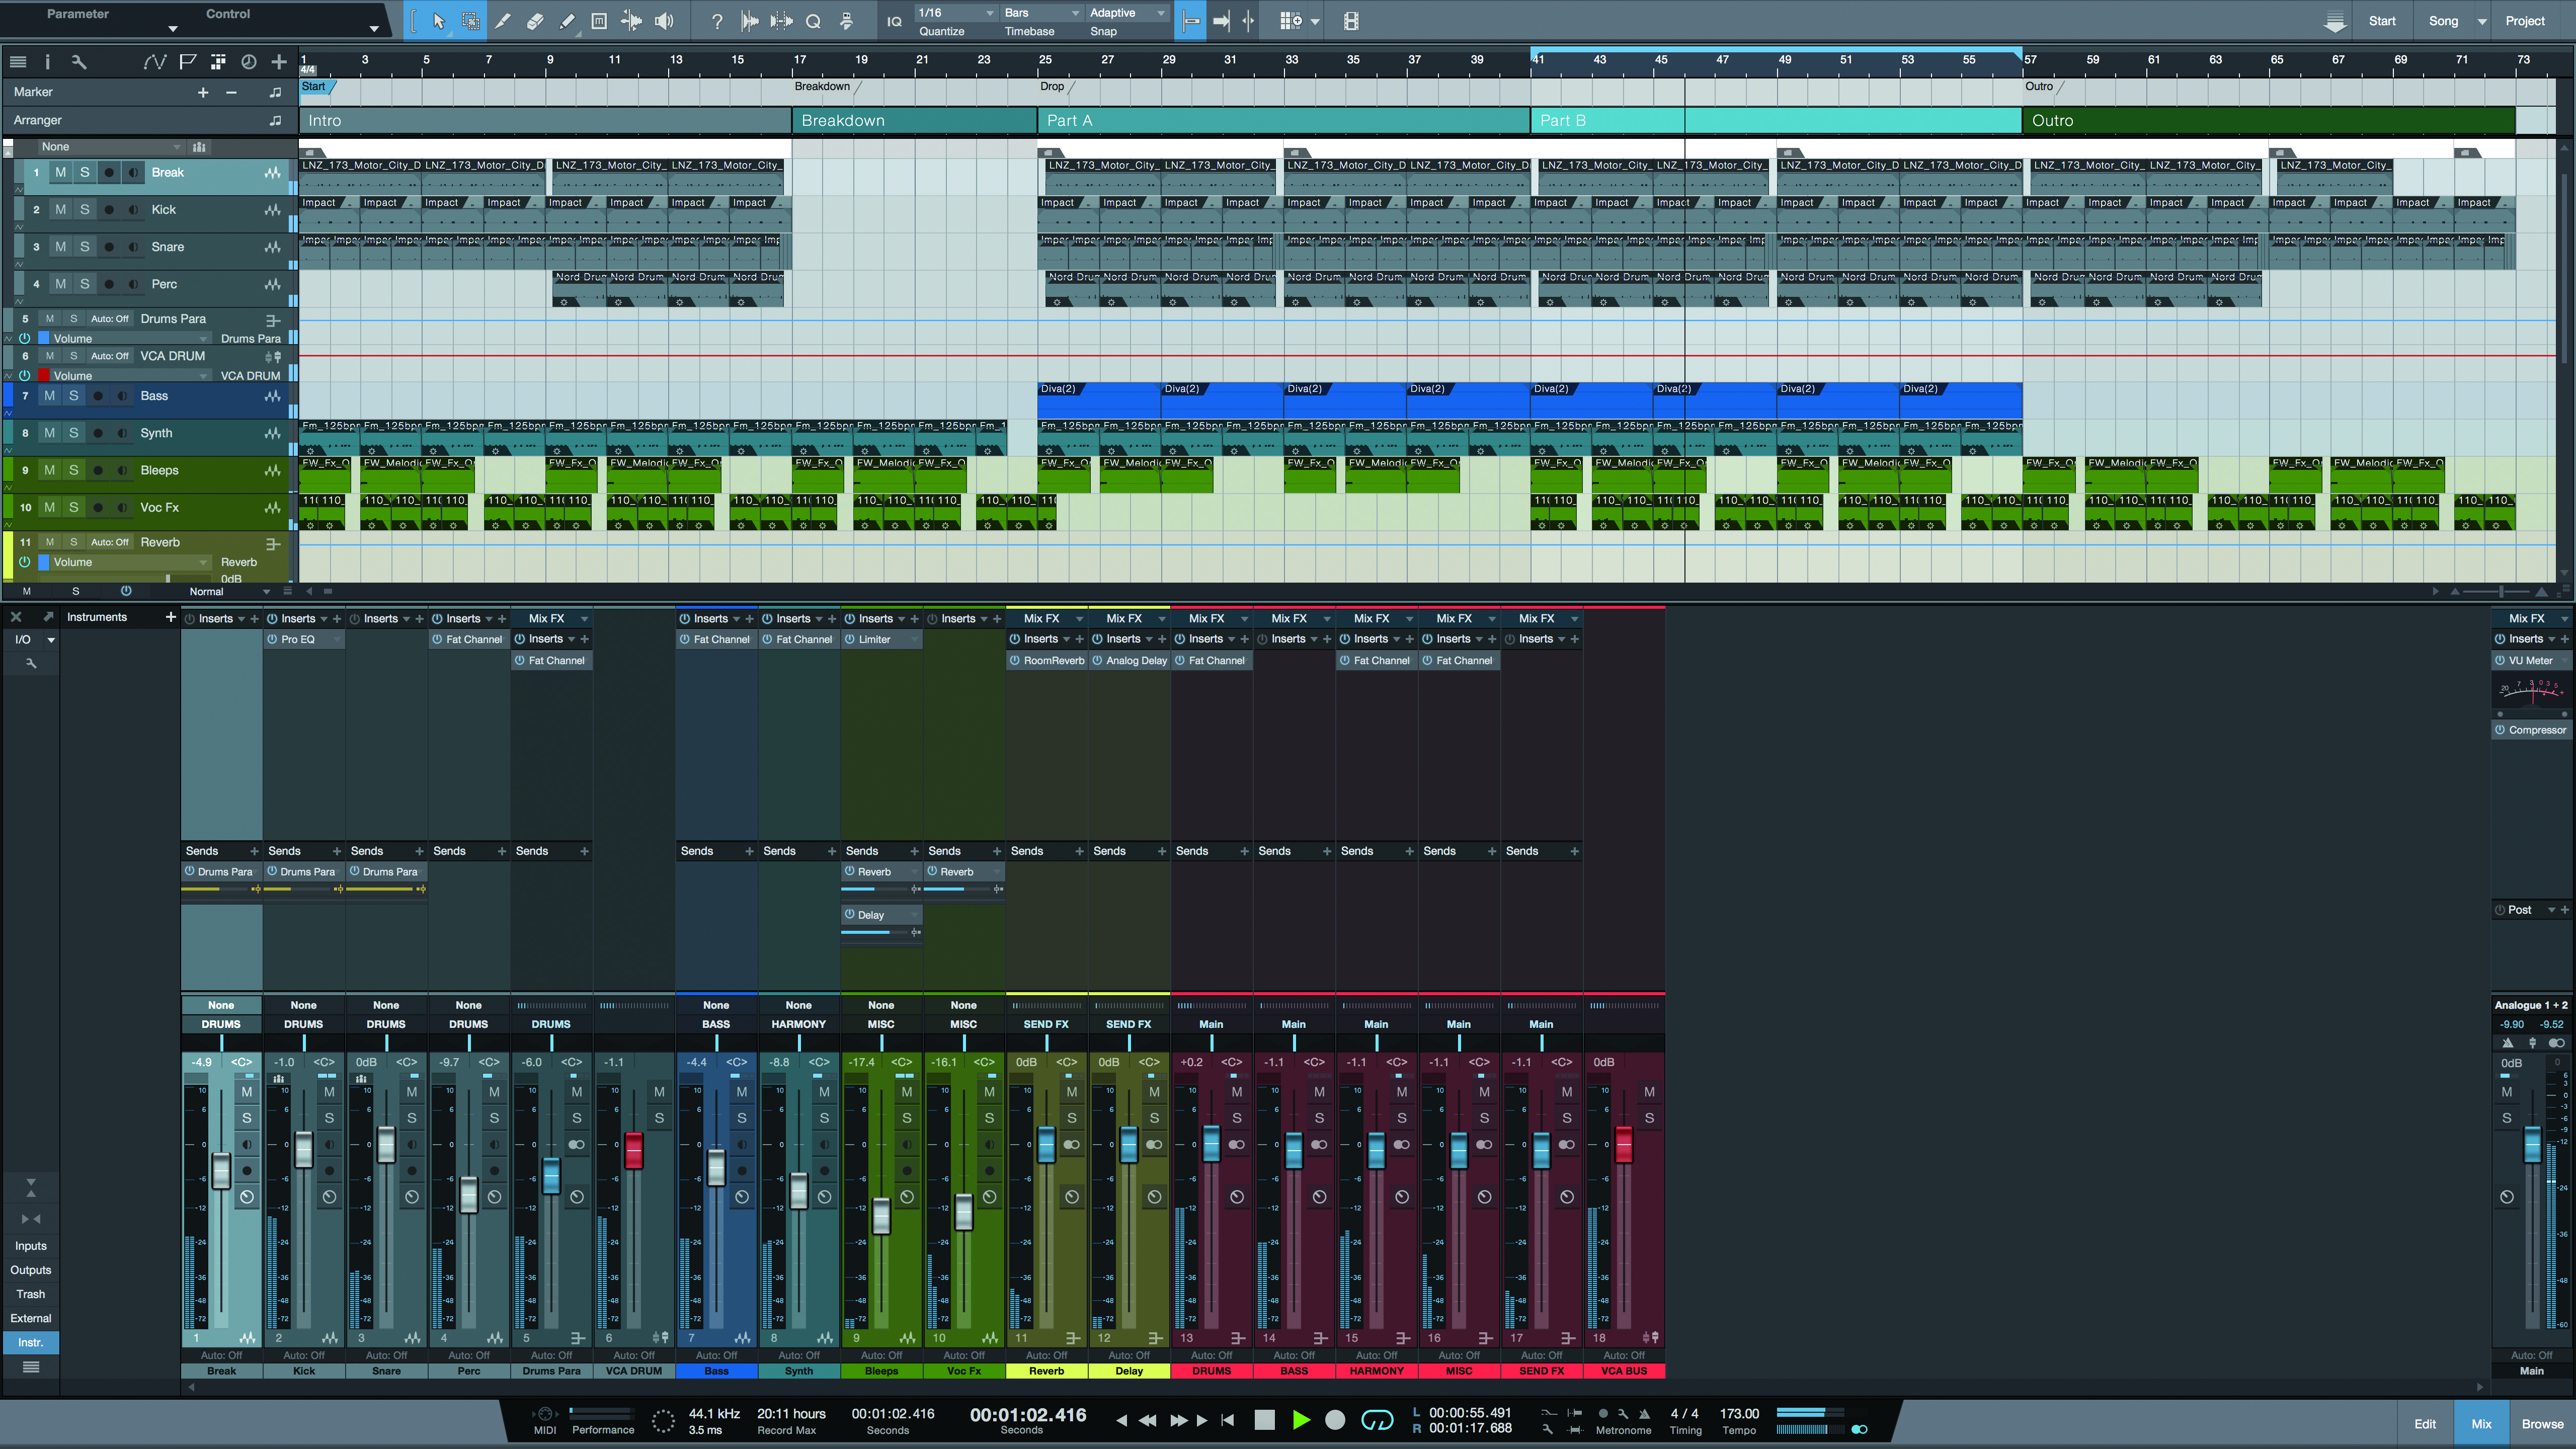
We're using PreSonus Studio One 3 for this tutorial because it has a killer set of features when it comes to organising and setting up a session. You can download the project files for Studio One or Ableton Live to follow along yourself.
1. Naming tracks
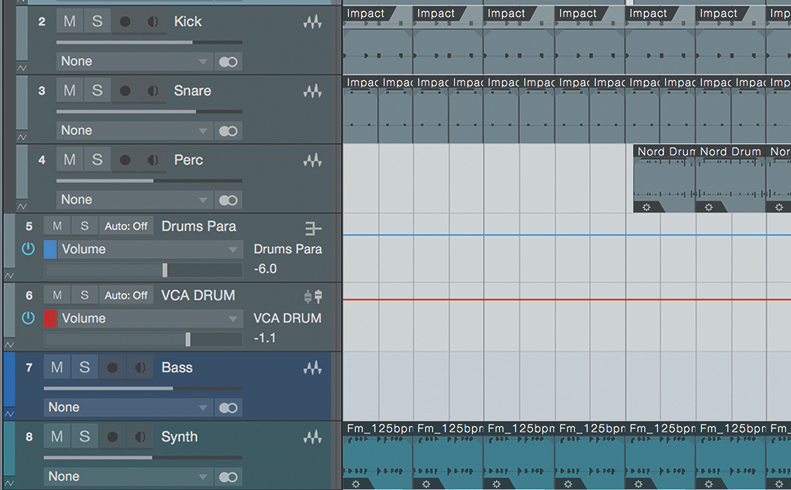
Naming tracks is a very important part of getting organised. Try to come up with names that are short, descriptive, and different enough from each other – you want to be able to identify them with a quick glance. It's not always necessary to name the MIDI and audio clips within the arrangement, although it can help if you're working with lots of vocals or live takes . Micromanaging is not the point – effortless workflow is.
2. Arranging tracks in order
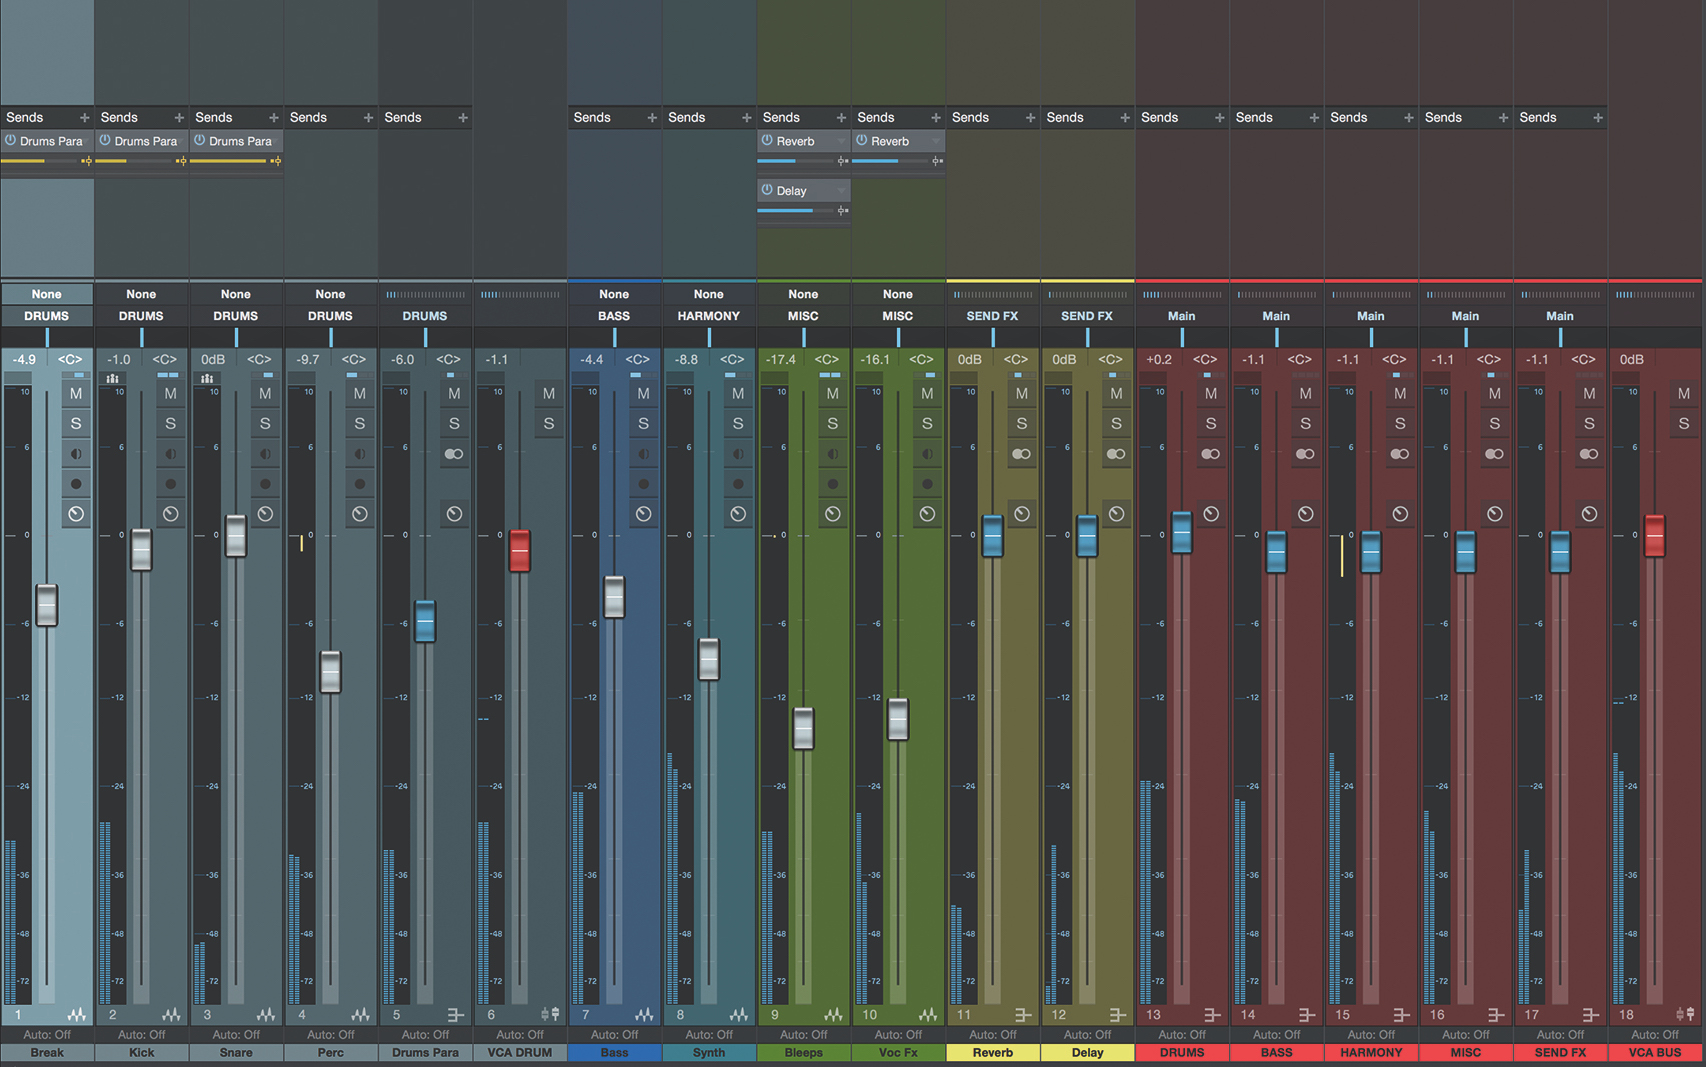
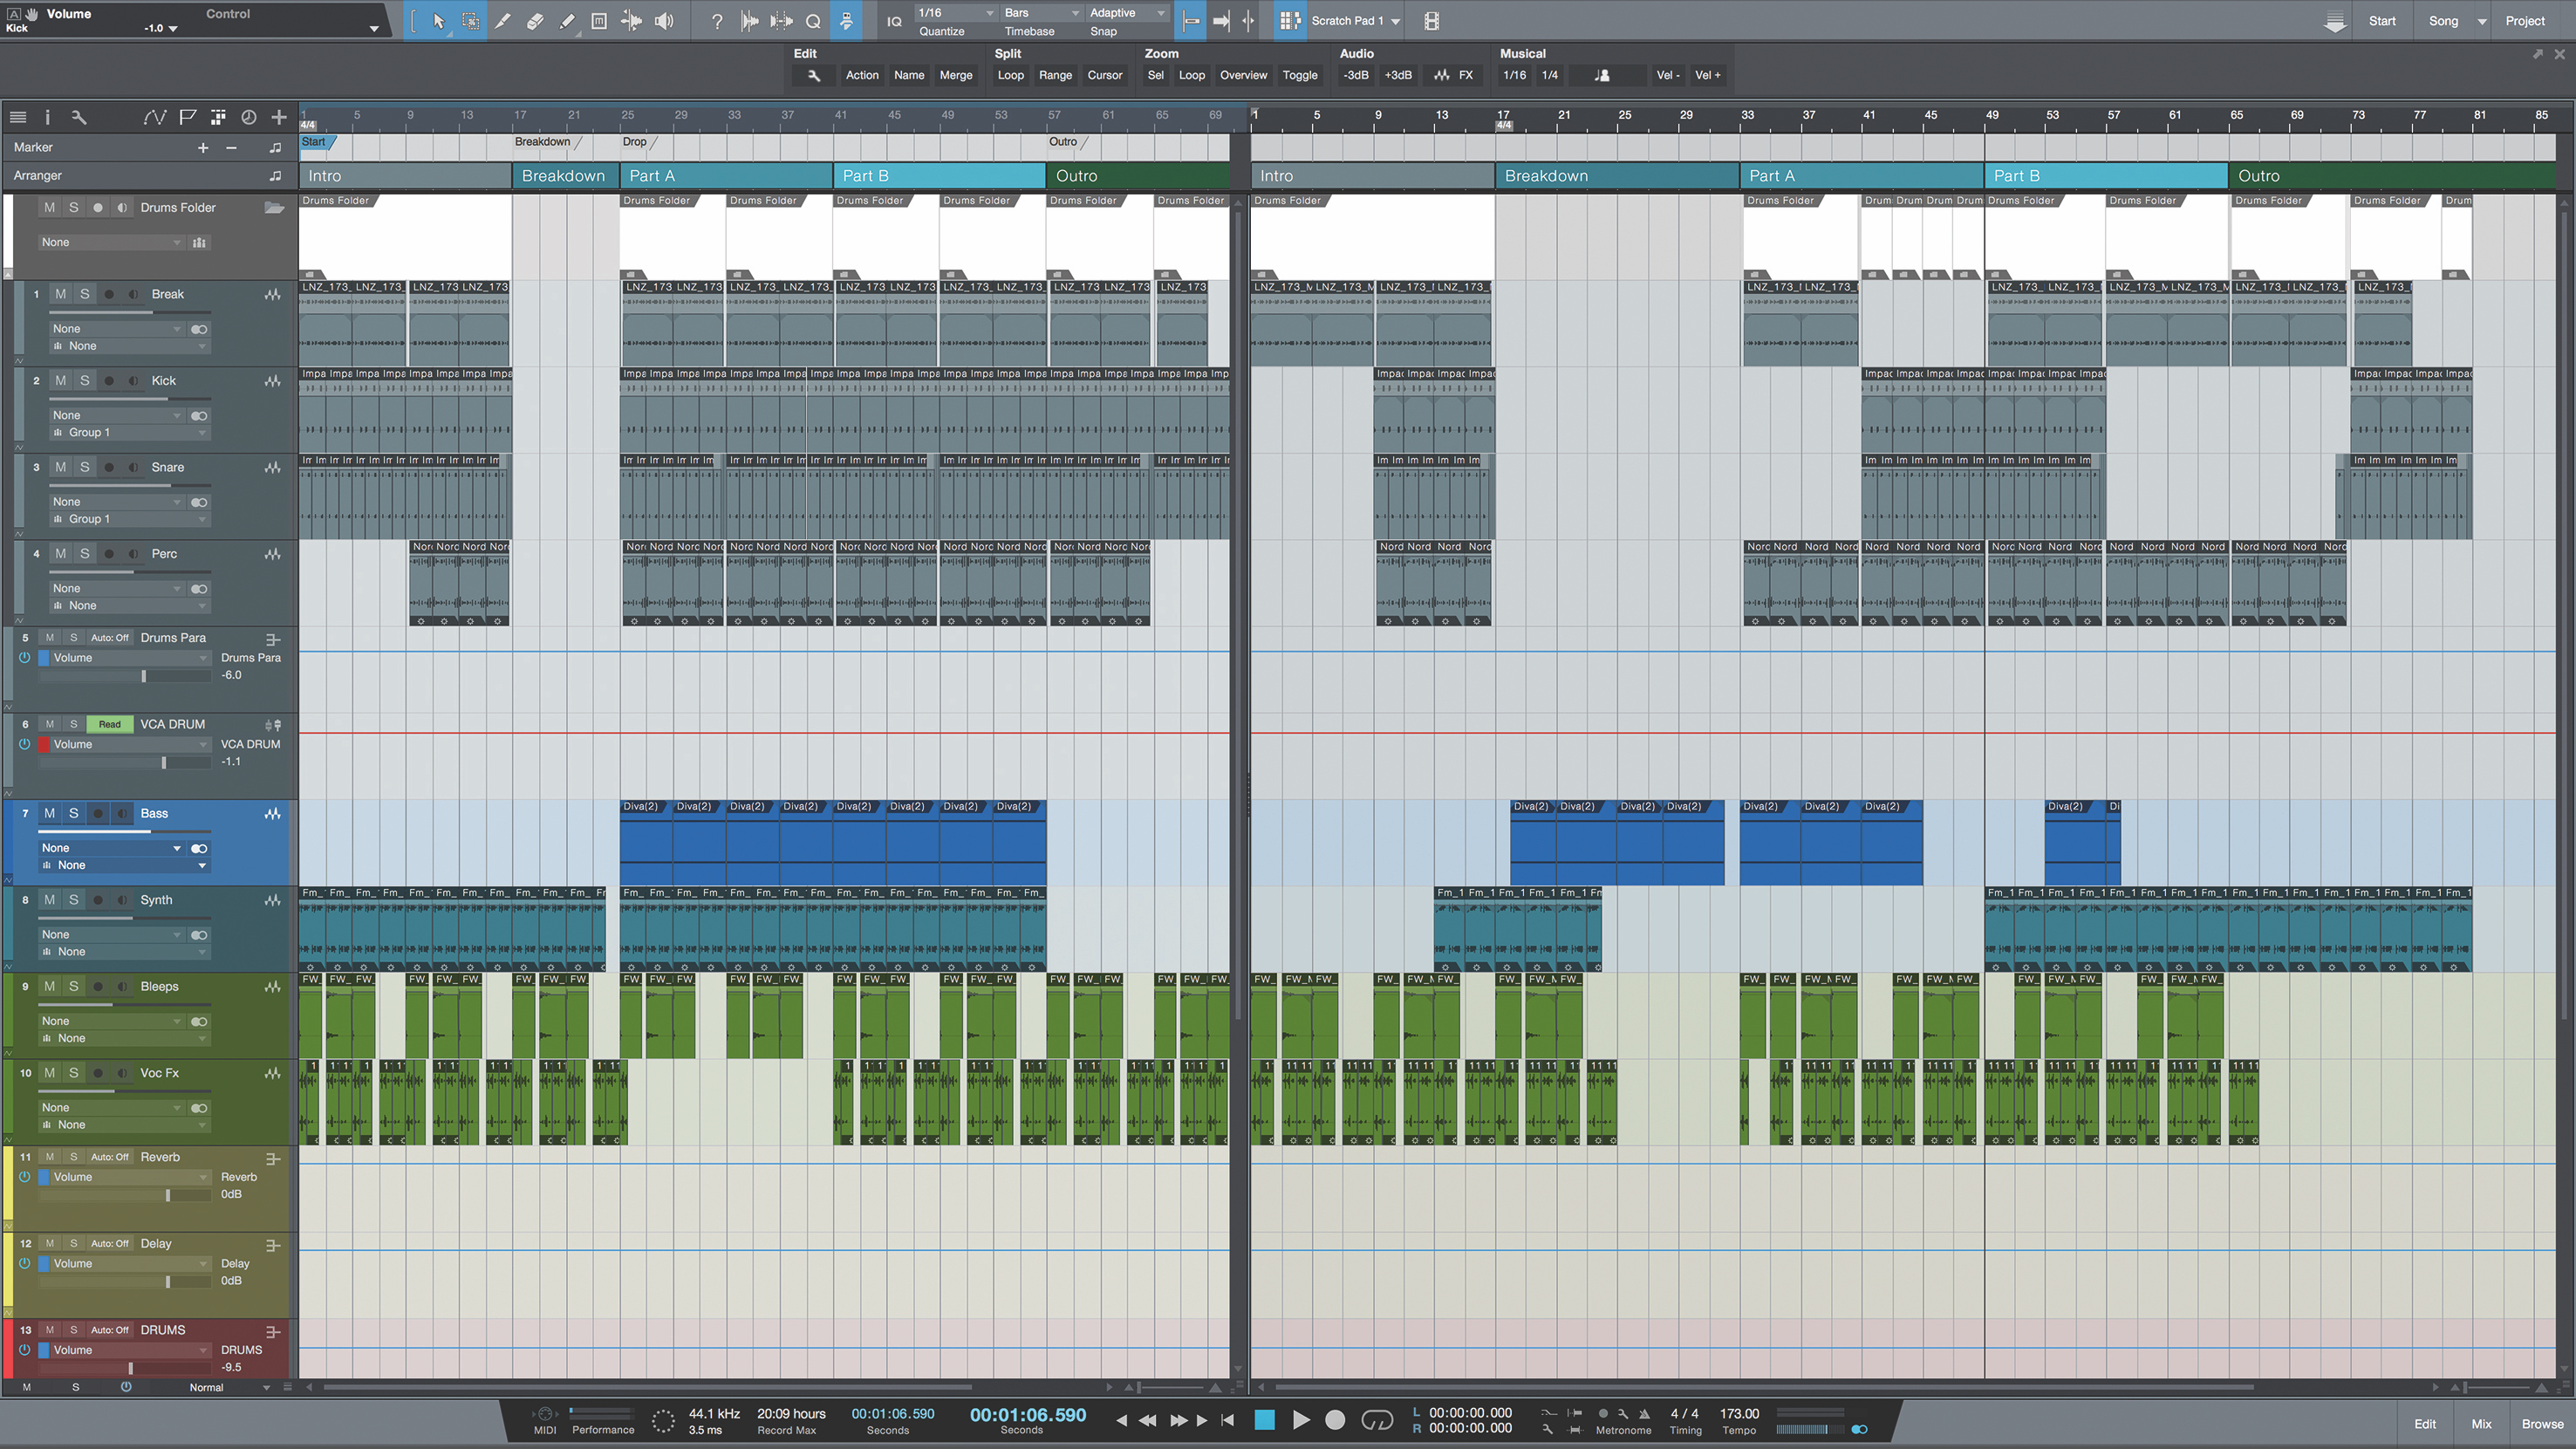
Here's a great way to arrange tracks: from left to right in the mixer (and top to bottom in the arrangement), Drums first, followed by Percussion and Bass. Next up are Vocals and Synths and any Other Sounds. Finally come Send FX, your Submix Buses, and the Master Bus.
This basic order should remain mostly the same with every project you do, so it becomes second nature to you. If you're working with something unusual, it's OK to adapt on the fly, of course.

3. Logical routing and grouping
Everything in the mix (including the send FX) should be routed through one of the (red) submix buses before hitting the main mix bus. This gives another stage for processing and makes the whole session easier to control. It also makes printing mix stems very straightforward when the time comes. It's not uncommon to end up with up to seven submix buses per session.
Want all the hottest music and gear news, reviews, deals, features and more, direct to your inbox? Sign up here.
4. Colour-coding mix channels
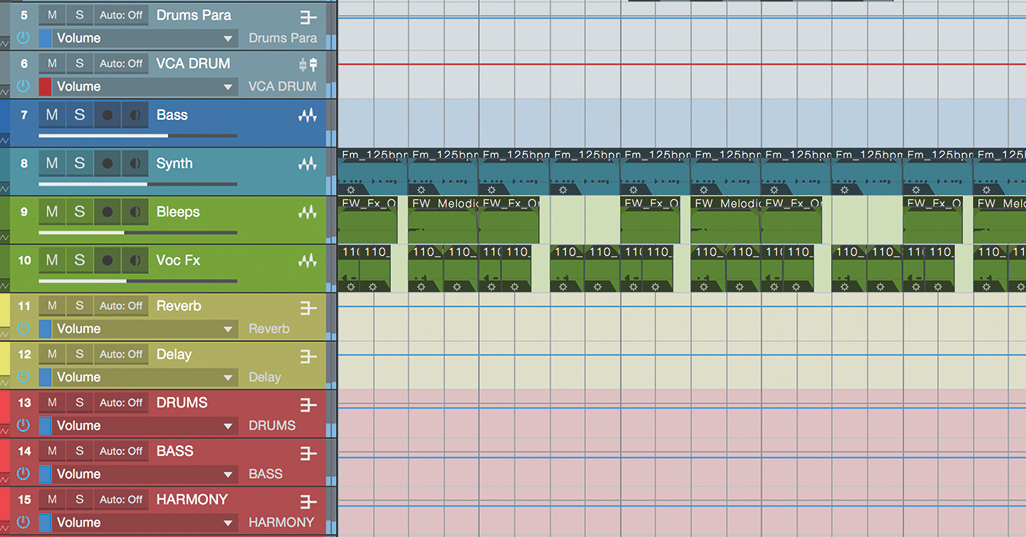
Assigning tracks logical colours is an extremely helpful way to boost the level of organisation in your project. It becomes increasingly powerful as your track count goes up. I like to use colours to reflect the output routing of my channels: all drums are grey, all send FX are yellow, all submix buses are red, and so on.
5. Set up scenes to show and hide tracks
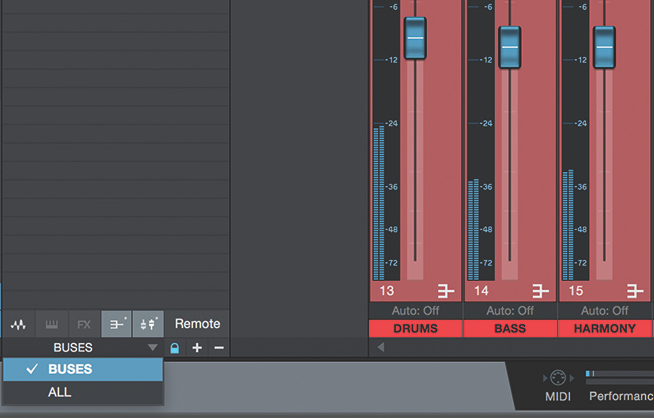
In Studio One 3, Console Scenes are used to control which channels are shown and hidden. In this project, two Scenes set up: All and Buses. This is a great feature to use with large sessions or when working with a small computer screen. You can link Scenes to show or hide tracks in the arrangement as well as in the mixer.

6. Use markers for navigation
Markers are extremely handy for both giving visual structure to your project and for quickly navigating a session. Whatever DAW you’re using, learning keyboard shortcuts to jump back and forth between markers can make things so much faster – it’s as simple as it sounds, but it’s one of the most practical workflow enhancements there is!
7. Assign and tweak sections
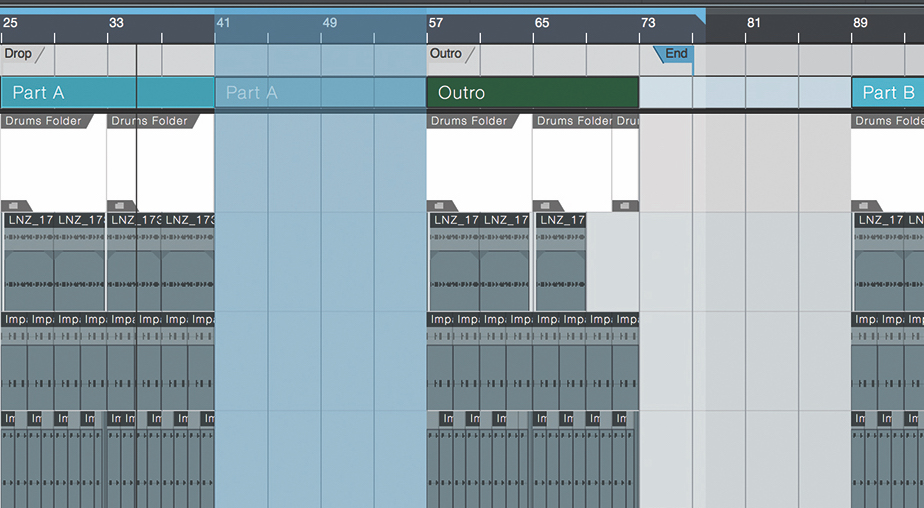
Studio One’s Arranger Track allows you to work with entire sections of your song as if they were individual elements. You simply draw the parts of your arrangements as blocks on the arranger track, and then you can move the blocks around and have everything in the arrange window follow. So handy!
8. The importance of clean-up
As your project progresses, it’s easy for things to get messy. Rightfully so – there’s a time and place for just being creative without having to worry about tidiness. Once the creation is over, remove unused elements, tracks and plugins, and check group assignments and routings. This will leave you streamlined for your next creative session!
Computer Music magazine is the world’s best selling publication dedicated solely to making great music with your Mac or PC computer. Each issue it brings its lucky readers the best in cutting-edge tutorials, need-to-know, expert software reviews and even all the tools you actually need to make great music today, courtesy of our legendary CM Plugin Suite.
