How to make a bone acoustic guitar saddle
How to get a crucial component of your acoustic tone right
Want all the hottest music and gear news, reviews, deals, features and more, direct to your inbox? Sign up here.
You are now subscribed
Your newsletter sign-up was successful
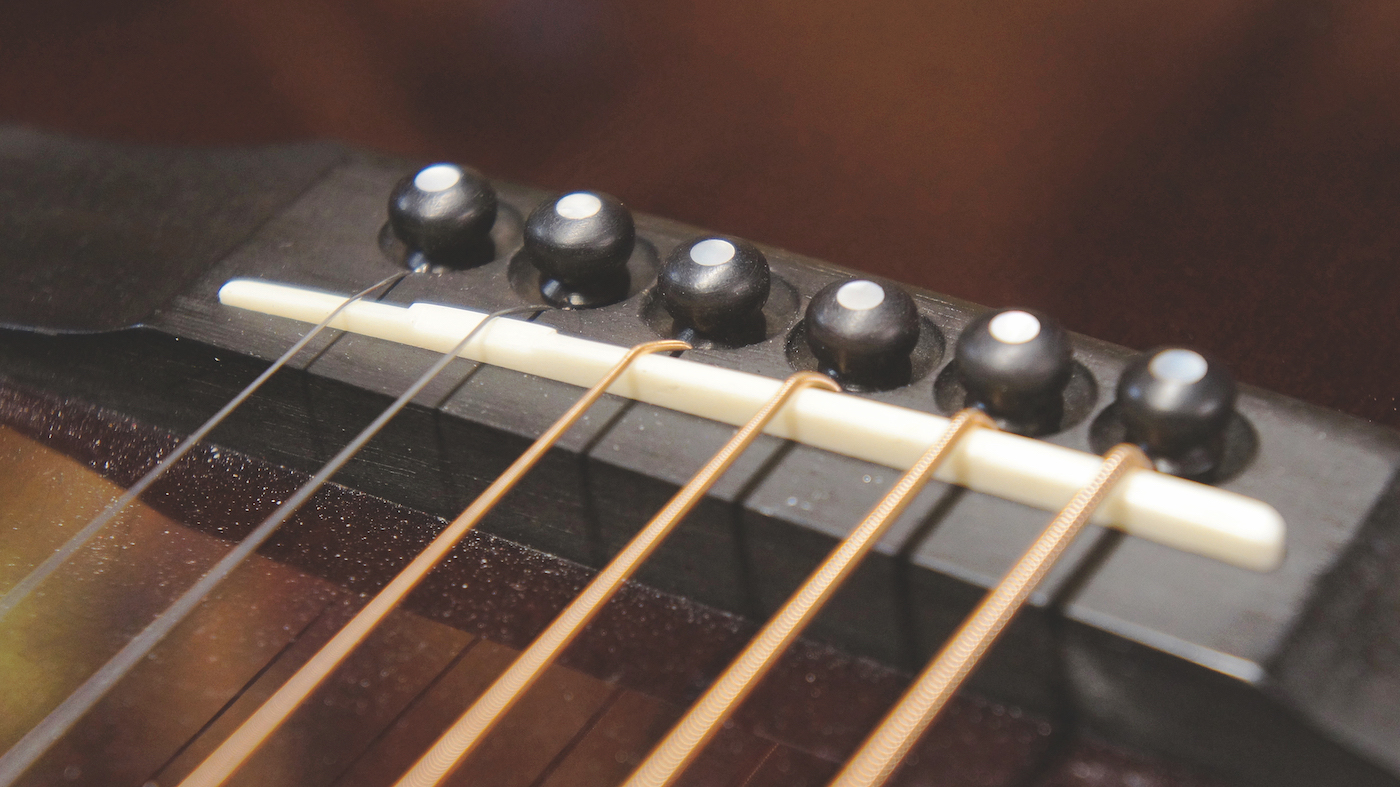
Setting the saddle height on an acoustic is a crucial part of setting one up, and sometimes you’ll need a replacement. But similar to top nuts, a saddle pretty much unique to each guitar so it’s best to create a bespoke one rather than an off-the-shelf pre-cut saddle.
Your saddle will need to be exactly the right dimensions for the bridge saddle slot and, crucially, the correct radius curvature to match your fretboard’s radius. It also needs to be the right height so it’s a comfortable action to play – so that’s more than enough reason to build one from scratch!
A lot of saddles that are fitted to acoustics these days are made from resin or other injection-moulded plastics. But you can do better than that. We’re always making bone saddles for customers in our shop and it’s because it improves the tonality and, when made correctly, the sustain too. Other options to upgrade with are real horn (often buffalo), brass or synthetic Tusq.
What you need:
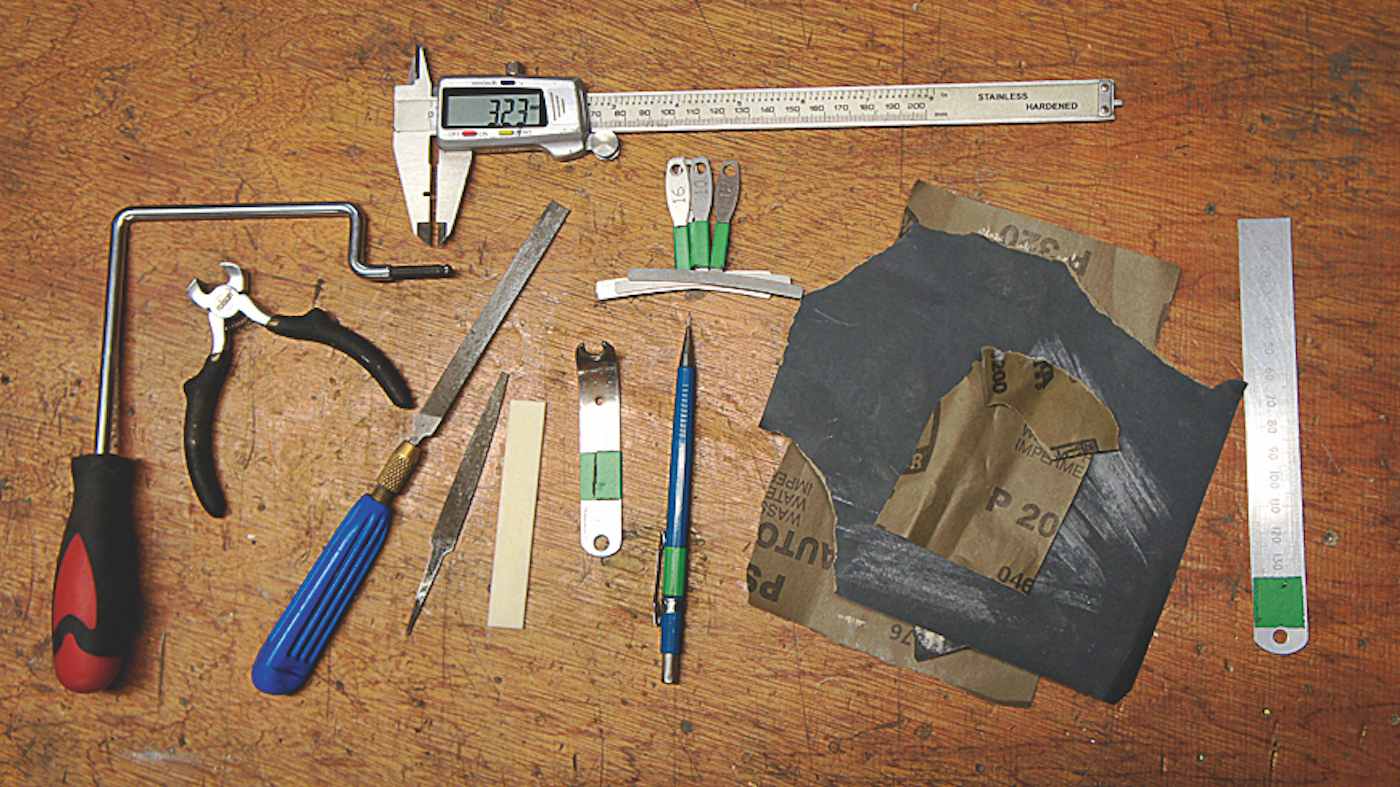
- Bone saddle blank
- Truss rod tool
- End cutters (to use as pliers for stubborn saddles!)
- Shaping flat files
- Wet/Dry Paper 240–2000 grit
- Mechanical pencil
- Radius gauges
- Steel rule
- Calipers
- String pin puller
- Imperial feeler gauge
- Band saw (optional)
- Disc sander (optional)
Step 1

Our old saddle is cracked so let’s take it out. Hiding in the bottom of the saddle slot are three shims; these tone-sappers are no use, they’ll just make the new saddle taller. Many guitars have an under saddle piezo pickup which must be treated carefully as they’re delicate. Sometimes shims are also found hiding underneath piezos.
Step 2
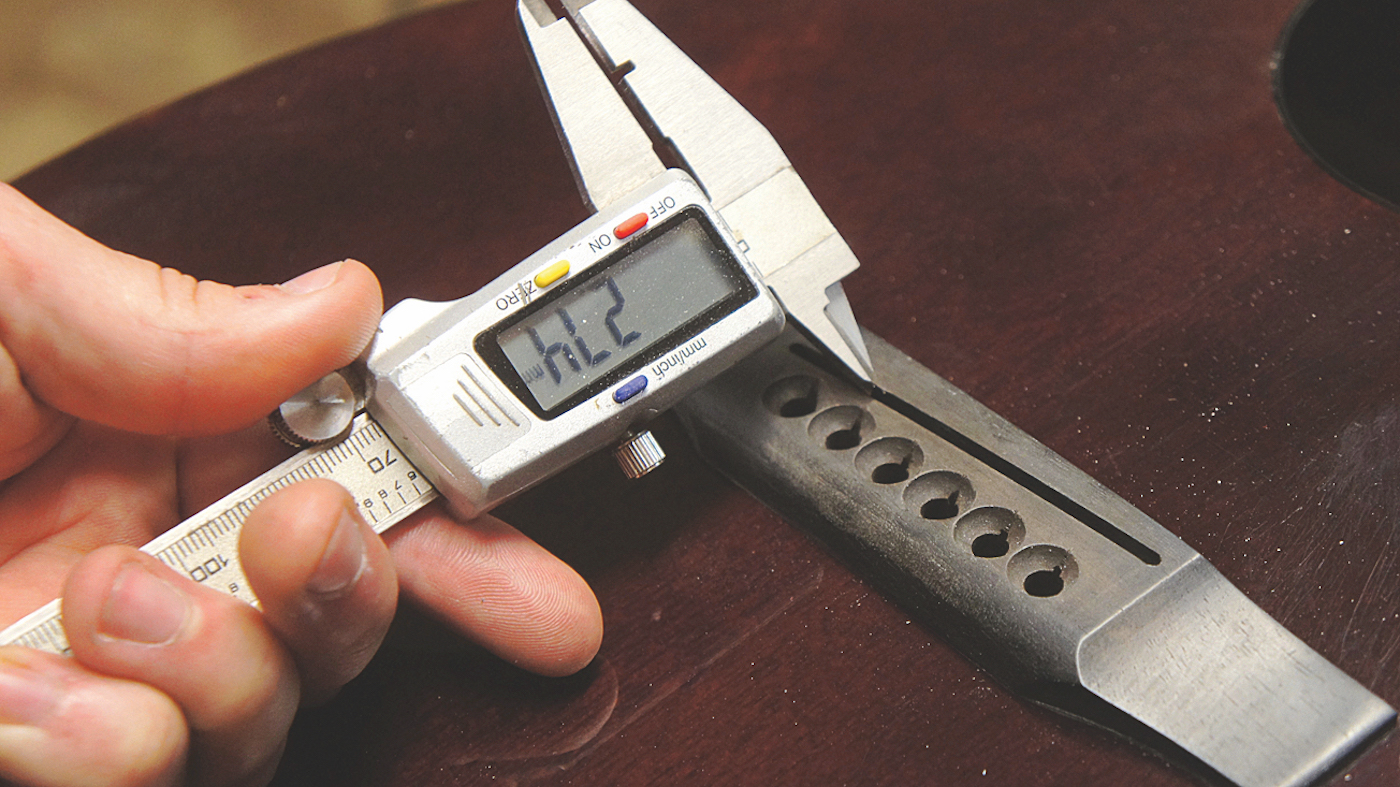
If you have a piezo, leave it in there and keep it from harm. Make sure no dust has gotten underneath it as that would affect the pickup’s output. First let’s deal with the saddle thickness. We suggest using your sanding board to thin down the saddle slowly and checking loads of times in the saddle slot.
Step 3
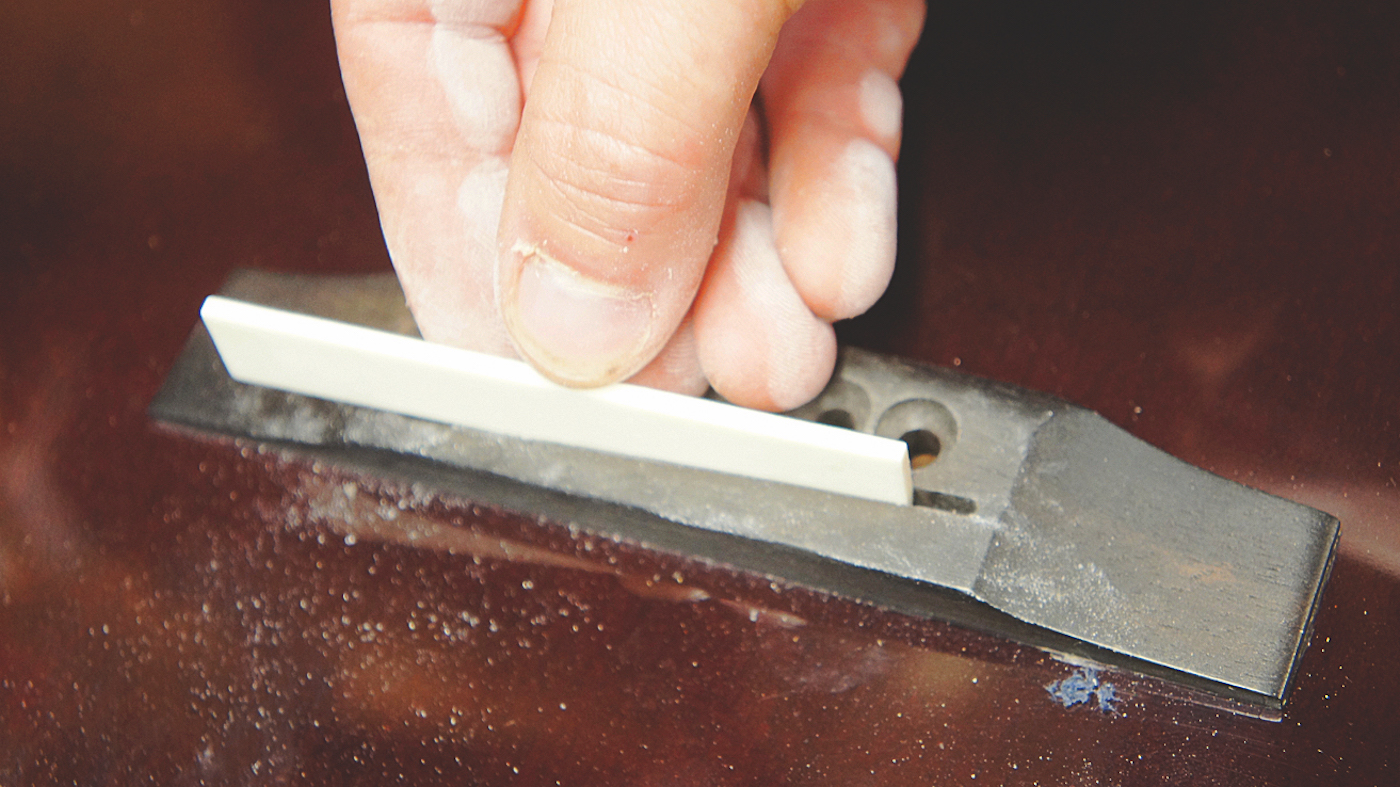
Be careful that you’re sanding down the saddle blank evenly; it’s easy to accidentally sand a taper into it. Keep checking – you want this to be a tight fit otherwise the saddle will lean forward or sap sustain. A set of calipers is a great help when it comes to sizing up your new bone blank.
Step 4
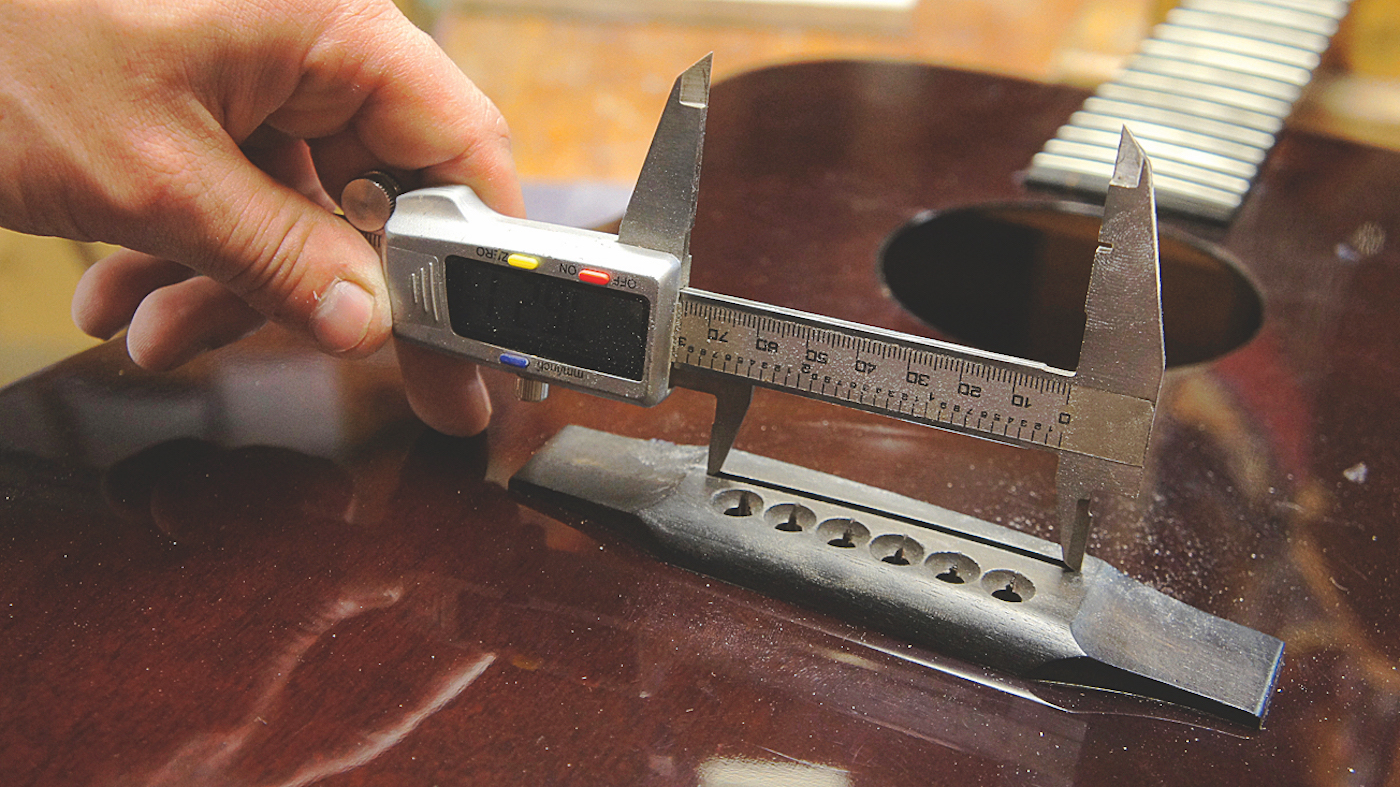
Now let’s trim the saddle blank to length; again, the calipers are handy for this. Be certain that the calipers are at full length inside the slot. Mark with a fine pencil the length desired onto your bone blank, again this should be tight in the saddle slot.
Want all the hottest music and gear news, reviews, deals, features and more, direct to your inbox? Sign up here.
Step 5
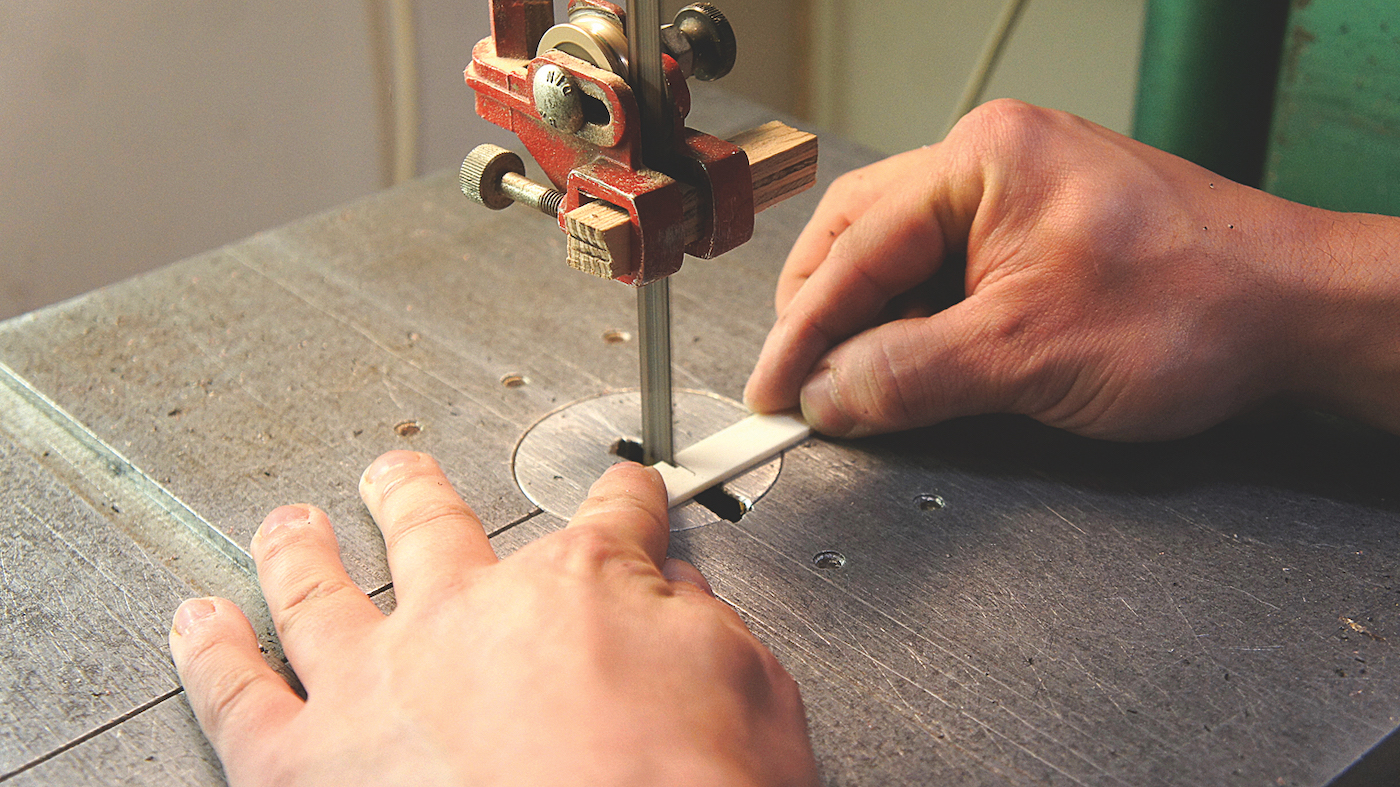
Saw the bone saddle down, being careful not to cross your line, then follow by sanding. We’re using a disc sander to help with this. Cross reference with the saddle slot and the calipers to check you haven’t gone too far.
Step 6

Now let’s put those lovely rolled edges onto the saddle blank. This is best done slowly on a sanding board with more careful checking as you go. Round off one side completely then turn your attention to the next; test fit and subtract the amount required to get a nice fit in the bridge’s saddle slot. Patience is a virtue!
Step 7
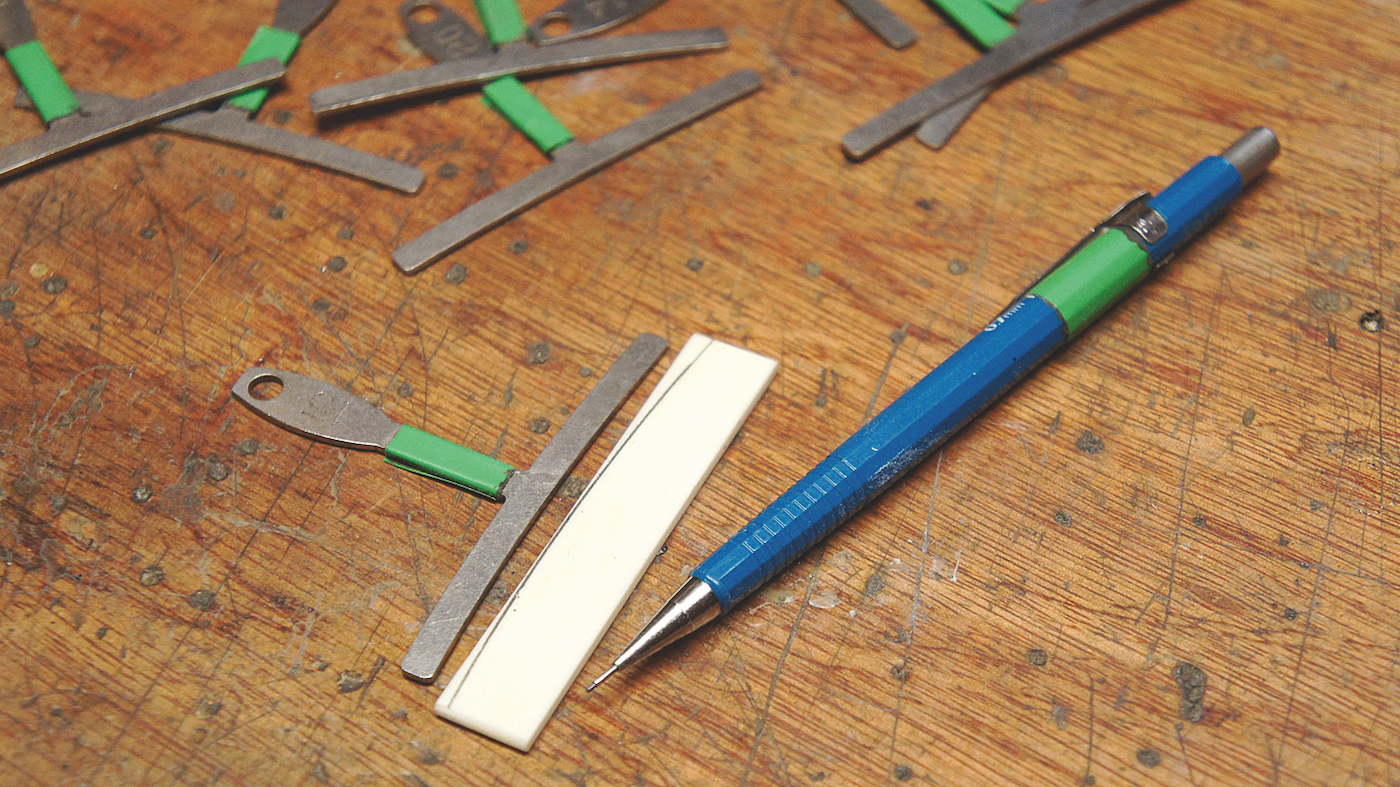
Next challenge: let’s begin to carve the top profile, starting with the curvature. First we must determine the fret board curve for ourselves and not from the guitar’s spec – it’s often wrong or not the same anymore. Radius gauges are best for this. Mark on the bone with a fine pencil and it will match the fretboard!
Step 8
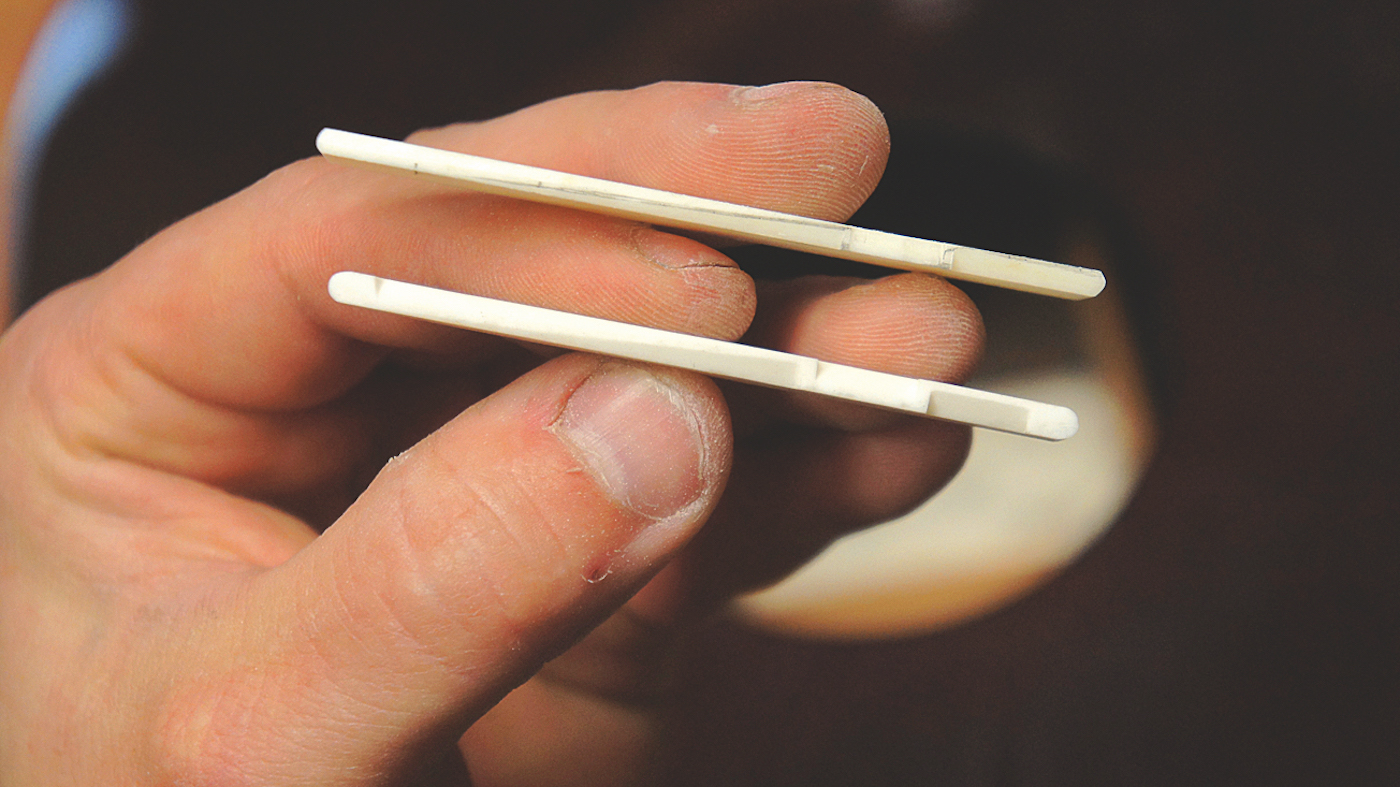
Now it’s time to carve the top profile; you can get all snazzy and carve an intonation profile into it – this is as pictured. If that’s too hard then you can opt for a nice rounded top profile (just like a fret) and it’s almost the same. To carve the fancy version make sure you don’t disturb the nice radius we just made.
Step 9
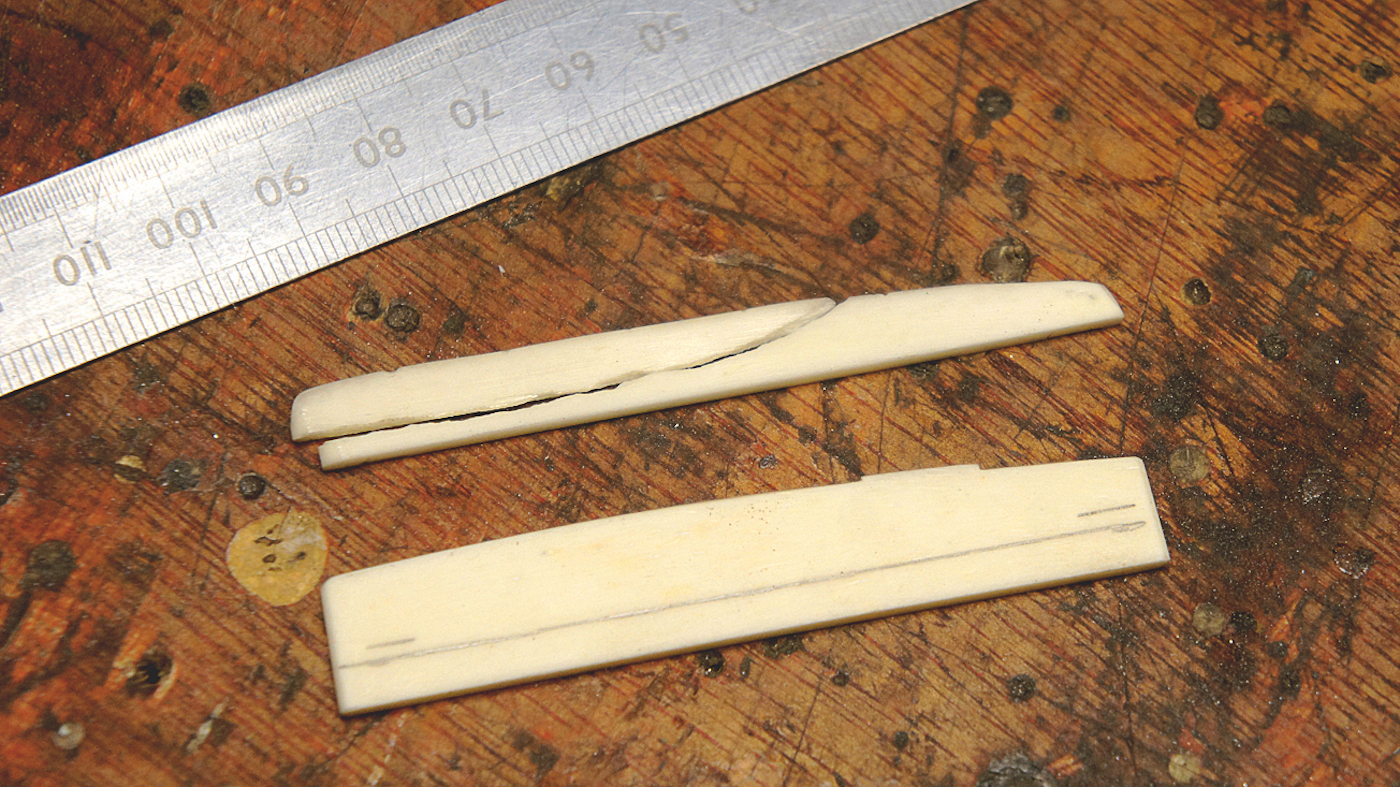
You can see why we made a new one! It’s never safe to assume the old one was right, plus we know it had naughty shims in there raising the height. Using the old one for inspiration, we’re adding around 2mm to the height and testing from there. Always make it too tall and then drop it down to the right height by testing it!
Step 10
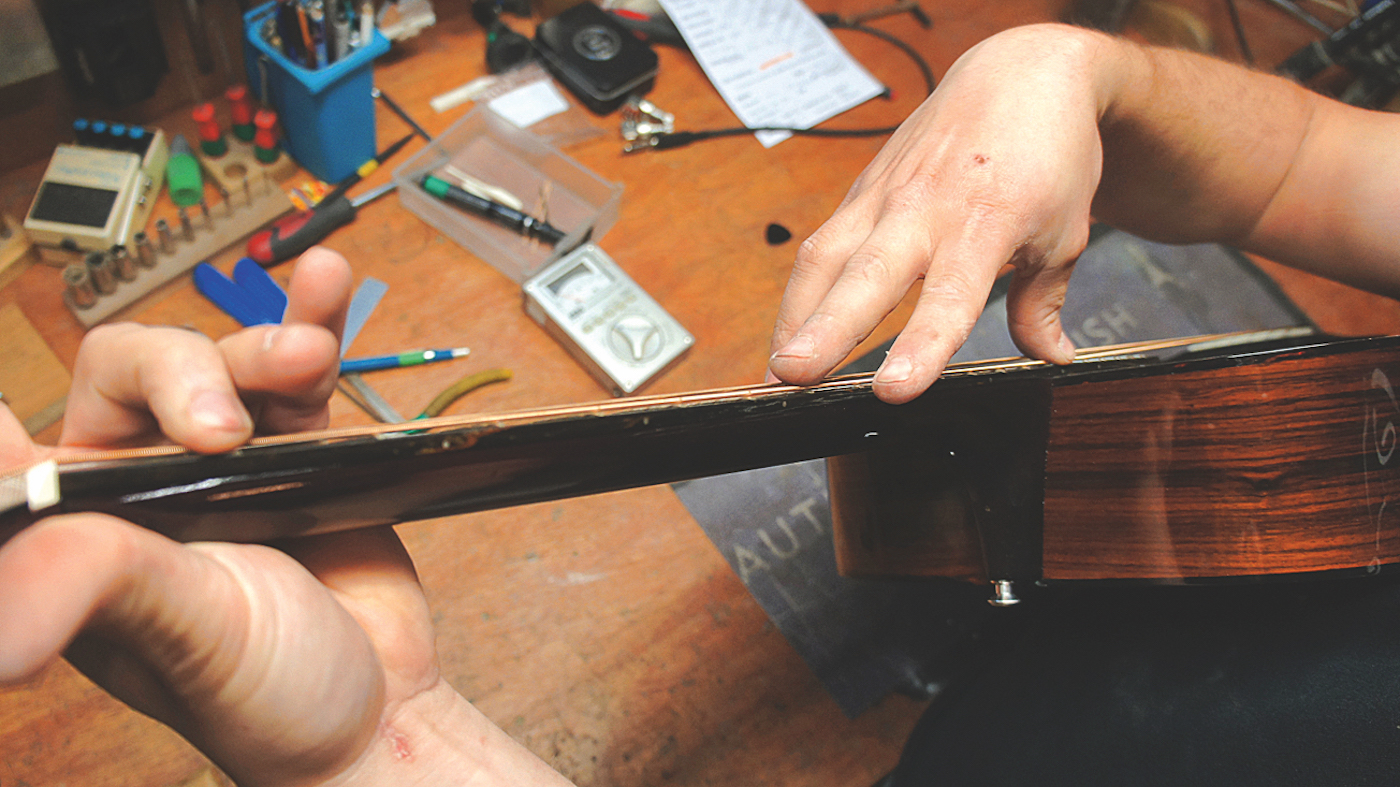
We cannot determine saddle height unless the truss rod and nut slot depths are set. Press on the 1st fret, then press on 15th fret and use the straight string as a guide to see how bent forward the neck is. The feeler gauge is put over the 8th or 9th fret underneath the string; .007" is the magic clearance. Adjust the truss rod.
Step 11
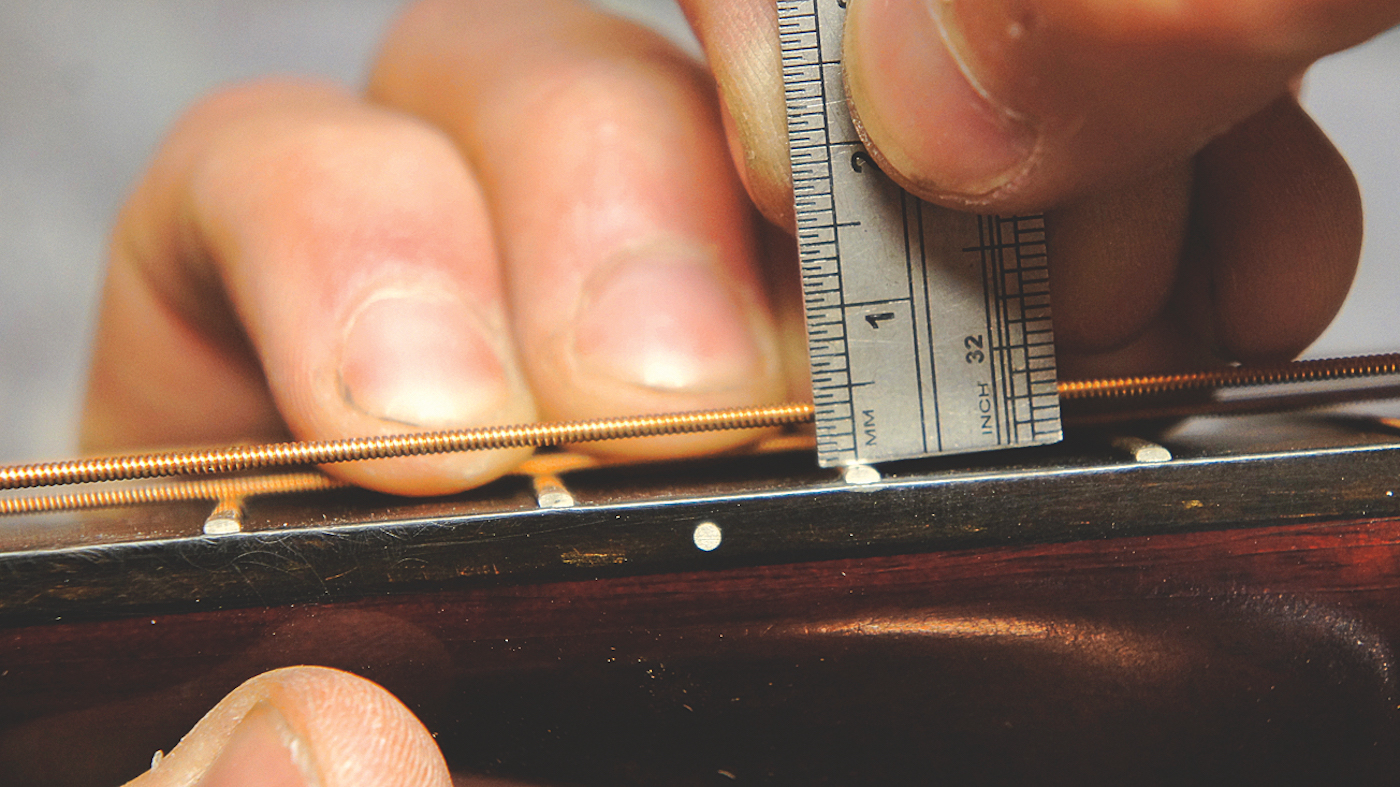
As setting the nut requires specialist tools, this is best left to a guitar tech. Once the nut and truss rod are set and it’s tuned you can measure the string height at the 12th fret. A suggested clearance is 2.2mm from the bottom of the string to the top of the fret on the low E and 1.5mm on the high E.
Step 12
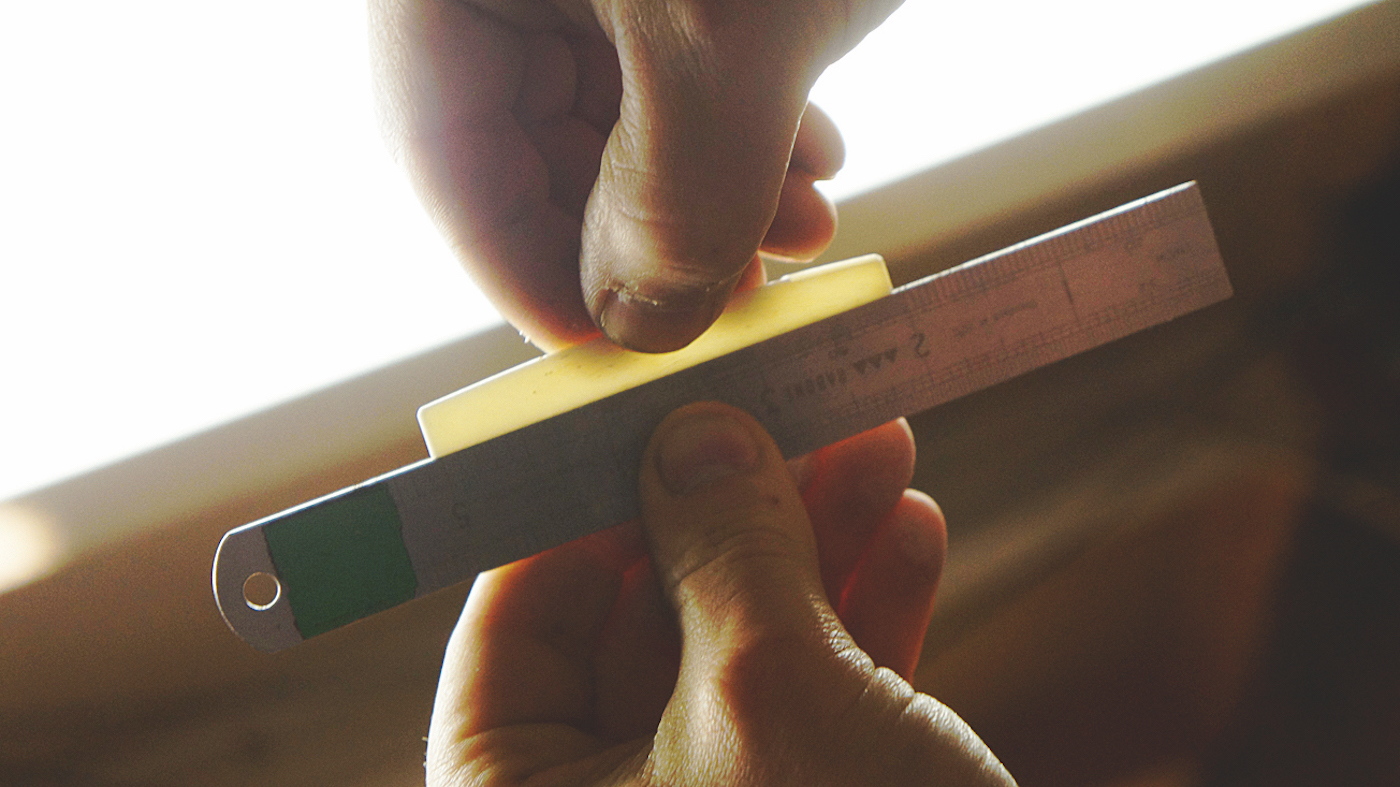
Sand down the bottom of the saddle. Keep test stringing and tuning up to determine when it’s enough. Be sure as you can’t un-sand this! When you’re at the final height, be sure that the bottom lets no light through when compared to a straight edge. This will make sure you have a good contact to the saddle slot bottom.
Jack runs an independent guitar setup and guitar repair service in Manchester, England. He serves the musicians of the Northwest of England, working on electric guitars, bass guitars, acoustic guitars and more. Jack has been writing the Fix Your Guitar column in Total Guitar Magazine since 2017.
