How to create a track with NI Komplete Kontrol and Ableton Live
Use Komplete Kontrol to write a track in Ableton
Here's a breakdown on how to use your Komplete Kontrol keyboard to build a track in Ableton Live.
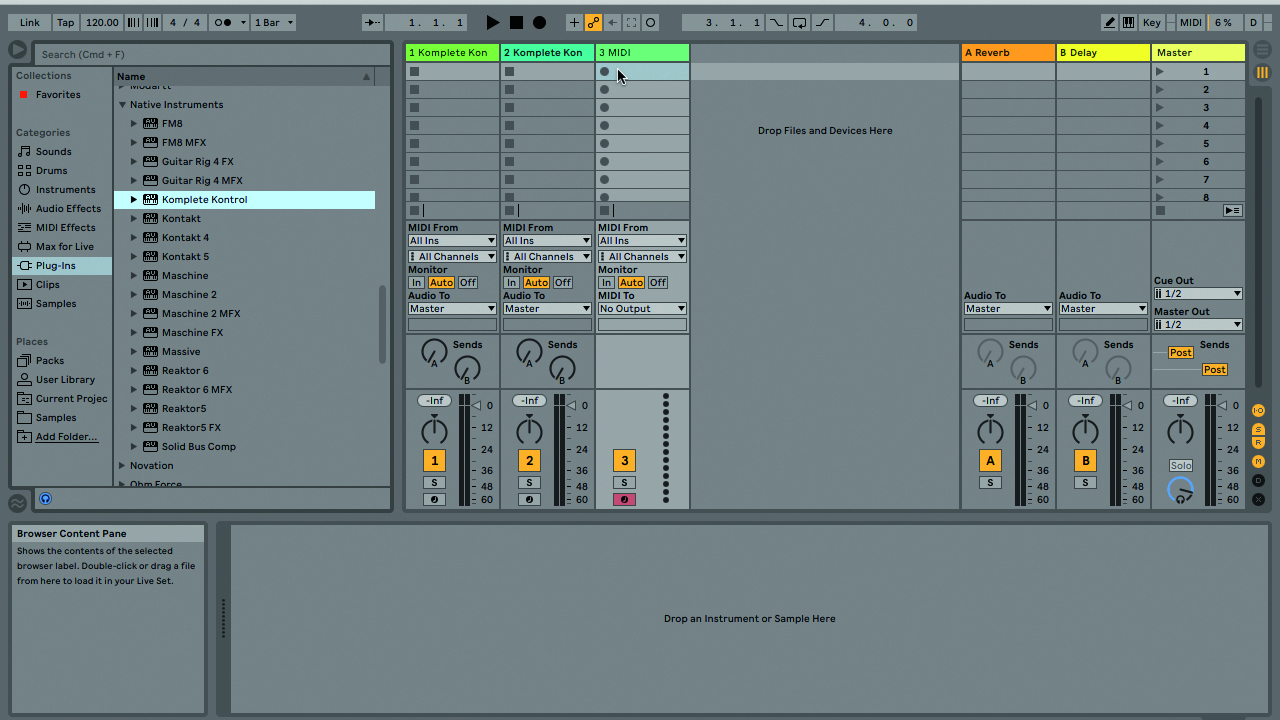
Step 1: Set up a Live session with a few empty MIDI tracks (we’ve created three), then load an instance of the Komplete Kontrol plugin onto each one.
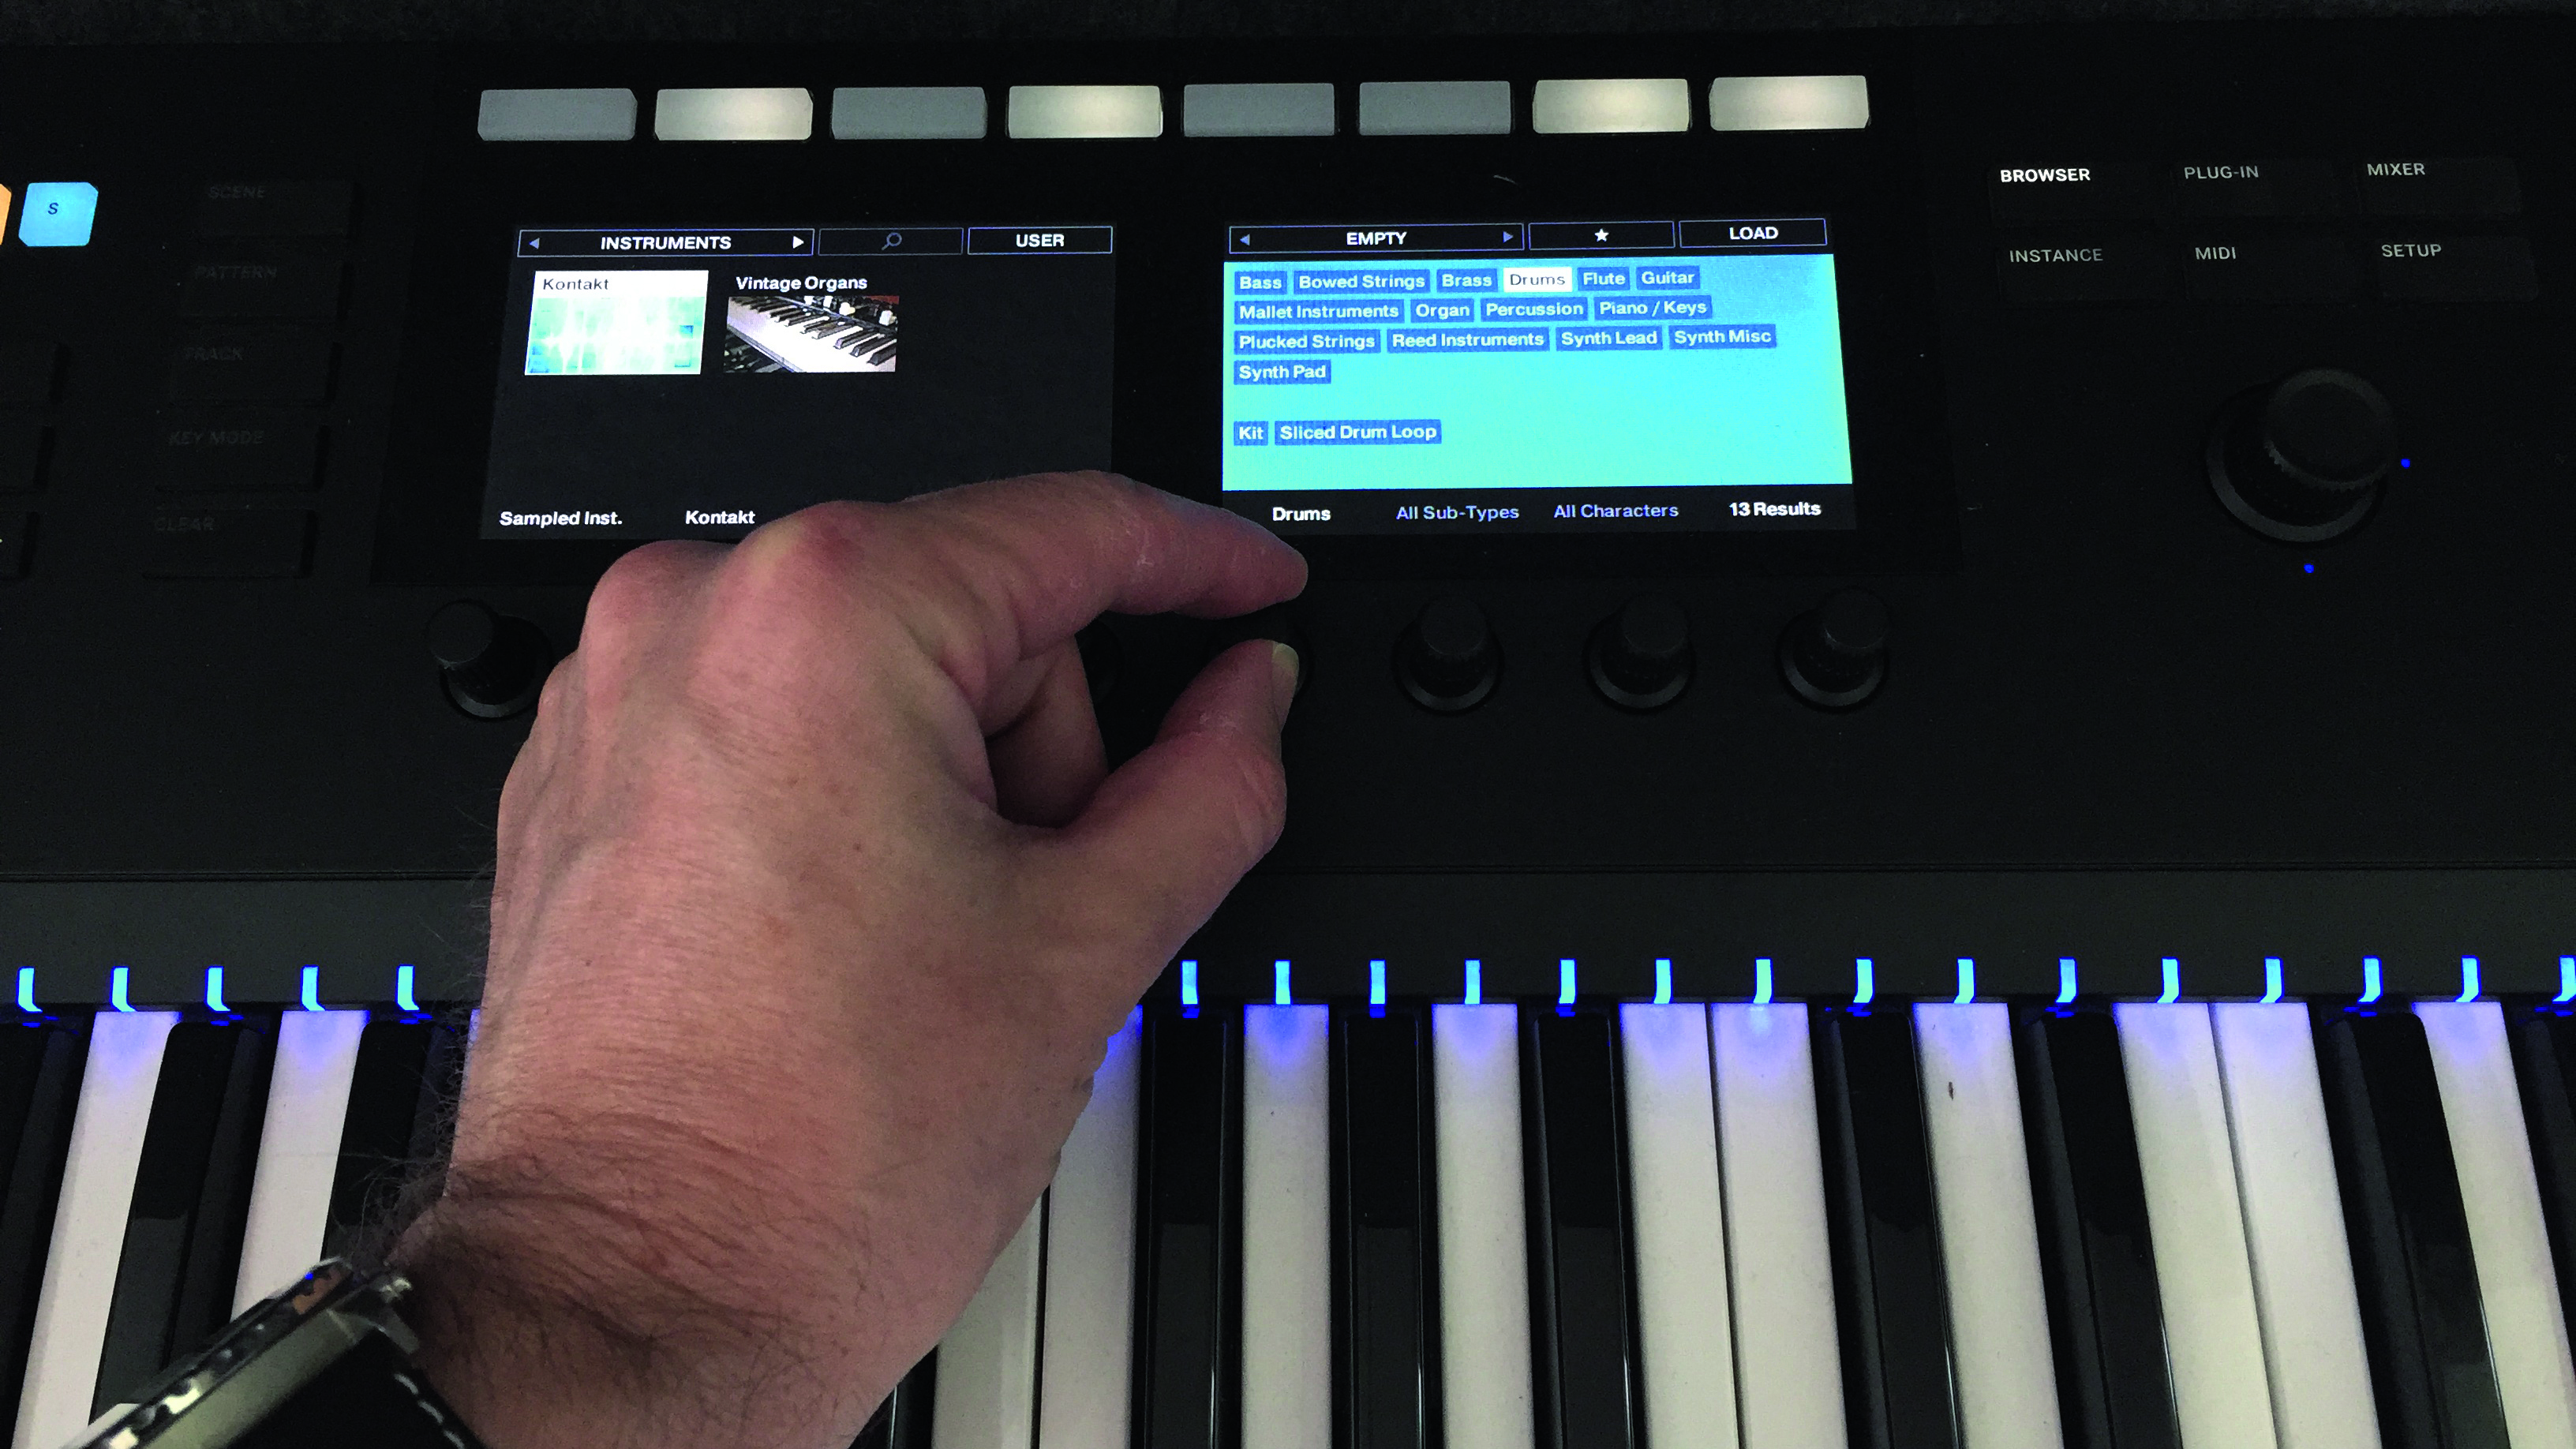
Step 2: Load a drum kit on the first track. You can do this either in Live via the Komplete Kontrol plugin window, or from the Komplete Kontrol keyboard by hitting the Browser button and using the knobs below the screens to navigate to a preset kit you like. The sounds should audition automatically as you scroll through the available presets.
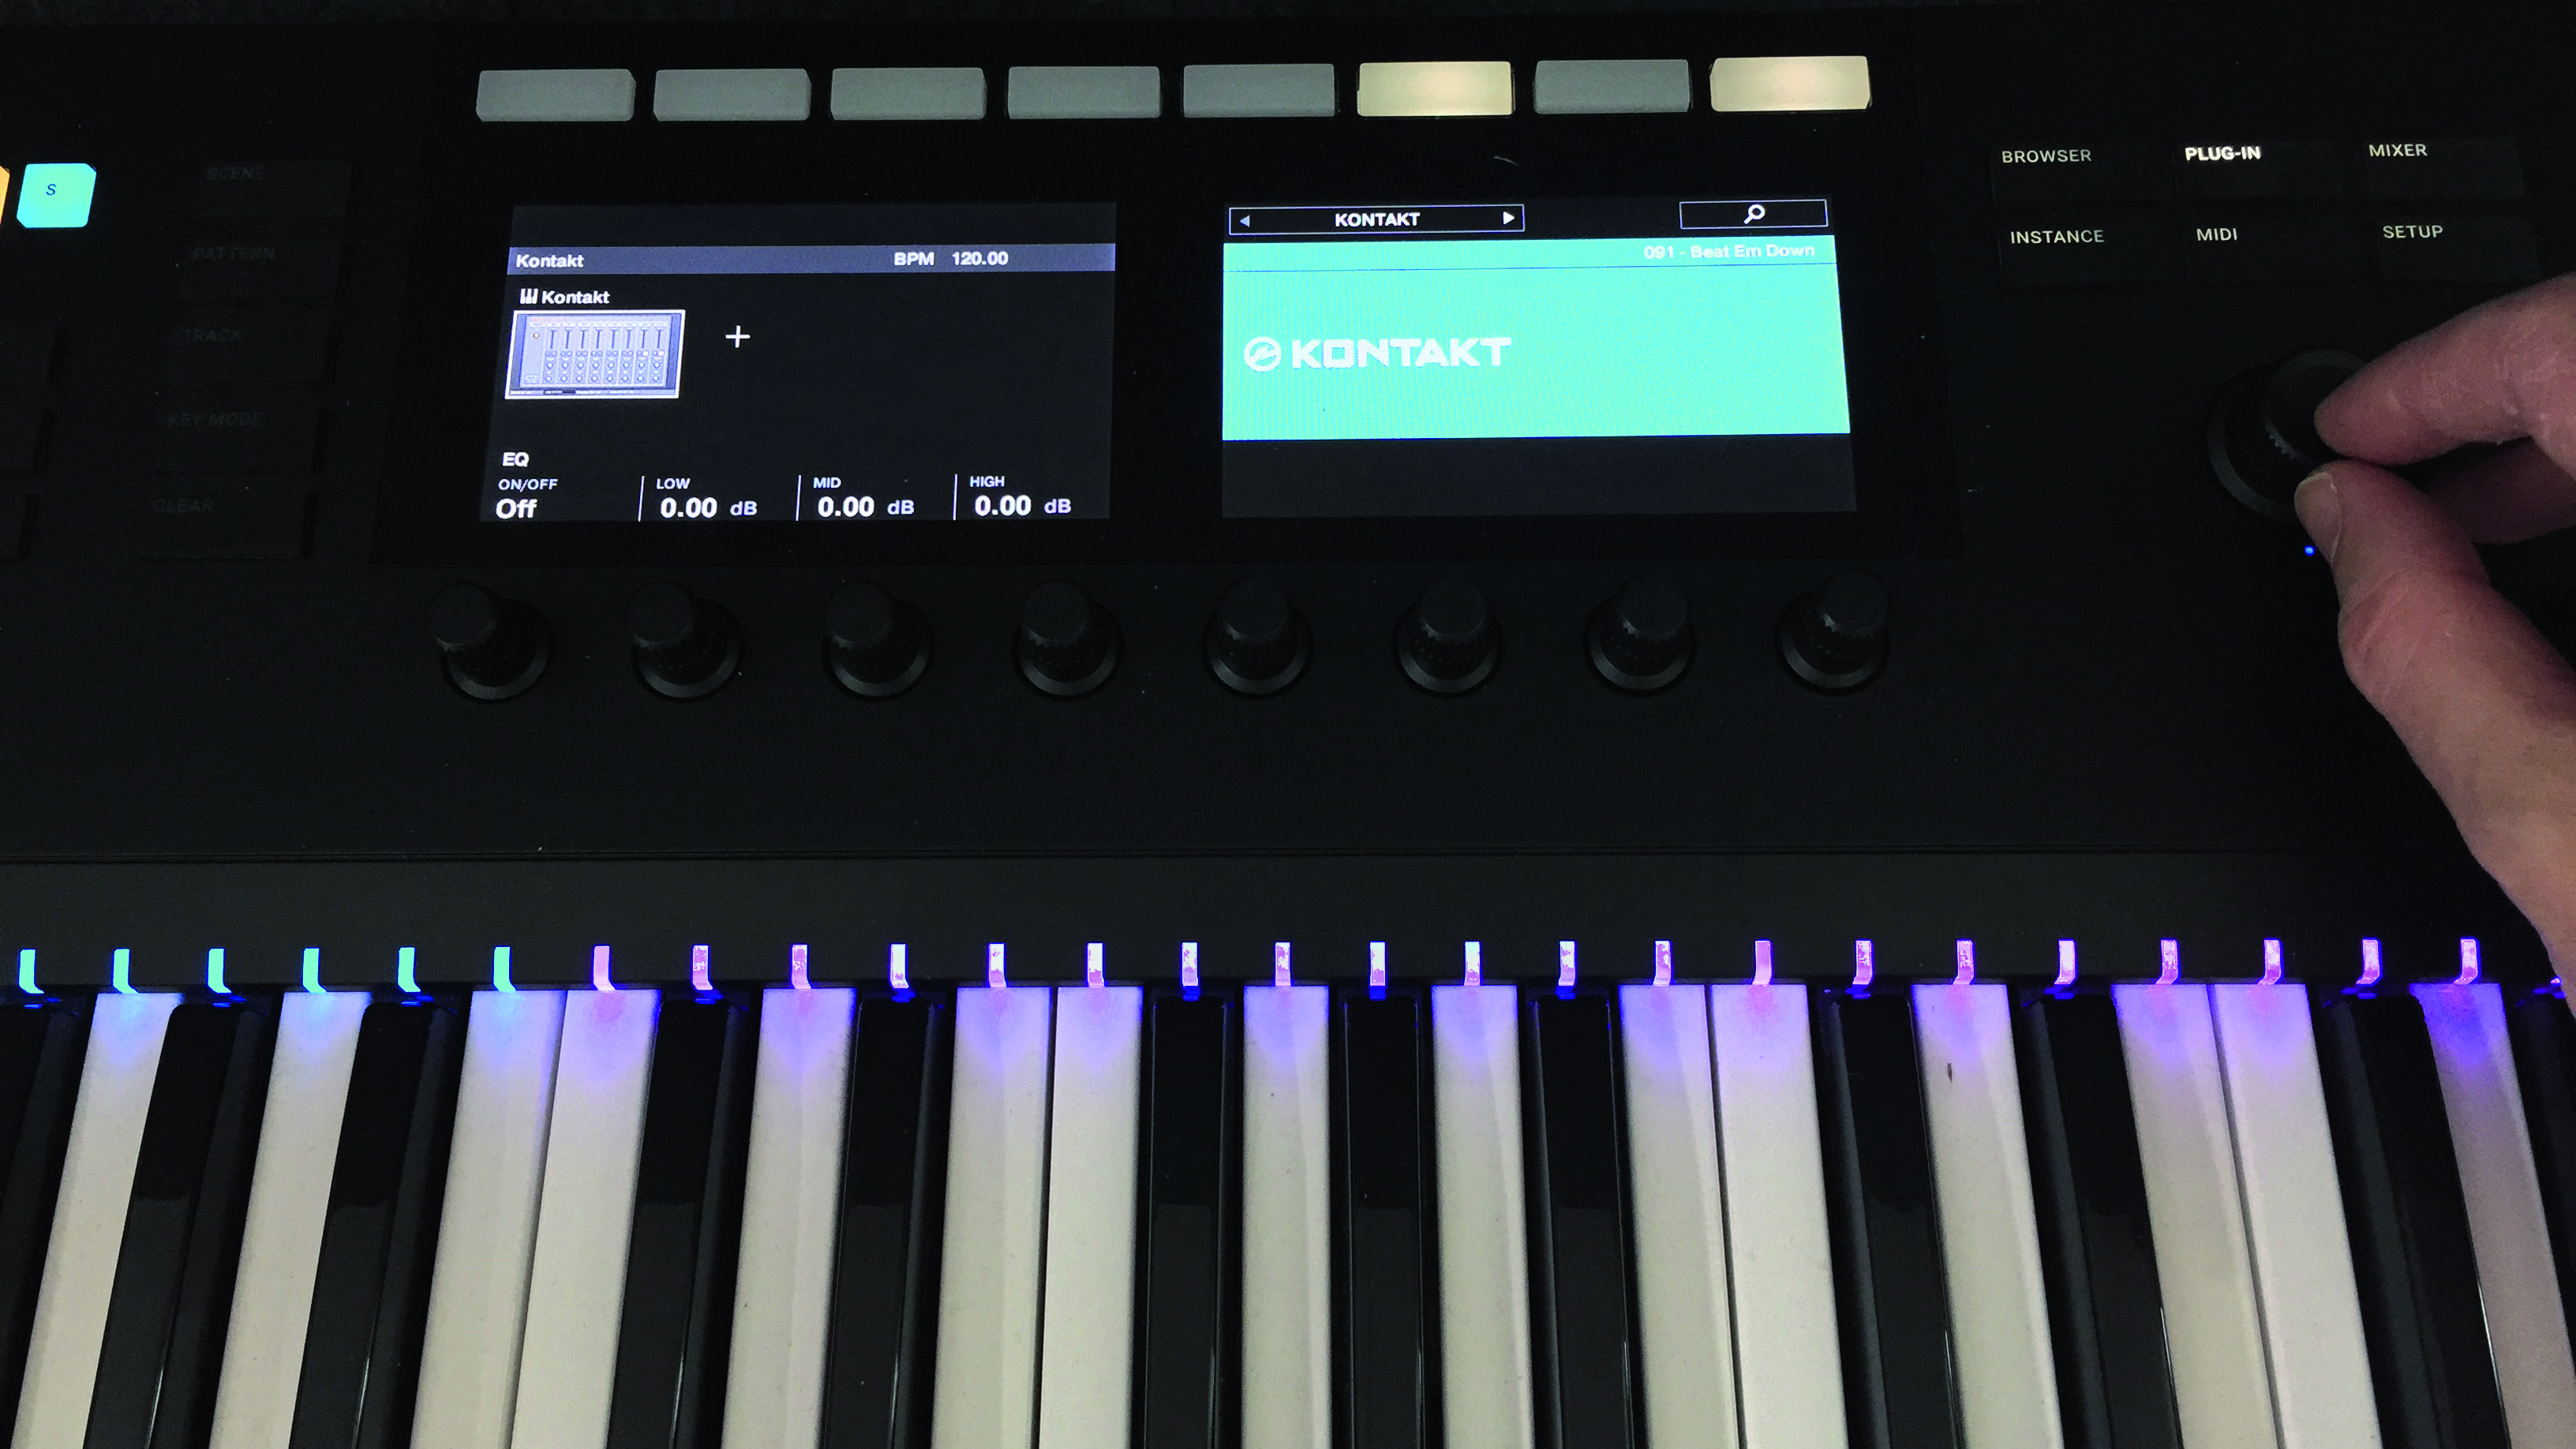
Step 3: Once you’ve found a kit you like (091 Beat Em Down here), press the large rotary encoder to load the sound. You can then use the keyboard’s onboard transport controls to begin recording a drum part, playing the sounds in from the keyboard. Turn on Live’s metronome with the Metro button, then hit Record and bash in your beat using the keys.
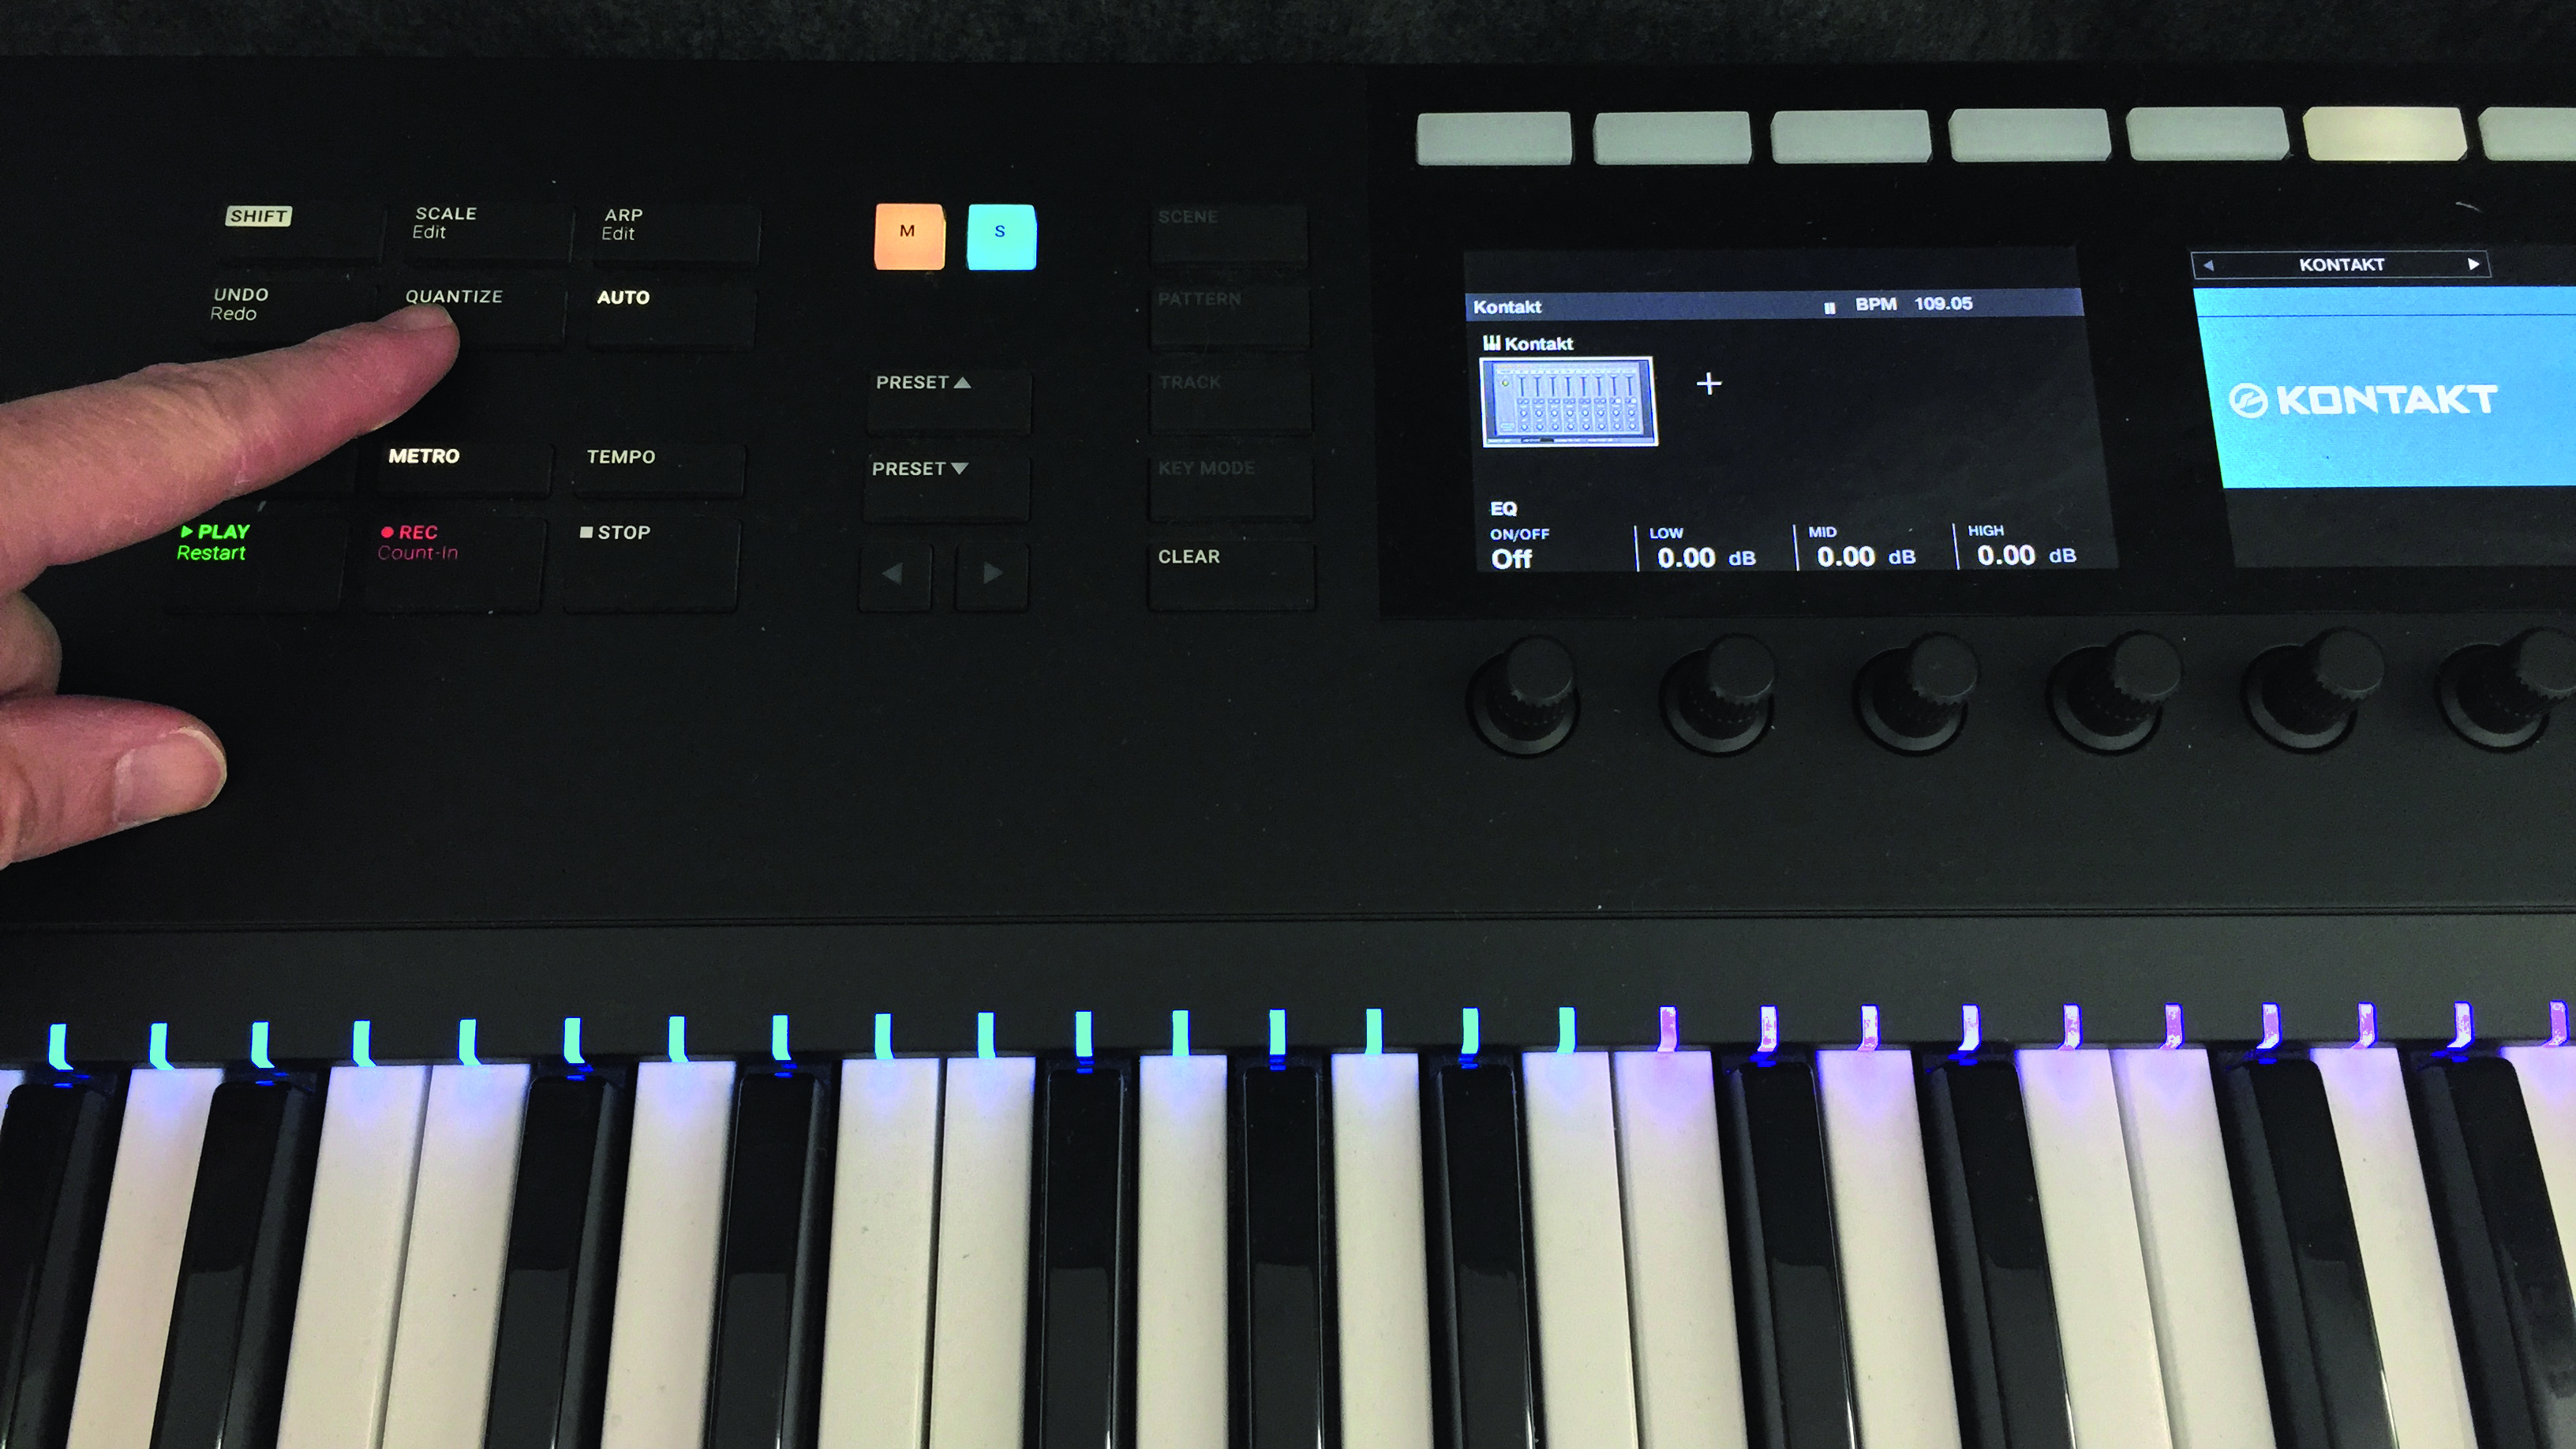
Step 4: Drop out of record mode by pressing the Record button again. Your beat will continue looping around. Press the Quantize button to tighten it up, and you’ve got your first loop! Hit the Stop button to stop the clip, and the Metro button again to turn off the metronome if no longer required.
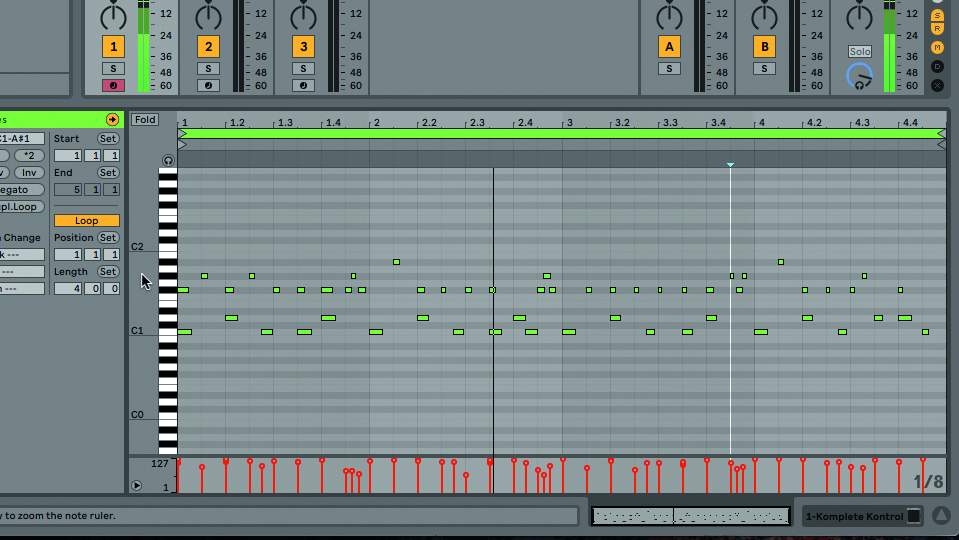
Step 5: Overdub extra parts – a percussion line, for example – by pressing Record again, playing in the new part and hitting Quantize to tighten up your playing. Stop recording by tapping either Record or Stop. Here, we’ve added a hi-hat part to the kick and snare that we recorded on the first pass.
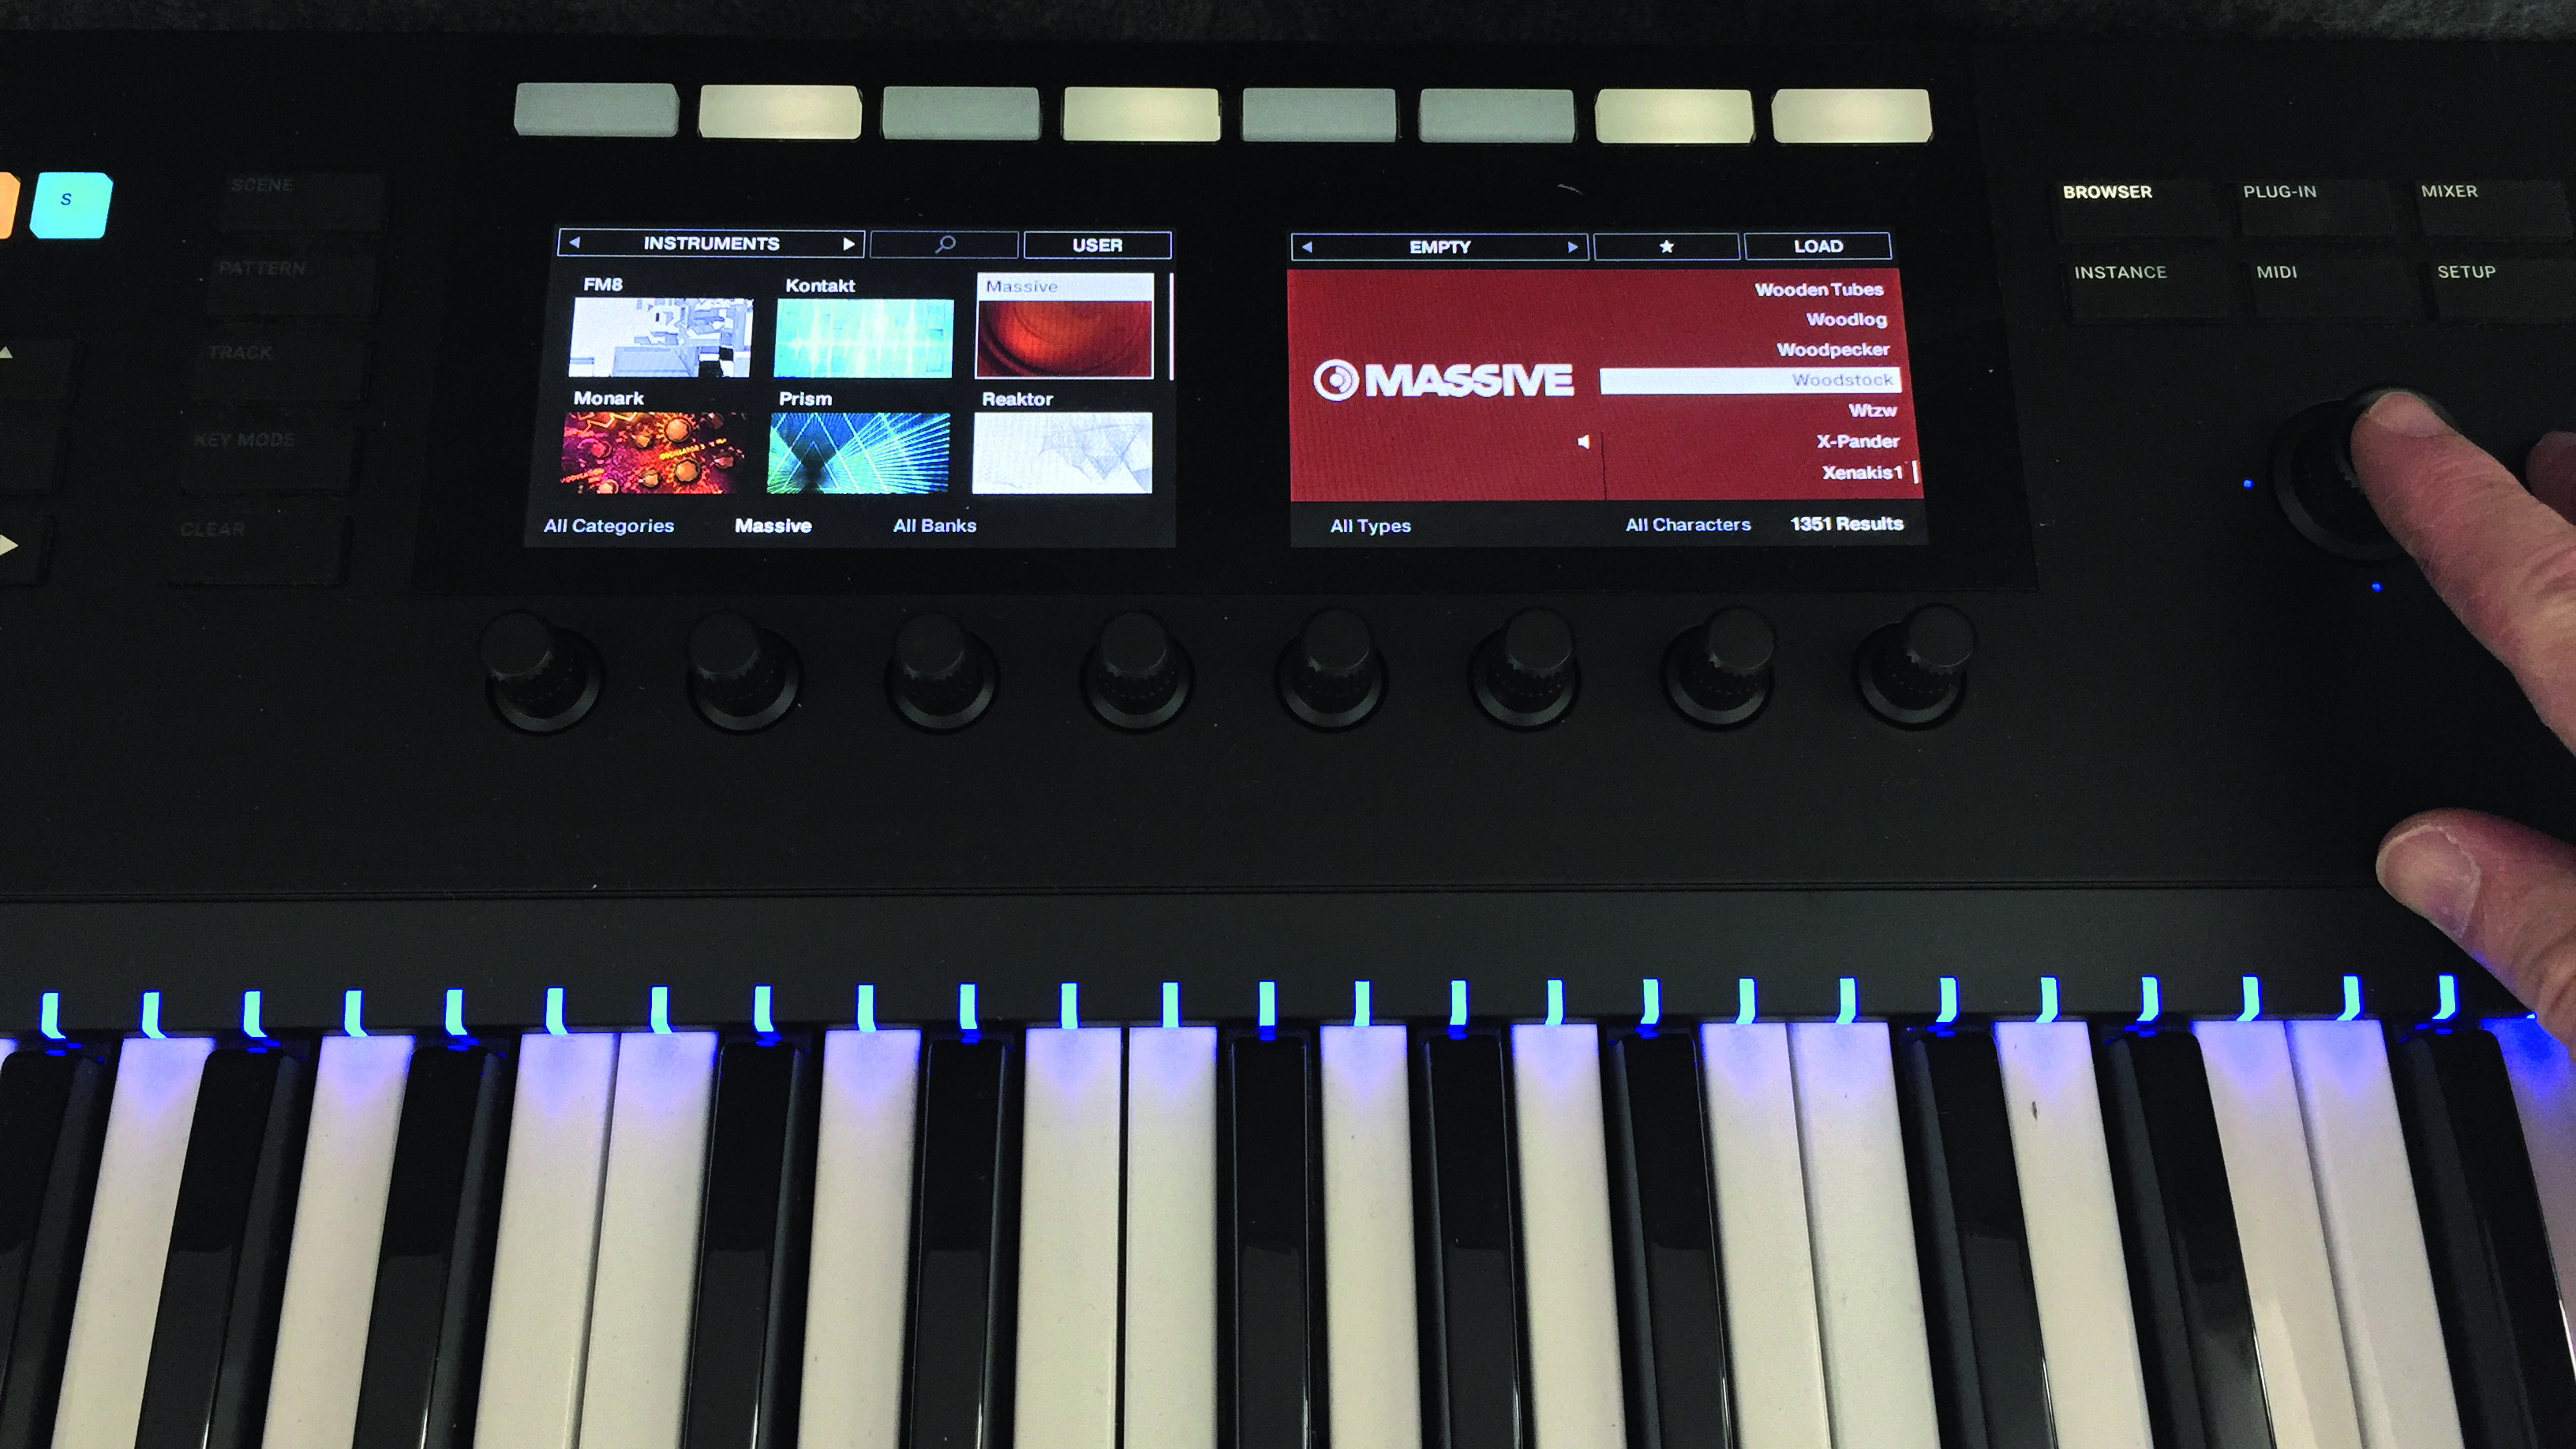
Step 6: Push the encoder to the right to navigate to the next track along in the project. Press the Browser key and use the dual screen system to find a bass sound – we’ve gone for the Woodstock Massive preset. Hit Load, then play and record your bass part in the same way you recorded the drums.
Want all the hottest music and gear news, reviews, deals, features and more, direct to your inbox? Sign up here.
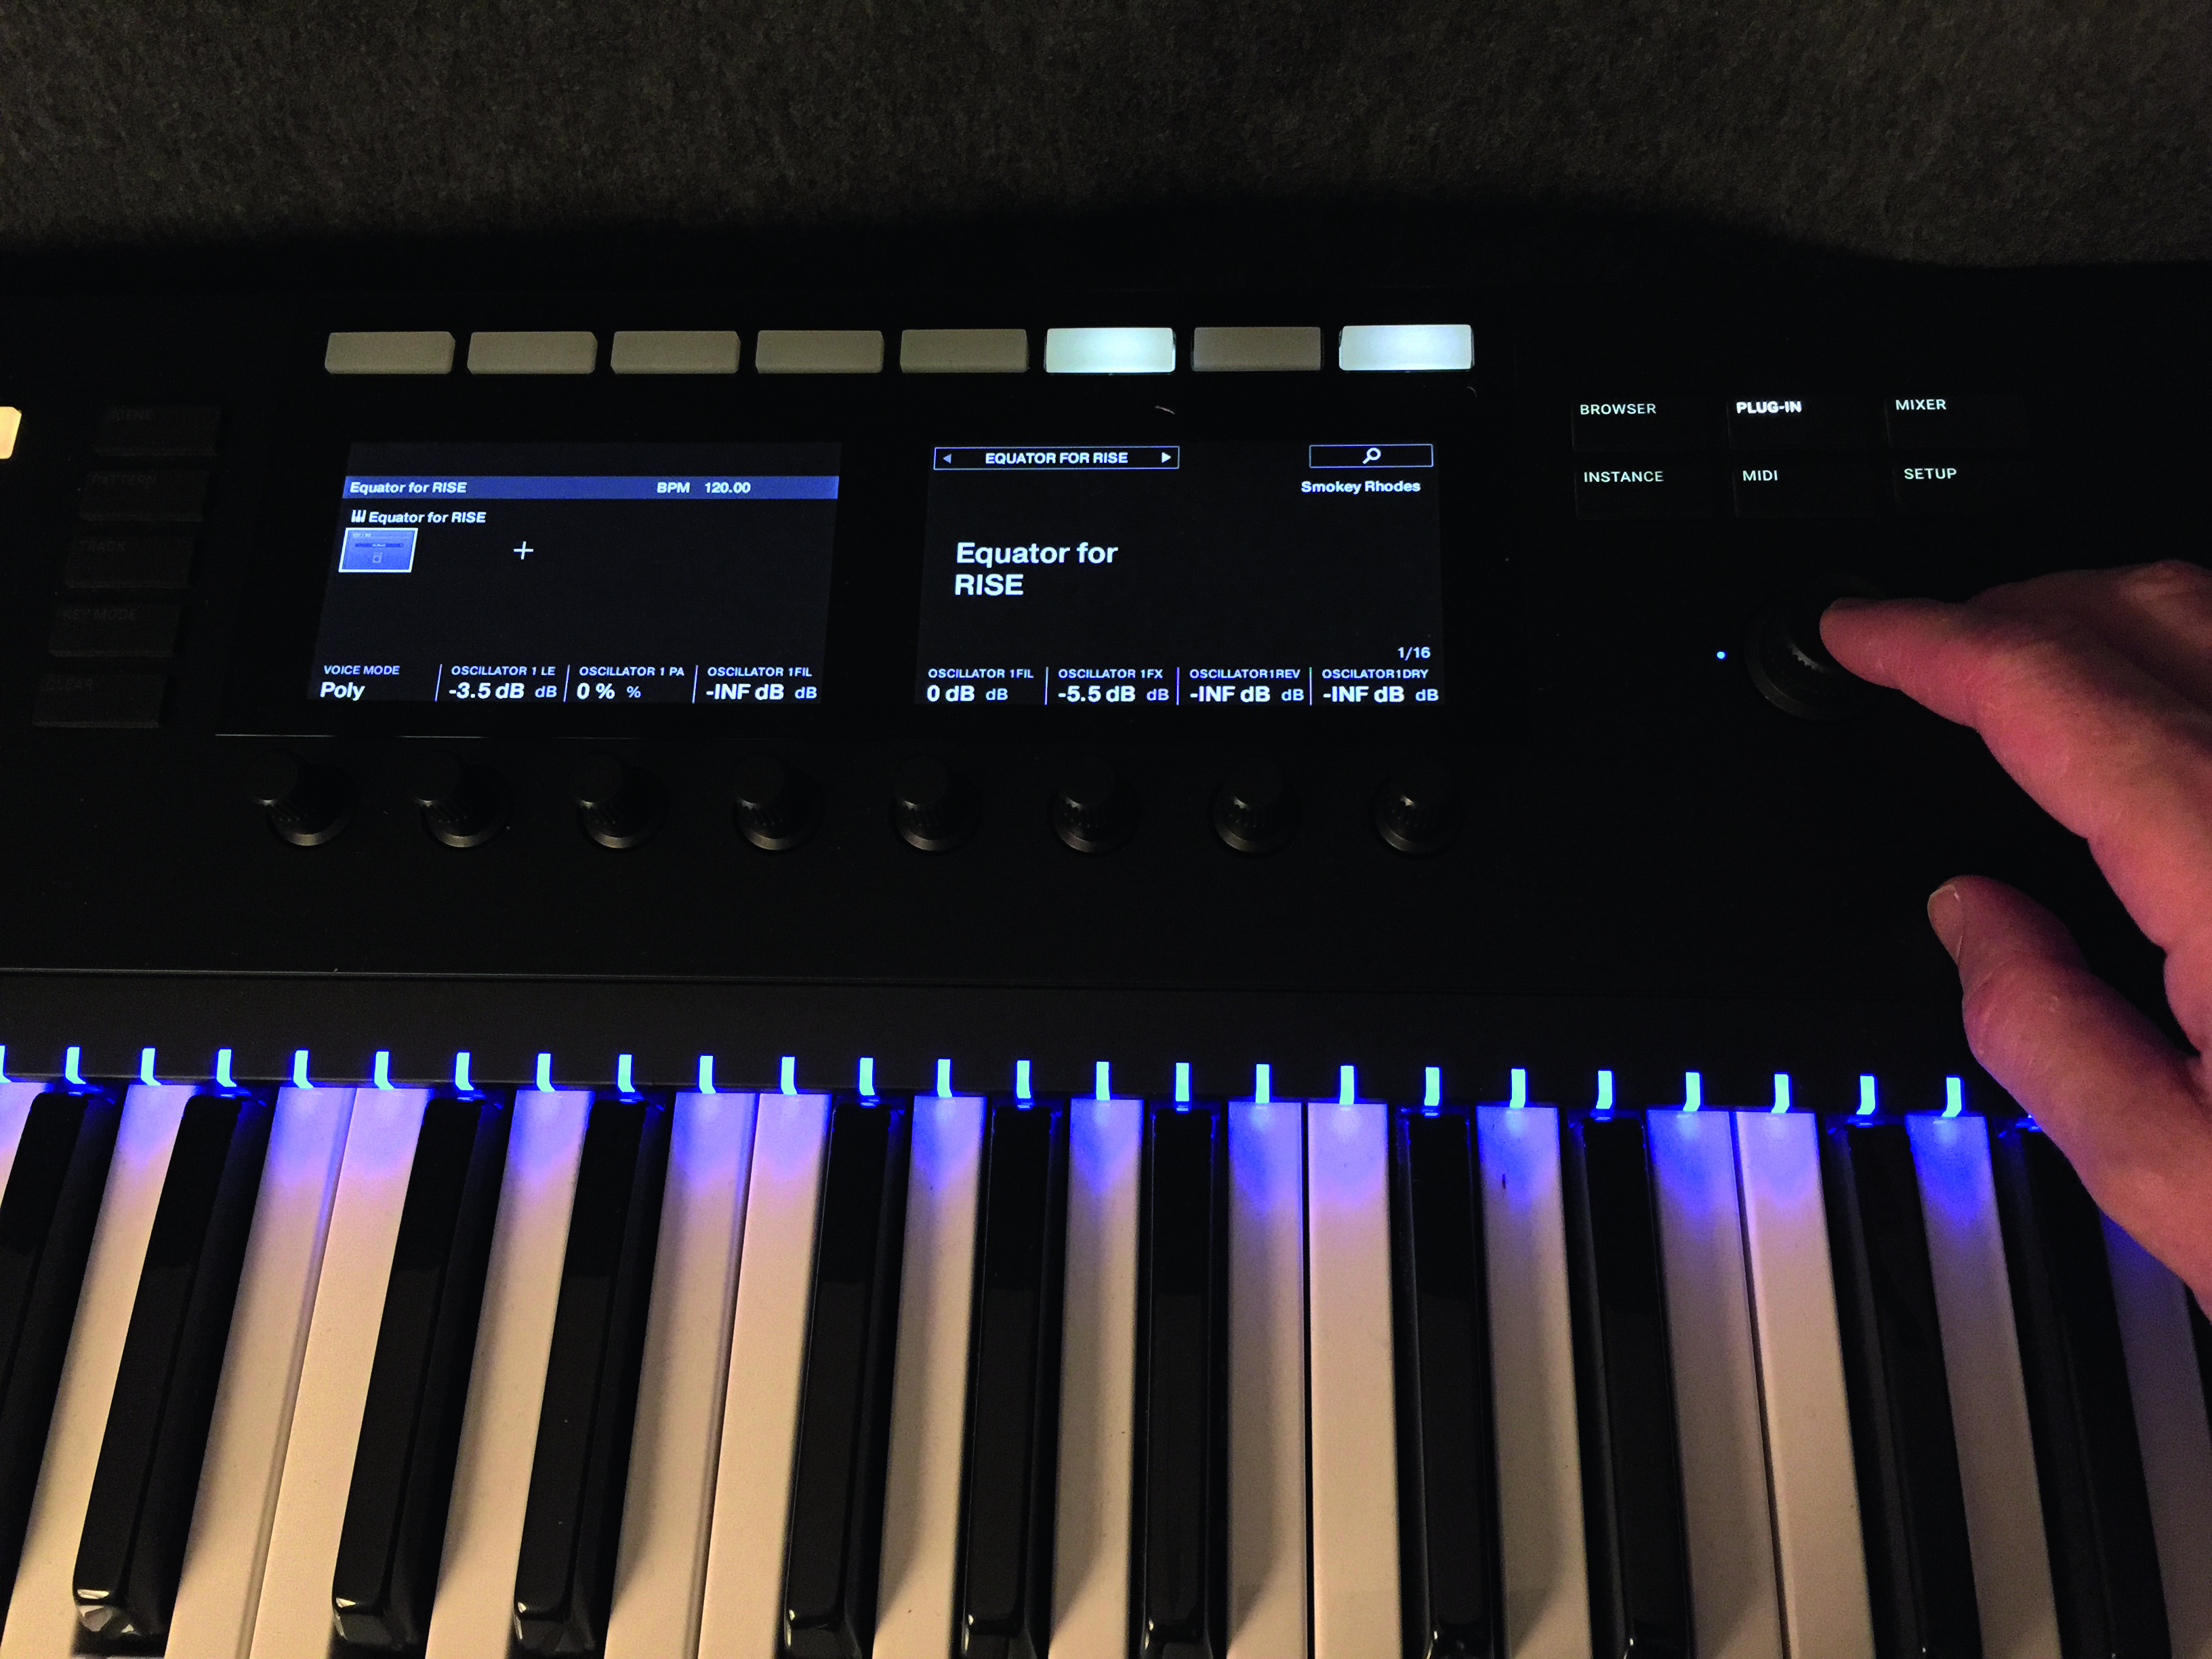
Step 7: Once the selected preset has loaded, you can use the eight knobs below the screens to modify the sound – they relate directly to the macros assigned to the parameters of the selected plugin. Here, we’re adjusting the filter cutoff frequency using the third control from the left.
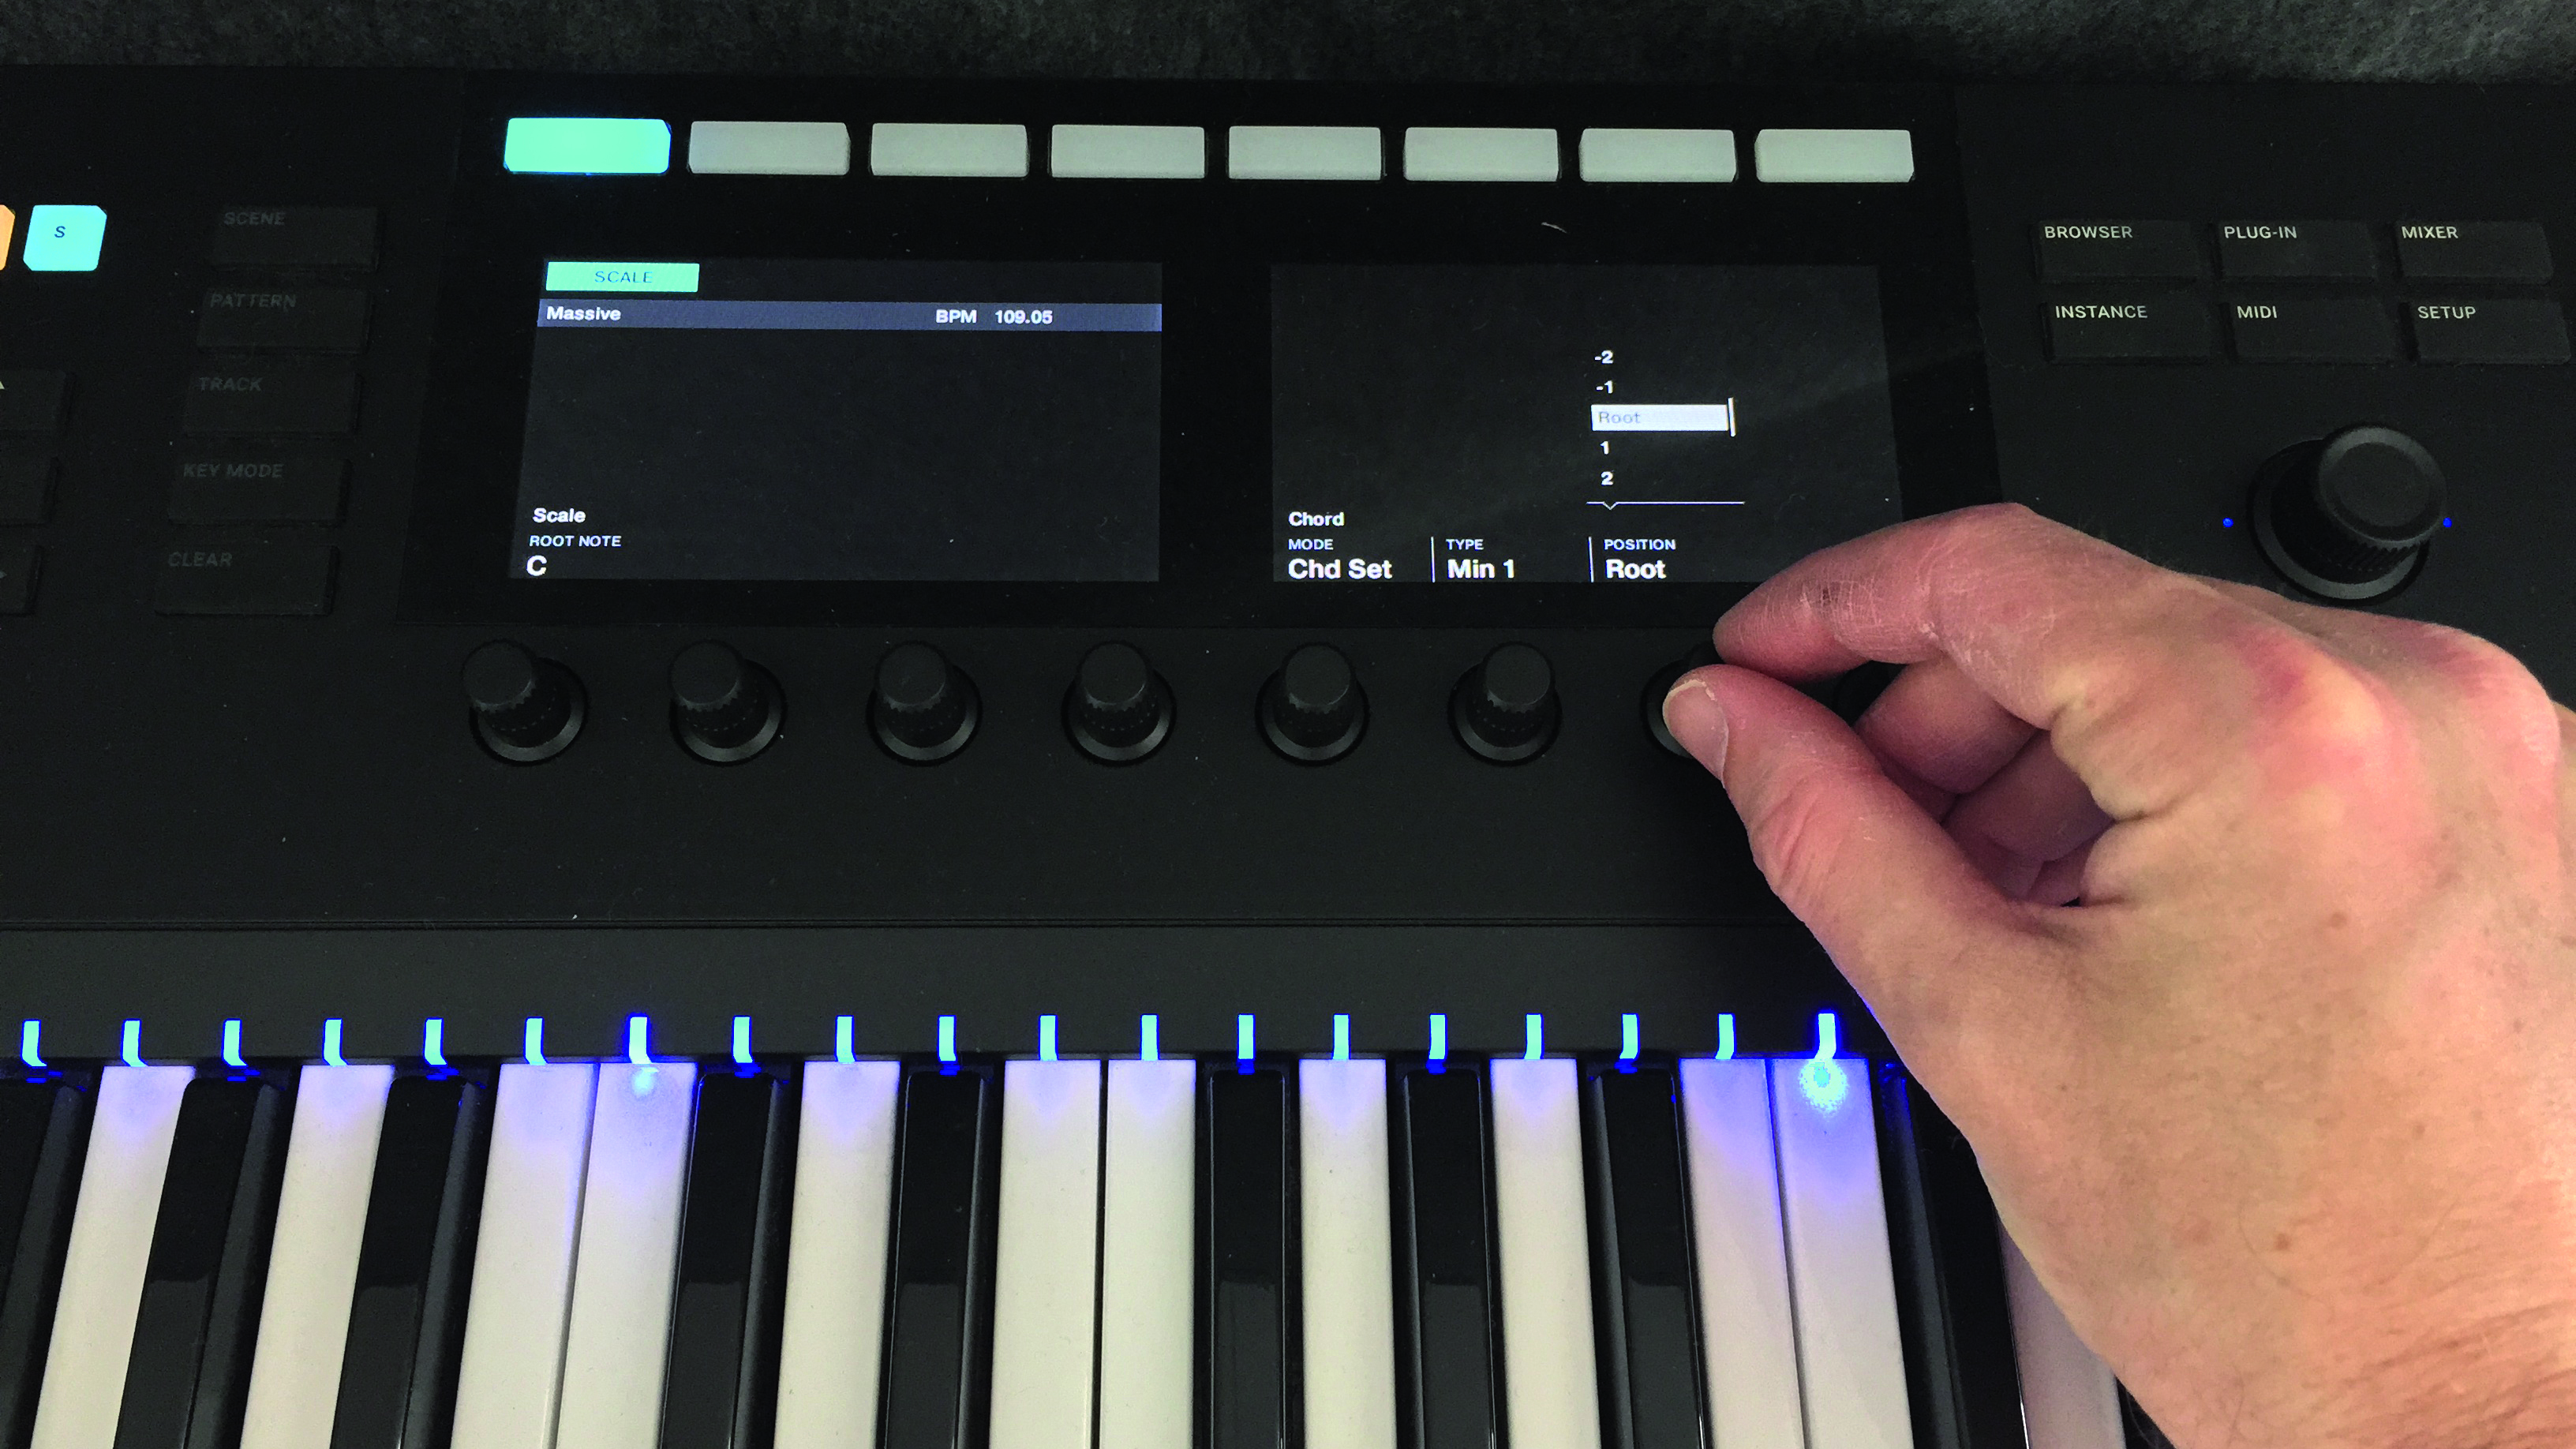
Step 8: Navigate to the third track and load a synth sound. We’ve chosen Massive’s Blender. To enter chords, press the Shift and Scale buttons. Press Scale again to enable Scale mode, then set Root Note to C (we’re in C minor), Bank to Main, Type to Minor, Key Mode to Easy, Chord to Chord Set, type to Min 1 and Position to Root.
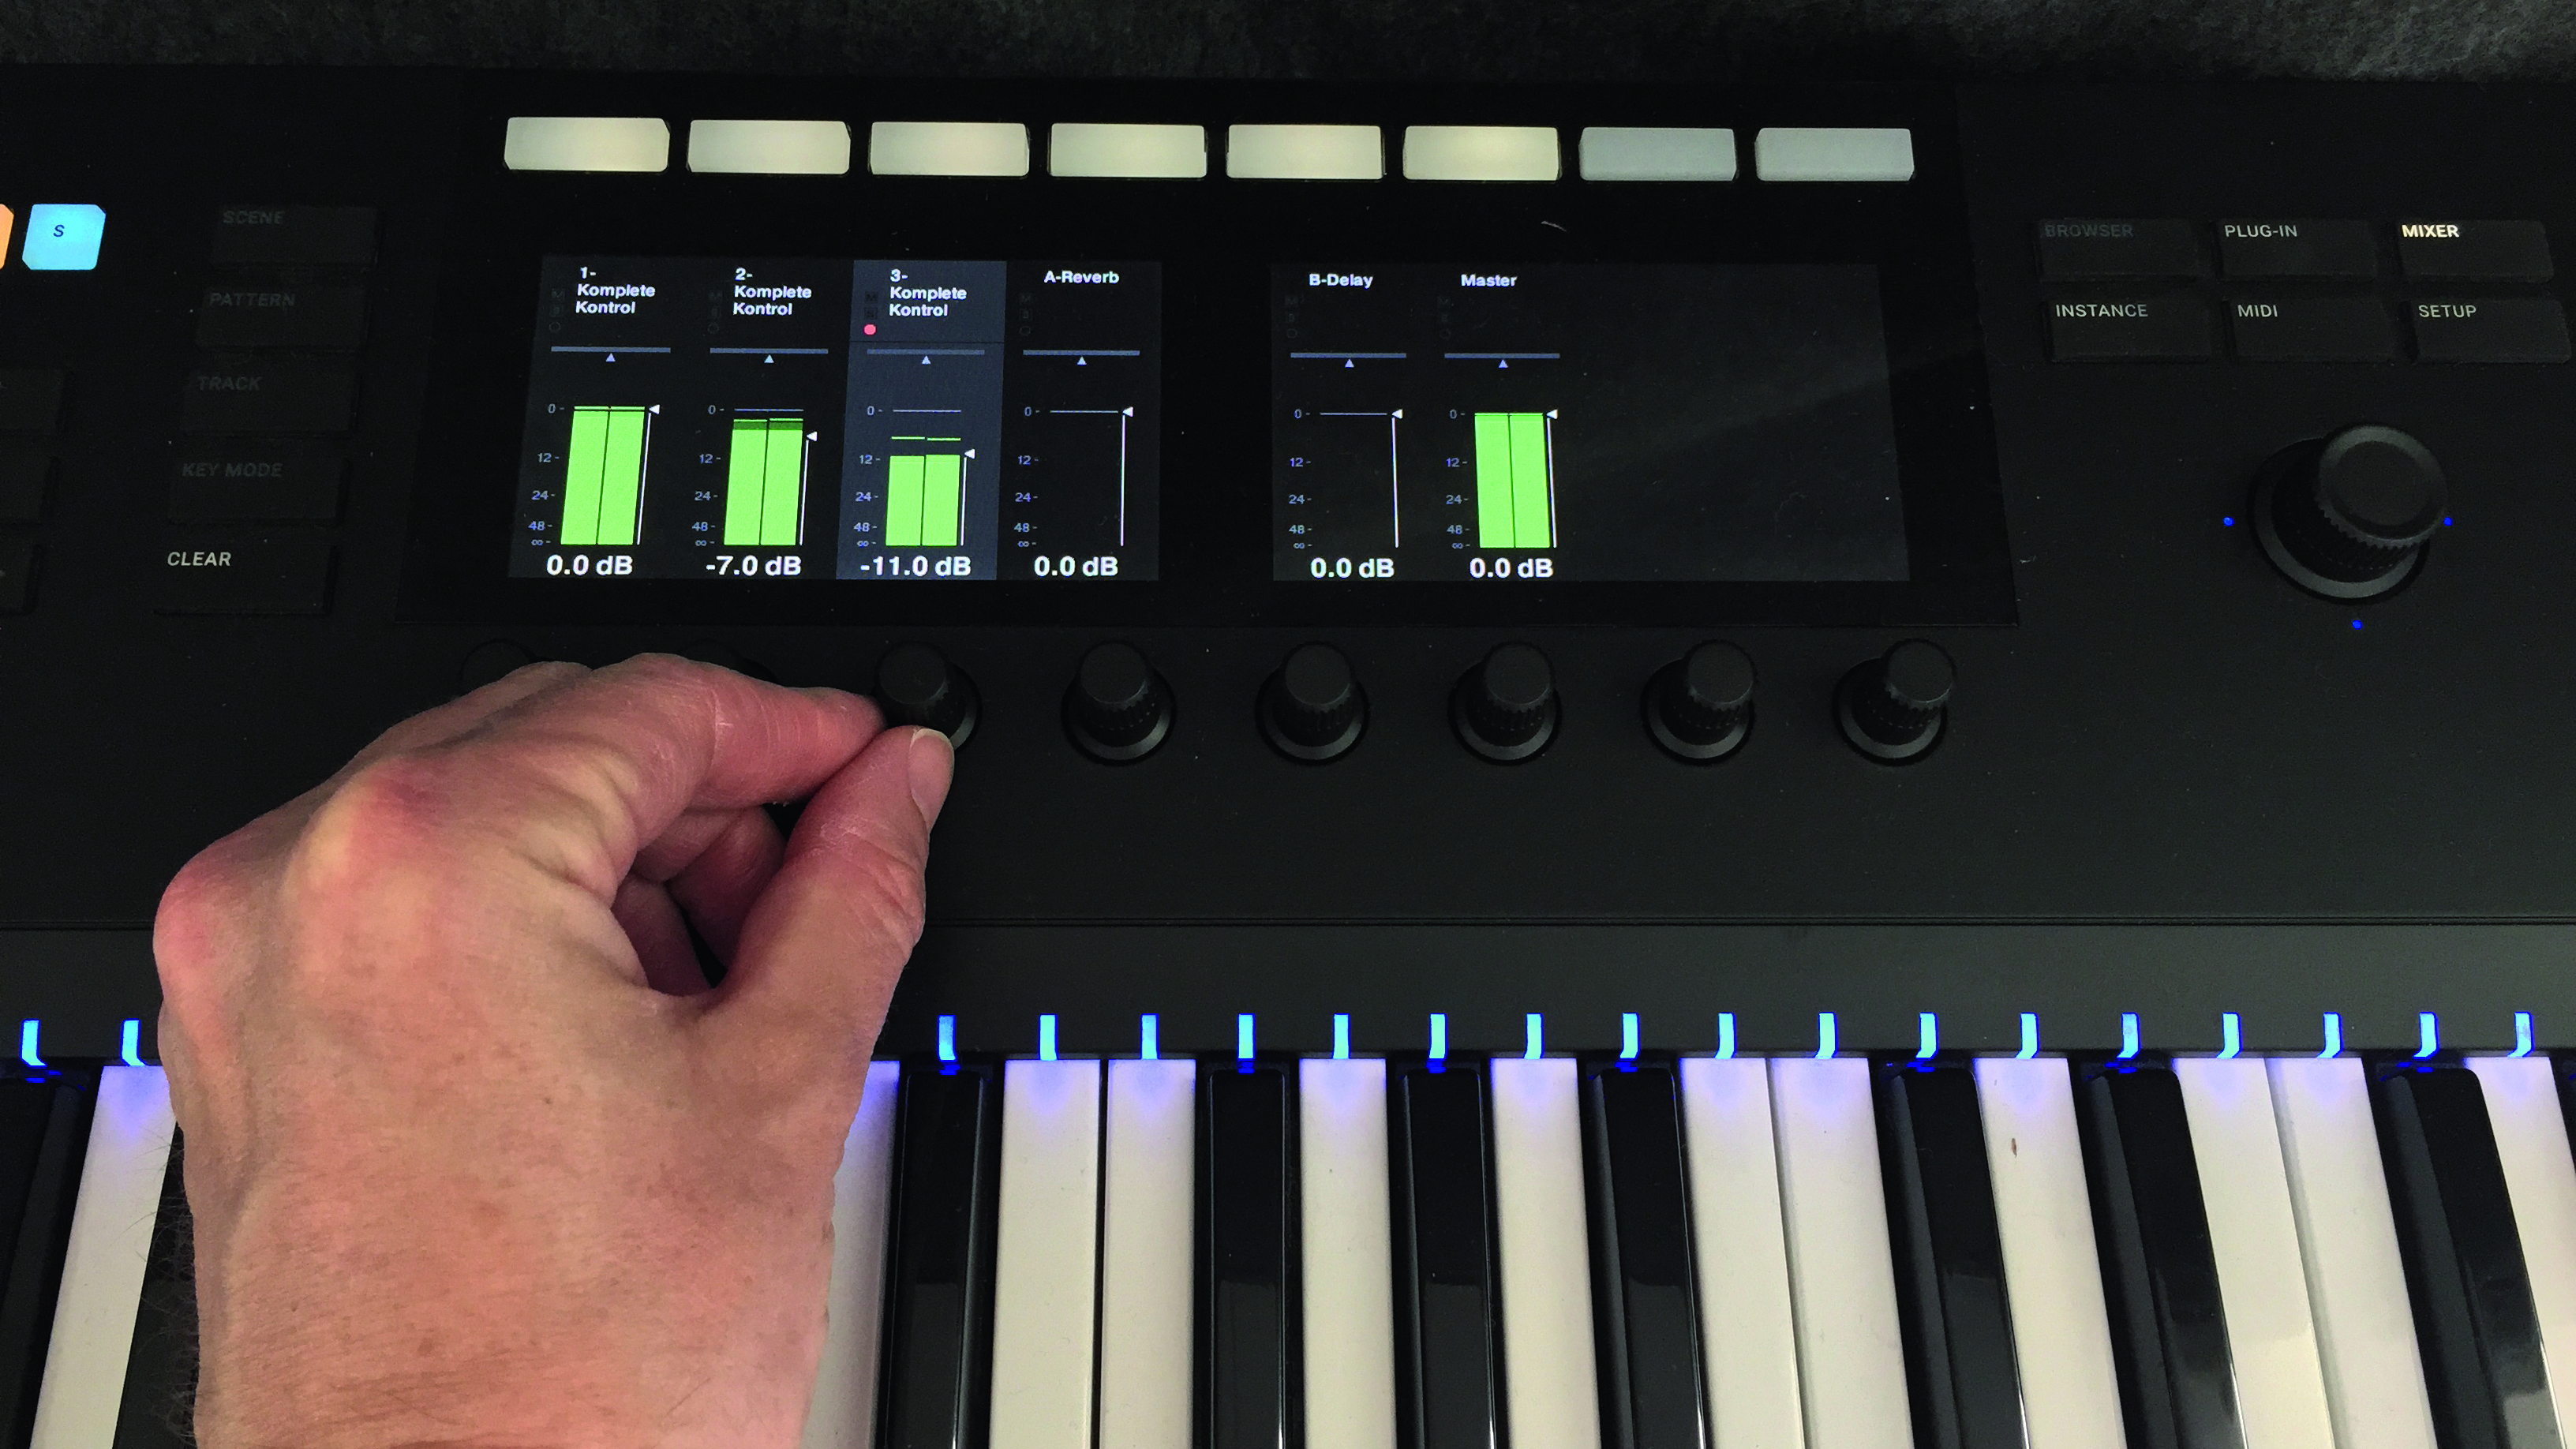
Step 9: Now, any key on the keyboard will produce a root-position chord that’ll work in the key of C minor. Record some chords as before, then press the Mixer button and use the knobs to alter the balance between tracks. Here, we’ve turned the bass down by -7dB and the synth down by -11dB for a better balance.
Computer Music magazine is the world’s best selling publication dedicated solely to making great music with your Mac or PC computer. Each issue it brings its lucky readers the best in cutting-edge tutorials, need-to-know, expert software reviews and even all the tools you actually need to make great music today, courtesy of our legendary CM Plugin Suite.
