Apple’s iOS platform has been graced by countless virtual analogue synthesizers, especially since the omnipresent iPad debuted back in 2010. Many of them are free, but few of them truly are – as Linux users like to say – “free as in speech”.
Yet this is exactly the case with AudioKit’s Synth One: it’s not only free of charge, but its source code is freely available to anyone who’d like to have a go at improving or expanding on what’s already there.
That largesse is in keeping with the Synth One philosophy. You see, it wasn’t designed simply to provide well-to-do musos with yet another virtual plaything, but instead created with the idea that anyone should be able to obtain a free app for making professional quality electronic music.
The thing is, lots of iPads have been donated to the underprivileged via schoolsor charities. However, some of the recipients can’t afford even the least expensive apps. That’s where Synth One comes in. Created by a community of volunteer developers and sound designers, Synth One is the pro-level synthesiser for everyone.
To that end, we have for any first-time user of Synth One the perfect starter tutorial: how to craft a simple lead patch.

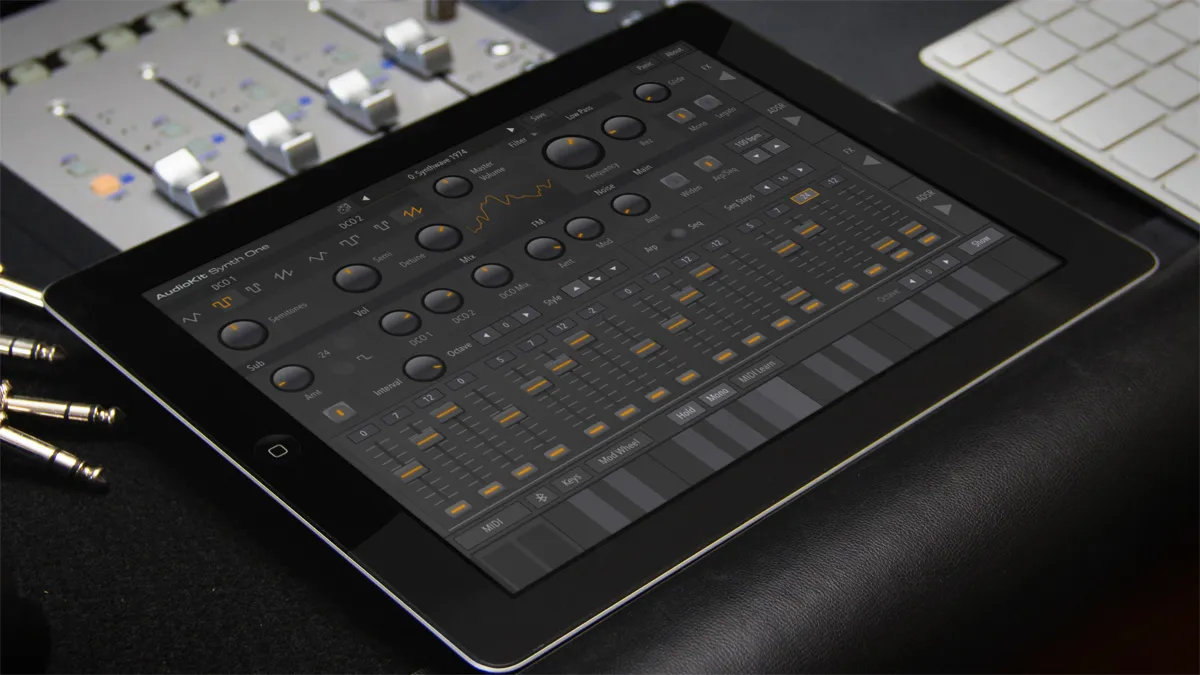
Step 1: Synth One comes packed with preset patches by professional sound designers, and while they’re very good indeed, we’re going to start from scratch. For that, we need to initialise the sound. This is done by tapping the preset browser at the top, selecting the User category on the left side of the browser, then selecting the patch 0: Init.

Step 2: It isn’t a terribly exciting sound, consisting of a pair of slightly detuned triangle waves. If we look to the oscillator section in the upper-left, we see that each of the two oscillators produces one of five waveforms. Looks can be deceiving, though: if we drag our finger across the waveforms, we see that they can be gradually morphed between the four.

Step 3: Let’s select the Sawtooth wave for Osc 1. Our sound is now a bit more aggressive, with more harmonic content. However, it does seem a little muffled. A look to the Filter section reveals why – the Filter’s Frequency is set pretty low, so let’s crank it up. Wow, that’s a much more ‘in-your-face’ timbre!

Step 4: Bring the Filter Frequency down to a more muted 1200Hz or so. The Resonance is boosted as well, but that’s OK for now. Our sound is muffled, but we’re going to address that by modulating the cutoff Frequency. For that, we’ll turn to the dedicated Filter Envelope, via the arrow buttons at the upper left.

Step 5: We see our dual envelopes displayed across the top. As is often the case, there’s one for the Filter and another for the Amplitude. Note that the Envelope Amount knob under the Filter Envelope is set to nil. Reduce the envelope’s Attack to nil, Decay to 0.16 S(econds), and Sustain to 44%.

Step 6: Now the envelope is affecting the filter, producing a sort of woodwind tone. Return to the Main page, and set Filter Frequency to around 4000Hz for a brassier tone. Click the Mono button to the right of the filter to make the sound monophonic. Now, set the Glide to 0.01 for a classic portamento lead patch.
