How to add a coil-split to your Les Paul
Get twice as much from your humbuckers with just a few new parts!
Want all the hottest music and gear news, reviews, deals, features and more, direct to your inbox? Sign up here.
You are now subscribed
Your newsletter sign-up was successful
Coil-splitting is a technique where you switch off one of a humbucker’s two coils and turn it into a single coil.
It’s sometimes referred to as coil tapping, but that’s actually slightly different and uses a wound and rather unusual pickup. When you coil-split it is the same principle as a single coil but due to the different magnet arrangement of a humbucker it will sound a little different.
To coil-split a humbucker you will need a pickup that has more than two wires. A ‘four wire’ pickup gives you all the options for wiring. The four wires are simply the start and end of each humbucker coil, plus one more bare wire, which connects to the metal base plate or a chrome cover.
You will need to look up on the pickup maker’s website to figure out which coloured wire is which. A great clue is some pickups have two wires already joined together and insulated - they’re the ‘coil junction’ wires you’ll need to attach to the push/pull pot’s lugs.
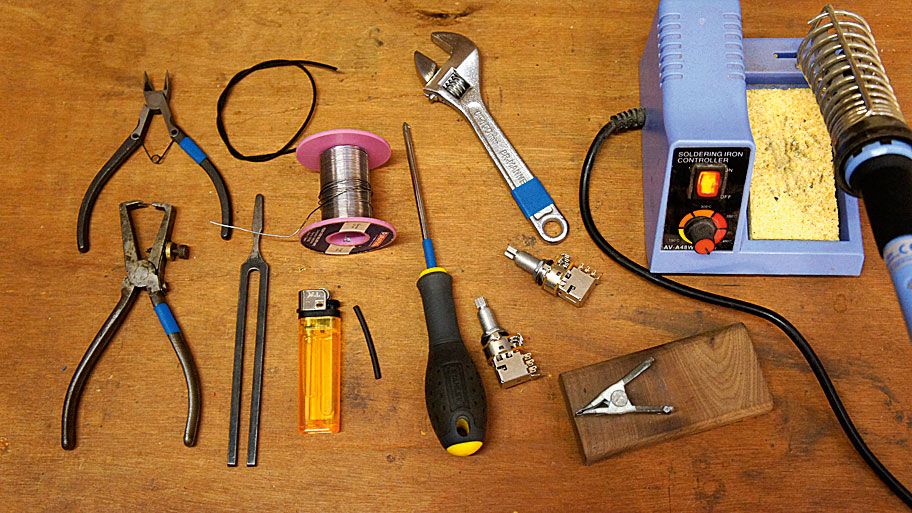
What you need:
- Wire cutters
- Wire strippers
- Tuning fork
- Shrink tubing
- Lighter
- Screwdriver
- Adjustable spanner
- Soldering iron
- Spare wire
- Solder
- Soldering holder
- Jiffy bag
- Two push/pull pots
Step 1
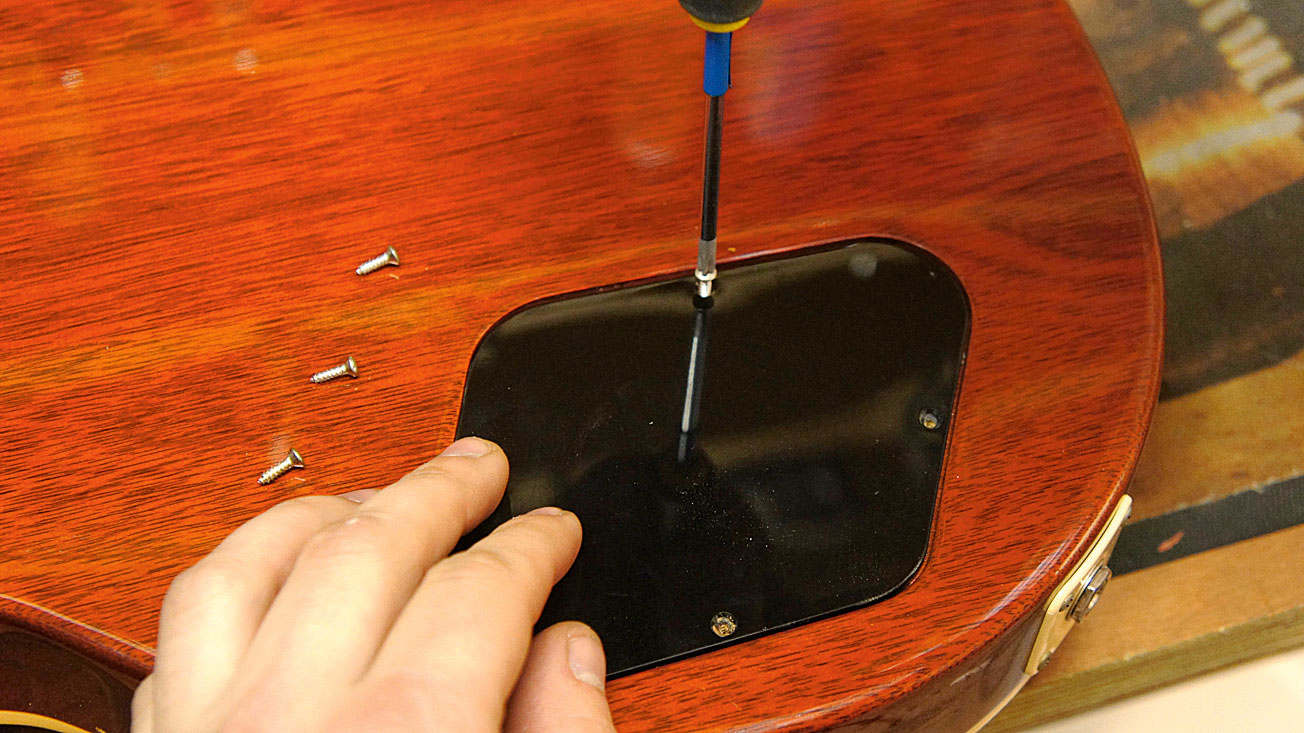
Let’s dispose with the main electronics cavity cover. Gibson screws are hard to replace so whatever happens, don’t lose them! With the back off there will be a mess of cabling in there, when you figure out what’s what, it’s not that bad.
Step 2
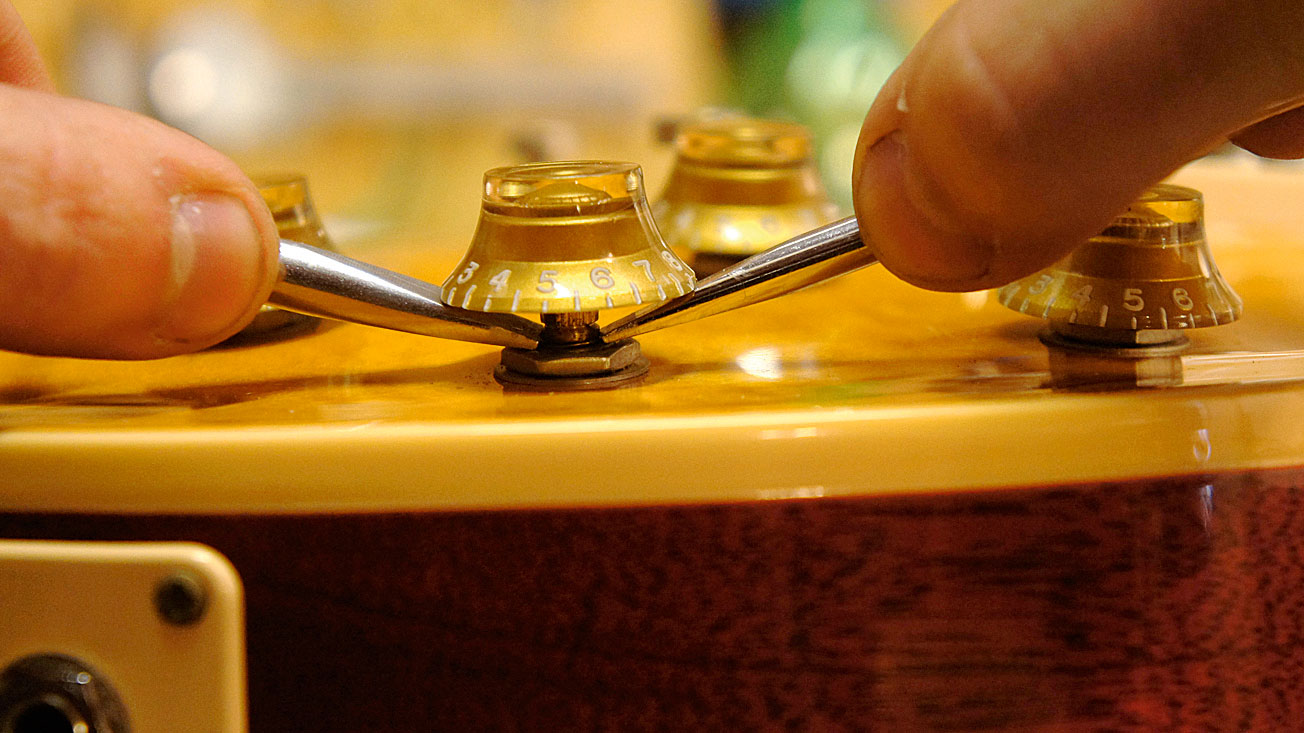
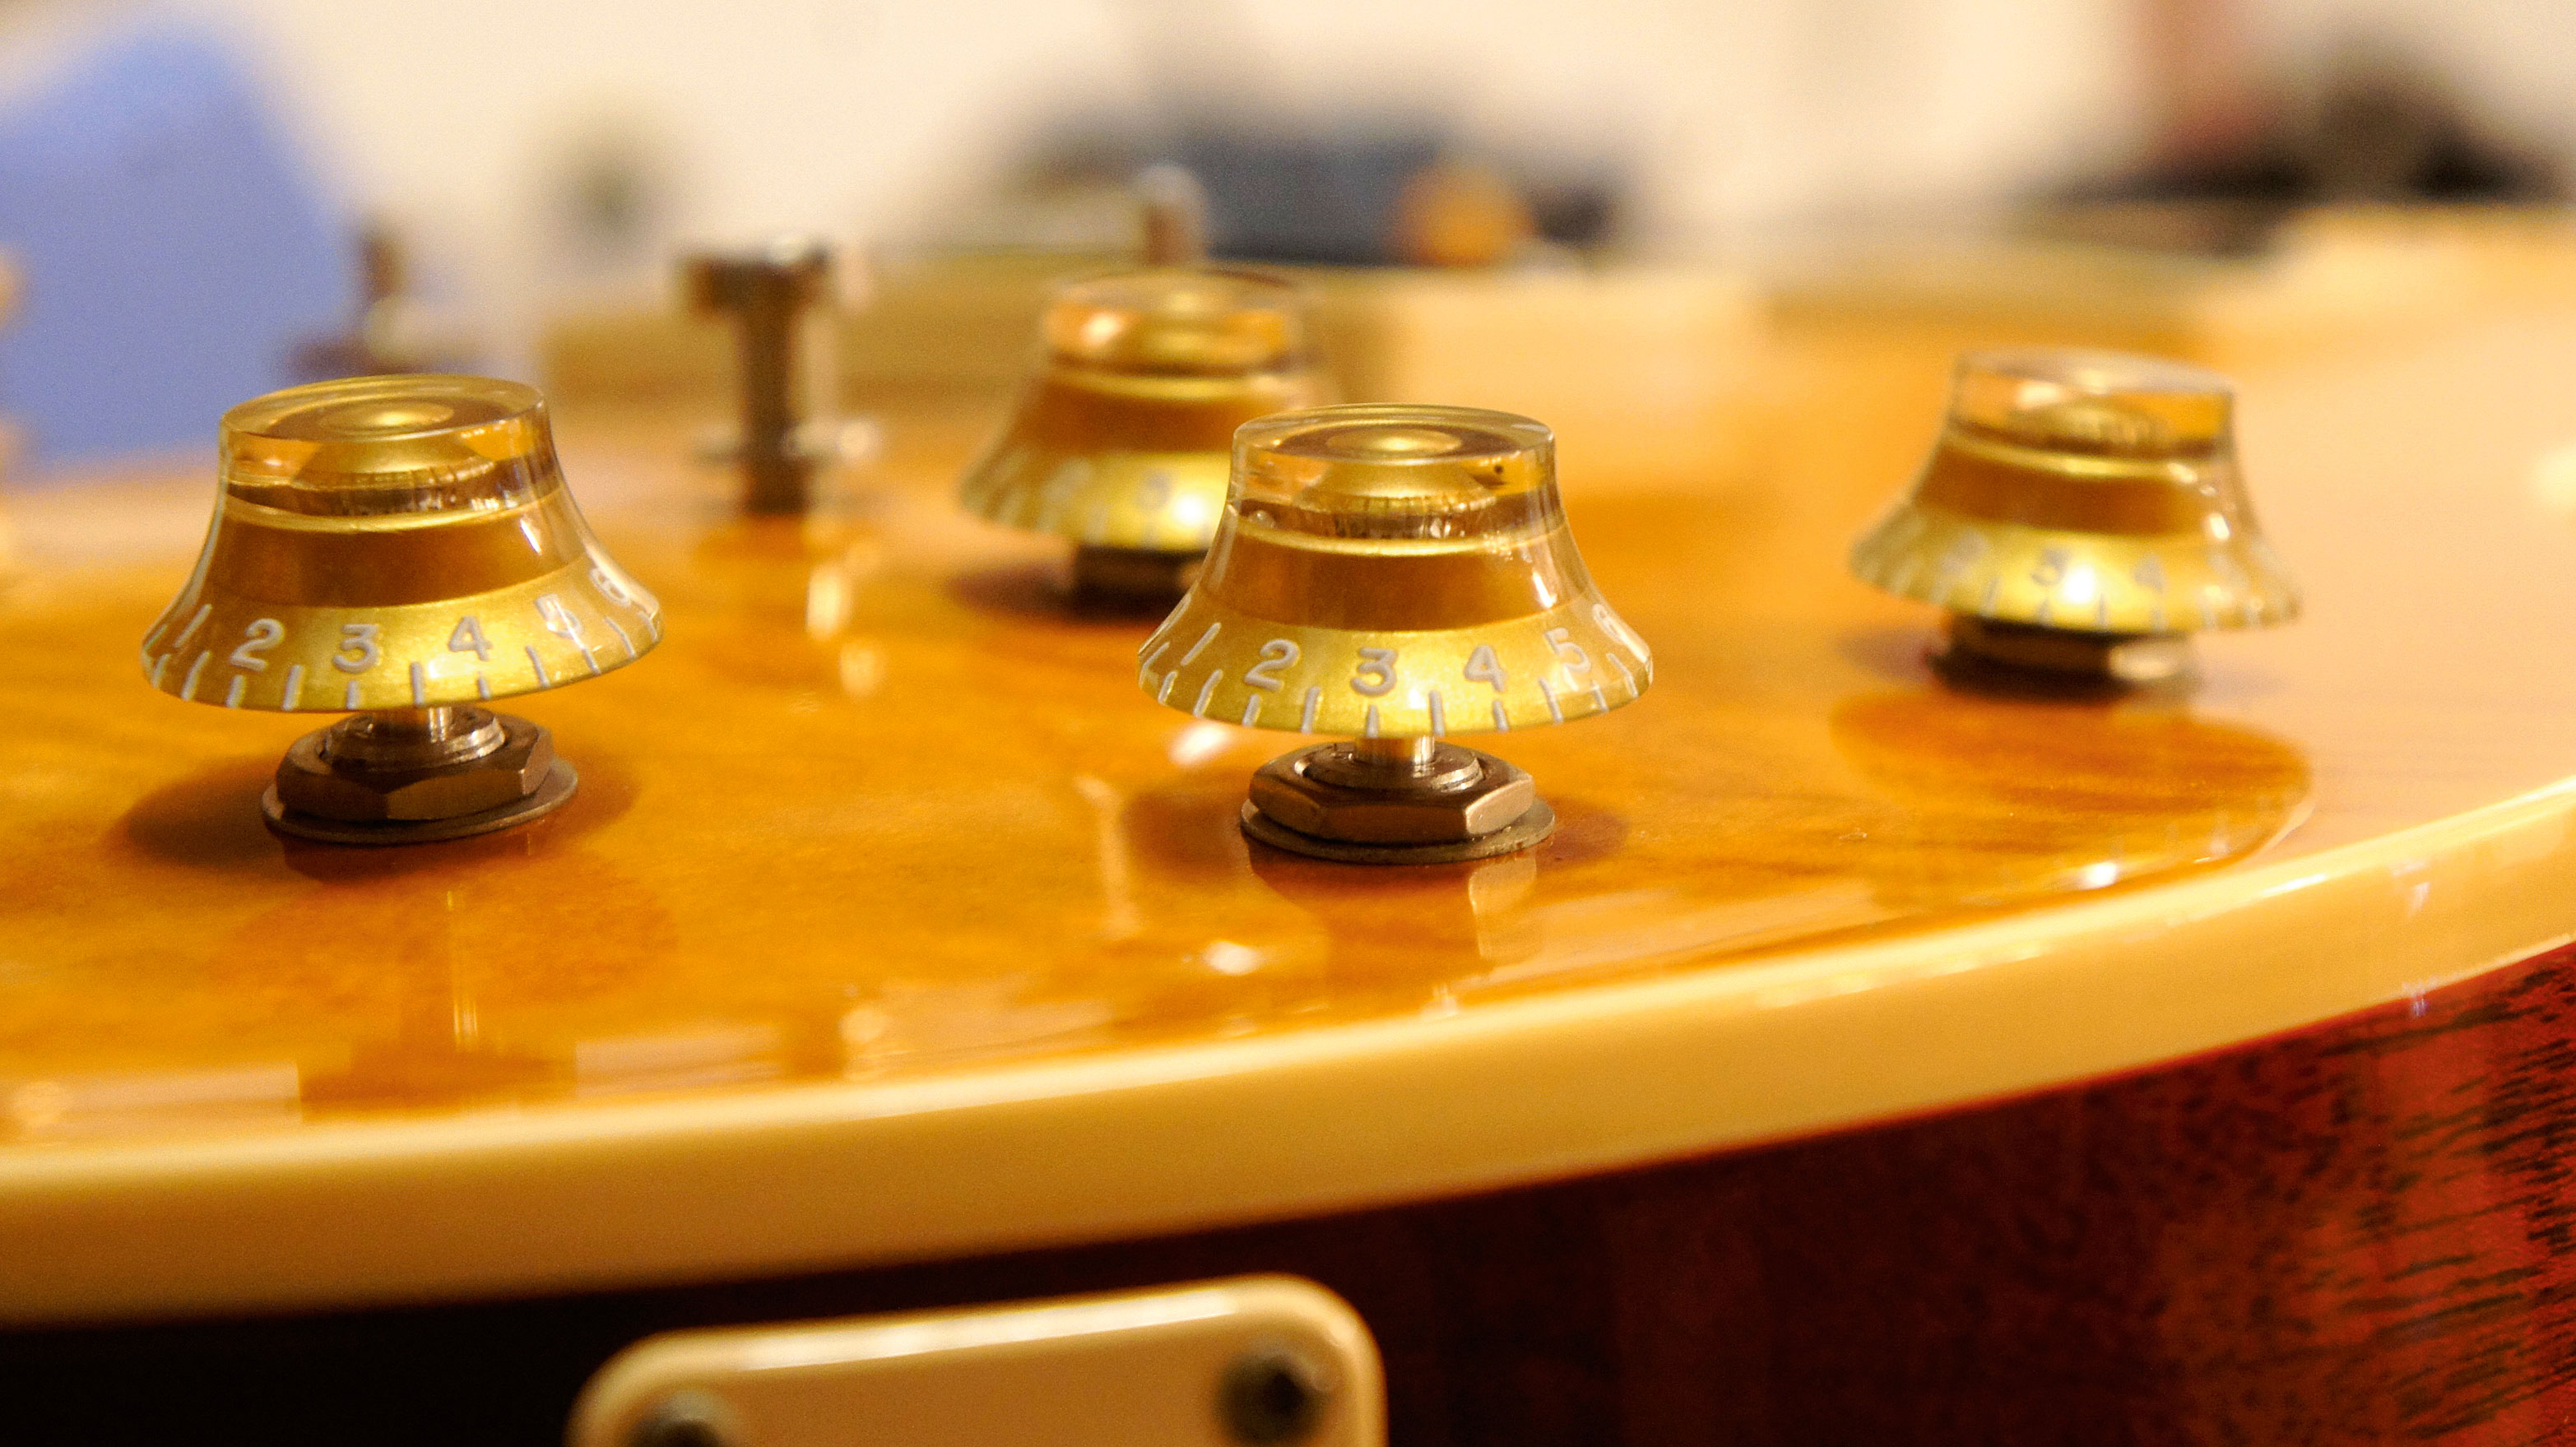
Time for lift off. There are some fancy gadgets around designed for this task but using two large-headed flat screwdrivers works well. The trick is being gentle, even and, most importantly, making sure the screwdrivers make contact with the metal washers - not your paint job! Take your time and prise the knobs off gently.
Step 3
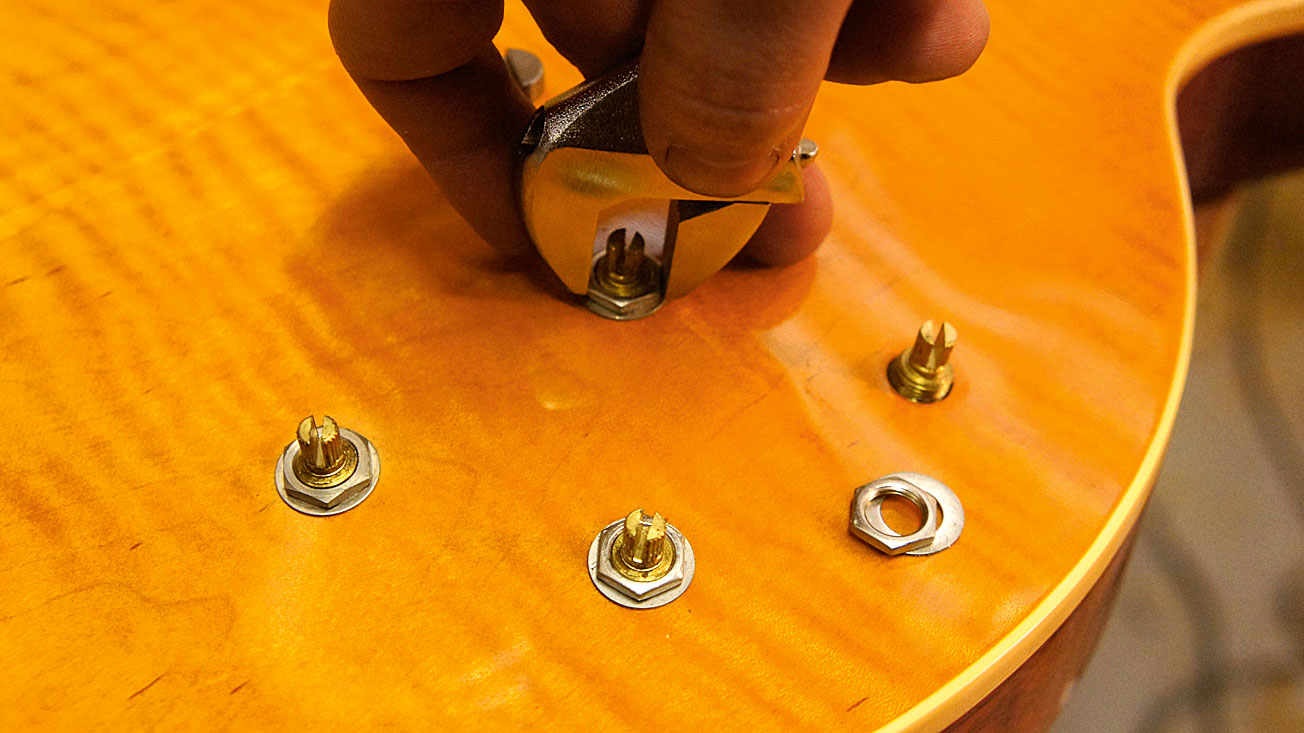
Let’s undo the jack socket, take out the four mini screws and stash them, loosen the jack socket nut off so it’s free to pull through the cavity. On the face of the guitar there should be four nuts that need to come off too. These hold the main metal assembly in place inside the electronics cavity.
Want all the hottest music and gear news, reviews, deals, features and more, direct to your inbox? Sign up here.
Step 4
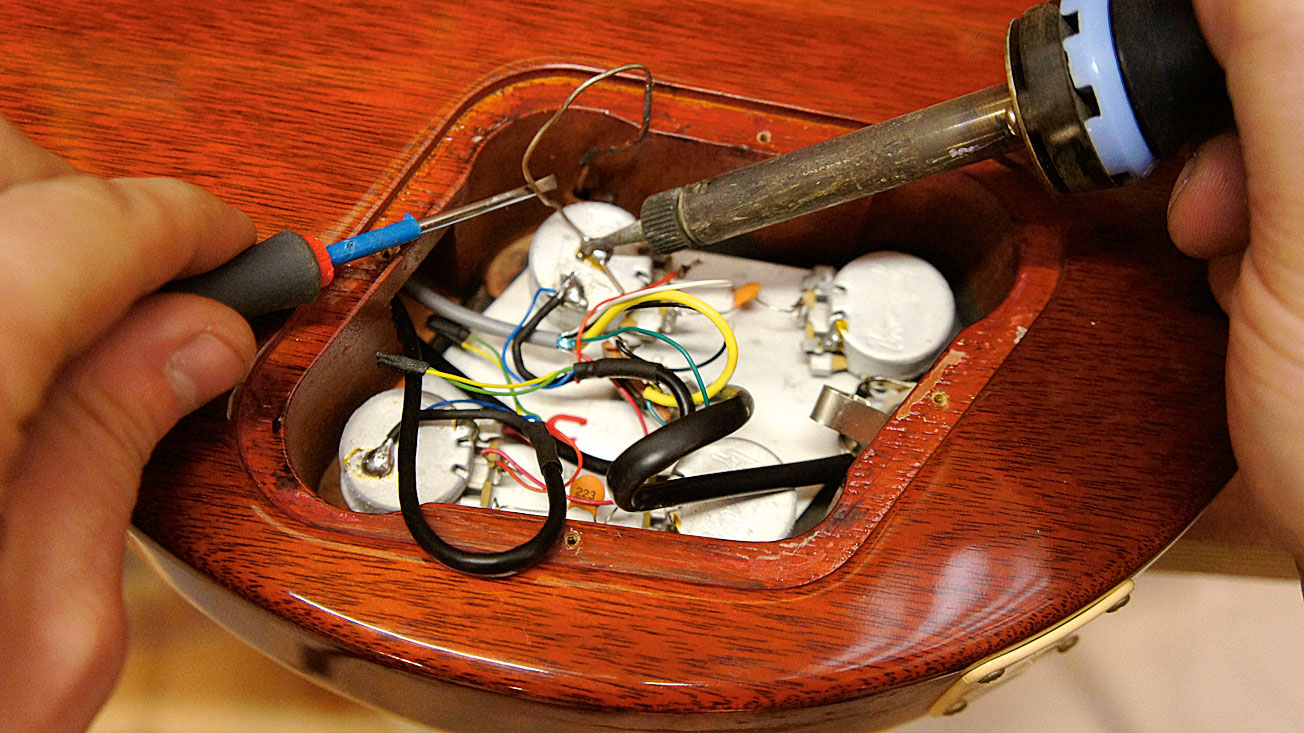
Steady on! There’s one more wire that needs to come off before we take it out. There’s a bare wire on Gibsons, which is the string ground (it connects to the Tune-o-matic bridge), de-solder that guy and bend him out the way. The main assembly is free to come out now - but be gentle and beware of chipping the finish.
Step 5
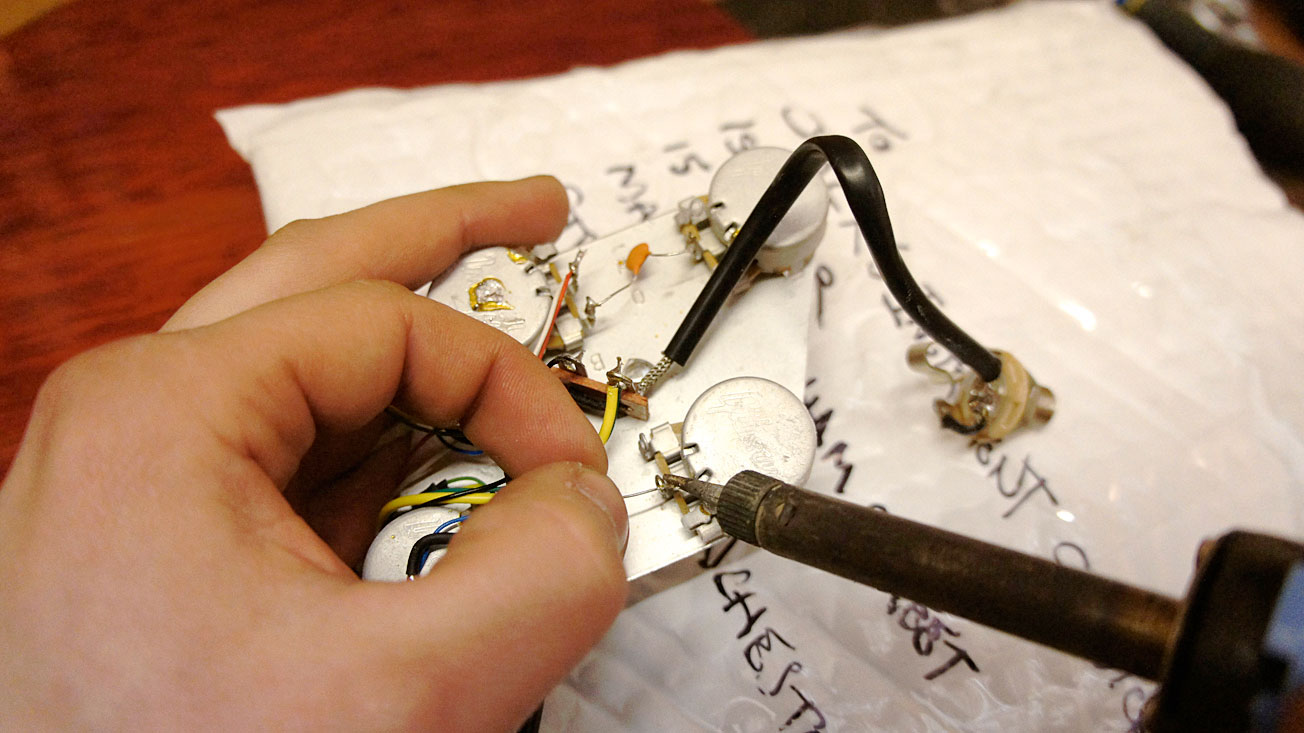
We’ve left the pickup wires attached still to save some time, so rest the assembly on the back of the guitar - a Jiffy bag is a great solder blob shield. It’s time to start removing the old pots to swap them for push/pull pots. Unsolder the tone capacitor that spans between the volume and tone pot.
Step 6
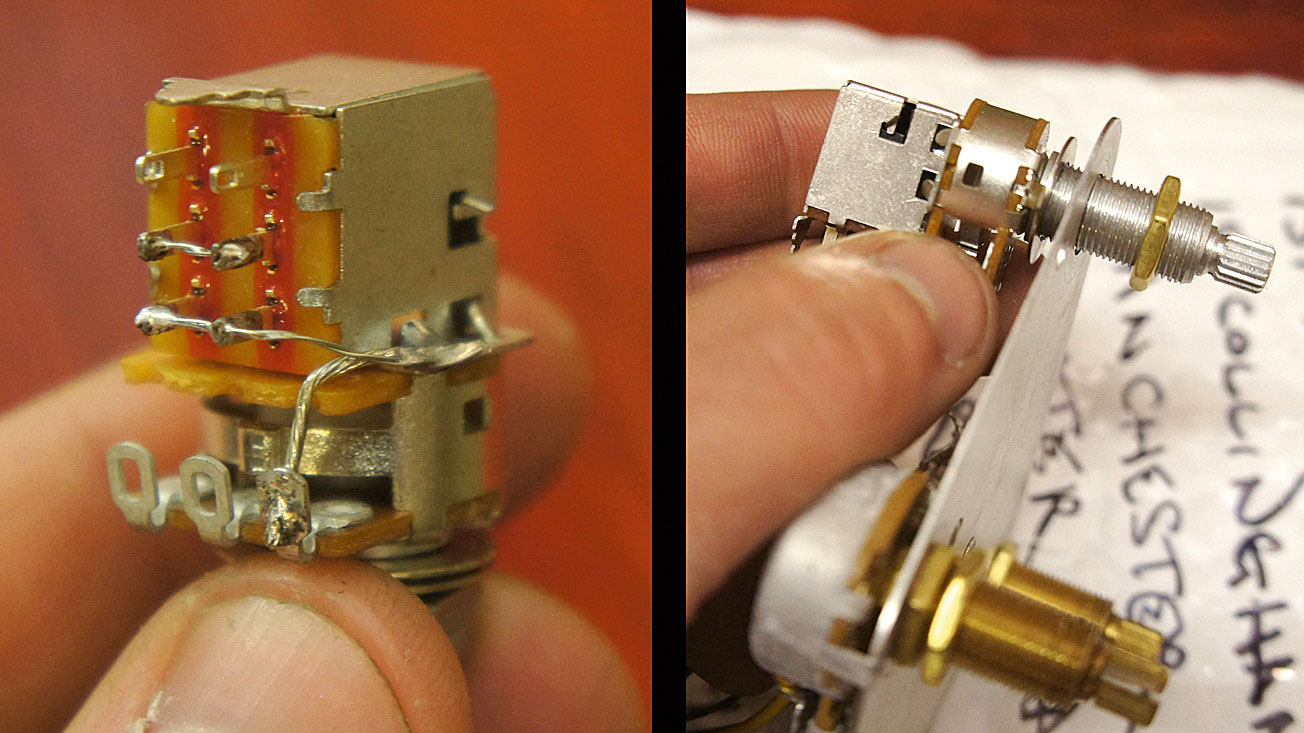
With the new push/pull pot disconnected it’s a great chance to prepare it. We’ve added the linking wires onto the back of it. Anything soldered to the casing will be grounded the same for the back of the pots. With those prepped, re-bolt them back into place; try to return the nuts to the same height they were before.
Step 7
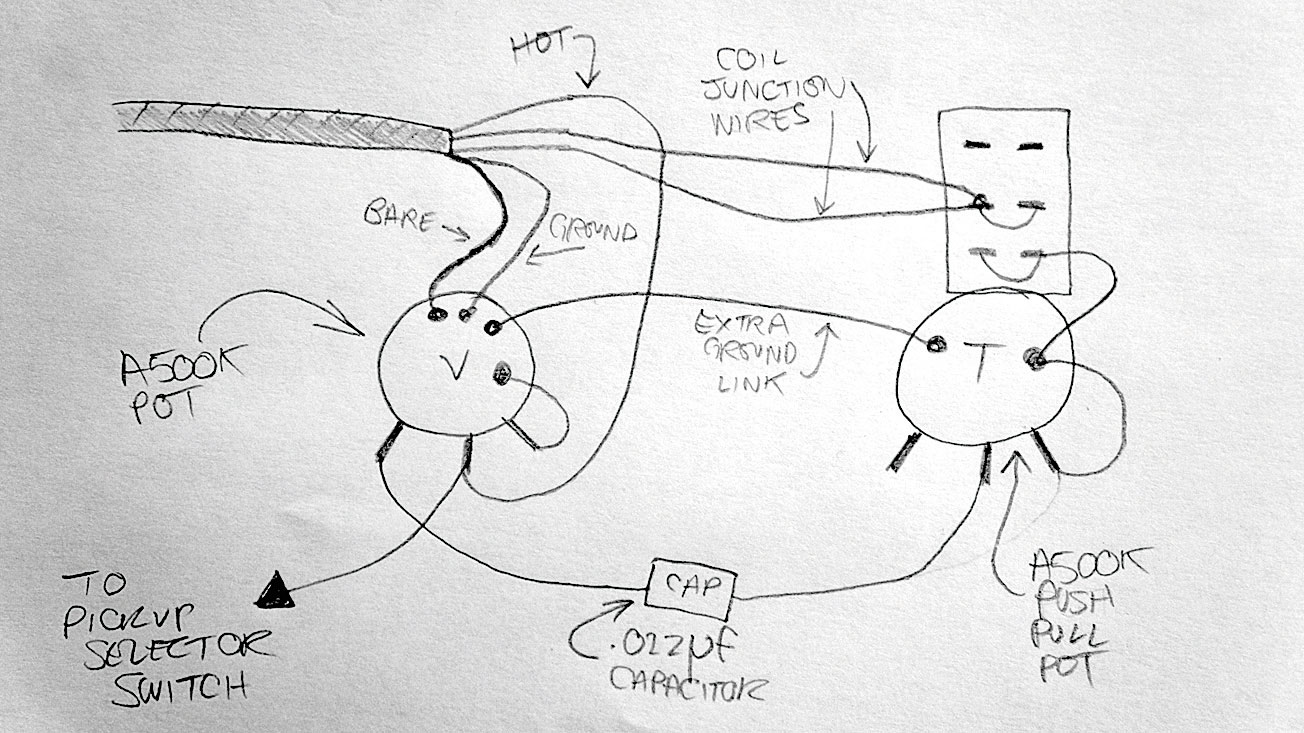
Here’s the wiring diagram for the use of two push/pull pots as coil-split. The differences are we’ve added a new ground wire link between the volume and tone pot and there’s the new push/pull pot with its prepped wires. The tone cap arrangement is the same, just reattached back to the middle leg again.
Step 8
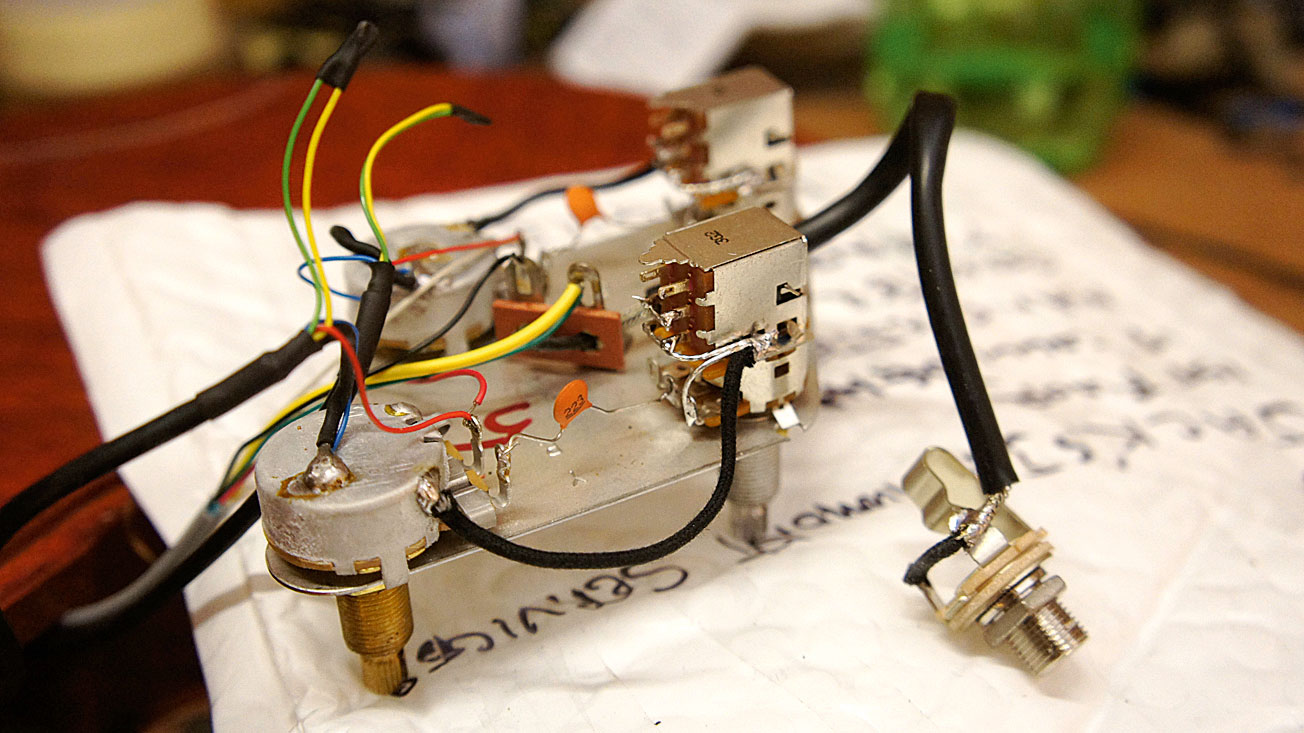
Still working on the back of the guitar using the jiffy bag for an anti-solder force field, complete the rest of the circuit according to this diagram. The bit you’ll need to look up is which coloured wires are twisted together and soldered to the push/pull pot’s central lugs - each pickup company uses a different colour scheme.
Step 9
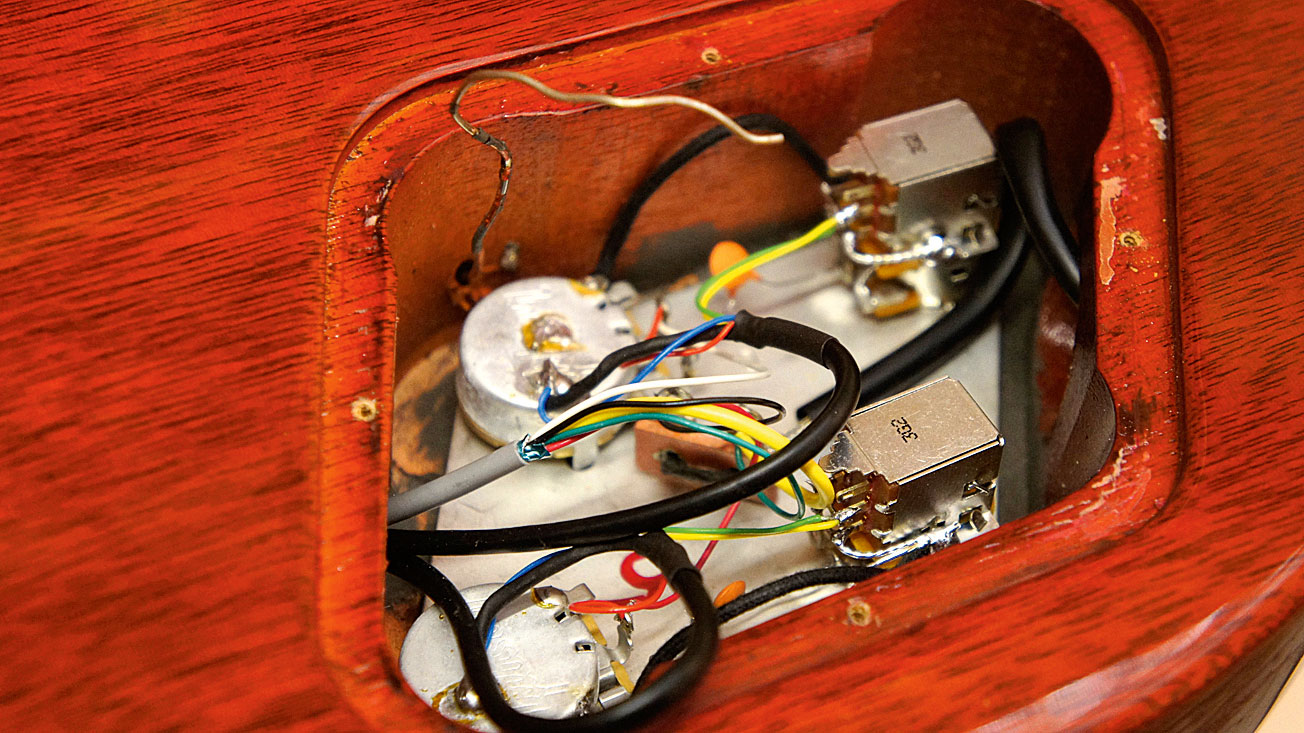
With all that wired up, bung it back into the electronics cavity: pots first, jack second. Again, be careful when pushing the pots through as they can pick a piece of lacquer off the front of the guitar. Experiment with the nut’s heights on the pots if you need to dictate the height that the pot shafts protrude.
Step 10
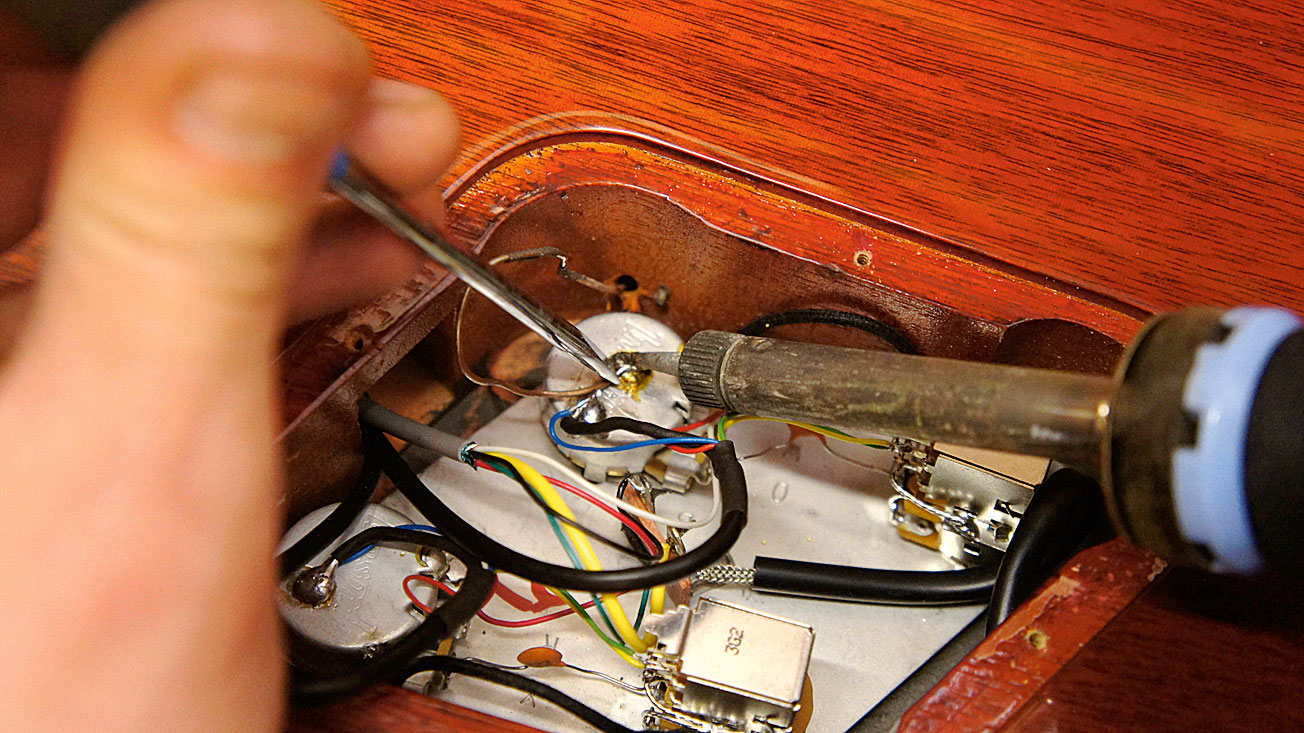
This is the last wire, then you can turn off your soldering iron. Grab a flathead screwdriver and pin the bare earth wire into place then solder it back onto the same blob of solder it came from. When it’s cooled, take away the screwdriver - this stops you from burning your fingertips.
Step 11
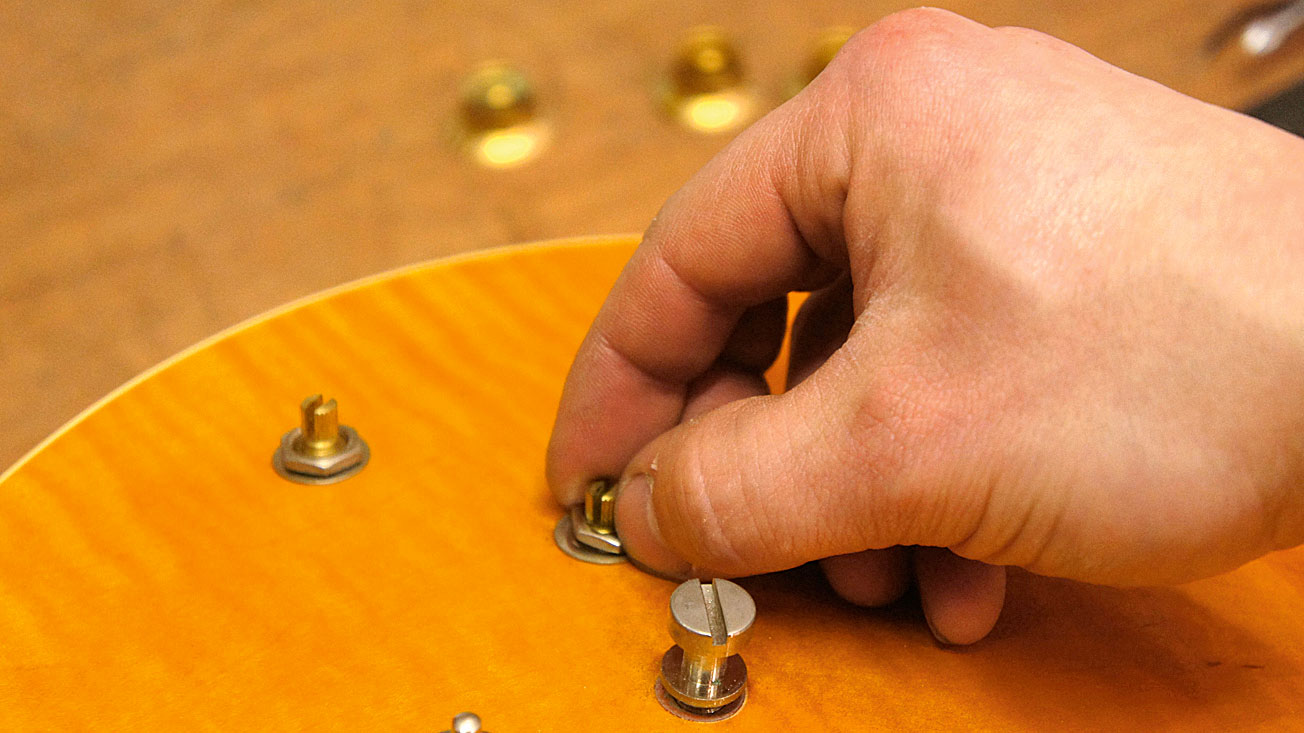
Pop on the washers and nuts then tighten up the four nuts on the front of the guitar. Do them up tightly - but not crushingly tight - always be aware of damaging the finish! A cool trick is to line your adjustable spanner with masking tape to prevent disastrous scratches.
Step 12
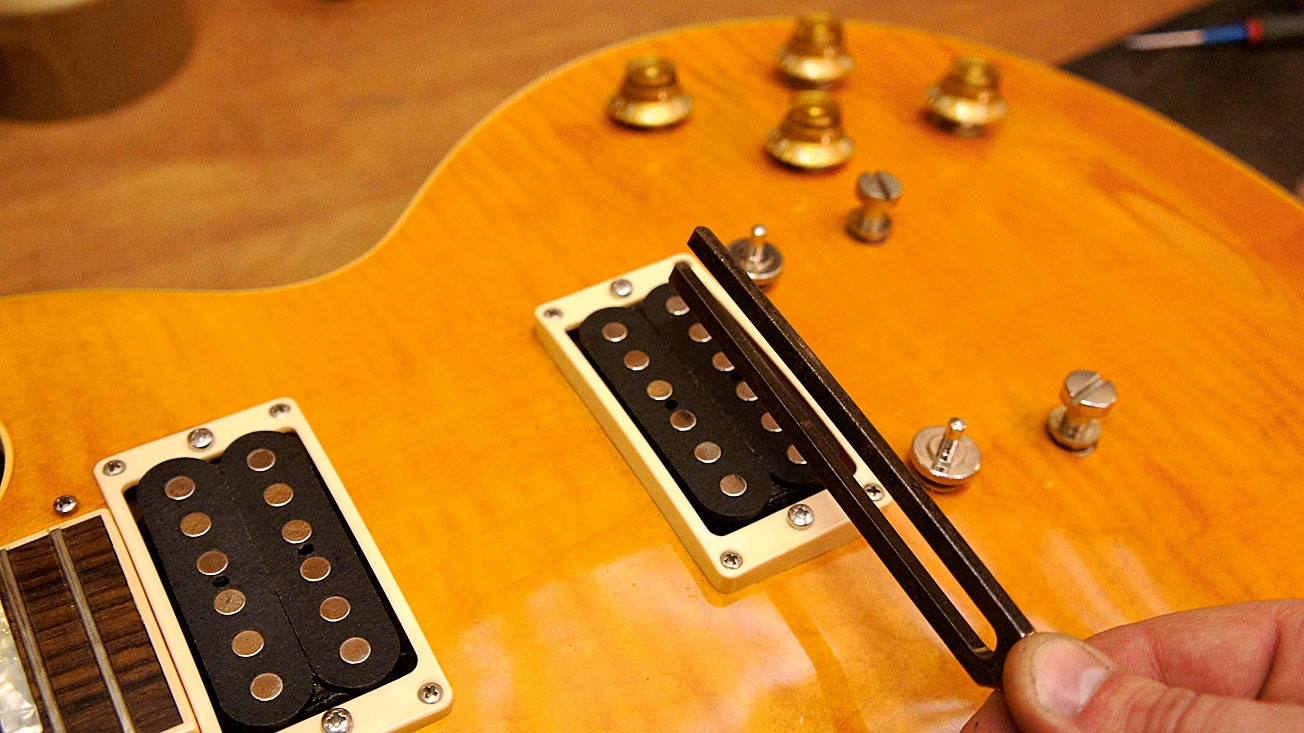
As we were so careful and followed the diagram exactly, this will be just a courtesy. Use a tuning fork to test the pickup’s new functions. Plug into an amp, strike the fork and wave it over each pickup coil, throw the switches and you will hear the new coil-split tones. You can also test the volumes, tones and pickup selector.
Jack runs an independent guitar setup and guitar repair service in Manchester, England. He serves the musicians of the Northwest of England, working on electric guitars, bass guitars, acoustic guitars and more. Jack has been writing the Fix Your Guitar column in Total Guitar Magazine since 2017.
