Guitar setup: how to lower your acoustic guitar's action
Simple steps to make your six-string easier to play
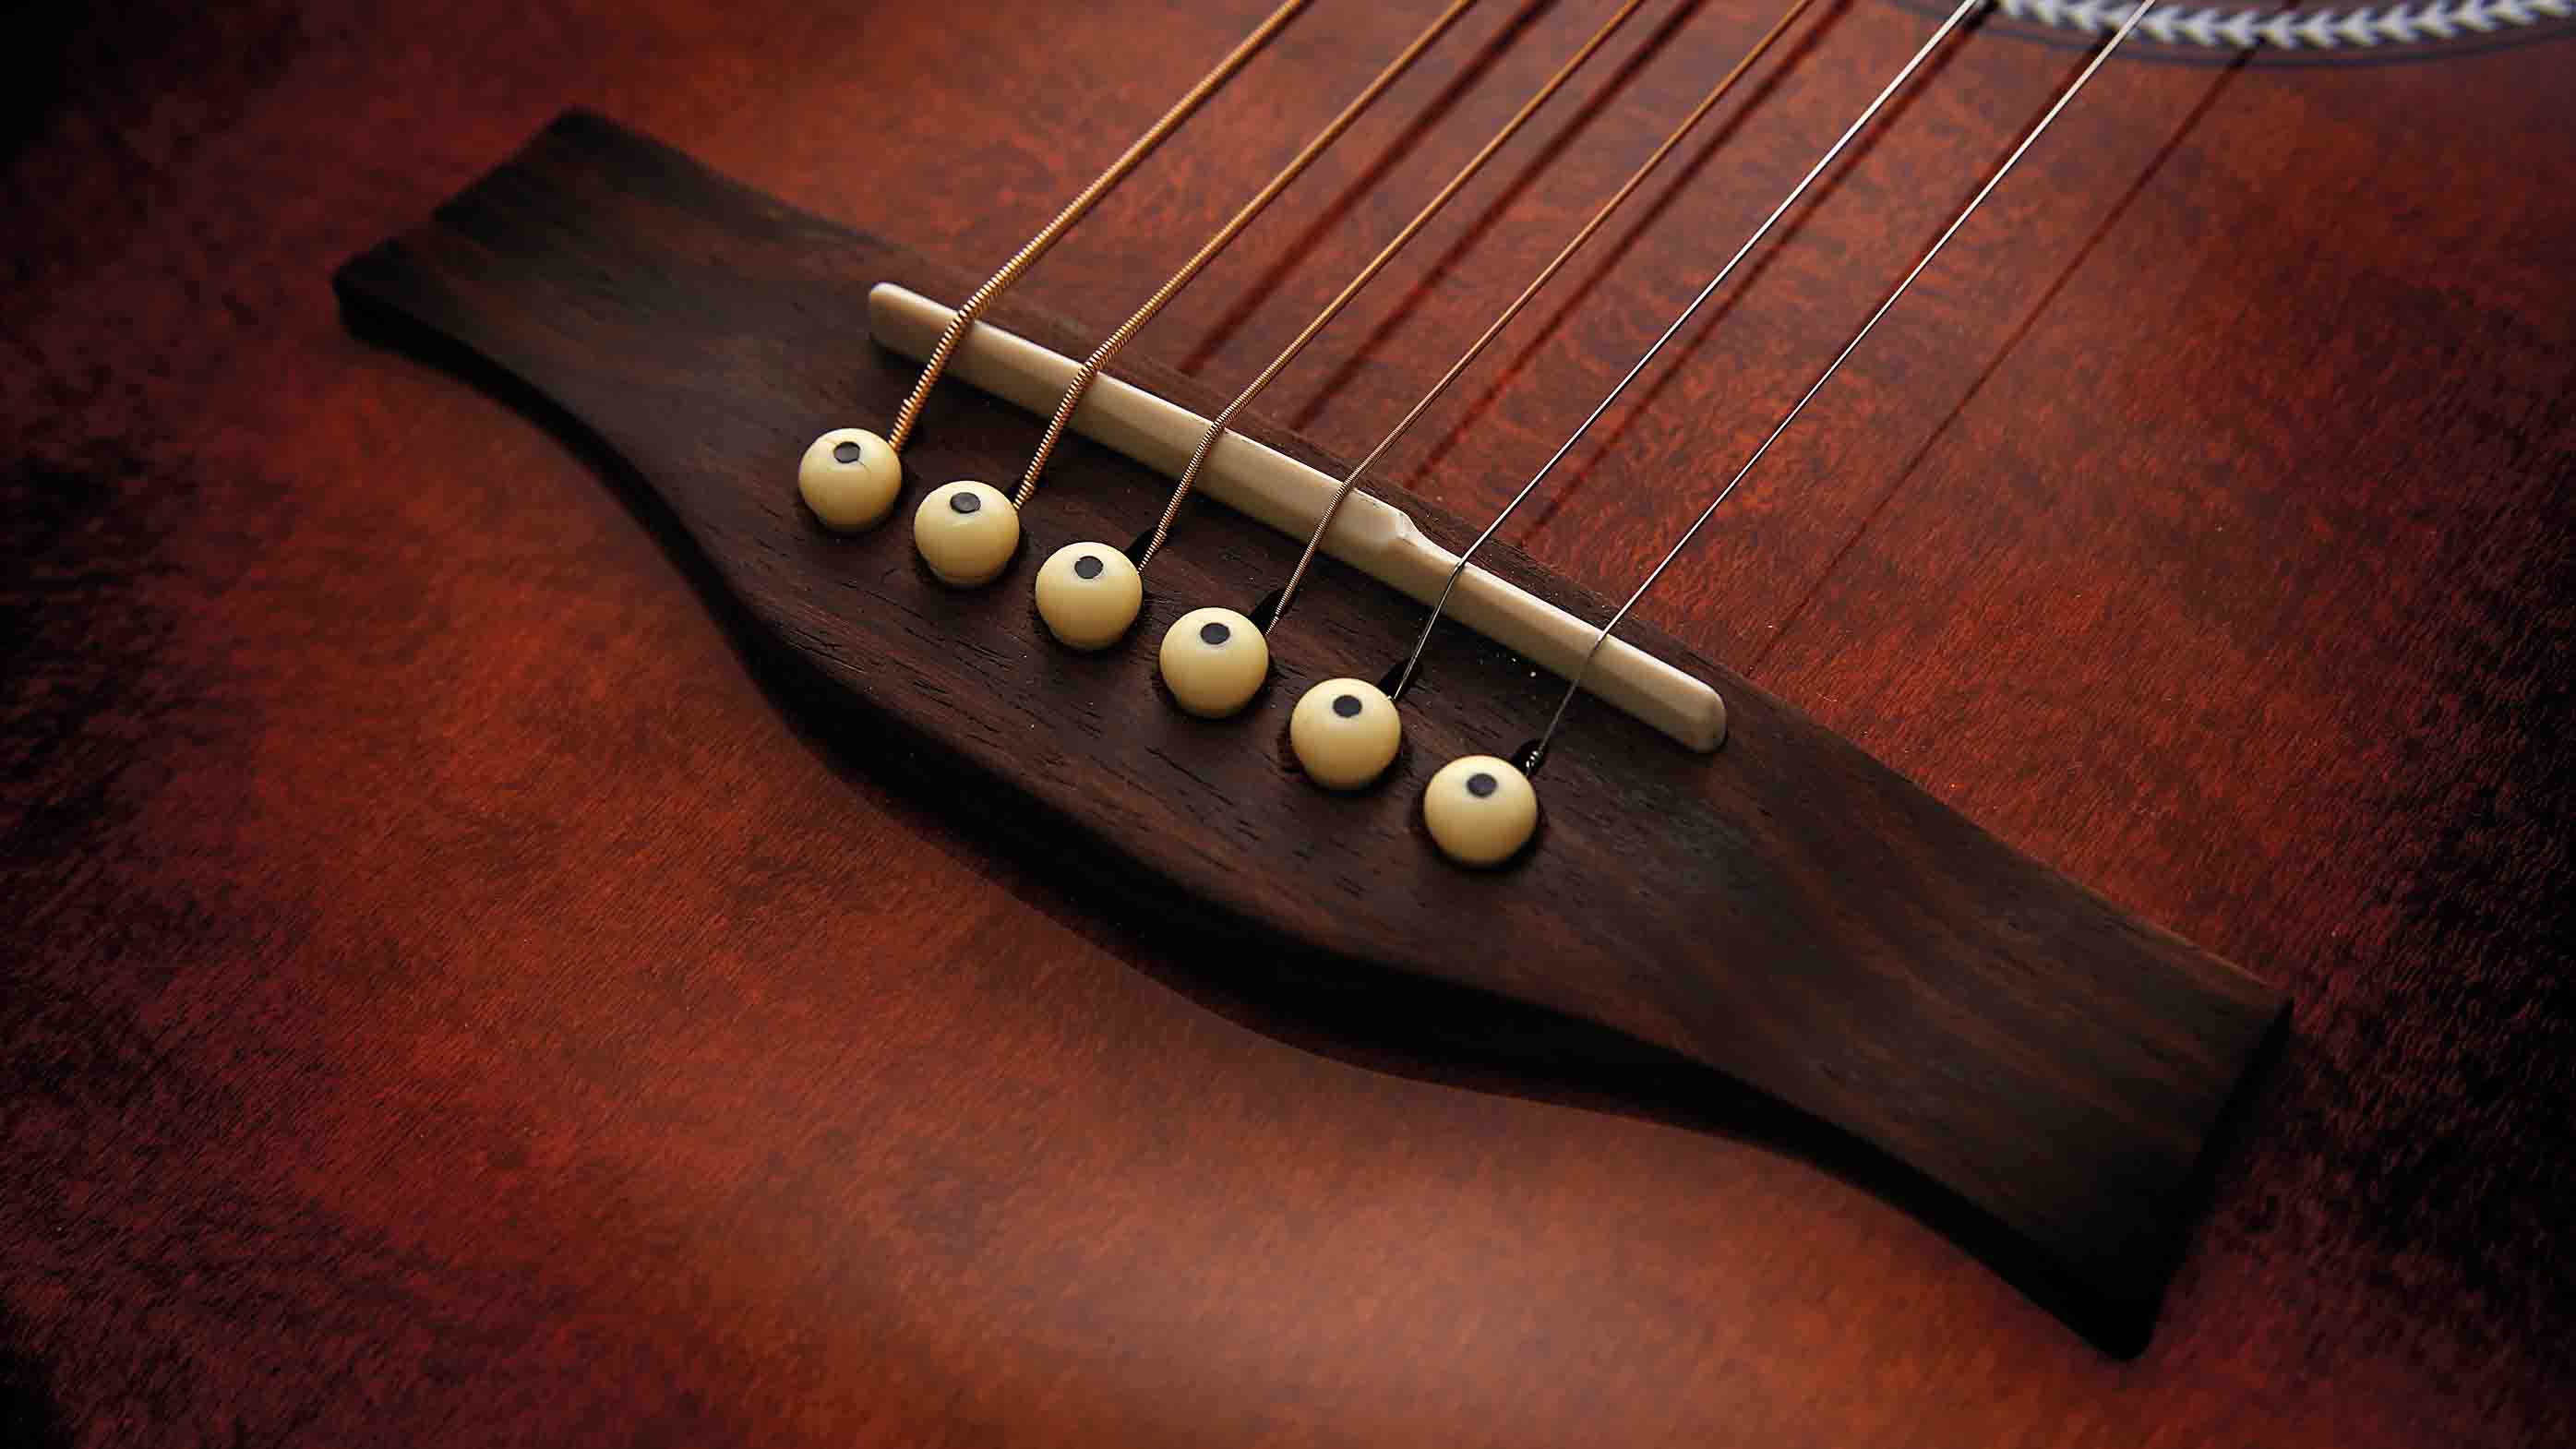
Taking action
Adjusting the action (or string height) on an acoustic guitar is easier than you think, but to do it, you’ll need a file or sandpaper and a pair of pliers.
Be aware though, this is for acoustic guitars only! If you have an electro-acoustic, you may damage the pickup if you don’t know how to remove the saddle correctly.
Do some research first or leave the job to the experts if you’re unsure. For the rest of you, this easy-to-follow guide will give any tough-to-play acoustic a new lease of life.
Before we start, let’s make sure that the guitar’s neck is adjusted correctly…
Don't Miss
Guitar setup: how to remove bridge pins on an acoustic guitar
1. Take a closer look
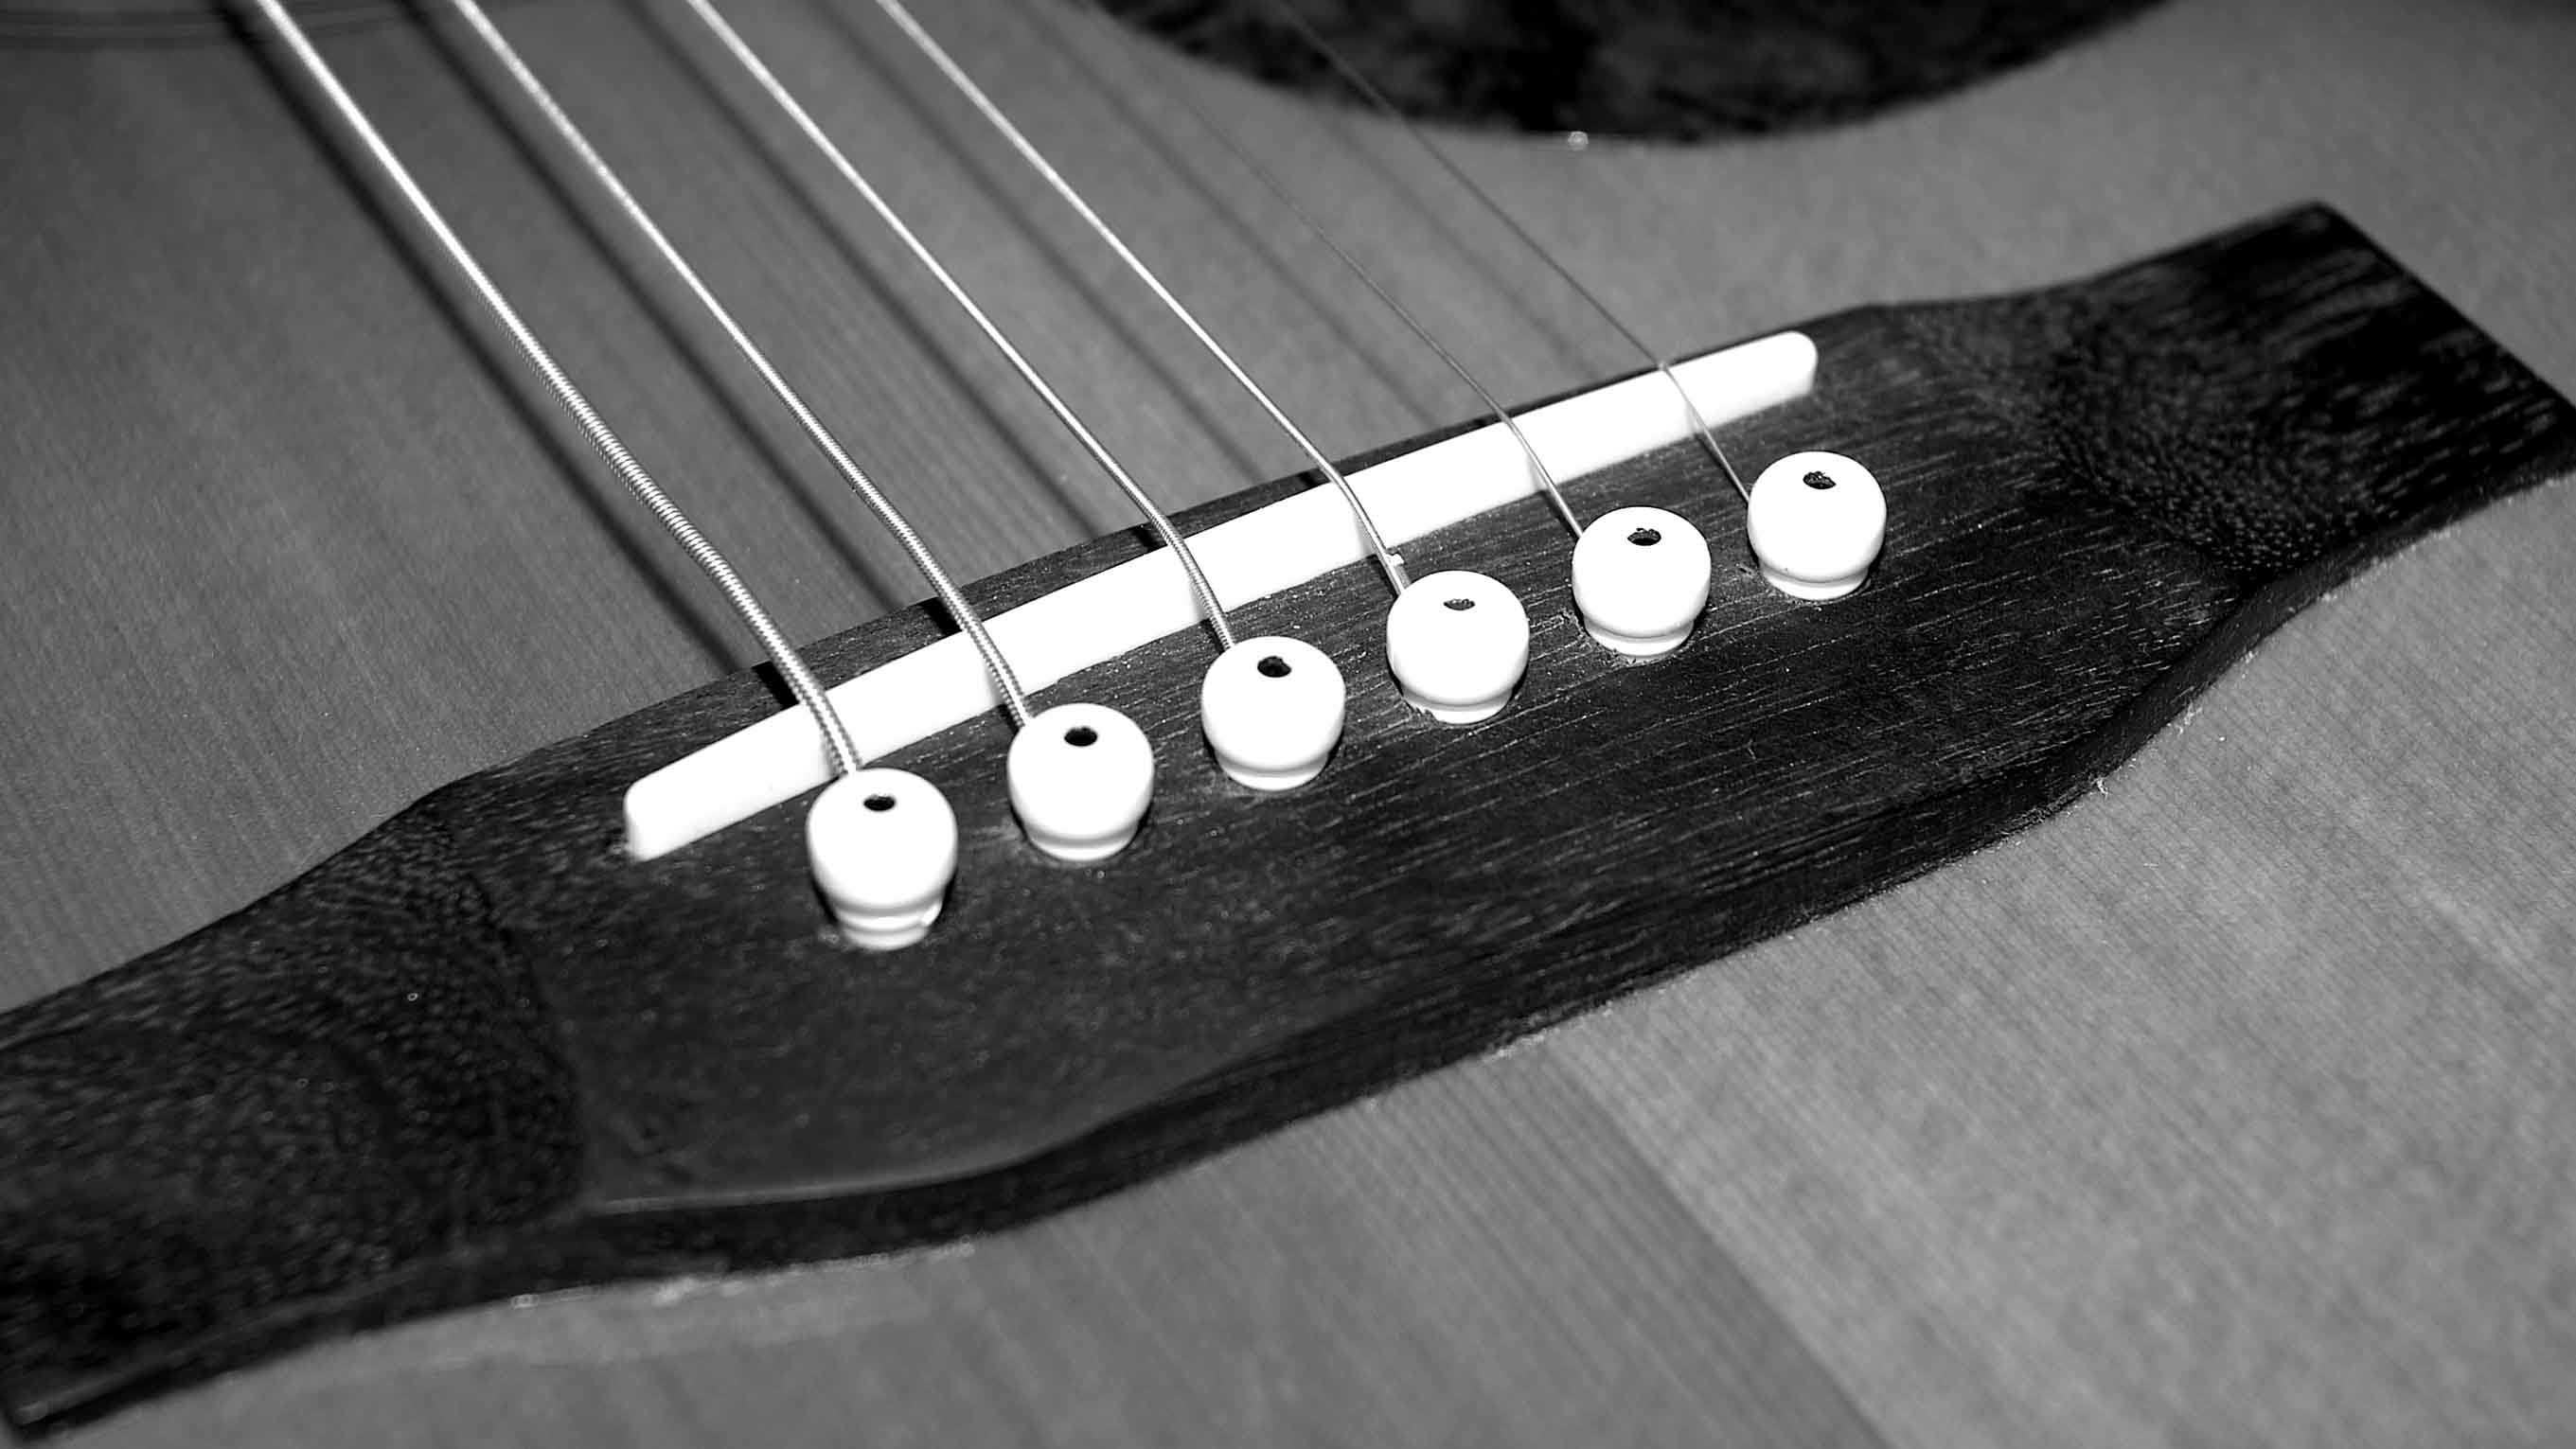
Eyeball the neck from the headstock end. If the neck is dipped or over-bent, locate your truss rod bolt – the bit you stick the Allen key or wrench in to adjust the truss rod.
On most acoustics, the bolt is located just inside the soundhole.
2. Key to success
Found it? Good. Now insert your Allen key. If the neck is dipped (lower in the middle than at either end), turn clockwise, if it’s over-bent (higher in the middle), turn anti-clockwise.
Make small adjustments and never force the truss rod if it’s tight.
3. Bridge the gap
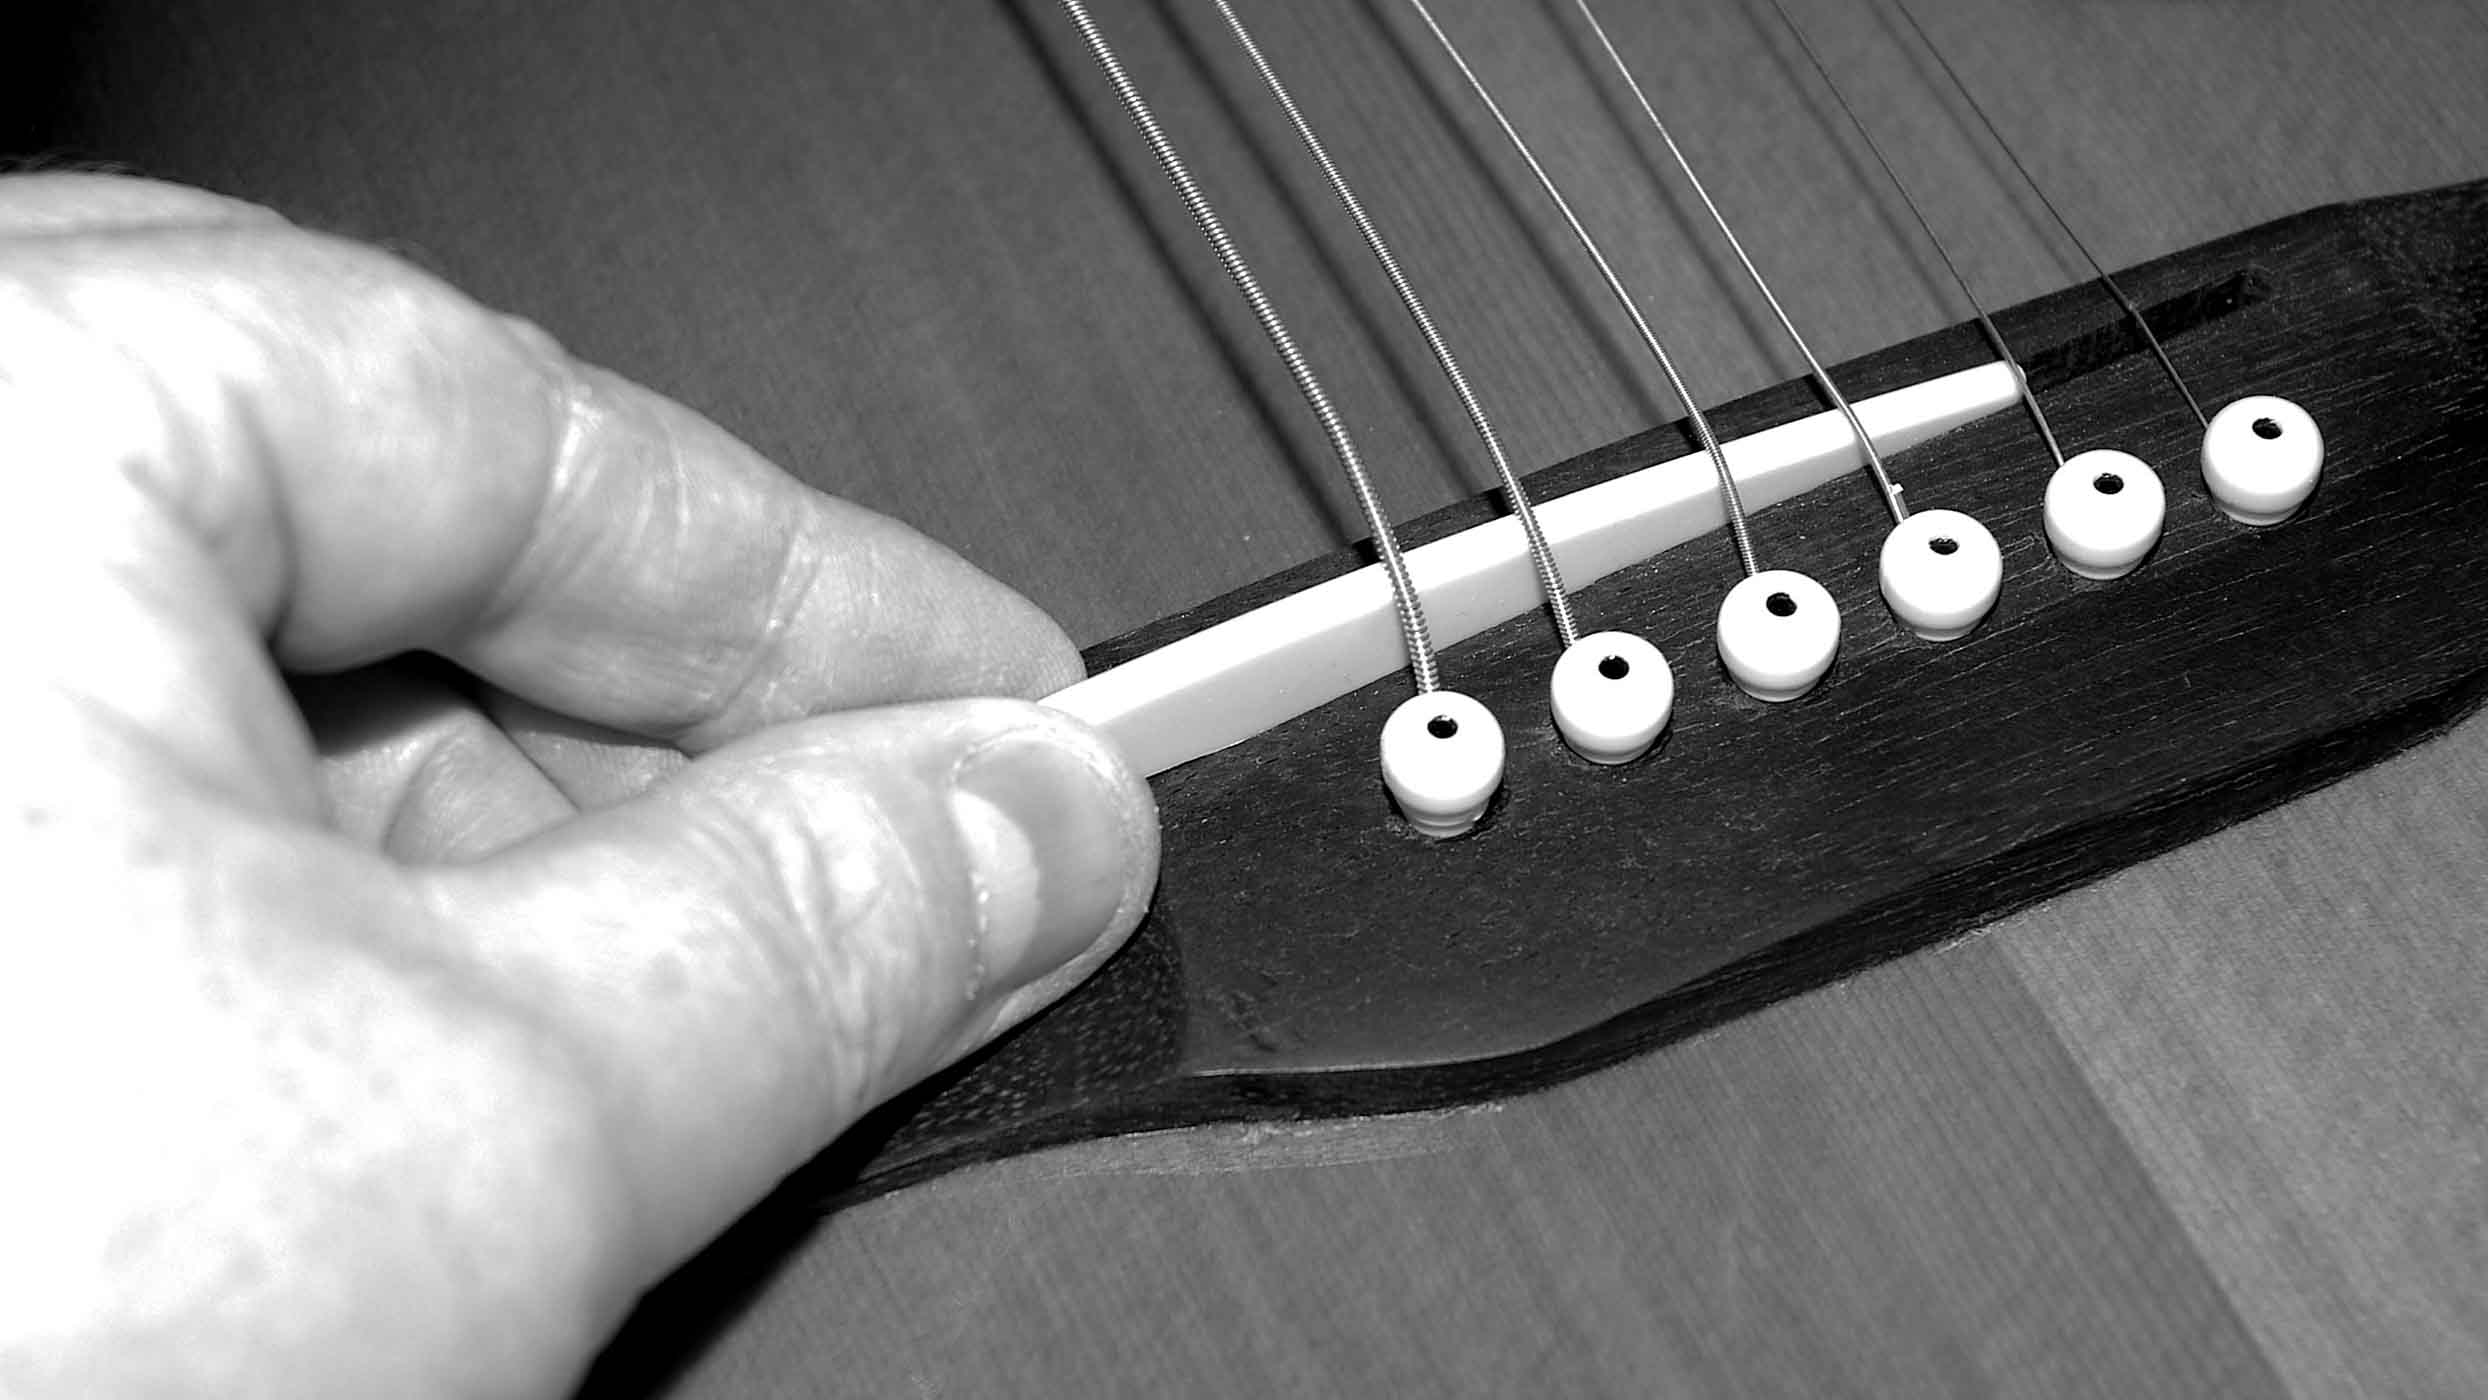
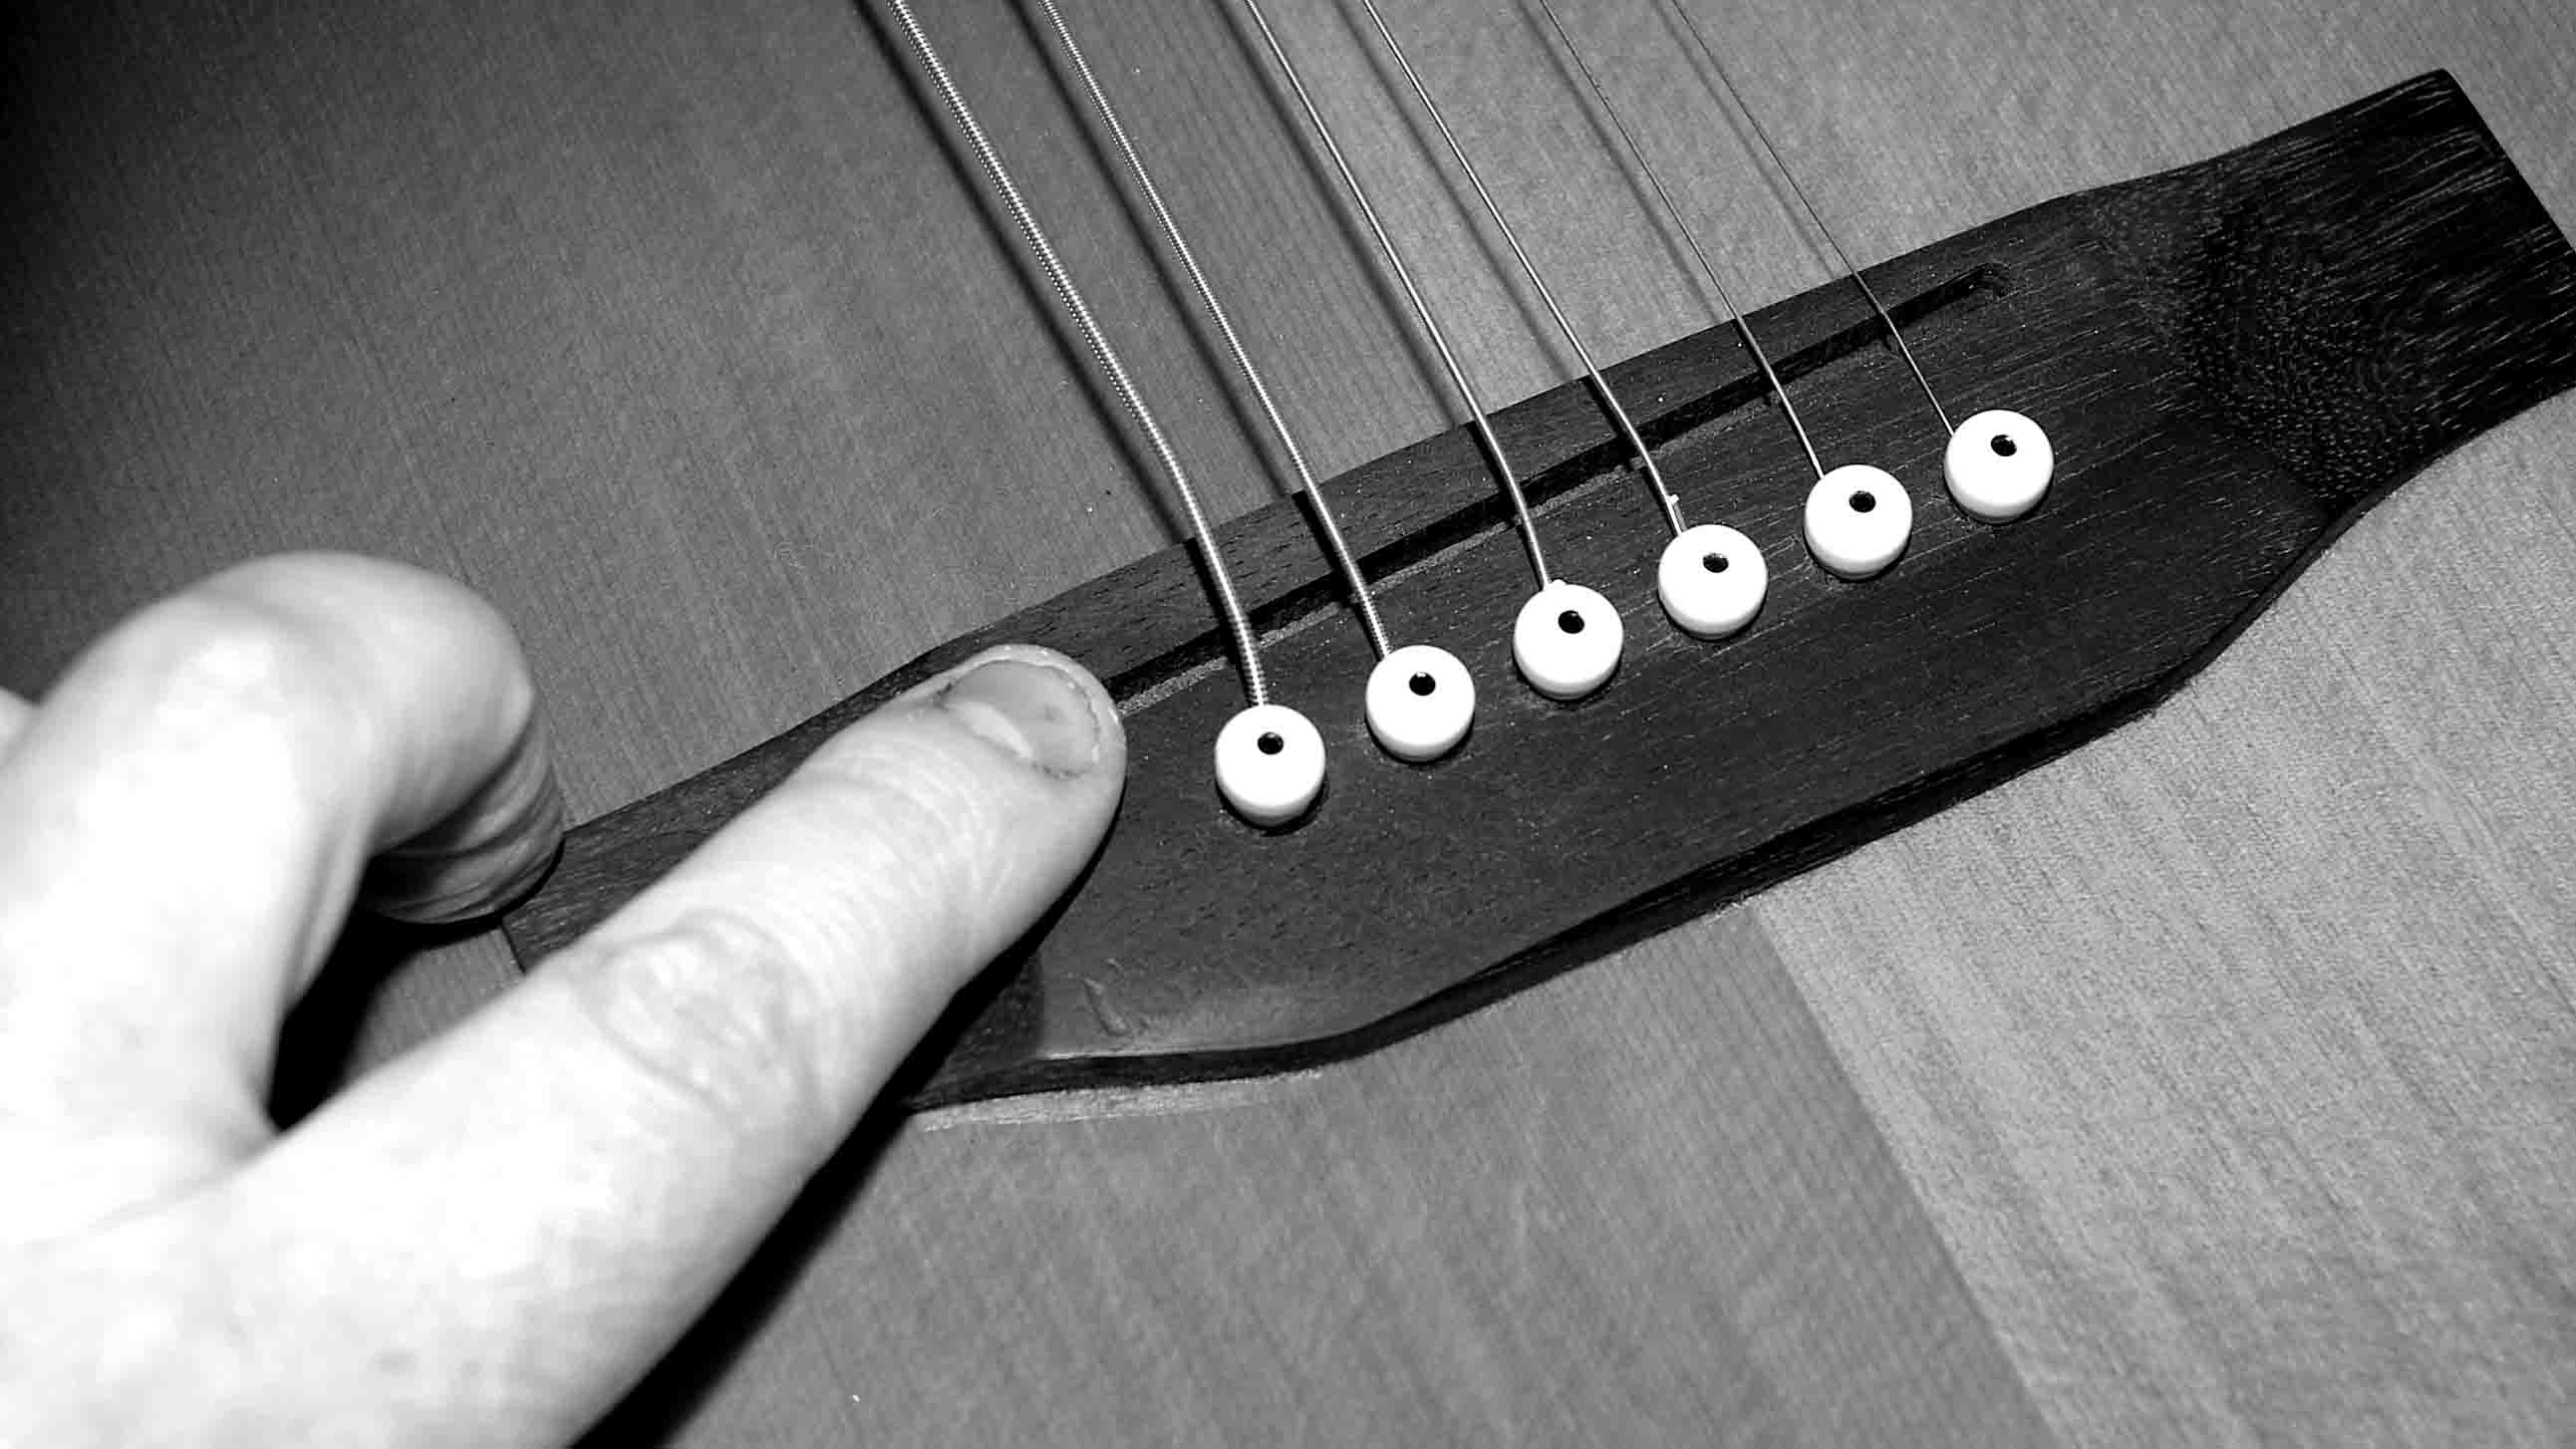
With the neck adjusted, loosen the strings to allow access to the bridge saddle. Most acoustics have a thin saddle that slots into the bridge. With the strings loose, the saddle should be easy to remove. If not, use pliers to carefully ease it out.
4. Shim when you're winning
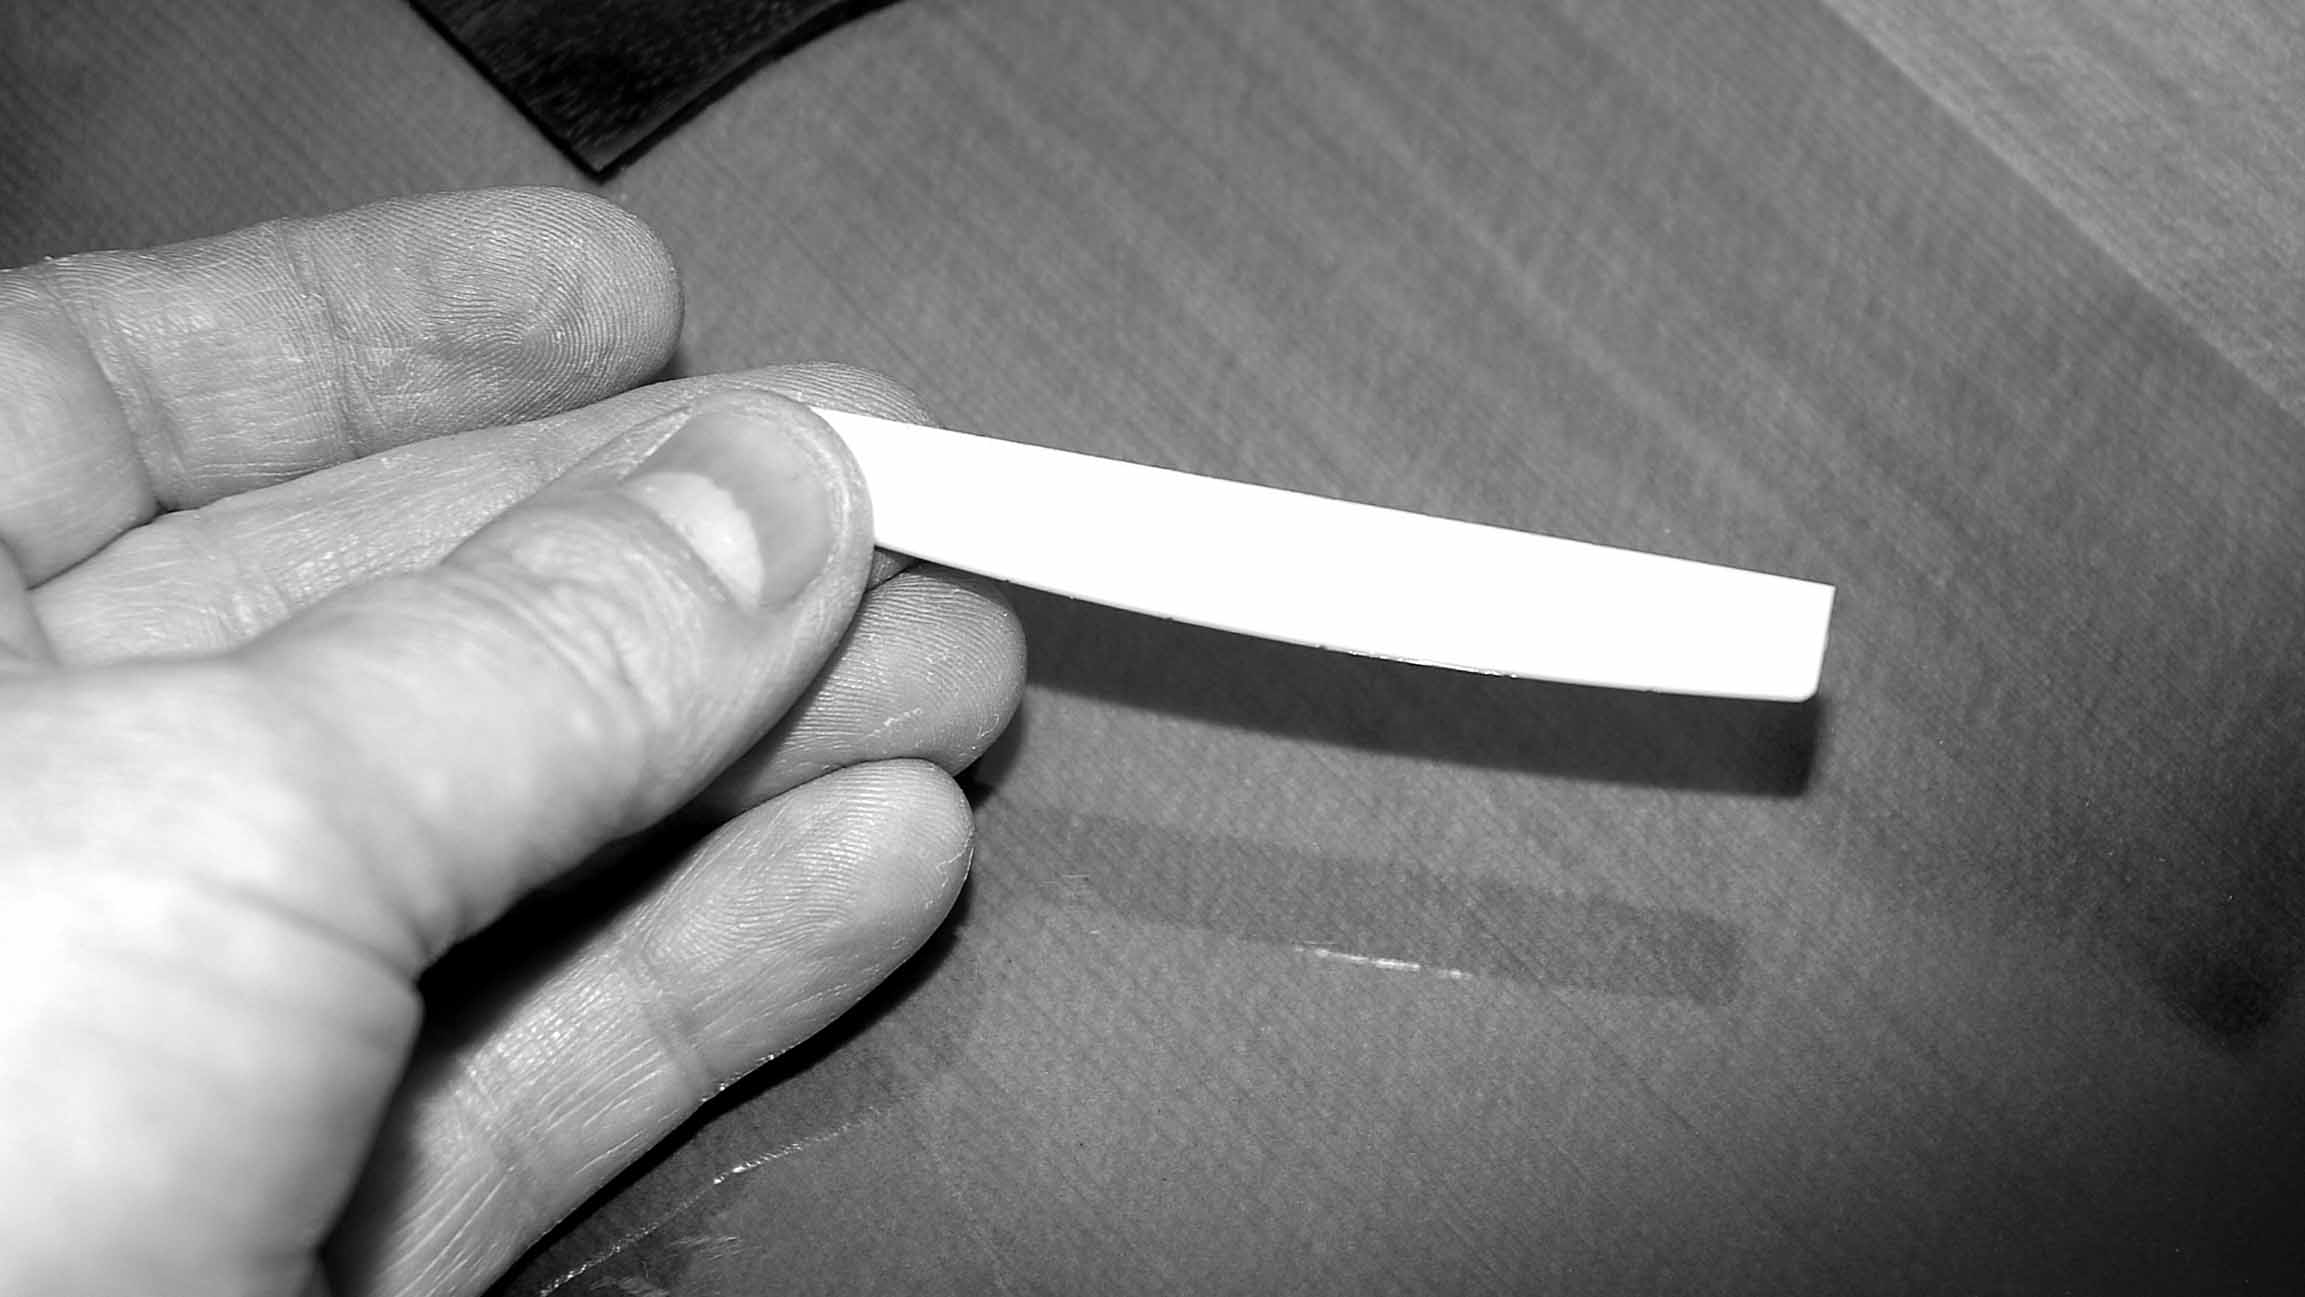
Check the saddle slot for little strips of plastic or wood called shims. If you find shims, remove them and slot the saddle back in place. Tune the guitar and check out the new lower action. If it’s perfect, job done. If not, let’s soldier on.
5. File out
If your guitar doesn’t have any shims, or removing the shims didn’t lower the action enough, you’ll need to file or sandpaper the saddle.
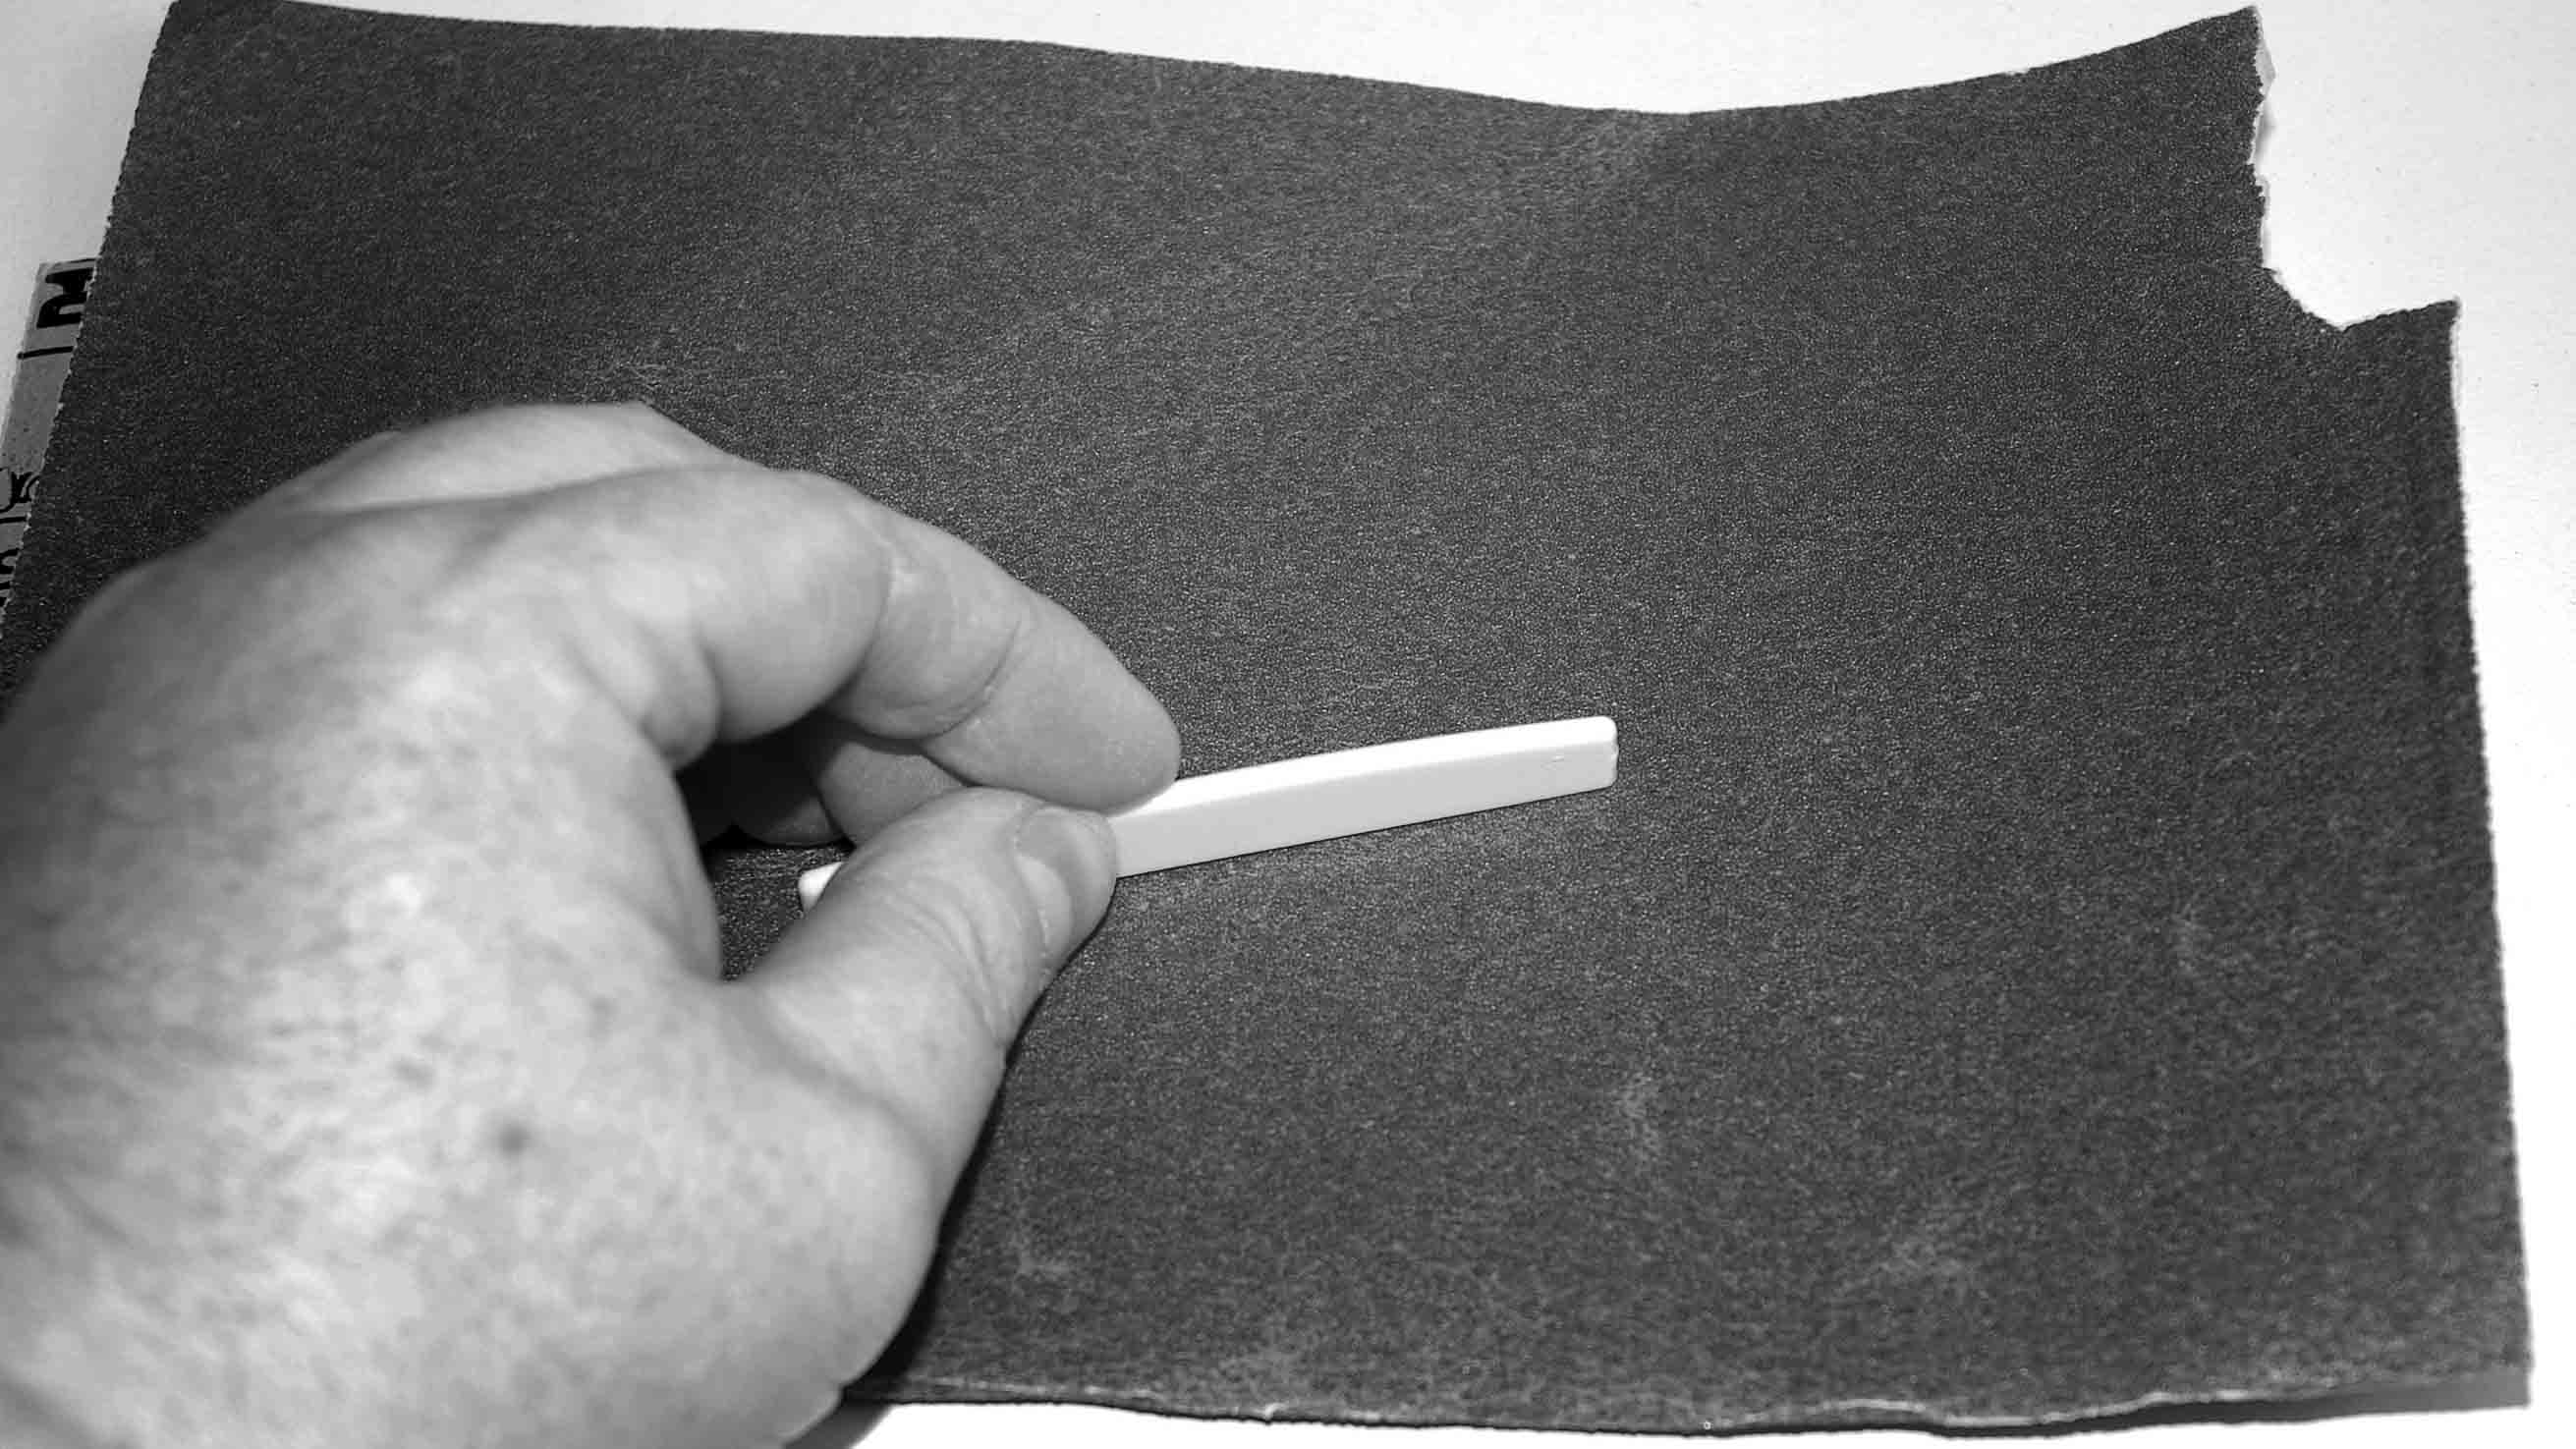
Some folk like to remove material from the top of the saddle, but we prefer to file or sandpaper the underside.
6. File on
It helps if you have a vice to hold the saddle in place while you file it down. If you don’t, run the bottom of the saddle along your file.
Only remove small amounts of material at a time, mind your fingertips and don’t breathe in the dust!
7. Saddle up
Keep testing the saddle in the guitar to check your progress. You’ll be amazed how little you need to remove to dramatically affect the action.
Just make sure you don’t go too far, or you’ll end up with a guitar that buzzes and rattles – not good.
Don't Miss
Guitar setup: how to remove bridge pins on an acoustic guitar
“Designed as the ultimate ‘stage guitars’”: Faith launches the all-new Eclipse series – a trio of all-solid cutaway acoustic electric guitars with a maple forearm rest for comfort and Fishman electronics
“The mahogany armrest enhances comfort and aesthetics”: Harley Benton debuts the impressive yet affordable CLO and CLG acoustics, featuring all-solid spruce and rosewood builds, Fishman electronics and an inviting armrest