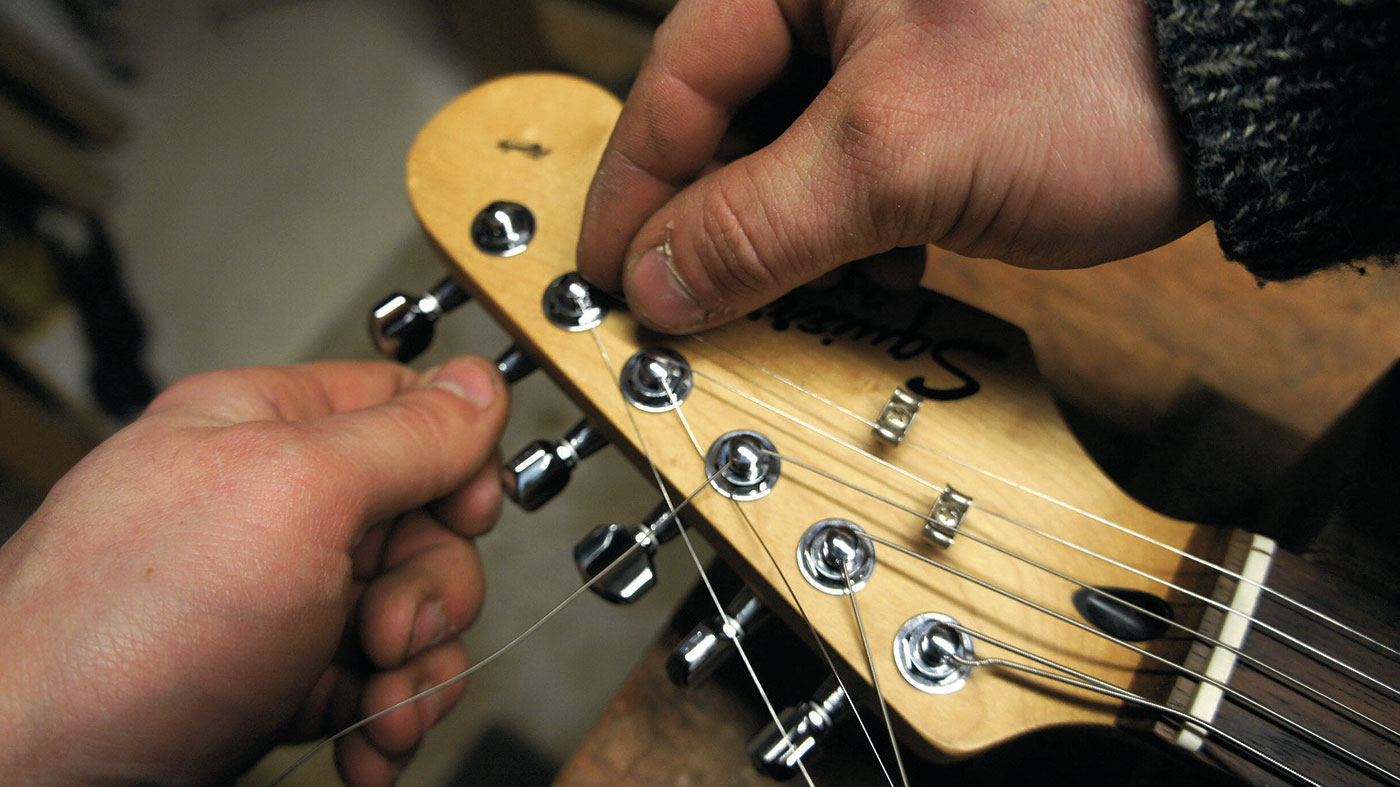
How to install new guitar tuners
Electric Guitar Week: Equip your electric with locking tuners for improved tuning stability
Introduction
ELECTRIC GUITAR WEEK: Upgraded machineheads can improve ropey tuning, here’s how to properly fit them like a pro.
As with most guitar parts, the tuners that come on your guitar are often not much to shout about. A nice shiny set of machineheads can help out with your guitar’s tuning stability and offer a smooth tuning experience. However, the tuners themselves are not entirely to blame for the guitar’s tuning stability.
In brief, the tuning stability checkpoints are: string wrapping technique, tremolo or bridge, string ball ends, the tuners themselves and friction points. The friction points are string retainers, the nut and the bridge saddle tops. Now we think of it, this deserves a dedicated article on it…
So our point was that the tuning machines/tuners/machineheads (call them what you will) are only part of the equation. Now cheap tuners don’t help one bit as the quality of the gearing lets them down. This lowly Squier Affinity was a very deserving candidate for some fancy-schmancy Gotoh locking tuners. Stay tuned and we’ll try and keep it staying in tune.
Electric Guitar Week is brought to you in association with Fender. Check out the Electric Guitar Week hub page for more tips and tutorials.
Skill level: Intermediate
What you need:
- Lovely new set of tuners
- Set of strings
- Masking tape
- 1.5mm drill bit Drill
- PH1 screwdriver
- Set square
- 10mm spanner
Step 1
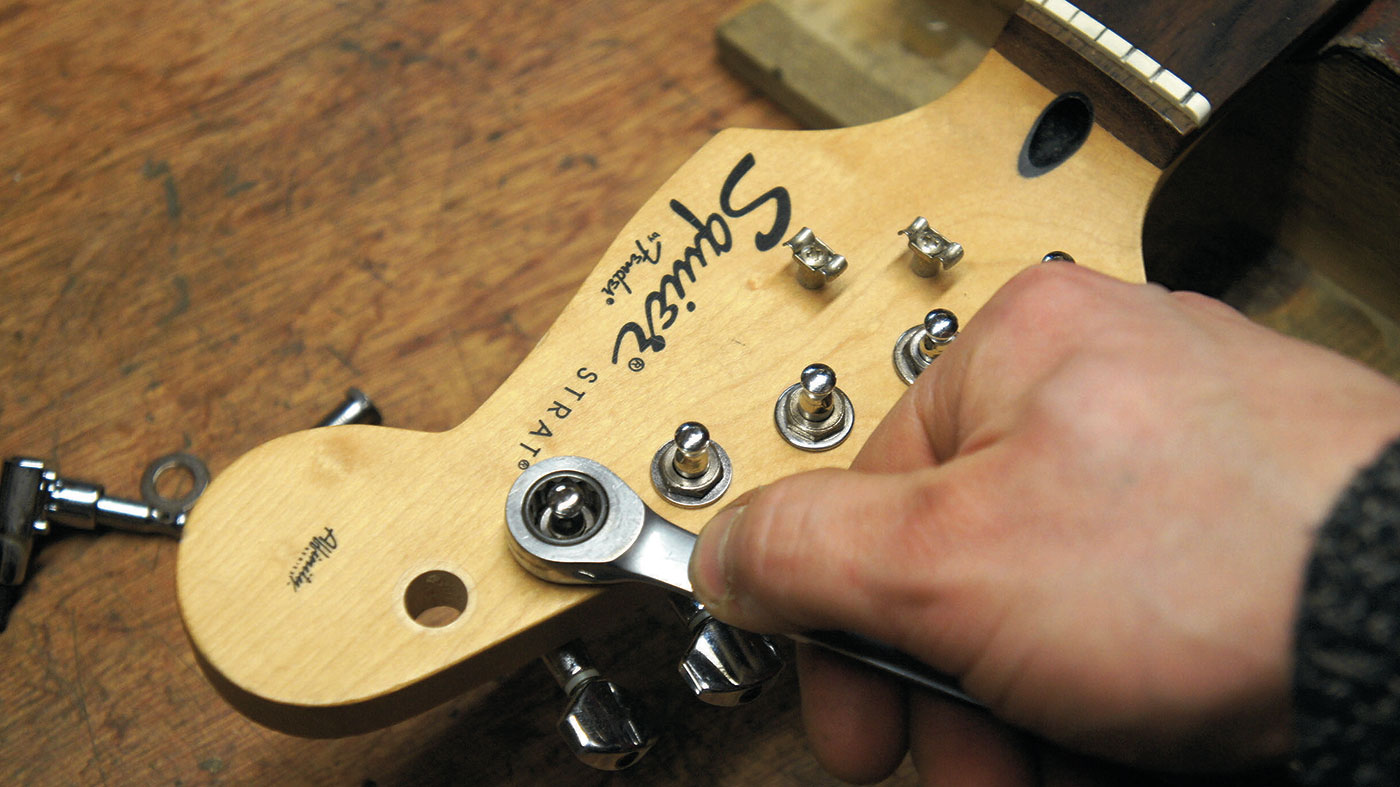
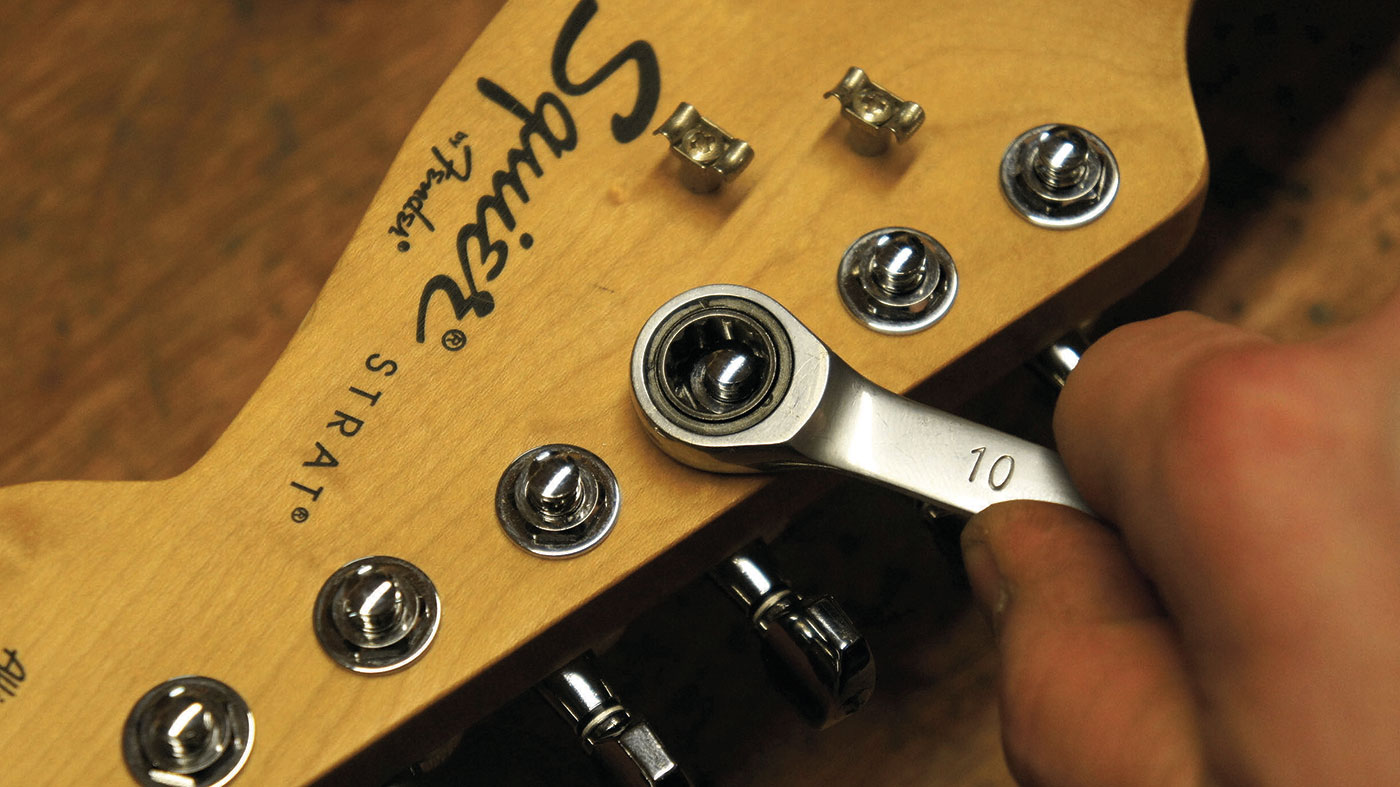
Let’s whip off the old ones. This lovely 10mm ratchet spanner is just the trick.
Your tuners may be different but these ones have a nut on the front only. Watch out in case you have the fiddly mini screws on the back, and spend a bit of time researching the shape/fixings of the tuners you need.
Step 2
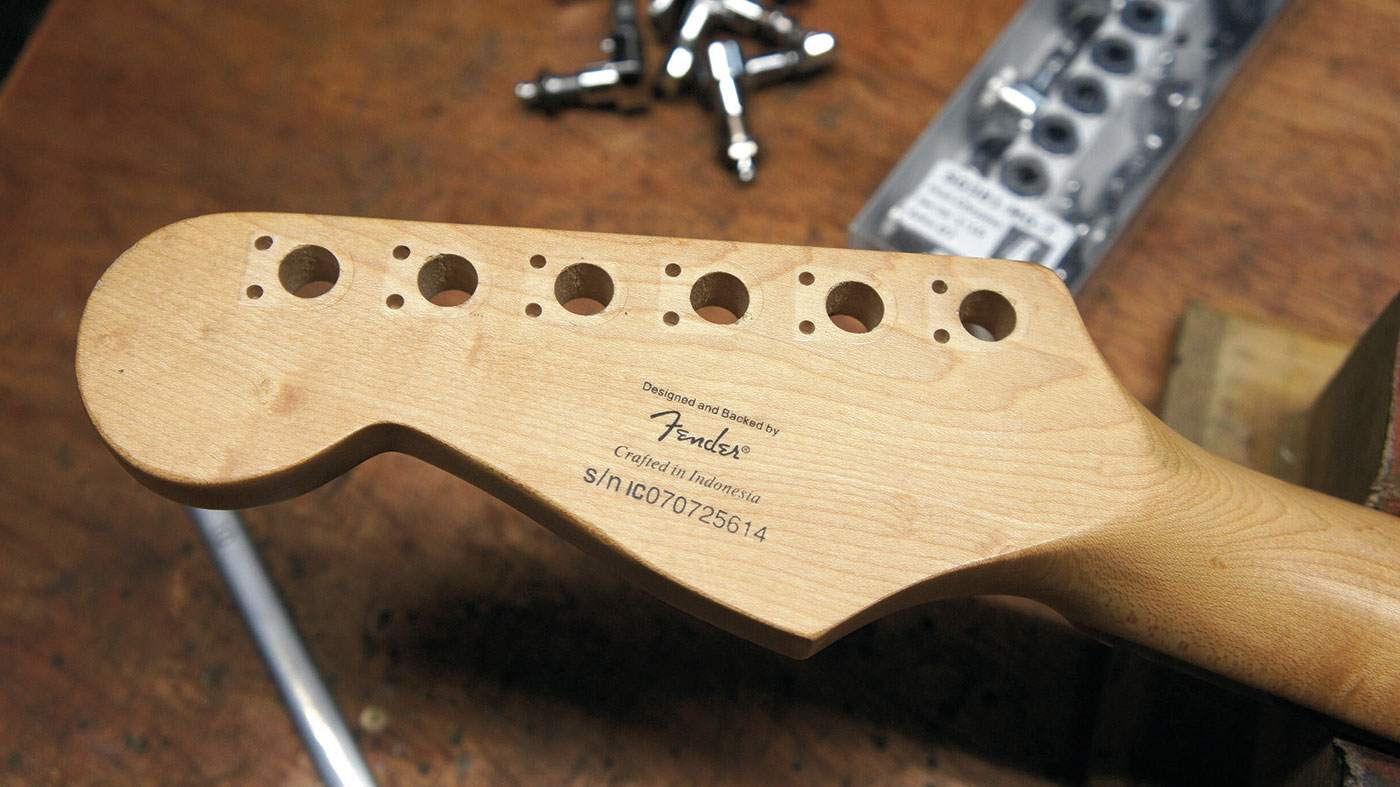
Here’s the nude headstock. The type of tuner we have taken off features two locating pegs with the corresponding holes.
While we could have swapped them like-for-like, we’ve intentionally chosen new tuners that will cover up all the old screw holes. Have you spotted the sun tan the maple has gotten too?
Step 4
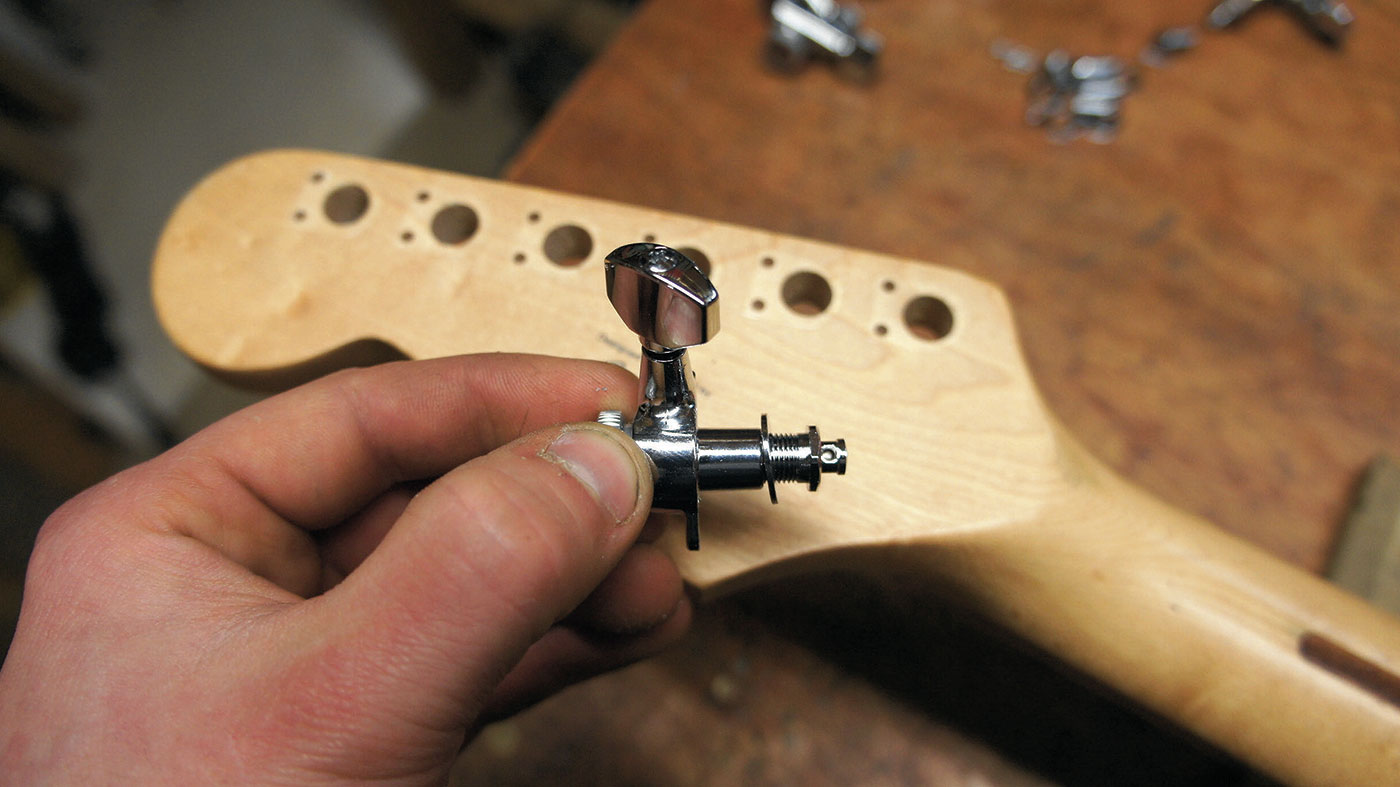
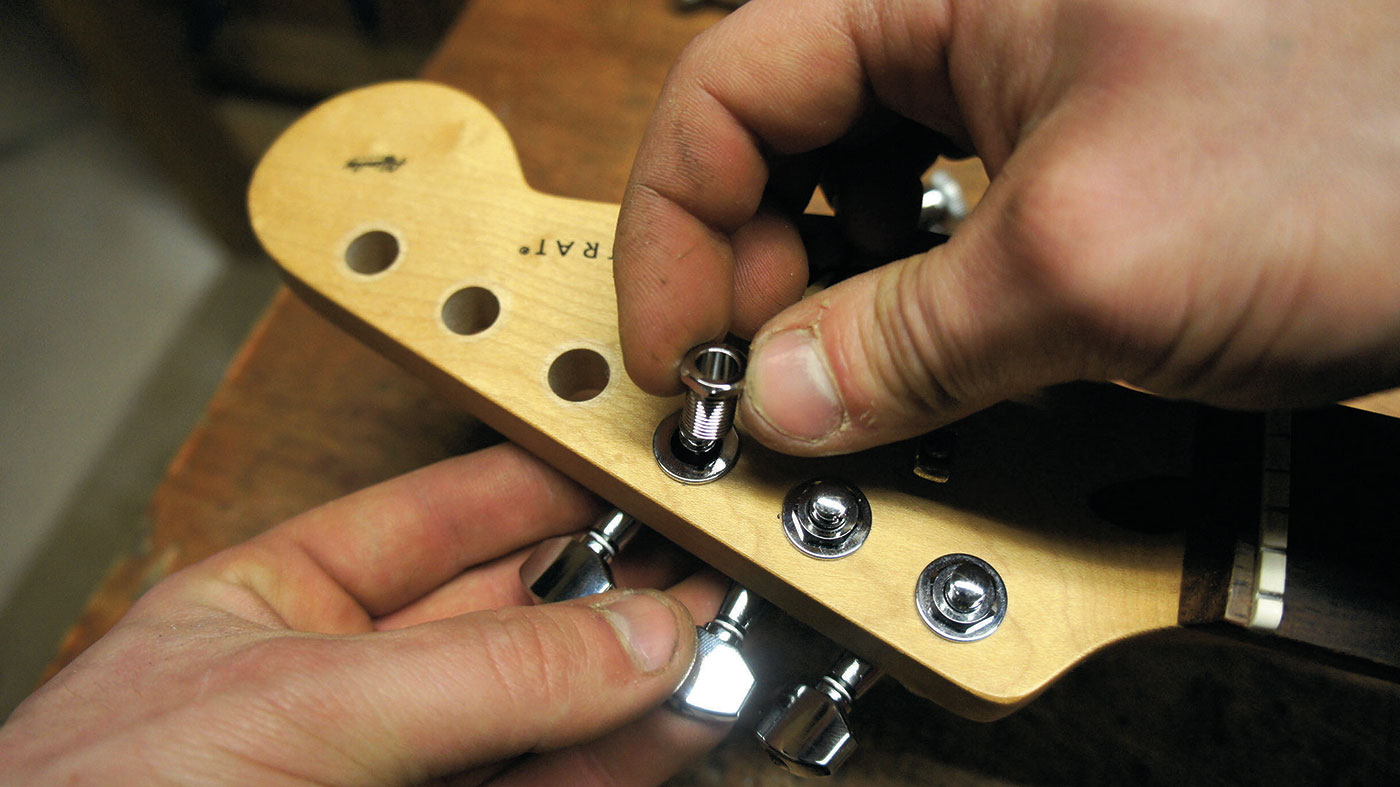
Bung them on. For now we’re just doing up the 10mm nuts (and washers) finger-tight and not worrying about them being crooked.
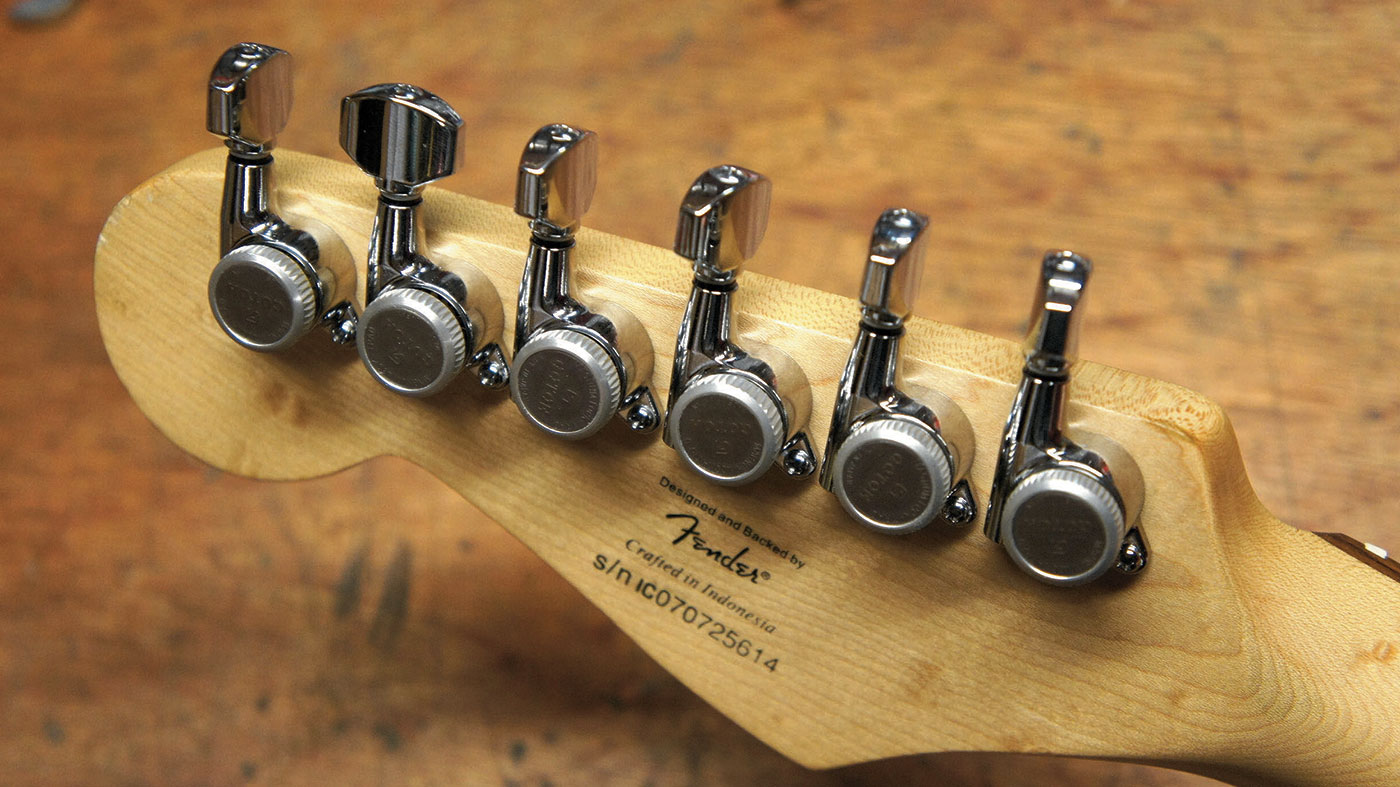
These Gotoh tuners are also ‘staggered height’ - some are taller than others to compensate for the angled headstock. The taller ones go nearest the nut and the shortest near the headstock tip.
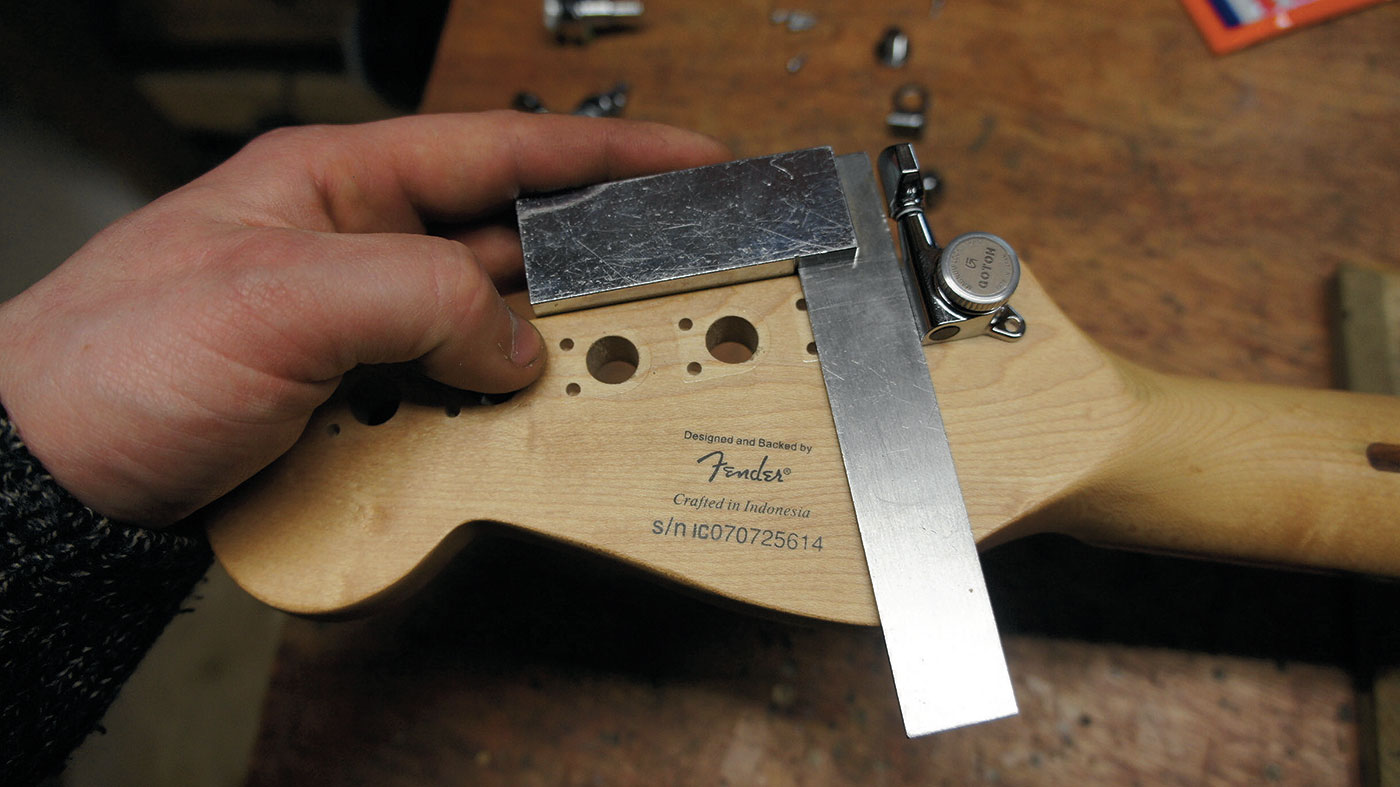
Step 6
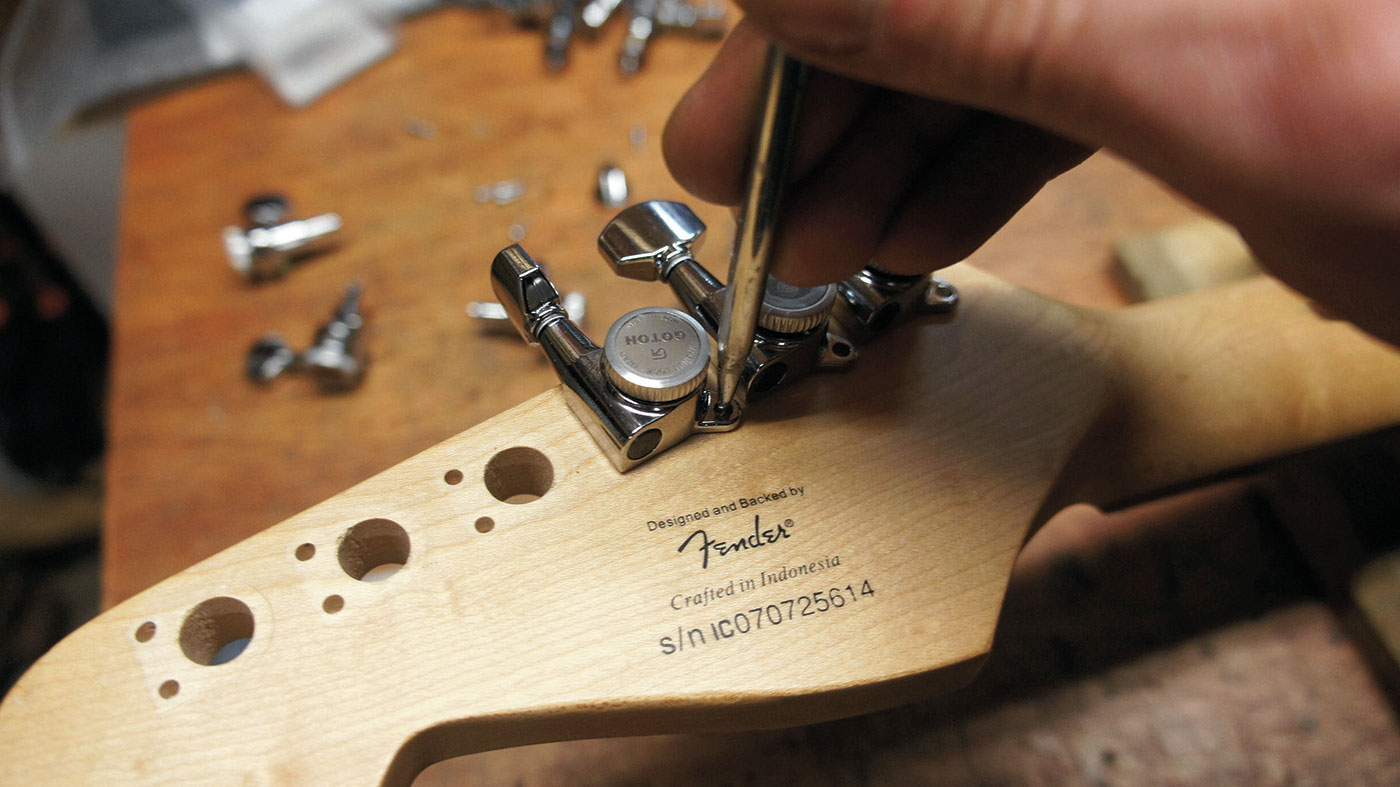
Having lined up the tuners perfectly, fetch your jabbing implement and get jabbing. Be careful not to disturb the tuners whilst you’re a-jabbing.
This will be the location of our screw holes. If you don’t have a jabber (the real name for it is an awl) you can use a longer screw or knitting needle etc.
Step 7
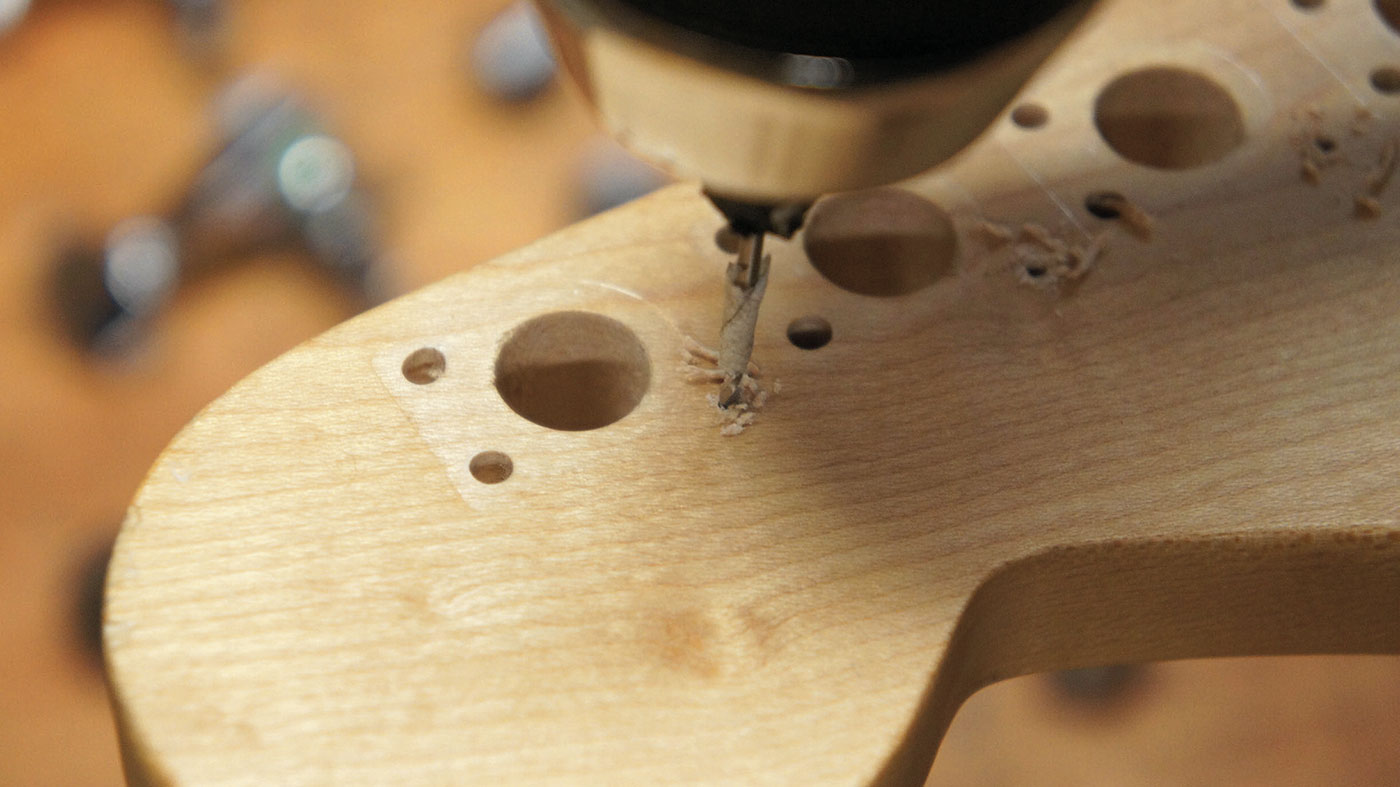
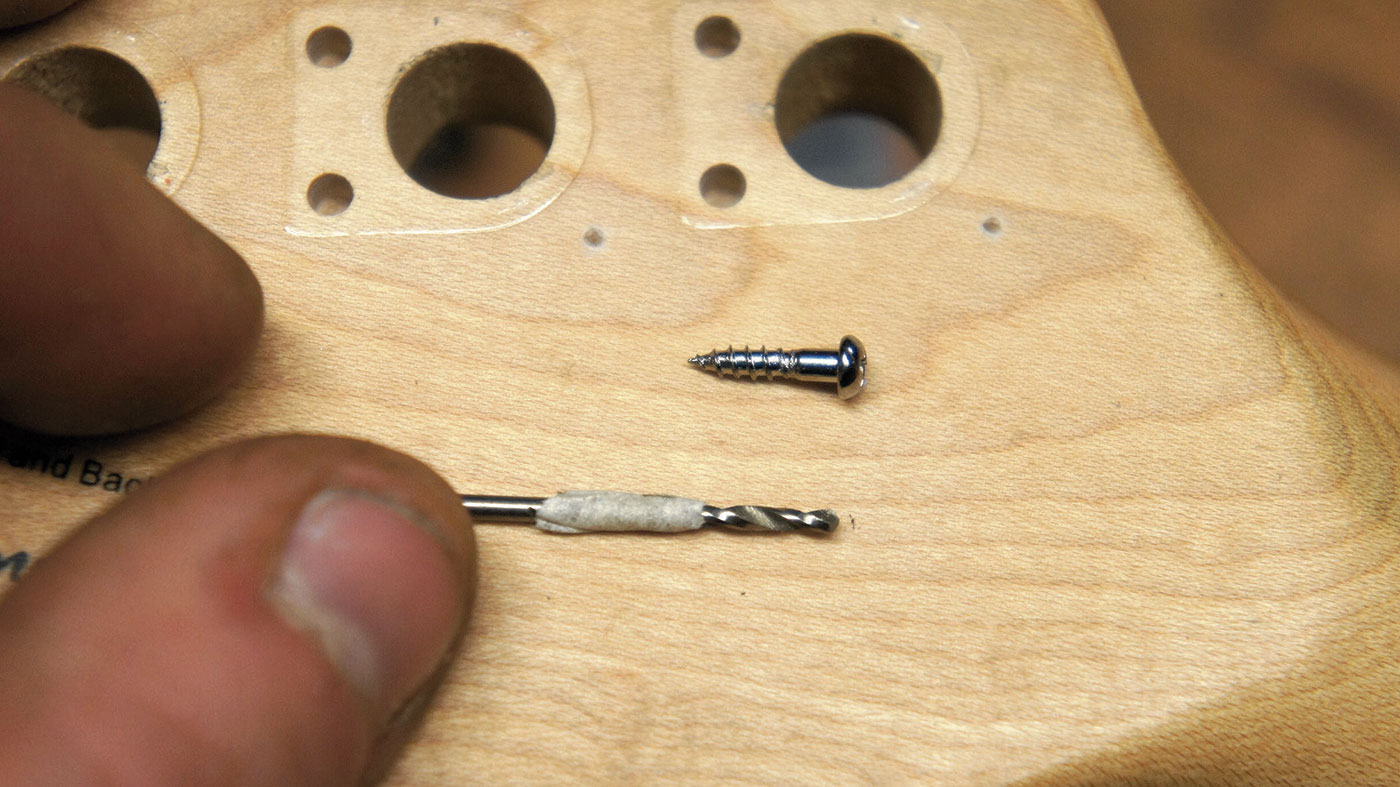
Now you have marked the location of all the screw holes, let’s drill them.
The big no-no is drilling all the way through - stick masking tape on the drill bit to mark the depth. Maple is very dense timber so a 1.5mm drill bit for a 2mm screw is a good pairing. If you drill too small a hole the screw will likely shear off.
Step 10
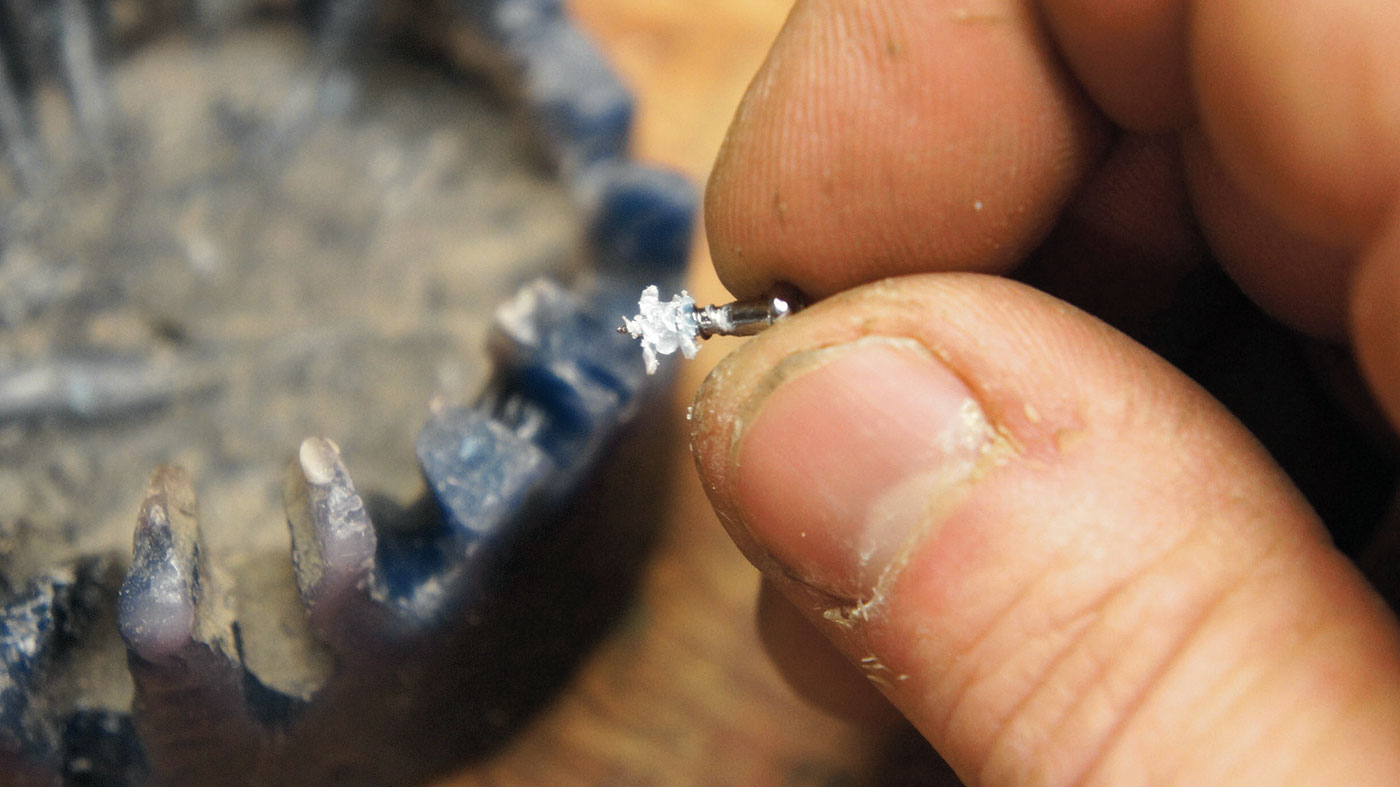
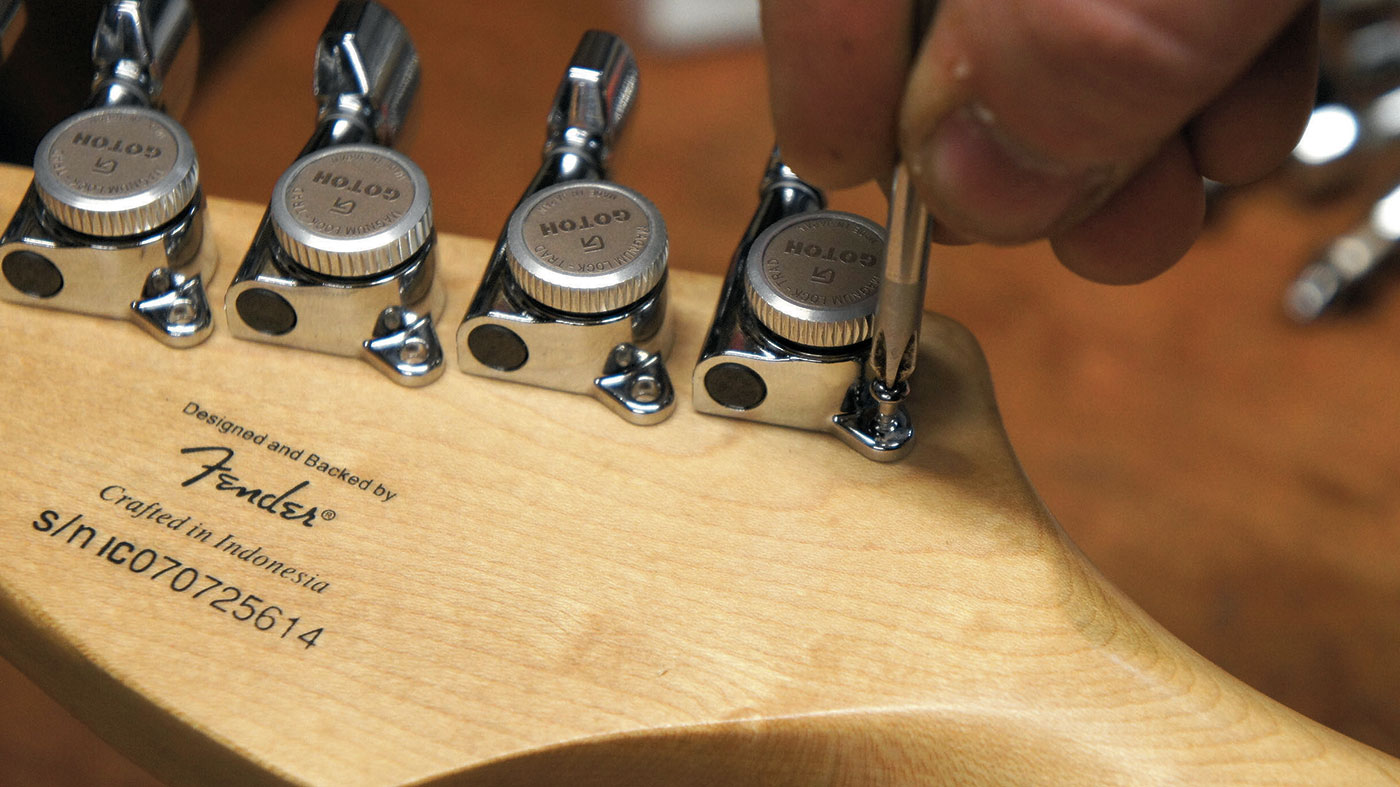
Screw them in using a PH1 screwdriver. Blow off the excess wax as it crumbles away.
We recommend a hand screw driver as you can feel the torque and, more importantly, you can feel when to stop. As these screws are so small and fiddly they don’t need much persuasion before they break or strip. Go easy on them!
Step 11
Nip up the 10mm nuts on the front with your spanner, being careful not to slip and scratch the headstock face or your lovely chrome-coated nuts.
These are responsible for the machinehead’s stability but, again, don’t overdo it. These 10mm fellas can be quite delicate despite them looking pretty hench.
Jack runs an independent guitar setup and guitar repair service in Manchester, England. He serves the musicians of the Northwest of England, working on electric guitars, bass guitars, acoustic guitars and more. Jack has been writing the Fix Your Guitar column in Total Guitar Magazine since 2017.
