1. Think like a drummer
While electronic beat programming and experimentation go hand-in-hand, thinking like a human drummer will result in more natural, organic beats. Use choke groups to ensure your closed and open hi-hats don't play at the same time, emphasise downbeats with higher-velocity hits, and keep in mind a drum kit's layout when panning your drum sounds.
2. Velocity
We all know that velocity programming can be used to control the volume of individual notes, but plenty more nuances can be introduced, too. For example, assigning velocity to a low-pass filter's cutoff will enable you to emulate the way that real instruments 'open up' when played forcefully, and sound more dull when played softly; quieter notes will not only be quieter in level, but will contain less energy over the frequency spectrum.
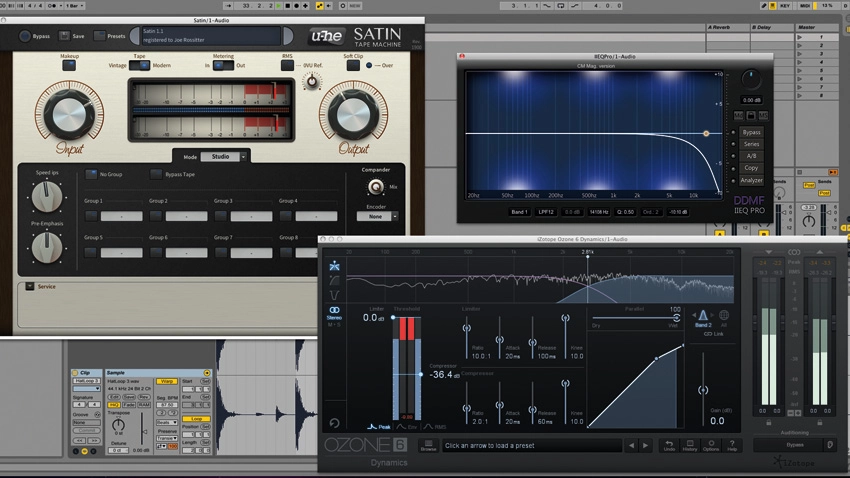
3. Breathe and pump
When used correctly, characterful compression can make static mix elements 'breathe' and pump, especially if they have a decay tail, be it a natural part of the instrument (drums, piano, guitar, etc) or a little added reverb or other ambience, as this can billow up beneath the main hits in a pleasing, organic manner. It's easy to overdo this technique or apply it in an overly obvious way, so consider mixing the compressed and unprocessed signals (ie, parallel compression) to balance out the effect in a mix context.
4. Devil in the details
We all love exaggerated parameter sweeps and abrupt changes, but minute variations can resonate just as much with the listener. Try automating a low-pass filter around by only a couple of Hz for almost-imperceptible movement, applying half-dB level changes upon a chorus's arrival, or giving a very slight high-mid boost to a signal's side information to add gentle width at key places.
Elsewhere on MusicRadar
Disclosure talk studios, plugins and live techno jams
8 ways to become an Ableton Push power user
How to program realistic-sounding hi-hat parts
Free music samples: download loops, hits and multis
5. Dedicated tools
Many software instruments now include specific features designed to add that human/analogue life and soul. Examples include synth 'slop' to emulate analogue movement, samplers with round-robin functions, and tape simulations with wow and flutter. Dig out your plugins' manuals and see what yours have got!
6. Harsh = unnatural
Bright, harsh, tinny treble screams "digital", which we translate into lifelessness. Smooth out synths, hats
and top-end elements with tape saturation, EQ shelving or multiband compression to make a track feel more organic in general.
7. Don't automate straight
While it might be the quick option, the default straight lines of your DAW's automation system won't necessarily give the most ear-pleasing results. Instead, try logarithmic curves, which can sound smoother and more natural than straight lines - some DAWs let you curve the existing lines, but if yours doesn't, use small straight-line segments to compose a curve. Even better, get hands on with your automation: hit record and use your MIDI controller or mouse to record automation on the fly, capturing natural sweeps.
8. No quantise
If you have a MIDI controller or drum pads, get into the habit of hitting record then jamming your beats or riffs in live, even if it's just for a bit of additional percussion or synth 'ear candy'. Your timing may be off at first, but this will improve with practise. If you do need to quantise them a bit, don't hard-lock them to a set grid; instead, use iterative quantise to slightly nudge them in time while keeping the natural performance, or even move the onbeat hits in line with quantise turned off. Programmed hi-hats can especially benefit, so perhaps program kicks and snares for solidity, and record your hats in live.
9. Kick trick
A sampled 4/4 kick sounds exactly the same on every beat, whereas 'analogue'-sounding house and techno kicks often feature a specific type of randomness (often introduced by using analogue/modular synths to generate kicks). Add life by layering a subtle synthesised click or noise layer over the kick, and add modulation and movement within the synth to vary this click over time, then compress it with the original kick.
10. Vibrato
Vibrato is vibrato, right? Wrong! This wanton wobbling of pitch is extremely expressive when used correctly, so observe the nuances that the best musicians and vocalists apply to the technique: how far they deviate from the main note, how fast they do it, how long they wait before bringing it in at all, the contour of their pitch modulation (is it similar to a sine, triangle, or even a trill-like back-and-forth square wave?), and whether vibrato is applied upwards (ie, sharp of the main note), downwards, or 'around' the note.
This can all add up to a recognisable vibrato 'signature', and you can certainly bring a similar degree of expression to your MIDI parts with careful use of programmed vibrato. Using the mod wheel to introduce pre-programmed vibrato is the traditional method, but for finer results, use a MIDI CC (it could be the mod wheel, reassigned) to manipulate pitch directly, drawing in the exact pitch deviations you desire. Some ROMplers include performed vibrato as an articulation, which will ensure that you get a realistic result.
Give your static, lifeless mixes the human touch - 14 pages and in 20 videos - with issue 224 of Computer Music. Includes FREE VST/AU bass amp plugin, Arabian Nights sample pack and more!
