How to produce a basic synth riser
Add a sense of urgency with this basic synth FX trick
Want all the hottest music and gear news, reviews, deals, features and more, direct to your inbox? Sign up here.
You are now subscribed
Your newsletter sign-up was successful
Risers - synth sounds that gradually rise in pitch - are a great tool for adding a sense of urgency in electronic music.
In the video above and the step-by-step below we'll show you how to create a basic riser.

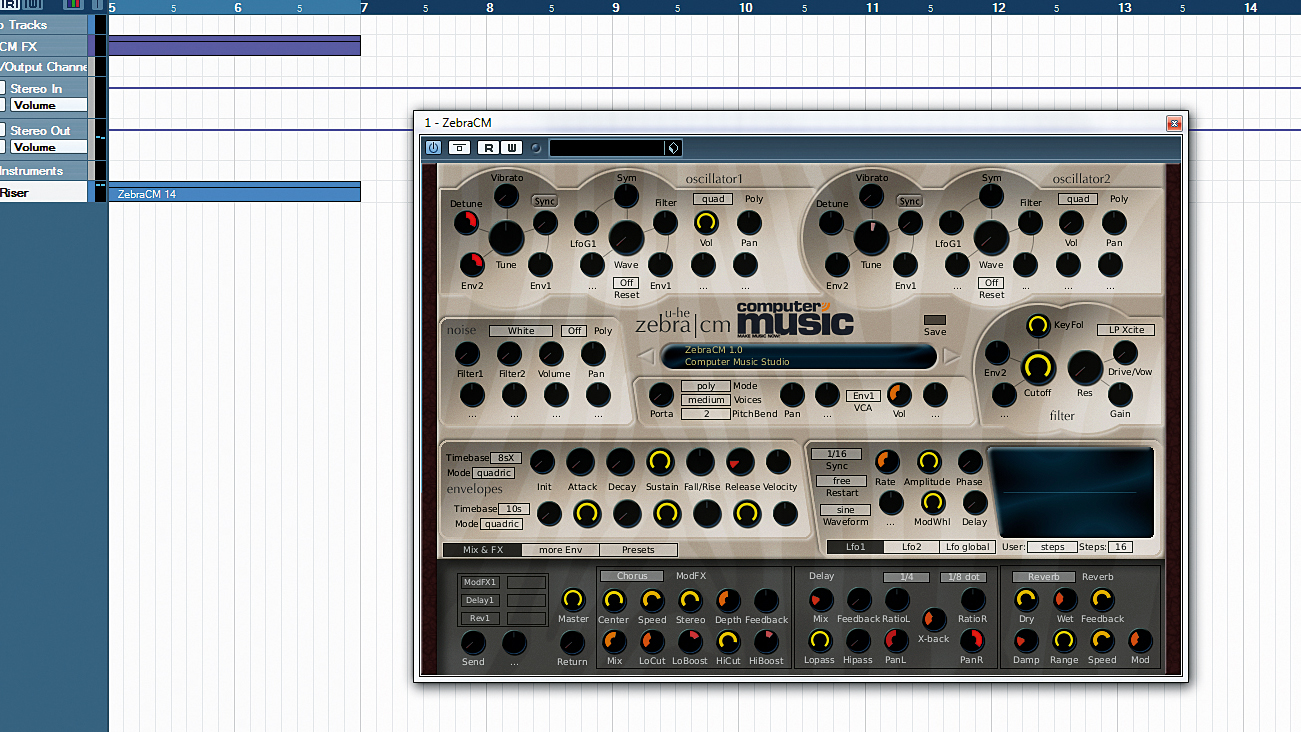
Step 1: Risers are useful for adding a sense of pace and emergency (the breakdowns in Deadmau5's The Reward Is Cheese are a brilliant example). The idea is to make the pitch of the sound rise, typically using an envelope with a long attack, in order to build up a feeling of increasing energy. Pretty much any synth will do for this - we use ZebraCM (available free with each issue of Computer Music - a demo version of Zebra is available to download at the u-He official site). Start with the default patch.

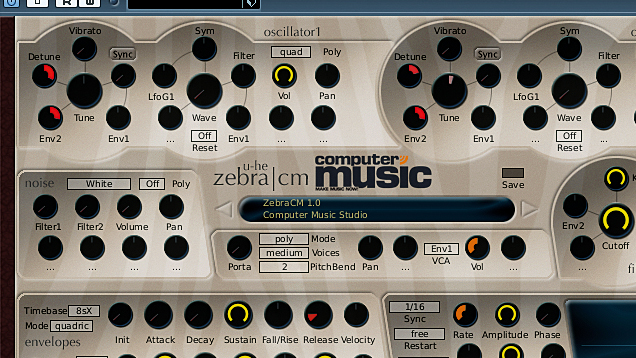
Step 2: For our riser, we want a bright sound full of harmonics, so we turn the filter Cutoff right up. To make a nasty, throbbing tone, we increase the Detune control of both oscillators to 45 and turn on the Quad mode for each. For an even thicker sound, we set Osc 2's Tune knob to 7 semitones (a perfect fifth) and whack up the Sustain of the uppermost envelope, which controls the amplitude.

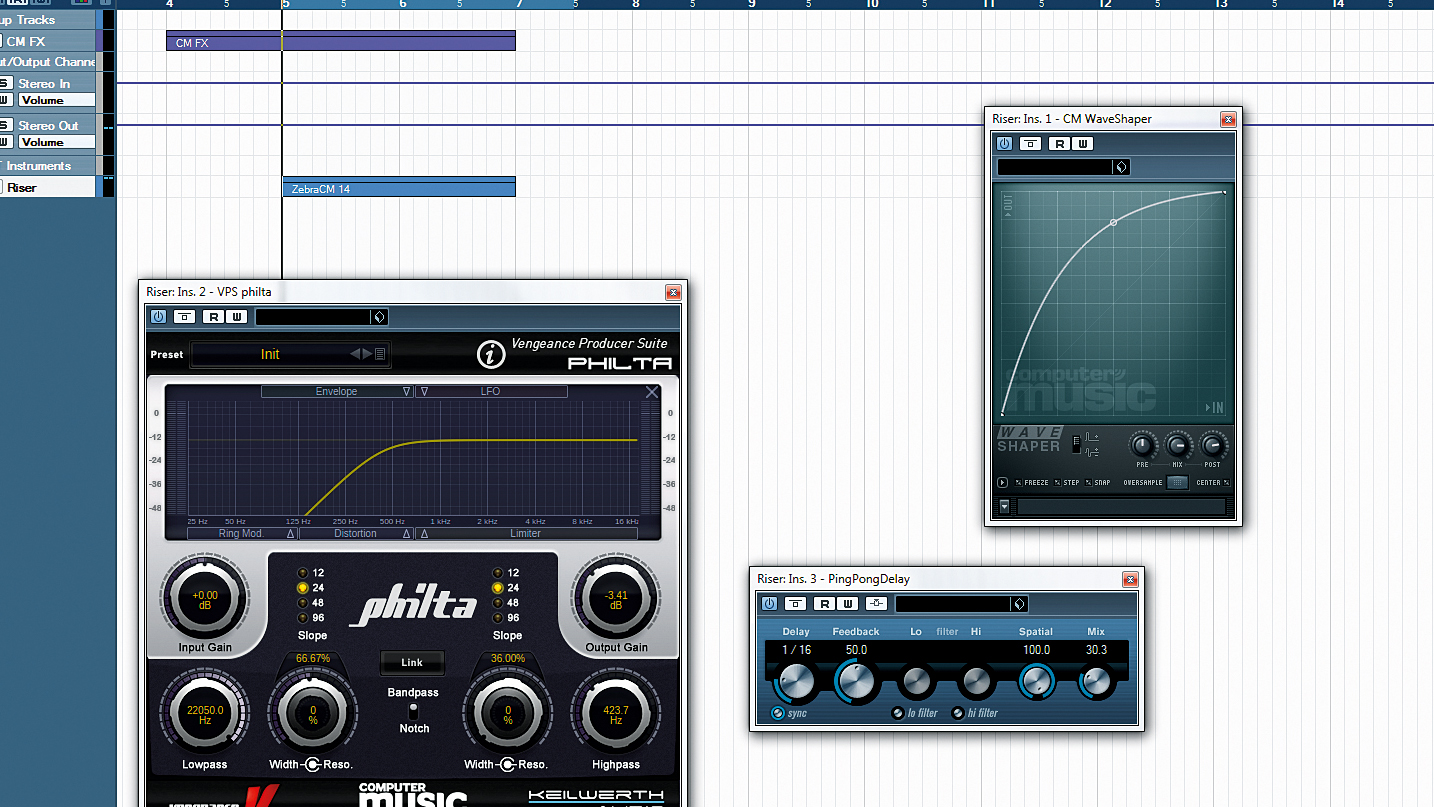
Step 3: Let's use an envelope to make the pitch rise. Beneath each oscillator's Detune control is an 'empty' knob - you can use it to modulate the pitch. For both, click it, select Env2 from the menu and set the knob to 40. In the Envelopes panel, set Attack, Sustain and Release of the lower envelope to full. Add a high-pass filter at 400Hz to make it light and airy, add a bit of distortion and reverb, and you're done!
Want all the hottest music and gear news, reviews, deals, features and more, direct to your inbox? Sign up here.
Computer Music magazine is the world’s best selling publication dedicated solely to making great music with your Mac or PC computer. Each issue it brings its lucky readers the best in cutting-edge tutorials, need-to-know, expert software reviews and even all the tools you actually need to make great music today, courtesy of our legendary CM Plugin Suite.
