How to make dubstep/DnB bass and beats with Icicle

Super cool
Over the past few years, Holland’s Icicle - aka Jeroen Snik - has notched up releases on a number of drum ’n’ bass labels, ranging from liquid stalwarts Fokuz and Soul:r to darkside heavyweights Renegade Hardware and Cylon.
His minimal yet muscular sound has made him the darling of the DnB scene, and recently he’s started creating dubstep too, with tracks such as the dark and funky Xylophobia on Shogun Audio. So how does Jeroen find producing dubstep in comparison to DnB?
“In drum ’n’ bass you can get away with drums that are more punchy - you don’t need as much sound because there are just more hits per second, they’ve got less room,” muses Jeroen. “With dubstep you have much more space in the drums; when I first started making it, I struggled because the drums are so sparse. Because of that space, your drums are far more exposed!
“So, they need to sound better: they need to have a bit more release and more character. I never used to put reverb on drums, but when you’re producing dubstep you have freedom to experiment more with your drum sounds.”
In the following tutorial, Jeroen show us how he makes his distinctive bass and beats using Logic and Reason, and gives us a few helpful hints on producing big, punchy mixdowns.
NEXT: Bass and beats step-by-step
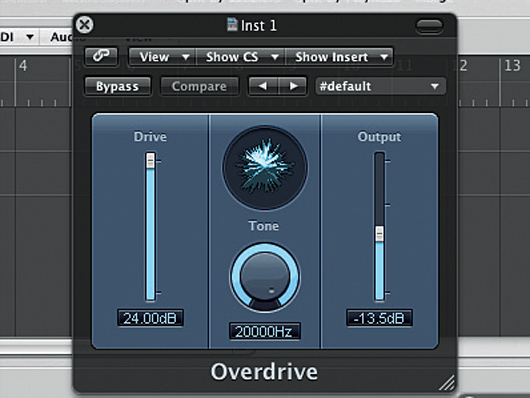
Overdrive
Step 2: Next, he runs the sub through Logic’s Overdrive plug-in, turning the Tone and Overdrive controls all the way up. “At this stage it can be very dirty, but make sure that you still have enough low frequencies - you don’t want to break it up so much that it turns into rumble rather than a coherent bass sound,” he warns.
Adding movement
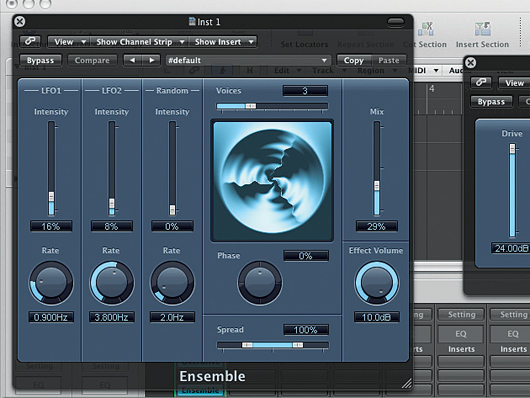
Step 3: Jeroen uses Logic’s Ensemble chorus plug-in to add some modulation movement to the sub. He follows this up with an AutoFilter, the LFO of which is set to a triangle shape to sweep the filter Cutoff over two bars. This drops down to almost the fundamental note frequency at the middle of the two-bar section.
Processing the mids
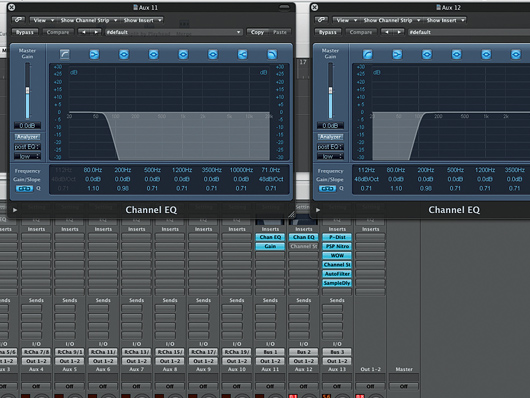
Step 4: Jeroen uses SSL’s Duende Channel Strip to bring out the bass’s mids. Rather than routing the resulting sound directly to the Master Out, he runs it through a selection of busses. Two are used at first: one with a low-pass EQ inserted, the other with a low-cut EQ. This allows the sub to be processed separately from the mids. He uses Logic’s Gain effect in Mono mode to mono-ise the bass buss.
Final bass processing
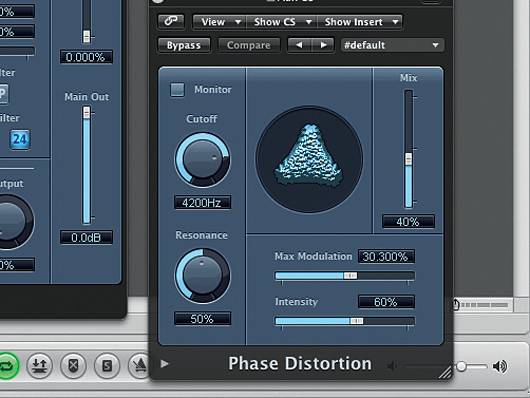
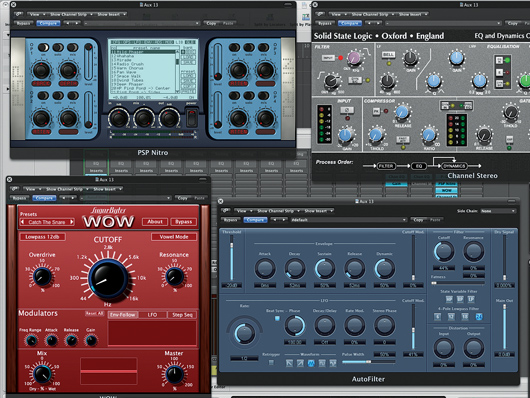
Step 6: PSP Audioware’s Nitro is inserted after the Phase Distortion to add a phasing effect to the sound. Then Sugar Bytes’ envelope-following filter Wow is deployed in Low-pass mode to add some filter movement. Finally, Jeroen adds an SSL Channel Strip, which cuts the low-end to stop it interfering with the sub, and another Auto-Filter with its modulation offset against the one on the first bus.
Transient tweaking
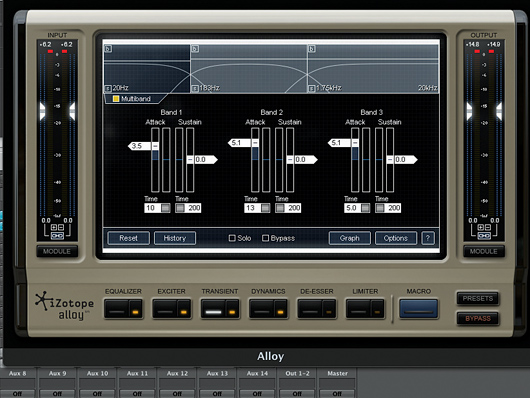
Step 8: Next he calls on iZotope Alloy’s transient processing. “Most people do the kick, snare and hi-hat on different channels and merge them together later, but I like to process them together,” he says. He uses Multiband mode to split the sound into three regions for kick, snare and hi-hat, tweaking the Attack and Time to give the drums maximum impact.
Layering
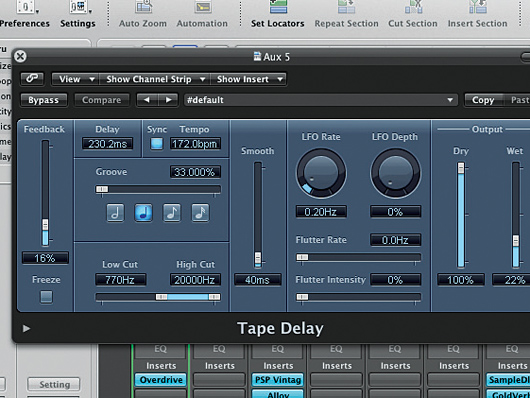
Step 9: Next, he loads up another Redrum to layer more sounds on top of the initial beat. He applies delay to these extra hi-hat and tambourine hits courtesy of Logic’s Tape Delay. In that plug-in, he applies a little Low Cut and drops the Feedback level to prevent it muddying the mix. He then runs the signal through GoldVerb to add a little reverb.
Adding width
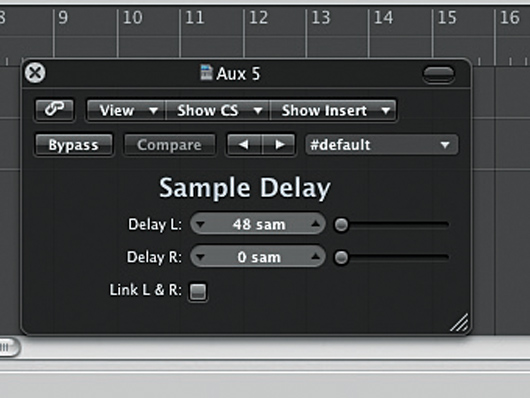
Step 10: To emphasise the stereo width of this channel, Jeroen uses Logic’s Sample Delay to delay the left side by 48 samples relative to the right. This widens the stereo field and gives the impression that the sound is coming more from the right. “You’re delaying the start point of one of the channels, so if you do it a lot you can mess up the quantise of your beats - things will sound out of time or late,” he warns.
Hi-hat loop
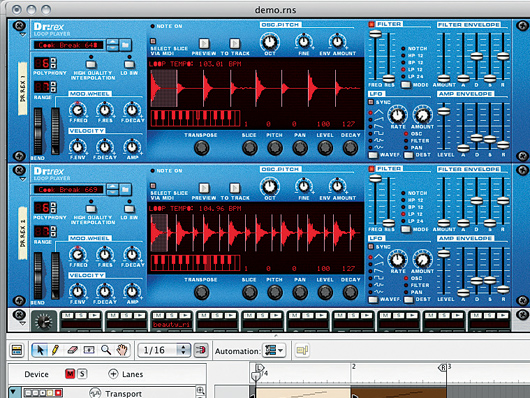
Step 11: Next, he adds a hi-hat loop from Dr. Rex. The pattern is copied from the player onto the MIDI track and quantised to make sure it’s nice and tight. Jeroen adds a low EQ cut to make sure there’s no unwanted low-end rumble, and layers the sound with a tambourine loop from another Dr. Rex player.
Compression and EQ
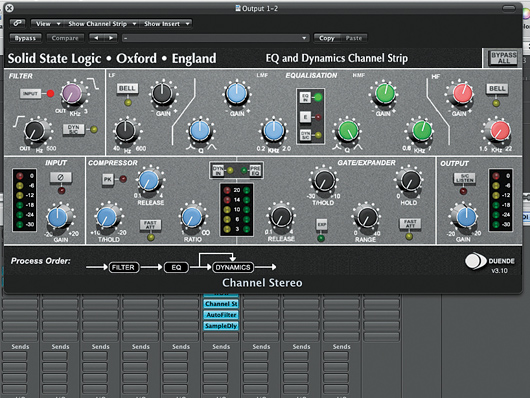
Step 12: To glue the bass and the beats together, the Waves API 2500 compressor plug-in is placed on the master channel. “Because it’s on the master, the ratio should be quite low: 1:1.5 is enough,” he explains. This is followed by a final EQ from the Duende Channel Strip, which boosts the highs slightly. “The sound I like when I’m working lacks a little bit of high - I just like that bass-y sound.”
Liked this? Now read: How to sound like a pro artist in your DAW
Connect with MusicRadar: via Twitter, Facebook and YouTube
Get MusicRadar straight to your inbox: Sign up for the free weekly newsletter
Computer Music magazine is the world’s best selling publication dedicated solely to making great music with your Mac or PC computer. Each issue it brings its lucky readers the best in cutting-edge tutorials, need-to-know, expert software reviews and even all the tools you actually need to make great music today, courtesy of our legendary CM Plugin Suite.
