How to make a Labrinth ft. Tinie Tempah Earthquake-style lead synth sound
Recreate the sync lead sound with our video and walkthrough
Getting started...
Earthquake is an interesting production! It’s clearly influenced by grime/dubstep, yet it’s much quicker, at 153bpm.
The bendy synth on the drop almost plays the role of a crazy bassline, but it sounds fresh and radio- friendly. The lead vocal successfully falls somewhere between spitting and singing and the overall vibe is party-friendly and at the same time a little dark and solemn.
Watch the tutorial video below and read on for a step-by-step walkthrough
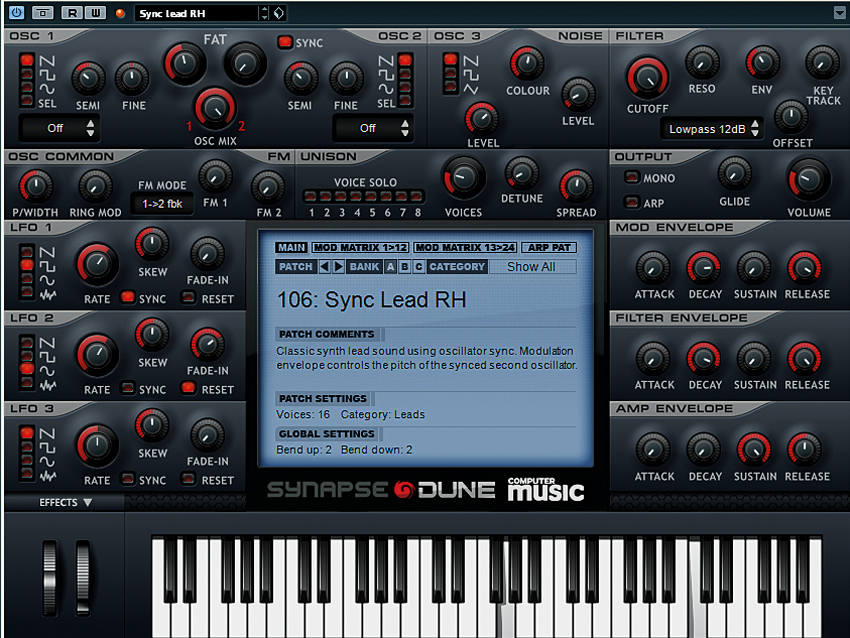
Let’s recreate Earthquake’s intro synth. Synapse Audio’s Dune (version available on the Computer Music covermount DVD or free trail downloadable from the SA site) is great for oscillator syncing - it lets you sync Osc 2 to Osc 1, and it sounds thick and shiny. It even has a patch, 106: Sync Lead RH, although that preset isn’t quite right for the Earthquake sound, and we much prefer to start afresh. To initialise, just select Bank B - the first preset slot is empty.
Input MIDI
For programming that Labrinth-style stutter, set your DAW’s MIDI grid to 1/32, draw the notes in at three blocks long (ie, three 32nd-notes), then set the Quantise to 128 and reduce all the notes by one block.
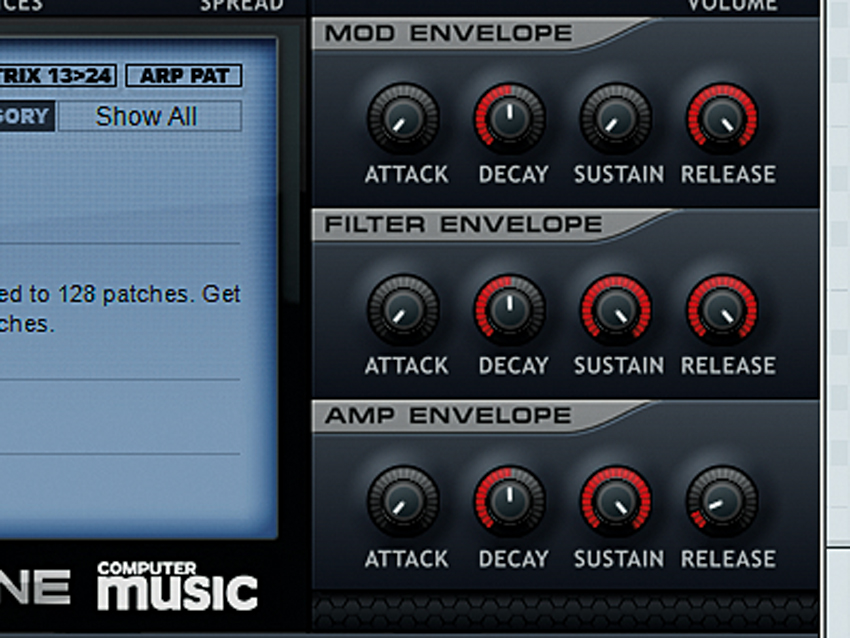
Now, let’s get on with the sound! In Dune, set the Amp Envelope’s Release to 10%, and both Filter and Mod Envelope Releases all the way up to 100%.
Set the oscillators
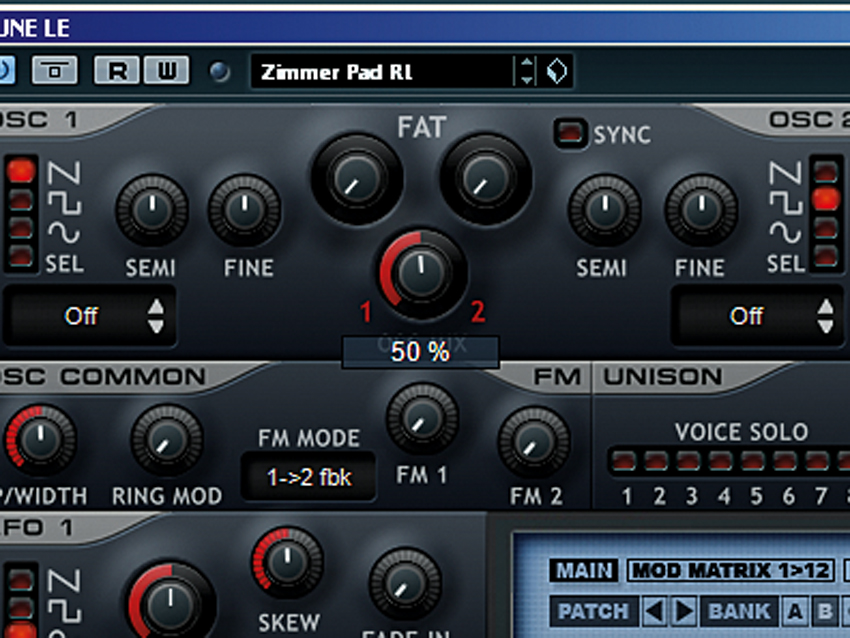
We suspect that the oscillators on the Labrinth record are probably both using square waves, but we found that Dune could get closer to the Earthquake sound with Osc 1 set to sawtooth and Osc 2 set to square. Next, swing the Osc Mix knob to 50% so that you can hear both of the oscillators equally.
Ocsillator tweaks
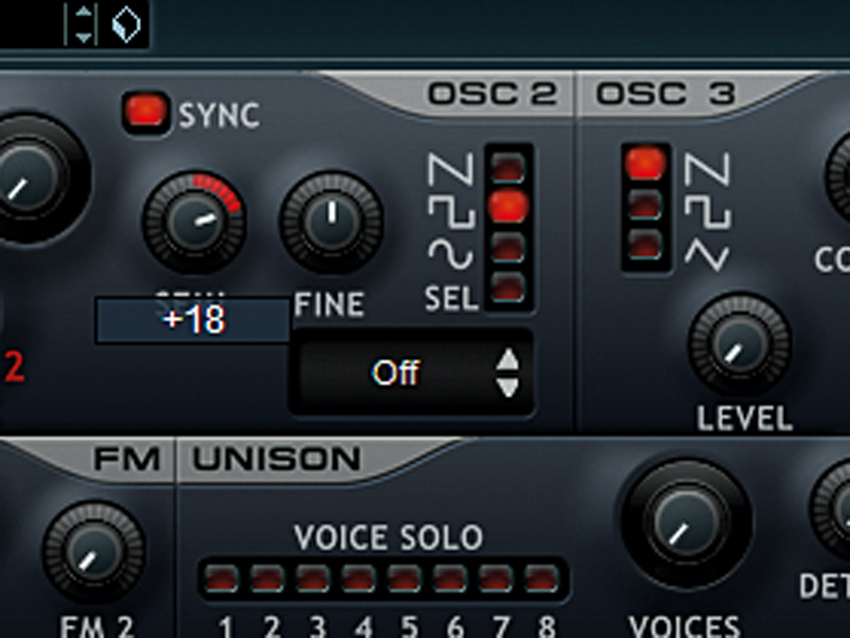
Activate Sync and play with Osc2’s Semi control. You’ll get an idea of Dune's oscillator sync character very quickly.
Once you’re done, settle Osc 2’s Semi pitch on +18 semitones. We know it doesn’t really sound like Earthquake with that value, but with the pitch set too high on purpose, we can use the Mod Envelope to turn it into a downwards-sweeping punch.
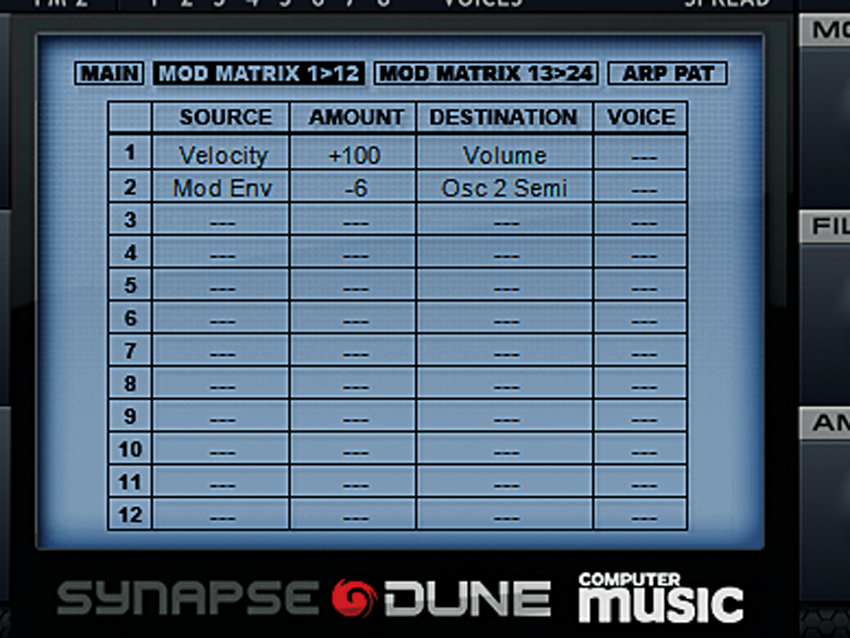
Mod routing
In the modulation matrix, setup a new row with Mod Env as the Source, Osc 2 Semi as the Destination and the Amount set to -6, a negative value. The attack phase of the Mod Envelope will bring the pitch rapidly down, so set the Attack knob to 10%. The decay phase will give the body some movement, so set Decay to 67%.
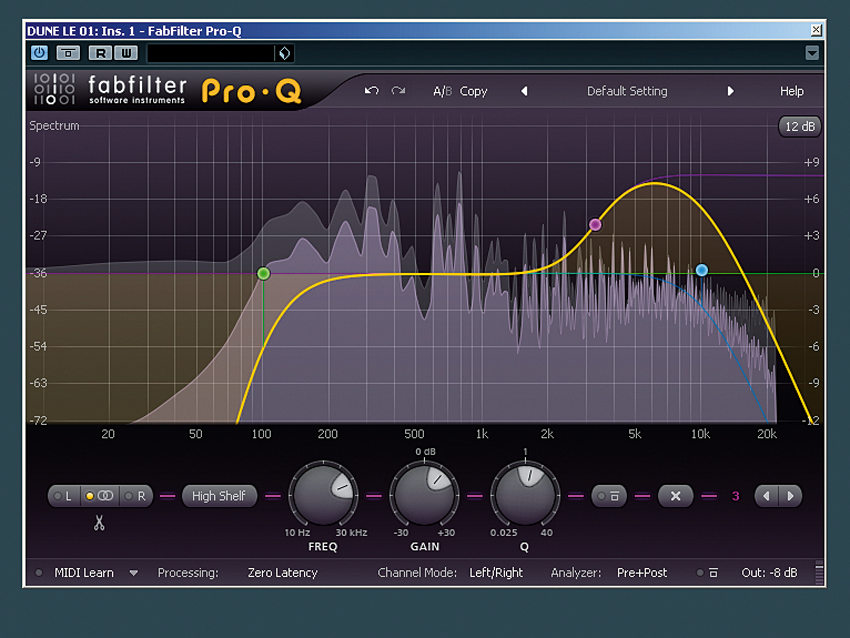
EQing
Finally, some EQ will help to home in on that Earthquake sound. Use a high-pass filter at 100Hz to reduce the humming mud, and low-pass around 10kHz to kill that extraneous fizz. A shelving boost around 3-5kHz will bring back the brightness in a more Labrinth-y way.
And that’s it! You could try light amounts of delay and reverb too, but that depends on your track.
Computer Music magazine is the world’s best selling publication dedicated solely to making great music with your Mac or PC computer. Each issue it brings its lucky readers the best in cutting-edge tutorials, need-to-know, expert software reviews and even all the tools you actually need to make great music today, courtesy of our legendary CM Plugin Suite.
