When working with intense spatial effects like reverb and delays you can find yourself adding mud to your mix pretty quickly. If you plan on throwing a five second reverb across a drum buss you're going to need some form of control in place to ensure that key elements don't get masked.
Ducking can work well with effects returns and tame even the most full on patches. By simply using a sidechain capable compressor in conjunction with a key part of your drum group, a ducking effect can be created that will clear a path for your main groove.
In our audio examples you can hear a larger than life reverb patch applied to a synth line and then brought into focus with some kick drum induced ducking. The release time is then fine-tuned to ensure that the effect gels with the existing mix elements.
Finally the reverb effect is treated with an automated dual mode resonant filter. This not only adds movement to the reverb but also enables us to drop the presence of the effect at specific points in the track. For more on advanced sidechaining techniques, get the December issue of Future Music (FM 272).

Step 1. Start by identifying the sounds you plan to use as your source and destination. Here we are using a drum loop as the source and a synth stab sequence as the destination for processing. We'll start by applying a full reverb effect to the synth.

Step 2. Here an overly exaggerated long hall reverb is added to the synth line. As you can hear from the audio example the reverb produces a wide wash that masks everything in the mix to some extent. We need to add some control if this effect is to be used effectively.

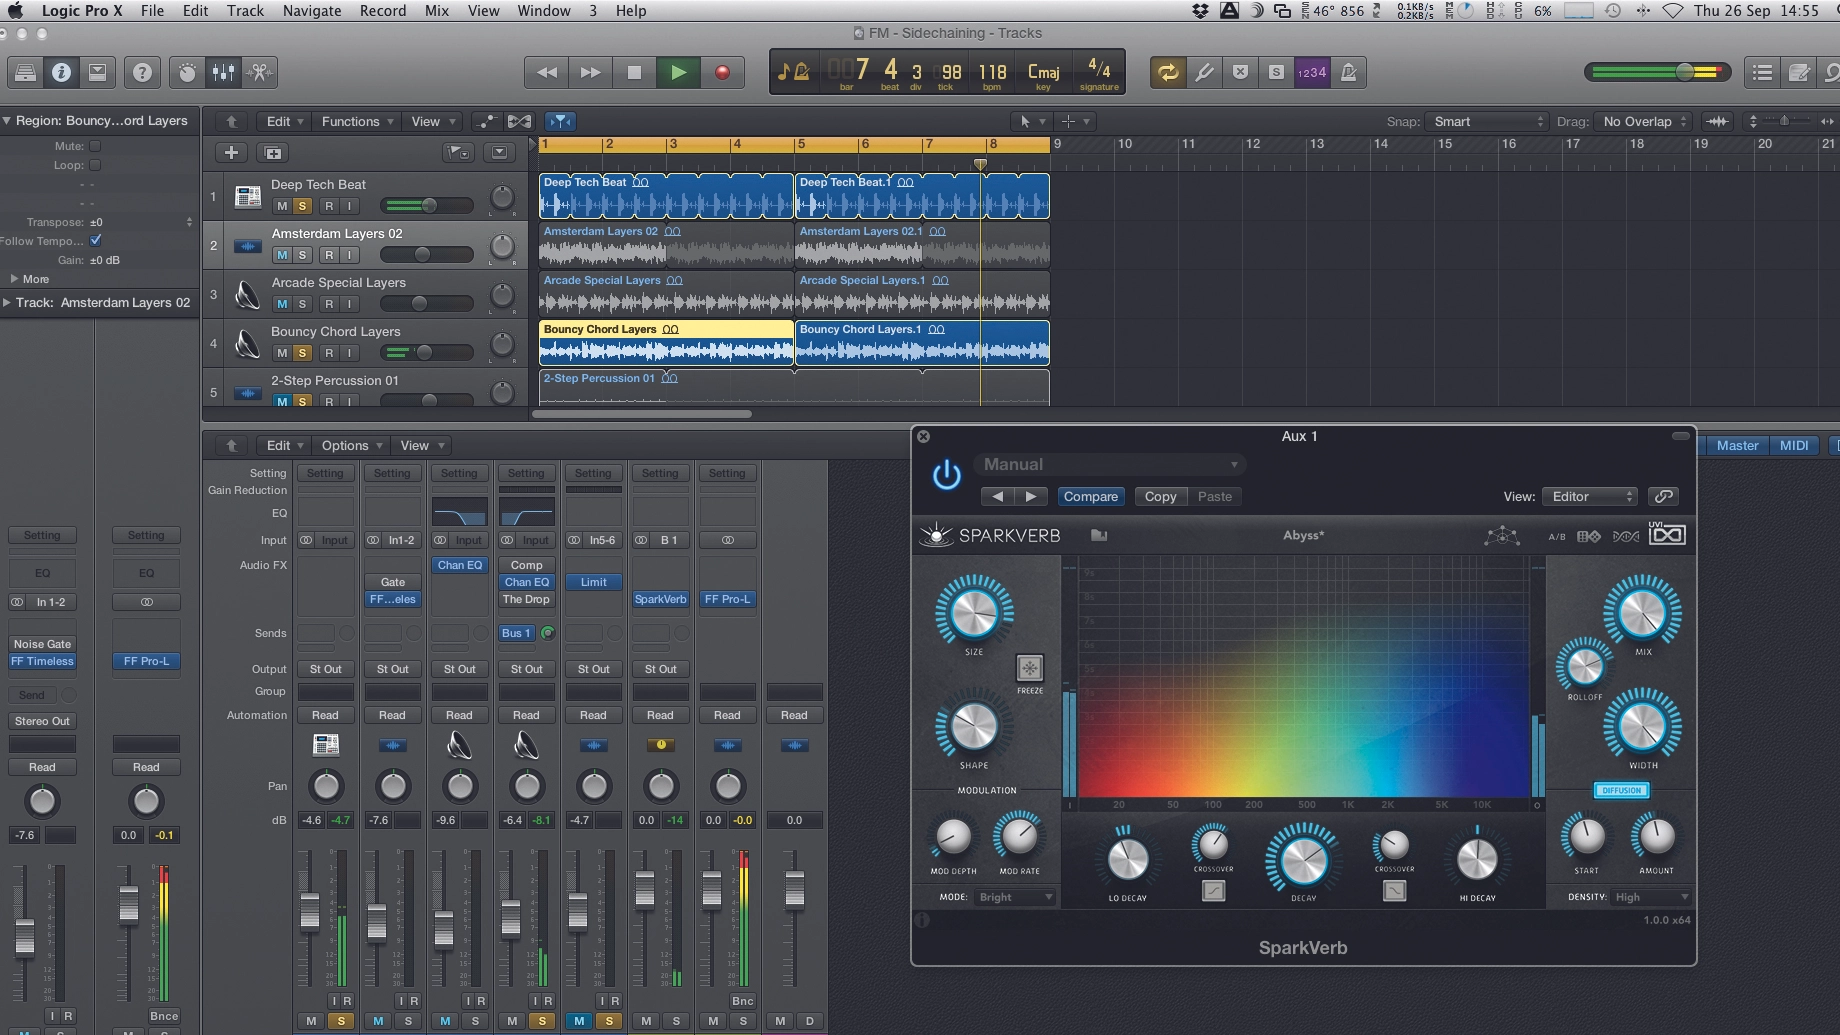
Step 3. A sidechain capable compressor is added to the reverb return and our kick drum is used as key input. The routing is pretty straightforward but make sure that all your basic settings are correct and no auto makeup gain is applied. Auto release functions should also be disengaged.

Step 4. You should now hear the reverb ducking and the link between your drum track and effects return has been made. To make the effect smoother, tweak values such as ratio, threshold and most importantly release time. Get the release right and the ducking should be silky smooth.

Step 5. For an extra edge try adding a resonant filter; in the audio example a dual mode filter is used. At this point you can hear a high pass and low pass filter dialled in with healthy amounts of resonance. The effect produced is not ideal and we need to add some movement to proceedings.

Step 6. Using automation, try sweeping your newly inserted filter plug-in. In the audio you can hear both the high and low pass filter with recorded movements. This brings the reverb backdrop to life and gives the pattern a whole new feel. The automation can then be altered throughout the track.
