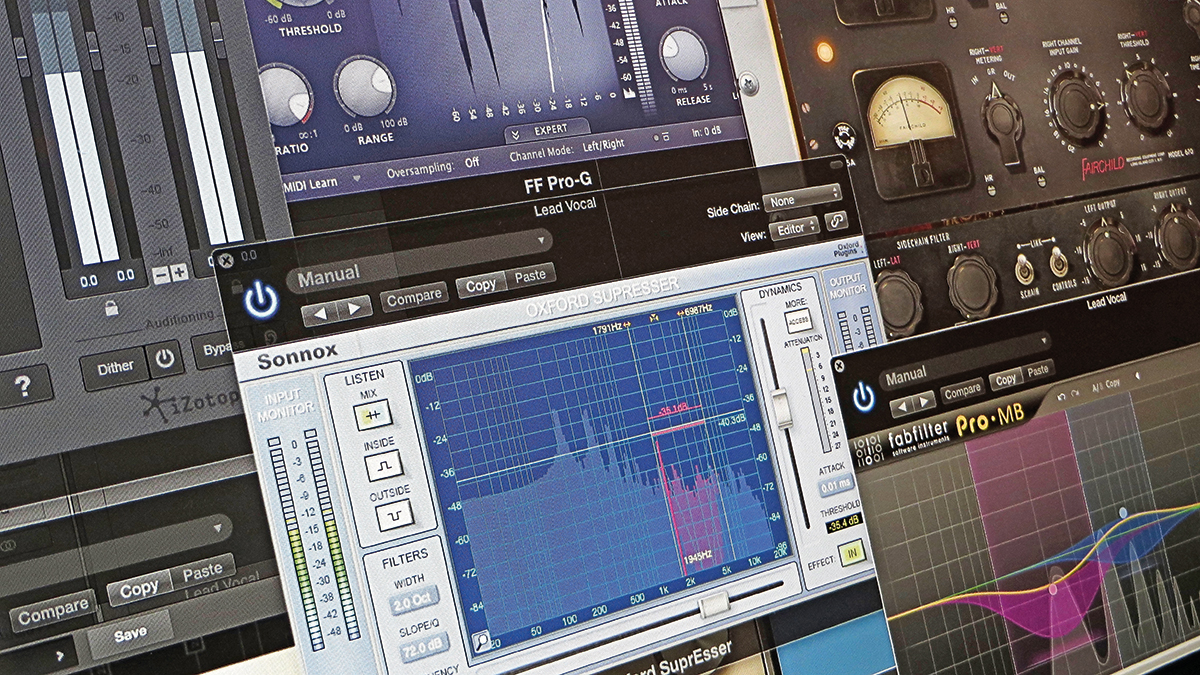
8 dynamics processing tips and tricks
Take control of your volume levels with these pro techniques

Want all the hottest music and gear news, reviews, deals, features and more, direct to your inbox? Sign up here.
You are now subscribed
Your newsletter sign-up was successful
Compression, limiting and gating are among the most important engineering processes for any producer to understand, between them making the difference between tracks that sound out of whack and amateurish, and tracks that sound huge and accomplished.
With these eight tried-and-tested tips and techniques at your side, your dynamics shaping endeavors are sure to become more effective and successful. From over-compression to rhythmic gating, there's plenty here to get you thinking.
For more dynamics processing tutorials, check out Modern Dynamics in issue 307 of Future Music - it's on sale now!
1. Don't over-compress recordings
If your recording chain or channel strip includes a compression stage, don't dial too much of it in as you print audio to your DAW. You can always add more compression at the mix stage, but reducing the effect of too much compression is harder.
2. Add Drama to Gated Sounds
Using triggered gates on sustained sounds (pads, strings, etc) is a great way to get them moving. Pads often feature slow attack and long release times, and while great for thickening mixes, they tend to dominate, making a mix flabby.
One way to lessen their sustained effect is to insert a gate plugin and feed a percussive source into its sidechain input. The opening and closing of the gate will bring a dynamic rhythm to the sustained sound. You can go further, too: by automating the gate's decay or release time you can control how quickly it closes. Experiment and bring your pads to life!
3. Speaking of experimentation…
There are so many myths about compression treatments and the 'right' way to compress a sound, when, in fact, there's no such thing. Use your ears as you tweak parameters and trust your judgement to make the right choices with regard to the individual needs of your track.
Want all the hottest music and gear news, reviews, deals, features and more, direct to your inbox? Sign up here.
4. Use multiband compressors as de-essers
Third-party plugin de-essers, aren't cheap, but if you have a multiband compressor, you can get pretty much the same effect without spending a penny.
De-essing requires the detection of a specific frequency band - that causing sibilant sounds to become distracting - and the selective lowering of its volume while leaving other frequency bands untouched. This is, of course, exactly what multiband compressors do, by progressively attenuating frequency-specific content as it gets louder. So, when you need a de-esser, first try setting up a single band of multiband compression between 2-7kHz and tweaking to taste.
5. Don't load a preset channel strip for your master out
We tend to want loud mixes but there aren't any shortcuts. You'll need to make a signal chain, including compression and level maximising, yourself, rather than hoping your DAW magically has the perfect solution for your particular track in one of its master channel FX chain presets.
6. Compression isn't auto-levelling
It's a common misconception that putting your vocal through a compressor will ensure that it's dynamically 'flat' at the mix stage, with the plugin somehow managing to keep the output level just above the backing track during louder sections and ducking it for quieter passages.
Don't confuse the effect of compression - which is dynamically controlling the louds and softs within a performance - with adjustment of output volume, which will need to be done separately to respond to peaks and troughs in your track.
Waves' Vocal Rider is designed to handle the latter, enabling you to feed the backing track to a volume control over the vocal, raising and lowering the level as required. However, you can of course, do this without plugin assistance, automating your DAW's volume fader, either on the fly, writing changes in real time, or manually, drawing in volume data with the pencil tool.
7. Be sure you actually need compression
Snare drums sound better when they're compressed, don't they? And kicks, too… Hang on a second.
Compressed sounds invariably sound 'better', as they're likely to emerge louder. Many compressors feature automatic gain make-up, which means that the output signal will be louder than the input signal, almost regardless of the compressor's settings. The only way to truly tell whether compression is making things actually sound better is to level match - ie, test the pre- and post-compression sound at the same volume. It could be that you don't need compression at all.
8. Add power to chorus vocals
In pop/dance records, the weight and strength of the lead vocal tends to go up when the chorus lands. Double-tracking (and even multi-tracking) vocals - that is, having the singer reinforce their performance by singing the same part several times - is a long-established production technique. You can achieve a similar effect, though, by using parallel compression. When the chorus arrives, automate the send levels to one or more compressors to turn them on, and configure their settings to emphasise toughness.
Future Music is the number one magazine for today's producers. Packed with technique and technology we'll help you make great new music. All-access artist interviews, in-depth gear reviews, essential production tutorials and much more. Every marvellous monthly edition features reliable reviews of the latest and greatest hardware and software technology and techniques, unparalleled advice, in-depth interviews, sensational free samples and so much more to improve the experience and outcome of your music-making.
