10 things you must do to finish your track
Make sure you've ticked off everything on our checklist

Get over the line
How do you know when a track is finished? It's a tricky question, and one that we all wrestle with. It's all too easy to spend hours tinkering with a mix and putting off the moment when you hit the mixdown button.
However, at some point, for the sake of both your productivity and sanity, you've got to stop. To help you get over the line, we've put together a 10-point checklist of things that you need to do before you say 'I'm done'. Hopefully, this will help you to stop worrying about the minor details and focus on the things that matter.

1. Clear out the clutter
It’s easy to get used to a mix with layer upon layer of sound, but unnecessarily busy tracks can be unlistenable.
Often, this clutter exists in the low-mid or high frequencies and is caused by multiple instrument layers. Use or adjust high- and low-pass filters on individual tracks to create more space, or revisit your arrangement, removing elements one by one to re-assess their impact on the overall mix. Less is often more!
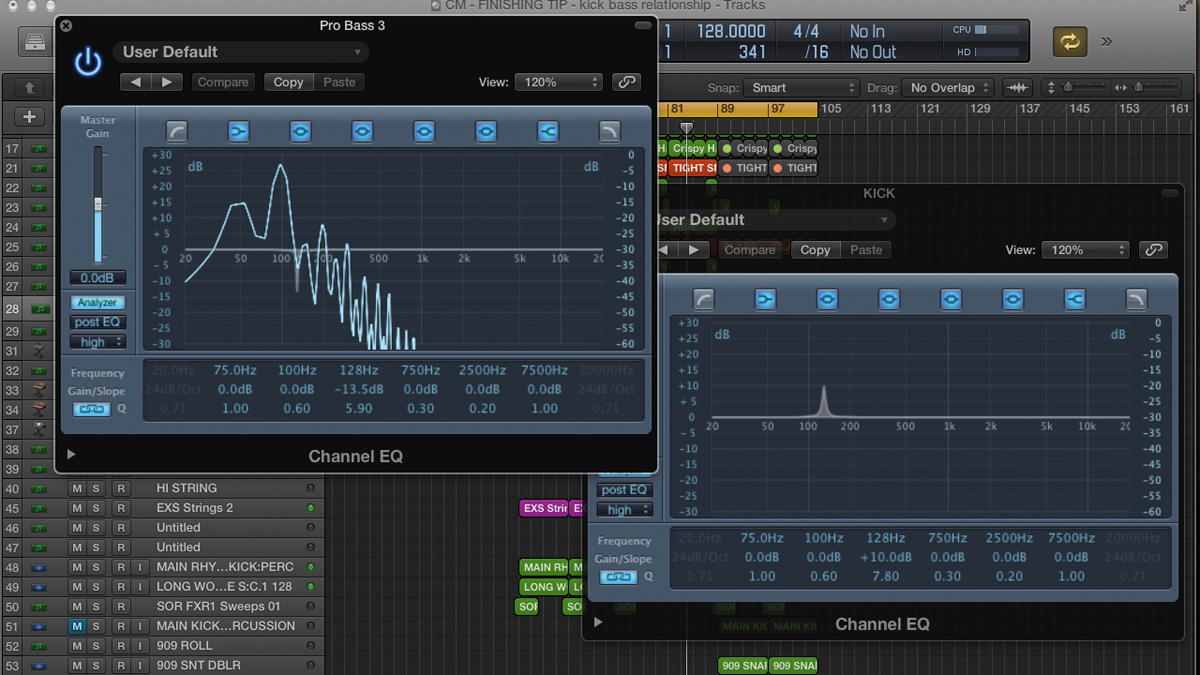
2. Assess the kick/bass relationship
This vital aspect usually needs a final check. Listen to the balance between the two to assess whether either is too dominant and, if necessary, notch a space in your bass sound for the kick, using an EQ and/or a spectrum analyser to hunt the precise kick frequencies.
Try putting a 100Hz low-pass filter on your master bus to monitor bass levels and spot low-end clashes.

3. Check the sub level
Following on from the previous point, excess sub bass can be problematic on big systems, and it’s easy to unwittingly accrue when mixing on smaller nearfield monitors.
If you’re mastering your own mixes, use all available tools to check this - including headphones, bass heavy systems such as car stereos - and do some spectrum analysis, comparing your mix to similar tracks. The low-pass filter trick in the previous step can help.

4. Check overall vocal levels
If your track has vocals as a focal point, their level has to be right. Take time to get the levels right in specific sections using automation, riding phrases and words if necessary.
As a final test, listen at different levels, on different systems and in mono to make sure the vocals are neither smothered nor too prominent.
If you’re still unsure, opt for the slightly higher vocal balance, or run off an alternative ‘vocals up’ mix.
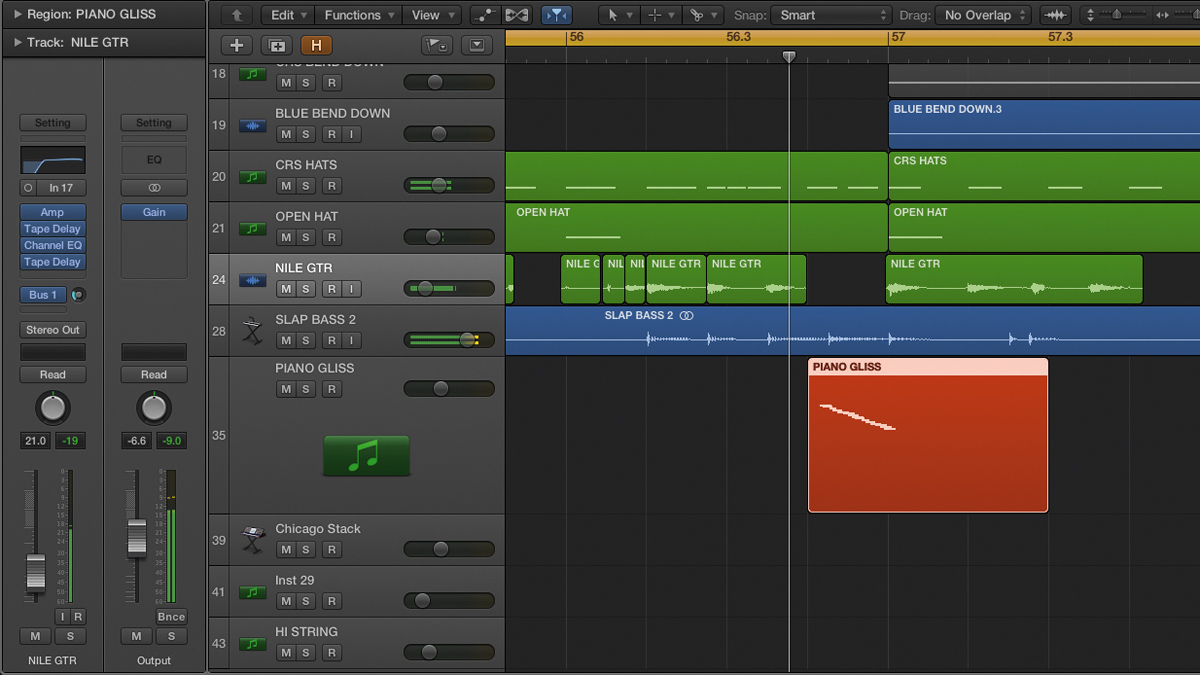
5. Listen to transitions
These are usually delivered naturally by live players but can require more thought for programmed tracks. If you’re lurching from section to section and lacking an overall ‘flow’, transitions may be badly balanced or just missing. Remedies include sweeps, crashes, stops/silences, impacts, bends and slides.
If a transition still sounds too abrupt, adding a touch of long reverb helps smear transitions without dominating the mix balance.

7. Listen on different systems
Monitoring on multiple alternative listening systems can be confusing, so it’s best done to highlight significant problems rather than as an additional monitoring setup. Car stereos, in-ear headphones and consumer devices such as laptops, tablets and smartphones are all useful, particularly when judging lead instrument balance.
Make notes on anything you think needs attention, then return to the studio and work through each point.
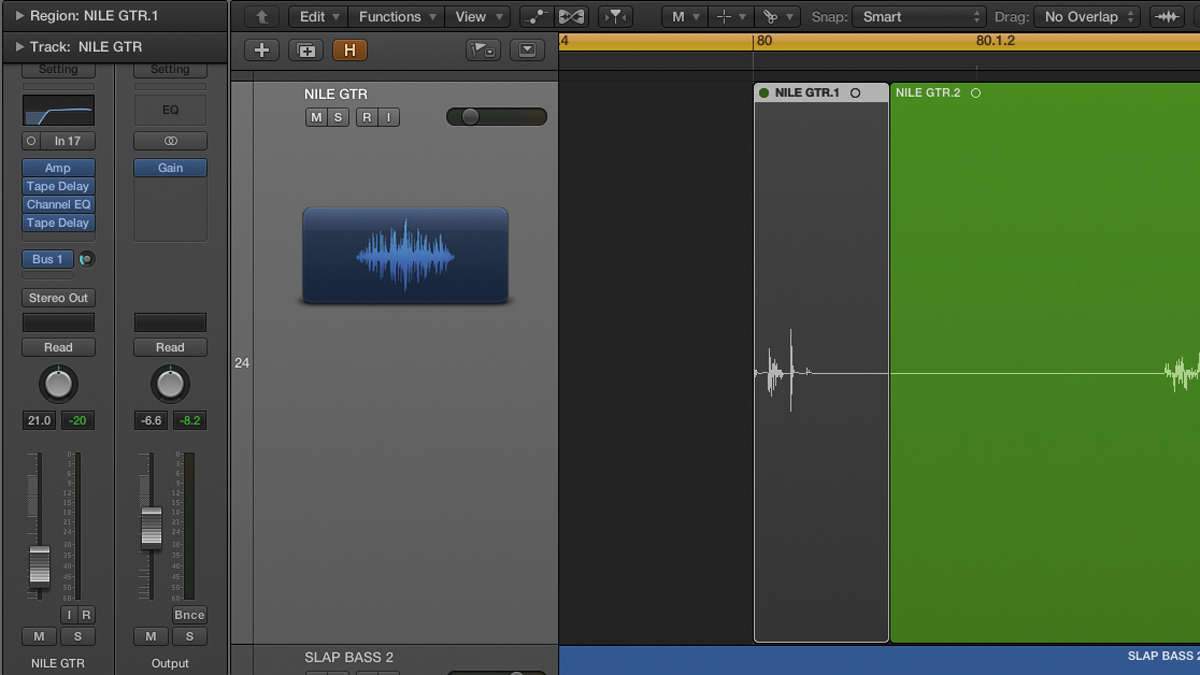
8. Get on top of the pops, clicks and artifacts
Clicks and pops sound like digital errors and have no place in your final mixdown. They can be caused by poor or missing crossfades, level overloads, audio file errors or badly edited audio comps.
Listen for any strangeness, zoning in on problem areas and resolving these issues at source. Often, the best tool for this task is a pair of headphones.

9. Keep your mixing hat off
Be as objective as possible, ‘hearing’ the track as would a first-time listener.
Techniques include coming back to the track after a break (be it minutes, hours, days, weeks... or more!); listening from a different position or outside your room with the door open; A/B-ing with commercial tracks you rate; listening to the track as background music while doing other tasks; and sticking your mix in a shuffled playlist.
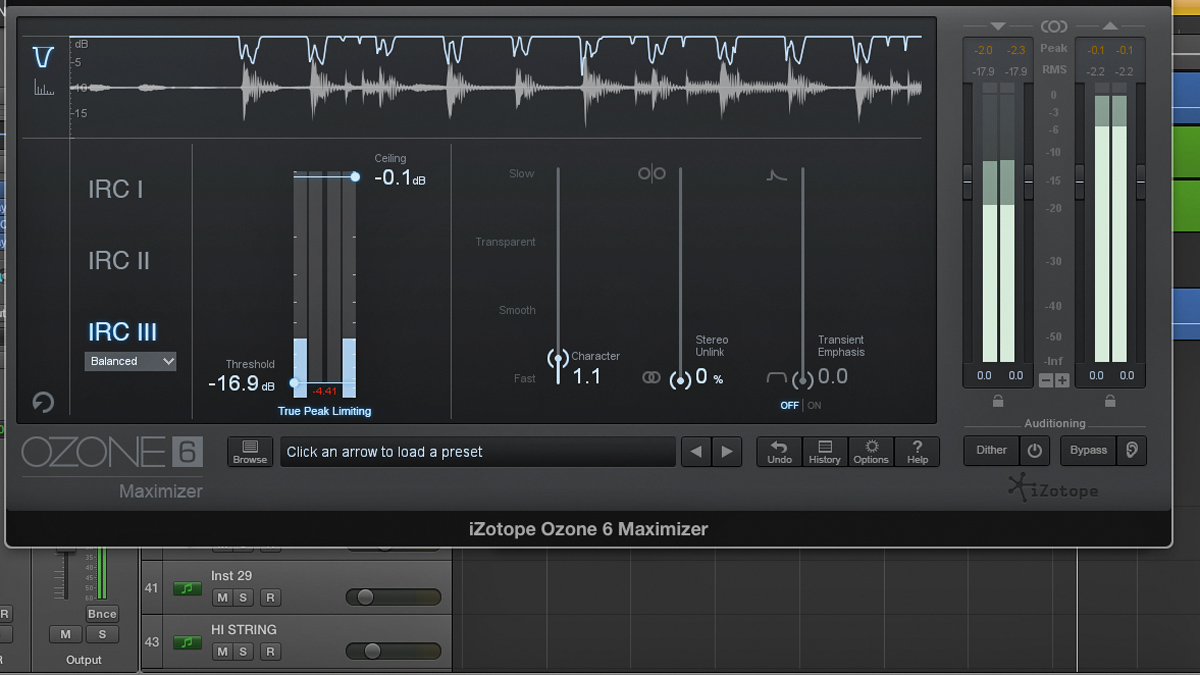
10. Push it into a limiter
Output limiters are a key aspect of mastering and can highlight balance issues, particularly excess low and high frequencies. Insert this last on your master output and see how loud you can make your mix before distortion gets too audible. A good, balanced mix will “go loud” quite easily; if yours doesn’t, it likely needs more work.
Study an RMS meter - an RMS peak of -10dB is plenty, though higher is possible by tailoring low frequencies.
Get 20 track-starting ideas, 10 workflow-accelerating techniques, 10 easy music theory tips, 40+ videos, and tons more with Computer Music's Instant Inspiration issue (221, October 2015)
Computer Music magazine is the world’s best selling publication dedicated solely to making great music with your Mac or PC computer. Each issue it brings its lucky readers the best in cutting-edge tutorials, need-to-know, expert software reviews and even all the tools you actually need to make great music today, courtesy of our legendary CM Plugin Suite.
