
The modern software sampler is a phenomenally powerful and flexible music-making tool. Platforms like Steinberg HALion and NI Kontakt are infinitely more capable than the hardware samplers of the late ‘80s and ‘90s, and have none of the limitations.
Direct-from-disk streaming means practically limitless sample memory. Advanced engines support different sample playback methods, and vast stacks of layers, switches and articulations, along with advanced scripting for managing them all. Modern CPUs allow huge polyphonies and complex realtime processing. And high resolution, mouse-operated, desktop-integrated GUIs are fast and intuitive to work with. We’ve never had it so good!
But do you ever get the feeling something has been lost along the way? Creating instruments and patches with these uber-samplers can be tedious and long-winded with none of the satisfying immediacy of hardware. It generally feels more like a technical exercise – like filling in cells on a spreadsheet – than a creative one.
Furthermore, these advanced, highly polished programs can be almost too good, lacking any imperfections or idiosyncrasies that can be harnessed and exploited for creative effect.
For all their power, then, software samplers just don’t give you the same… what’s the word?… connection to the tools you are using and the sounds you are creating.
A different way of thinking
The inherent limitations of hardware samplers necessitate a very different approach to sampling than the one used with modern software. This approach is all about making the most of the hardware’s sample memory and other limitations, and doing so in a way that turns those limitations into strengths.
This may sound like a dull technical exercise, but it in fact requires a lot of creative musical thinking: you have to listen carefully to the sound you wish to sample, analysing how volume and timbre interact with each other and how they evolve and change over time. You have to consider the note range of the source, and think about how different playing styles, expressions and performance techniques impact the sound.
Armed with this musical understanding, you then have to decide which aspects of the sound you will capture within your samples, and which you will emulate and synthesize within the sampler.

For example, for a pitched acoustic instrument, you may sample the initial attack stage and a short portion of its release stage, and then use looping and envelopes to simulate the natural sustain and decay of the instrument. You can of course work this way using a software sampler, but it is optional; with hardware samplers, all of these considerations and decisions are obligatory.
A more generalised benefit of this approach is that it trains you to hear details that you may otherwise not have noticed, and to imagine ways in which you can enhance and exploit those details to good musical effect. Such skills are beneficial to all sound designers and music producers.
Digital processing has character too
We music technology fans will often talk in glowing terms about the desirable sonic qualities of vintage analogue synths, drum machines and processors. We’ll lionise the loveliness of analogue imperfection and randomness, wax lyrical about how no two examples of the same analogue device ever sound exactly the same, and sneer at anything digital for lacking these awesomely organic traits.
A sampler’s analogue input and output circuitry can add warmth and colour, and its AD and DA converters also have an impact on its particular sound
Such sneering can be justified when aimed at the “ROMplers” that dominated the synth scene in the late ‘80s and into the ‘90s, their always-sound-the-same samples standing out like a sore thumb. The same cannot be said of hardware samplers, though. There is of course inherent originality in creating your own patches and instruments, but the choices you make when working around the hardware’s limitations are likely to be unique to the specific situation too, and so will lead to even more originality in the results.
A sampler’s analogue input and output circuitry can add warmth and colour, and its AD and DA converters also have an impact on its particular sound. Great examples of this are E-Mu’s SP-12 and SP-1200 drum machines, their low sampling specs and colourful analogue stages delivering a unique sonic character that remains sought-after to this day.
The sonic impact of these algorithms can be so distinctive as to become intrinsic elements of some forms of music
Of equal importance to a sampler’s I/O specs are its digital processing algorithms. These are comparatively primitive by modern standards, and can have a sonic impact quite unlike the pristine algorithms found in a modern software sampler. Also, these algorithms tend to be specific to the make and model of sampler, and be tuned to the processing capabilities of that sampler, all of which adds to the individuality of different units.
The sonic impact of these algorithms can be so distinctive as to become intrinsic elements of some forms of music. For example, the flabby, dirty drum sounds found on many hip-hop tracks owe a lot of their sonic character to the algorithms of the Akai MPC-60 and its descendants. Whilst an MPC does this best, you can create a close facsimile with any hardware sampler. Here’s how…
Creating hip-hop and trap drums with vintage samplers

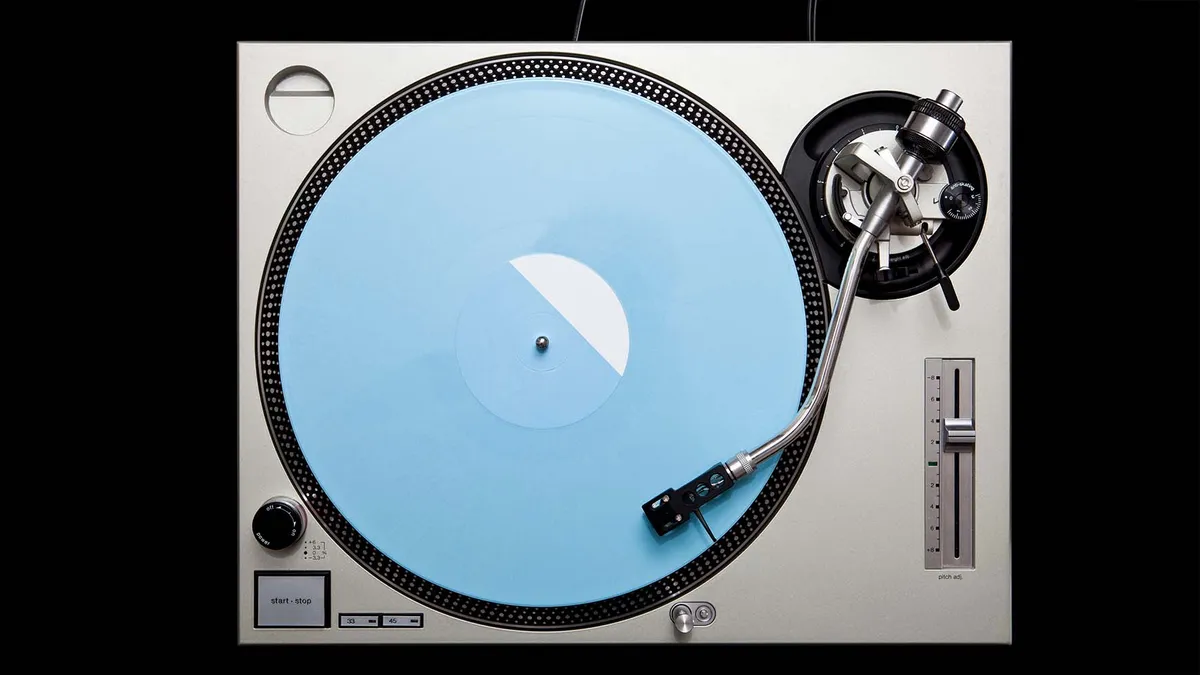
Many of the sounds and loops used in hip-hop are sourced from old vinyl records. It generally doesn’t matter what record you use because every record will have sounds on it that are worth sampling, but the method we’re using here depends on playing the record faster than intended so a 33&1/3 RPM album will give best results.
It doesn’t really matter what condition the record is in because scratches and clicks will only add colour and interest to your samples. So, grab an old record-or-two – if you don’t have anything suitable, a quick trip to a local charity shop should see you right!

Hook up a record deck to your sampler’s inputs. Be sure to go via a phono amp or DJ mixer if the deck doesn’t have standard line-level outputs. Play the record into the sampler, monitor the signal, and adjust the input gain level. Don’t be afraid to experiment with overloading the signal a bit, as this can sound good.

We’re going to increase the record’s playback speed in order to reduce the amount of memory the samples will occupy. Crank the deck’s speed up to 45 RPM (even perhaps 78 RPM if available), and if the deck has a varispeed control you could also increase this to maximum.
When you come across an interesting sound or passage, sample as much of it as you think necessary, and then continue to work through the record until your memory is full or you’ve exhausted the possibilities.

Top-and-tail your samples, then create a new program/patch and assign each sample to its own keygroup/zone. Modify the root/original key of each sample in turn, increasing the value so that, when you play the sample’s keygroup/zone, its pitch will be transposed downwards.
You can try to match the original, correct pitch of the record, or just dial in a value that sounds good. What you should notice is that the analogue speed-up of the record deck combined with the digital slow-down of the sampler brings out interesting sonic flavours in the re-pitched sample.

Using reduced sample rates is a common way of maximising sample memory. Technically speaking, the sample rate should be twice the highest frequency contained in the sound being sampled; if it isn’t, frequencies higher than half the sample rate will lose definition and clarity, and will cause digital aliasing… all of which is great for creating janky lo-fi sounds!
Many samplers allow you to set the capture sample rate, so experiment with this if your sampler can do it. You should also explore the sound and impact of your sampler’s SR conversion process.

The need to reduce the pitch of deliberately pitched-up source samples gives us the opportunity to employ other processors that can modify a sample’s tone and character. The first thing to try is to use digital retuning to slow down and re-pitch your samples, as this can give different results than standard on-the-fly key transposition.
Using a combination of pitch-shifting and time-stretching will introduce even more sonic artefacts, and give you more control over the end result. And always keep in mind that the more of these processes you apply to a sample, the more their sonic impact will combine and build.
Buying and maintaining a hardware sampler
Techniques such as the one above can be translated to software but the results are unlikely to be the same and the process will not feel as satisfying. We aren’t suggesting you ditch your software sampler in favour of an old Akai or E-mu – Kontakt, HALion, et al are indispensable modern marvels. But you can pick up a classic hardware sampler for a fraction of their original cost, and adding one to your rig opens up a whole new world of sound design possibilities.
You can pick up a classic hardware sampler for a fraction of their original cost, and adding one to your rig opens up a whole new world of sound design possibilities
The most affordable second hand options tend to be rackmount samplers, and here you will find some ridiculously good deals: An E-mu ESI-32 can be yours for as little as £150, or the ESI-4000 (an updated ESI-32 with double the polyphony) for not much more. These were budget samplers when released, and aren’t the quickest at running offline processes, but are otherwise excellent in every respect.
If more interested in Akai machines then you should be able to turn up a well-specced S2000 for below £300. This model never hit the same level of popularity as its famed predecessor, the S1000 – if you want one of these then expect to pay between £300 and £600. If willing to push the boat out further, you can nab yourself a powerful Akai S3000 or E-mu E-64 for somewhere in-or-around the £1000 mark.

There are other makes and models to consider too of course: Roland’s S550 and S770 are interesting and, on the rare occasion they crop up, affordable. Ensoniq’s EPS-16+ is a bit underpowered, but has some unique features and comes in both keyboard and rackmount variants, costing around £550 and £800 respectively. Or those more interested in character than specifications could hunt an Ensoniq Mirage – the first ever “affordable” sampler – for about £500, although a pristine fully upgraded model will cost considerably more.

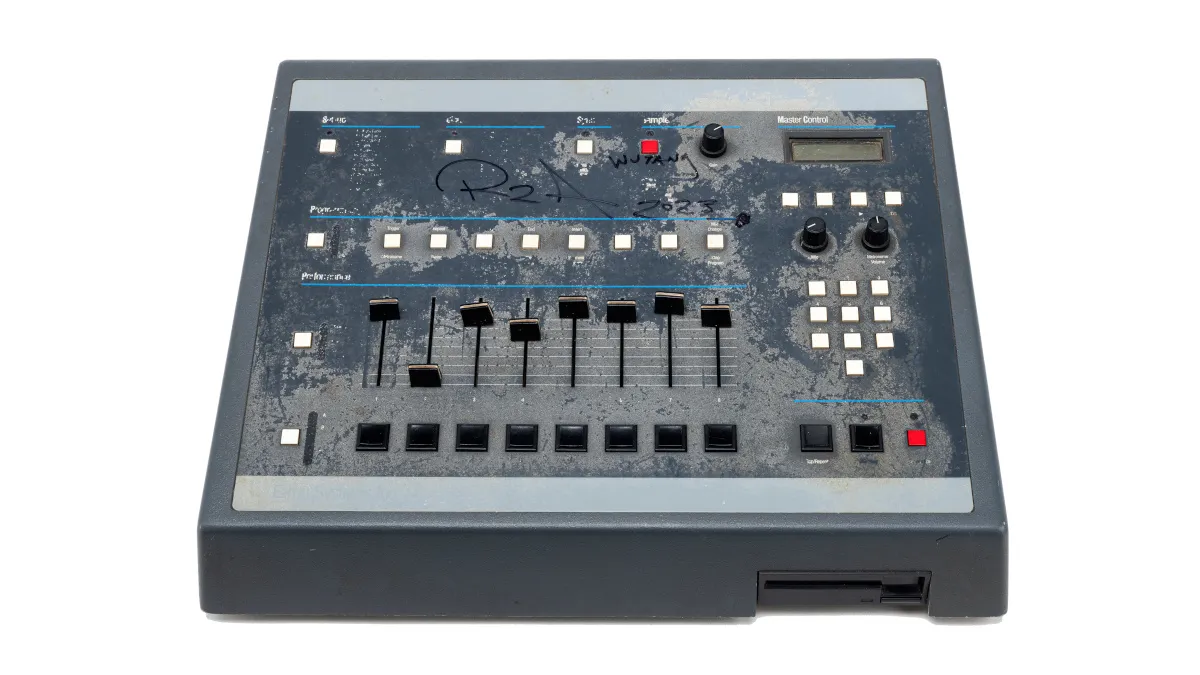
Drum machine-style samplers tend to command the highest prices. You can lay your hands on an iconic Akai MPC60 for around £2,500, but if you want a rare E-mu SP-1200 then don’t expect to get much change from £6K. Probably the most affordable of this sampler variant is the Akai MPC2000, which tends to change hands for less than £800.
Memory and storage
Many samplers use off-the-shelf memory modules, such as 30-pin SIMMs, that can still be found, but some may use custom memory boards that are much harder to source. When buying a used sampler, then, it’s vital that you research what type of memory it uses, and whether that memory is available. If not, be sure the unit you are buying contains as much memory as possible.
When buying a used sampler, then, it’s vital that you research what type of memory it uses, and whether that memory is available
Long-term storage also needs some thought. The 3.5” floppy drives built-in to most samplers are obsolete – slow, unreliable, and the blank disks are no longer made. Many samplers had a SCSI add-on option for connecting to hard disks and other high capacity storage. However, old SCSI disks and devices will not be reliable, and you will struggle to source new compatible hardware.
There are a couple of solutions. A Floppy Drive Emulator replaces the old floppy drive with either an SD card slot or a USB socket that can connect to a thumb drive. However, these are normally no faster than an actual floppy drive, and will split your saves into multiple floppy-disk-sized chunks. An alternative for samplers with a SCSI bus is a SCSI-compatible SD card reader, which lets your sampler access an SD card as though it were a hard disk. Be aware that either solution requires a device that has been designed, configured and prepared for your specific model of sampler.
Other upgrades
Take the time to research what options and add-ons exist for the sampler you are thinking of buying so that you can look out for units that include those you want. Such boards can often be found for sale on their own too so, again, be sure to do your research so that you know what to look for.
Take the time to research what options and add-ons exist for the sampler you are thinking of buying, so that you can look out for units that include those you want
Updates to the firmware or operating system of hardware samplers were released as chips. You will find OS chips for sale for most samplers, and may be tempted to pick some up if your sampler is running an older version, but beware: not all such chips will be original/genuine parts, or may not work as expected, so if upgrading the firmware be sure to buy from a reputable seller, and take extra care of the original chips in case you need to put them back in again.
Finally, keep in mind that the backlit LCD screens found on most samplers do not last forever, the backlight itself tending to die. Thankfully, modern plasma-style replacements are available for most models of sampler and aren’t terribly expensive. Getting at the screen to replace it will likely require the sampler’s innards to be partially removed, so consider enlisting the help of a service engineer if you aren’t confident about doing such things yourself.
DAW integration
Most DAWs provide a mechanism that allows them to handle external instruments in much the same way they handle internal ones. The details are different for each DAW, but making use of such features is the best way to integrate a hardware sampler with your DAW.
Many DAWs also allow MIDI CCs – and even SysEx messages – to be included in an external instrument definition, and some even allow you to create a GUI that generates and sends these messages from an on-screen panel. Setting all of this up can be time consuming and may require you to construct awkward SysEx commands, but it’s worth the effort in the long run.

Best samplers 2024: 16 top picks for hardware music-making, live performance and DAW-less jams
Once you’ve got your hardware sampler up and running, and nicely tied in to your rig, you may be tempted to transfer samples from your computer to your sampler using the old MIDI Sample Dump Standard… don’t! SDS is slow and unreliable, and in any event the point of using a hardware sampler is to exploit all of its imperfections and idiosyncrasies. If there are samples on your computer that you just have to have inside your sampler, transfer them via analogue audio as though they were any other sound source you were sampling.
The best time to reach for your hardware sampler, though, is when you have the actual sound source in front of you, be it a synth, a record deck, an acoustic instrument, or just a couple of sticks. All you need to do is switch on your sampler, engage your ears, and start creating something original.