How to clean your guitar fretboard
Get your maple, rosewood and more looking and sounding great again
Being able to do your own guitar maintenance doesn't just save you money, it's also a great way to understand how the different features of an electric guitar affect its tone and playability. We’ve teamed up with Jack Ellis from Manchester's Jack’s Instrument Services to come up with a guide to cleaning and maintaining your guitar's fretboard…
Today we’re covering fretboard maintenance to help keep your guitar looking and performing well.
Performing I hear you say? Yes an ill-maintained fretboard will store grime and dull down new strings much faster as well as a dried out unlacquered fretboard can cause all kinds of fretting woes. When a rosewood (or other unlacquered fretboard) dries out it shrinks, this means the fret slots can let go of the fret! You can imagine a loose fret not only sounding terrible but will be a cause of fret buzz when playing too.
A bit of maintenance from yourself is all that’s required to keep this under control. We’ll cover how to care for lacquered and unlacquered fretboards in this handy article.
Handy Tools:
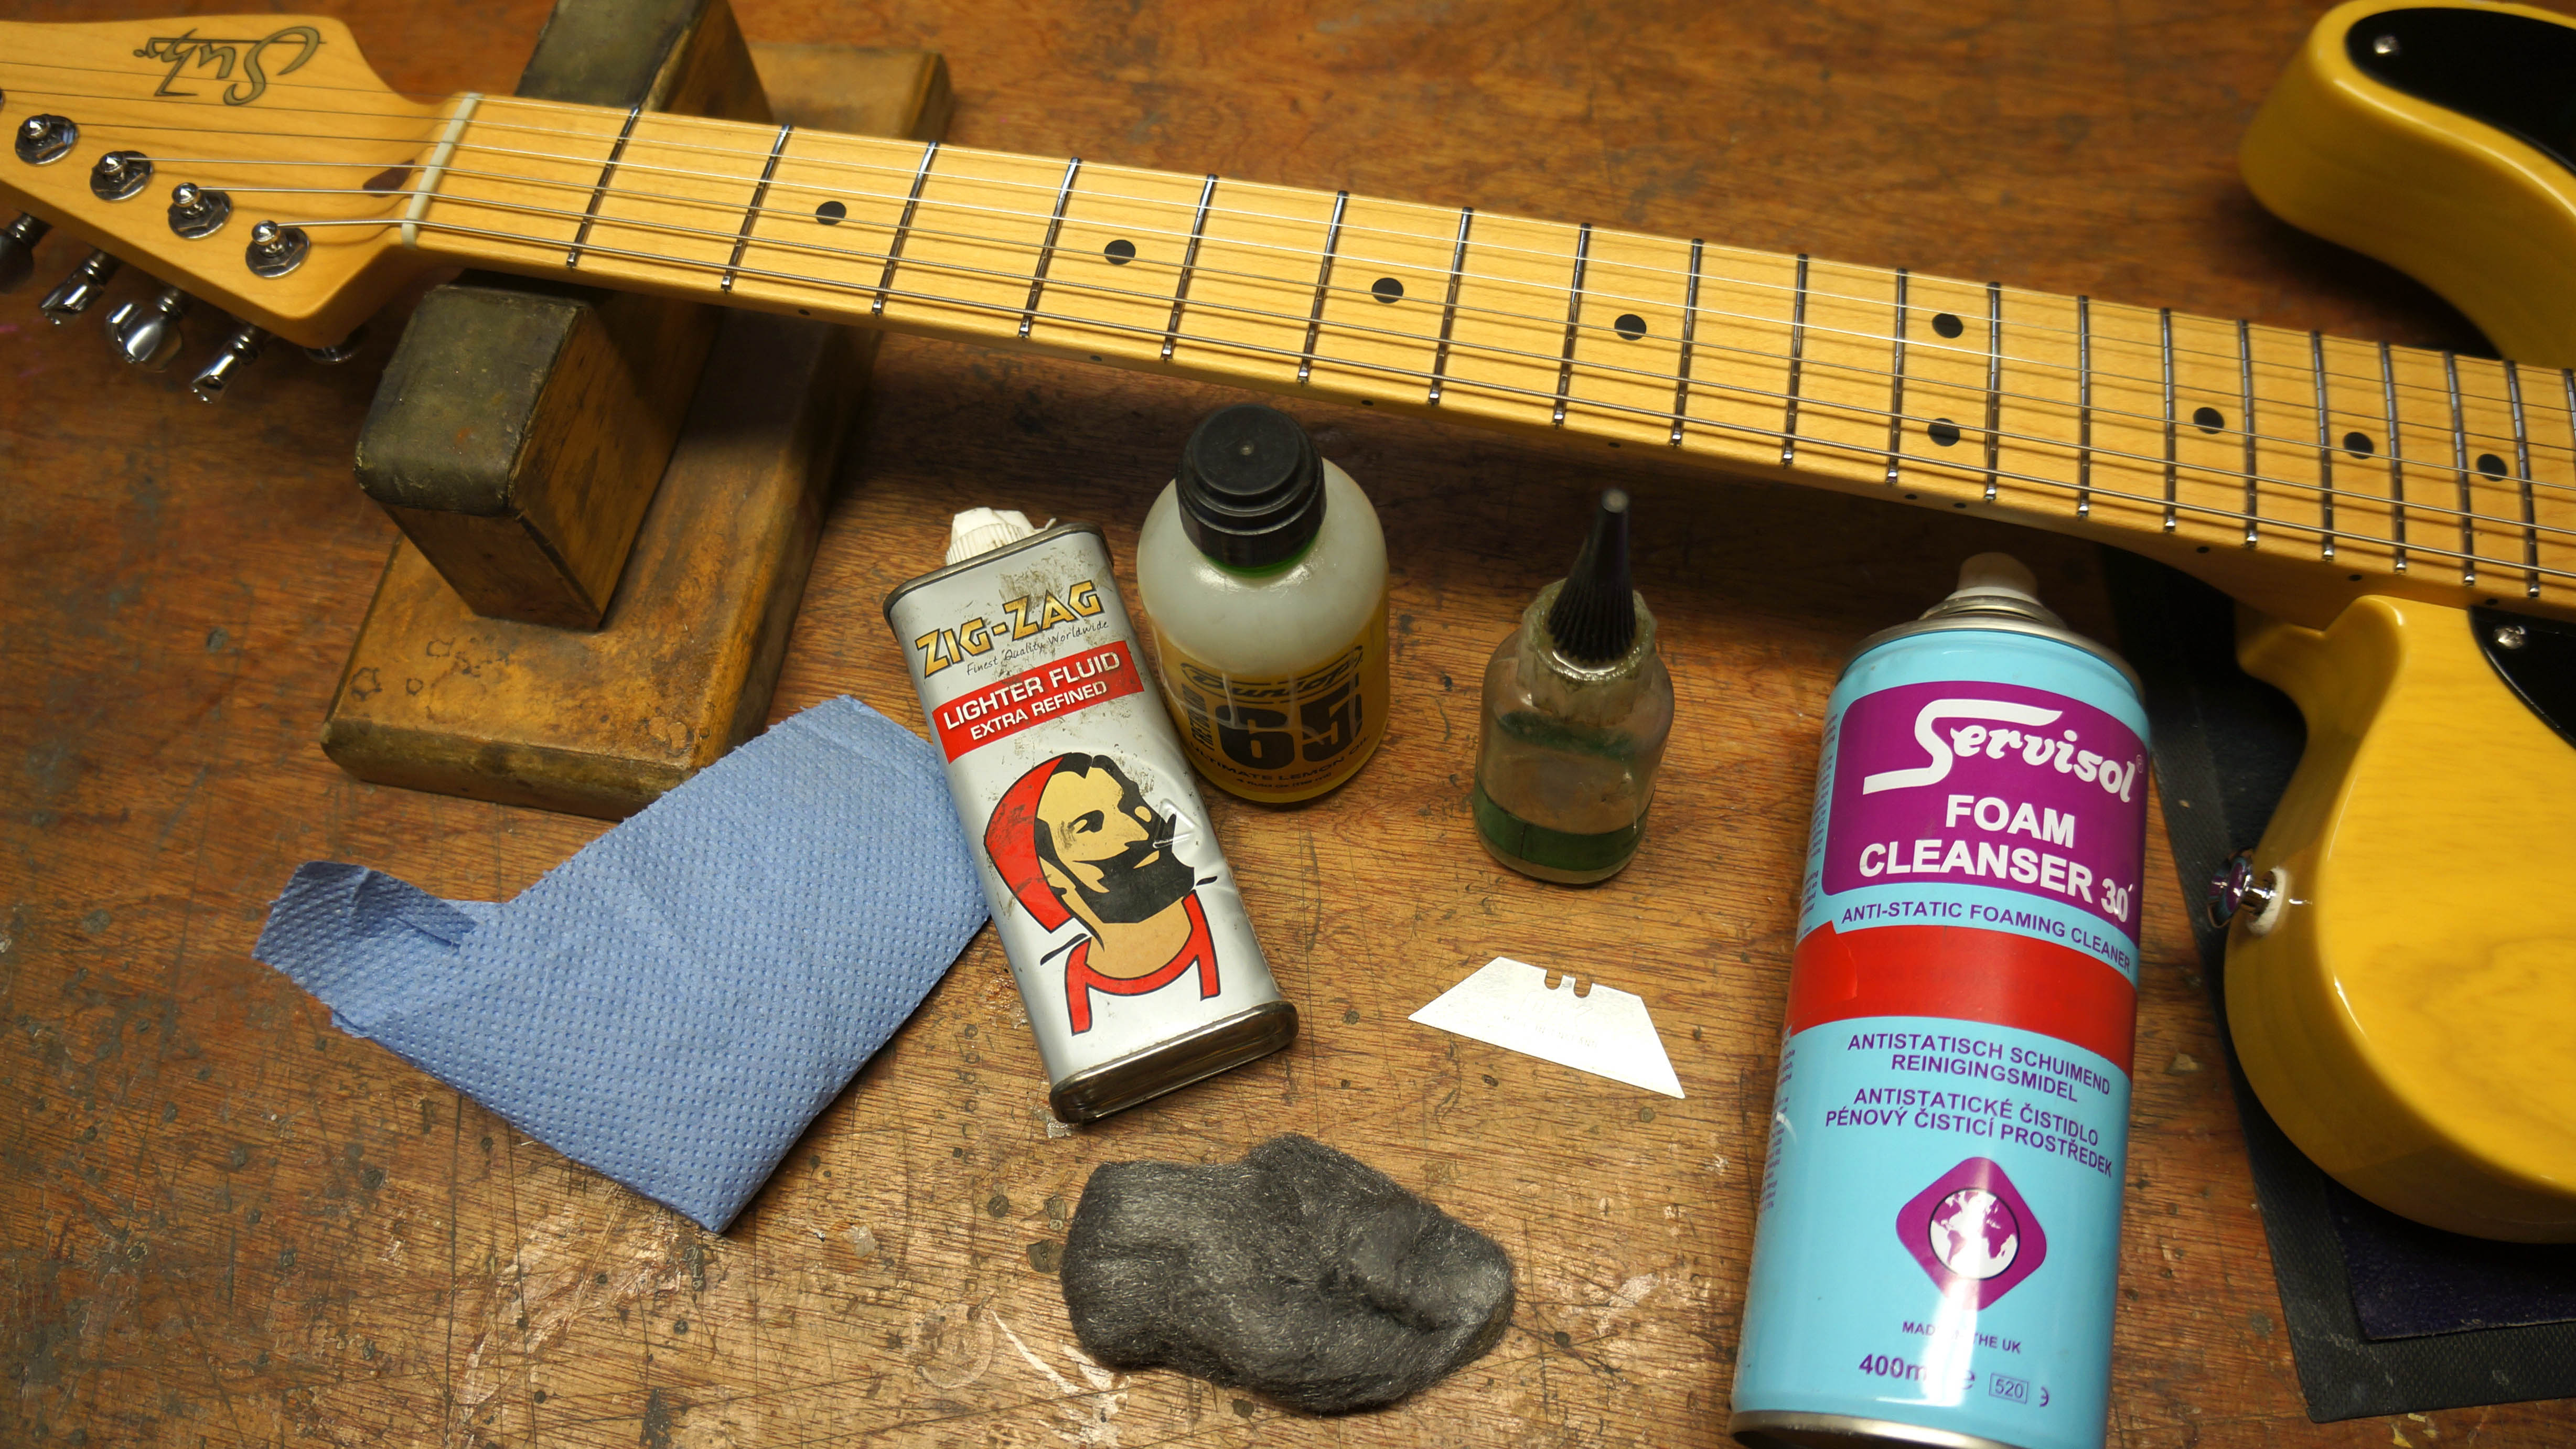
- Blue Roll
- Servisol Foam Cleanser 30
- Lighter fluid / Naptha
- Cocktail sticks
- Wide masking tape
- #0000 Wire wool
- Stanley blade
- Lemon oil
- Almond oil
Cleaning lacquered fretboards
Our lovely maple fretboards are a light coloured hardwood which unfortunately shows up loads of grime! Maple fretboards are most often lacquered with an amber tint but there are some that are not. Many fretboards begin life as a satin or matt lacquer which as you play it will self polish turning it gloss, many folks often mistake a satin lacquer for unfinished as it feels a little rougher.
If you have an actual unlacquered fretboard you will most likely find the manufacturer has made a point of mentioning it. Some people like the feel of bare timber, however this does not protect the wood and grime will easily stick to it and soak in causing a permanent stain.
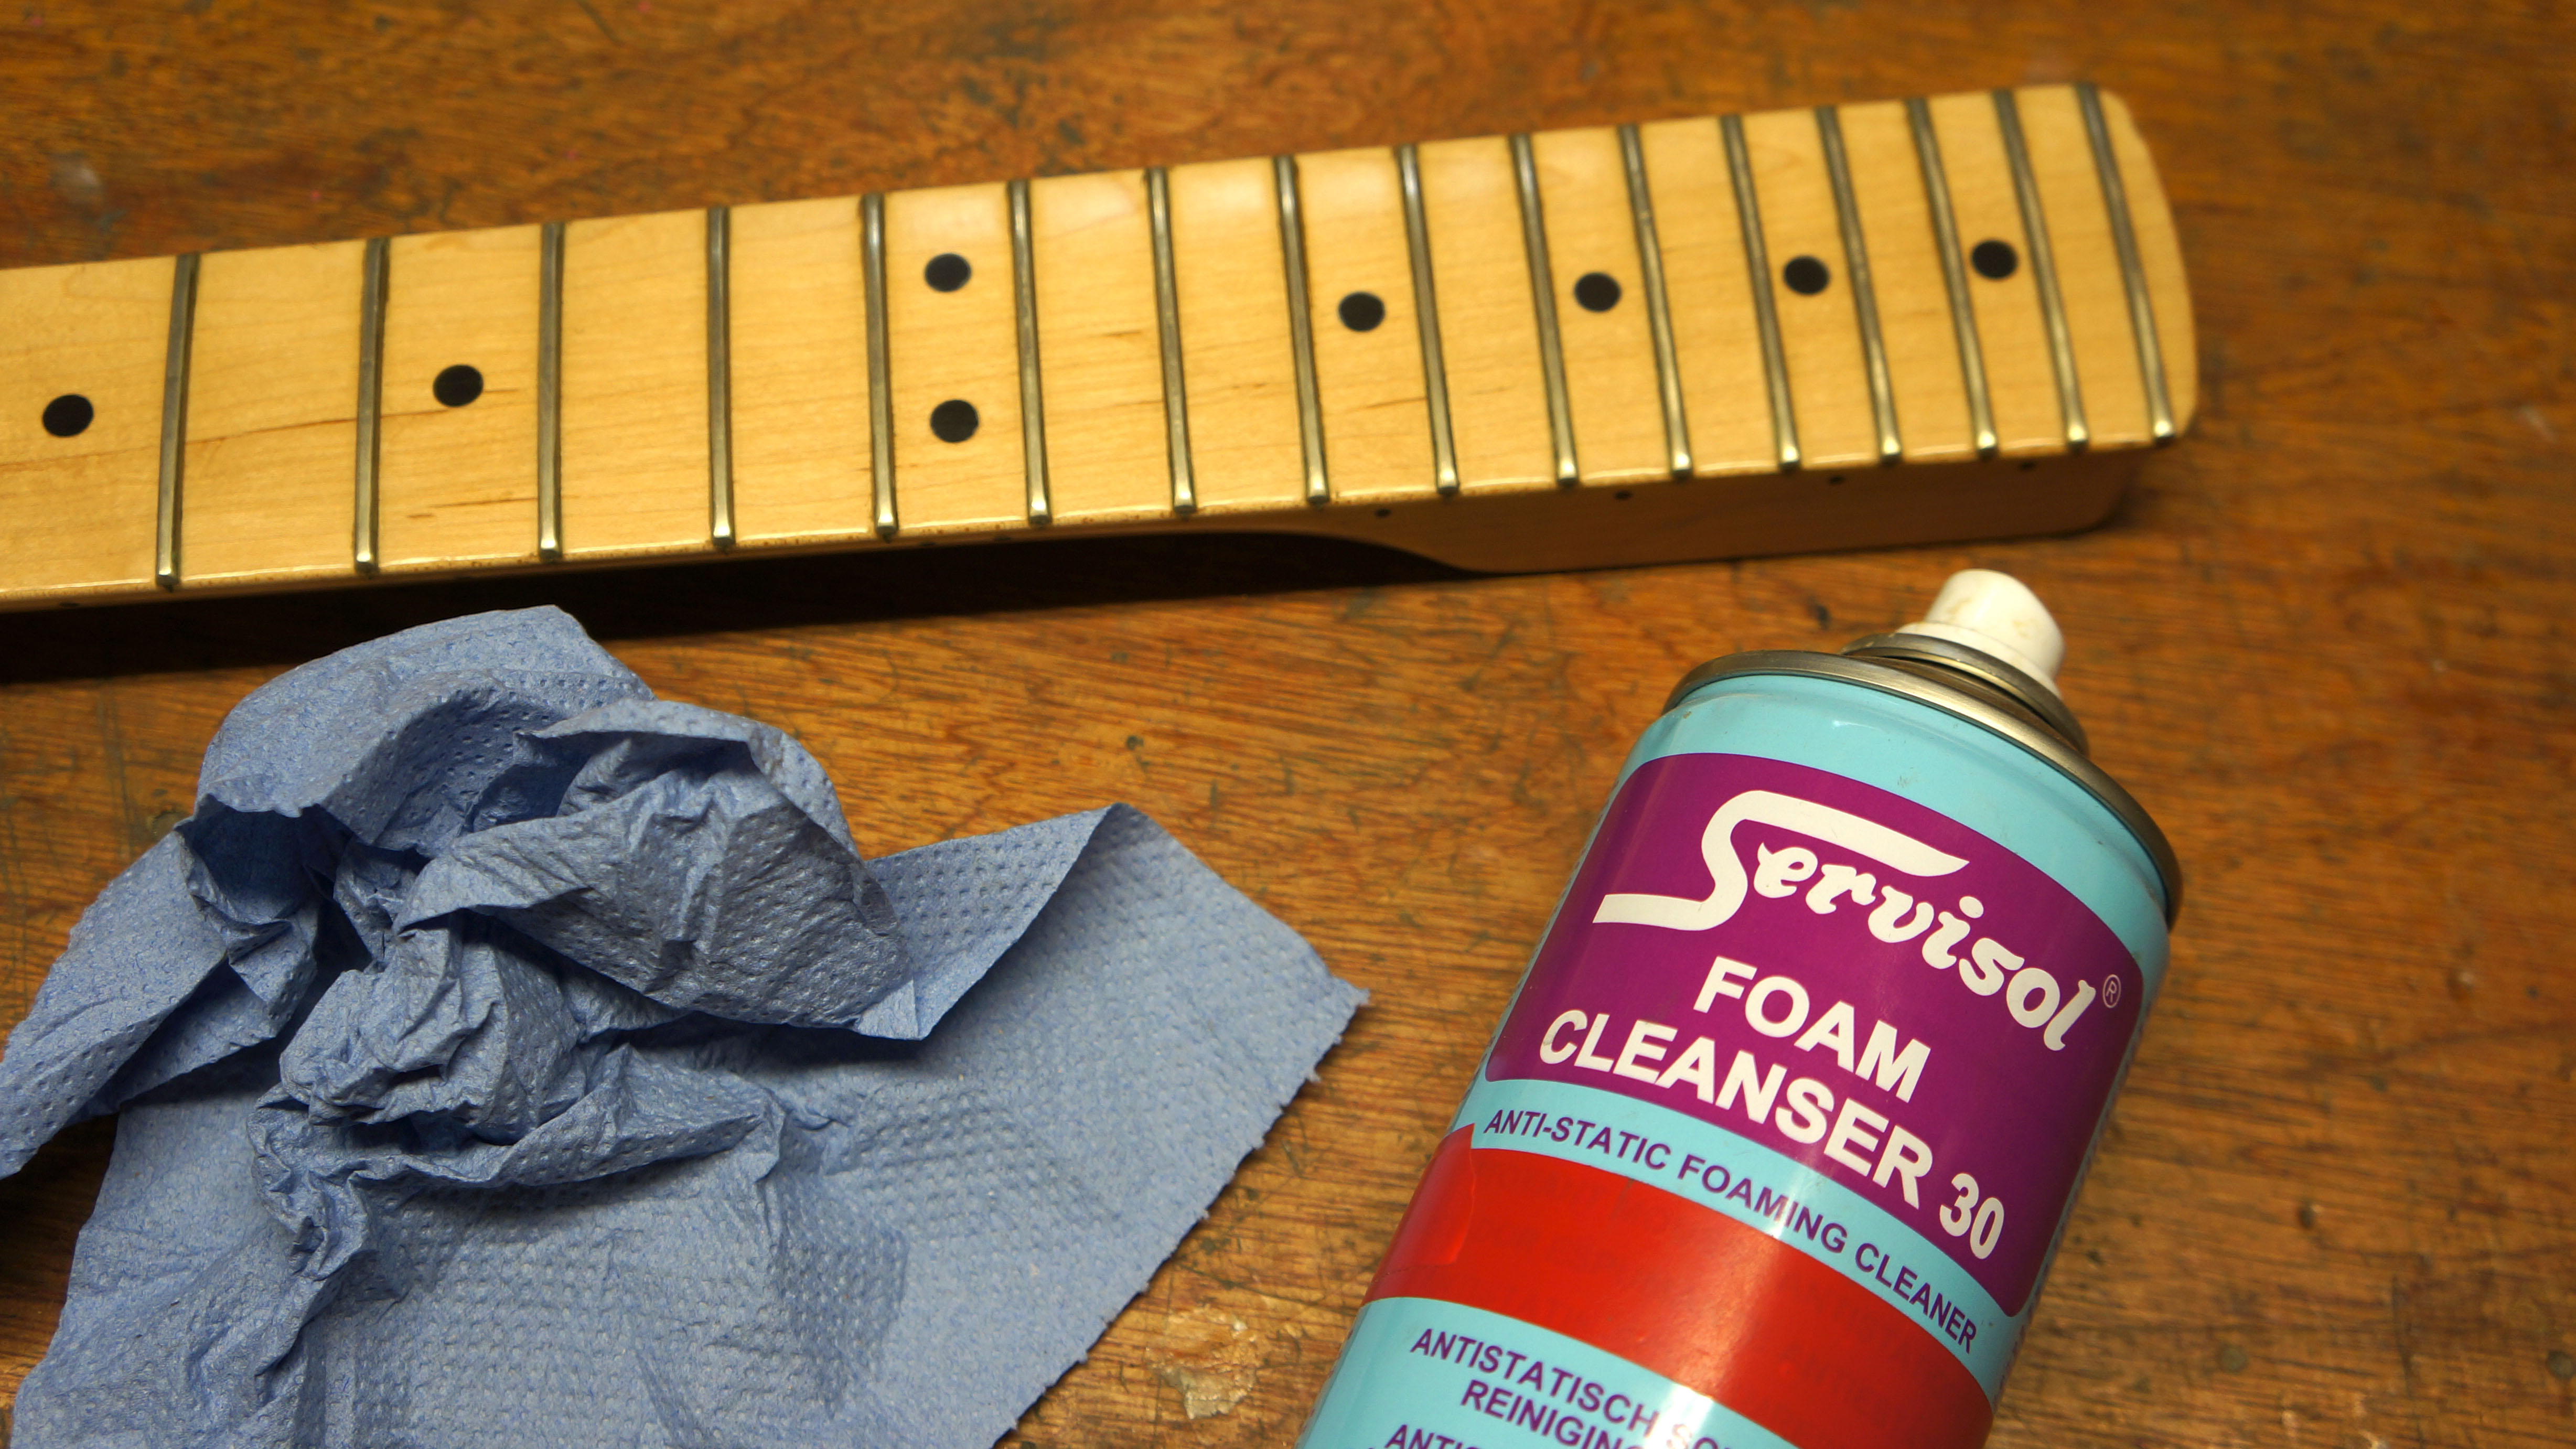
For our lacquered fretboard this is the care required to keep them looking sweet. Let’s assess how fragile the lacquer might be, if you have signs of wear where the bare timber looks to be exposed you need to be cautious.
Want all the hottest music and gear news, reviews, deals, features and more, direct to your inbox? Sign up here.
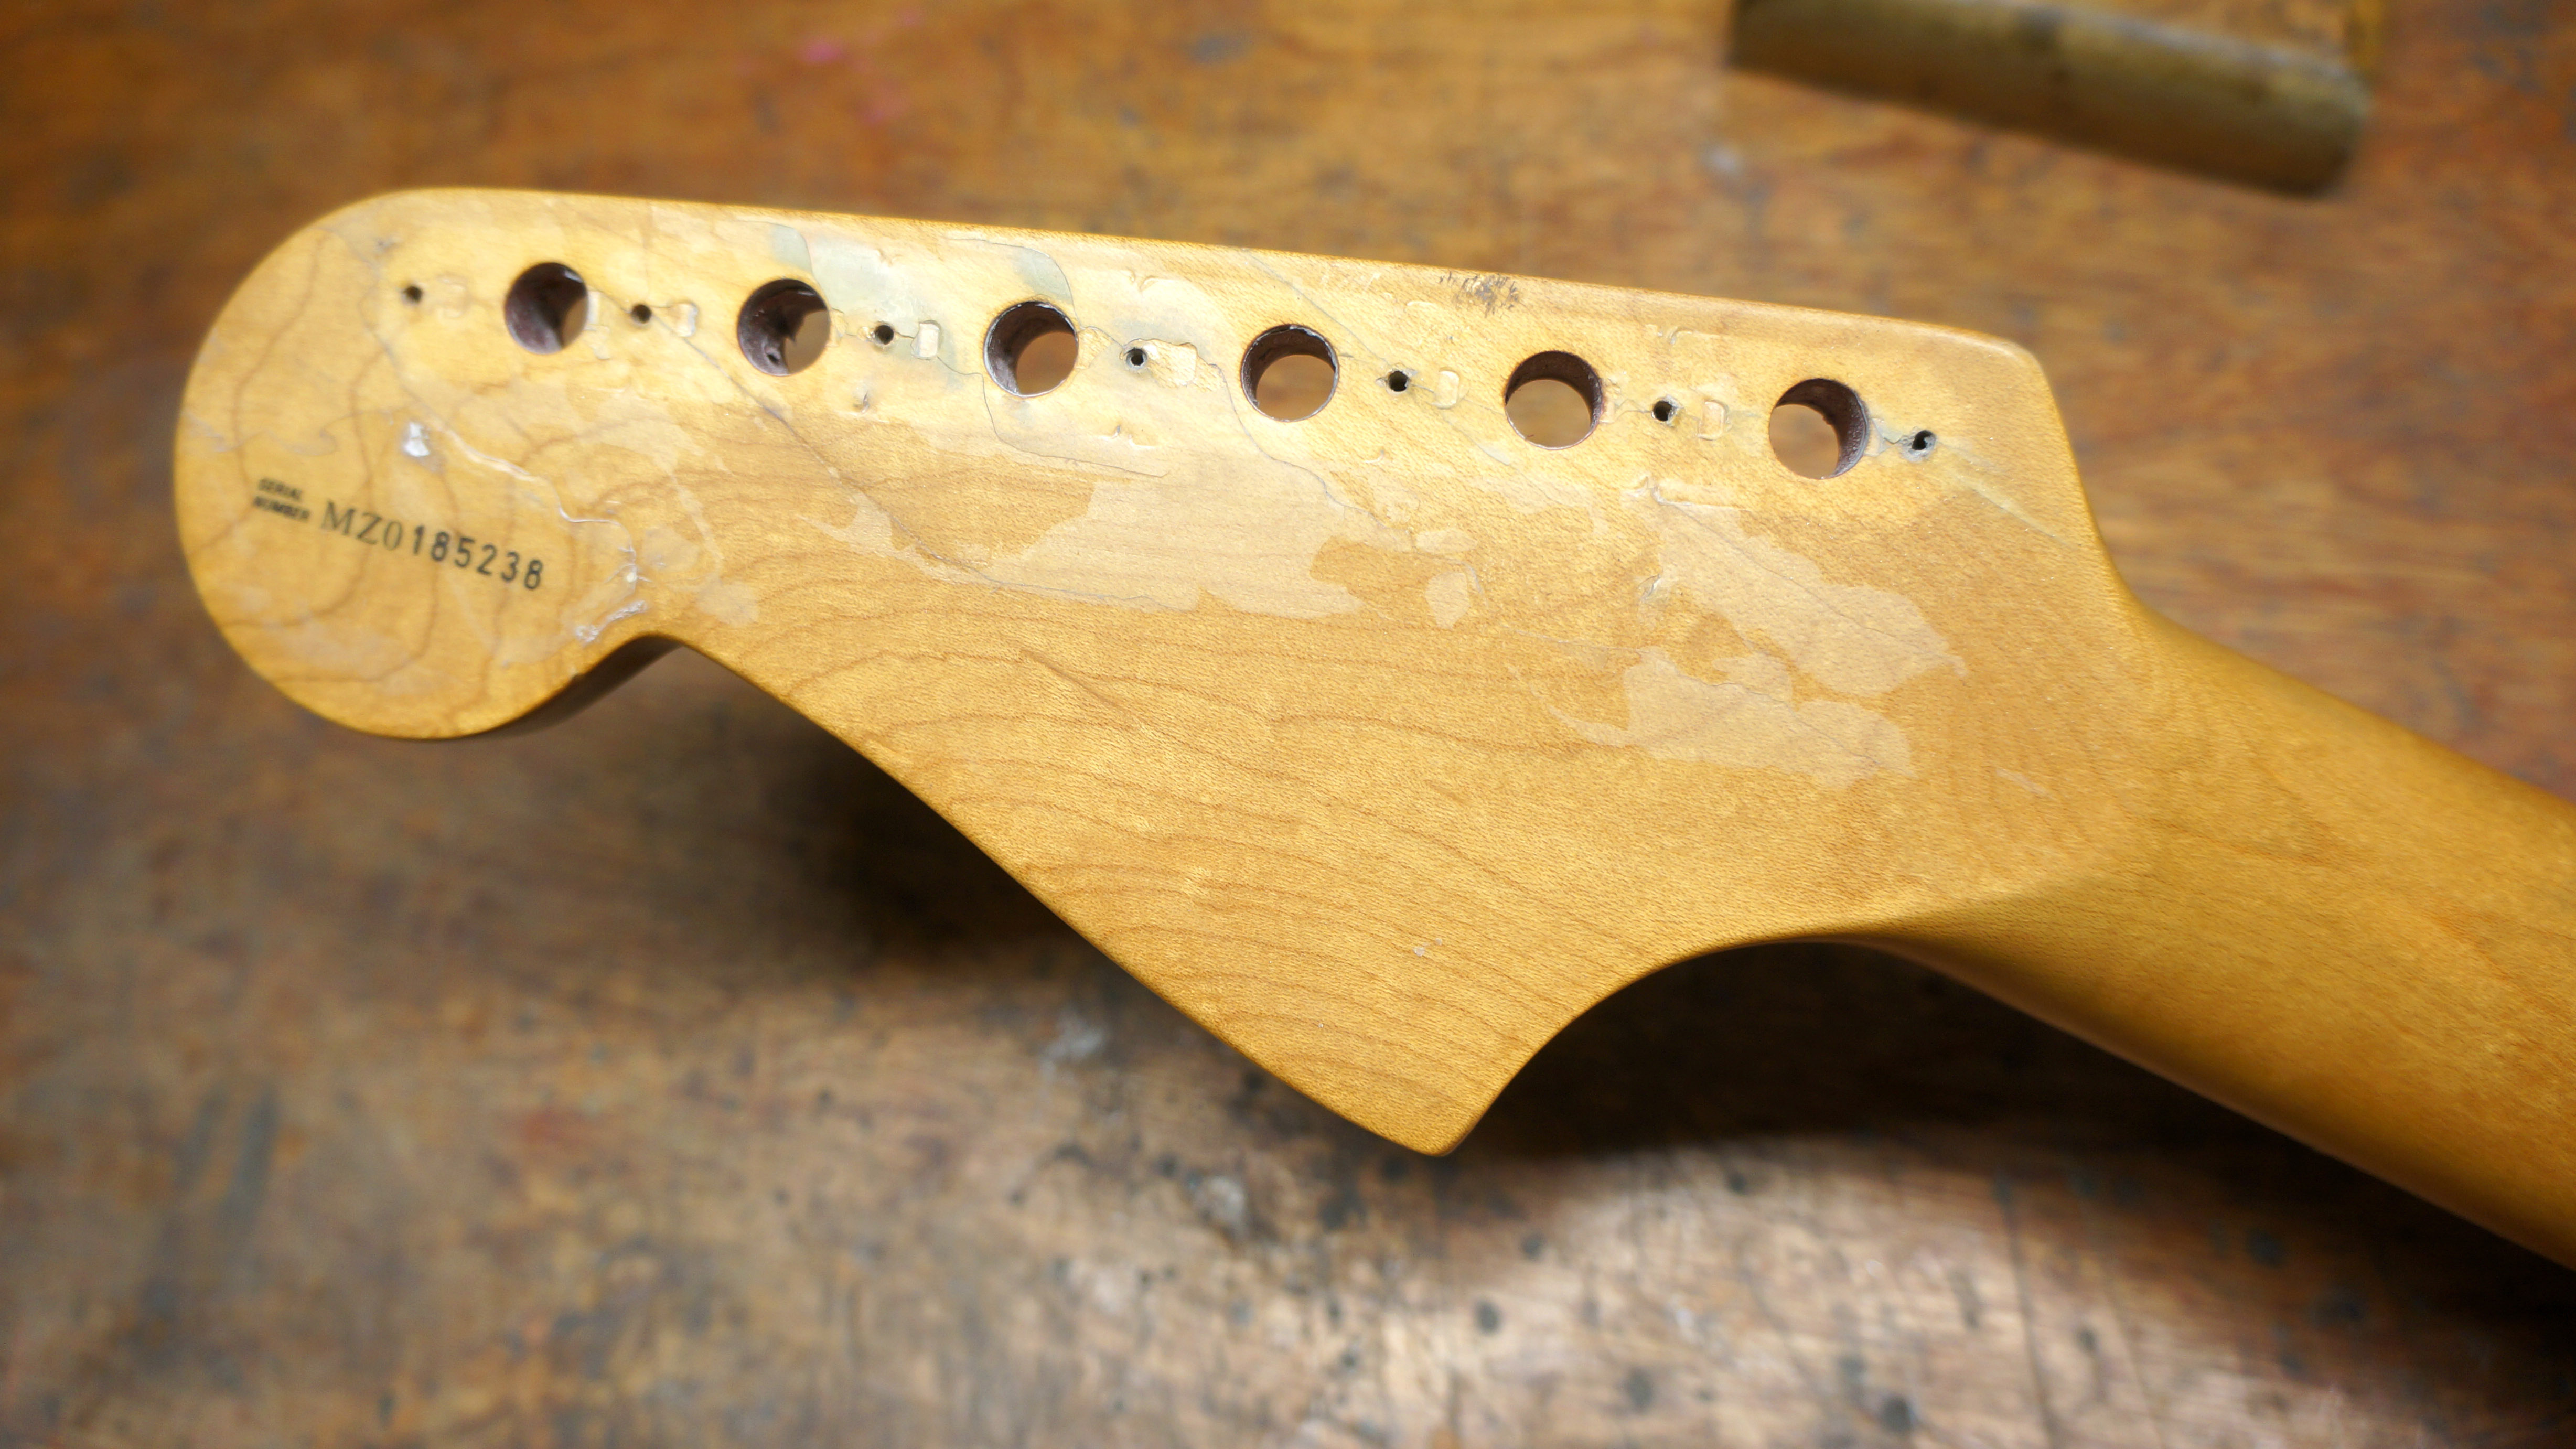
For some reason Fenders from the 90s and early 00s seem to have lacquer that these days is falling off with little persuasion.
Here’s the rear of a Fender Toronado headstock exhibiting the classic peel, if your guitar looks like this you’re definitely in this category!
If your fretboard and neck show signs like this you should only use lighter fluid to clean it along with a gentle touch.
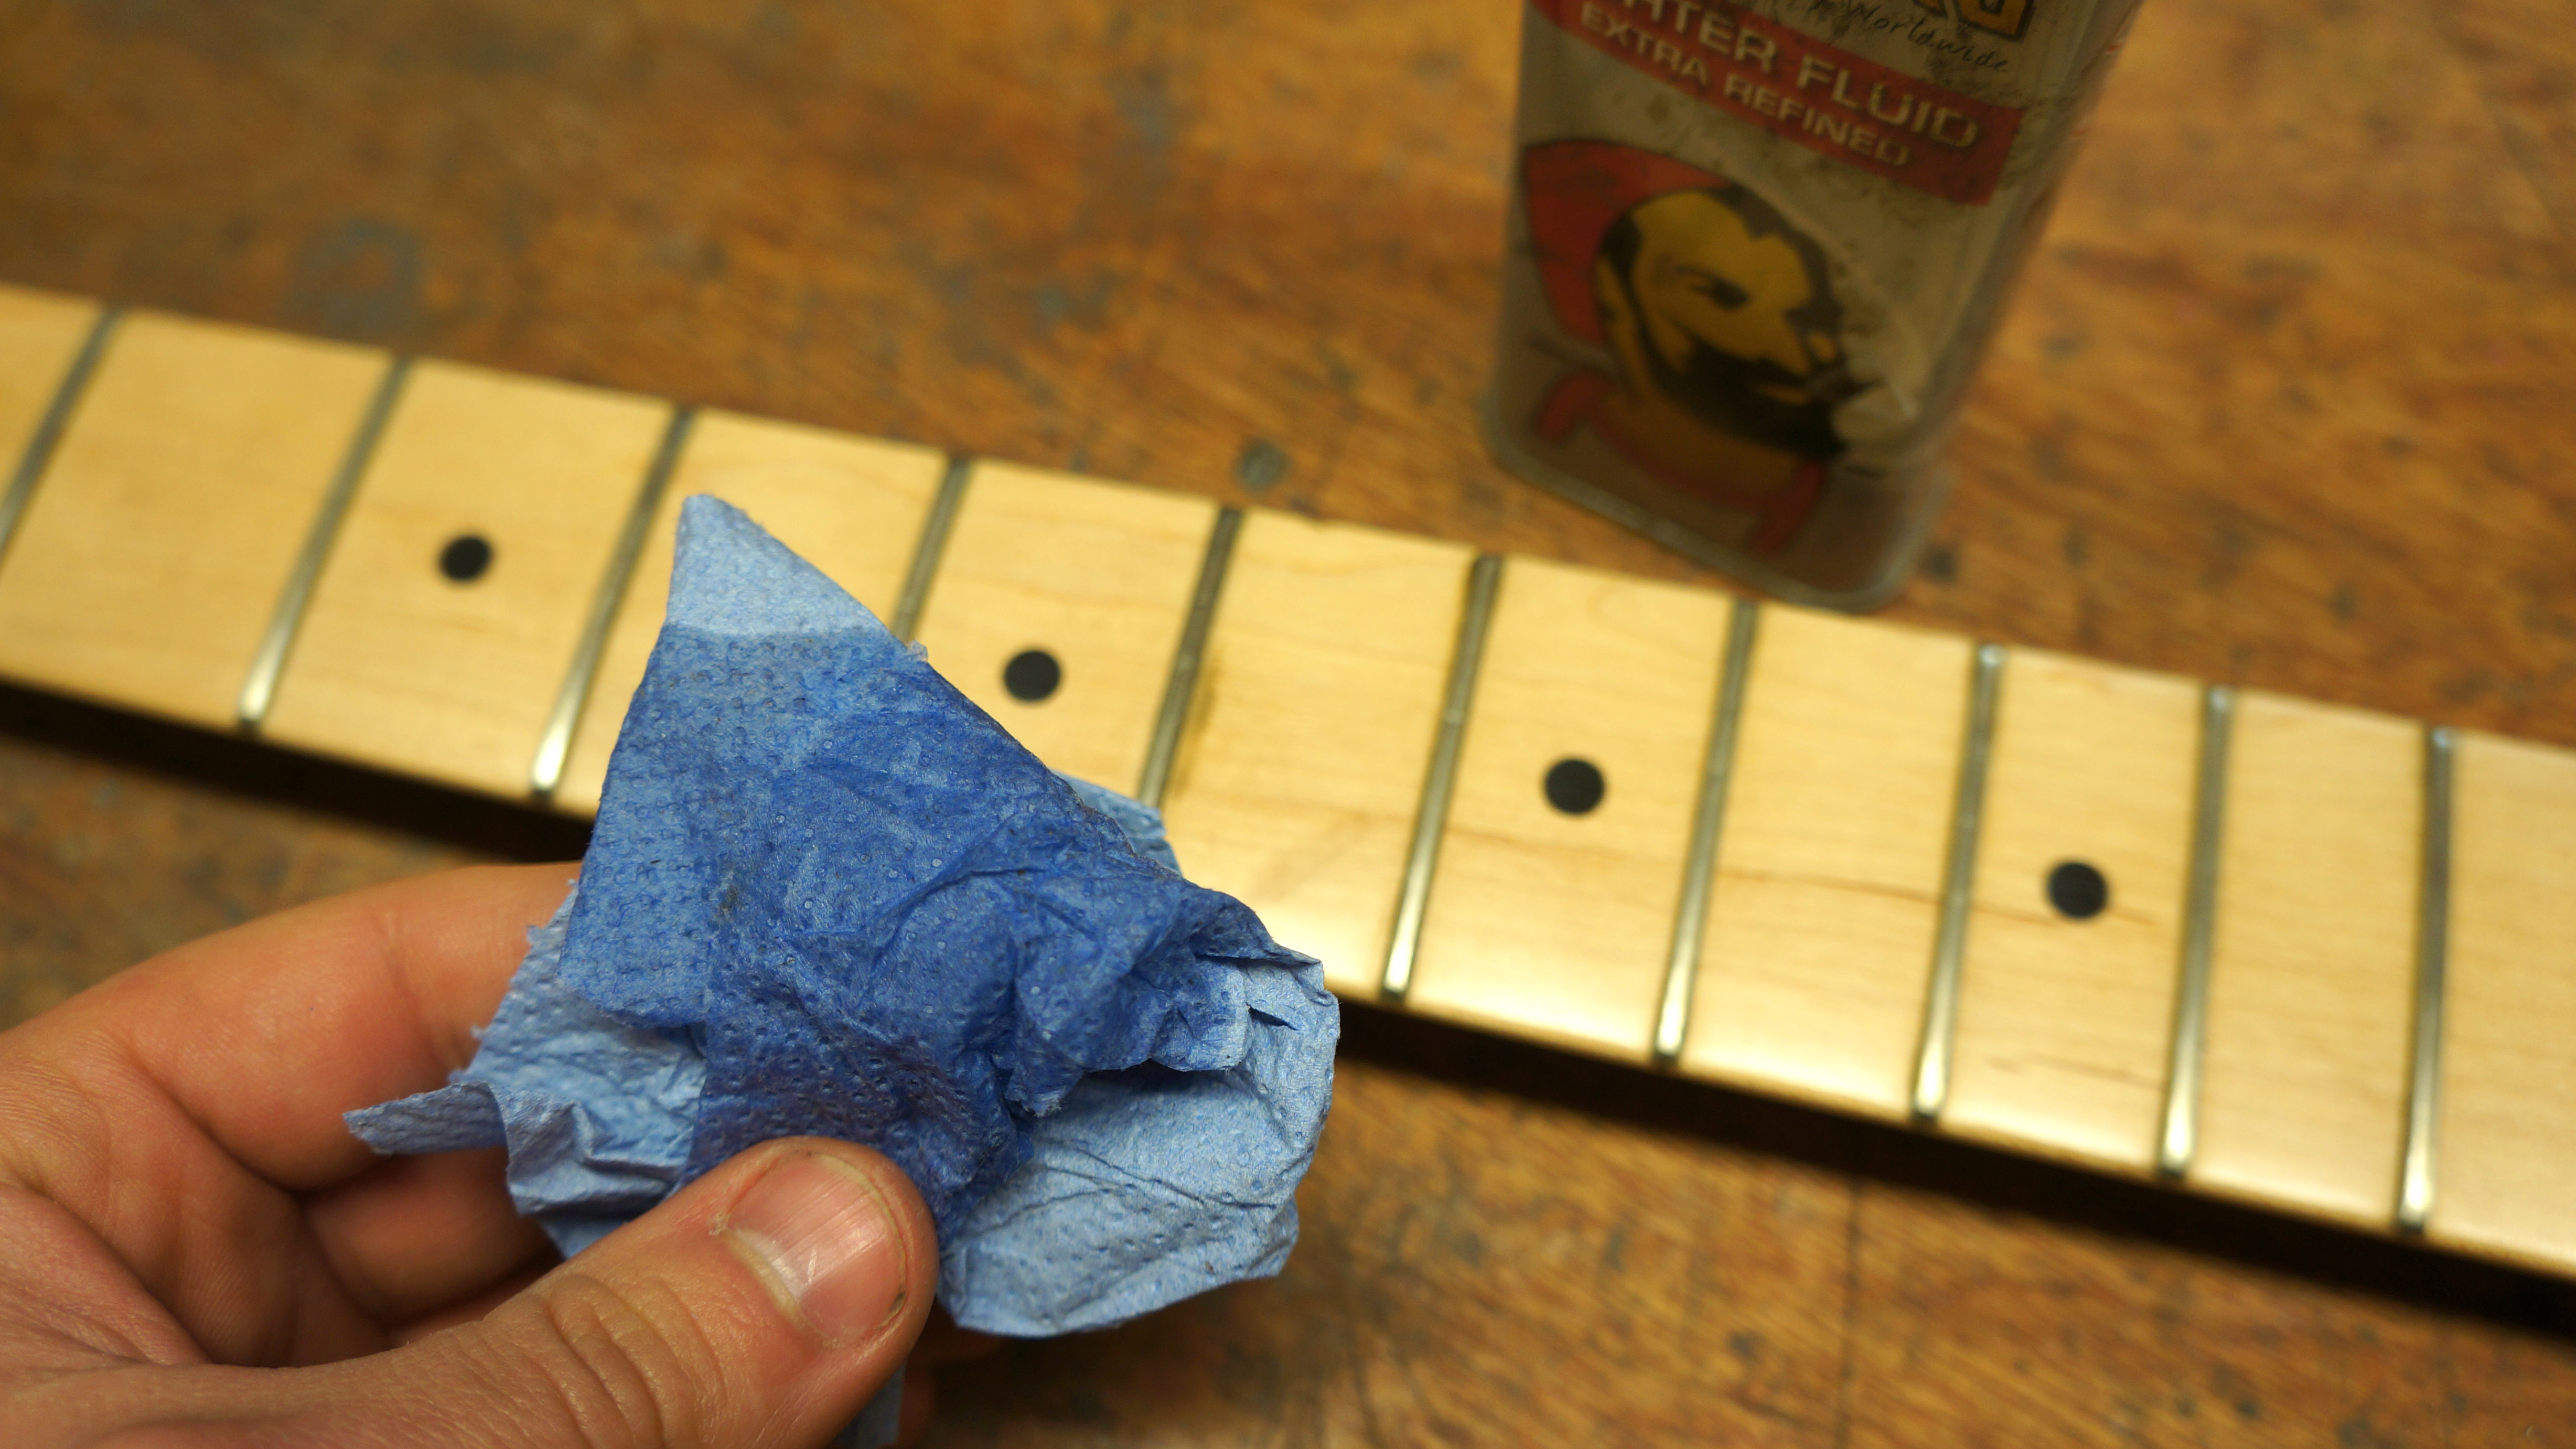
To clean fragile lacquer / cracked lacquer: Soak some blue roll in lighter fluid and lightly rub the fretboard surface. The lighter fluid will dissolve the grease build up as well as lift other dirt that’s stuck to it. The lighter fluid will evaporate very quickly so will not harm the timber.
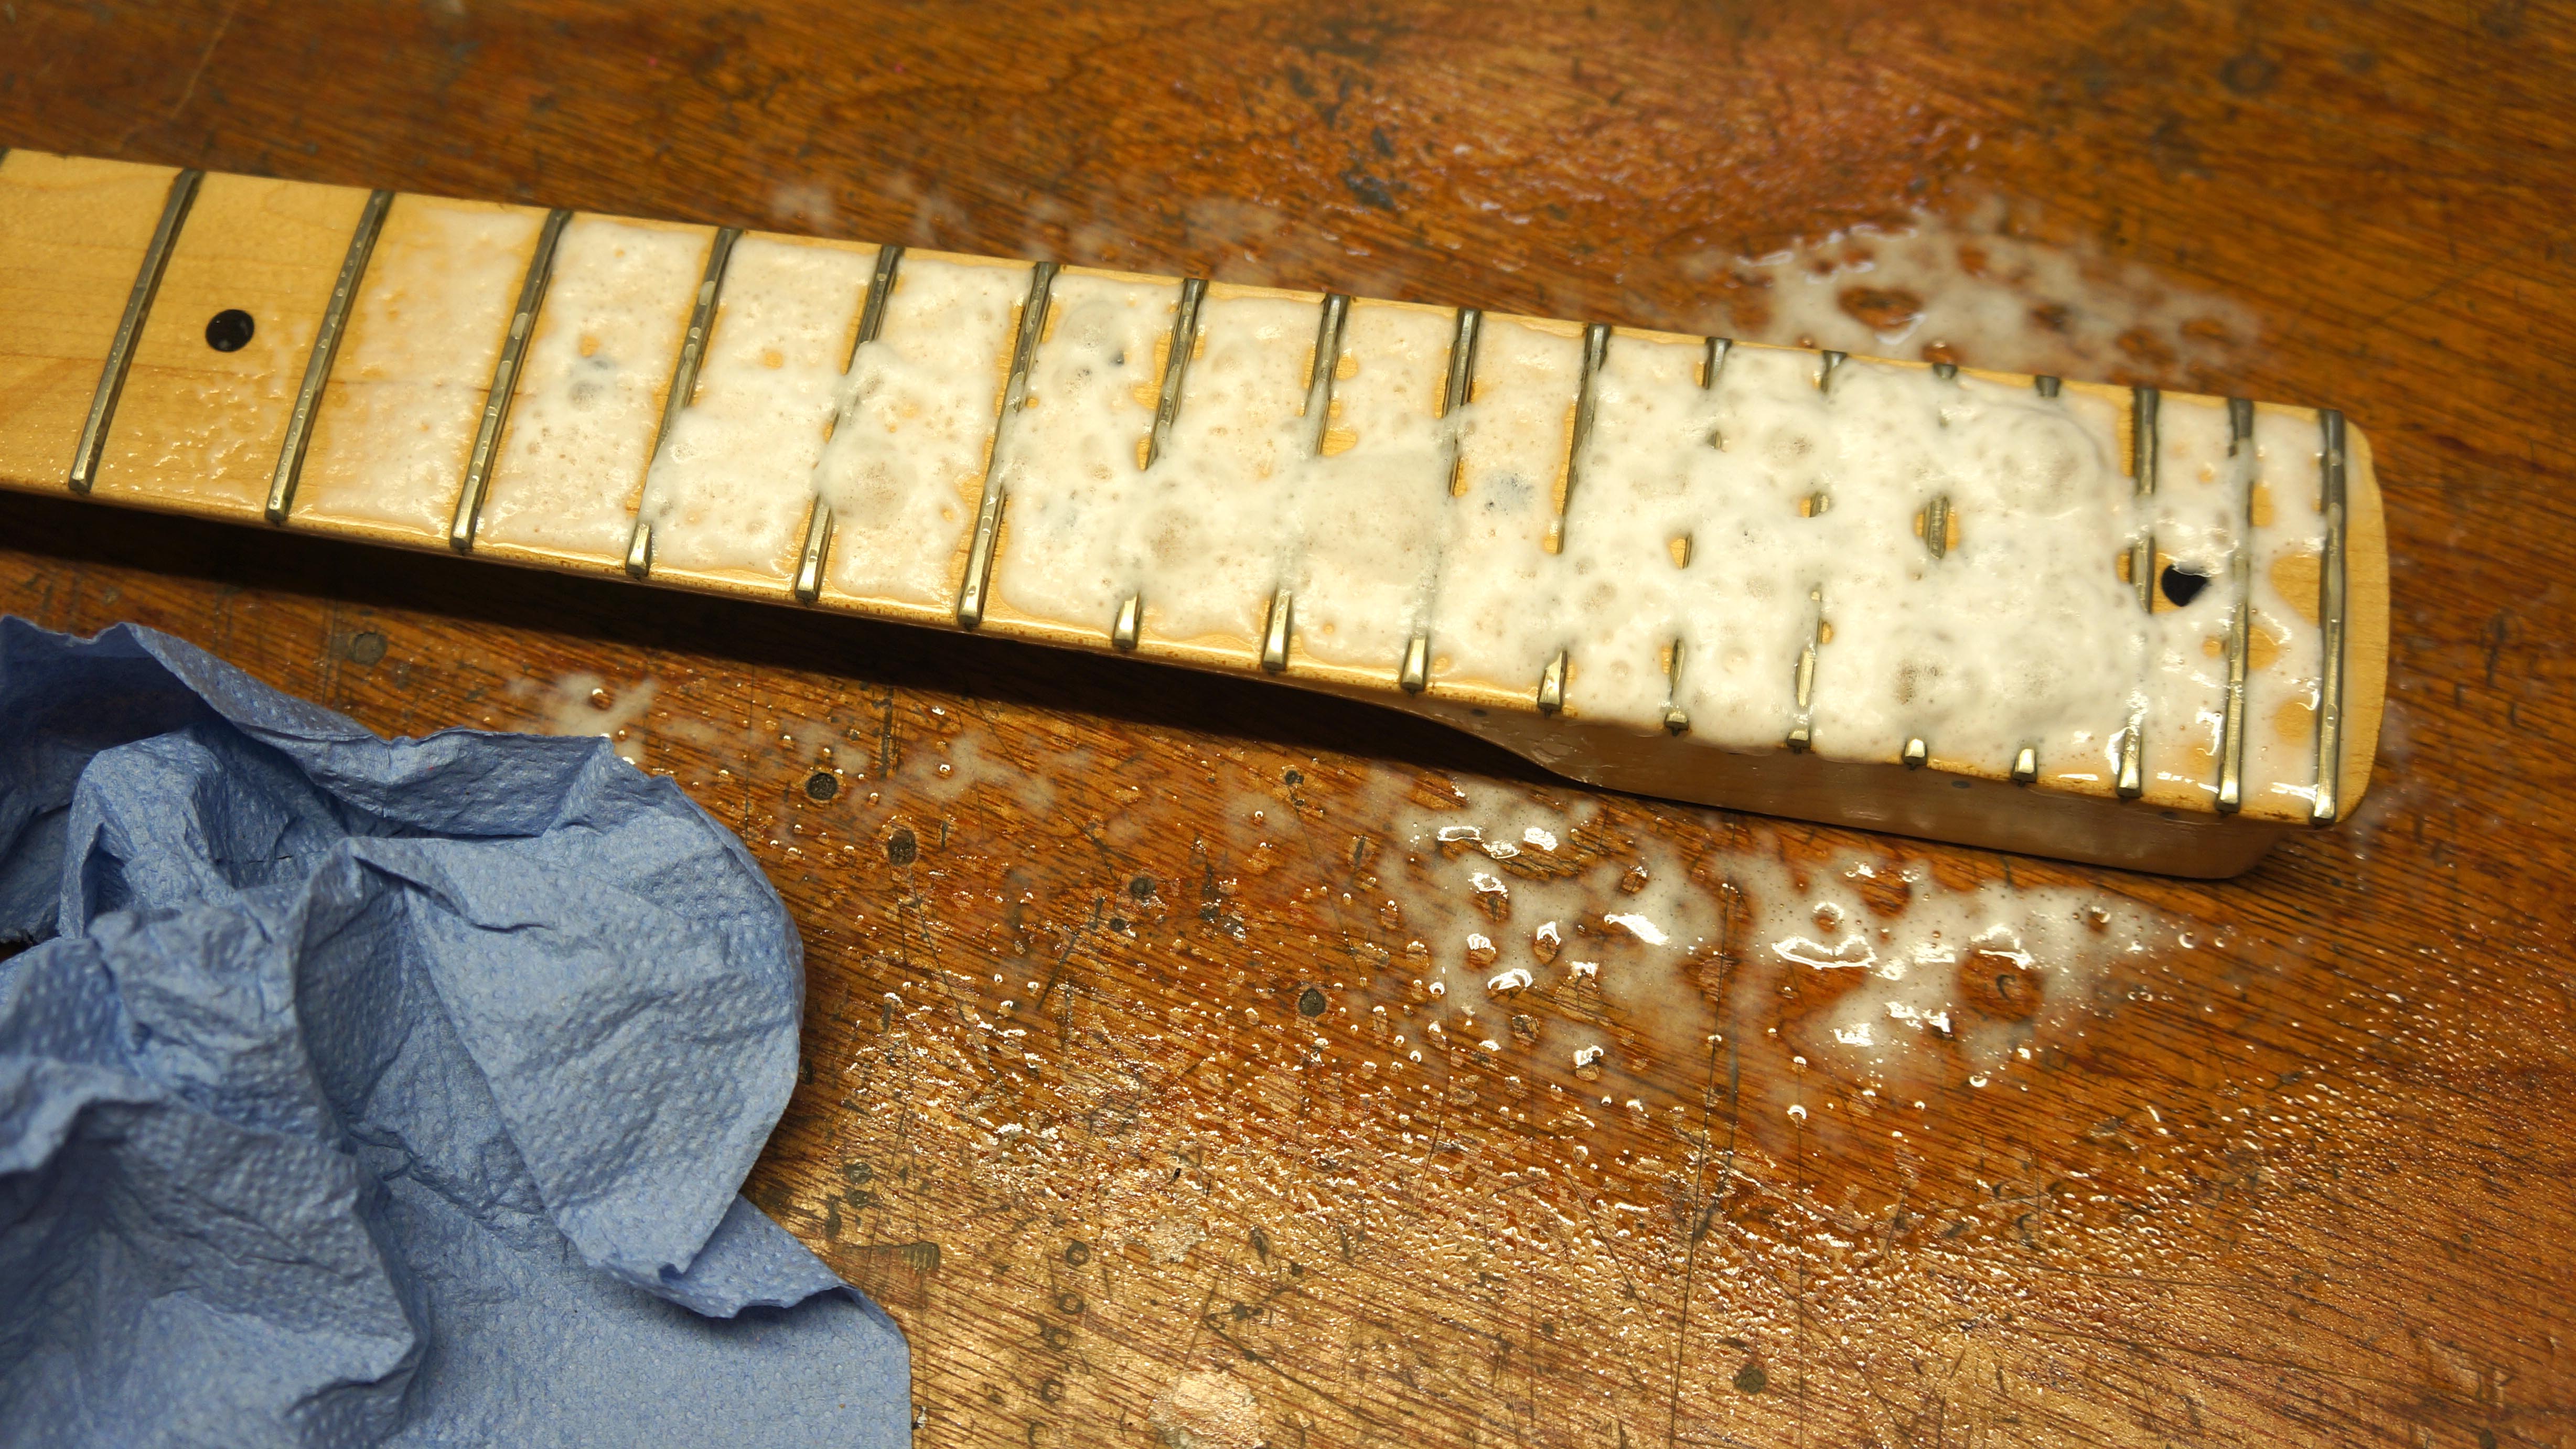
A new fretboard is a touch easier and you can be a little rougher with it. New lacquer means it’s sealed up and not chipped, it’s sort of weather proof. Servisol Foam Cleanser 30 is great for lifting off dirt.
Squirt a bit on and let it foam up, let it soak for 30 secs then begin to wipe off. Try a second application for more stubborn goop.
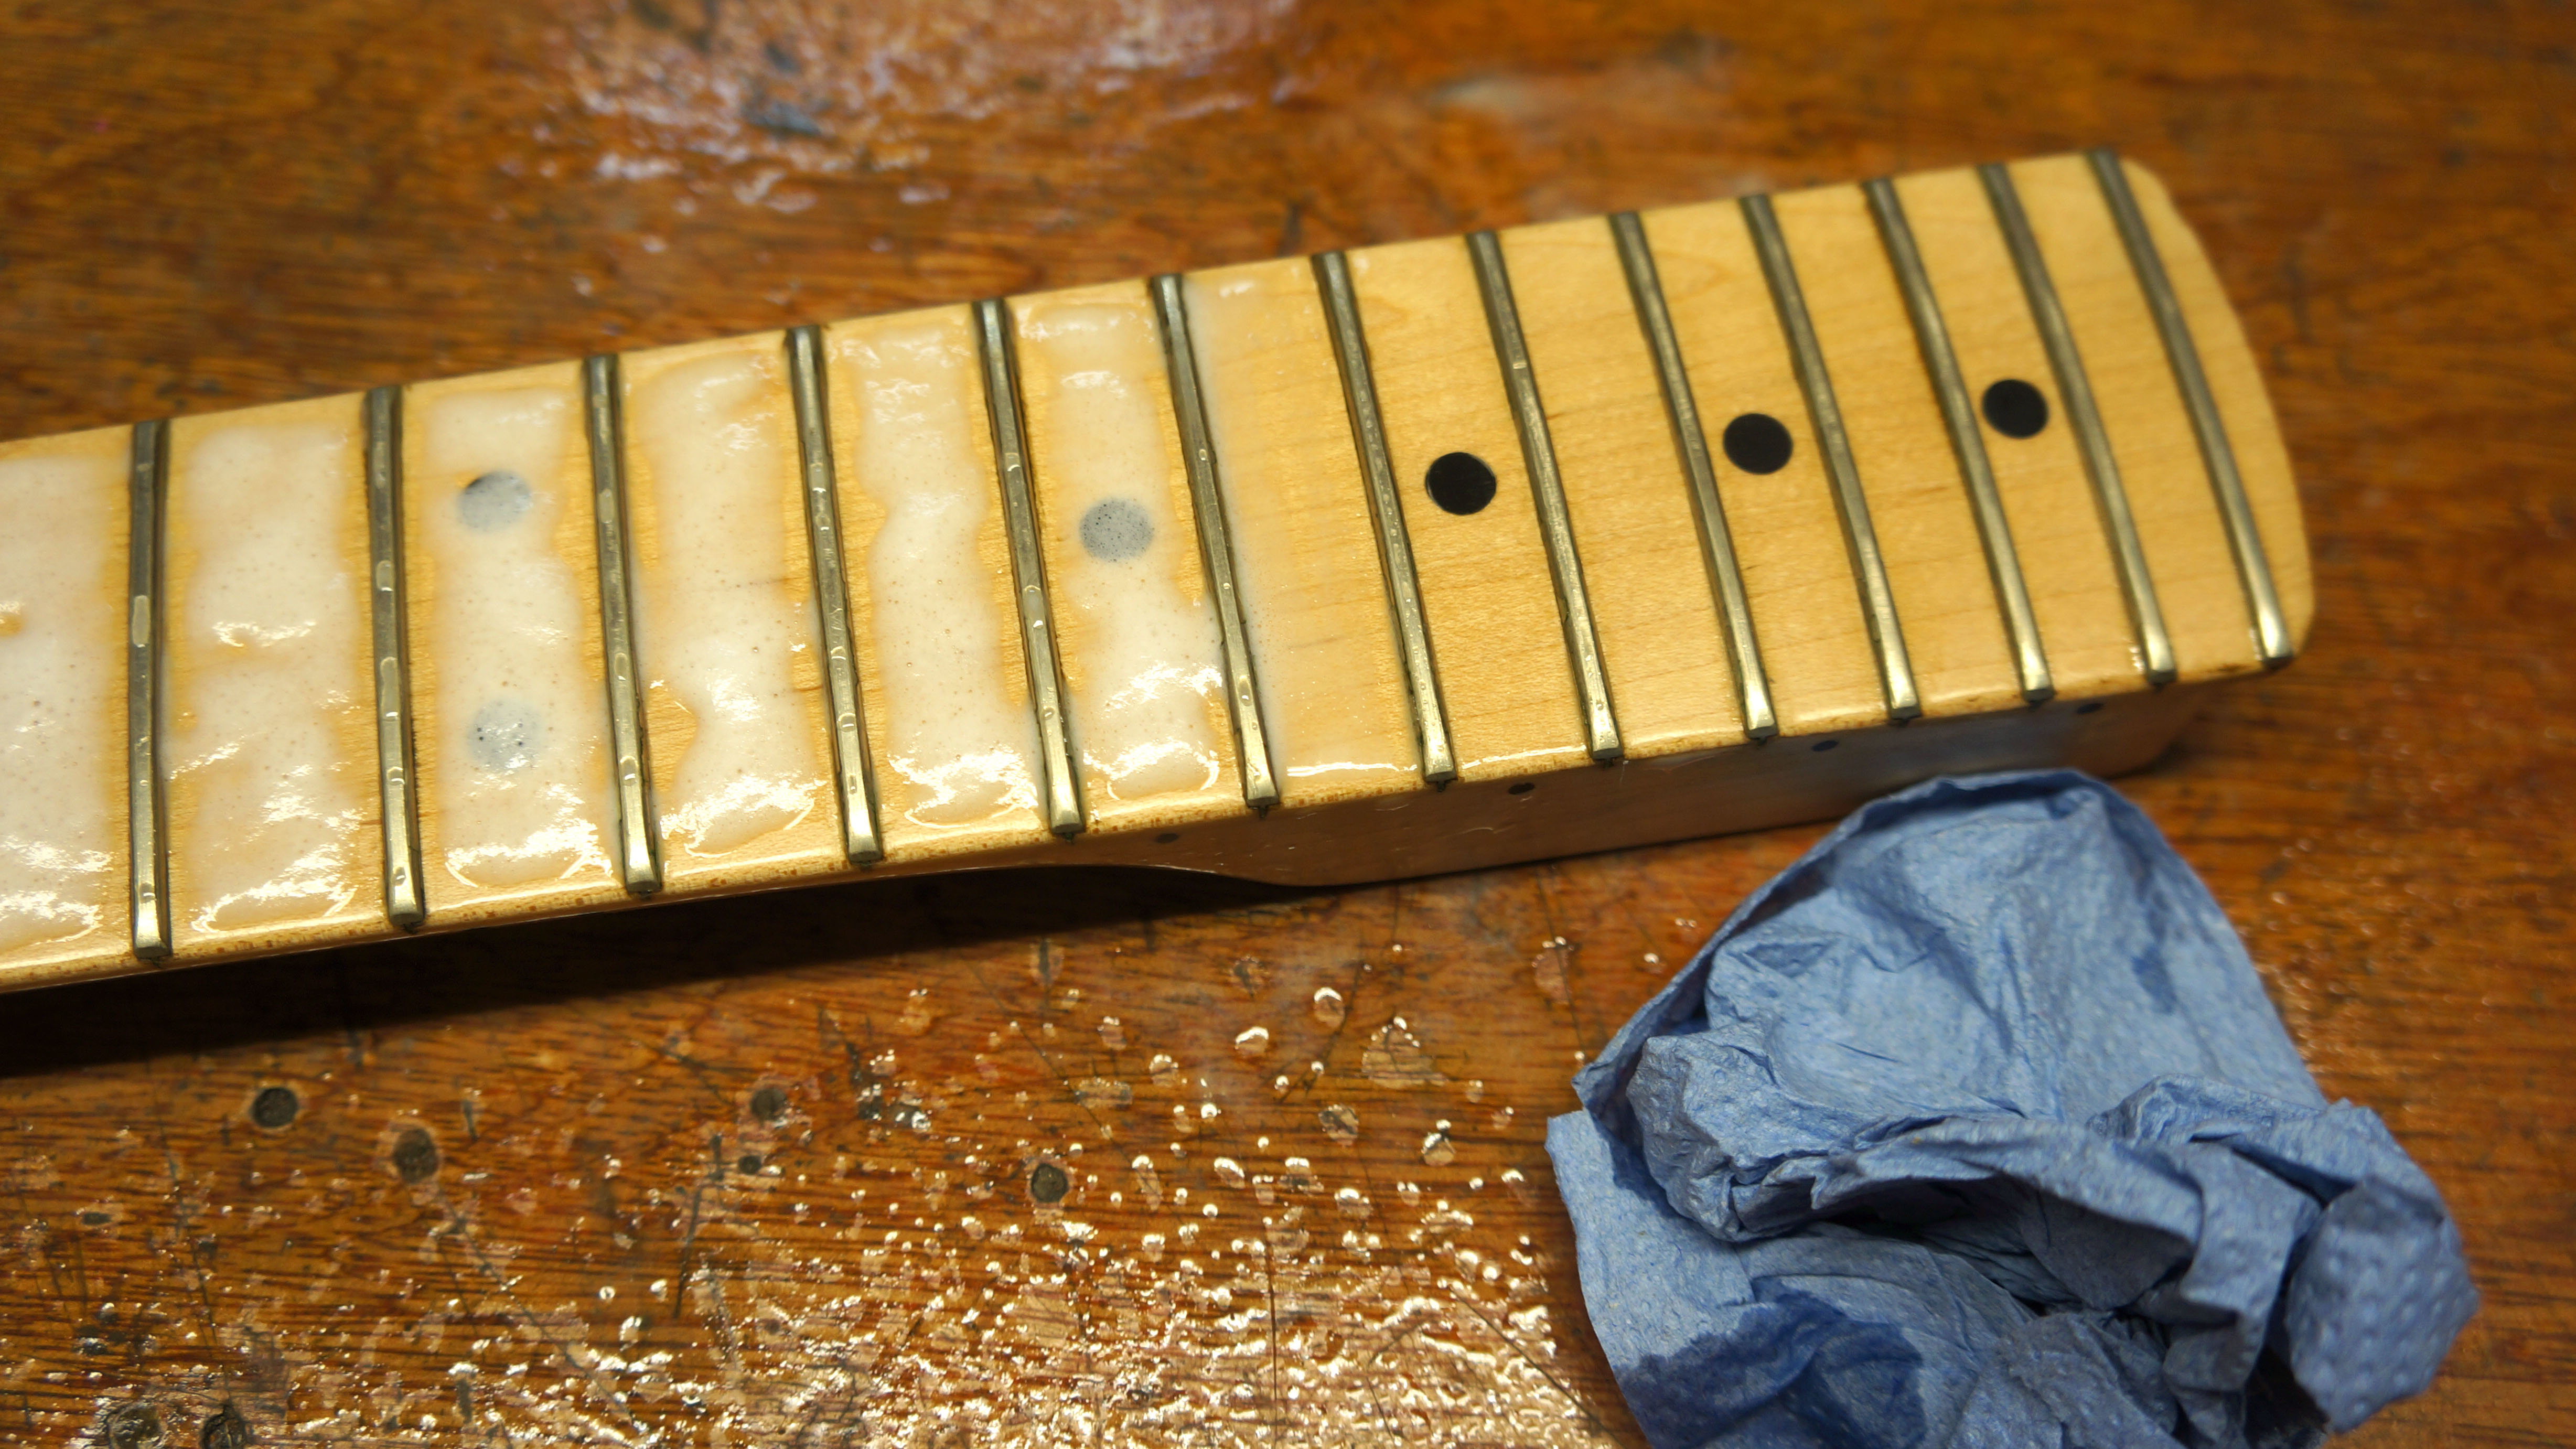
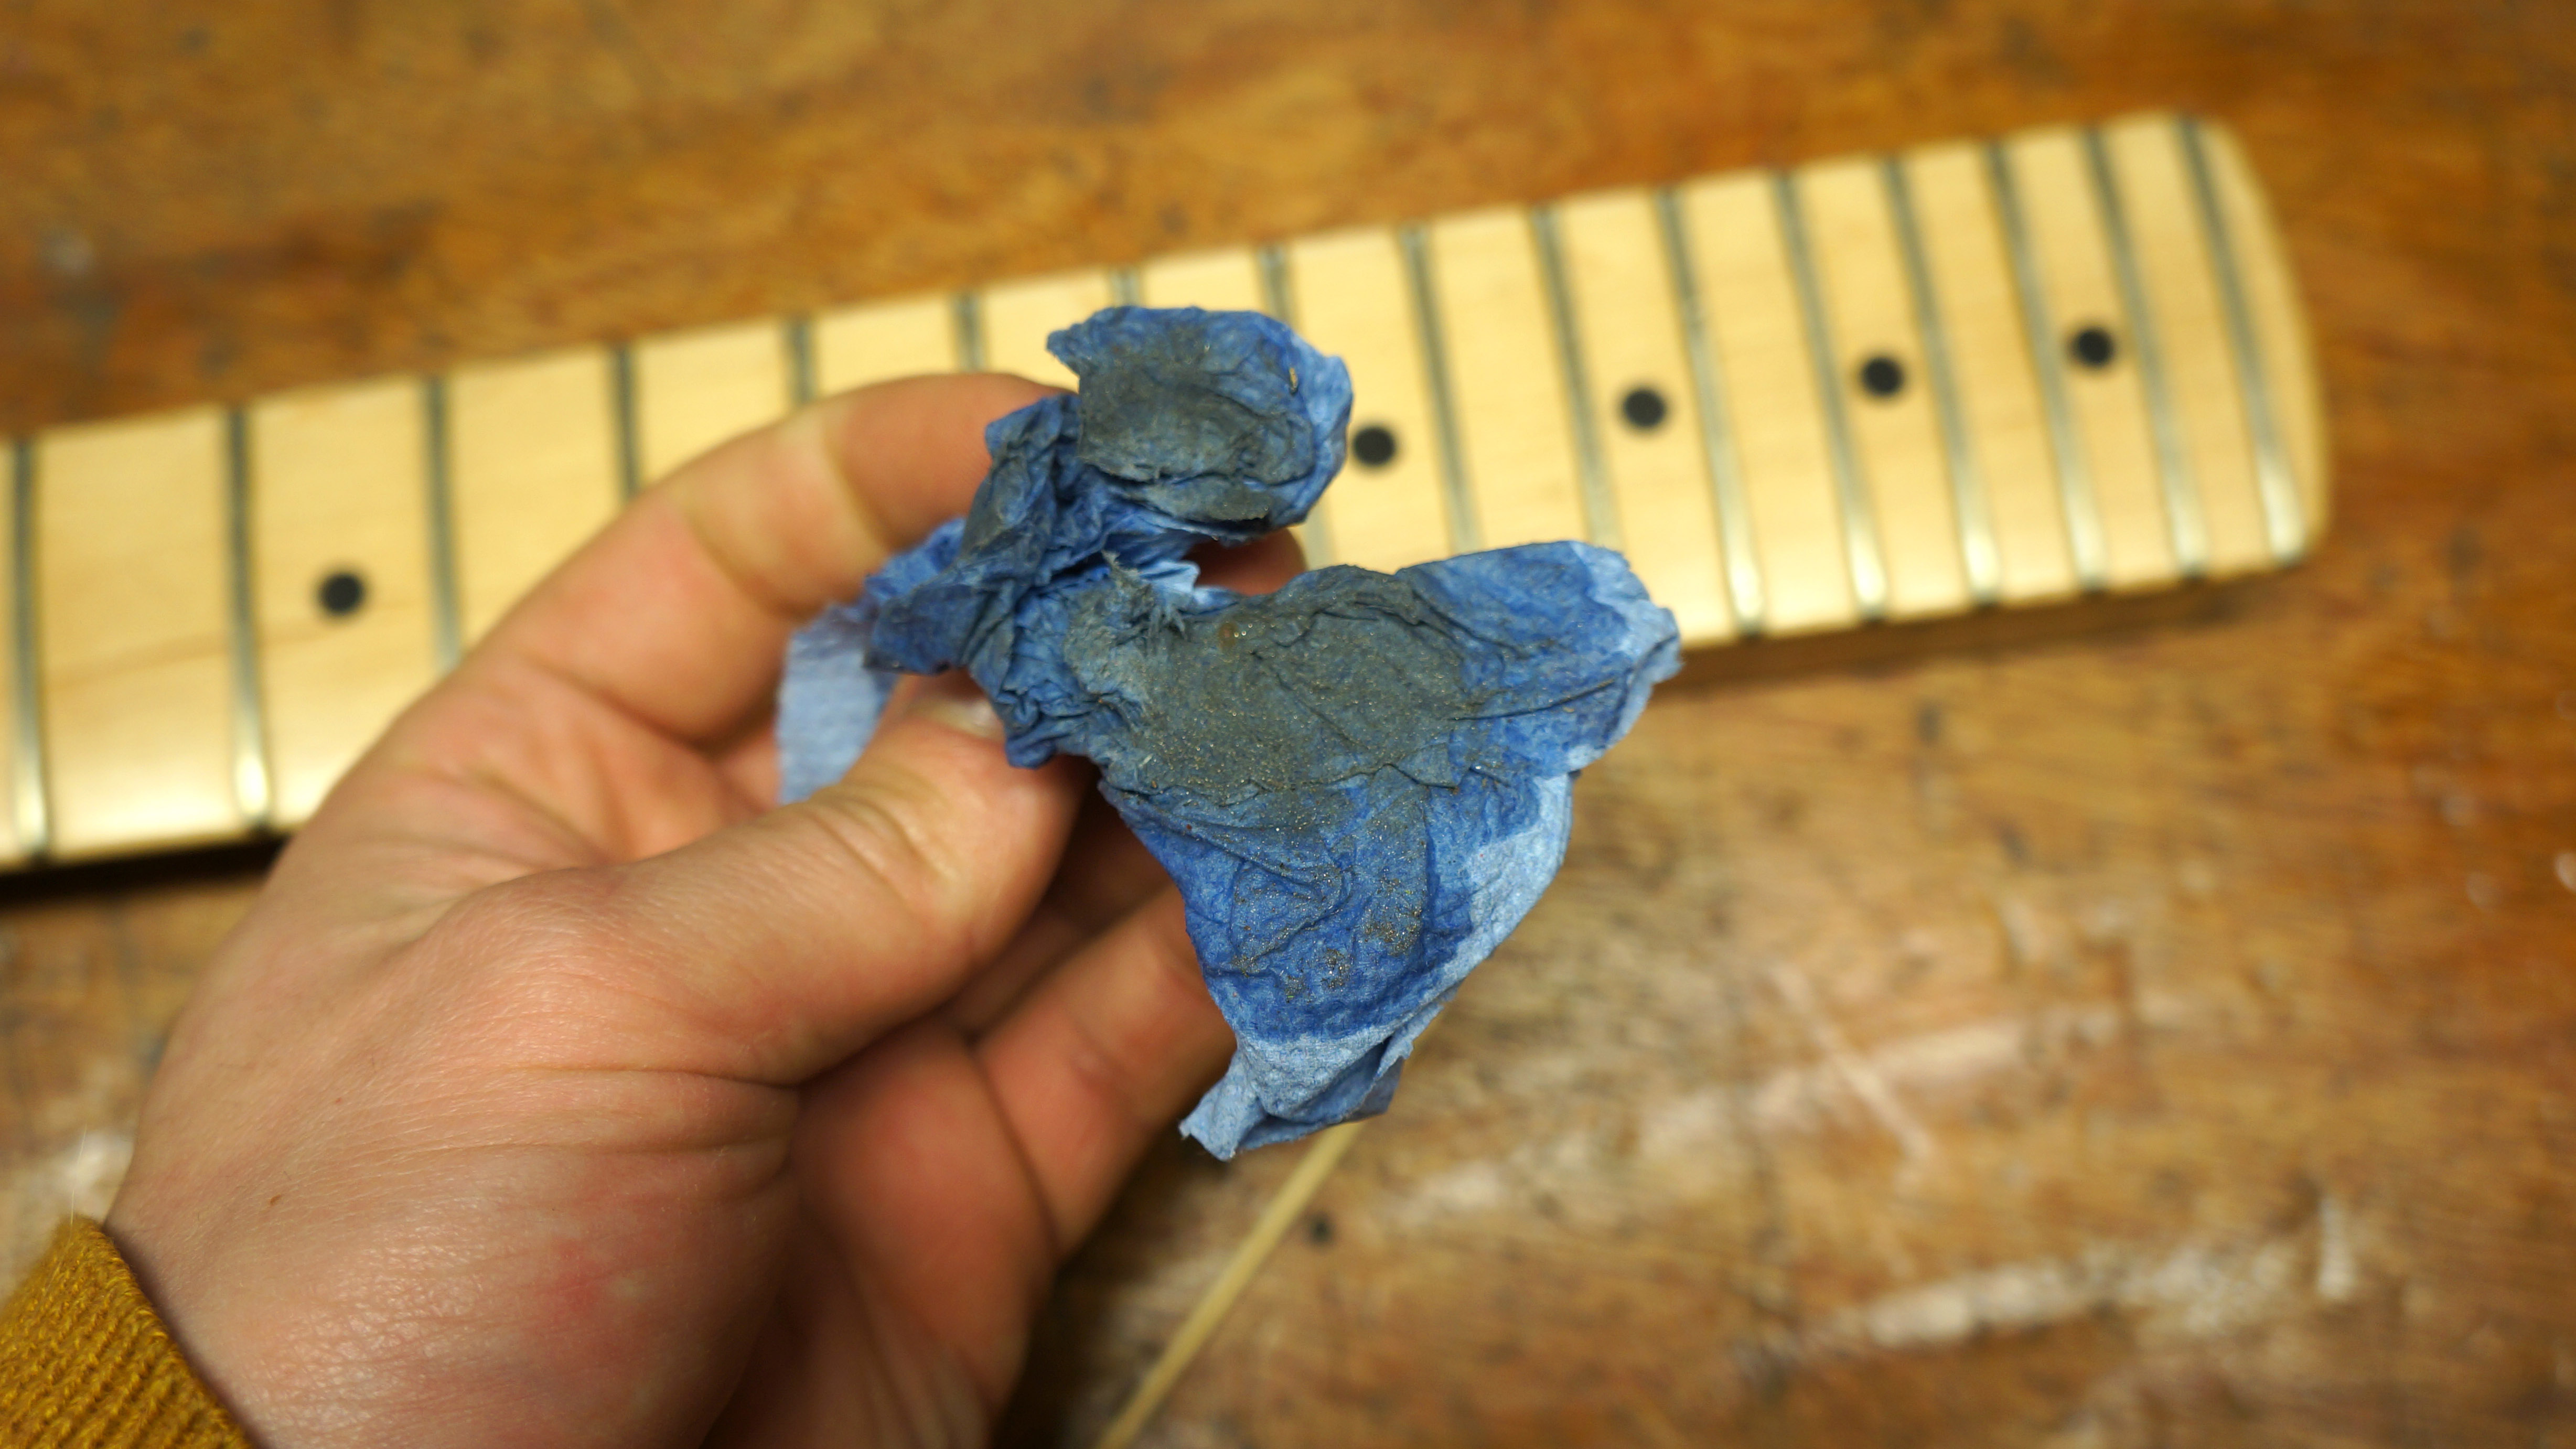
Observe the colour of your blue roll afterwards!
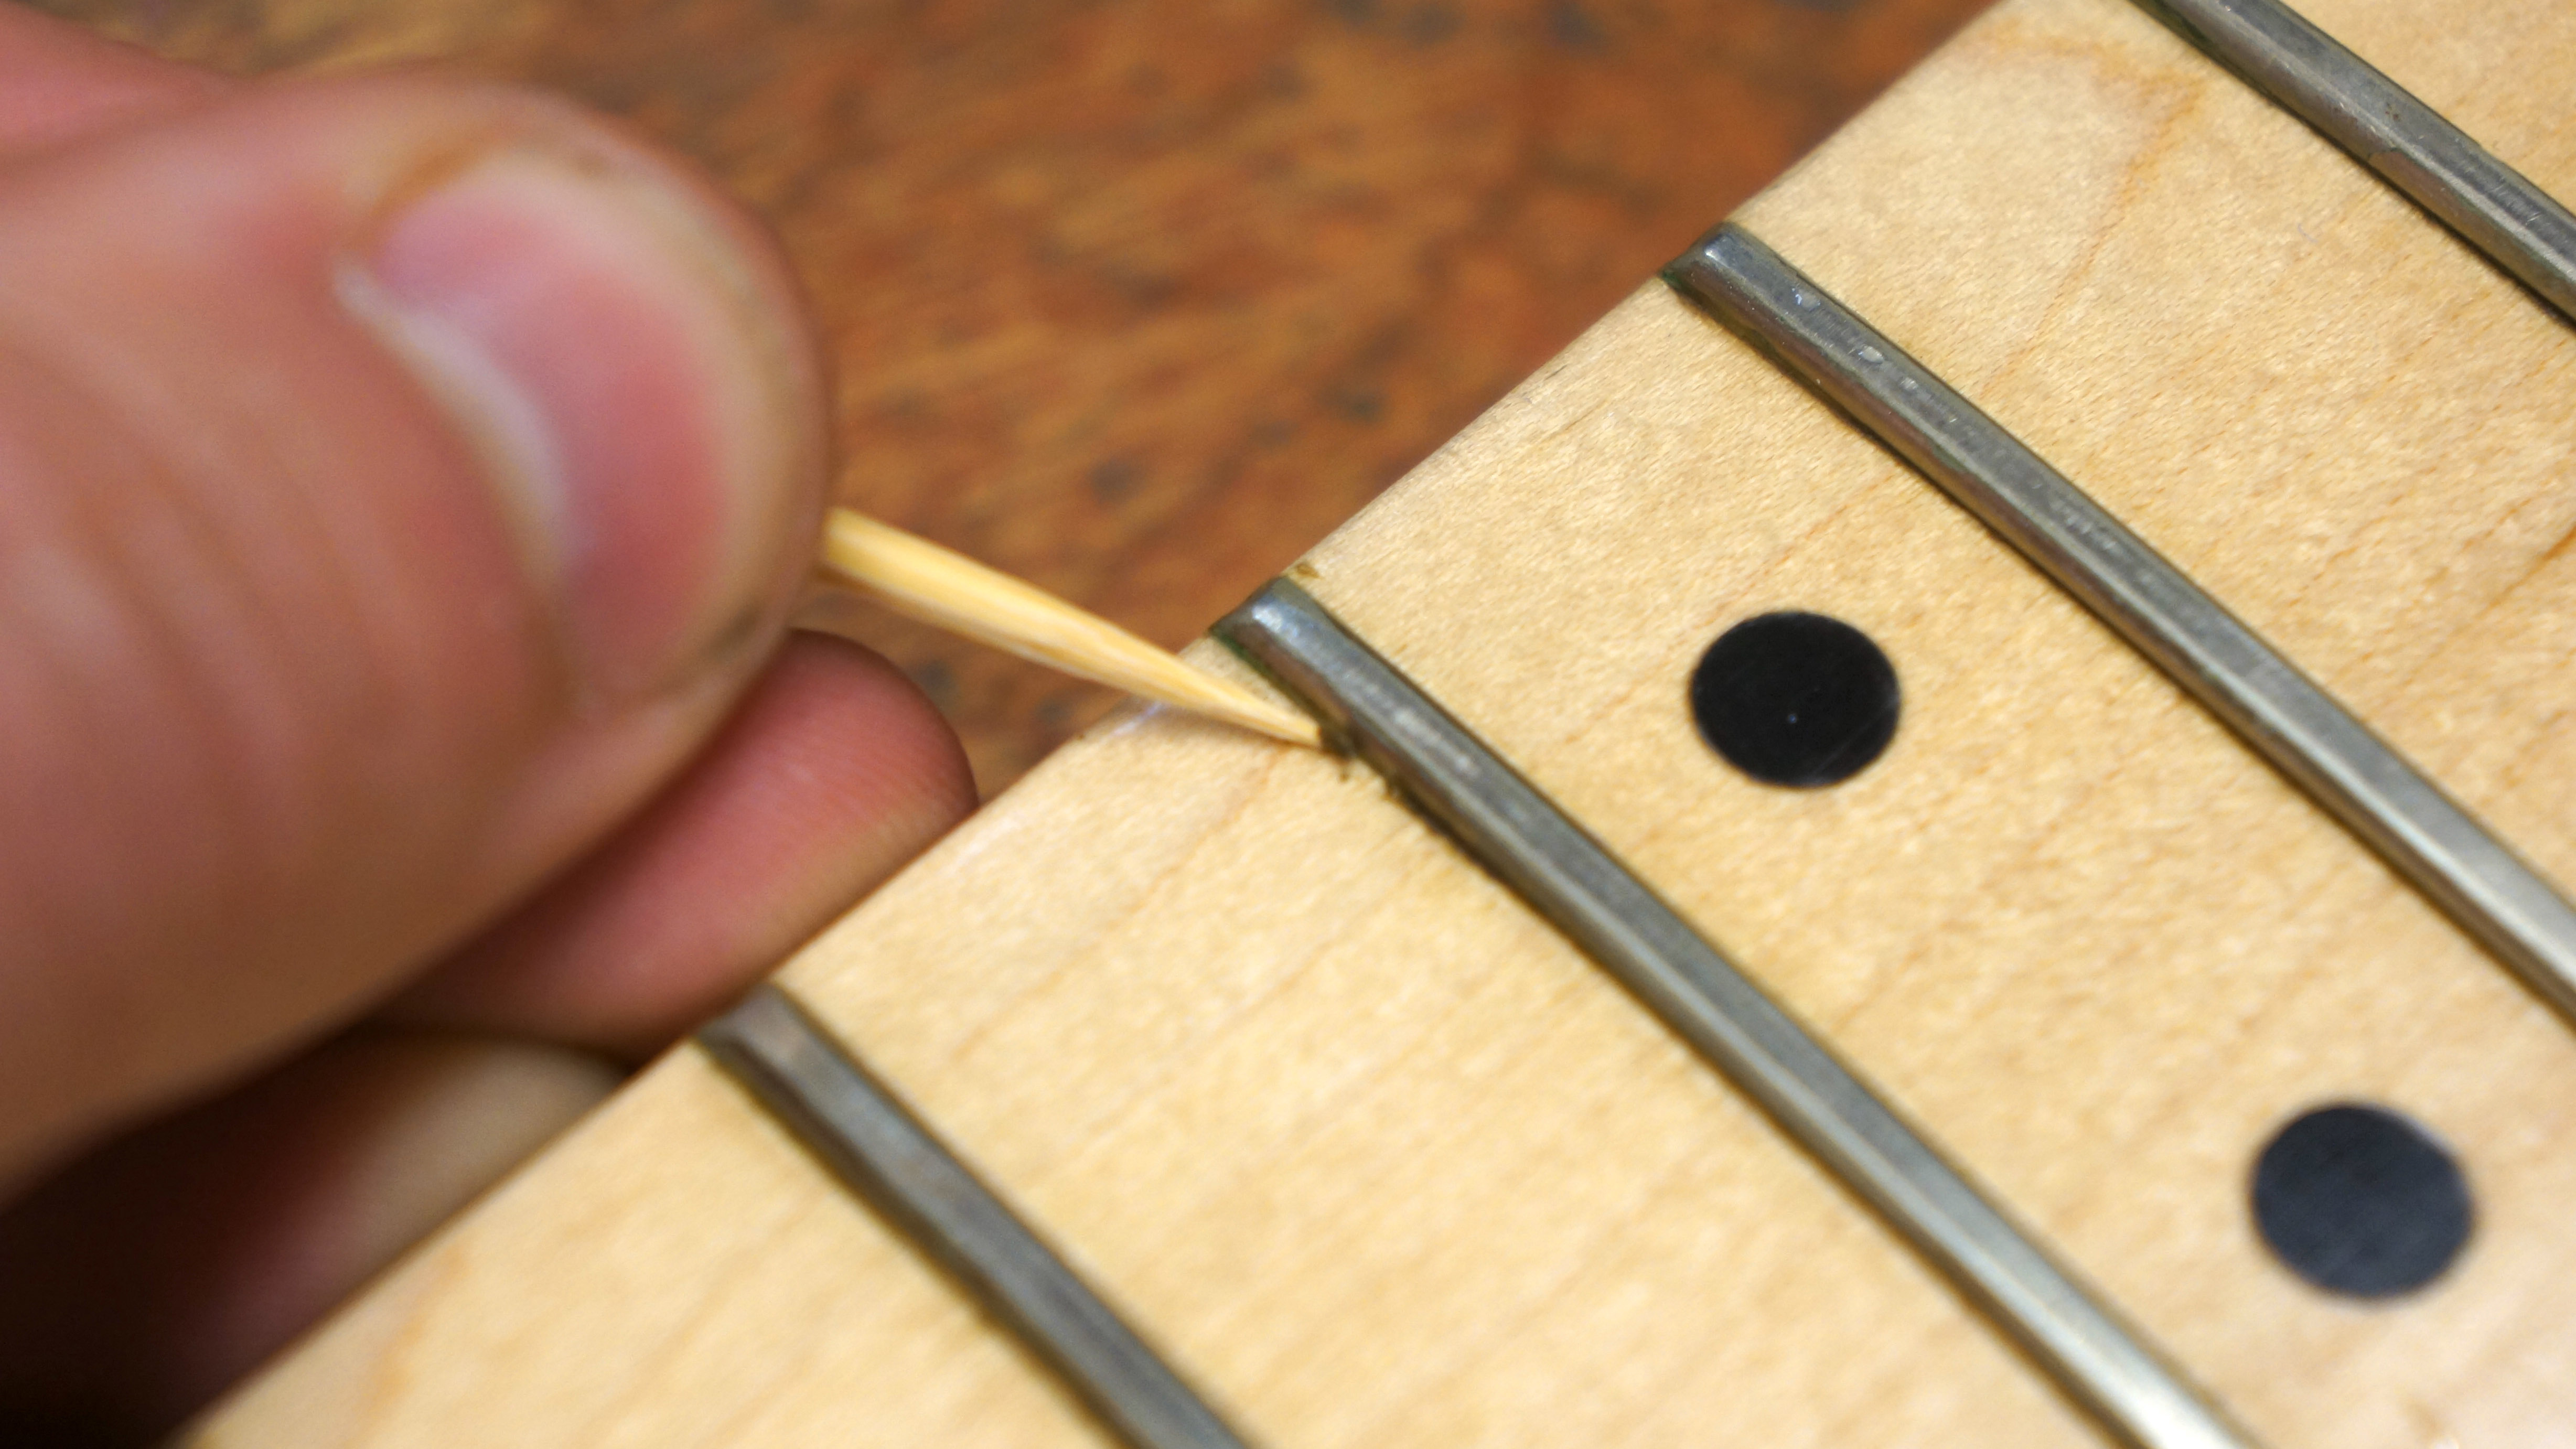
If there’s still a grime build up at the edges of the frets then we’ll have to bring out the tiny pokey tool, a cocktail stick.
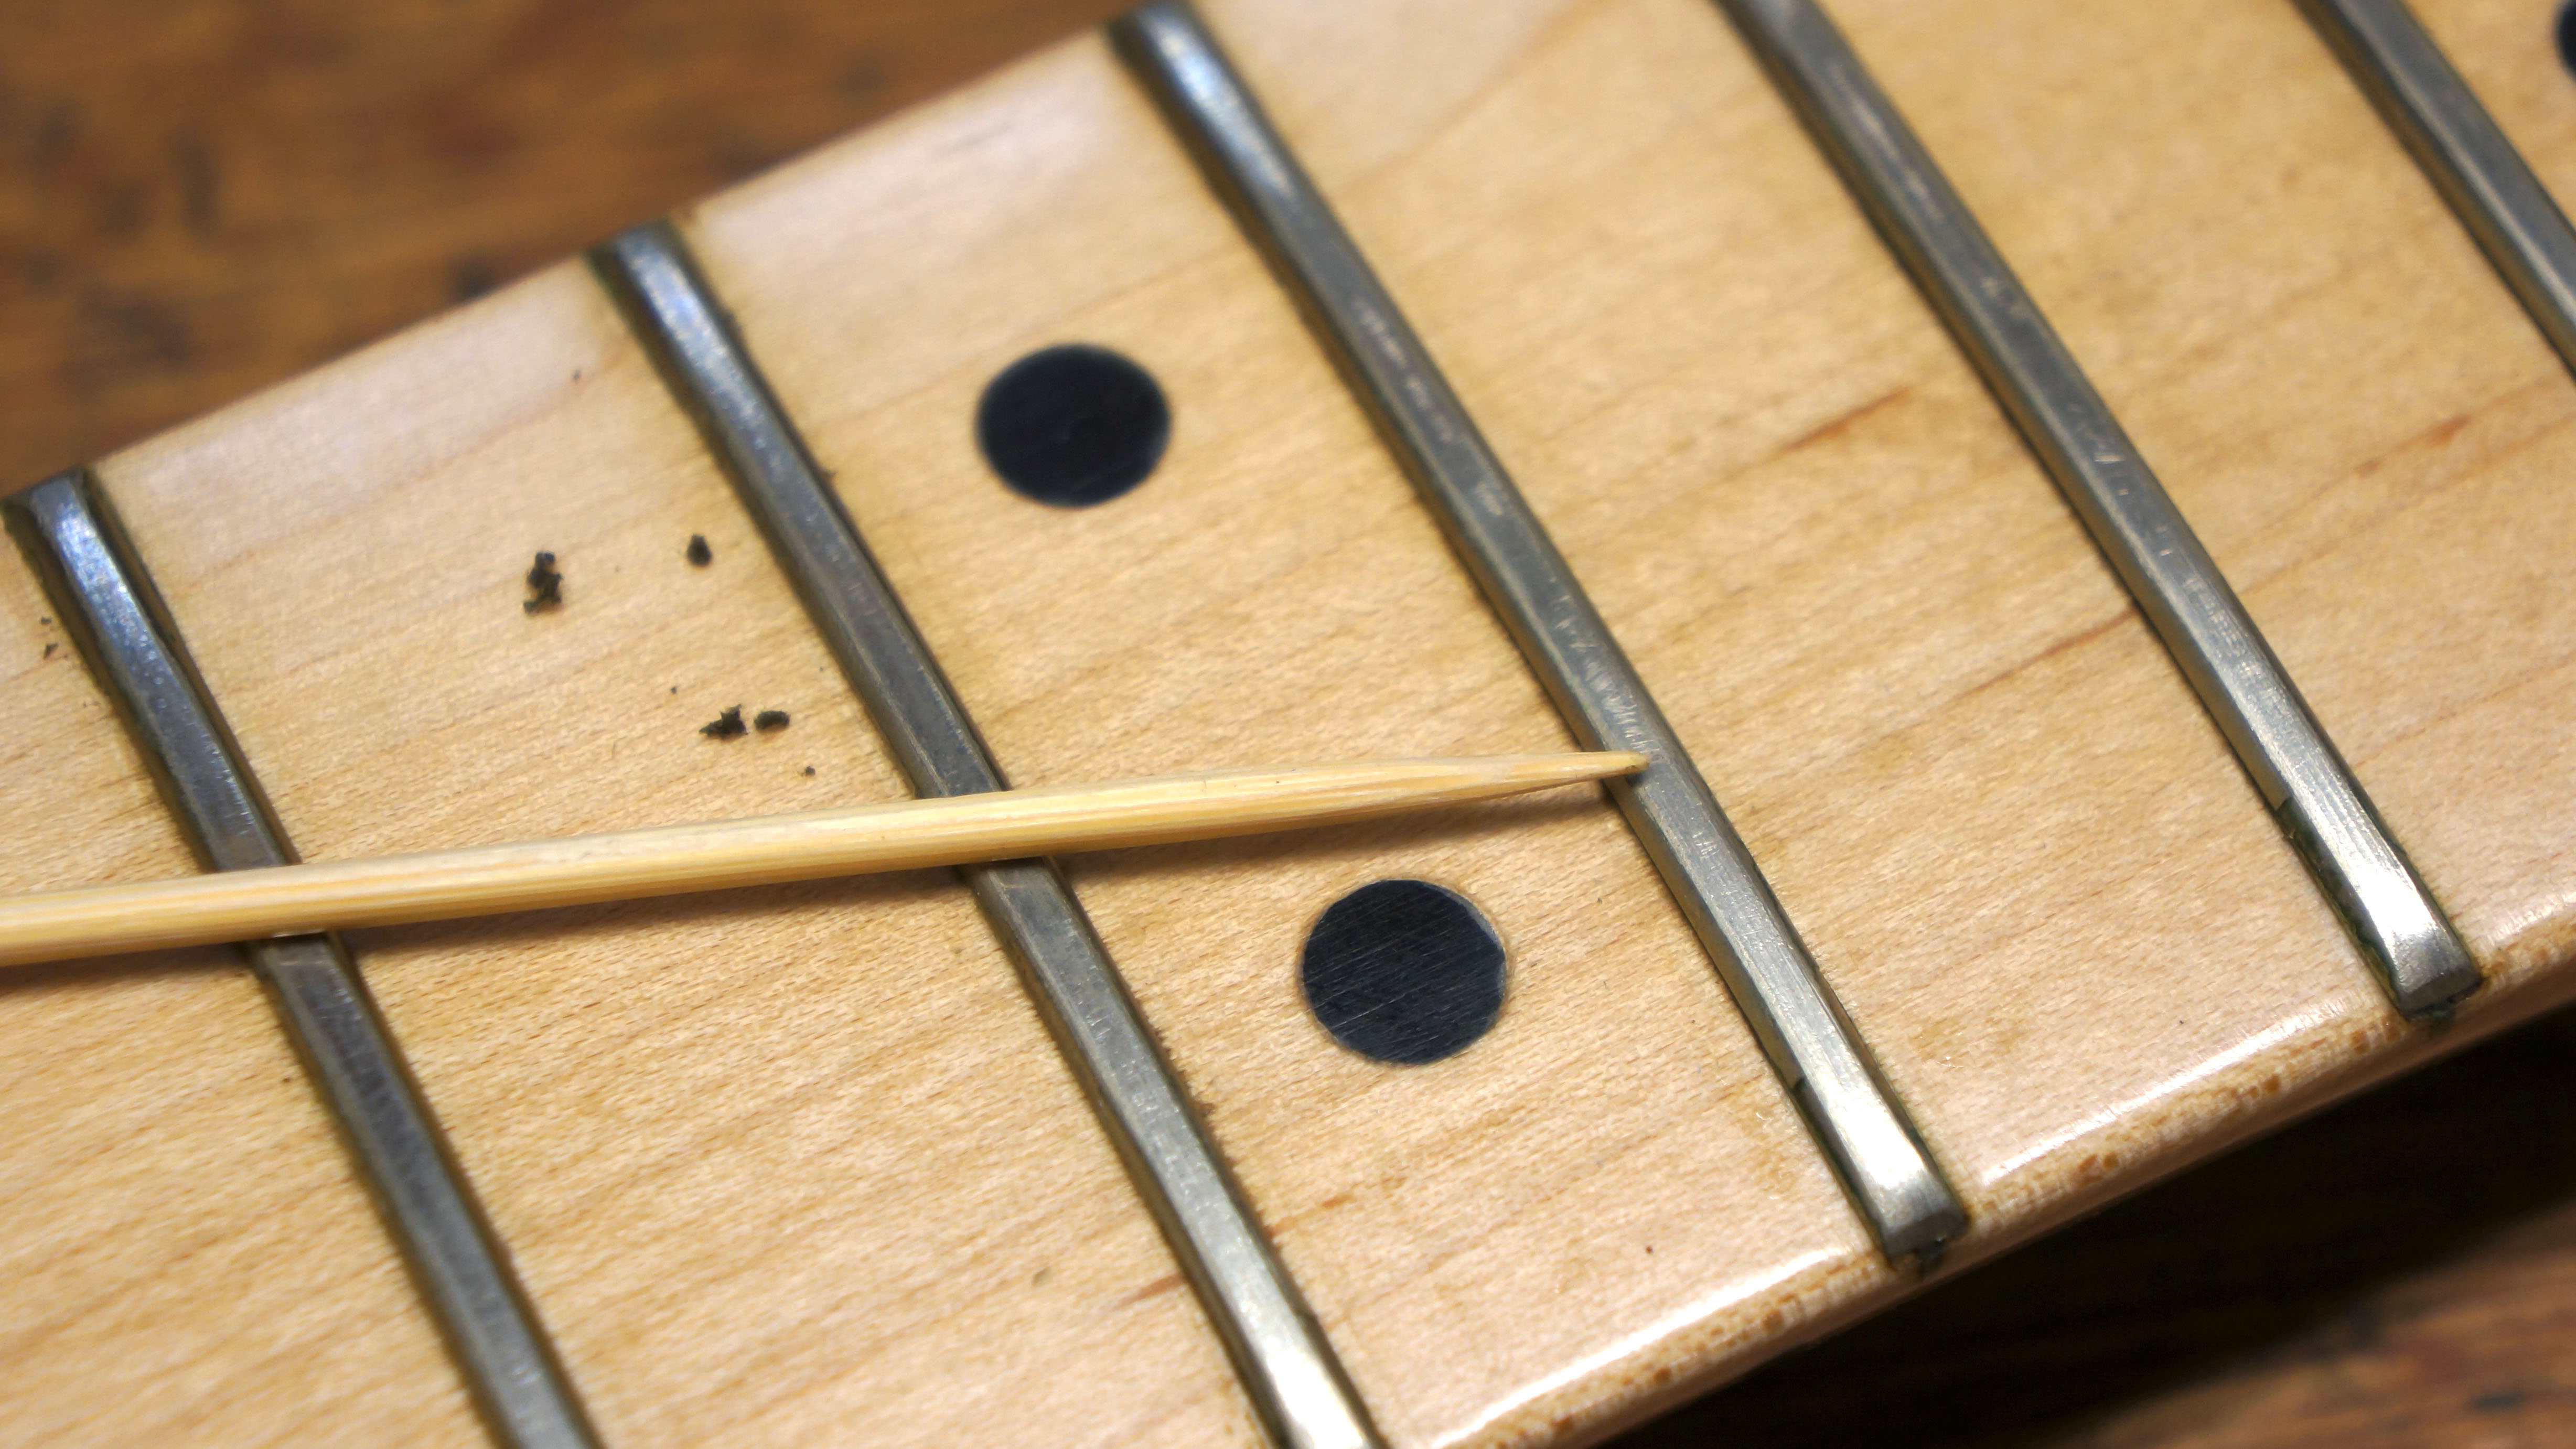
Use this to pick out the harder stuff and then repeat the foam cleaner stage. We chose a cocktail stick as it’s soft enough not to damage lacquer.
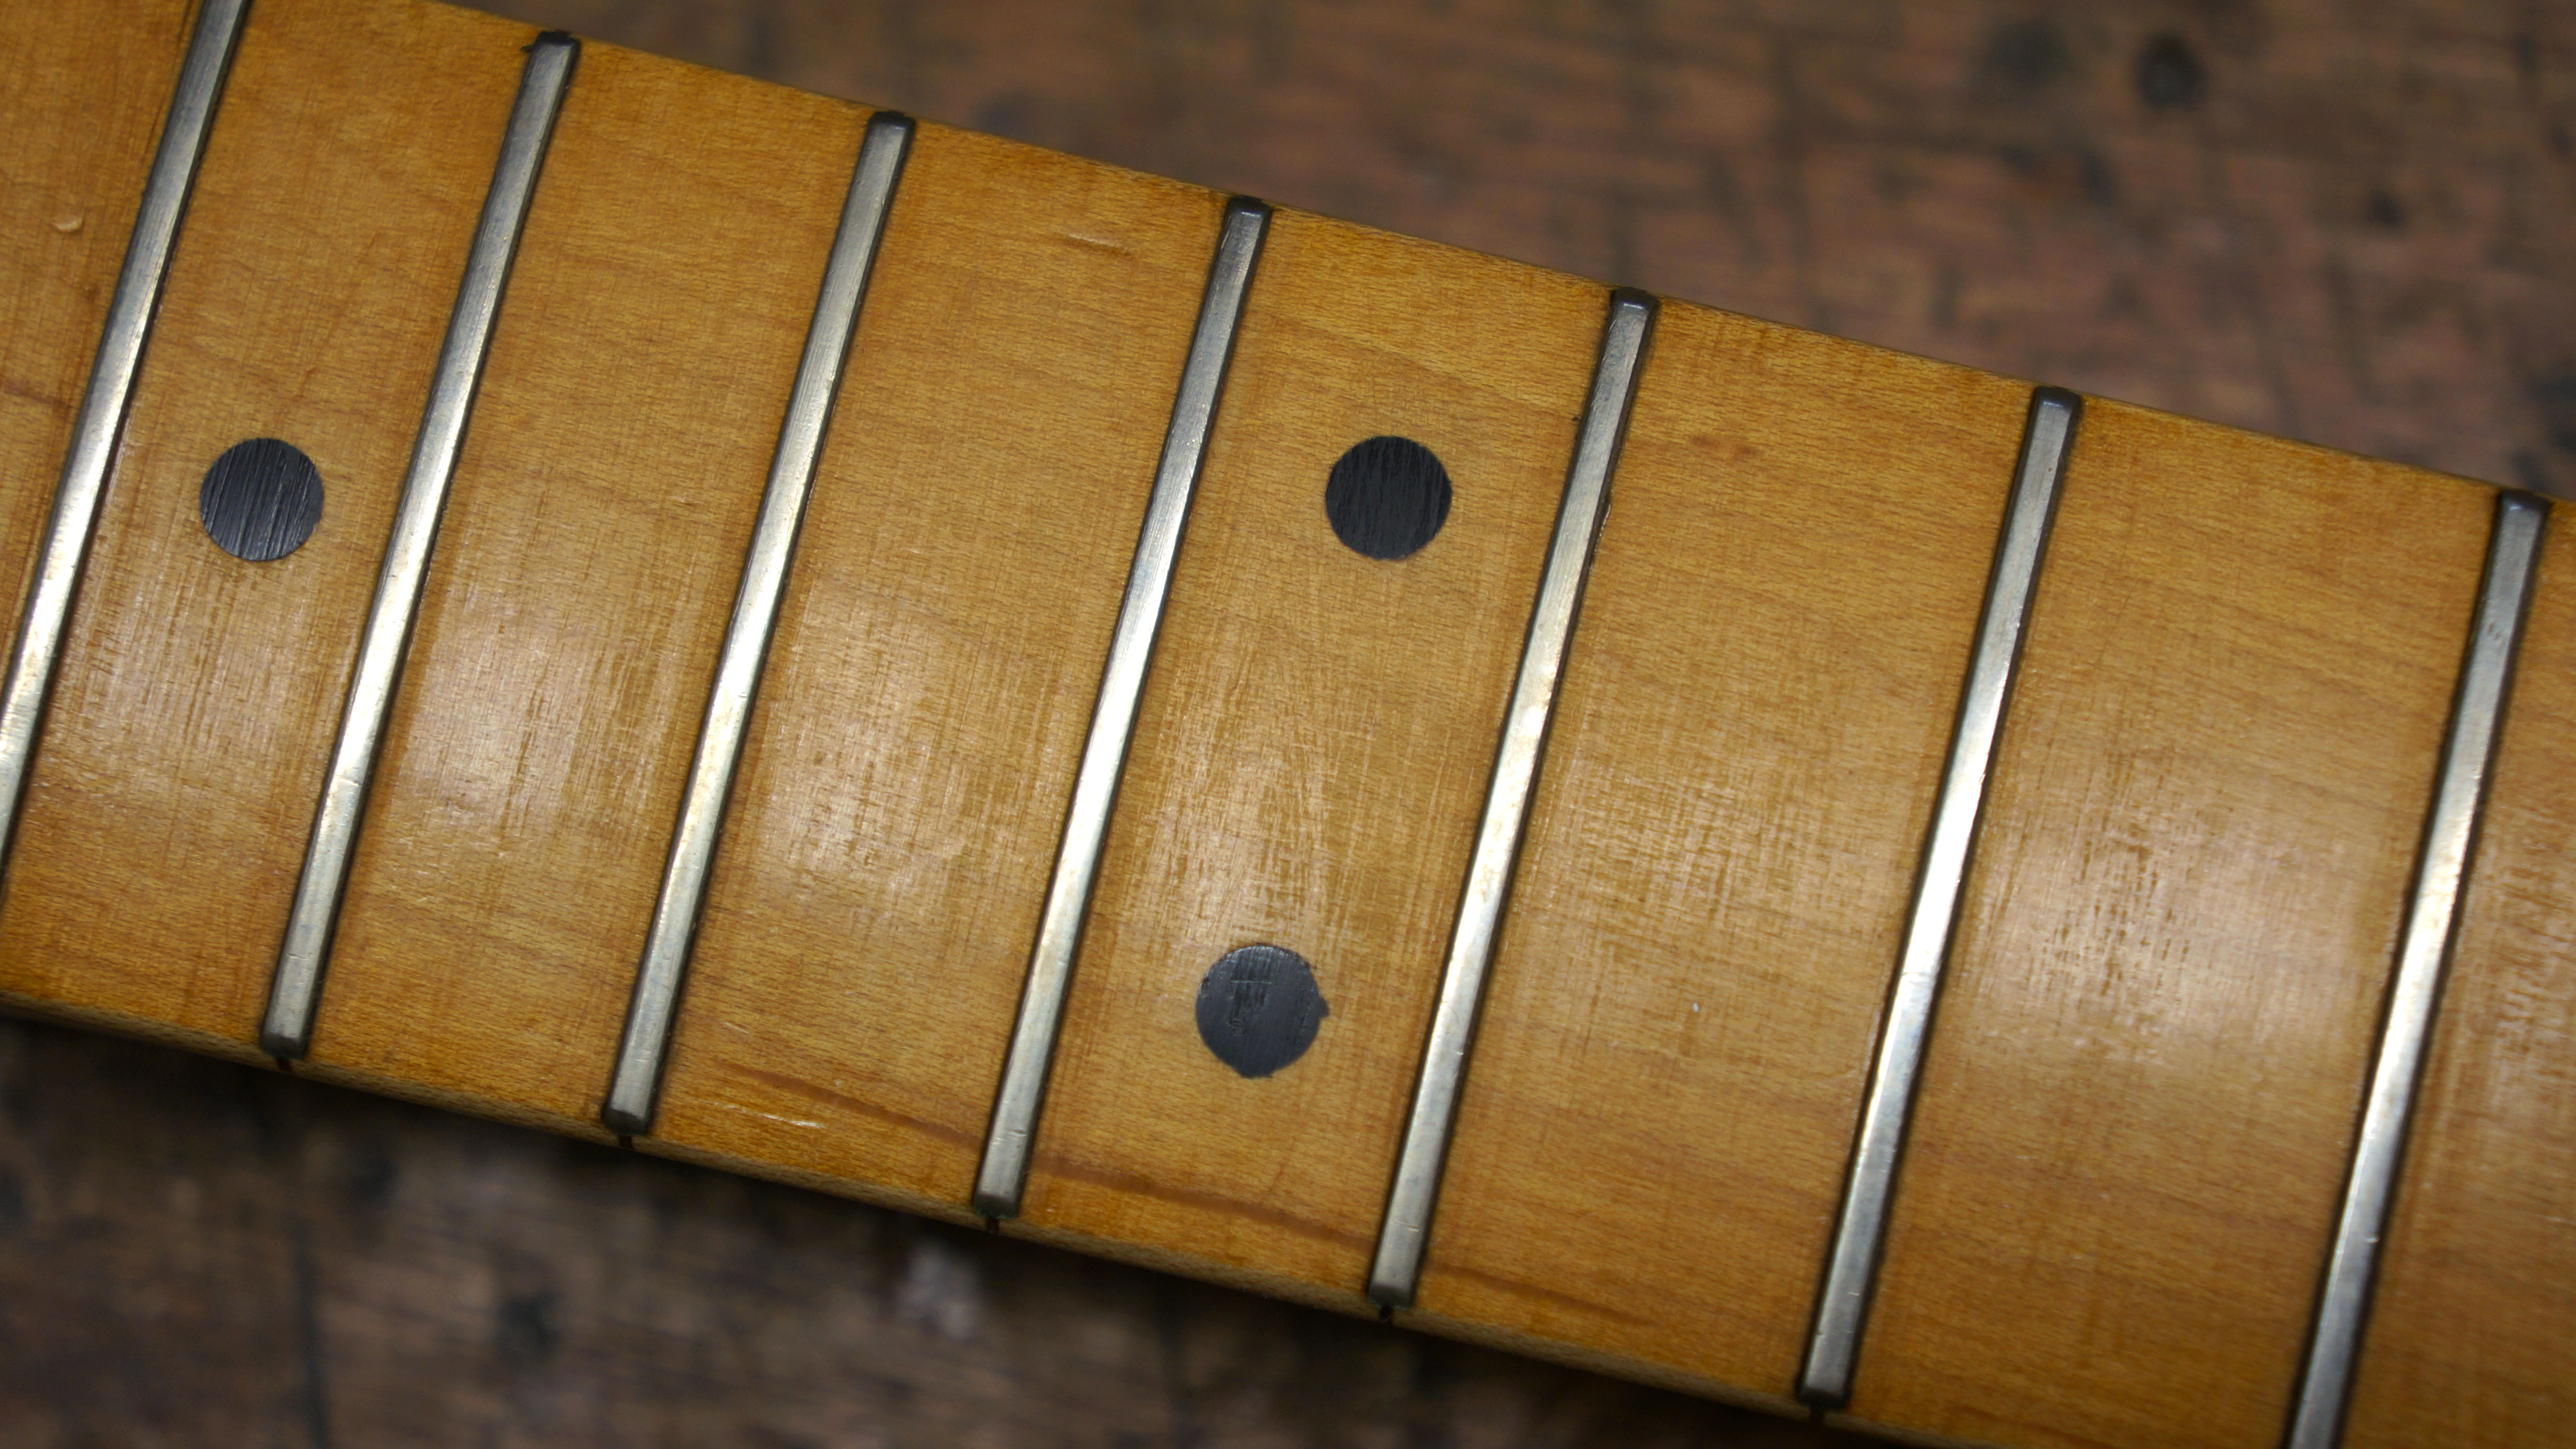
How not to do it: Someone’s been aggressively cleaning it with a brillo pad or a washing up abrasive sponge here leaving permanent scratches to the old lacquer.
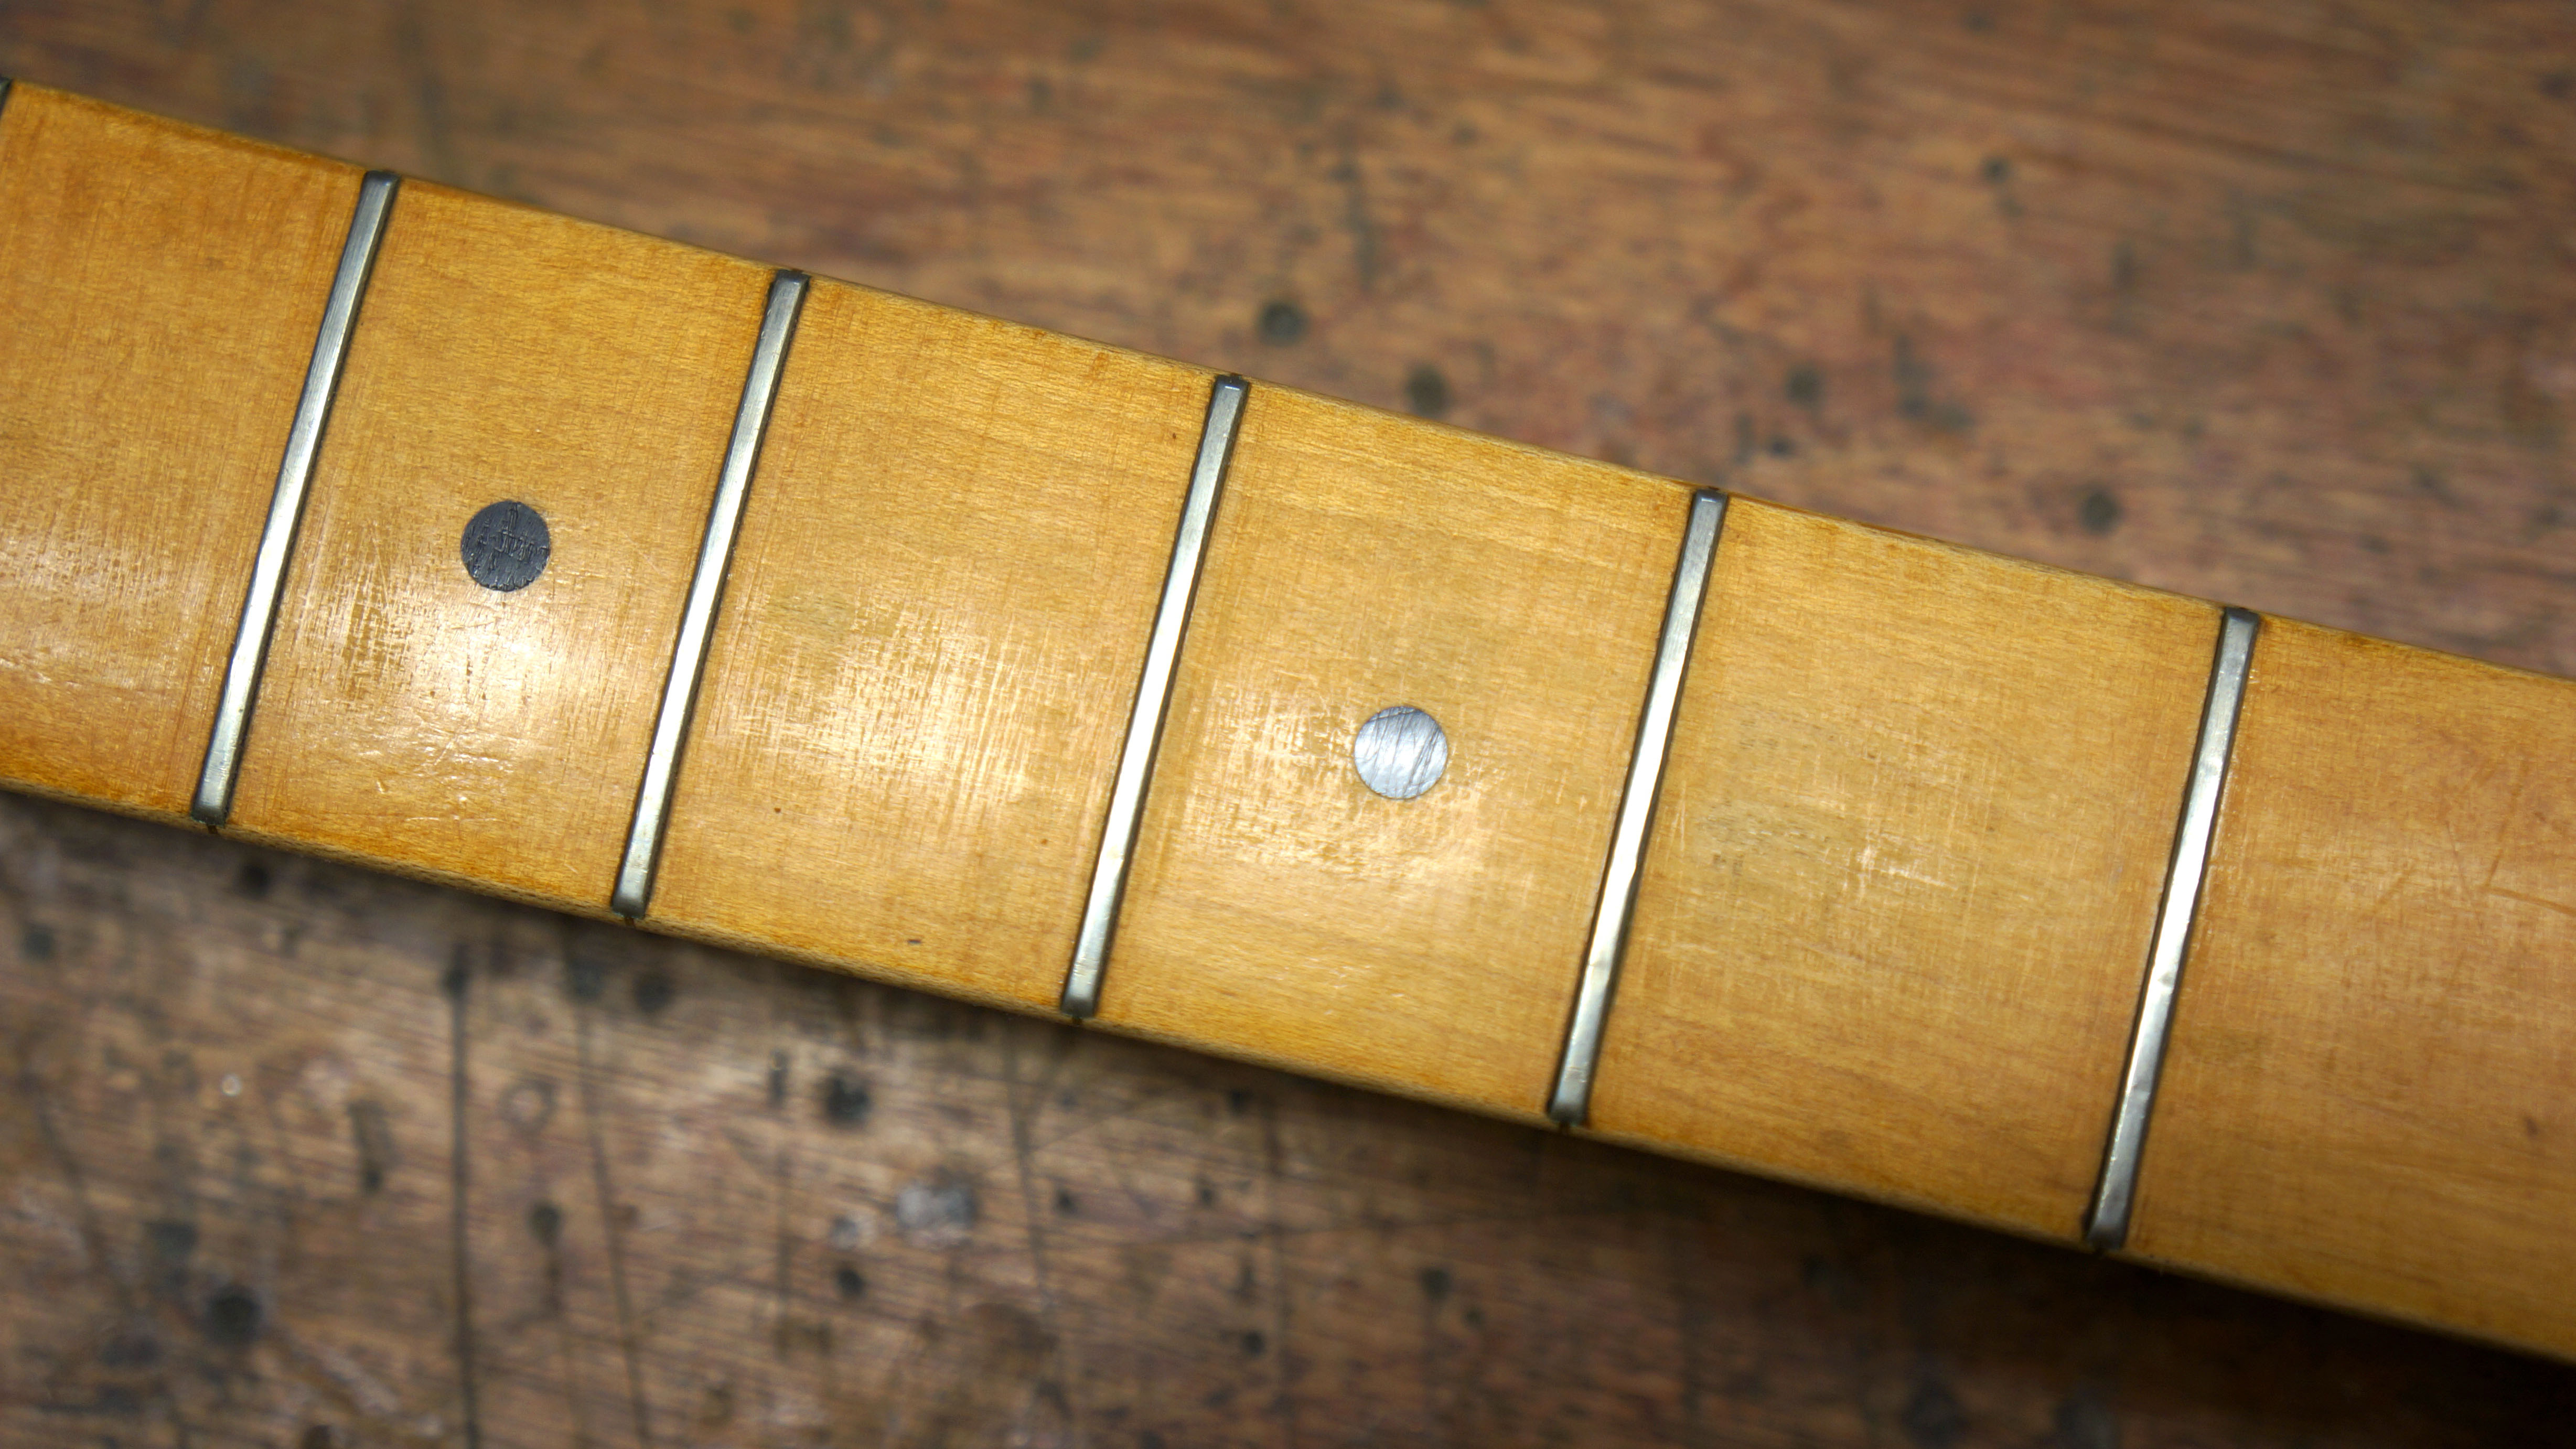
Caring for rosewood, ebony and pau ferro fretboards
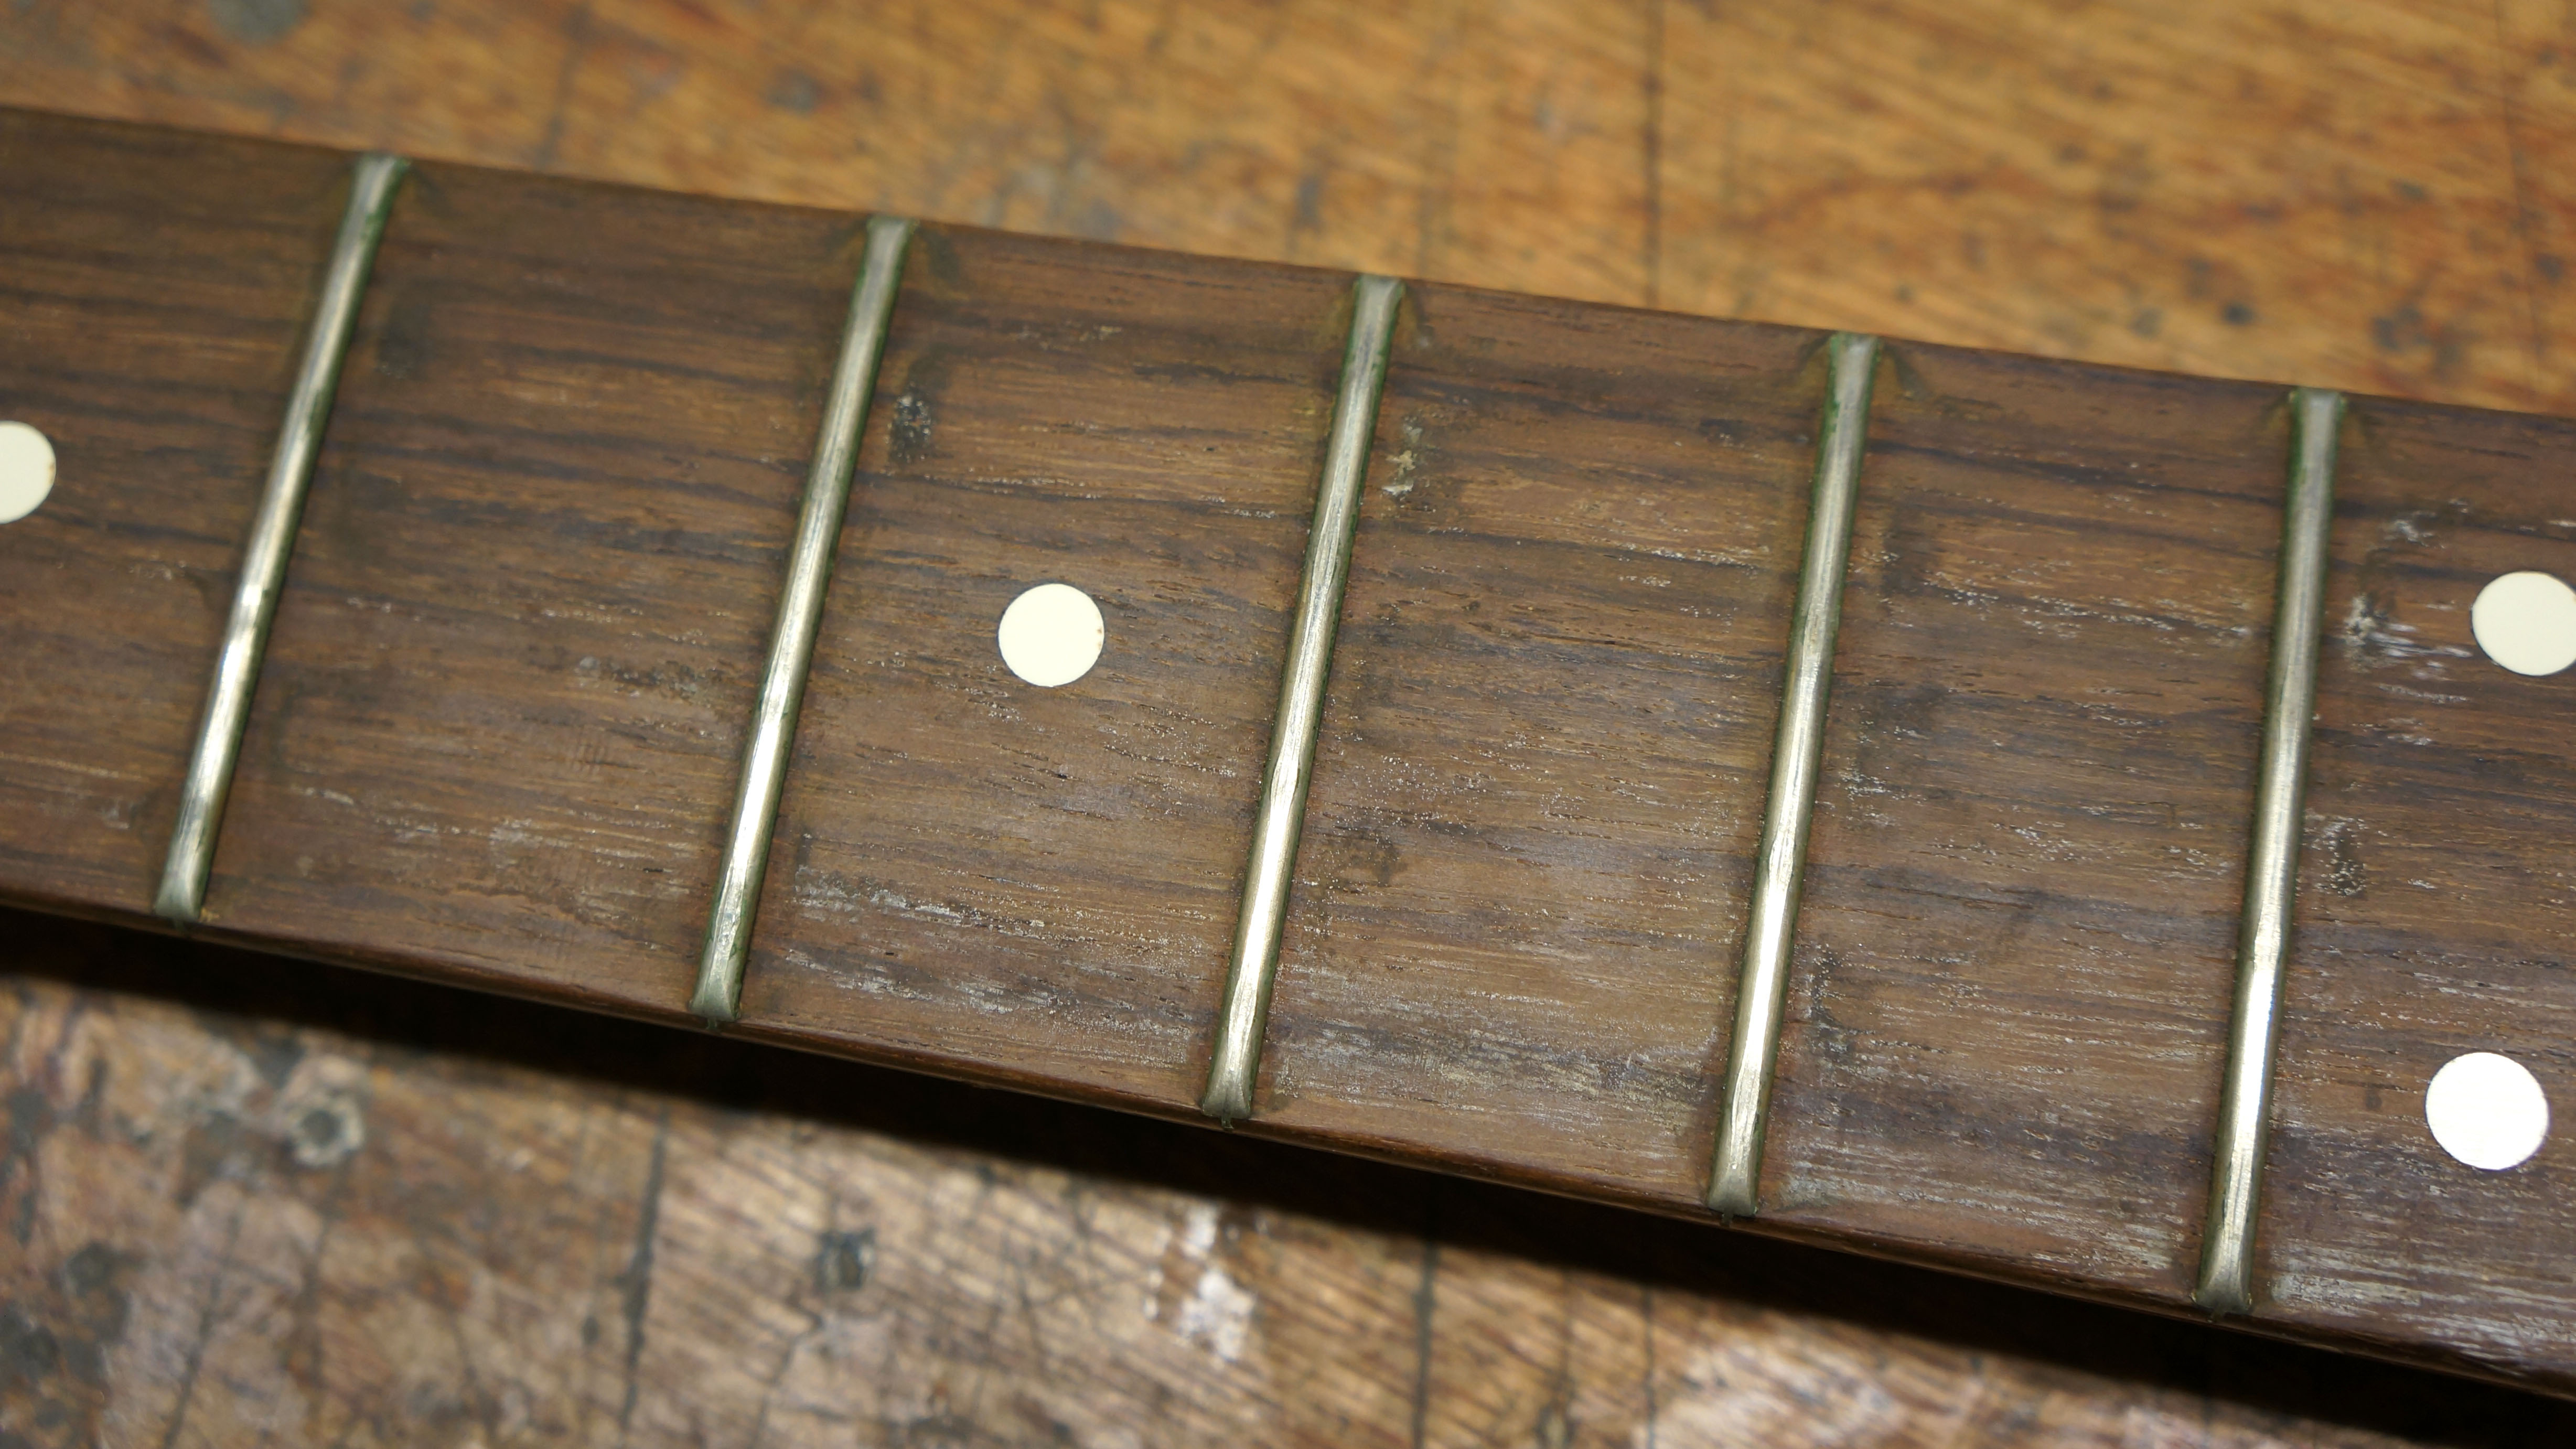
These fretboards types are again hardwood but are not commonly lacquered (apart from Rickenbacker!) as such they can absorb dirt and grime. One advantage is though if they are super grimey we can just scrape the fretboard clean and reveal a fresh surface!
Here’s a Squier P Bass neck that’s been extensively played then left somewhere damp. It’s fully dry again now but the water has left the white marks at the end plus nasty goop from playing lower down the neck.
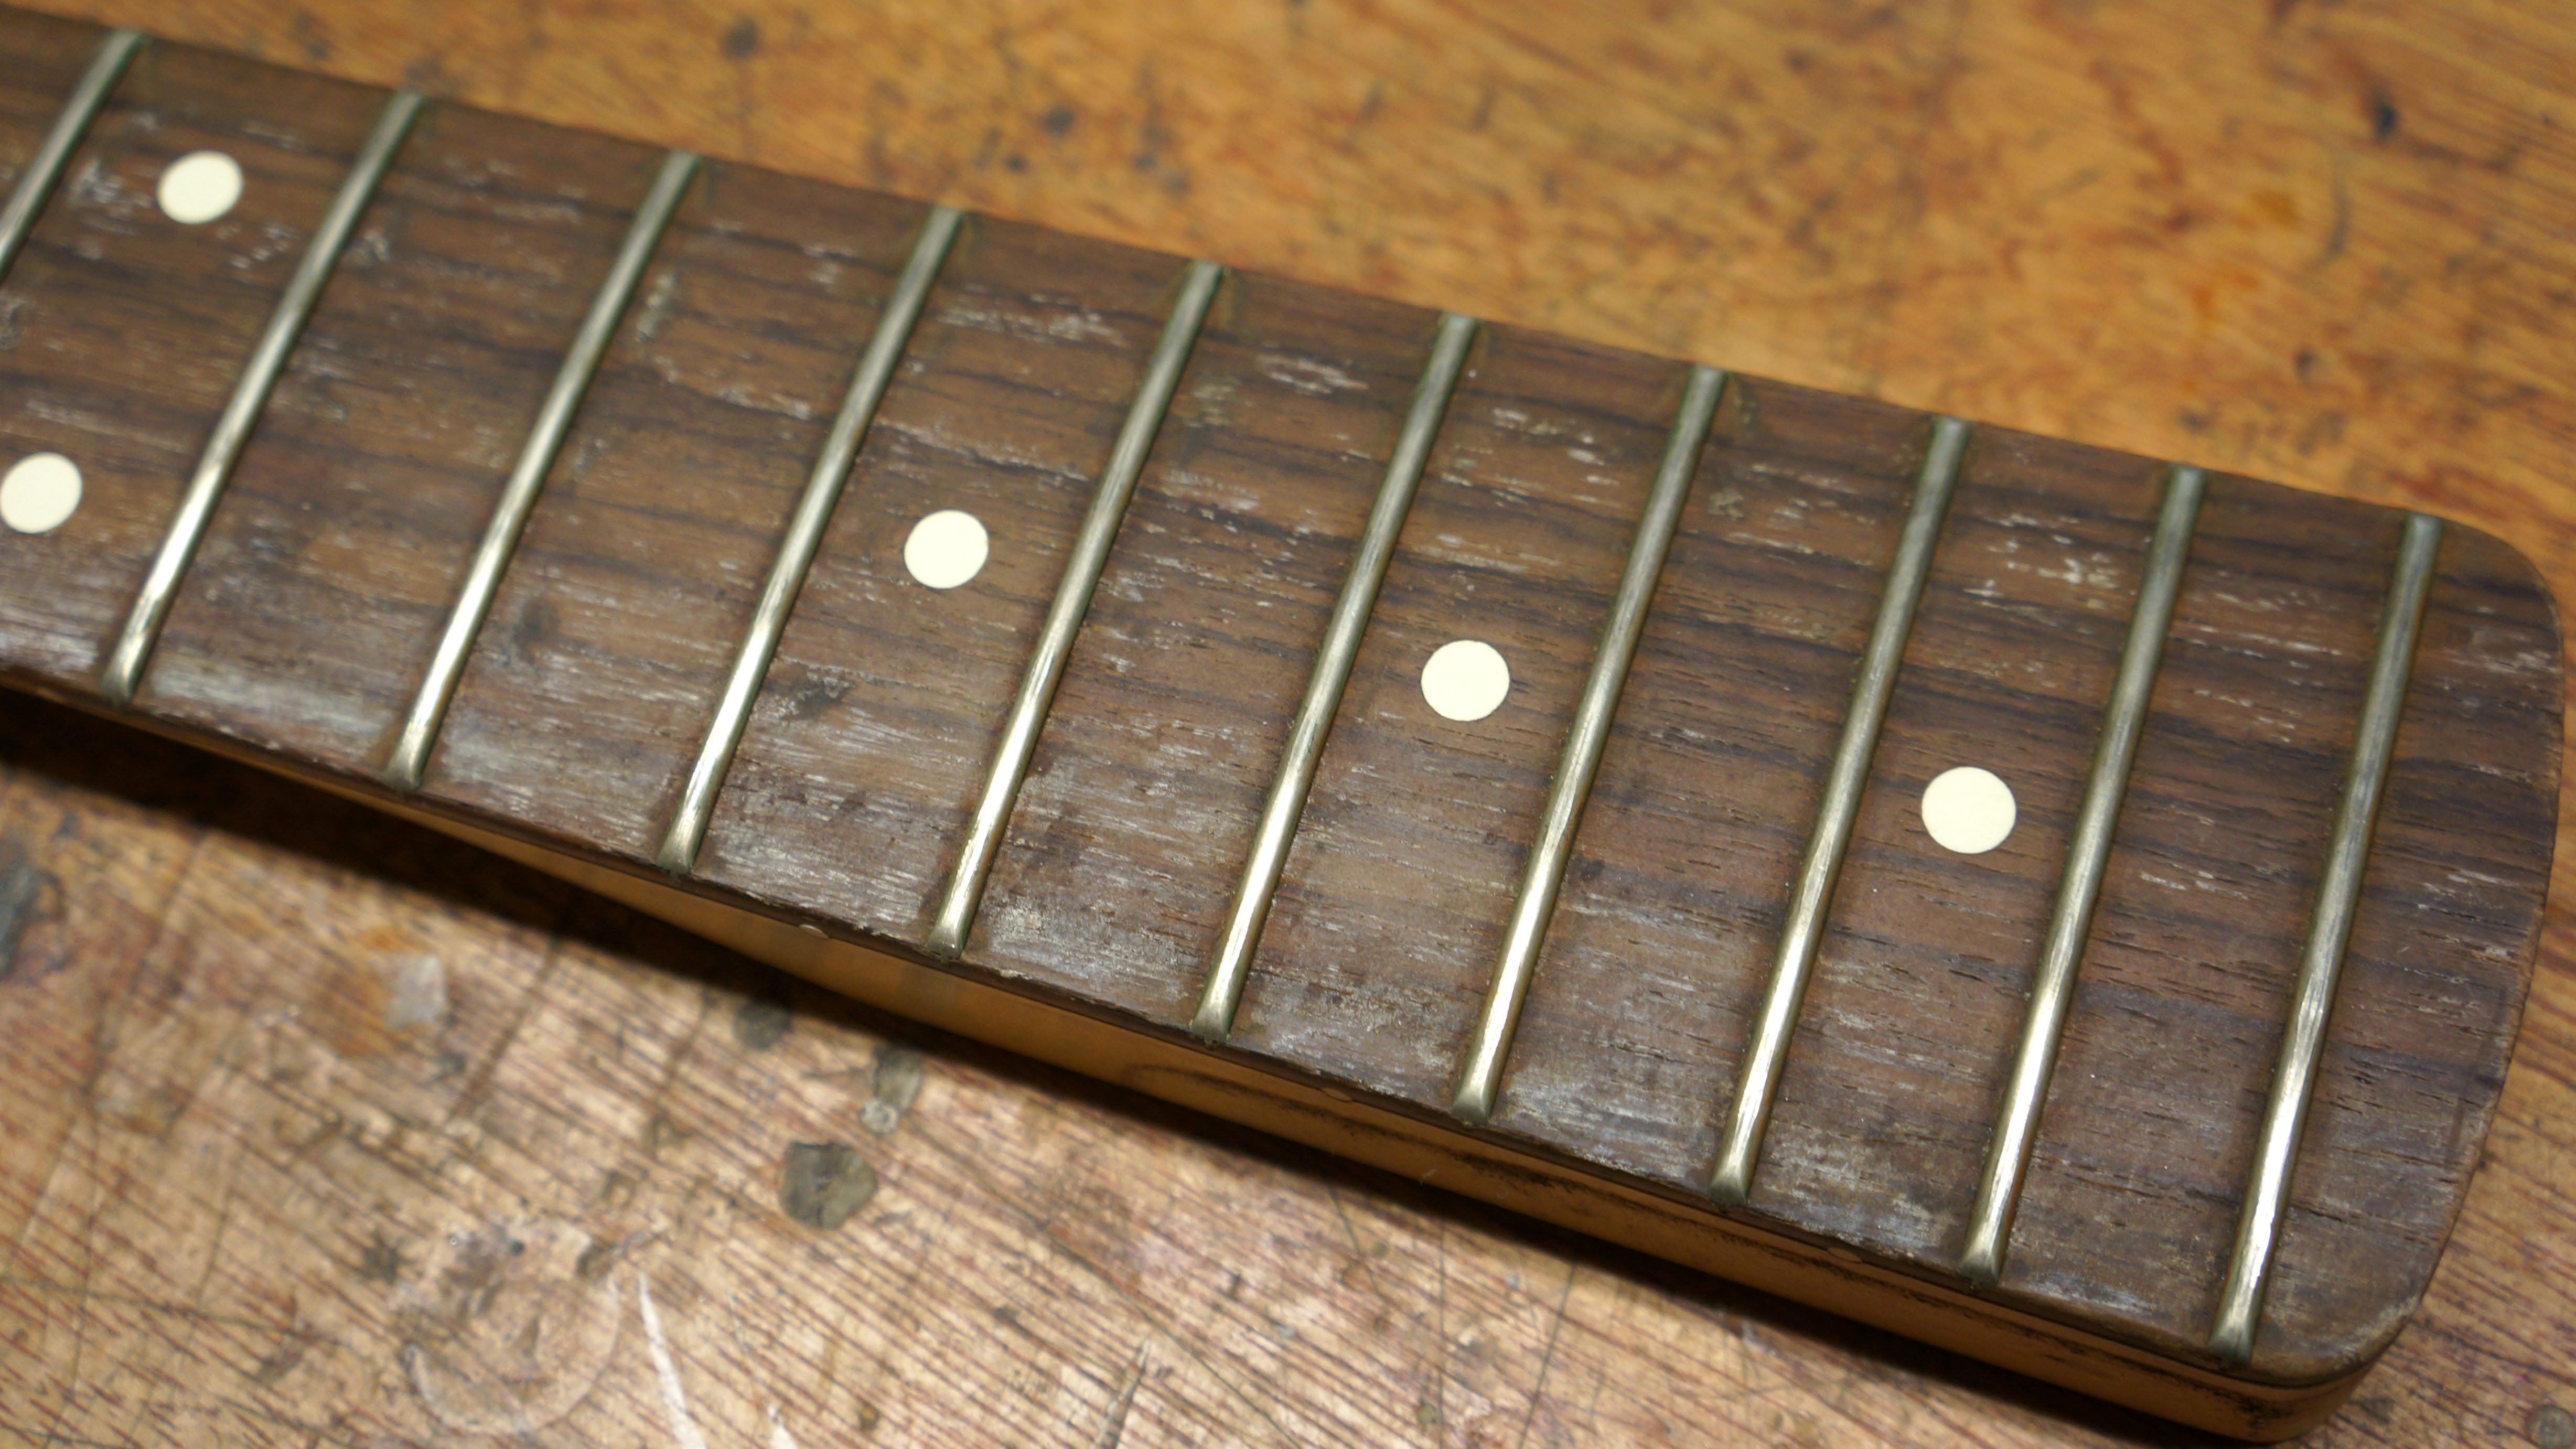
This is so dirty that we may as well just go straight in for the scrape. Get a fresh Stanley blade and scrape fret to fret swooping over the curved fretboard as you go. You’re free to scrape the tops of inlays too.
⚠ Be aware that some fretboards are stained to enhance the colour. This means the timber has a thin coat that may be removed when scraped. A clue would be on an old fretboard the fingers wearing away a much lighter patch. After scraping be prepared for a much more interesting fretboard with some streaks or figuring to the timber. Low end learner guitars and ebony fretboards seem to be the most commonly stained.
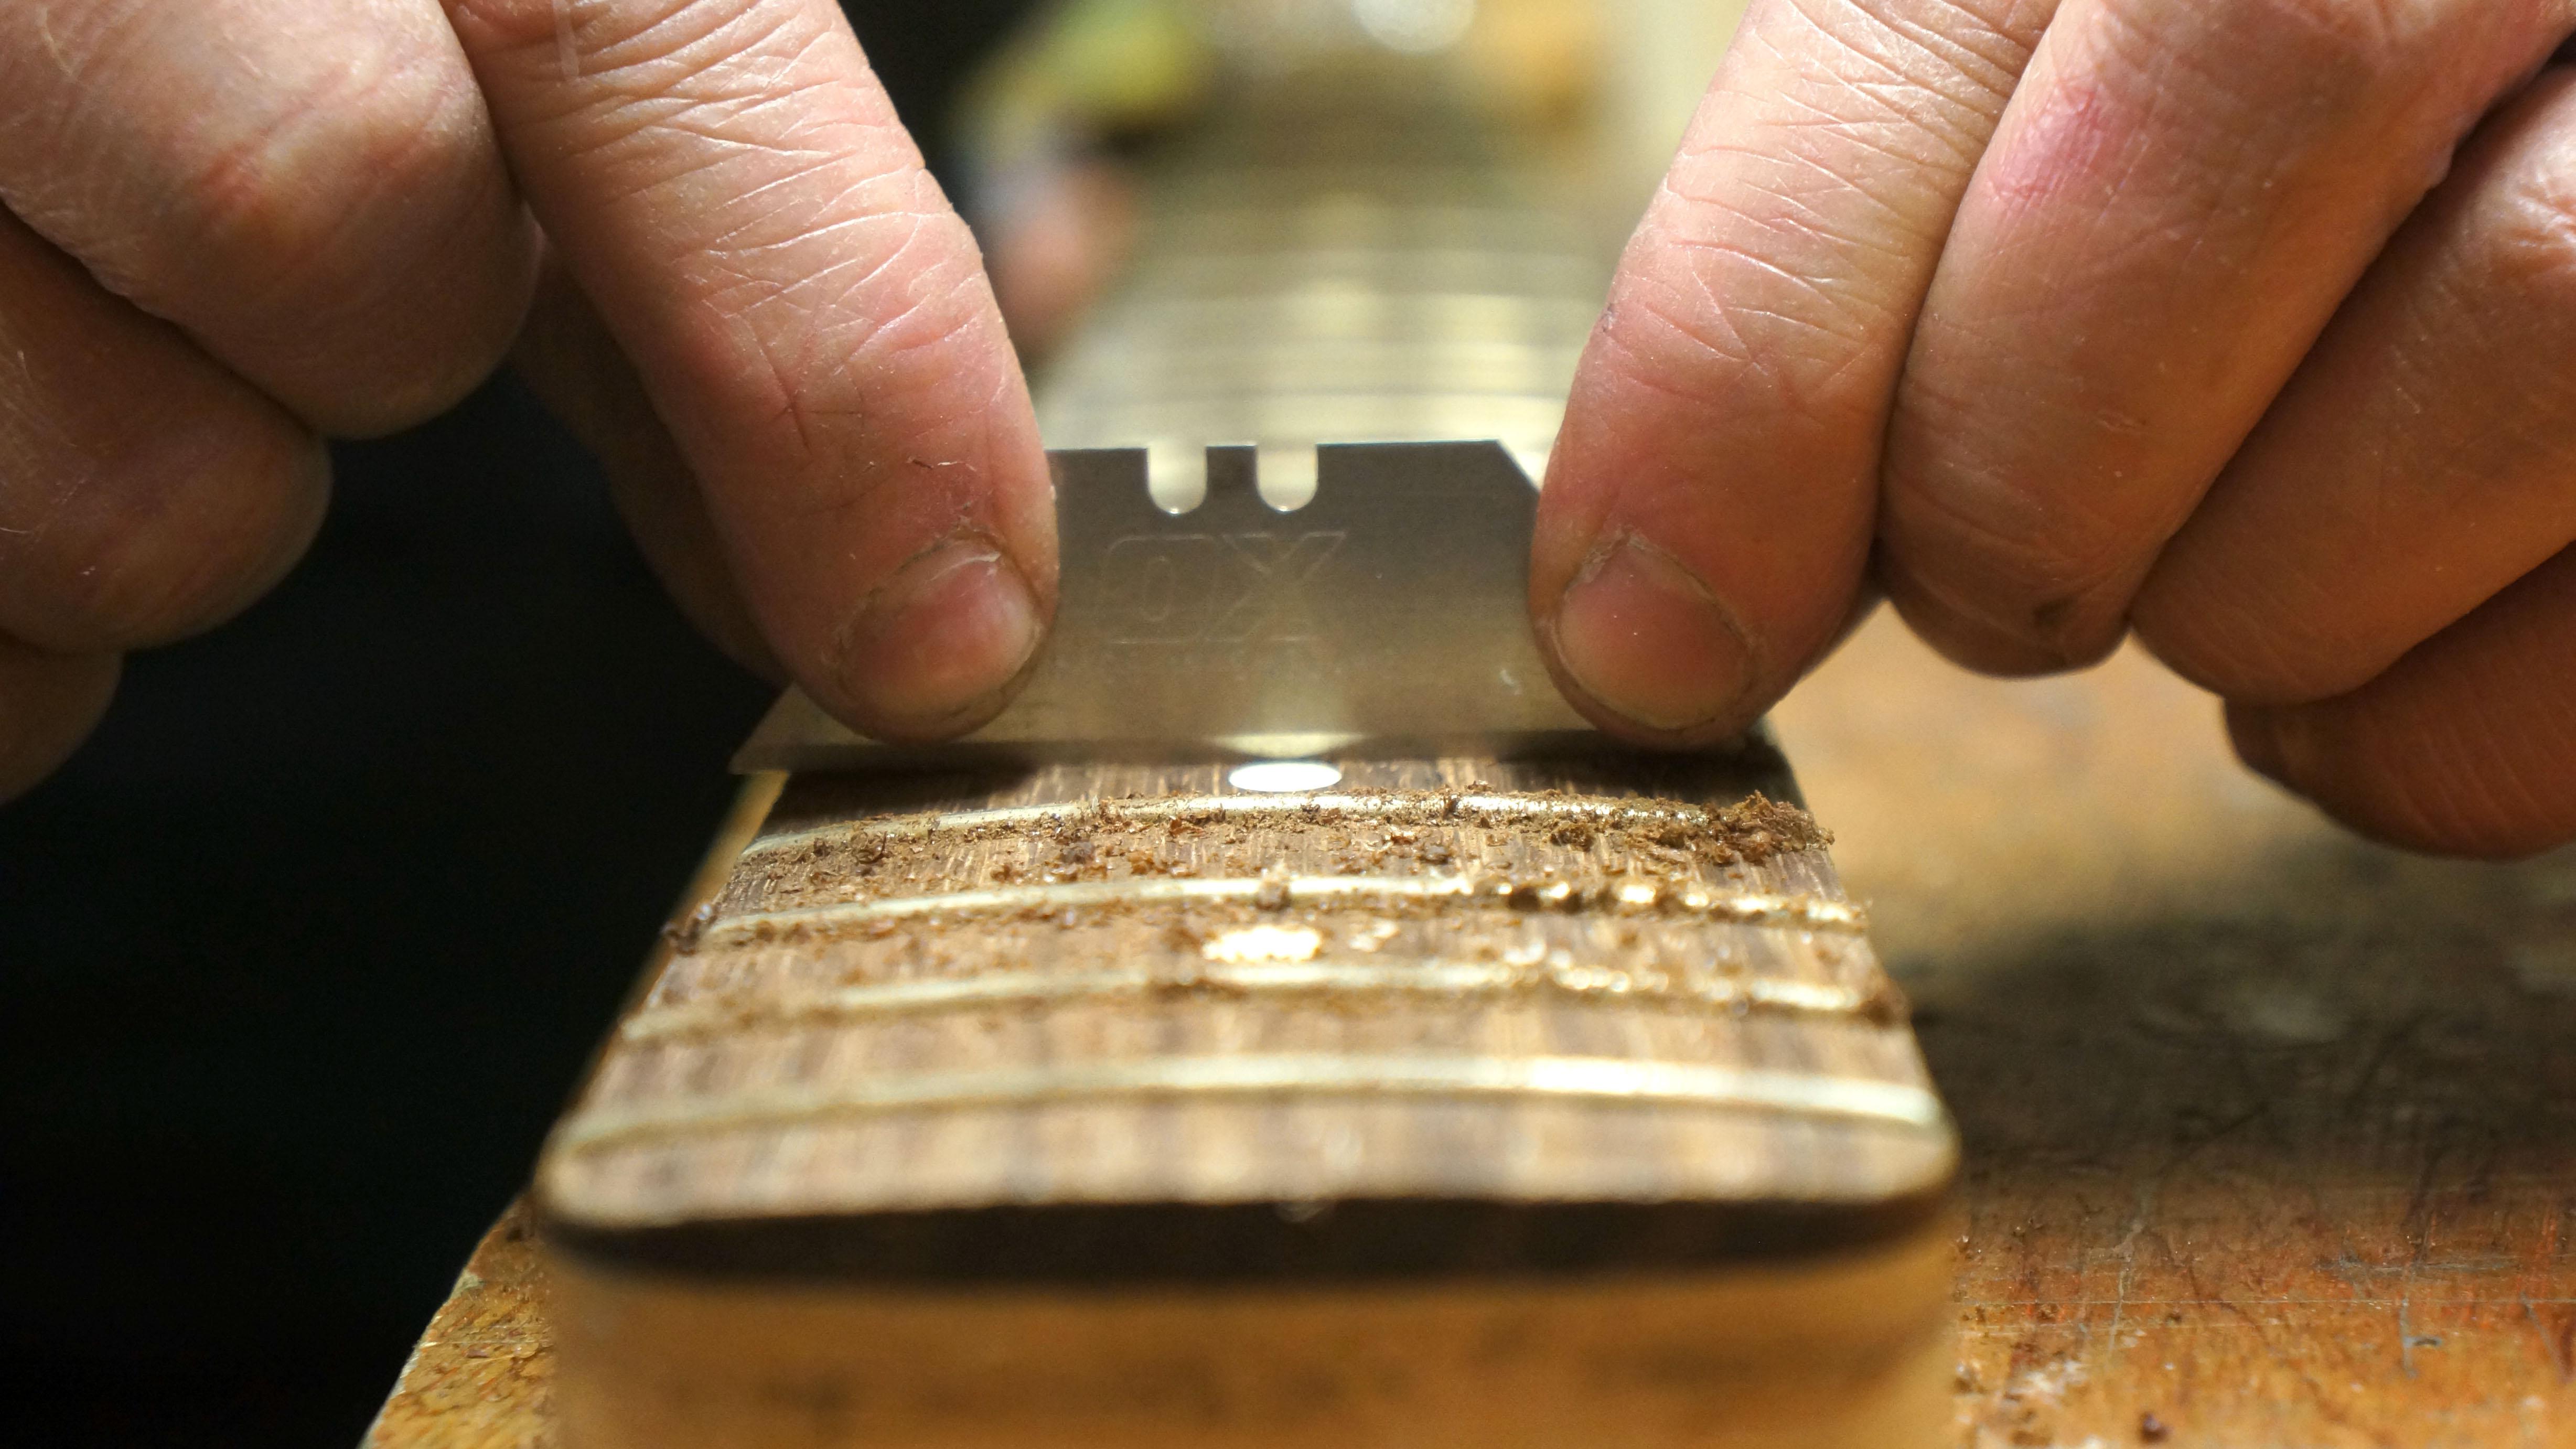
Be careful to maintain a light down pressure so you don’t skip over the fret top. If your blade becomes damaged by skipping over a fret top you will need a new blade otherwise it will leave imperfections in the scraped surface.
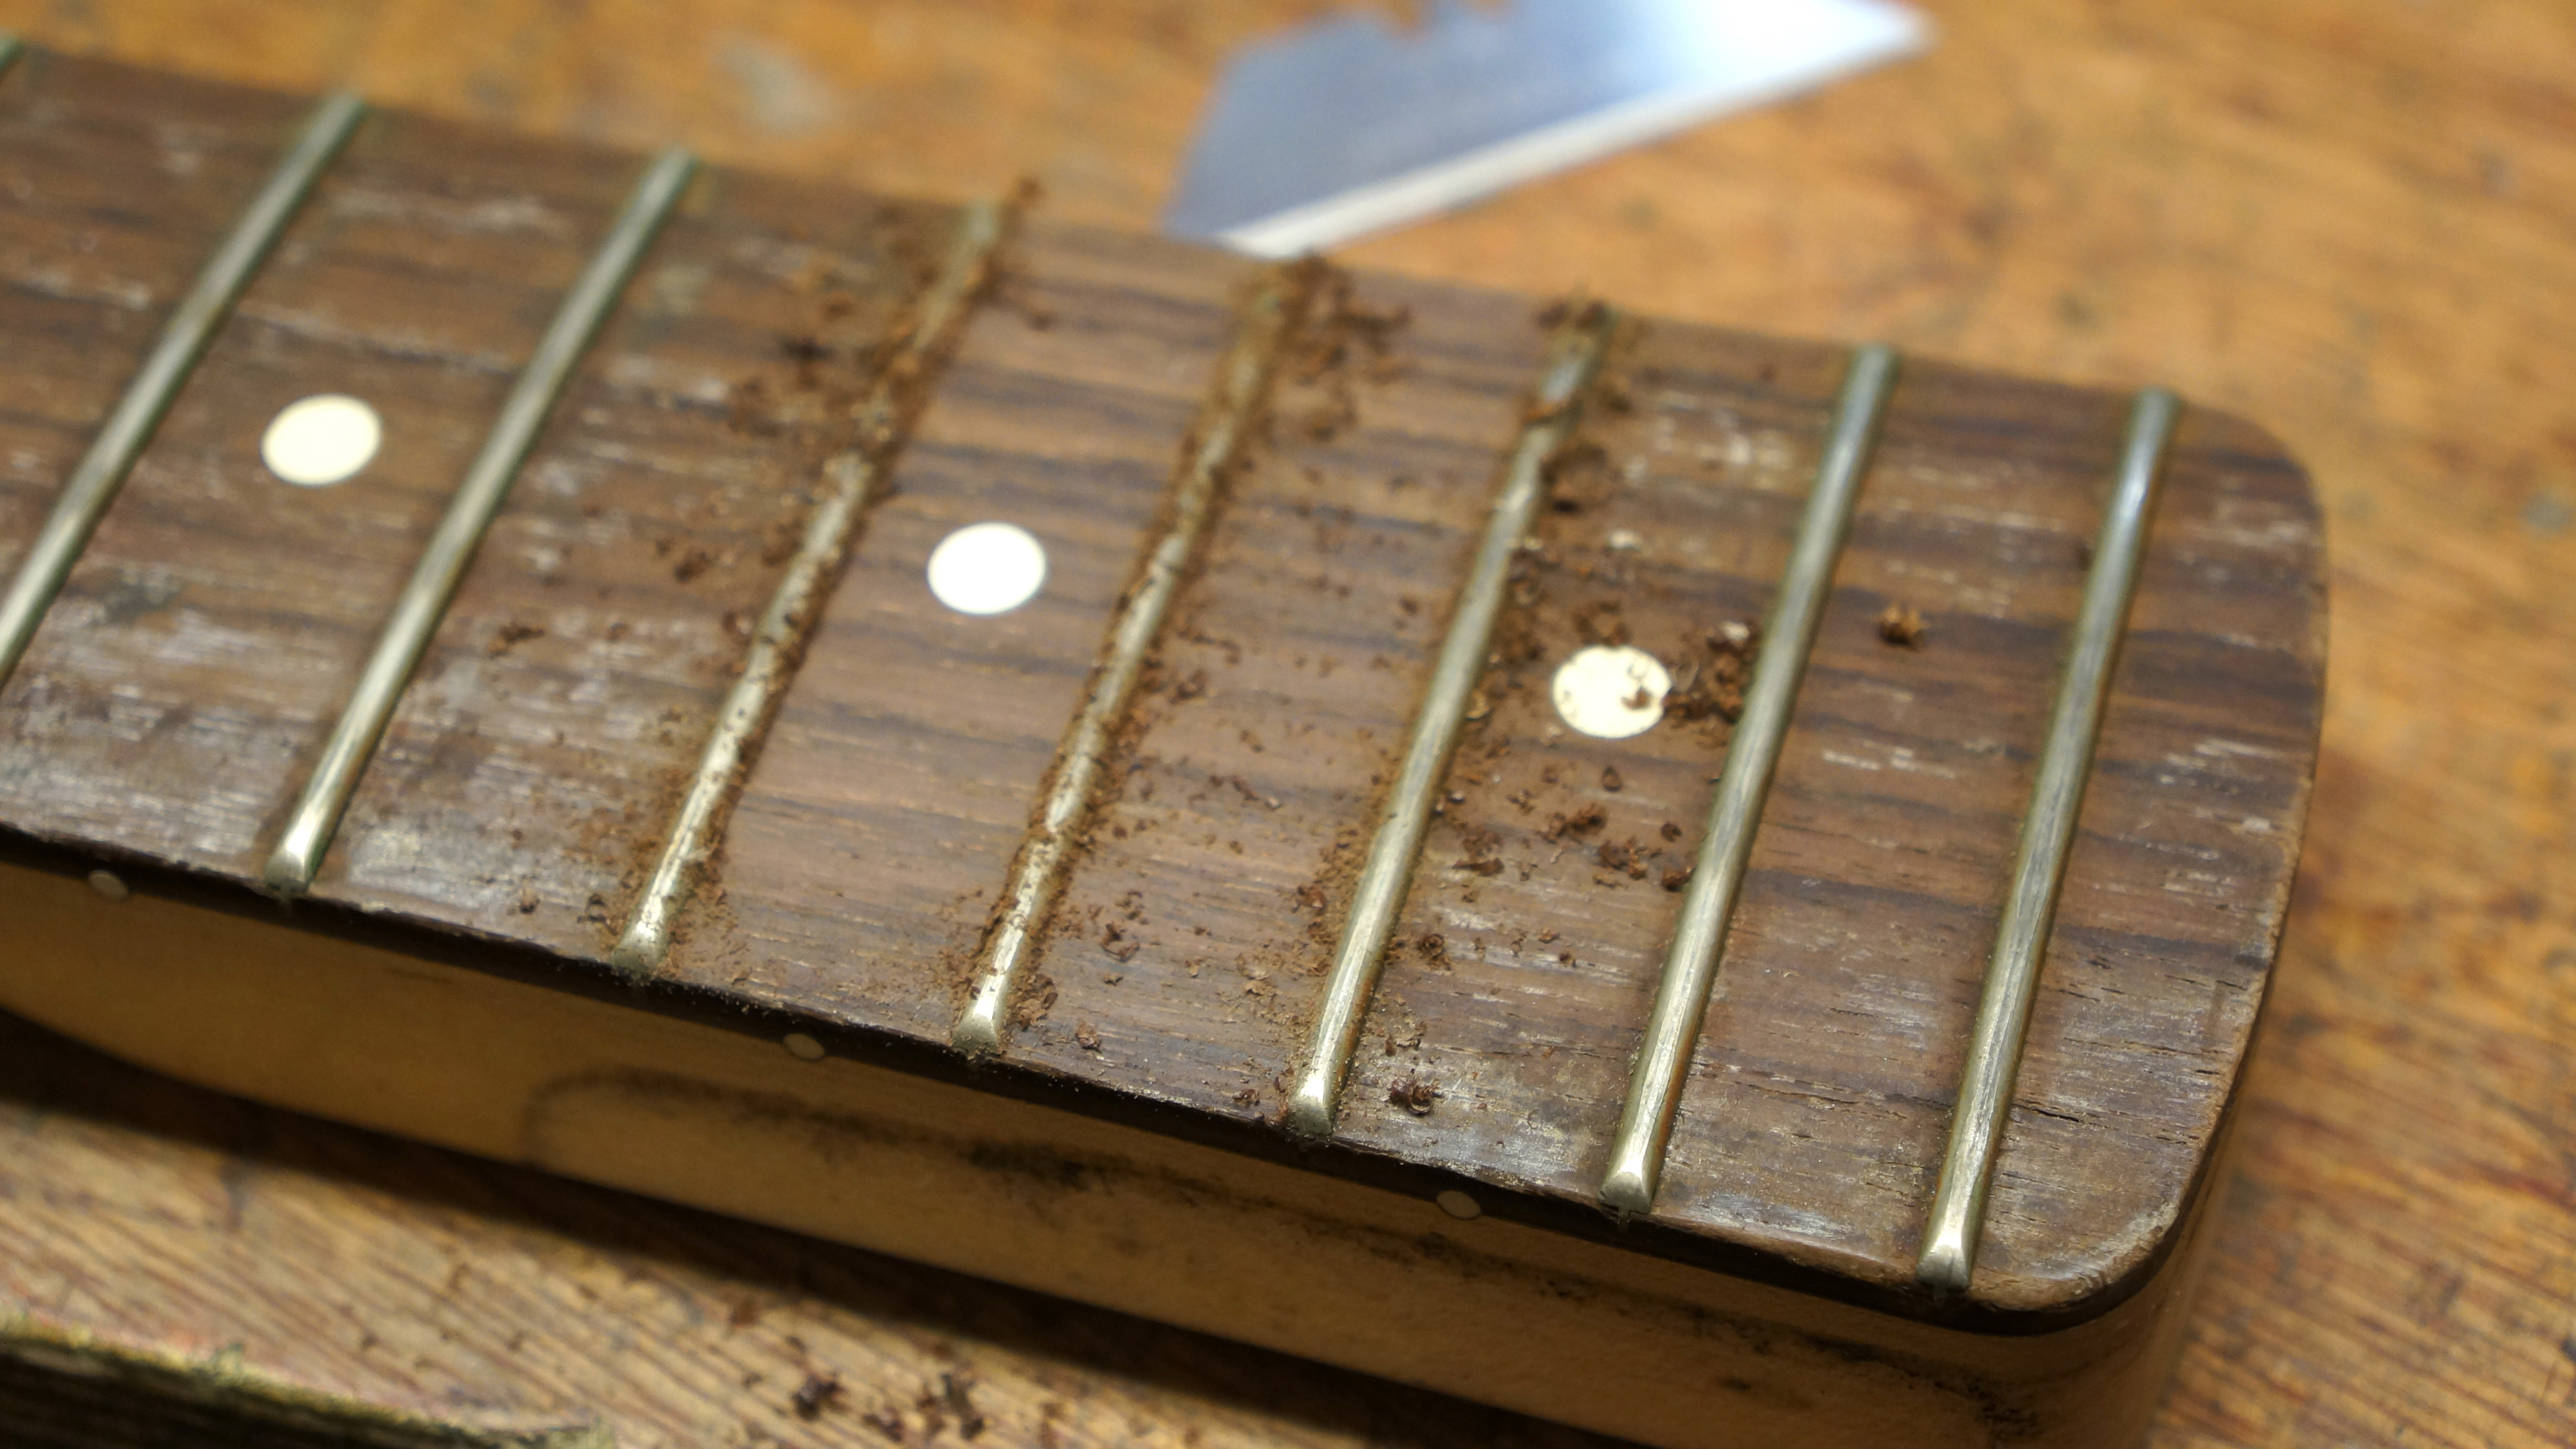
To bring a lovely uniformity to the fretboard you can use #0000 wire wool on the fretboard. As an awesome bonus this will automatically give your frets a light polish too!
⚠ Be aware that you need to protect your paint job and particularly the pickups from wire wool. It’s abrasive and will scuff up a gloss finish and the dust that comes off will stick to your pickup’s magnets! Use wide masking tape to help protect or better yet remove the neck from the guitar.
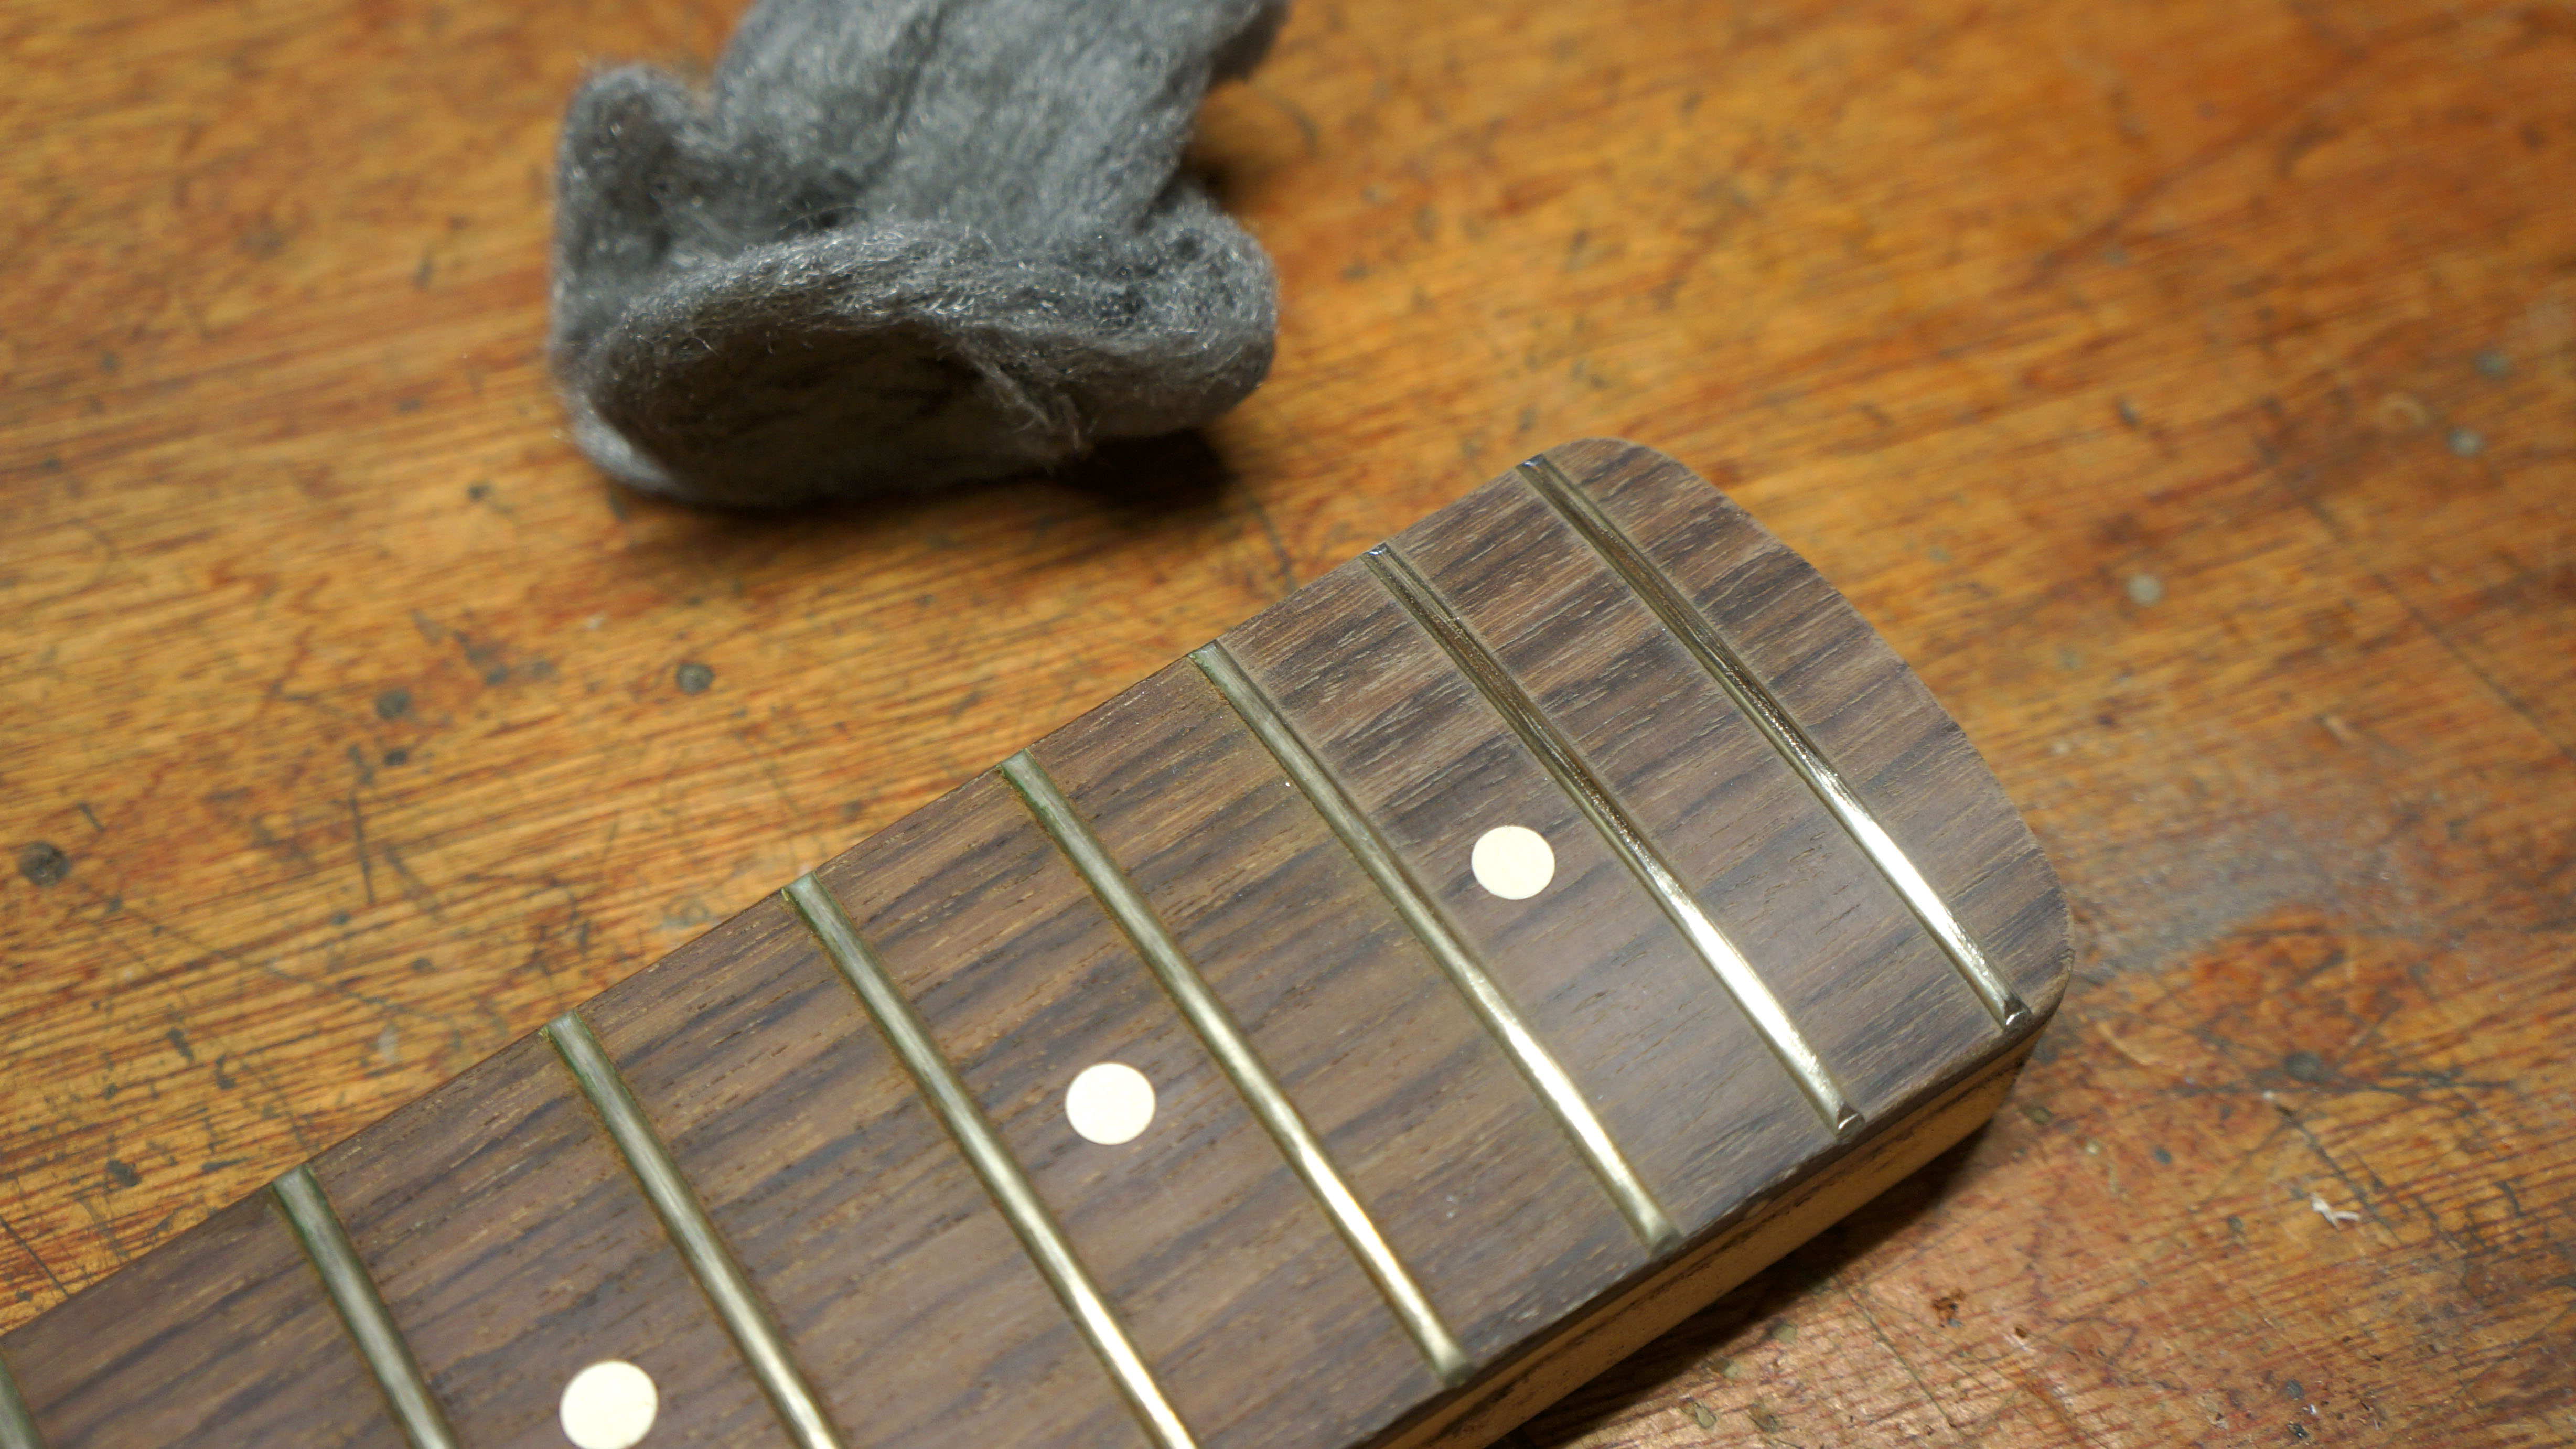
Rub side-to-side making it uniform and when you’re happy with the frets and fretboard’s new look switch direction following the grain of the timber. This will hide the very light wire wool marks in with the grain.
Oiling the fretboard
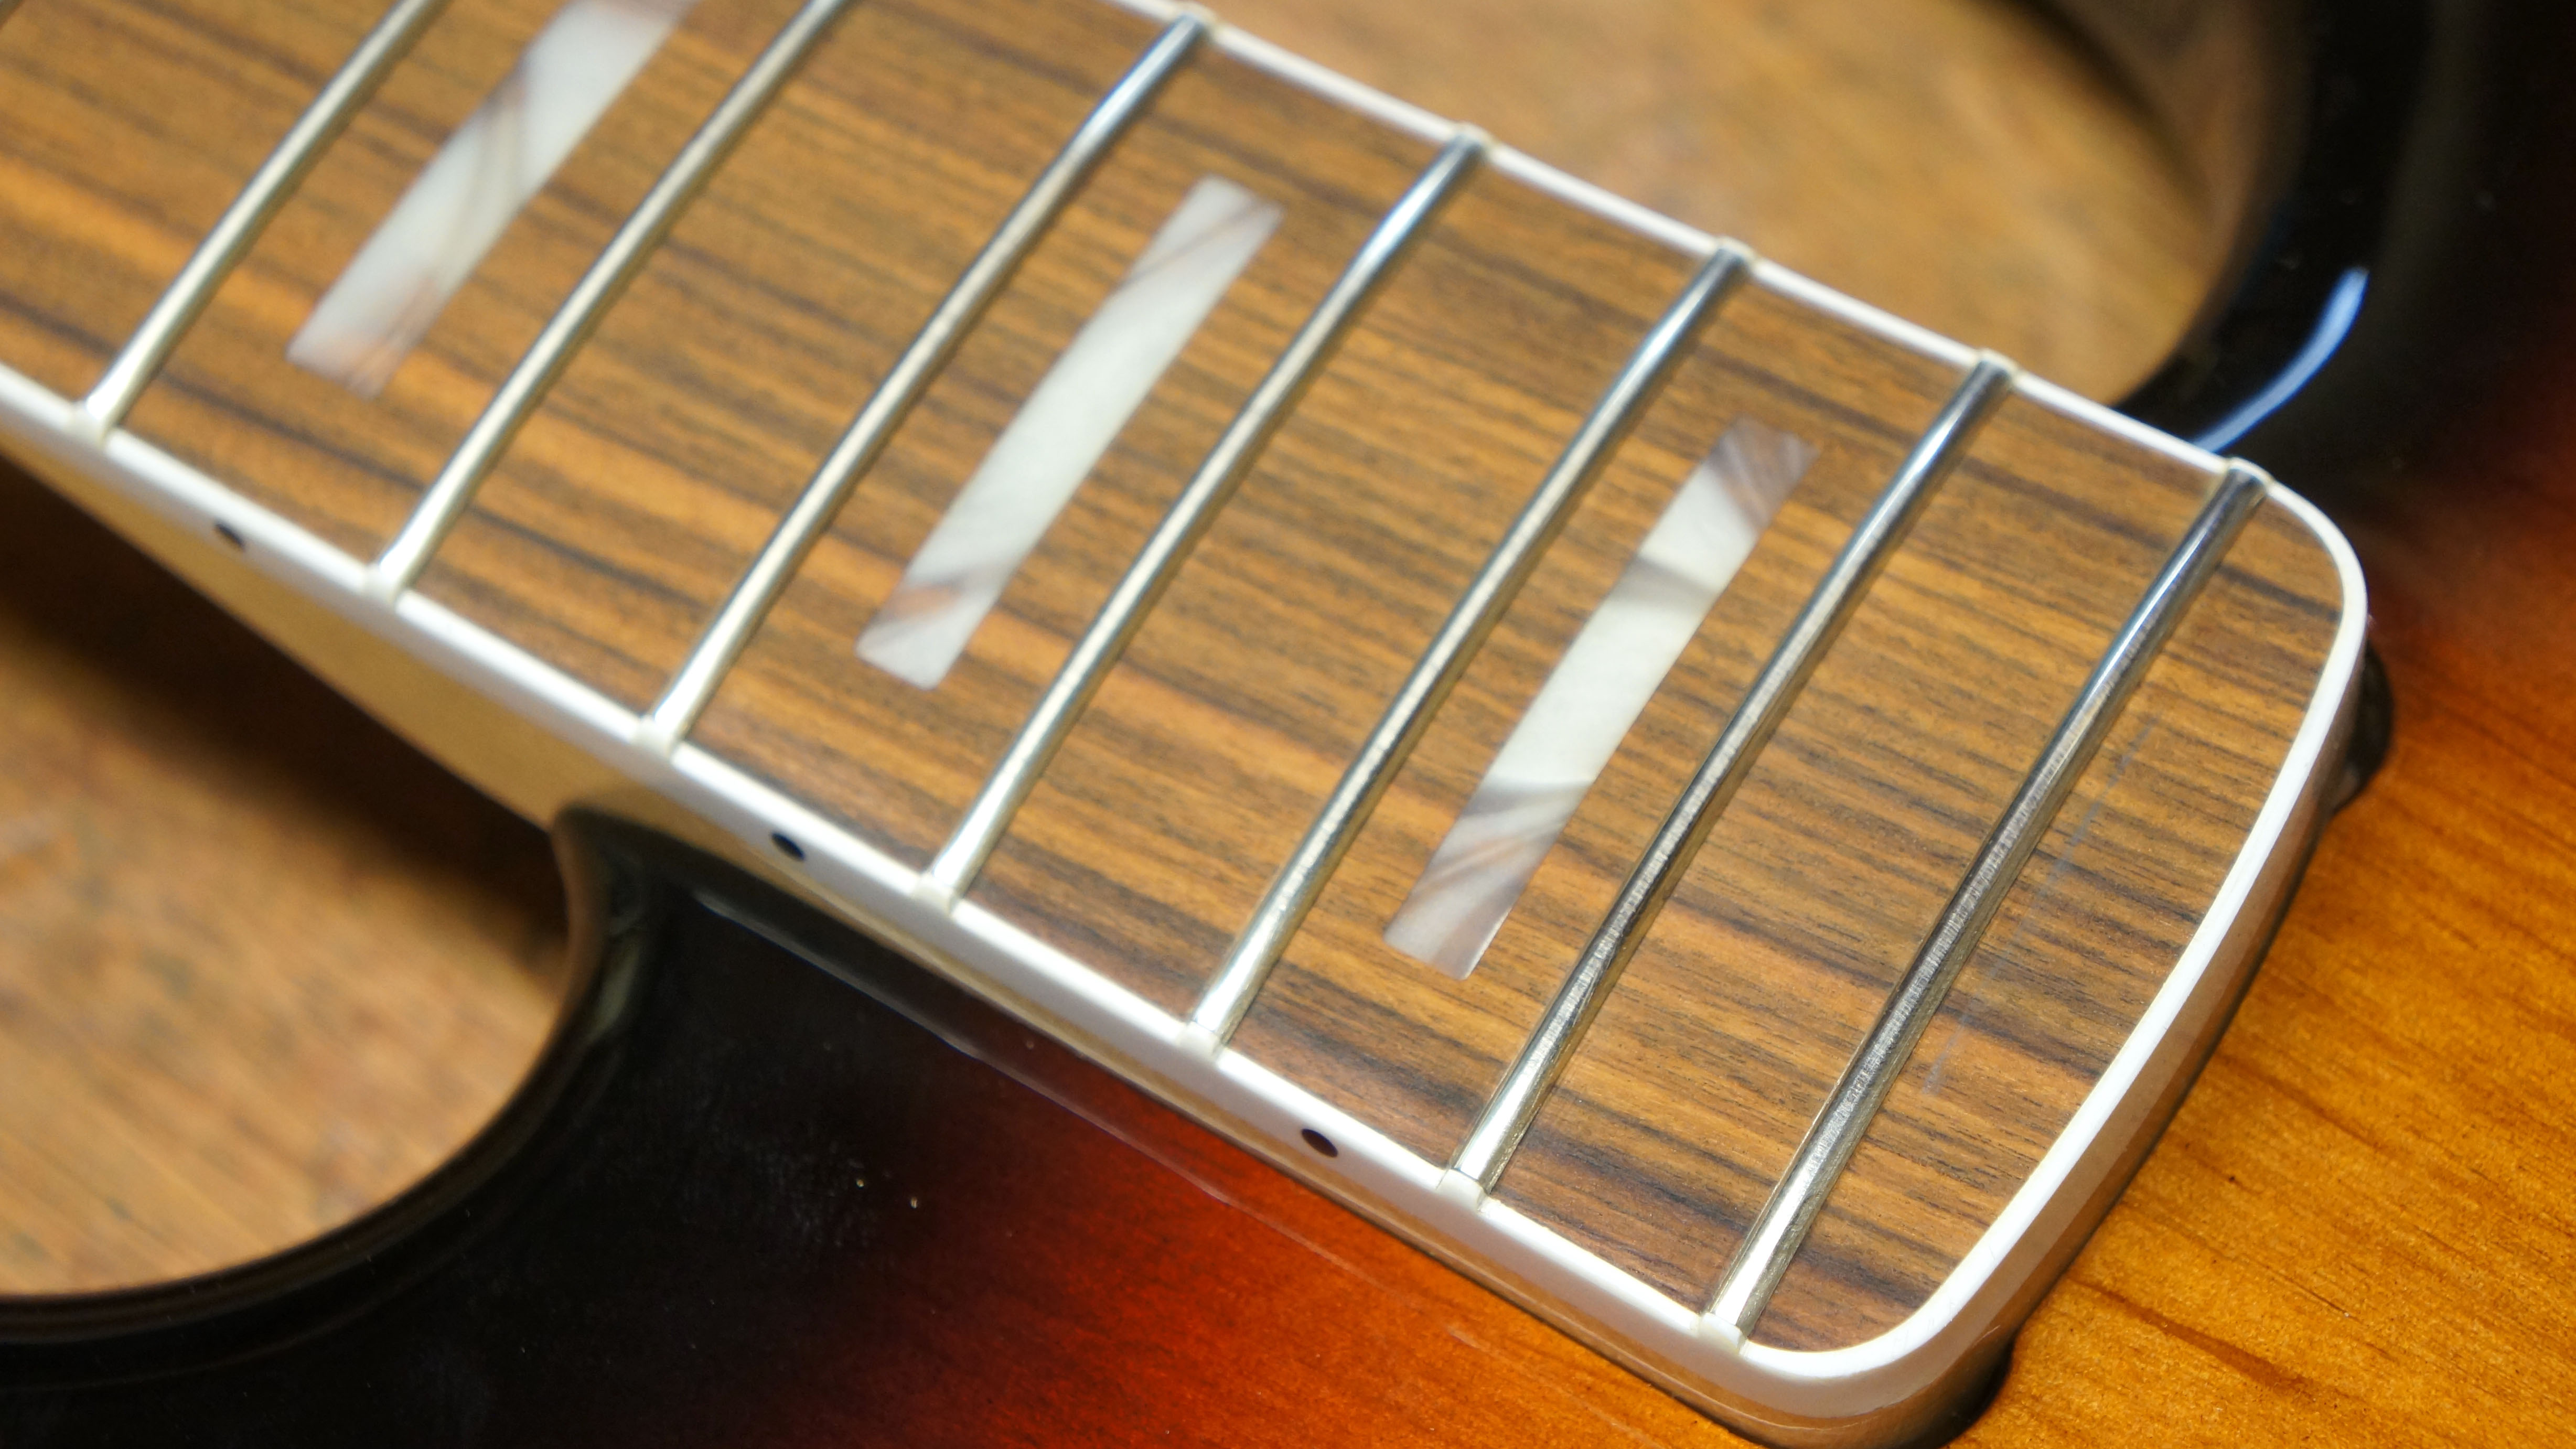
Ebony, pau ferro, Indian rosewood, Brazilian rosewood, wenge and padauk all enjoy lemon oil but if super dry, cracked or thirsty then almond oil will provide a more nourishing boost. Almond oil is a little thicker so with the harder wood species like Ebony it will take a while to soak in.
For regular application, using lemon oil roughly every six months is grand. Lemon oil has the bonus citric content that will naturally degrease some of that grime build up as you wipe away excess - it even smells great too!
We’ve just scraped the rosewood fretboard and given its state before we’re going with Almond oil for a deep nourishment.
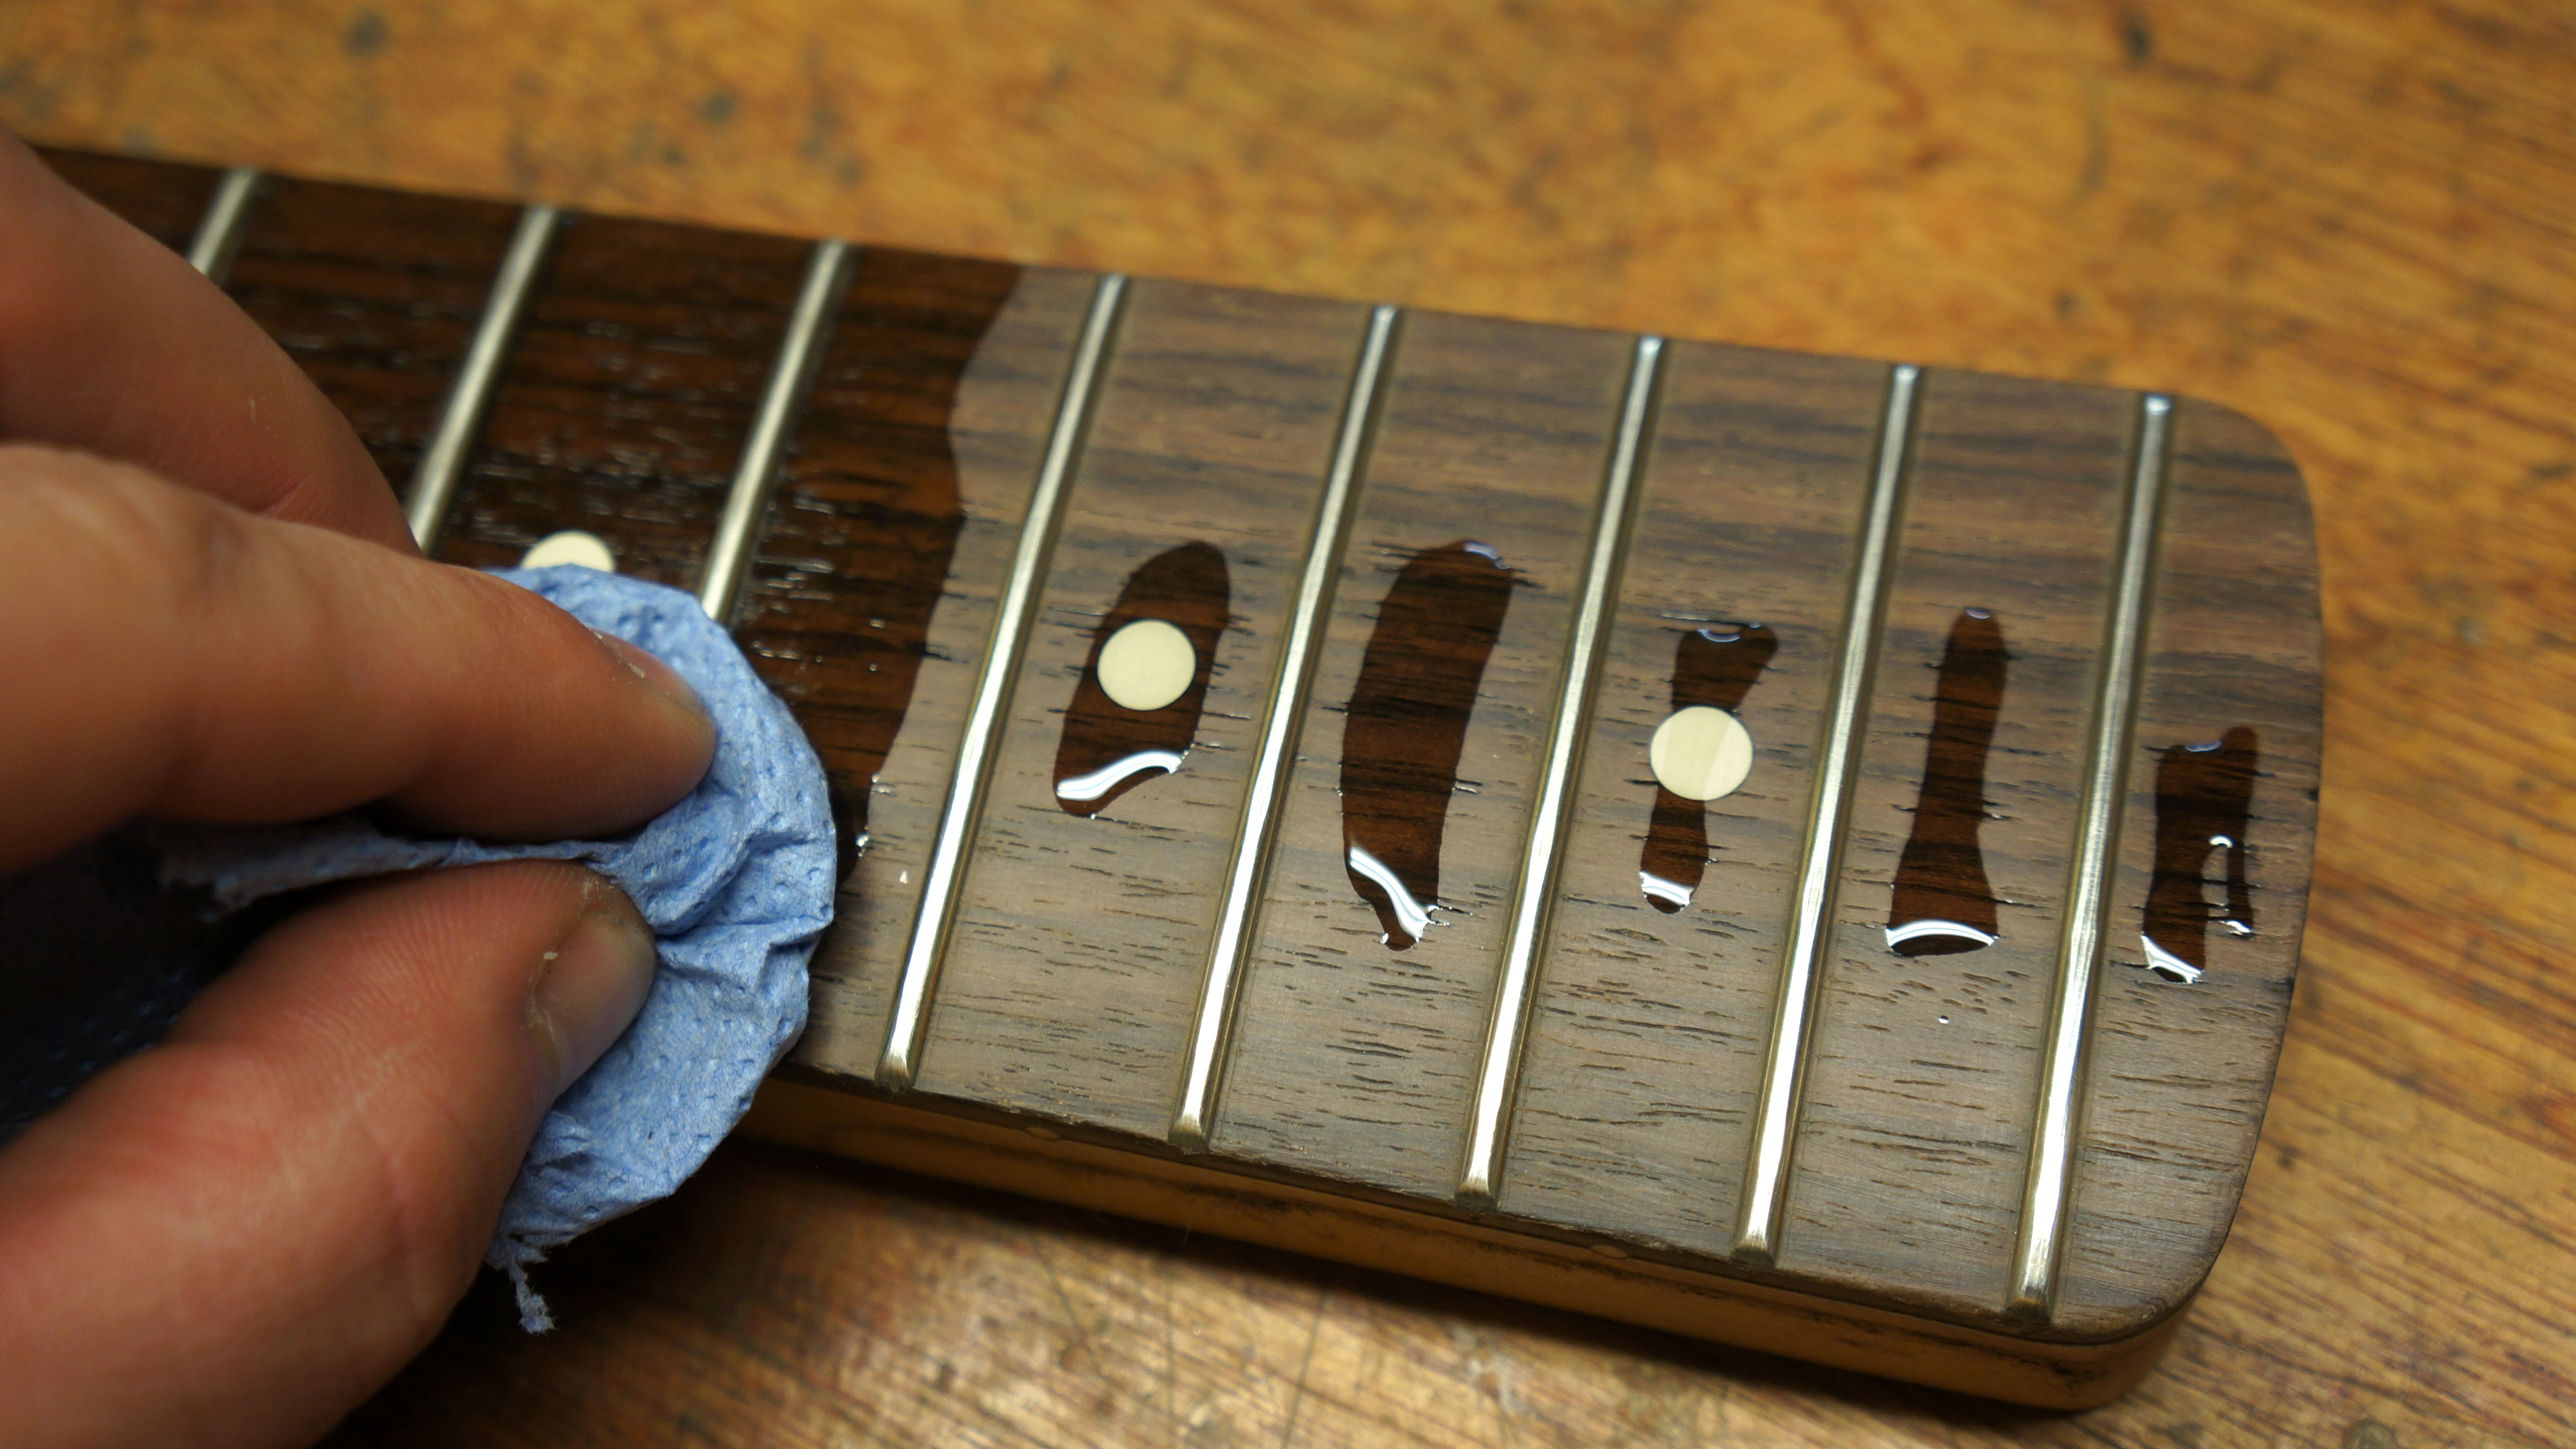
Spooge on plenty and cover the whole fretboard in it.
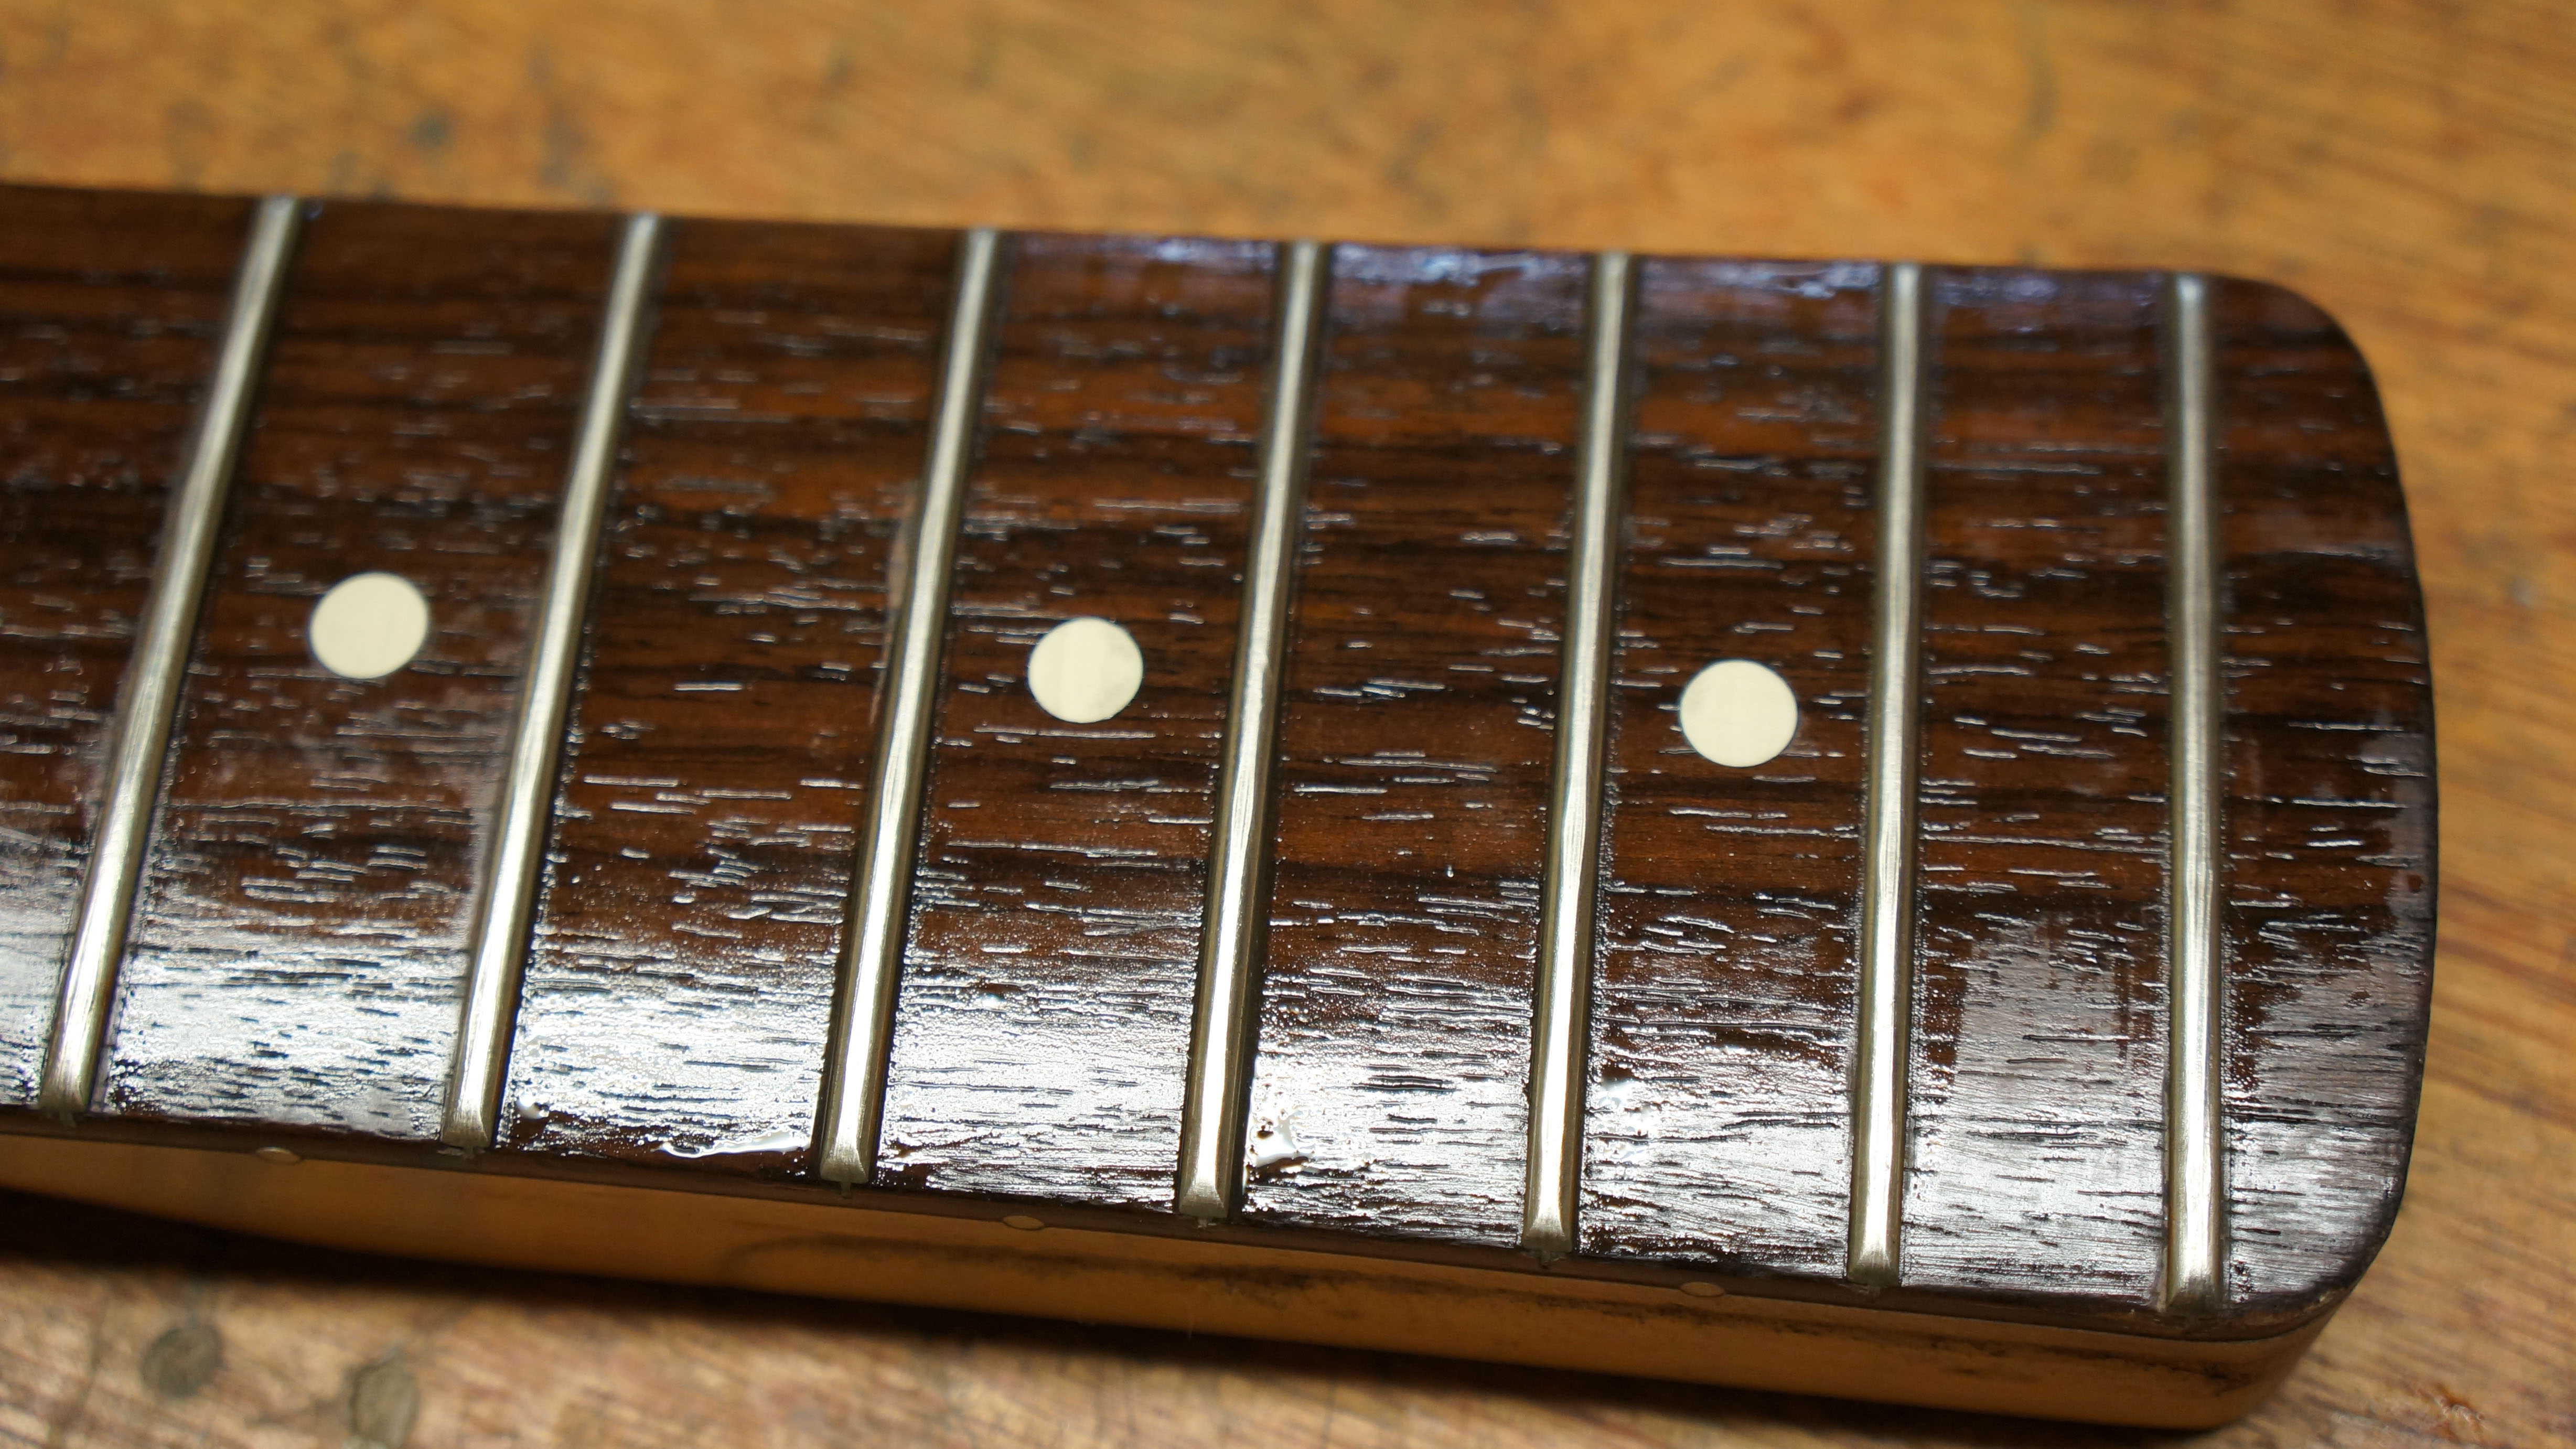
Let the oil soak in for a decent amount of time. As this bass fretboard was so bad we left it for 30 mins.
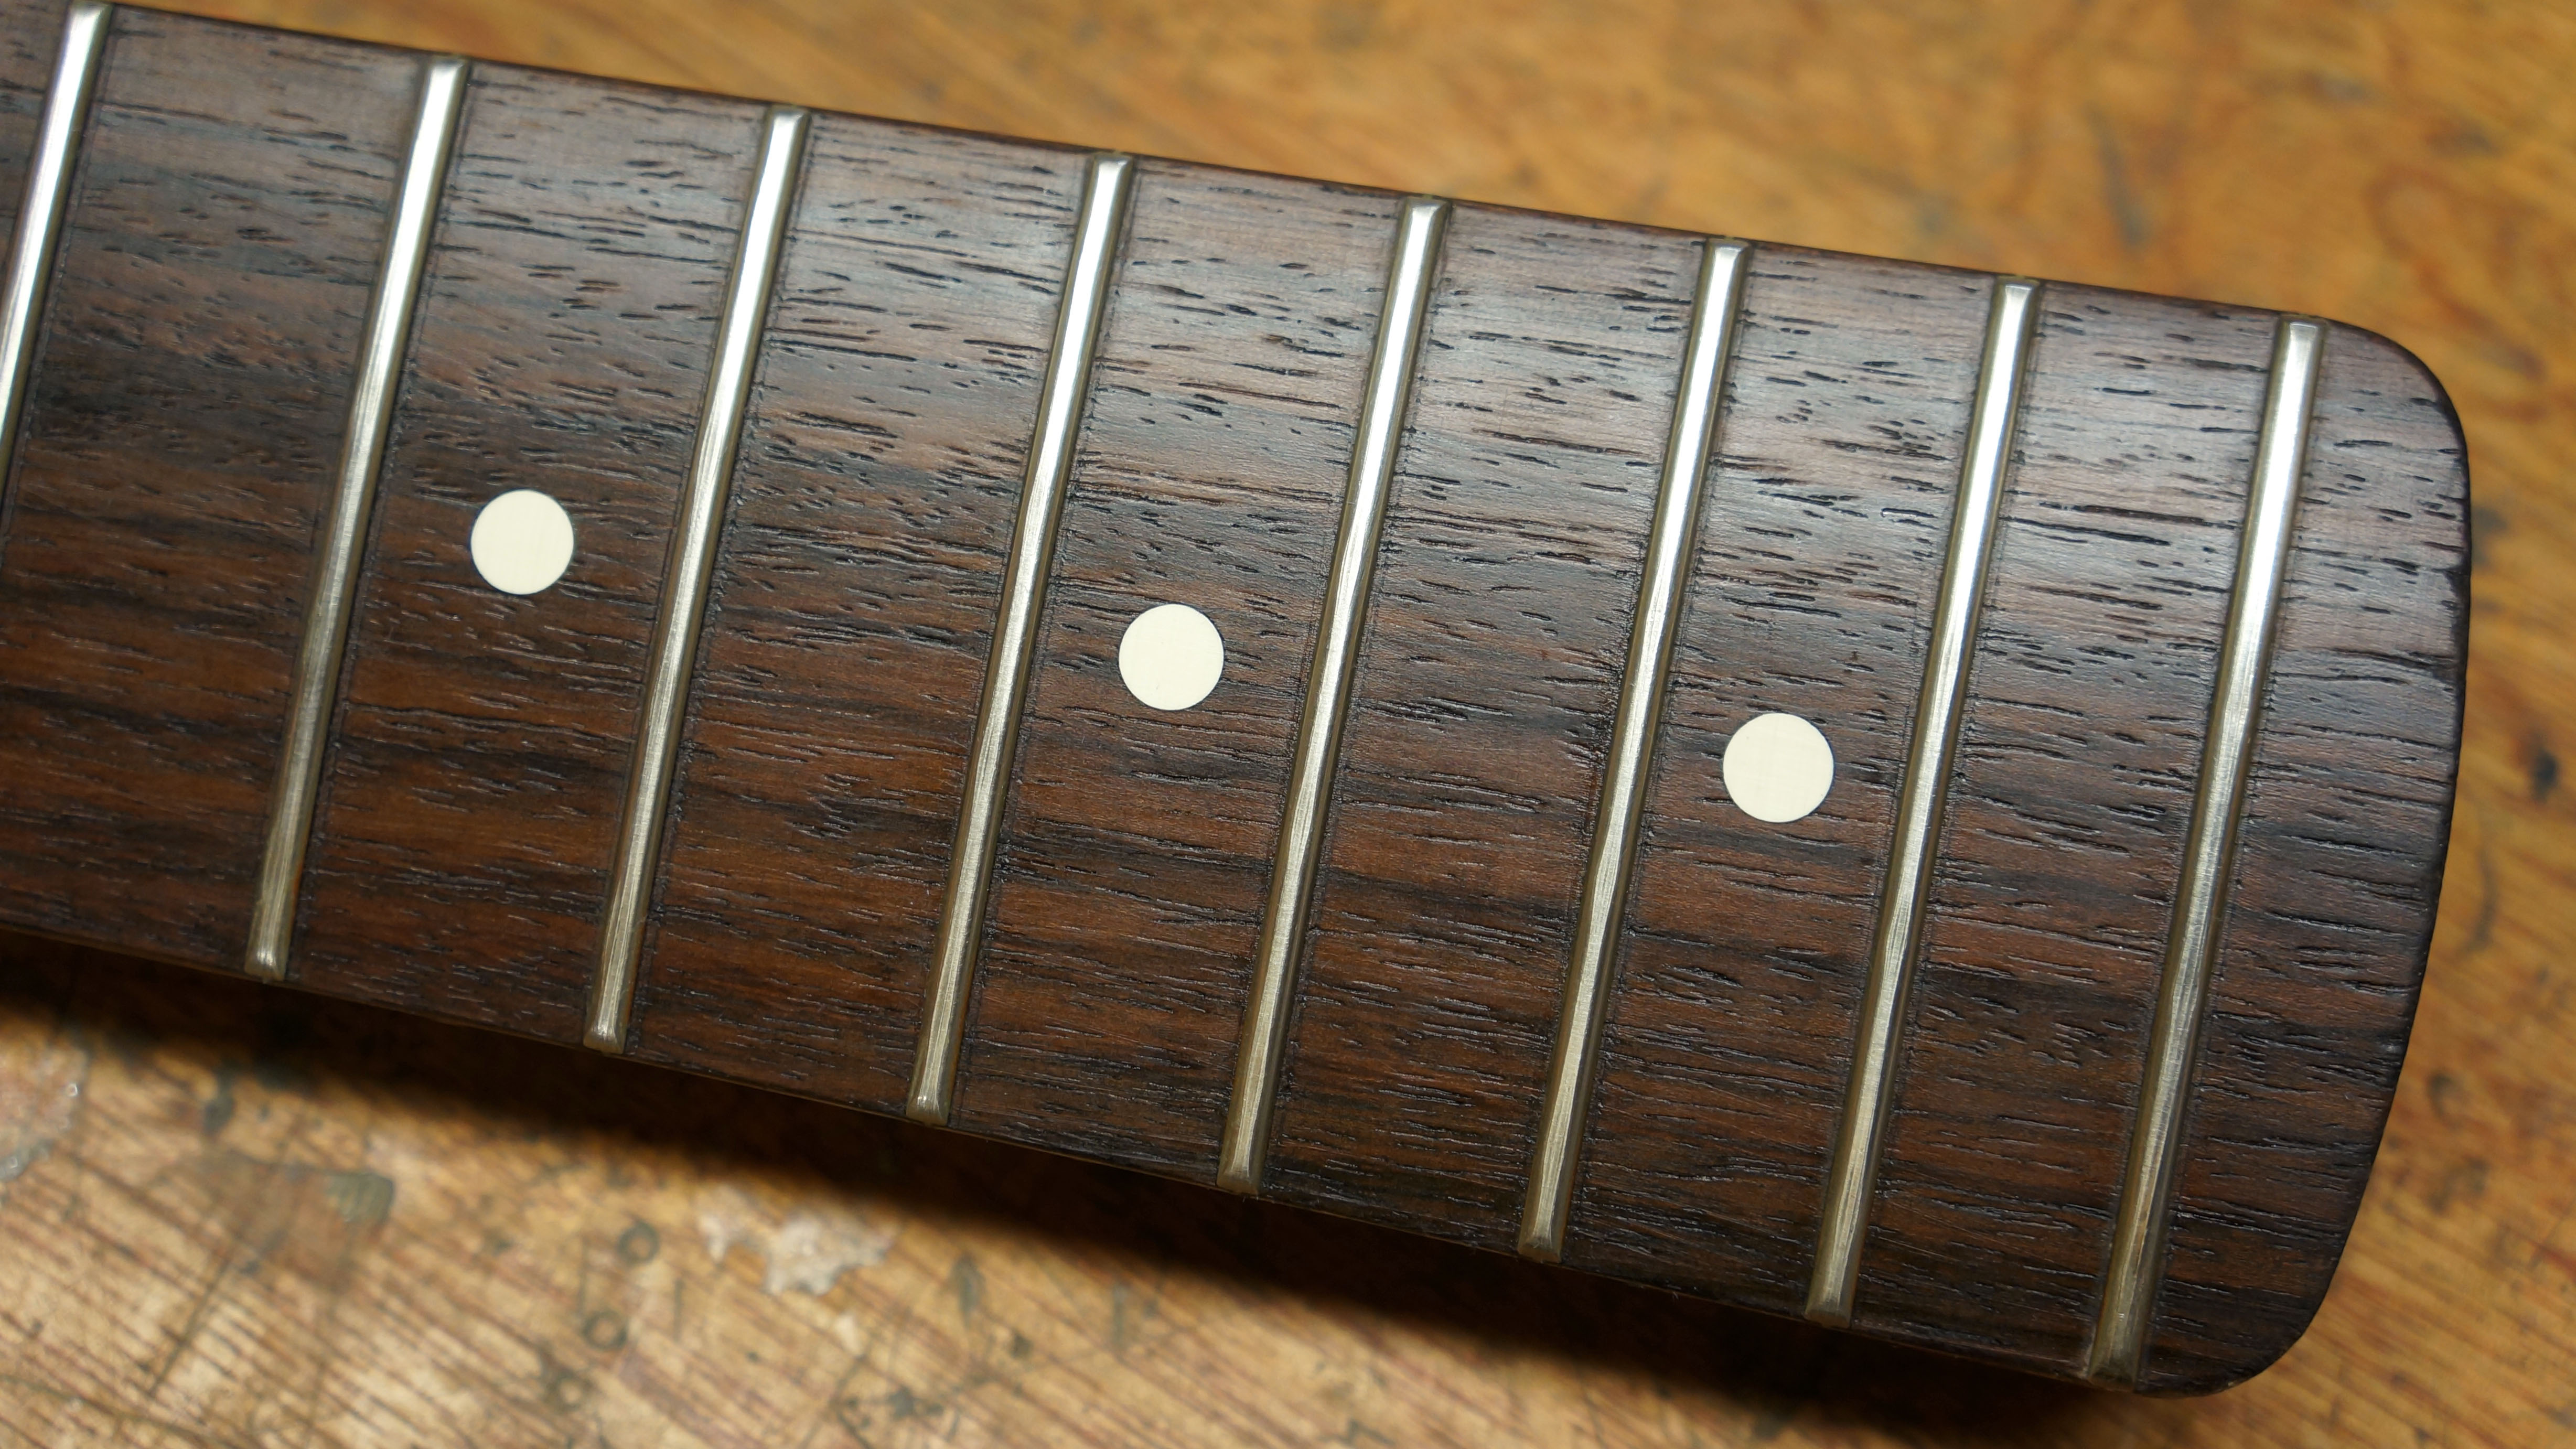
Wipe away the excess oil to reveal the lovely, lovely new fretboard surface! Any residual oil will be soaked into the fretboard.
How to set up your guitar: a DIY guide to intonation, truss rod, bridge and fretboard maintenance
Jack runs an independent guitar setup and guitar repair service in Manchester, England. He serves the musicians of the Northwest of England, working on electric guitars, bass guitars, acoustic guitars and more. Jack has been writing the Fix Your Guitar column in Total Guitar Magazine since 2017.
