4 steps to achieving a killer live guitar sound
How to nail great electric tone from your gear

Introduction
As guitarists, most of us have a fairly good idea of how we want to sound.
Maybe there are a few tonal reference riffs you like to crank through your rig at every soundcheck (Unchained works for me!) - and you probably have your intended stage tone dialled in at home or in the rehearsal room already.
Even with all of this in mind, the most tonally savvy among us occasionally fall victim to a bad live sound. What are the reasons for this and how can we get around them?

1. Tweak your mids
This one is incredibly common. As a guitarist, in most contexts, your instrument most naturally occupies the midrange frequencies - yes, even in extreme metal.
This is admittedly fairly broad - everything from around 3-400Hz to around 5kHz or so can be classed as some sort of midrange in a guitar context.
The middle section of this particular spectrum tends to be known by engineers as 'mid-mids', and as a rough guide, they mean everything from around 600Hz to 2-3kHz. The middle dial on your amp generally acts over a fairly wide band of frequencies (its Q factor) and is usually centred around the 'mid-mids' part of the spectrum.
Your guitar should primarily be occupying a similar set of frequencies to the snare drum
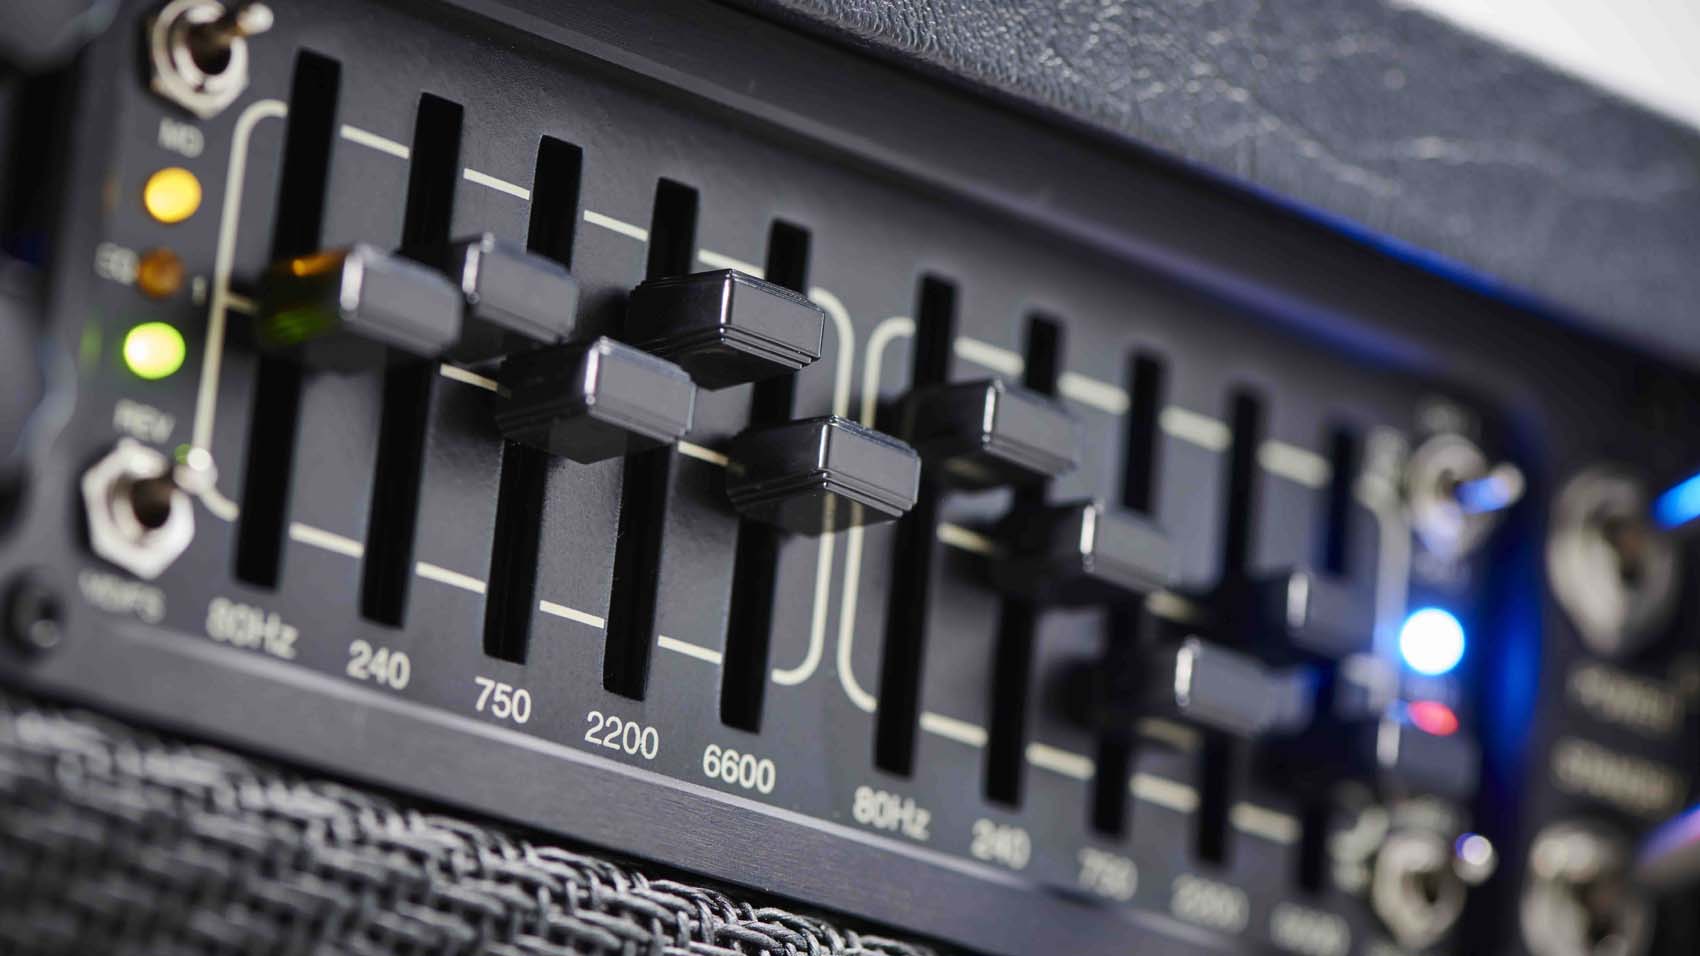
A good rule of thumb is Mesa/Boogie's middle EQ slider, which sits at 750Hz - just high enough to give your guitar sound an emotionally charged vowel content and not so high as to make it honky or harsh. Most rigs won't include a graphic EQ or even a sweepable midrange (mid frequency) control, but it can still be helpful to visualise this part of the spectrum.
If you're not numerically inclined, you can forget all of this and remember one thing: your guitar should primarily be occupying a similar set of frequencies to the snare drum.
Ask your drummer to hit his snare drum a couple of times. If you can tweak your midrange so that the guitar seems to sit 'around' the sound of that snare drum without burying it, you've made your first step towards great live sound.
Don't worry too much about the vocal at this stage; a good engineer will know exactly how to compress and tweak that so that it sits neatly atop the bed of midrange you've just created.

2. Give your tone weight
This means different things depending on the musical context - weight and bottom-end are not always the same thing. When was the last time you heard anyone say, "Wow, what a great guitar sound; it was so bassy"?
When talking about the low-end content of a guitar sound, people tend to use words like 'fat', 'big', or 'percussive'. As a rule of thumb, your guitar should sound deep and three-dimensional when playing an open chord, but not 'bassy' as such.
Generally, if you can concentrate on designing your rig so that it sounds fuller to start with, you can then dial back the extreme bottom-end so that your tone has a wide and authoritative enough soundstage without impinging too much on the bass guitar's frequencies or muddying up the notes of an open chord.
When was the last time you heard anyone say, "Wow, what a great guitar sound; it was so bassy"?
Two useful numbers to remember if you're ever at the controls yourself are 100Hz (this is roughly where your cabinet 'thonk' on palm-mutes or powerchords lives), and 300-400Hz (these are variously classed as low-mids or upper bass frequencies, and will fatten your sound).
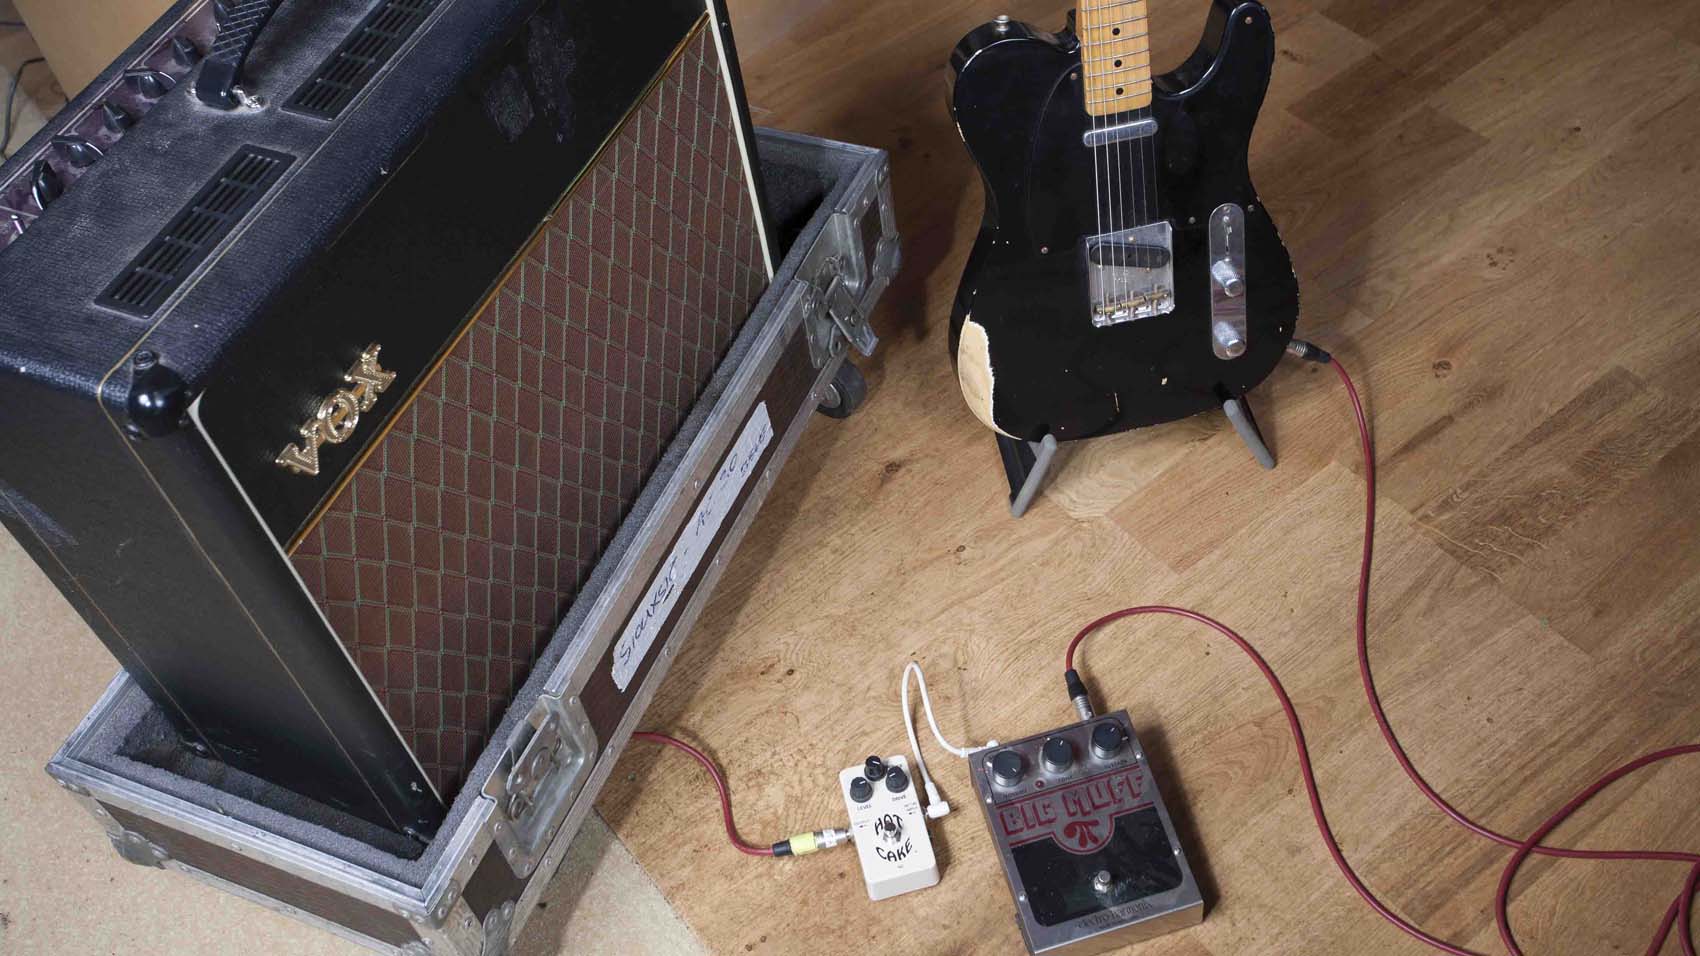
You can also experiment with sitting your cabinet directly on a wooden floor, a flight case or even a wooden crate, which will couple your cabinet for additional resonance.
If you then find the effect is too much, dial back your bass and/or resonance, or consider carrying a small rug to fine-tune the interaction and reflectivity with differing stage surfaces; the patterned rugs you see on stage with Toto and the like are not necessarily just for visual effect!
As a rule, hollow wooden stages have the greatest potential for enhancing your bottom-end and should be treated with care.
It's also important to be aware of the effects of a back wall or corner. Here, the potential exists for over-hyping of certain low frequencies due to standing waves - but if you're aware of this effect, it can be cautiously used to your advantage in certain scenarios.
I once owned a Peavey Classic 30 combo which, placed a few metres from a room's corner, instantly sounded three or four times bigger than it was. This is an effect to be used extremely judiciously, though - as a rule of thumb, your bottom end needs to be three-dimensional and authoritative yet clear.
Boom is your enemy, so generally you want to keep a safe distance away from corners and back walls.

3. Tone down the brightness
There tends to be a basic and fairly widespread misunderstanding about high frequencies and guitar. Many competent players will find their sound is muddy in certain live scenarios, and naturally reach for the treble control or ask the engineer to brighten things.
In theory, this is a fair approach, but it has one major flaw: the treble control on most guitar amps - as well as most desks - works over a wider range of frequencies, and can make your sound harsh or obnoxious in the high midrange very quickly.
A great guitar sound has the perfect balance of treble and high midrange: glossy and sparkly but never harsh - unless the style calls for it!
A great guitar sound has the perfect balance of treble and high midrange
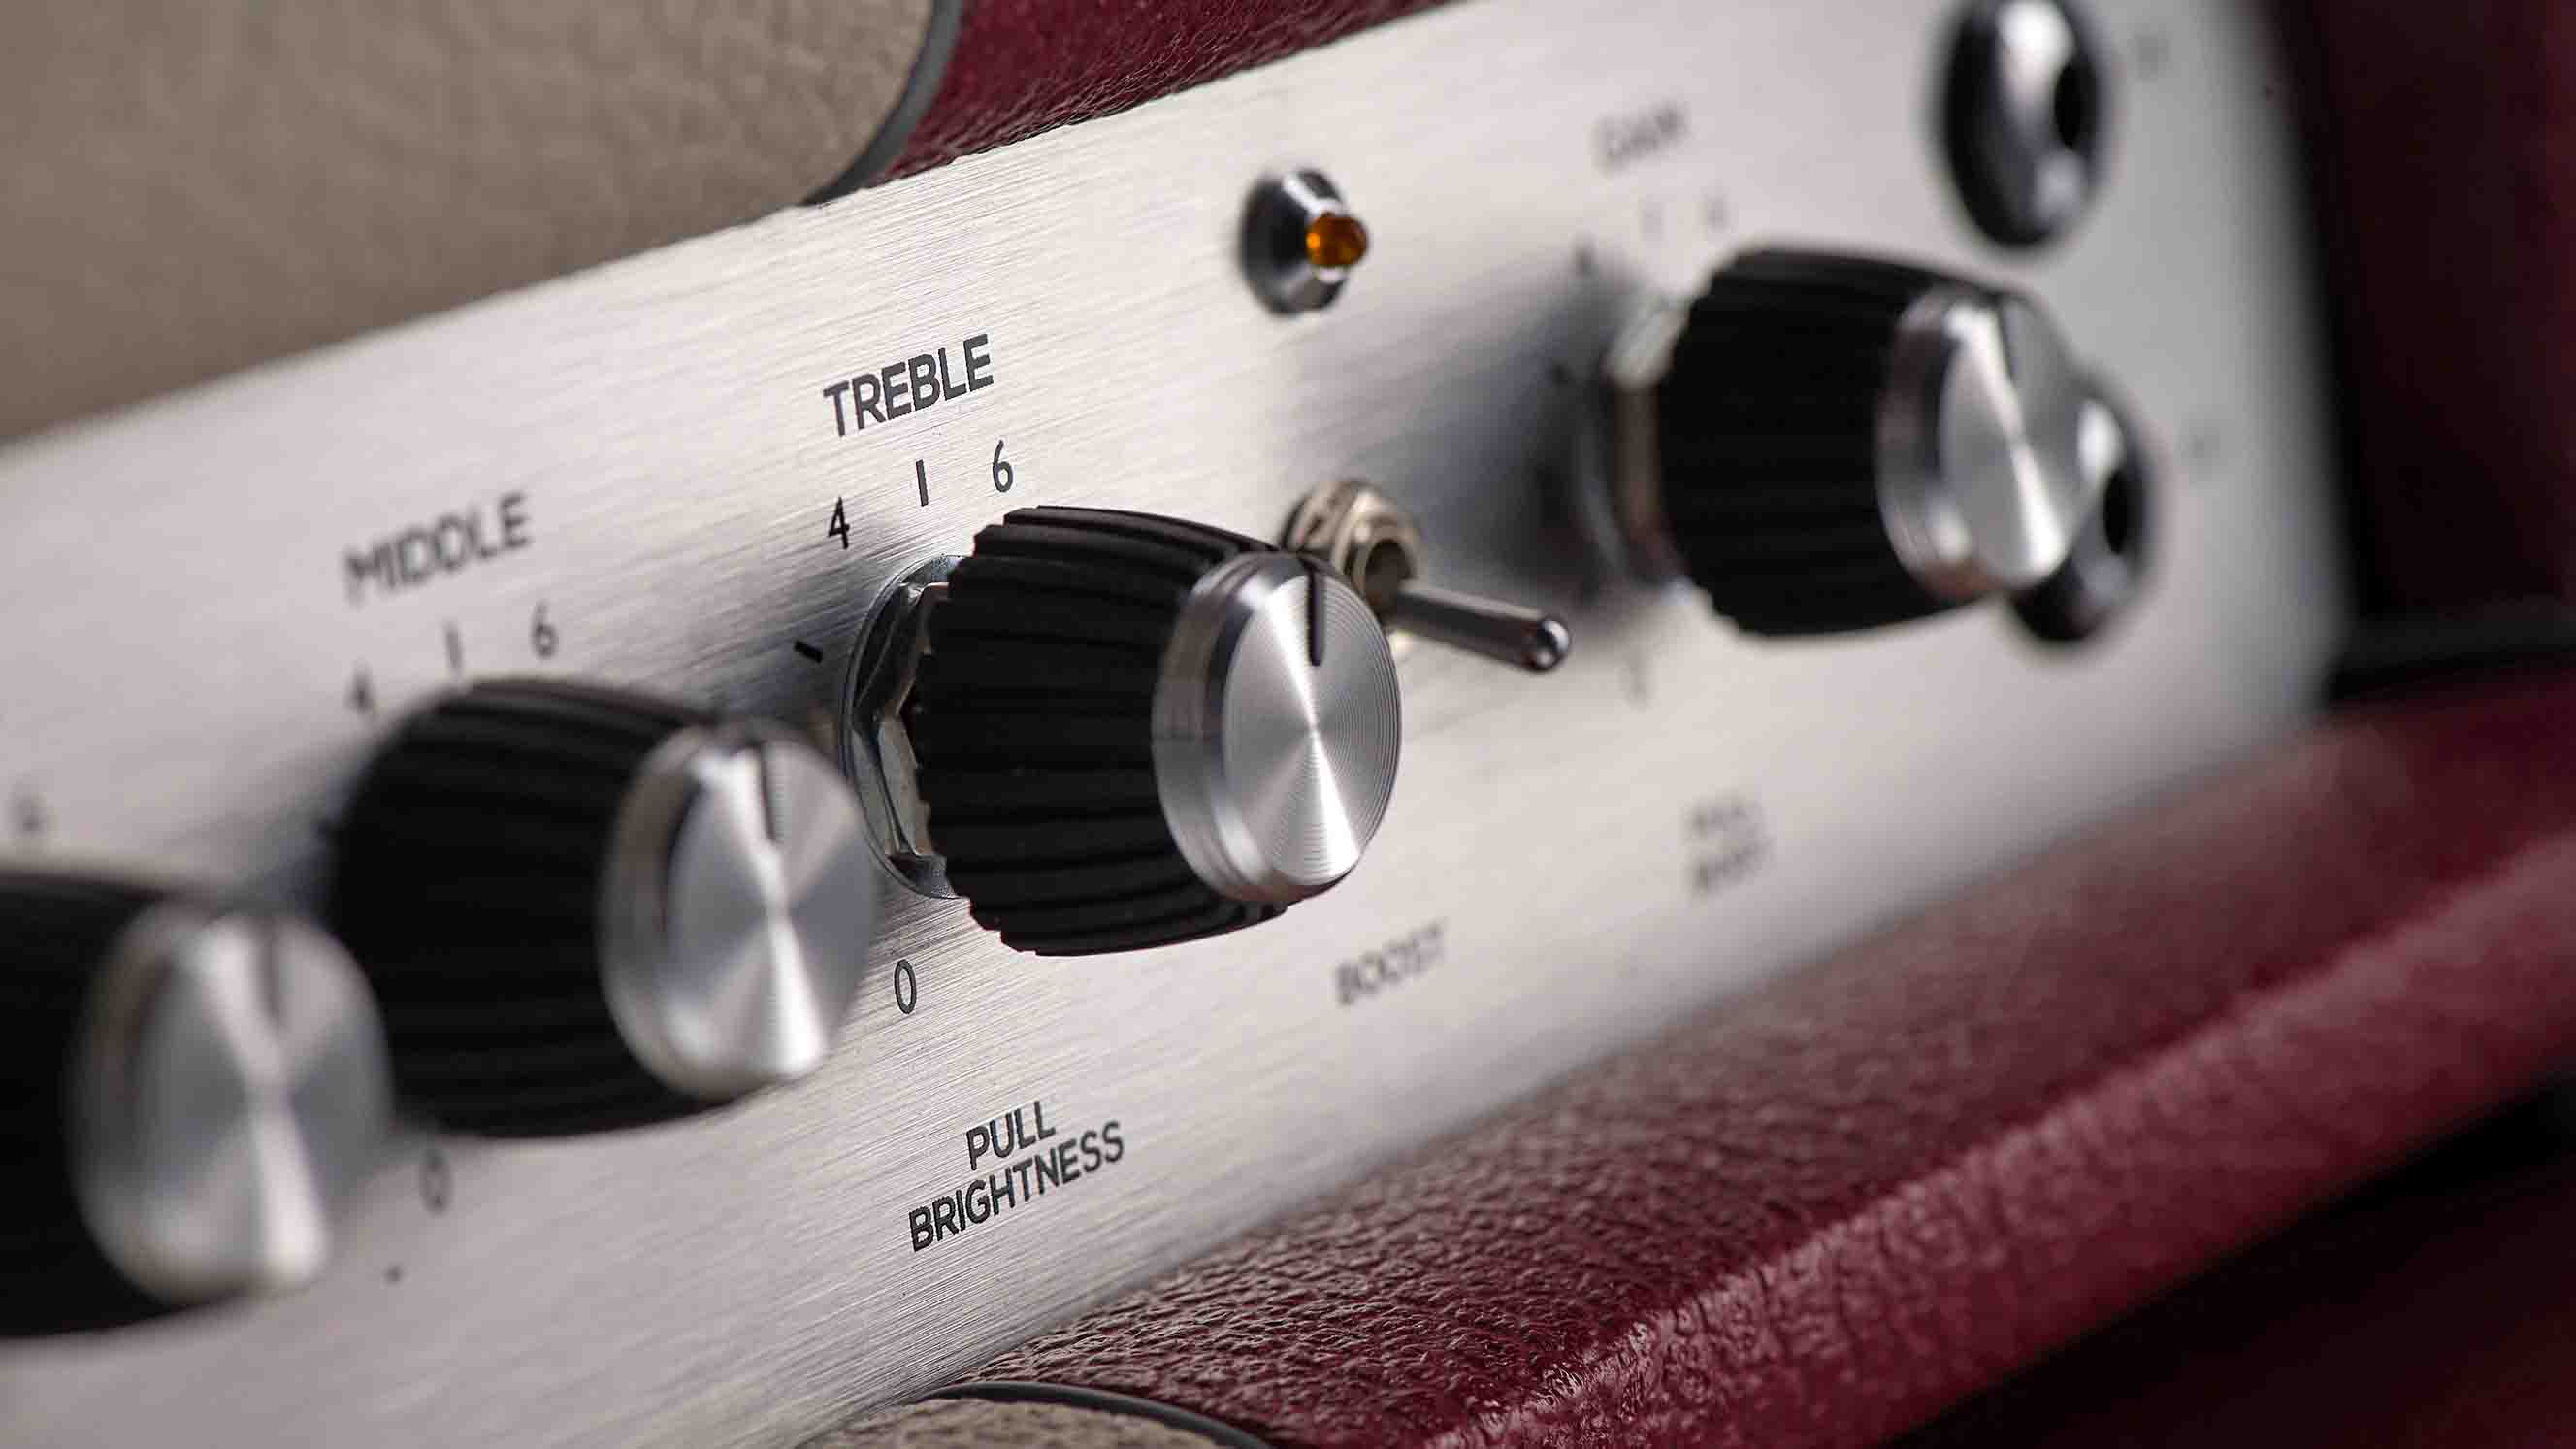
On a guitar amp, the treble dial tends to affect high midrange as well. The presence dial tends to add the high-frequency halo you need while also bringing the playing feel 'forward' into the room. Depending on the design, your presence dial may also accent a slightly different set of high-midrange frequencies.
Your job, first and foremost, is to balance these two controls. Try listening to your rig with the presence cranked and the treble turned off, and then vice versa. This will give you a feel for how the two controls interact and which frequencies they respectively act upon.
Fundamentally, if your sound is present and clear without too much inherent harshness, it will be much easier for a sound engineer to translate that over the PA.
Your speaker choice and how you position your cabinet onstage also makes a huge difference to your highs
Don't be afraid of a little 'sizzle', either. What sounds like fizz in isolation very often translates as clarity and openness in a mix. The sizzle of a distorted guitar generally lives around the 10-12kHz mark, so don't believe anyone who says guitar speakers don't reproduce anything above 8kHz.
They do - there's just not much of it and so it needs to be balanced very carefully using the presence control for a clear and vibrant representation of your sound, avoiding the dreaded 'blanket effect'.
Finally, your speaker choice and how you position your cabinet onstage also makes a huge difference to your highs.
Closed-back cabinets in particular tend to be very 'beamy' in the high frequencies; it's a good policy to set your sound so that it's just bright enough when listening slightly off-axis - this will spread a good sound around where its needed - and then angle, raise or lower the cabinet in such a way that the extremely bright on-axis sound isn't firing directly into somebody's ears!
It's pointless to EQ your sound for the on-axis position; then you'll only sound good in one spot. It's far more useful to EQ for a wider range of listening positions and then 'mop up' the troublesome on-axis element with clever cab positioning, or even a set of Weber Beam Blockers or similar.

4. Get your volume/monitoring mix right
This can be a very tricky subject - the concept of on-stage monitoring really needs an entire article of its own!
For the purposes of this piece, we'll assume you're using a traditional guitar amp of reasonable power (say 30-100 watts) and you're being asked to play in small or medium-sized venues, maybe the occasional outdoor stage.
We're also assuming you don't have the space for dummy cabs and an isolation box; if you do, you're probably in the fortunate position where the consistency of your sound is somebody else's responsibility!
Your needs are often different from those of the person behind the desk
The hardest aspect of onstage monitoring as a guitarist is that your needs are often different from those of the person behind the desk. If you have a valve amp, you really want it opened up to at least a third of its potential before it sounds good (with a 100W amp, this tends to be around the same volume as a rock drummer).
Also, most of us are used to monitoring our sound primarily through our own cabinet, which generally sits behind us - and we tend to play our best when we have a certain amount of organic interaction with our rig.
Make no mistake, many sound engineers want the exact opposite. To them, a loud backline will inevitably bleed down the drum mics and compromise the use of any gates, compressors or EQs they might want to add. It's increasingly de rigueur for live drums to sound like an album, and in this respect, your guitar amp is the biggest enemy on the stage.
A polite conversation with the sound engineer goes a long way
As with most things, the answer lies in compromise. A polite conversation with the sound engineer goes a long way. Also, be considerate. A 30W or 50W amp might open up earlier, and at the very least your 100W amp should have a great master volume control. Fortunately, these days, most do.
You can also run a power soak device like the THD Hot Plate or TAD Silencer to help achieve power tube saturation earlier. As little as 3dB of reduction can make your 100W rig as manageable as a 50W one, and of course, you can always make up the difference in your monitor mix.
You could even consider using something like a Suhr Reactive Load in conjunction with a digital speaker simulator; a one-box solution like the Two Notes Torpedo Live; or something like the analog Mesa/Boogie CabClone or Rivera RockCrusher.
These devices reduce onstage volume to nil while closely approximating the feel and response you're used to. Simply give the sound engineer a line-level feed and make sure you have what you want through your monitors.
Of course, if you're using a modelling preamp system with a full-range flat-response cab, different rules apply - something you can read about in our in-depth look at the FRFR phenomenon.
A robust set of monitors should be able to give you the frequency response you crave
A good sound engineer and a robust set of monitors should be able to give you the frequency response you crave, and with a little practice the awkwardness of solely hearing your guitar right in front of you - in excruciating detail! - will go away.
Equally, a great sound engineer will normally recognise a situation in which a certain amount of volume is inherent to a band's style and sound, and will apply his/her own set of compromises.
A pragmatic approach from both sides of the desk is always the best way forward. Oh, and one last nugget of advice: ask the sound engineer's name and remember it.
Don Stick is an online session guitarist and writes for music agency Bands for Hire.