9 ways to get more out of your Roland JX-08 and JD-08
Roland’s long-running Boutique range reimagines another pair of classics – the JD-800 and JX-8P. Leo Maymind asks what they offer 2022 users
Want all the hottest music and gear news, reviews, deals, features and more, direct to your inbox? Sign up here.
You are now subscribed
Your newsletter sign-up was successful
Roland‘s Boutique range has been around for a few years now and has picked up scores of fans from around the world. These small desktop designs put classic sounds into portable packages with smaller controls and digital streaming of audio built in, all while allowing users to take them from studio to stage in petite, battery-powered form.
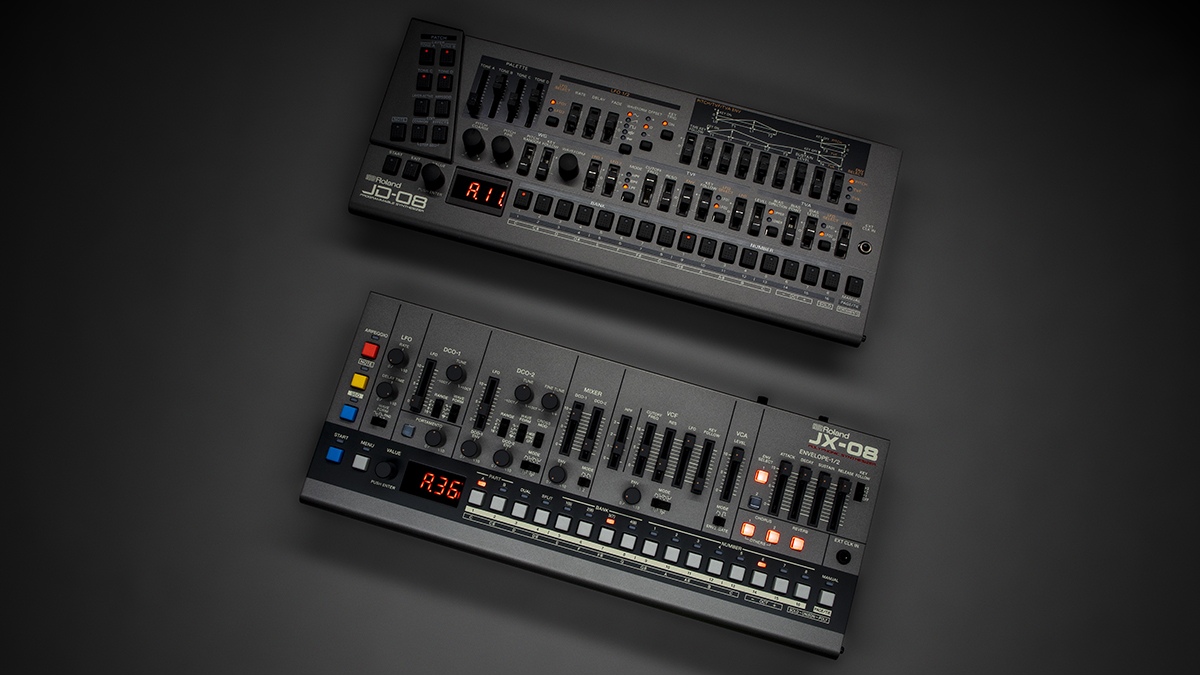
Roland has clearly been listening to its user base, as it recently announced two more models in the Boutique range that did away completely with the pitch and modulation strips of previous models, creating much more surface area for hands-on controls. These two new synths are the JD-08 and JX-08, which, as you’ve probably guessed, are emulations of two of Roland’s lesser-known synths from the late ’80s and early ’90s.
The JD-08 is an emulation of the JD-800, a synthesiser that came out for the first time in the early 1990s and was used in many soundtracks by a score of composers and producers alike. It featured a unique four-part architecture where each Patch was a combination of four Tones, each of which are based on a sample as the oscillator source, as opposed to the VCO designs of previous Roland machines.
The JX-08, meanwhile, is an emulation of the JX-8P, an all-analogue synth from the mid-’80s that unfortunately was hobbled by a very user-unfriendly interface, unless you were fortunate enough to own the accompanying PG-800 controller, which put all of the controls into an easy to understand add-on programmer. The JX-08 recreates all of the controls that were on the PG 800 on its face plate.
The JD-08 is a complex synth at first glance, given its depth. It’s bi-timbral, meaning two patches can be recalled and then alternated between. Each Part, also confusingly called a Patch in the online manual, can be made up of up to four layers at once, named Tone in Roland speak.
If both Parts are set to the same MIDI channel, you effectively have eight layers to edit at your disposal, though you can only edit one Part at a time, so four layers at once. A bit confusing at first, but it gets easier to wrap your head around after working with the JD-08.
The JX-08 is a bit easier to understand because even though it is also bi-timbral, each layer can only be made up of a single Patch, so there are effectively two sounds to work with at any given time. Let’s dive into both of these new Boutiques and see how they work.
Want all the hottest music and gear news, reviews, deals, features and more, direct to your inbox? Sign up here.
1. Bi-timbral settings
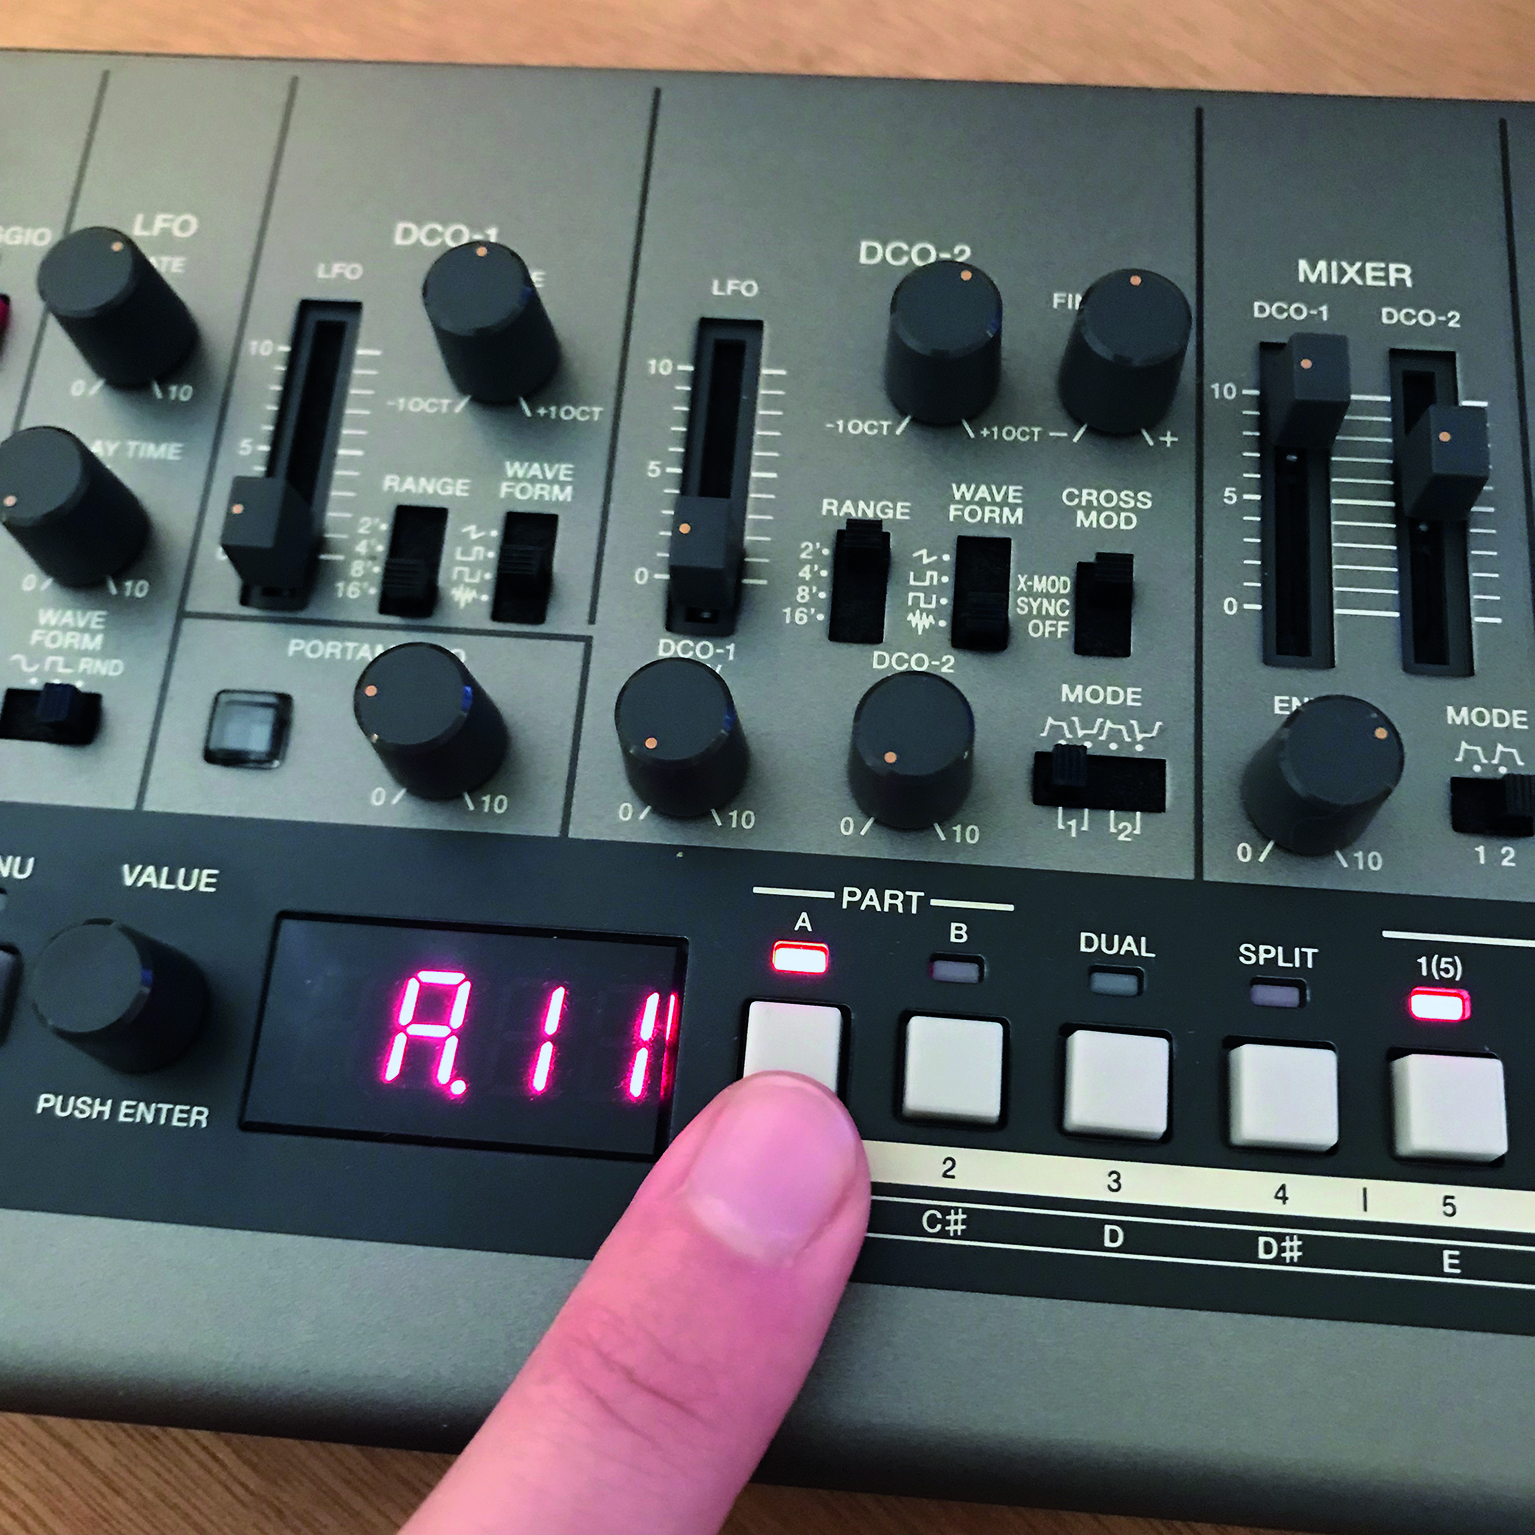
Both new Boutique models are bi-timbral, so you can play two different sounds at once, though you access this functionality differently on each model. On the JX-08, it’s a simpler affair – press the first two buttons in the step sequencer, labeled Part A or B to recall either Part. On the JD-08, hold the Note button and press Tone A or B to access the respective Parts.
2. Get sculpting
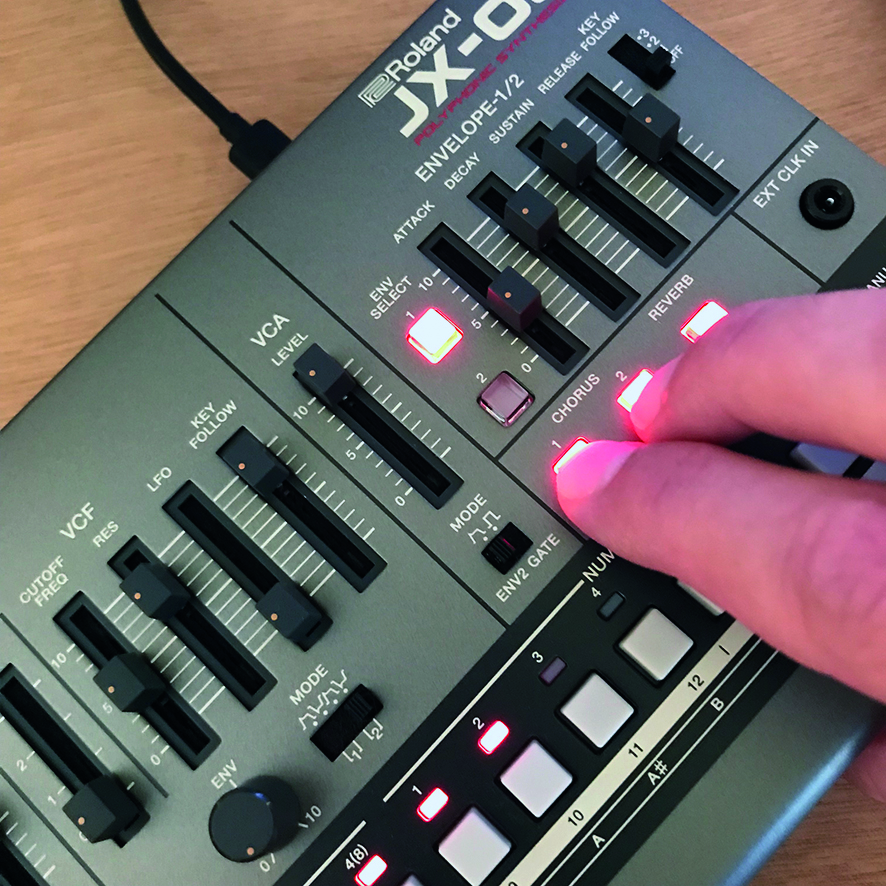
Both new Boutiques have a wider range of effects than any previous models, which were mostly limited to chorus and a not-very-tweakable delay. On the JX-08, there are 17 effects to choose from, including such novelties like a Lo-Fi Compressor and a Pitch-Shifter.
To get under the hood and tweak these effects, you need to enter the menu setting by pressing and holding both Chorus buttons at once. You can then choose which effect you’d like to recall using the Value encoder. As you scroll through effects, you’ll see that each has their own range of parameters to tweak, some of which are very extensive.
These effect settings can be saved per Part. It’s also possible to use one of the multi-effects and the Reverb at the same time, so quite a lot of sound sculpting possibilities are available here.
3. JD-08 effects
The JD-08 also has a wide range of effects, each with a plethora of parameters to adjust under the hood. Given that there are no effect faders or buttons on the more densely populated front panel of the JD, compared to its sibling, you access these effects by pressing the Effects button on the left-hand side of the front panel, and then again use the Value encoder to scroll through the various options and parameters.
There are only seven effects on the JD-08, grouped in two pairings labeled Effect A and Effect B. Distortion, Phaser, Spectrum, and Enhancer all reside in Effect grouping A, while Chorus, Delay, and Reverb reside in grouping B.
4. The full spectrum
Most of these effects are pretty self-explanatory, as we’ve all used Chorus, Delay, and Distortion effects before. Spectrum is essentially a six-band EQ which ranges from 250Hz up to 8kHz. Each frequency range can be boosted or cut by 15dB, and there’s a width control that applies to all of the ranges simultaneously. Using Spectrum can help cut some nasty overtones that you might get in complex, layered patches.
5. Mix-in jack
These new Boutiques continue the trend of having a handy mix-in jack via 1/8” input, which allows you to mix external sources with the sound of either synth. While there’s no volume control, this allows each of the boutiques to be used without a mixer for a more compact setup, greatly increasing the portability of using these instruments without adding bulk to your setup.
Furthermore, no need to look for old, outdated cables, as the JX-08 and JD-08 have now both been updated to be powered via USB-C. You can also still power each the old fashioned way with four double AA batteries, making each synth a truly portable experience.
6. Arpeggiating
Unlike previous models in the Boutique range, both the JD-08 and JX-08 have arpeggiators that are more complex than they seem on the surface. Go into the Arpeggio menu by holding down the Arpeggio button on each model, and you’ll see a plethora of parameters that can be saved per patch.
It’s possible to adjust playback rate, of which you can choose from six different values including eighth note and 16th note triplet feels, which are quite rare for any arpeggiator. There are also five different playback modes to choose from, the usual suspects of Up, Down, and Up/down are all included; but there is also a Random mode, as well as a mode to play back the notes in the order you entered them, which is quite handy for creating some interesting sequences.
7. 8-stage envelope (JD-08)
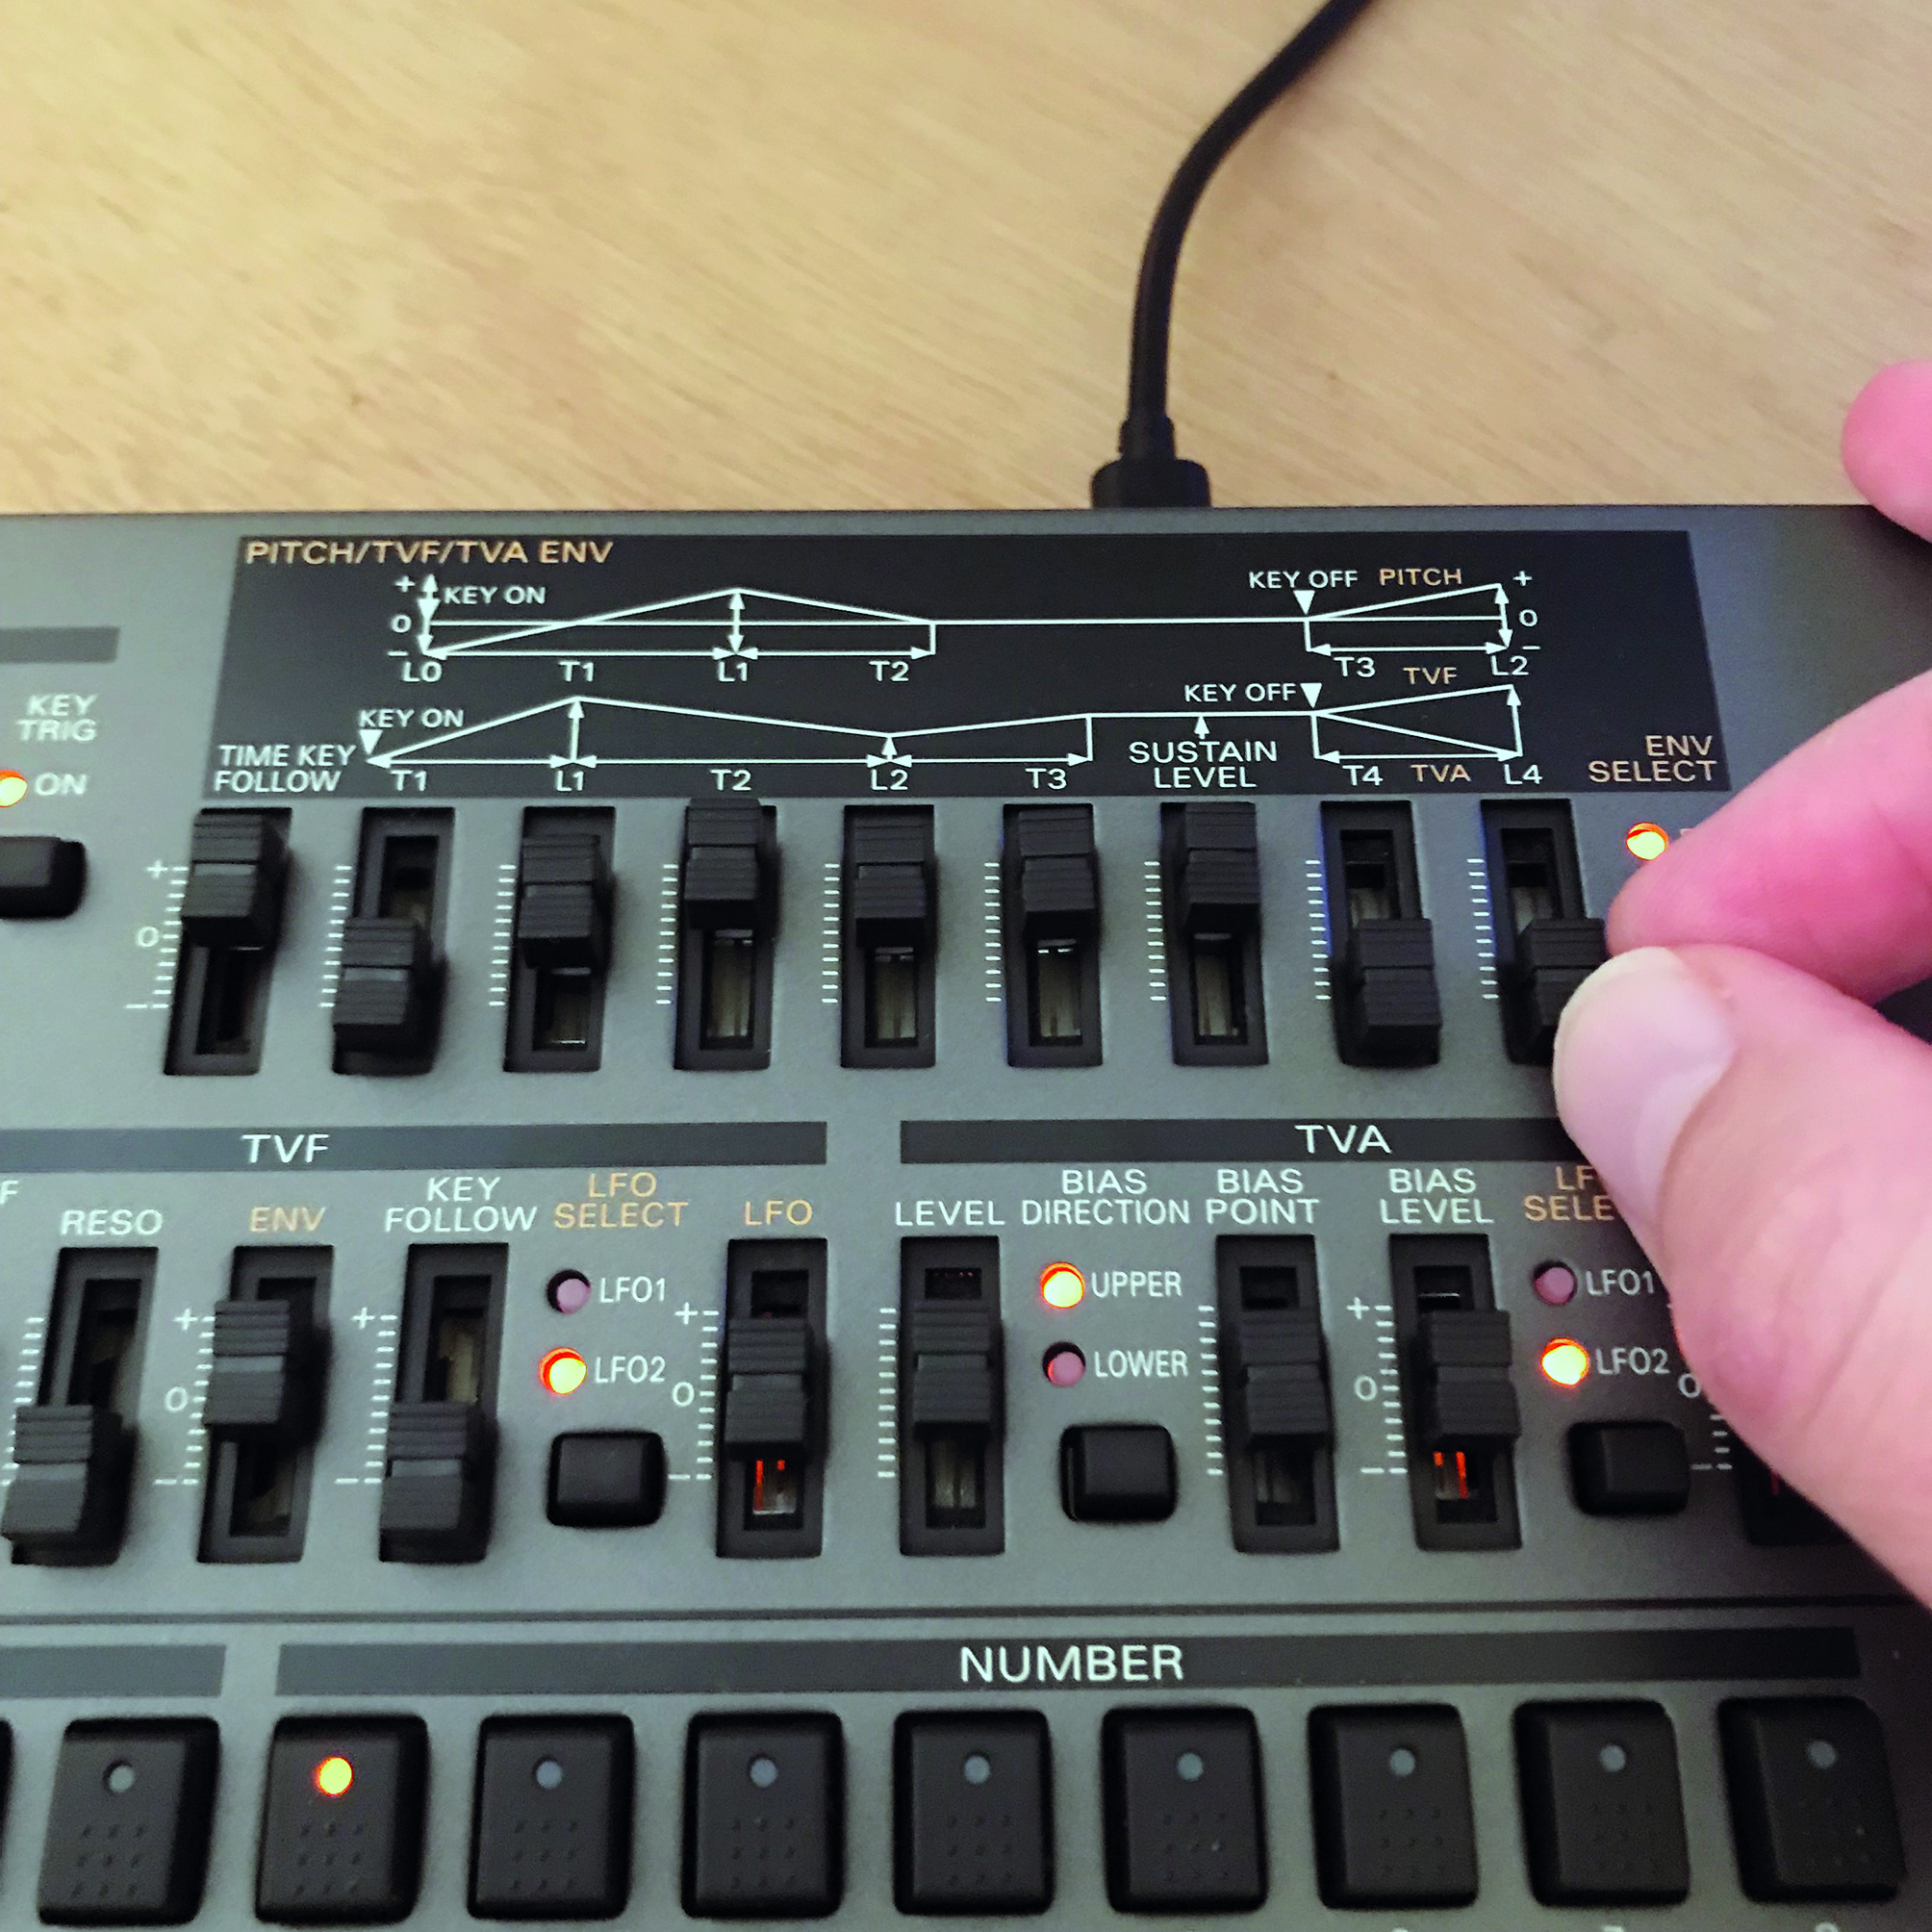
The eight-stage envelope on the JD-08 is also worth a look, as this envelope is far more capable than the usual ADSR envelopes on most subtractive synths (like the JX-08). The envelope on the JD-08 can control the Oscillator’s pitch, Filter cutoff, and overall amplitude level (TVA on the JD), or it can control both filter cutoff and TVA level at once.
The envelope has four faders for Time and four for Level, giving users precise control over how this envelope is shaped. While the small faders are hard to be precise with, careful programming can lead to otherworldly pad sounds that are near impossible to program on the JX-08.
8. JD-08 controls
While the sonic architecture of the JX-08 is fairly self-explanatory to those who have experience with subtractive synthesis, the JD-08 is a bit more complex, as you’d expect looking over the plethora of controls. The first area of the controls that is a bit of a head-scratcher is the Palette controls, as these change function based on whatever fader was last touched, but on a per-tone basis.
So the Palette control for Tone A controls whatever control was last touched for Tone A only, and the same for the rest of the Tones. This means that this section can act as a mini “Performance” mode of sorts, as each of these faders, with their slightly longer throw, can have their own individual assignments. One can control Filter Cutoff, another LFO rate, another LFO depth on Filter Cutoff, etc.
9. Going MIDI-less
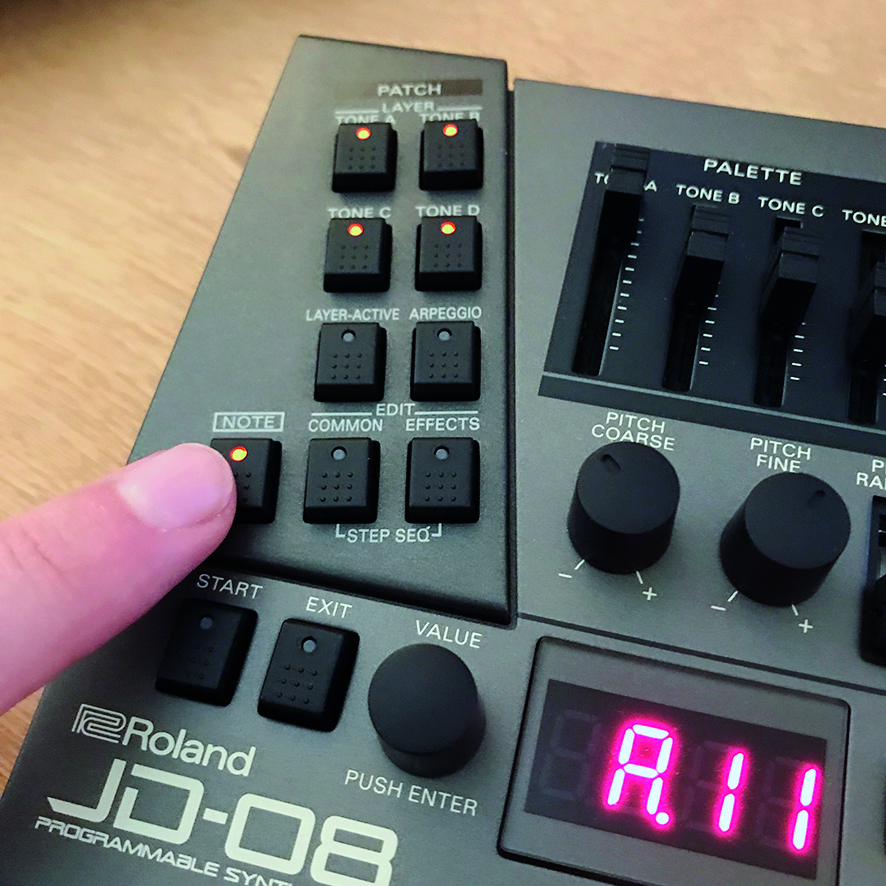
Finally, if you’re looking to work on programming sounds without the benefit of a MIDI controller or keyboard being available, you can use the Bank/Number buttons on each of these new Boutique models as a built-in keyboard.
To do this, simply press the Note button on each, which will then duly decouple the bottom row of buttons from selecting/changing patches and instead allow it to function as a simple, one octave keyboard. You can change the octave value of these notes as well, with steps 14 and 15 on each Boutique, so that you aren’t limited to a one-octave range.
How to integrate the JX-08 and JD-08 into your workflow
Use the full capabilities of both new Boutiques over USB to make the most of them. Here’s how…
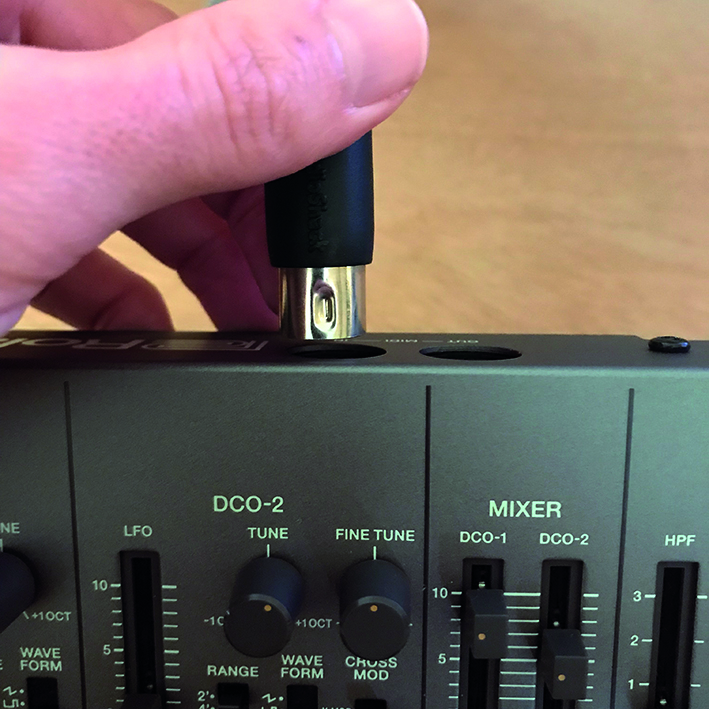
Step 1: There are several ways to integrate these new Boutique synths into your DAW workflow. The simplest is the old fashioned way with a normal 5-pin MIDI cable connected from your controller keyboard into the MIDI input of either synth. However both Boutiques also have MIDI over USB functionality, so one USB-C cable eliminates the need for other MIDI connections.
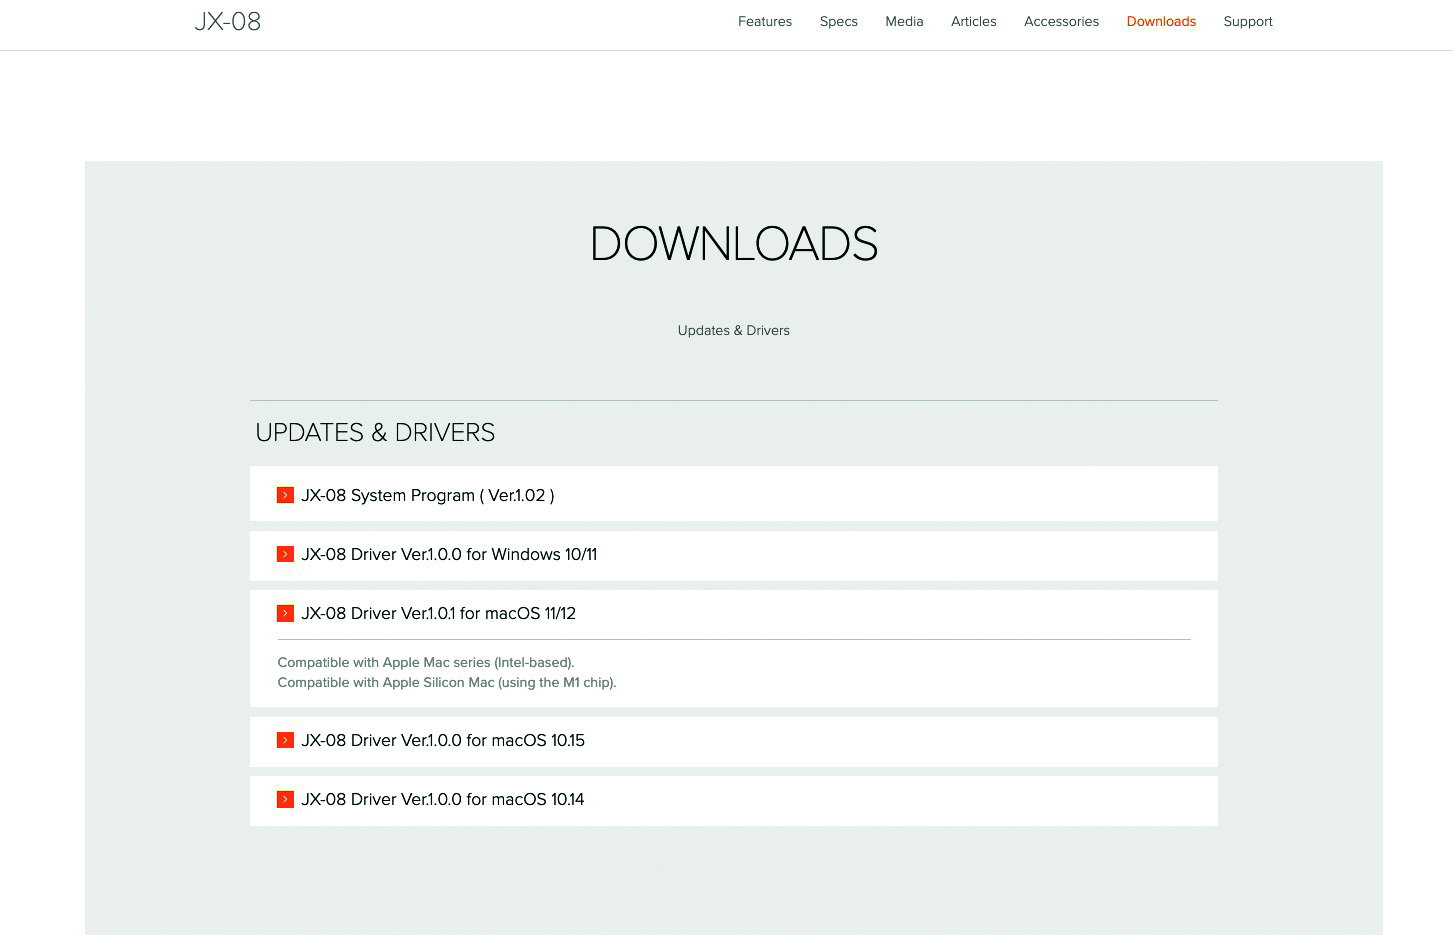
Step 2: As with the previous versions of the Roland Boutique series, it’s possible to use audio over USB with both the JX-08 and JD-08. In order to do so, you’ll have to download and install the appropriate drivers from Roland, as neither synth is class compliant.
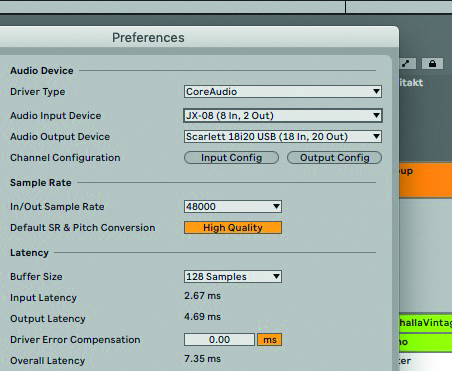
Step 3: After doing so, you’ll be able to digitally stream each Part from either synth individually into your DAW, as well as a separate audio track for whatever is being connected to the Mix In input, allowing each synth to act as a quick audio interface.
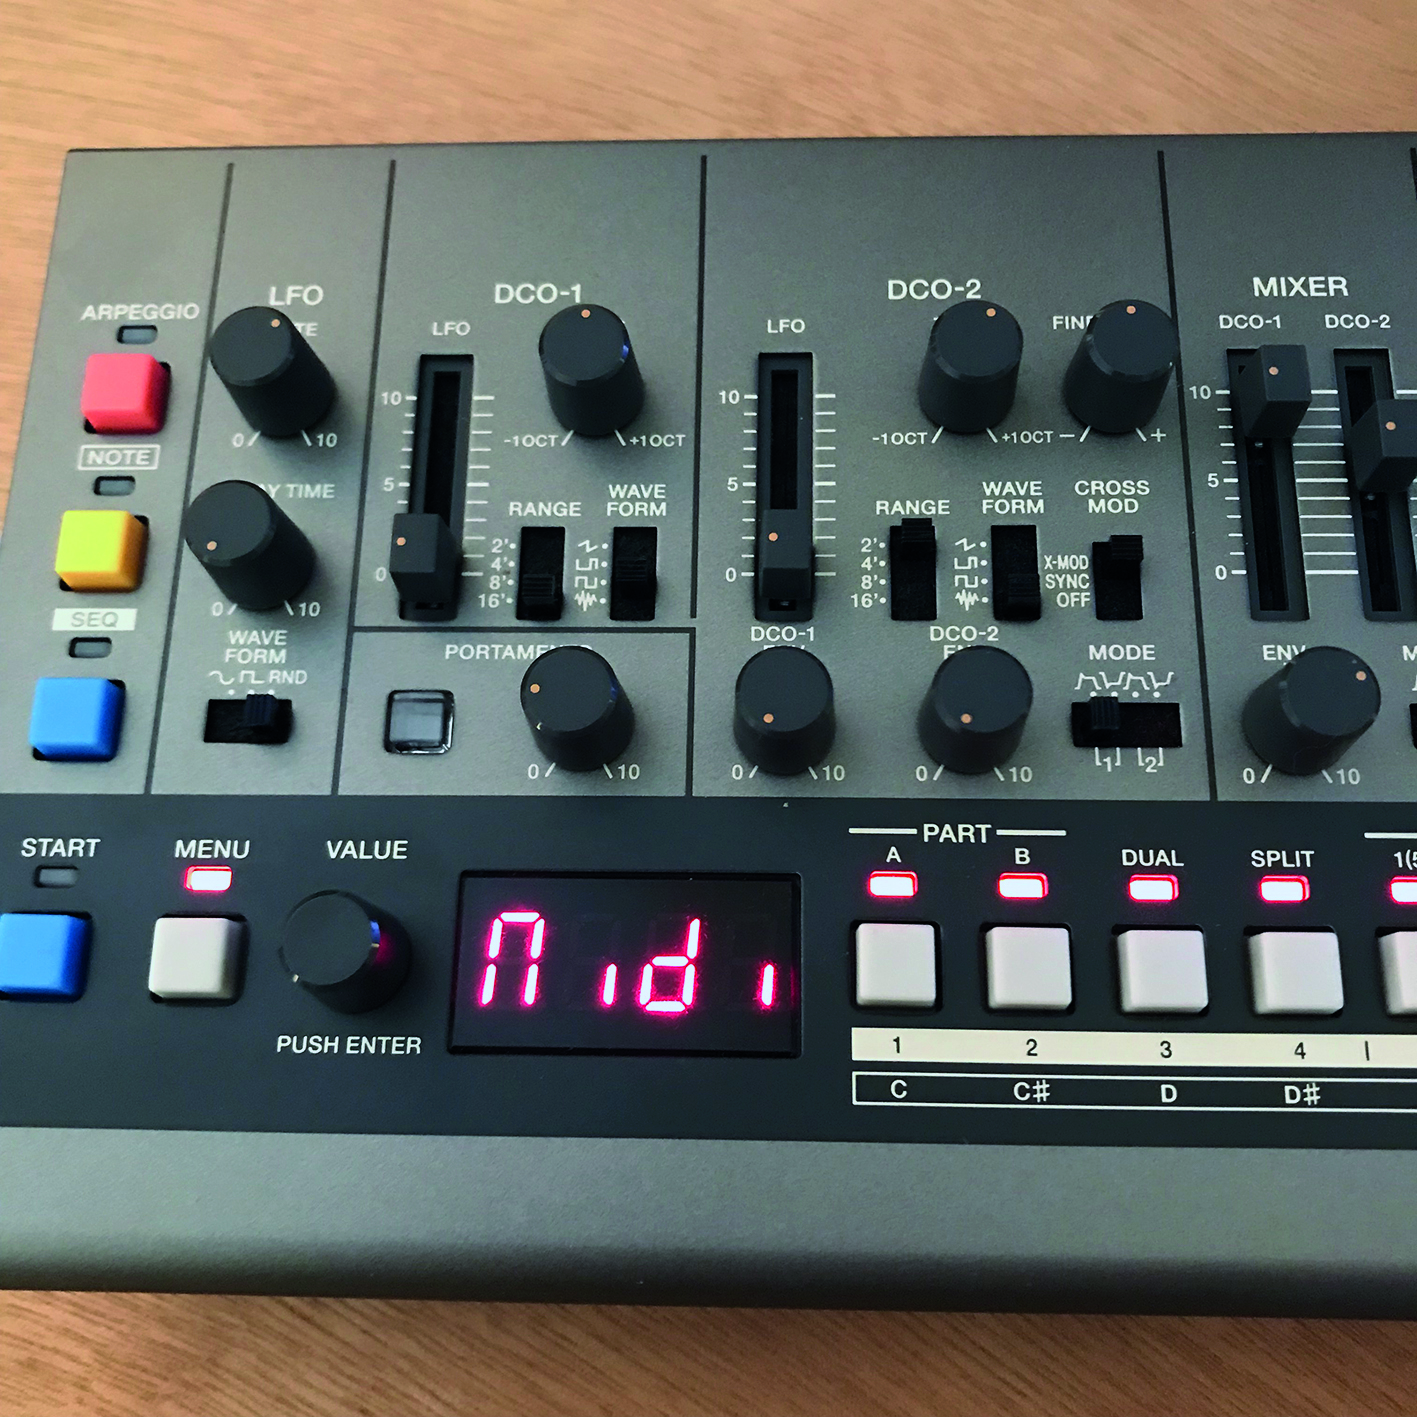
Step 4: Given that each of these synths are bi-timbral, its possible to assign each timbre to its own MIDI channel, or the same channel if you want to layer. You can do this in the MIDI settings menu, which is accessed by long-pressing the Menu button on each and then pressing Step Button 3.
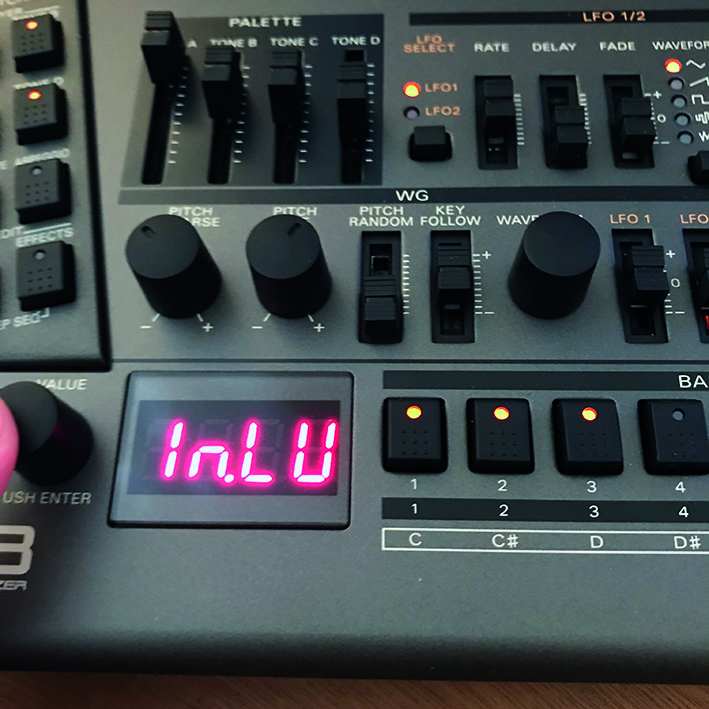
Step 5: While it’s not possible to control the volume of the Mix Input via a physical control, there is now an Input Level control hidden in the System Settings. To access this much-requested feature on the JD-08, press the Common button and then Step 10 to enter System settings.
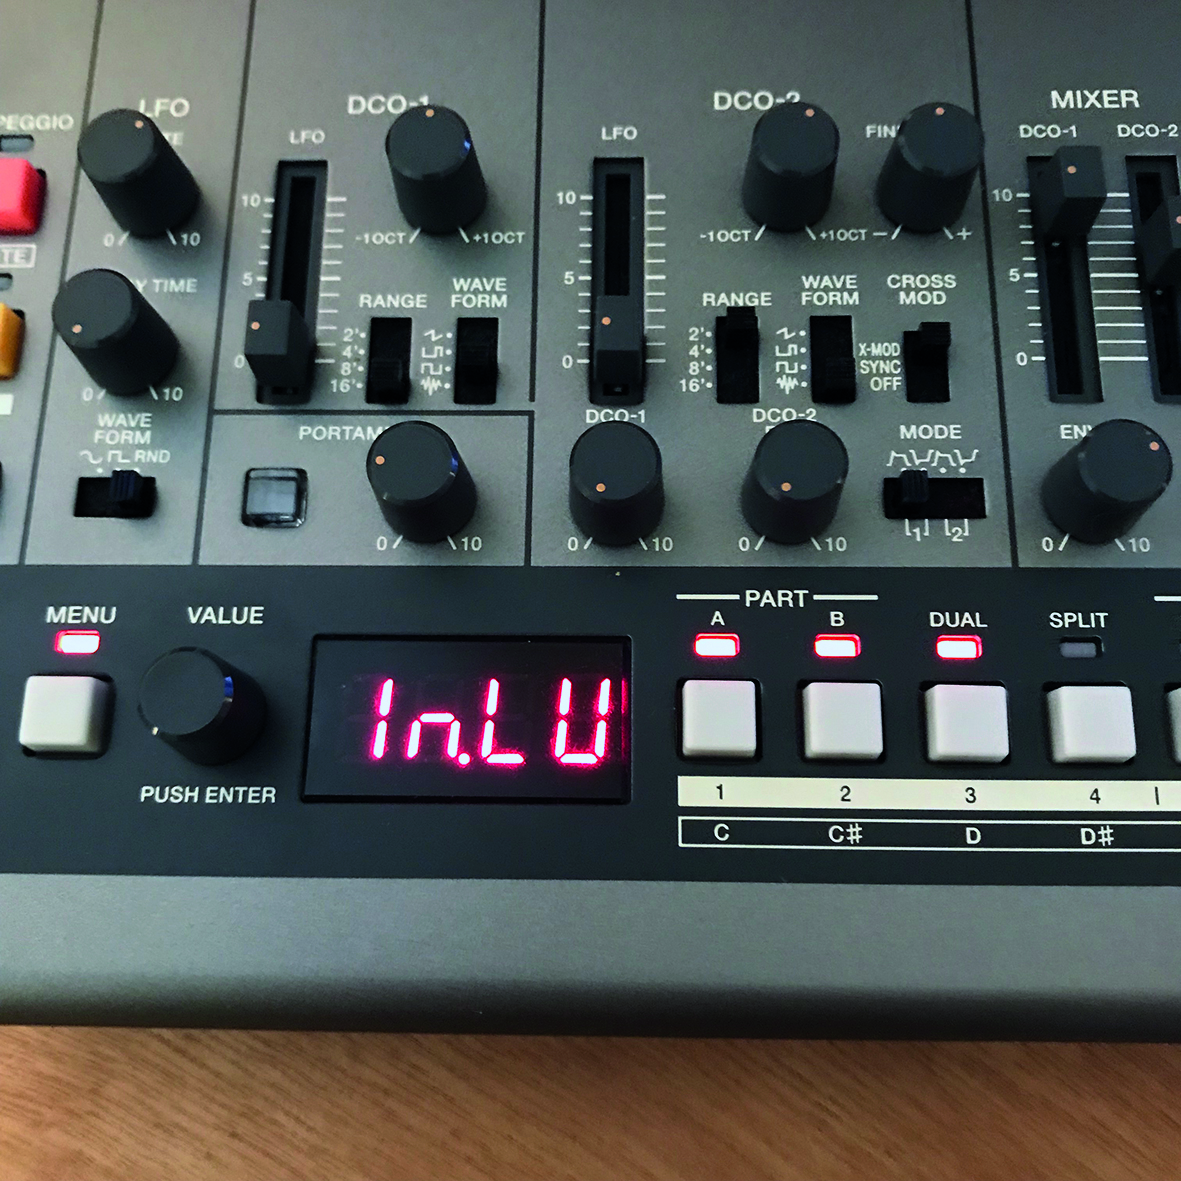
Step 6: There you’ll see, In.LV, which stands for Input Level, allowing you to adjust this volume. It’s a similar process on the JX-08; press Menu and then Step 4 in order to enter System Settings. Conveniently, Roland has also offered a Global tuning setting that can also be saved for each synth.


Future Music is the number one magazine for today's producers. Packed with technique and technology we'll help you make great new music. All-access artist interviews, in-depth gear reviews, essential production tutorials and much more. Every marvellous monthly edition features reliable reviews of the latest and greatest hardware and software technology and techniques, unparalleled advice, in-depth interviews, sensational free samples and so much more to improve the experience and outcome of your music-making.
