6 synth bass mixing tips: "If you are cutting your track to vinyl or likely to have your tracks played out, then ideally you should keep your bass in mono"
Level up your low-end with these quick tips

Yesterday we walked you through the basics of building solid bass sounds using several oscillators and wave types. Today, we explore how to use those sounds and spice them up with some bassline mixing tips.
1. Stacking and layering
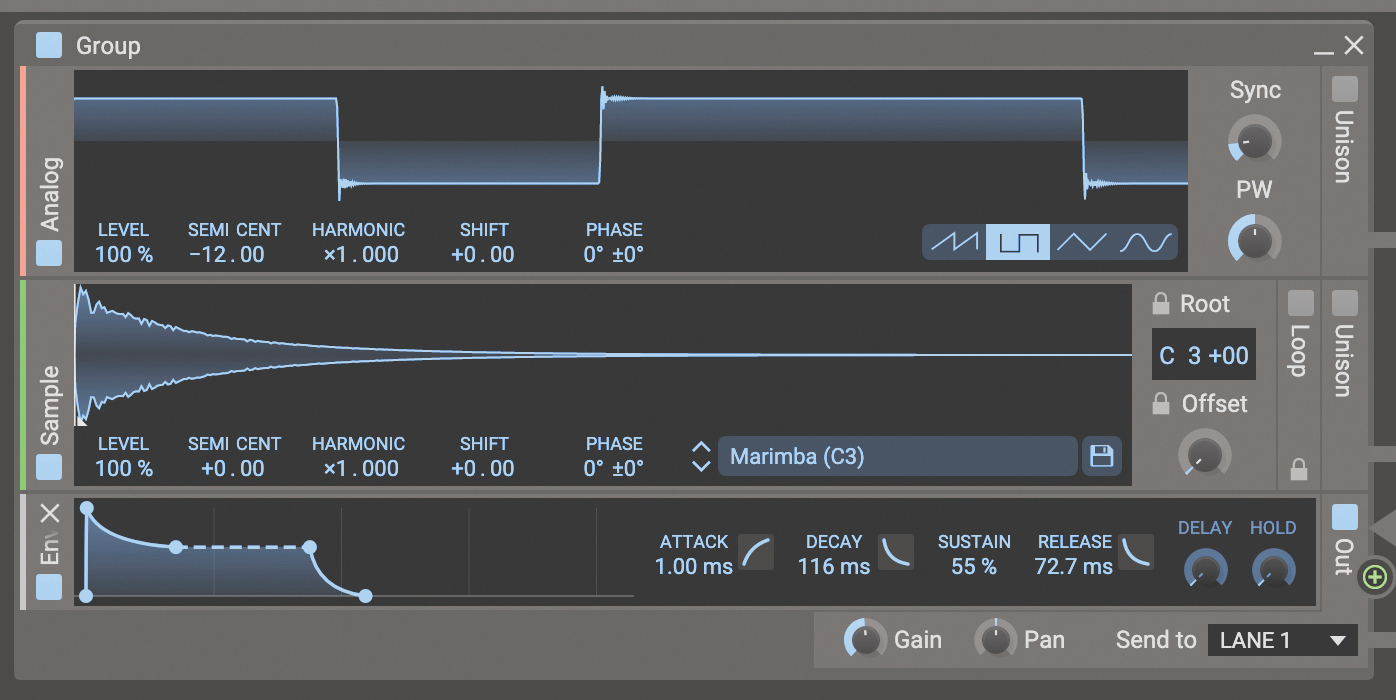
Stacking analogue, VA or sampled oscillators to make a sound is a great way to thicken up and obtain multiple characters from just one sound. Don’t forget layering with more unusual samples – whether it be a piano bass note, cowbell, white noise, the attack portion from an acoustic guitar/string, or another analogue single or multi-oscillator sound – is often a good way to obtain something unique.
If you’re a competent player, try tracking a three-osc sound into your DAW as audio, then double track it with a completely different sound.
If you’re a competent player, try tracking a three-osc sound into your DAW as audio, then double track it with a completely different sound. Another option would be to track a MIDI part into your DAW, then trigger as many sounds from as many keyboards as you like using this MIDI information to form a monster bass stack.
You can then tweak the MIDI info as you like, drawing in volume and MIDI parameter automation (such as filter and modulation changes) to add movement to your basslines. Then bounce it all down to separate audio tracks and treat each part with EQ, compression and effects as you like and/or send all the parts to a bus and compress, EQ and effect the stack as a whole.
2. Sidechaining
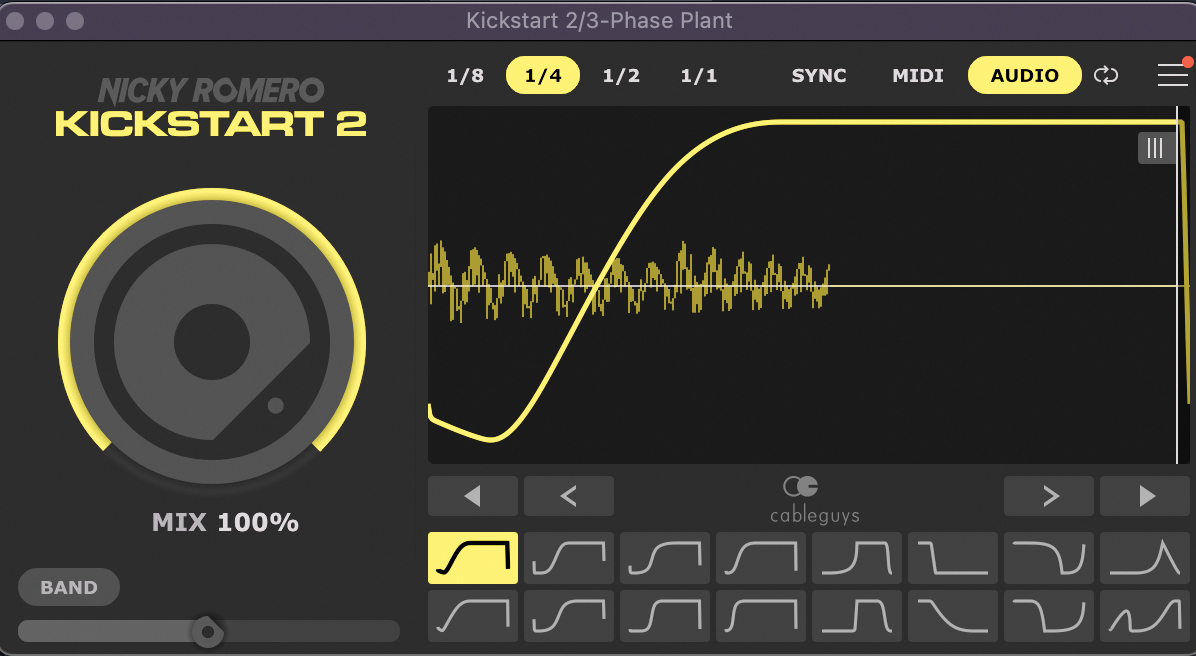
Try sidechaining to change up your grooves. Call up a compressor or gate and put it on your bass track and set its sidechain input to trigger from any piece of audio in your DAW (such as a kick, hats, beat or chords). You can get some great pumping and cutting effects using sidechaining in this way, and it can help avoid clashes in low end elements such as bass and kick.
To achieve this, add a compressor to a synth bassline, and set the compressor’s sidechain to trigger from a kick drum, so that when a kick drum sounds, the compressor pulls and pushes the bassline in time with the track.
3. Using portamento
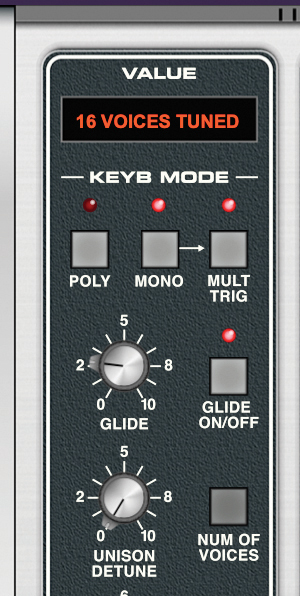
Often, you don’t want every note to sound separated in a bassline, so use glide and legato mode to smooth note transitions (much like sliding between notes on a bass guitar). Try recording in a line while manipulating the glide time, or write glide information into your DAW using automation.
Want all the hottest music and gear news, reviews, deals, features and more, direct to your inbox? Sign up here.
Many monosynths and plugins also have a legato option, which enables short notes to sound cleanly, while at the same time allowing you to smudge one note into the next by playing the next note while still holding down the previous.
It takes a bit of practice to get the technique right but it’s a powerful tool. Use short glide times for faster basslines and longer glide sweeps for breakdowns and builds, to release and build tension.
4. Stereo/mono bass
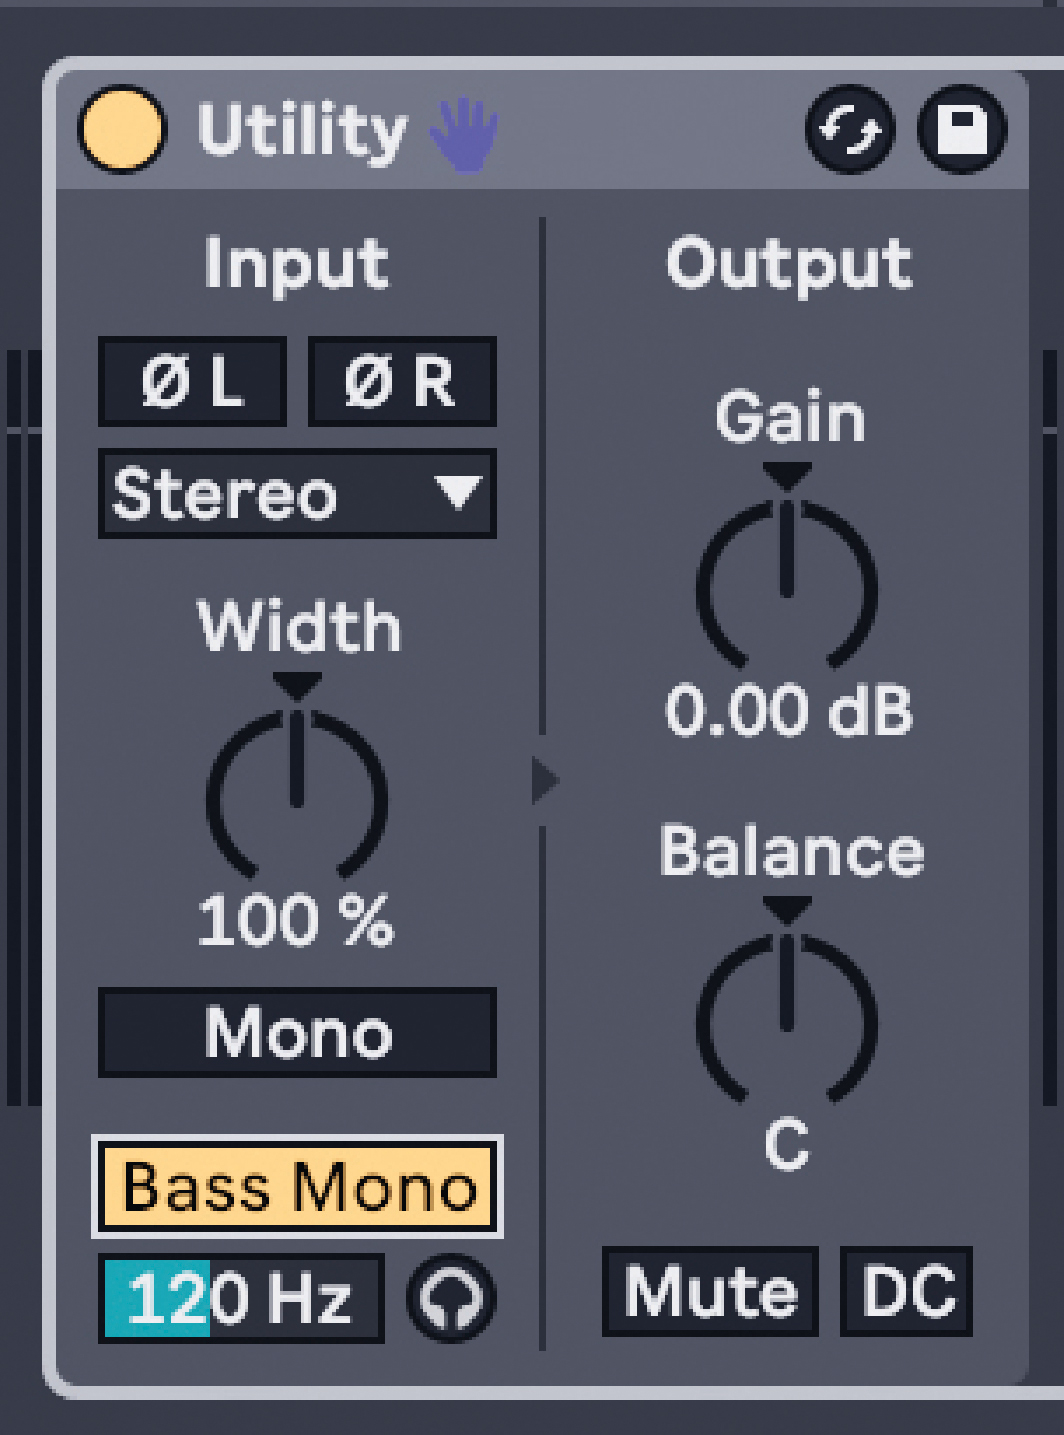
If you are cutting your track to vinyl or likely to have your tracks played out, then ideally you should keep your bass in mono. Many club systems are mono and won’t reproduce stereo signals accurately (plus the human ear can’t accurately detect directional sounds at low frequencies) and stereo bass will usually have to be summed to mono if cutting to vinyl, to avoid cutting head damage and unusable masters.
Generally, vinyl mastering engineers will sum bass to mono below 150Hz, so most of the stereo information would be lost anyway. Also, if your bass is wide stereo and your kick is mono, the bass is likely to eclipse the kick and get lost.
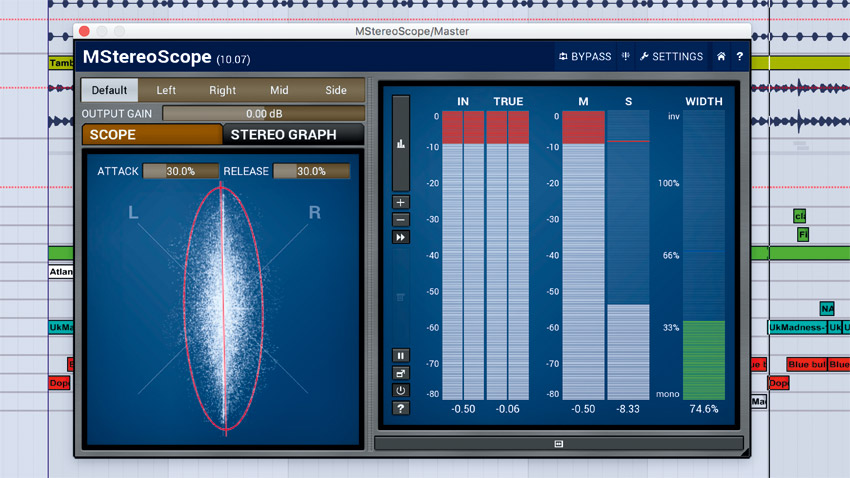
Thus, it’s best to keep mid-range and high-end sounds stereo but keep bass and kicks in mono to avoid any problems. You can successfully create the illusion of stereo bass by keeping your sub information in mono and the mid-range information layered on top in stereo.
If you do want to go ahead and use stereo bass, then make use of tools such as Ableton’s Utility, which allows frequencies to be narrowed below a certain user‑defined threshold – but always check your mixes in mono just to be sure.
Finally, if you want to have stereo bass that’s mono compatible/phase coherent, try sending your synth bass out through your studio monitors, mic the room with two omni-pattern mics set in X/Y configuration, then blend the resulting recording back in with your direct synth sound.
5. Reverb and other effects
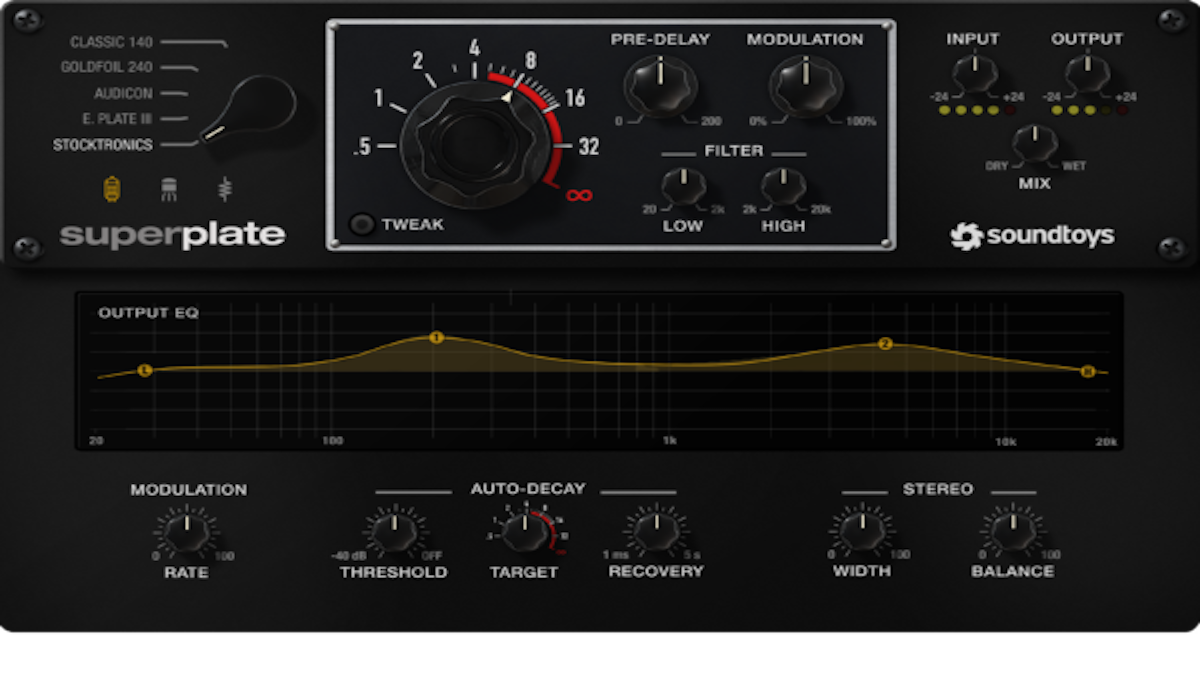
Short mono reverbs and delays can work well in the right context. Just remember to use a long enough pre-delay time, so that the attack portion of the sound remains dry. Chorus, flange, phaser and wah can work too, but try these in mono to avoid any phase issues and mono compatibility problems.
6. EQ and distortion
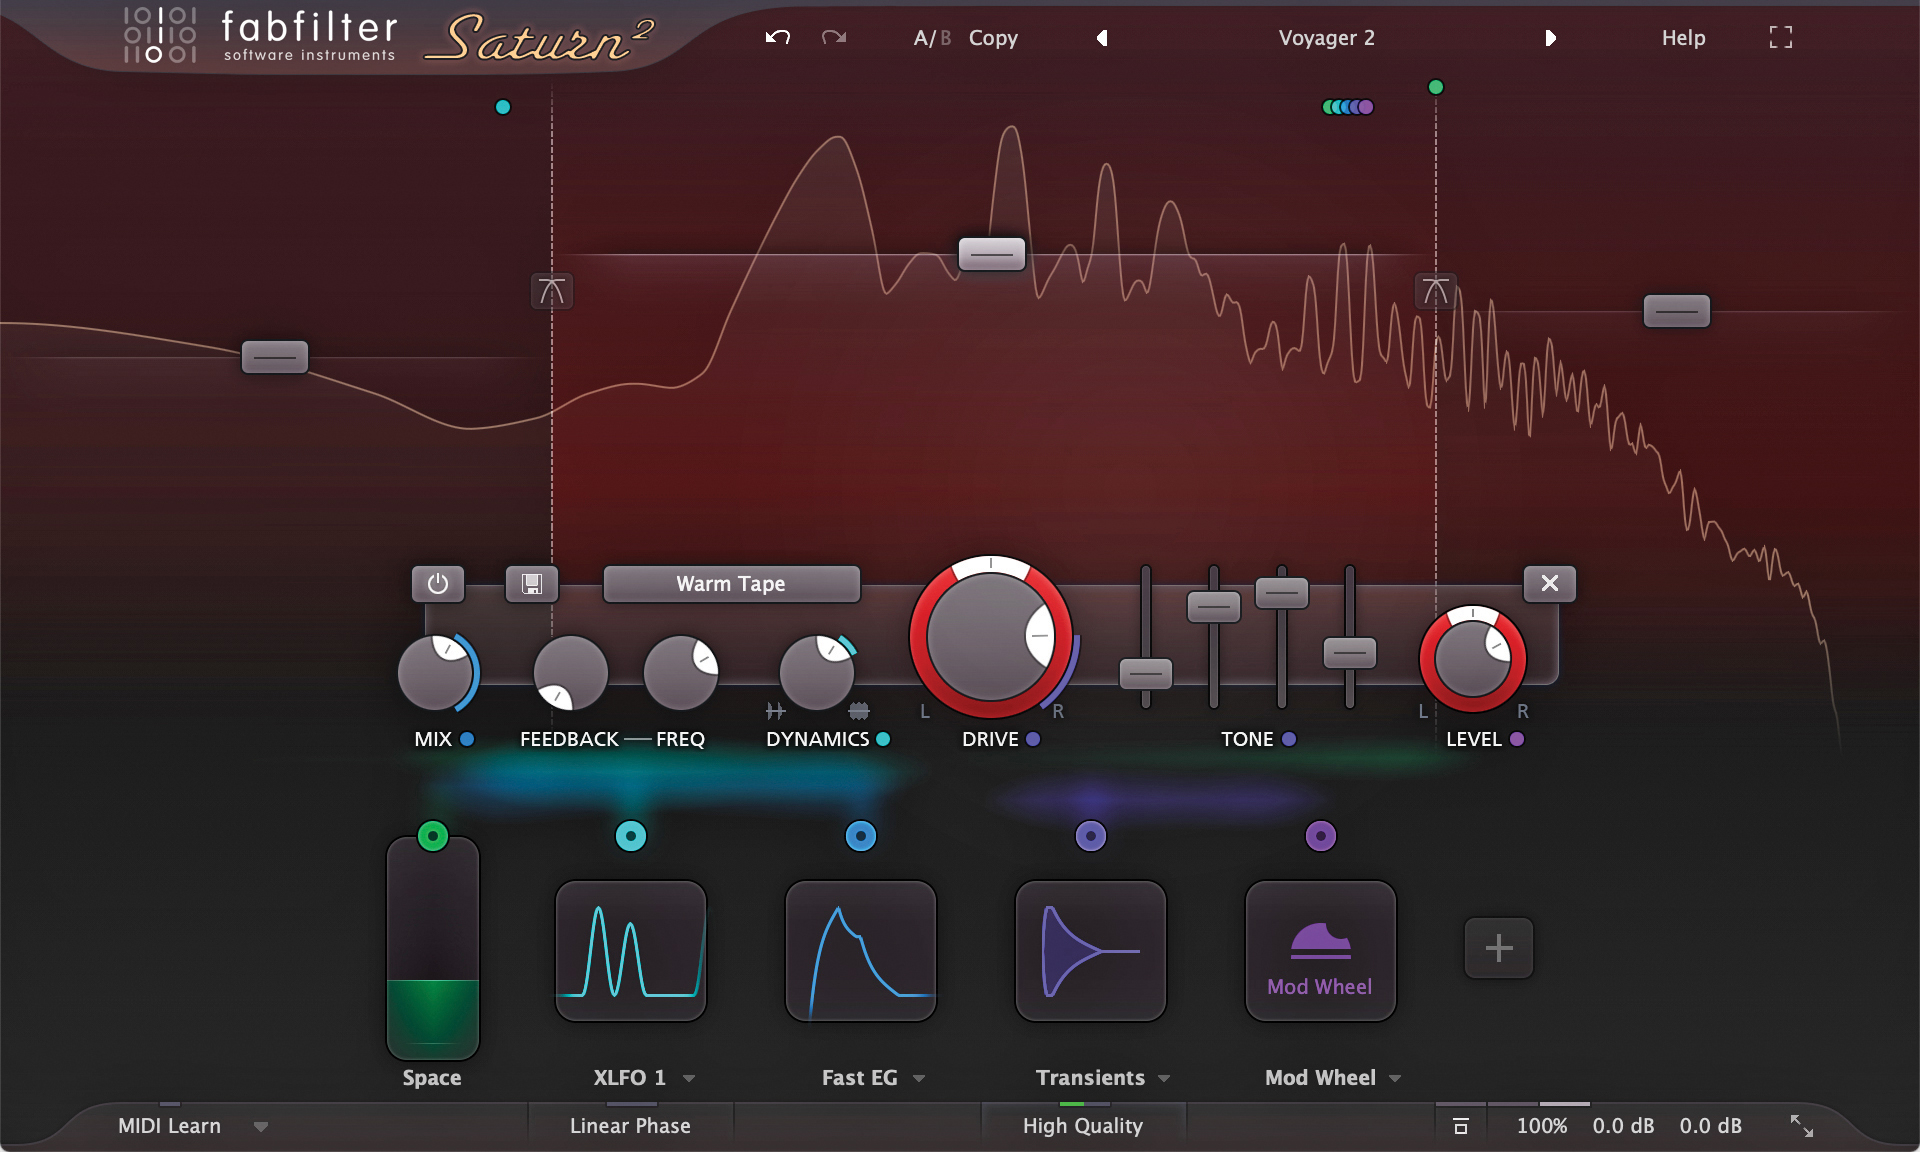
When using particularly subby sounds you’ll likely find that while they sound great on big systems, they can hardly be heard on smaller speakers. This is because the speakers or amps on systems such as headphones have narrow frequency responses.
While you are never going to feel the subby lows on these kind of systems, you can trick your ear into thinking the sub bass is there by either adding subtle distortion or overdrive to the sound using a plugin, or by duplicating the bassline in your DAW and EQing each track, so that one track’s bassline contains all the sub info and the other track is high-pass filtered, rolling out the lows from when the sub track’s highs roll off.
For example, the subby track can cover the low end from 40Hz to 250Hz and the high-end track can cover 250Hz to 10kHz. This way you can mix and blend the highs and lows separately, which is a very flexible way to work within a mix.
Future Music is the number one magazine for today's producers. Packed with technique and technology we'll help you make great new music. All-access artist interviews, in-depth gear reviews, essential production tutorials and much more. Every marvellous monthly edition features reliable reviews of the latest and greatest hardware and software technology and techniques, unparalleled advice, in-depth interviews, sensational free samples and so much more to improve the experience and outcome of your music-making.

