How to sand your guitar neck for a satin feel
Refinish the back of your electric guitar's neck
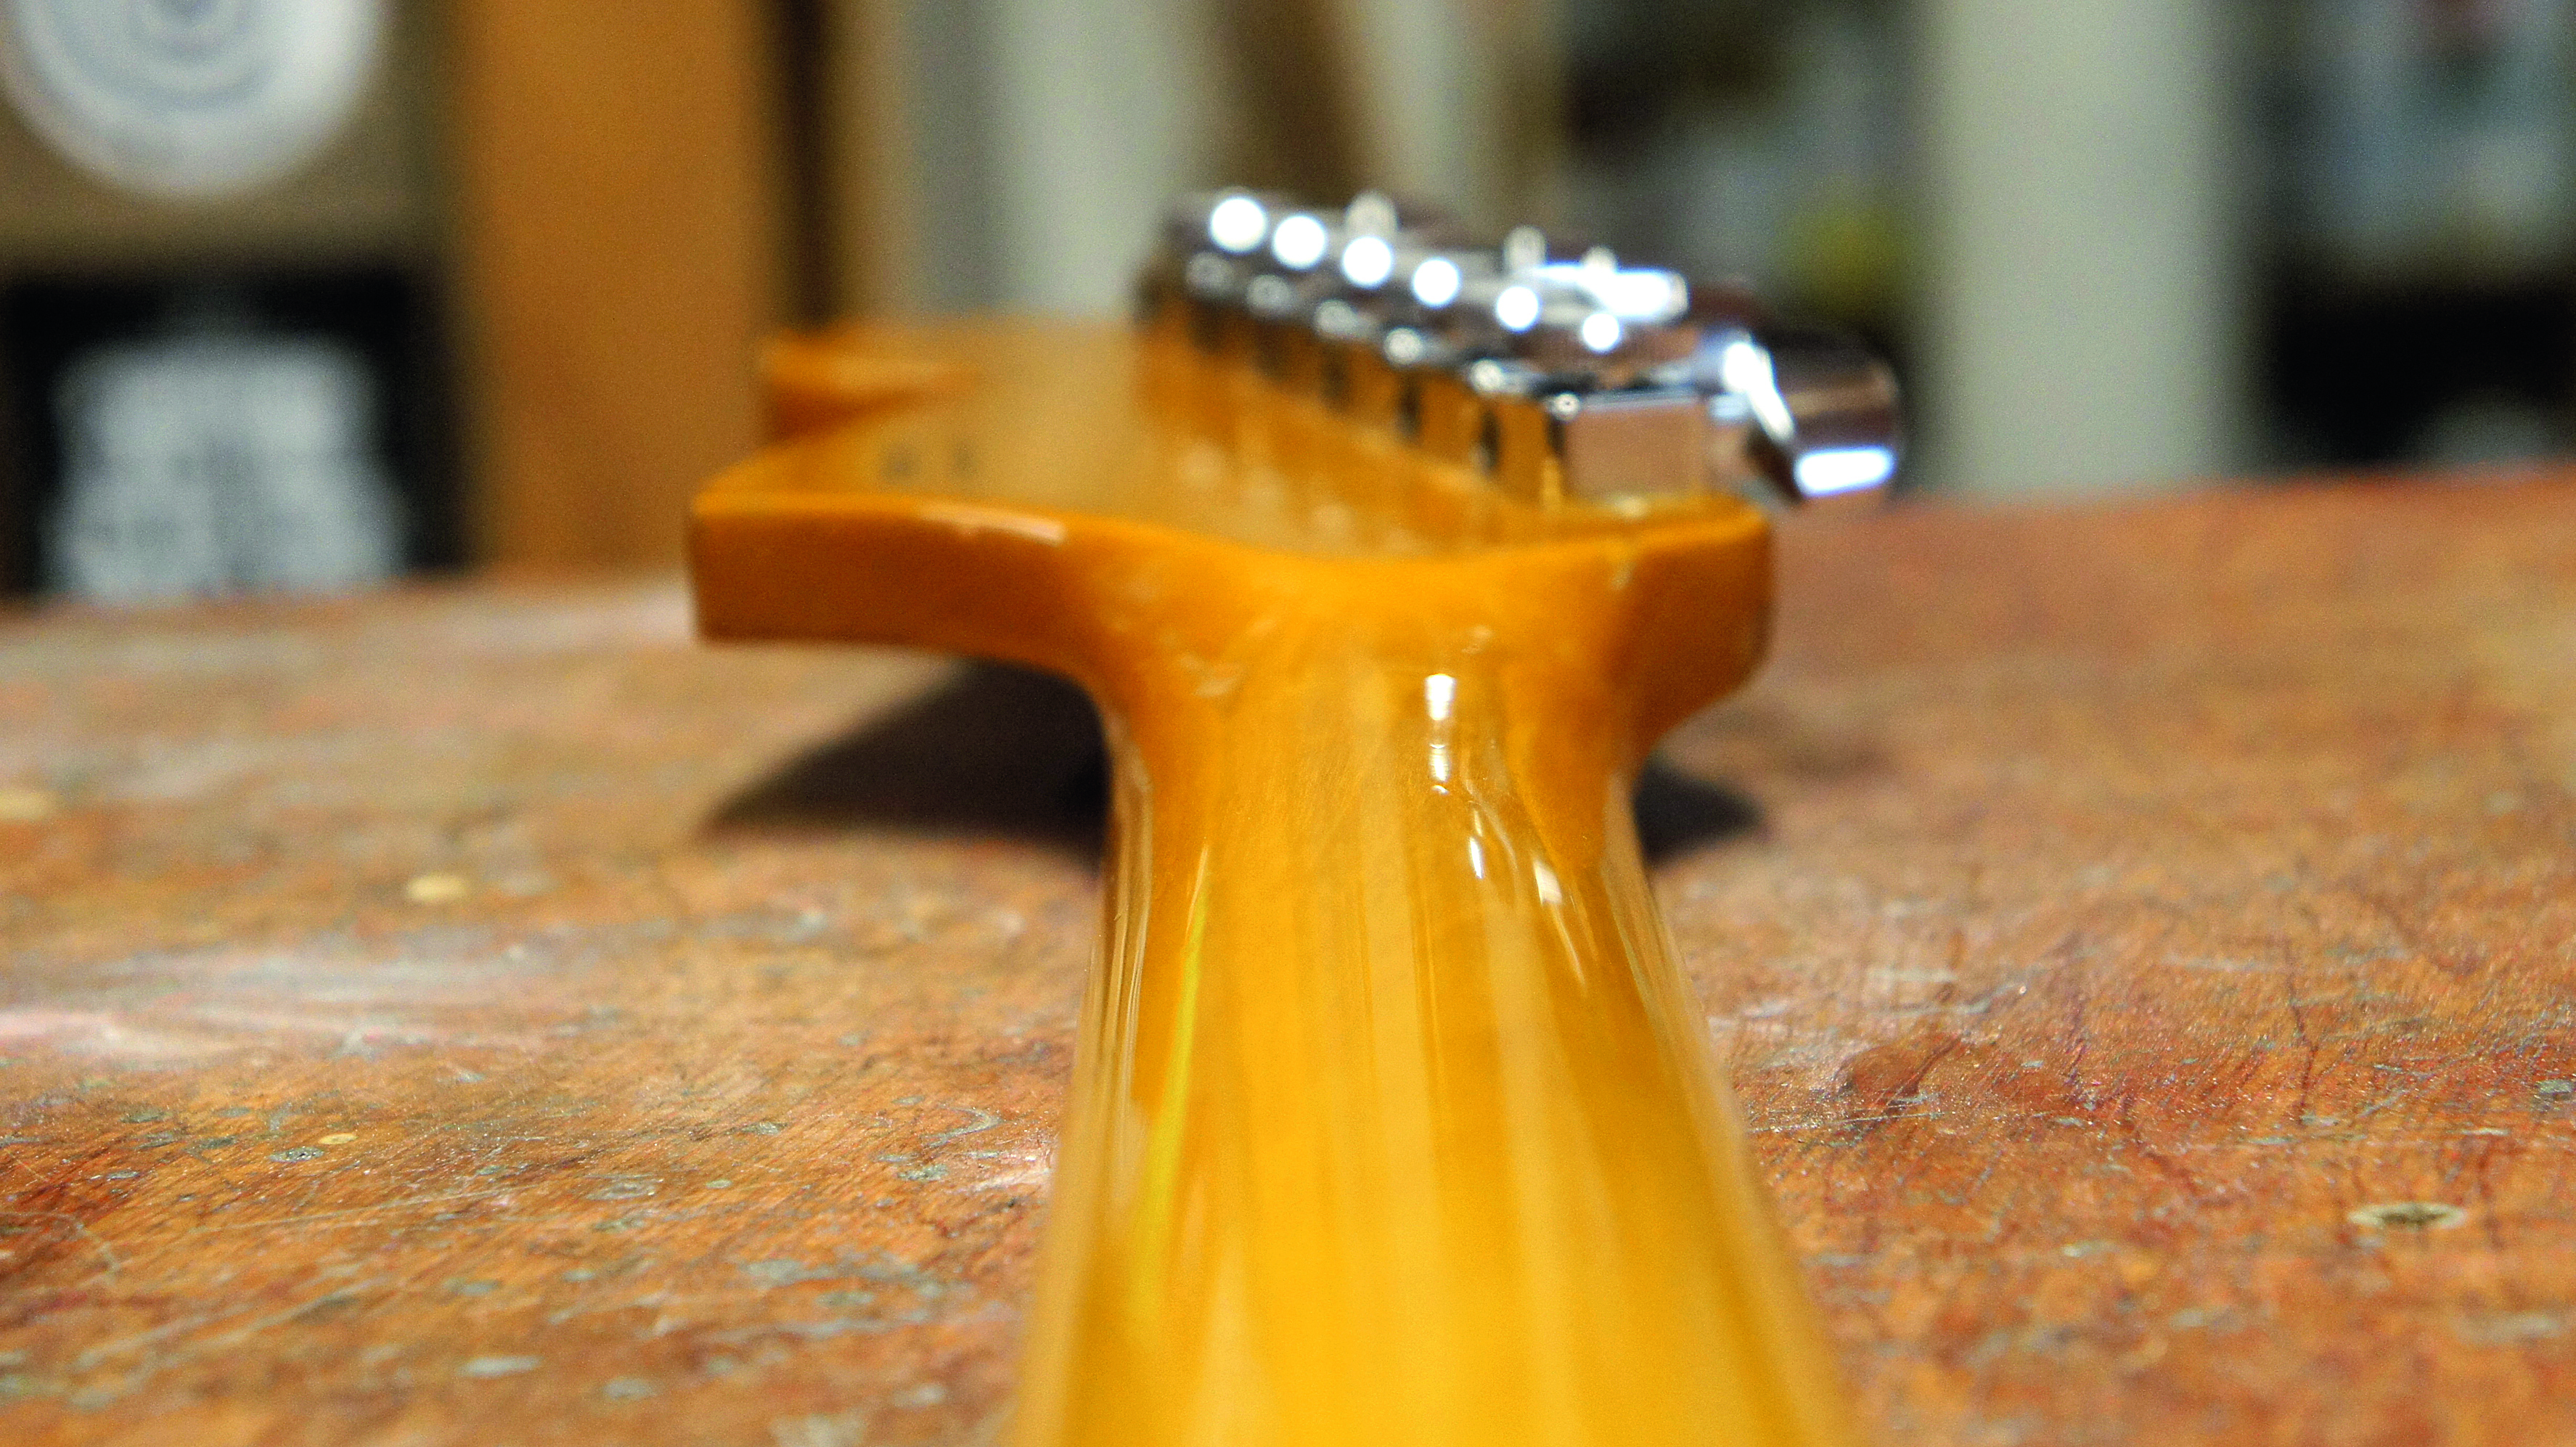
The rear of the electric guitar neck doesn’t usually get too much attention but this easy modification will allow you to change the feel of it if you want. We’ll cover two ways to get the same result.
Some people find that the glossy feel of some guitar necks are too grippy to play, particularly when sliding up the neck but this all changes when sweat gets involved! The glossy back of the neck can then become too slippy! So, here’s the thing about a satin feel: as you play your guitar, you polish it back to gloss, especially on your favourite frets.
The big thing to consider is which of the two methods you’ll use. Sanding down the rear of your neck will eventually wear it through when you have to repeat the process, whereas adding a new layer is a safer option, but it is also a little trickier.
The lacquer on guitars is often tough but some, like nitrocellulose, are delicate and may well require you to adjust your technique. Whichever method you choose we’ve got it covered here. Ready to satin-ify?
What you need
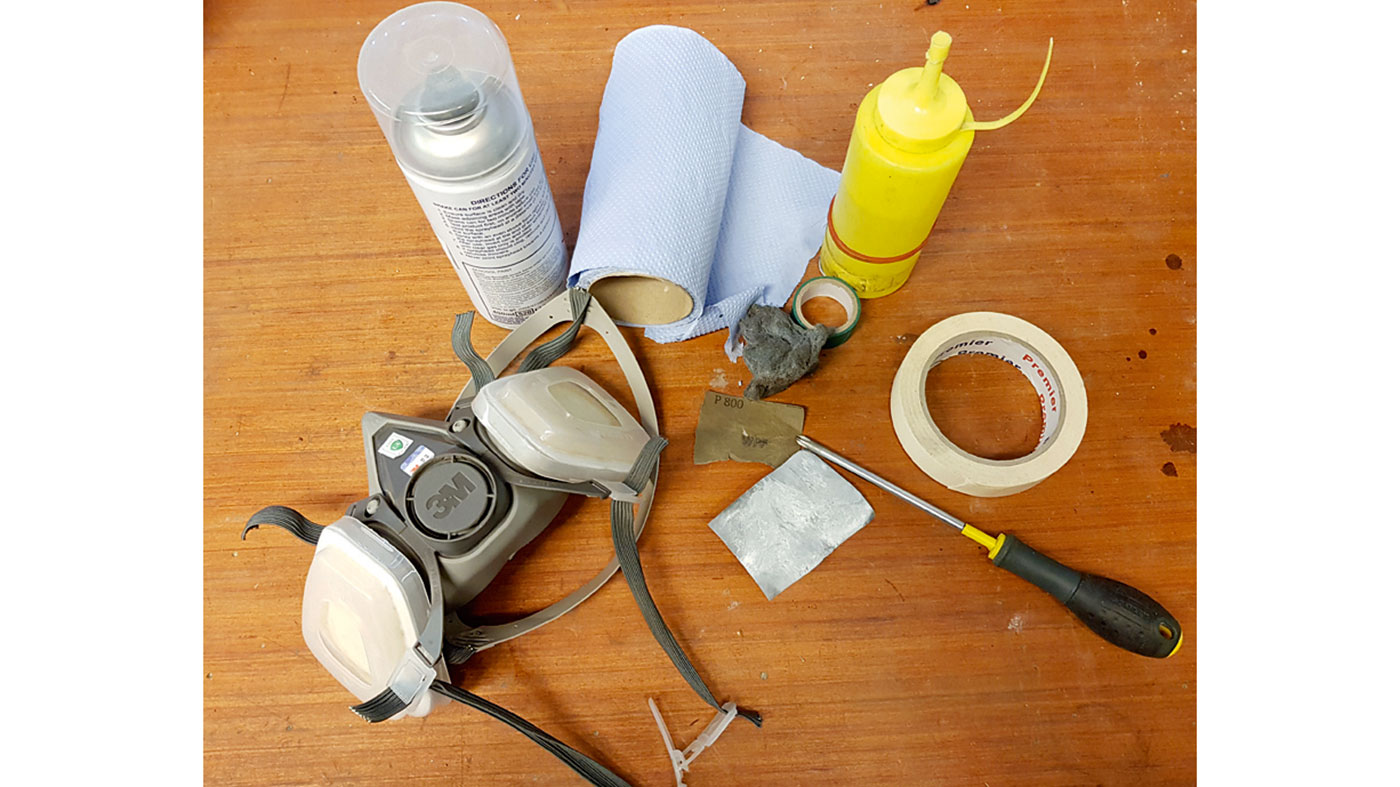
Route 1:
- PH2 screwdriver
- Electrical tape
- Masking tape
- #0000 wire wool
- 800 grit wet/dry abrasive paper
Route 2:
- Masking tape
- Respirator mask
- Zippo lighter fluid
- Blue roll
- Nitrocellulose satin clear lacquer
- A ventilated space to spray
- Space to hold / hang the neck
Step 1
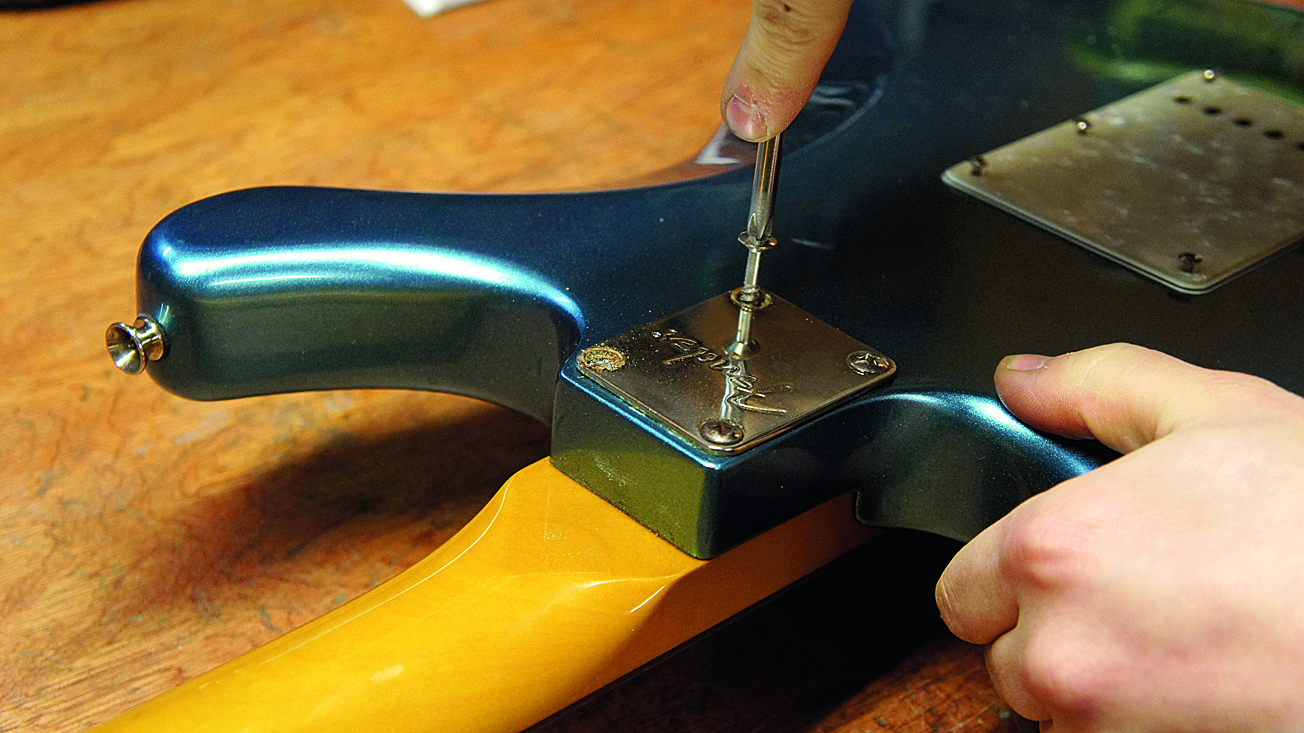
To do a nice tidy job it’s best to take the neck off your guitar (if possible, don’t saw off your SG neck). The point is to create a nice edge to stop against. In the case of this Fender Marauder we’ll sand down the whole heel of the neck. A PH2 screwdriver will do the job of taking it off.
Want all the hottest music and gear news, reviews, deals, features and more, direct to your inbox? Sign up here.
Step 2
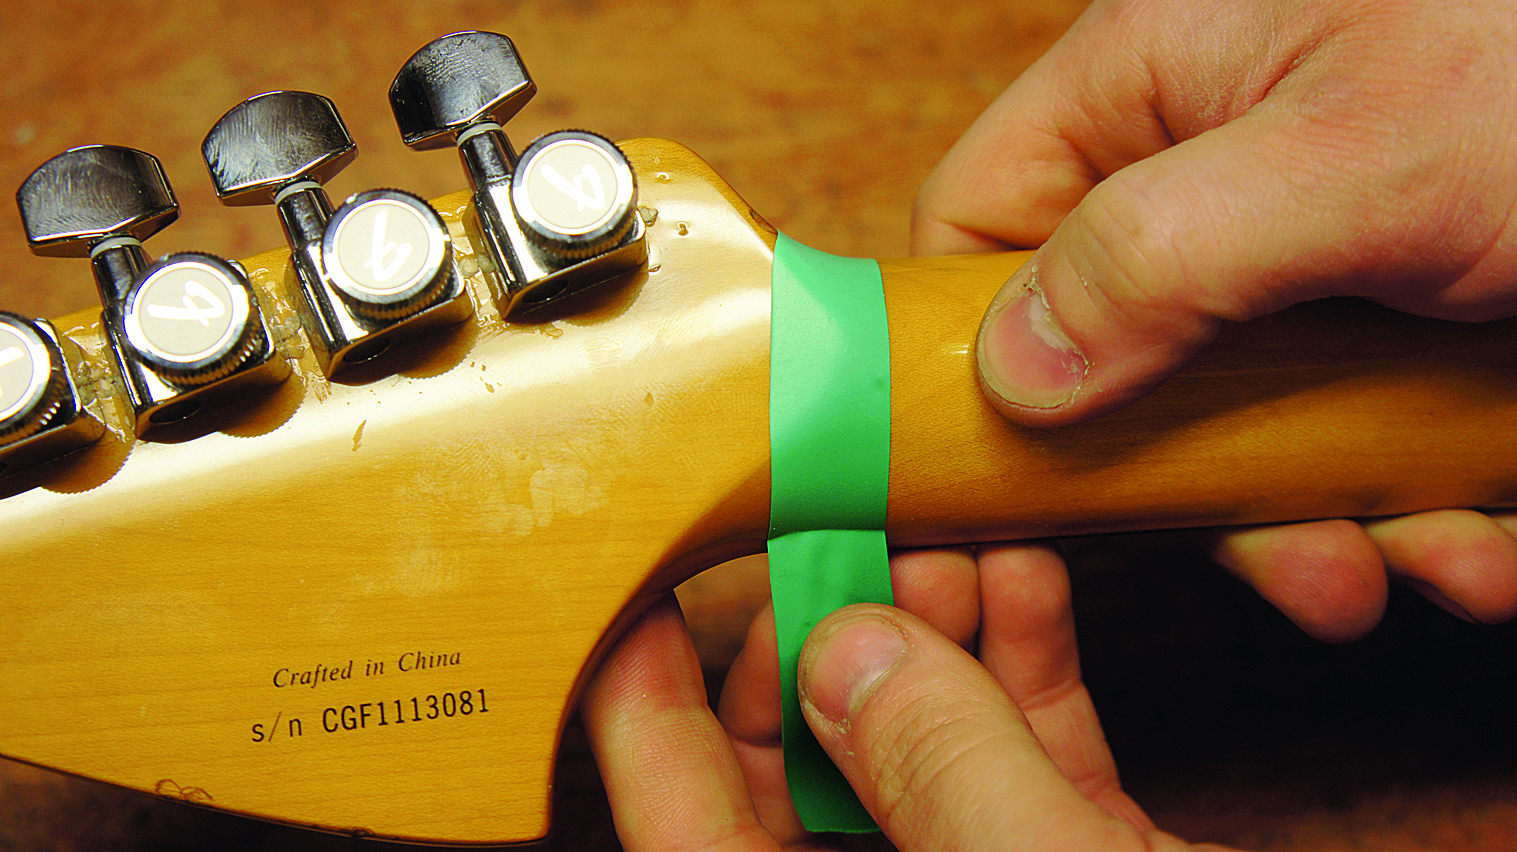
Next you need to choose where to stop your sanding with a nice neat line; you could sand the whole headstock but that can be risky with some serial numbers. We’ve chosen a nice hard line at the rear of the nut. Electrical tape stretches round the compound curve of this area effectively.
Step 3
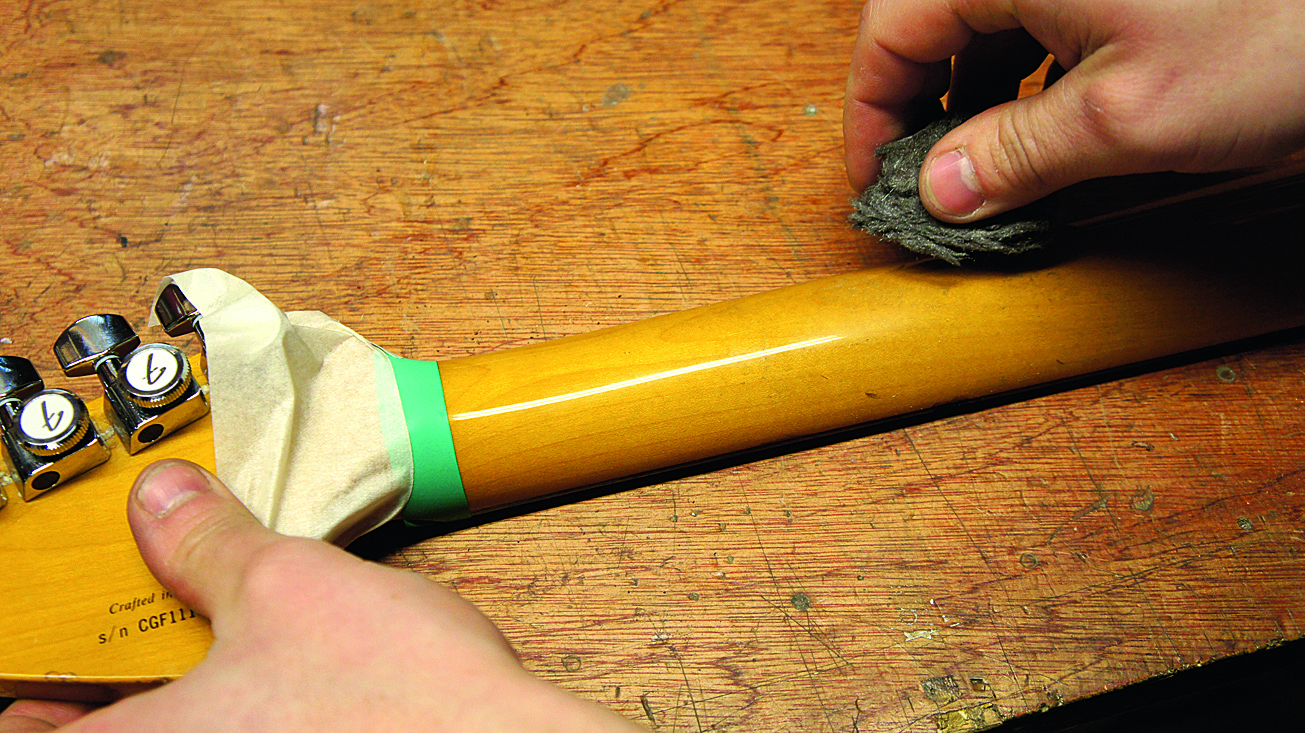
Stick on a second piece of tape to protect a little further just in case. It’s best to play it safe and use a fine abrasive first to see how your neck reacts.
If you have a weak lacquer like nitro cellulose then this will work fast. If you have a tough modern finish, like polyester or polyurethane, then you’ll need to work harder.
Step 4
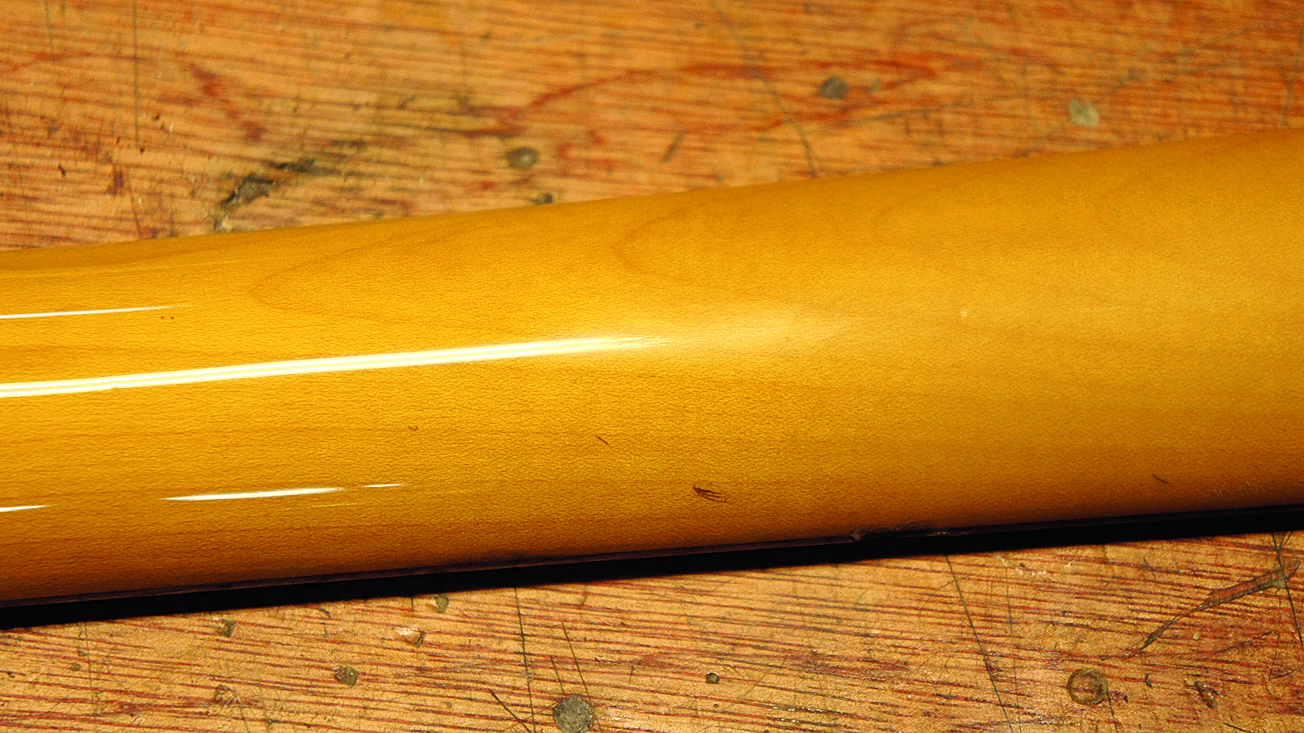
In this case we have a hard poly type of finish to attack. Here’s our progress so far; you can measure how far you’ve come by checking the reflection it gives. You should already notice a difference in the feel of it. We needed to use the wire wool to de-gloss the dents too. It looks very strange to have clean, glossy dents!
Step 5
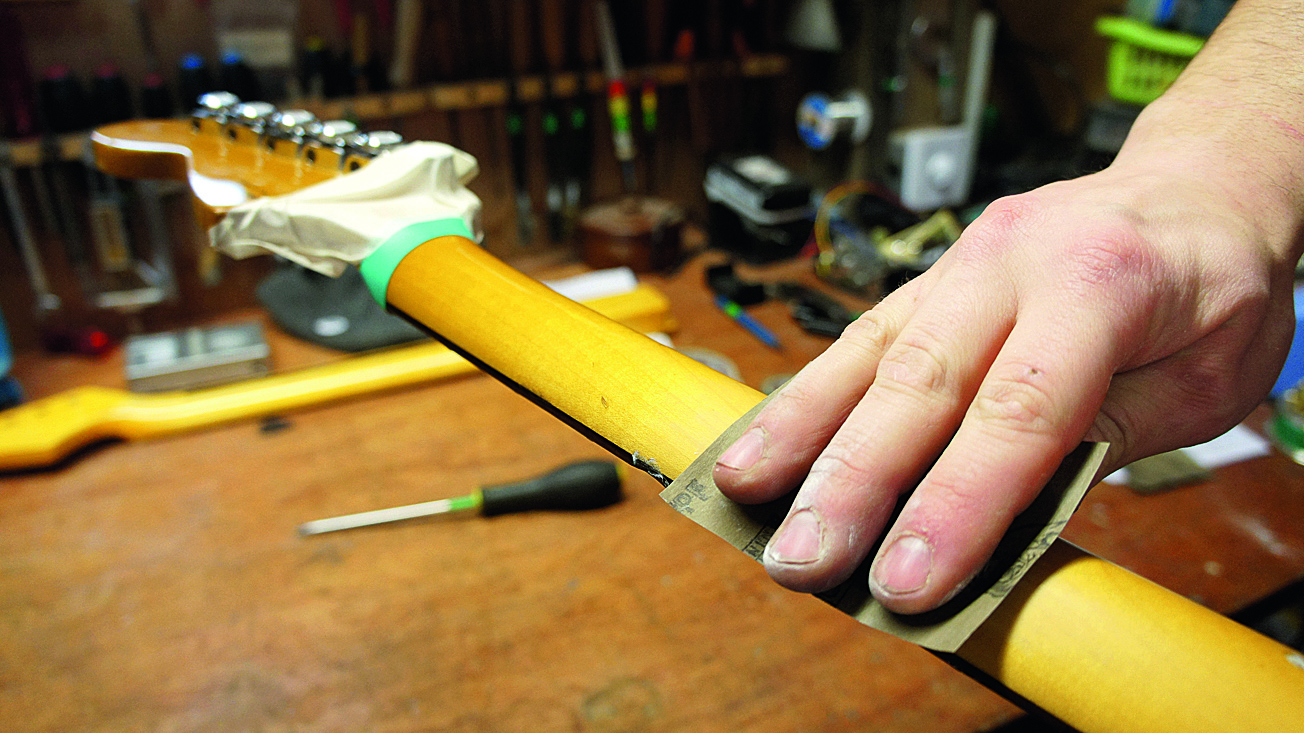
Time to beef it up. The fine wire wool was working too slowly for this hard lacquer. This 800 grit paper is coarser so it creates deeper scratches.
Take your time and make sure the sanding is even, hold the neck up to the light to check the reflection. You’ll need to follow this up with the wire wool to add the finishing touch.
Step 6
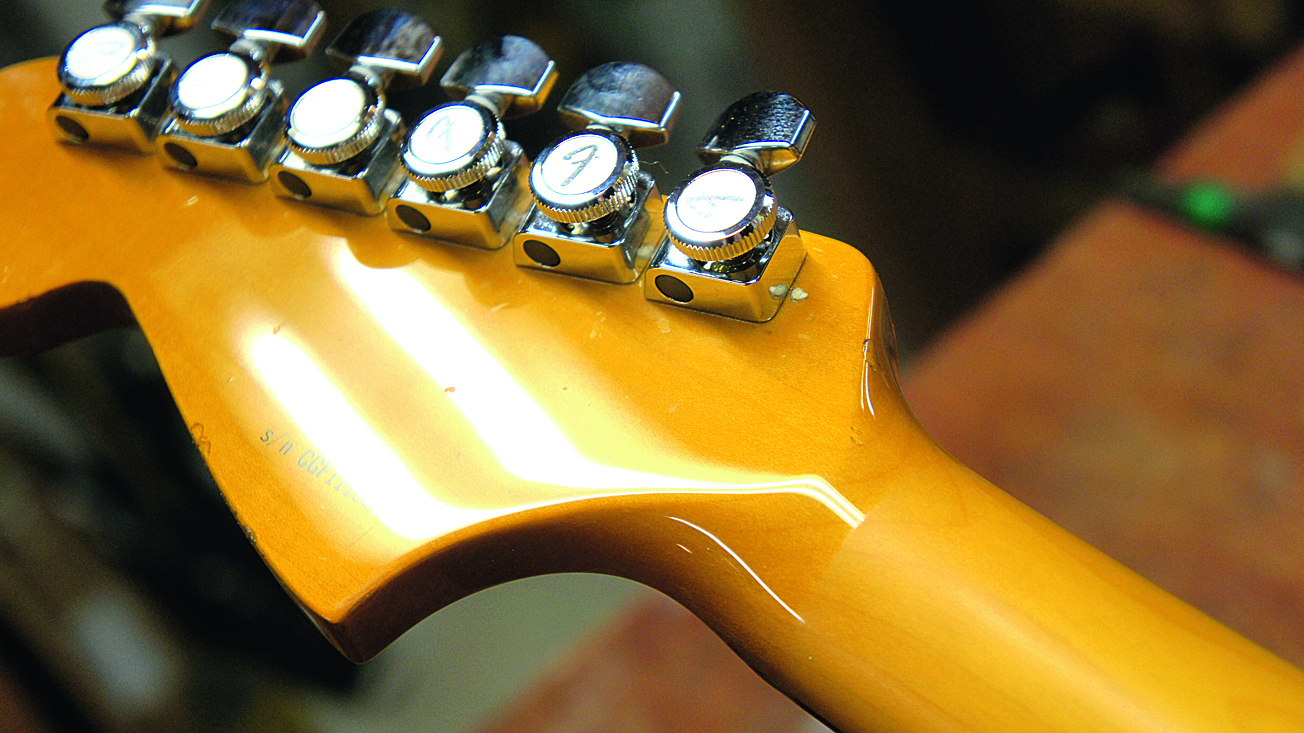
Don’t go too hard on the tape as you’ll sand through it. When you’re happy with the evenness of the satin then it’s time to hoover up that wire wool dust and reassemble. That’s method one covered (subtractive). Let’s now look at how to apply a satin lacquer to the neck - an additive process...
Step 7
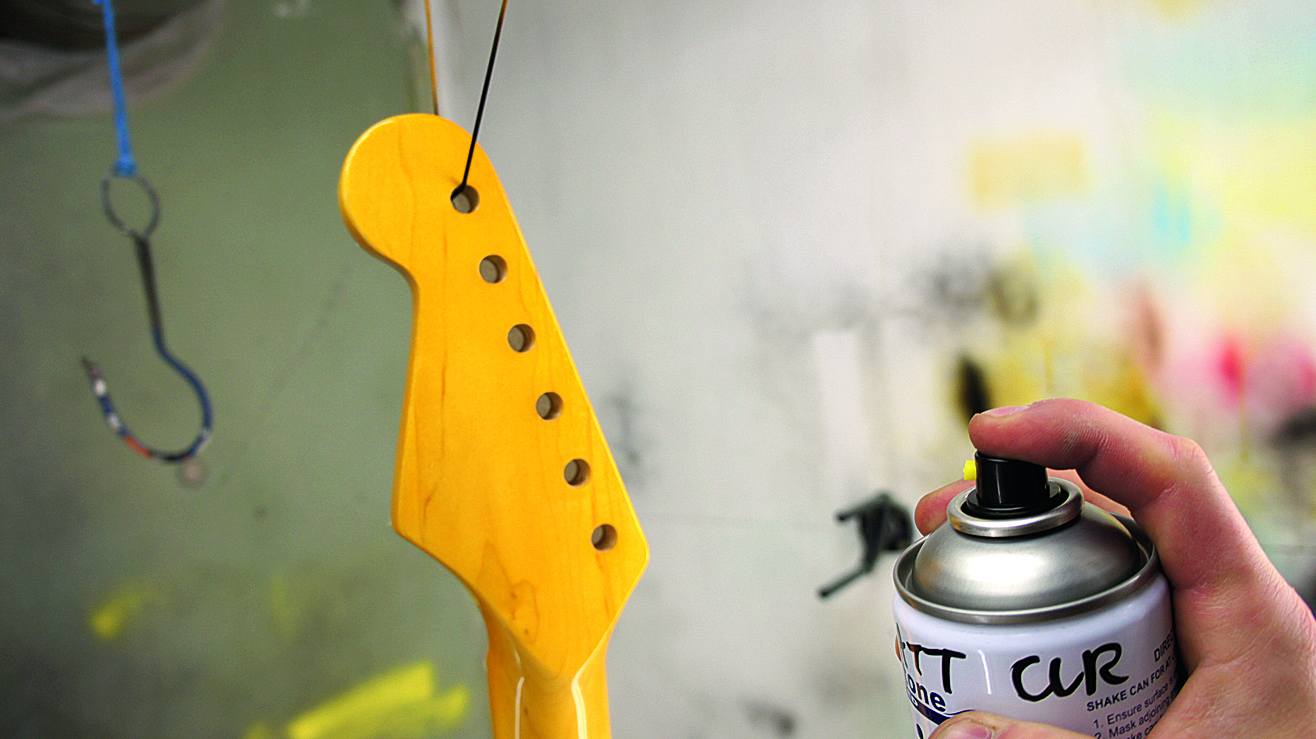
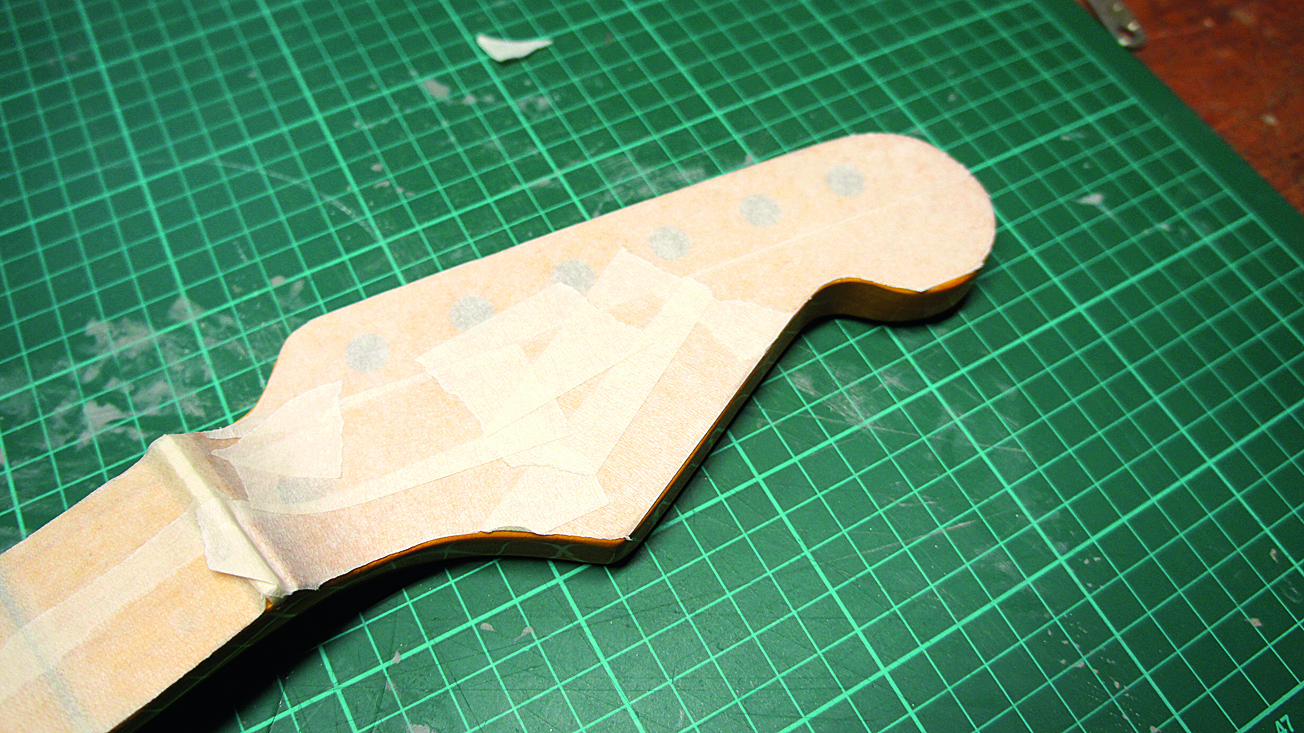
We’re planning to apply a satin feel lacquer to the rear of the neck, rear of the headstock and the sides of the headstock but not the face. When we spray the lacquer we’ll be clever with the can but masking off the front from overspray is always a good idea.
Step 8
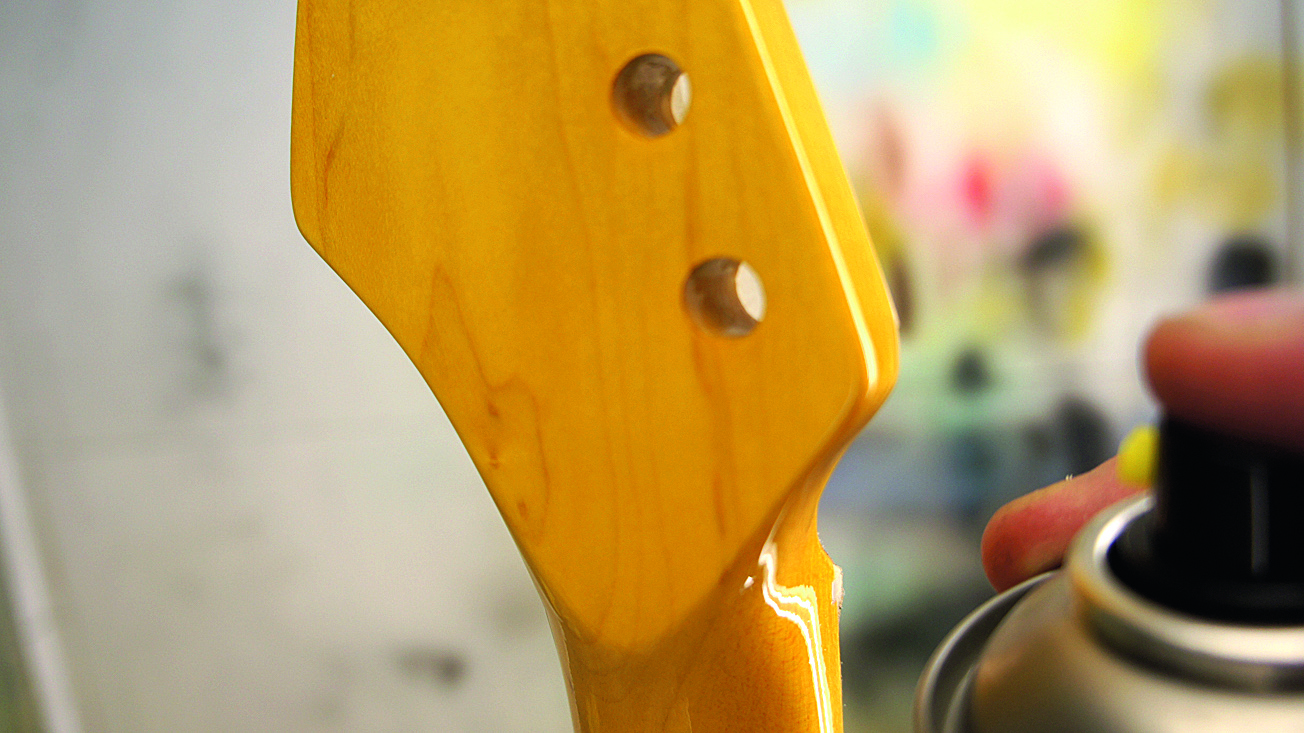
The angle of the can will be a great way to steer the direction of the spray. Of course, we’ll be spraying the headstock sides in a nice even coating. Take time to mask off the fretboard too, making sure you press down the edges of the fretboard so that spray cannot creep under there!
Step 9
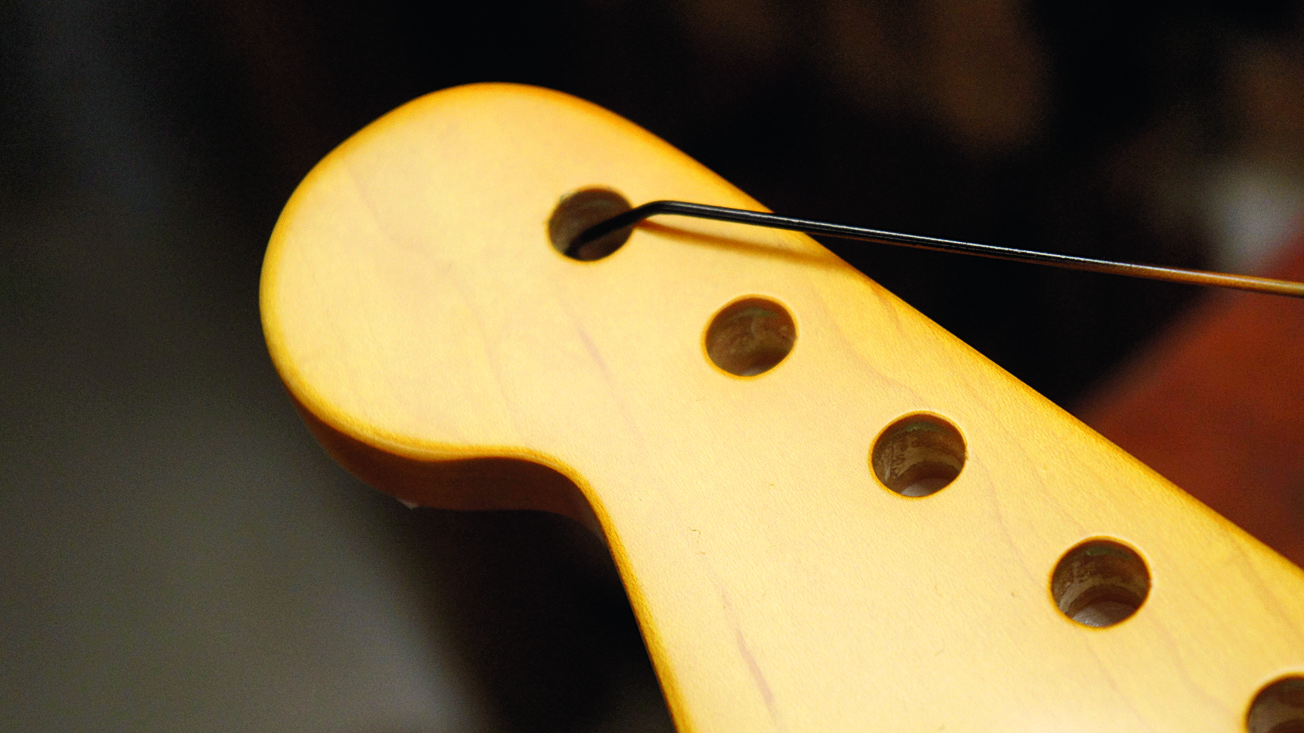
Final prep, the neck has to be clean to accept the lacquer. Here we’re using a ‘panel wipe’ product, it’s pretty much the same as naphtha or common Zippo lighter fluid. Clean off sweat, oils and dirt otherwise it will be trapped under the lacquer or repel the lacquer.
Step 10
Pop on your respirator and give the surfaces a careful coat. You want to dump on a good load of lacquer but not so much that it dribbles. What you need is a ‘wet coat’ so the lacquer will build up nice and smooth on the surface. This will appear glossy at first. Make sure you’ve covered everything.
Step 11
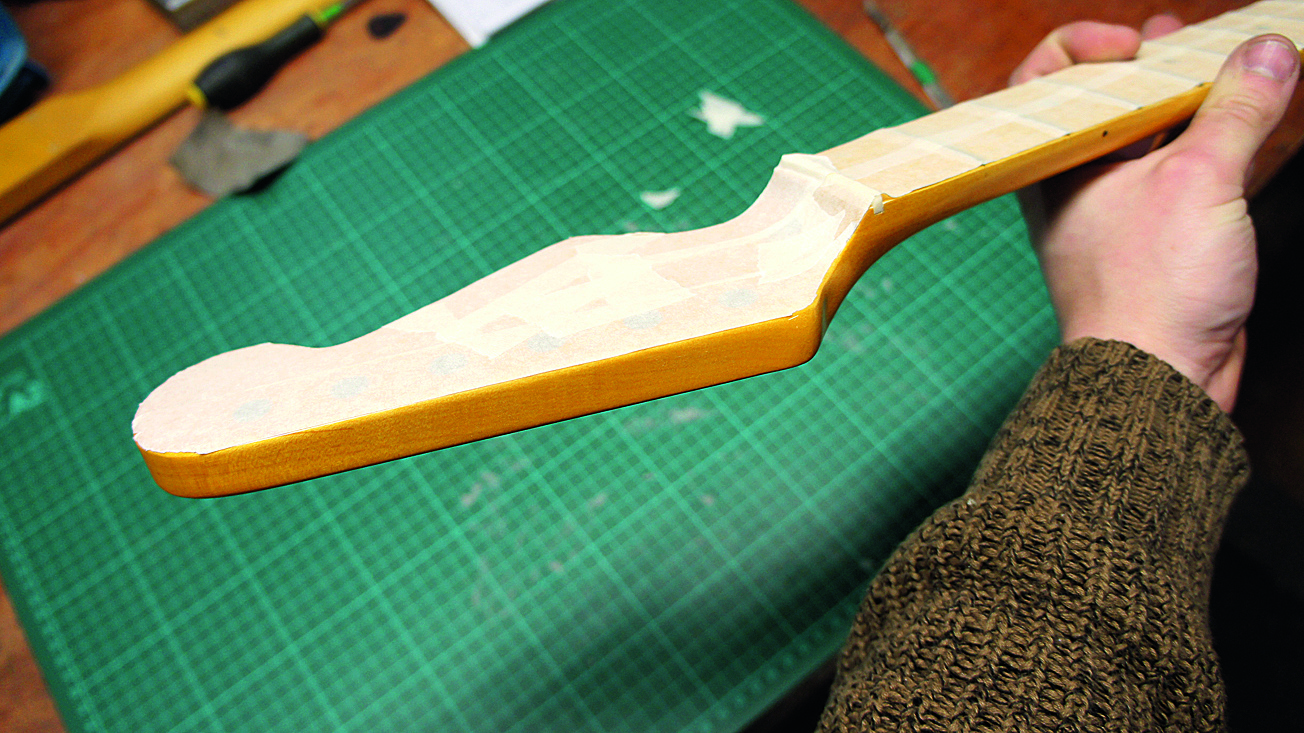
After an hour you’ll see that the layer you just put on is a nice satin coat. Tasty. Let’s add a second wet coat on there now for good measure. We want this additive layer to last a little longer before it potentially wears through. Repeat the process, being careful not to cause a dribble.
Step 12
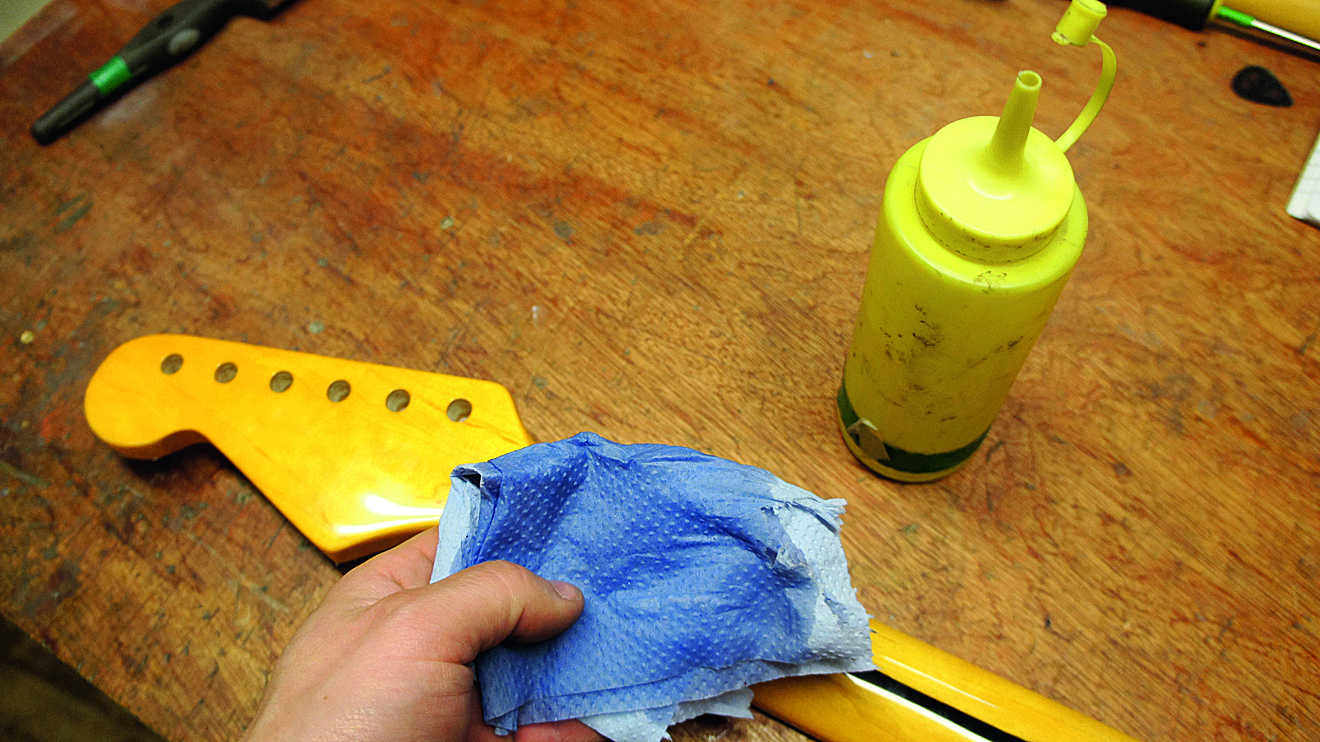
Peel off the masking tape from the fretboard and carefully around the headstock after 10 minutes of your last coat. Why? Because the lacquer will still be soft and will give up the tape nicely. Let it dry for 24 hours before trying to fit it to your guitar again. Step back and marvel at your newly de-glossed neck!
Jack runs an independent guitar setup and guitar repair service in Manchester, England. He serves the musicians of the Northwest of England, working on electric guitars, bass guitars, acoustic guitars and more. Jack has been writing the Fix Your Guitar column in Total Guitar Magazine since 2017.
