The world of music production can be a real art form with lots of time spent on creating dynamic and interesting drum sequences – especially hi-hat sequences, as they tend to be programmed with heavily repeated notes.
Therefore, it is extremely important to add some movement to them to avoid sounding robotic. Movement can be achieved by humanisation, using swing and velocity adjustments to create a great groove; however there are other creative techniques we can implement to spice up our hi-hats.

In this article we are going to discover how to create interesting pitchshifting by applying multiple LFOs to modulate the pitch. We will start off by adding the Shifter and LFO devices to the hi-hats and then explore how we can connect the LFO device to a parameter on the Shifter to modulate it.
Furthermore, we are going to look at applying additional modulation with Shifter’s own LFO section to get an interesting and unique result with a comprehensive number of controls to customise the multiple layers of modulation.
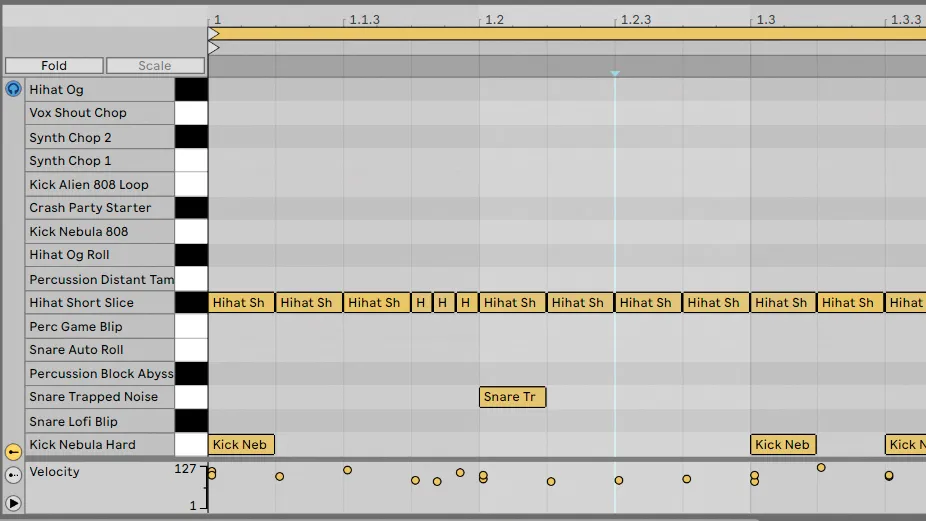
1. Create a hi-hat sequence

Insert a Drum Rack preset (or build a Drum Rack with your own samples) onto an empty MIDI track. Program a simple drum beat with some repeated hi-hat notes. You can get creative and make use of some triplets as well.
2. Build an effects chain

Add the Shifter and LFO Audio Effect devices to the hi-hat chain within the Drum Rack so we can start applying pitch modulation to the hi-hats. Make sure Shifter’s Mode is set to Pitch.
3. Modulate pitch shift

To apply LFO’s modulation to the Shifter, hit the Map button on the LFO device. Select the Coarse parameter on the Shifter device as the modulation destination. Now, to control LFO’s applied modulation you can set the Rate to Beat Sync and the desired value (for example 1 bar). We can also set the Depth to taste.
4. Get creative with modulation

To further control LFO’s modulation, we can apply minimum and maximum values to it to move in between. Do this under the Multimap browser. On the Shifter device, set the Window for 10.0ms and experiment with an additional modulation by Shifter’s own LFO section with the Phase set to 180 degrees.
