How to use parallel 'New York'-style compression to dial in the perfect dynamics
Like the sound your compressor adds but want to retain some of the original signal’s sound? This technique could be for you
Parallel, or New York compression as it’s sometimes called, is a mixing technique that blends a dry and compressed signal, and is particularly popular for beats, bass, vocals and even the master bus.
The technique was first developed back in the analogue days and in its simplest form involves paralleling a signal across two channels, one of which you compress quite heavily and one of which you don’t. You can then find a balance of the two signals, allowing you to benefit from the flavour the compressor adds but also retain some of the cleaner transients of the original sound. It’s a very liberating technique, and if done properly, can really help position sounds in your mix.
In the plugin realm, parallel compression can be achieved quite easily by adding a global mix blend, and this option is readily available on many compressors. That said, this arrangement doesn’t necessarily match the flexibility of using two paralleled channels.
In this tutorial, we’ll consider all of these aspects and look at the various ways we can set up and use this fantastic compression technique. Right then, let’s get to it.
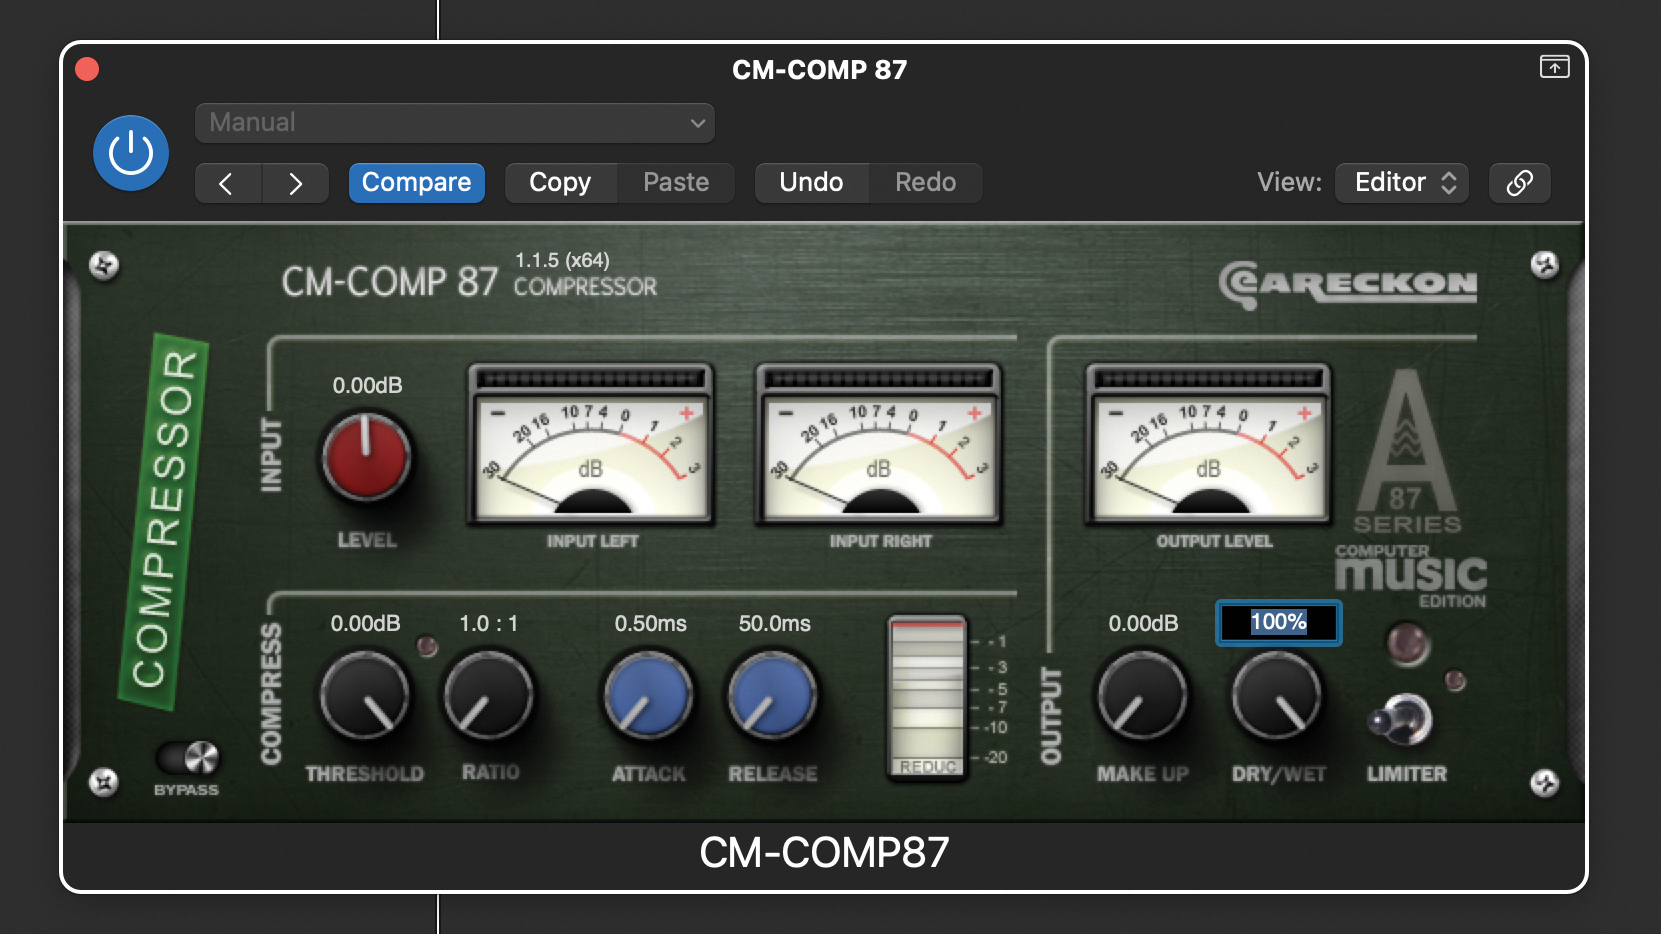
Adding a mix blend control to a compressor plugin provides a quick and easy way to use parallel compression. Many compressor plugins have this, so seek out one that’s suitably equipped. You’ll find some examples in the CM Suite, a collection of plugins bundled free with every issue of Computer Music Magazine. Here, we’re using EaReckon’s CH-COMP87.
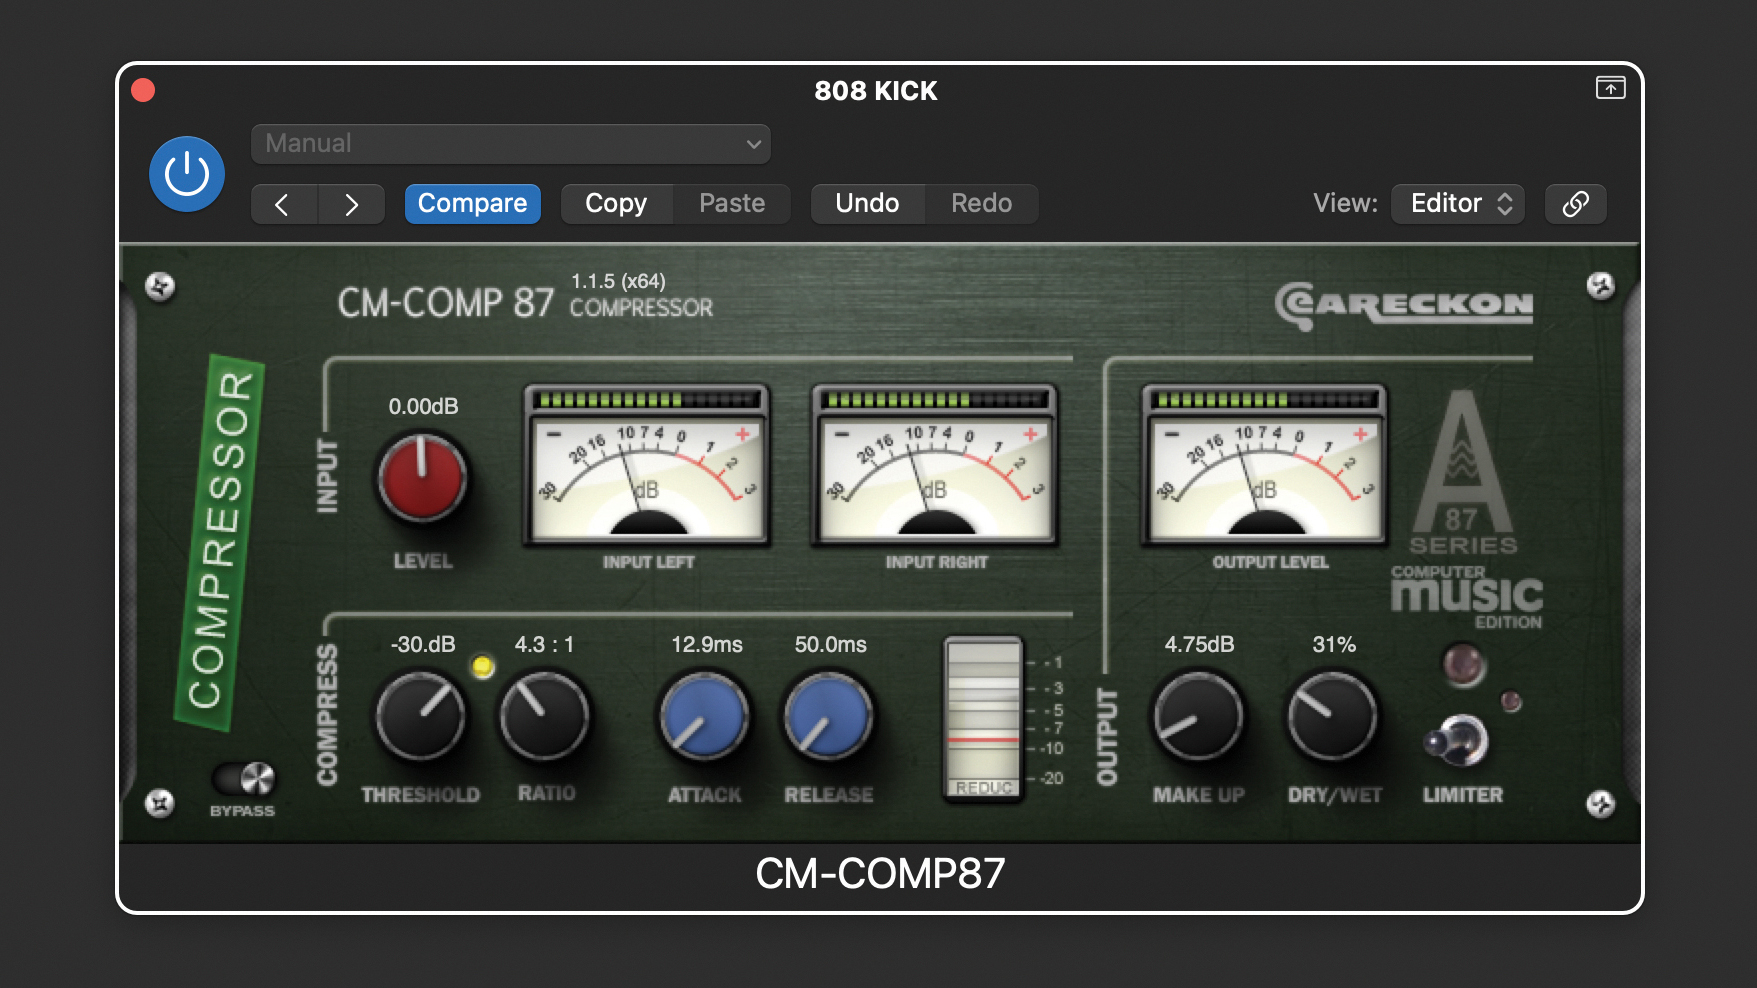
Parallel compression is great for beats and in particular kicks and snares. 808 kicks can be tricky to compress, and doing so can add much needed harmonics but damage the decay. We’ve loaded up an 808, setting quite aggressive compressor settings. We’ve then used the Mix to blend in some original kick decay.
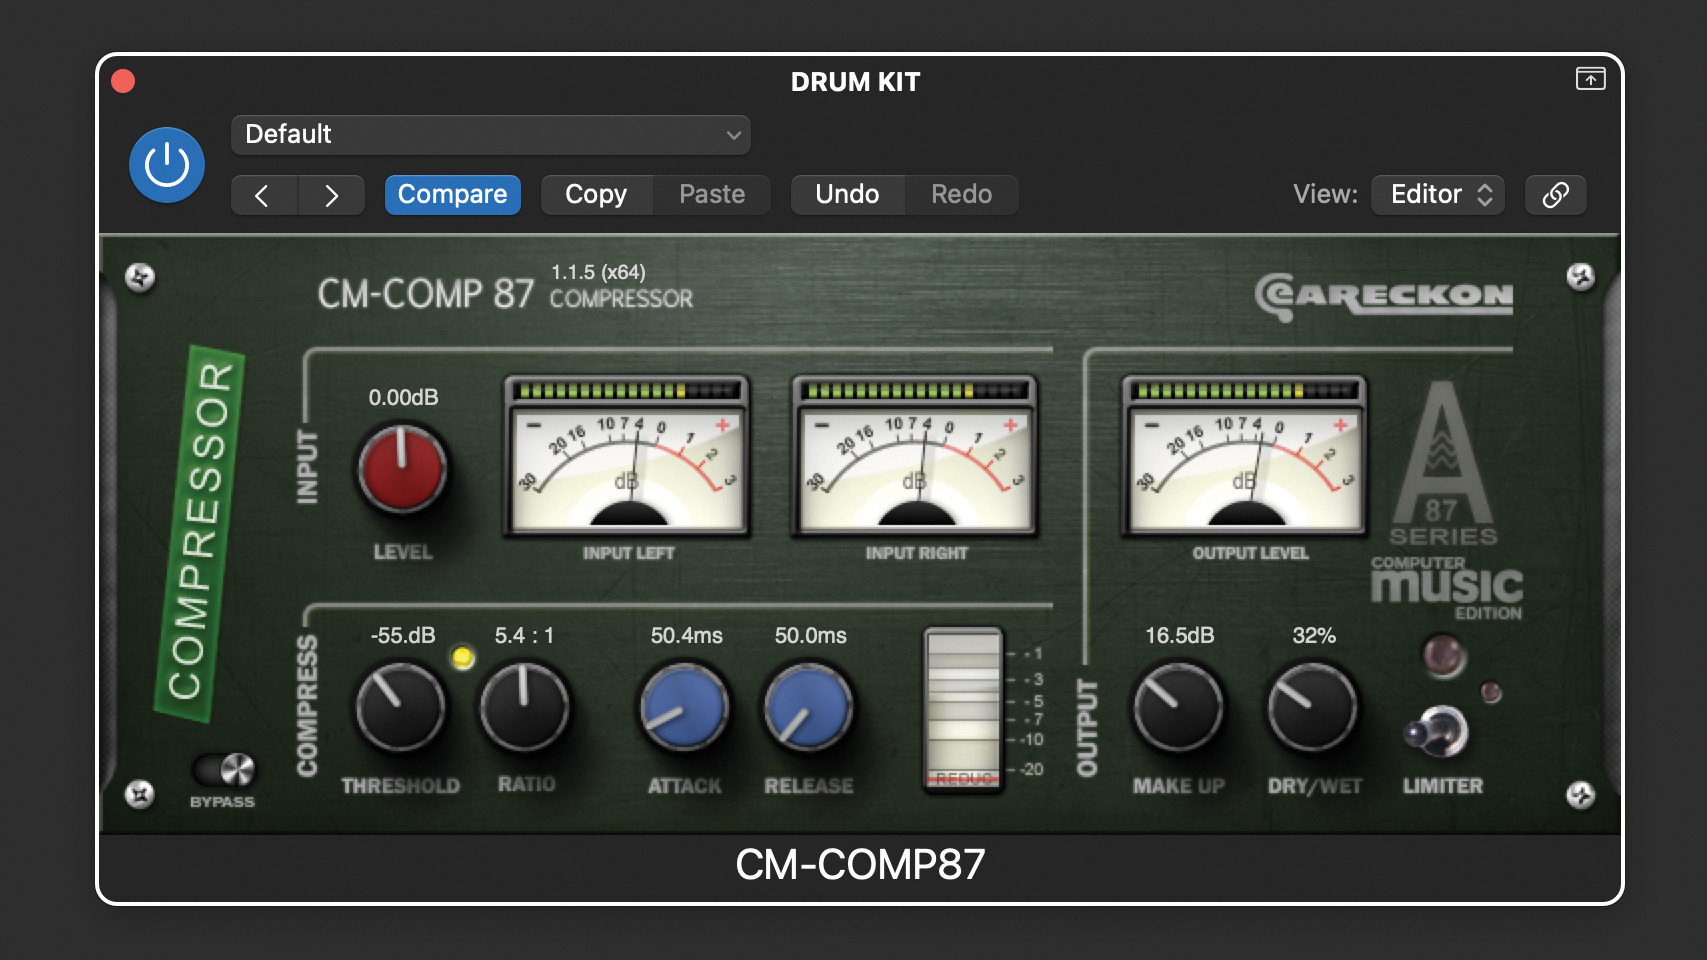
Drum kit kicks can benefit from a similar treatment. We’ve used the same compressor but adjusted the attack and release accordingly. Listening to the compressed sound with the mix set to 100% wet, we have a very over-compressed sound, but by blending this in (our mix is set to about 35%), we’ve created a more punchy sound.
Want all the hottest music and gear news, reviews, deals, features and more, direct to your inbox? Sign up here.
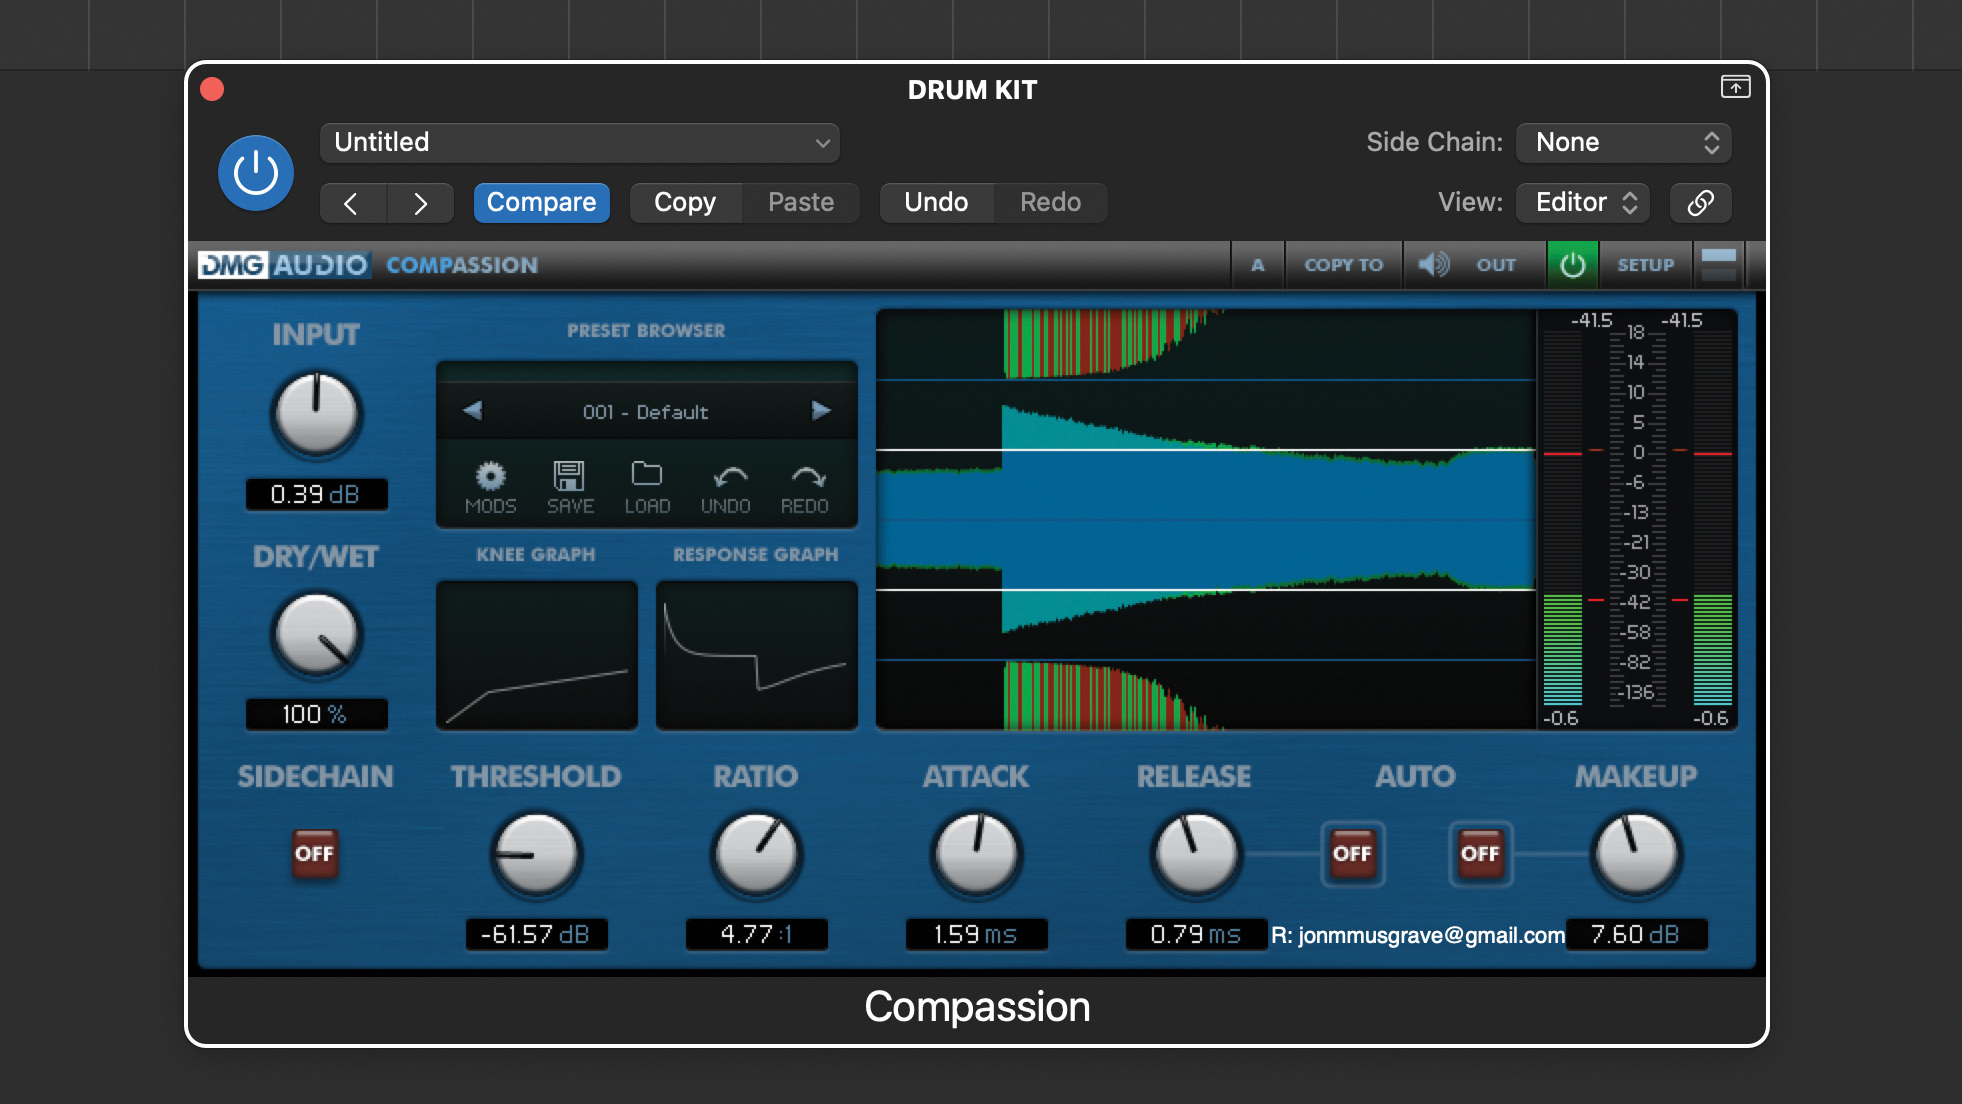
We can use the same technique with snares, and it can be a great way to bring up the body and tail of the sound. Here, we’re using a slightly different compressor which has a very flexible attack and release, and set it with the attack and release pretty fast but still allowing the transient through.

The fast release in particular helps emphasise the tail of the sound. Nevertheless, the compressed sound is pretty unpleasant with a snappy attack, and we wouldn’t be able to use this as it is. However, by using the Mix control we can blend this with the original for a fatter sound – our Mix is set to about 55%.
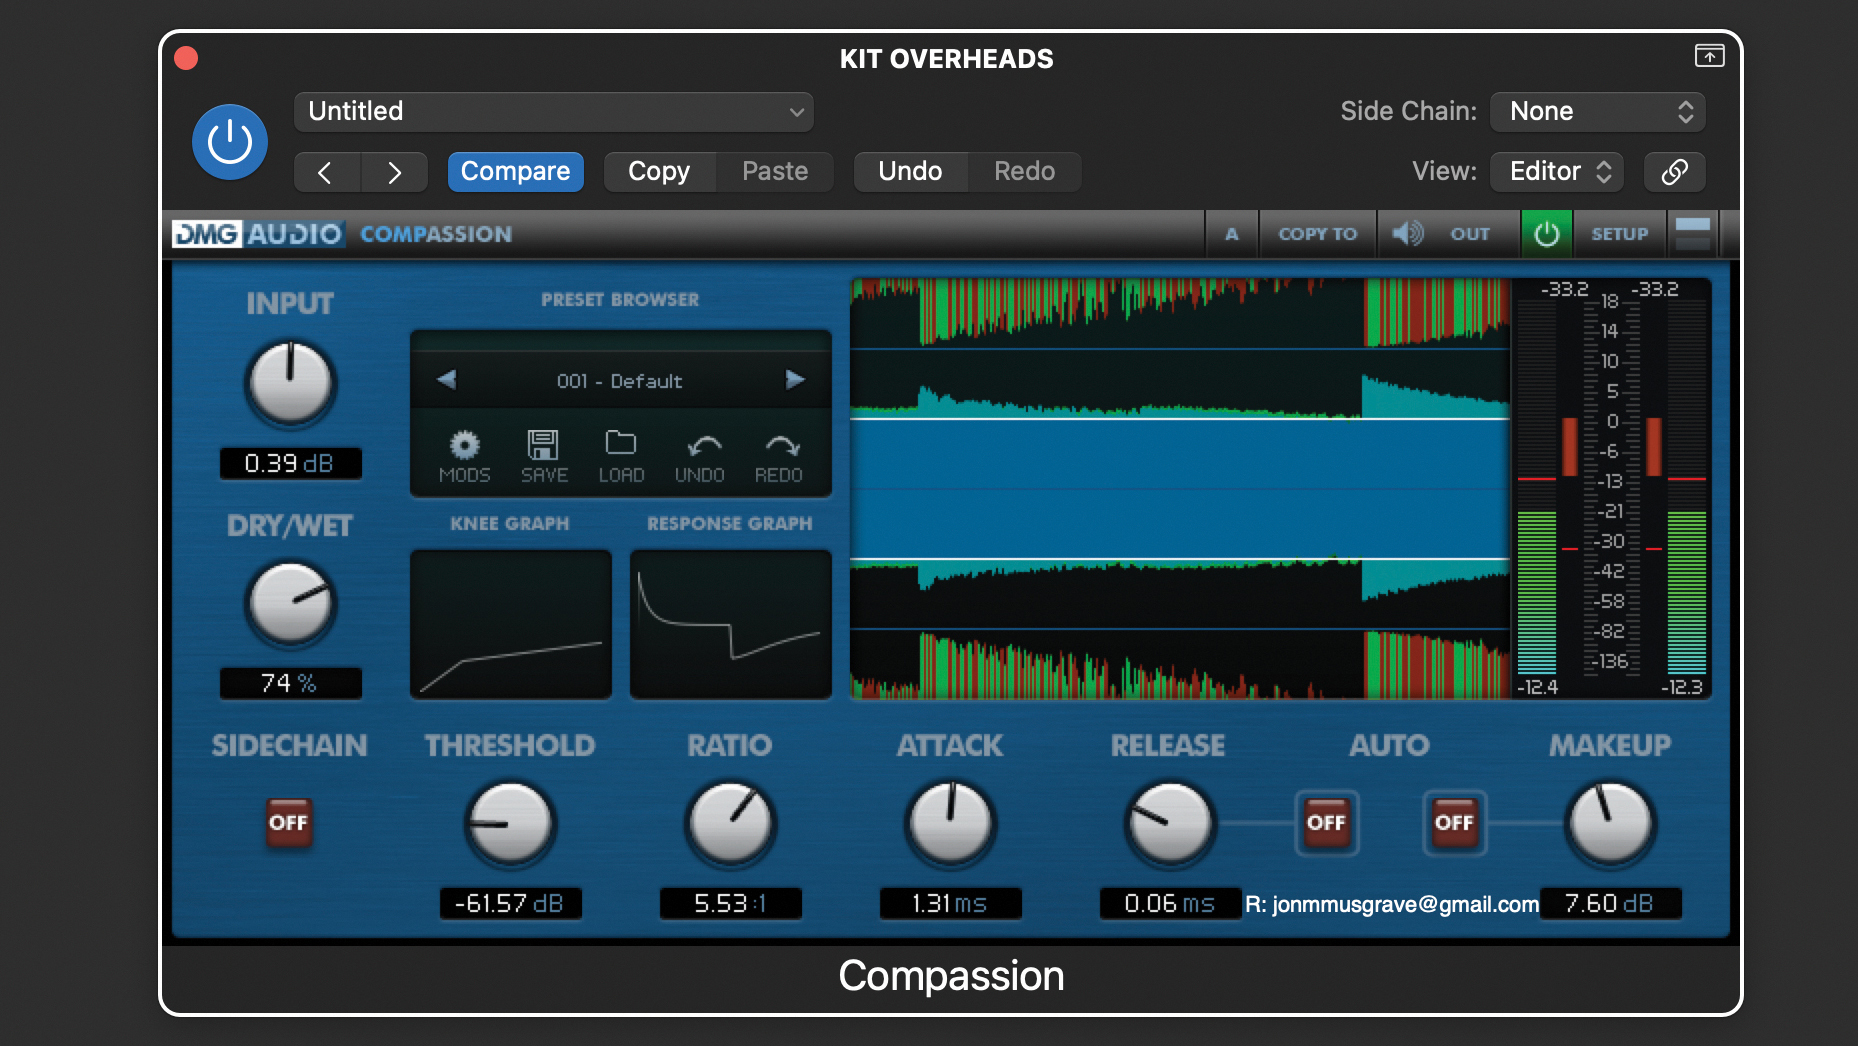
Let’s use the same approach for kit overheads. This can help rebalance the direct sound and room elements. We’ve adjusted the attack and release so they are fast, grabbing but not completely flattening the transients. The compressed signal doesn’t sound great on its own, but works well blended in – our mix is about 70%.
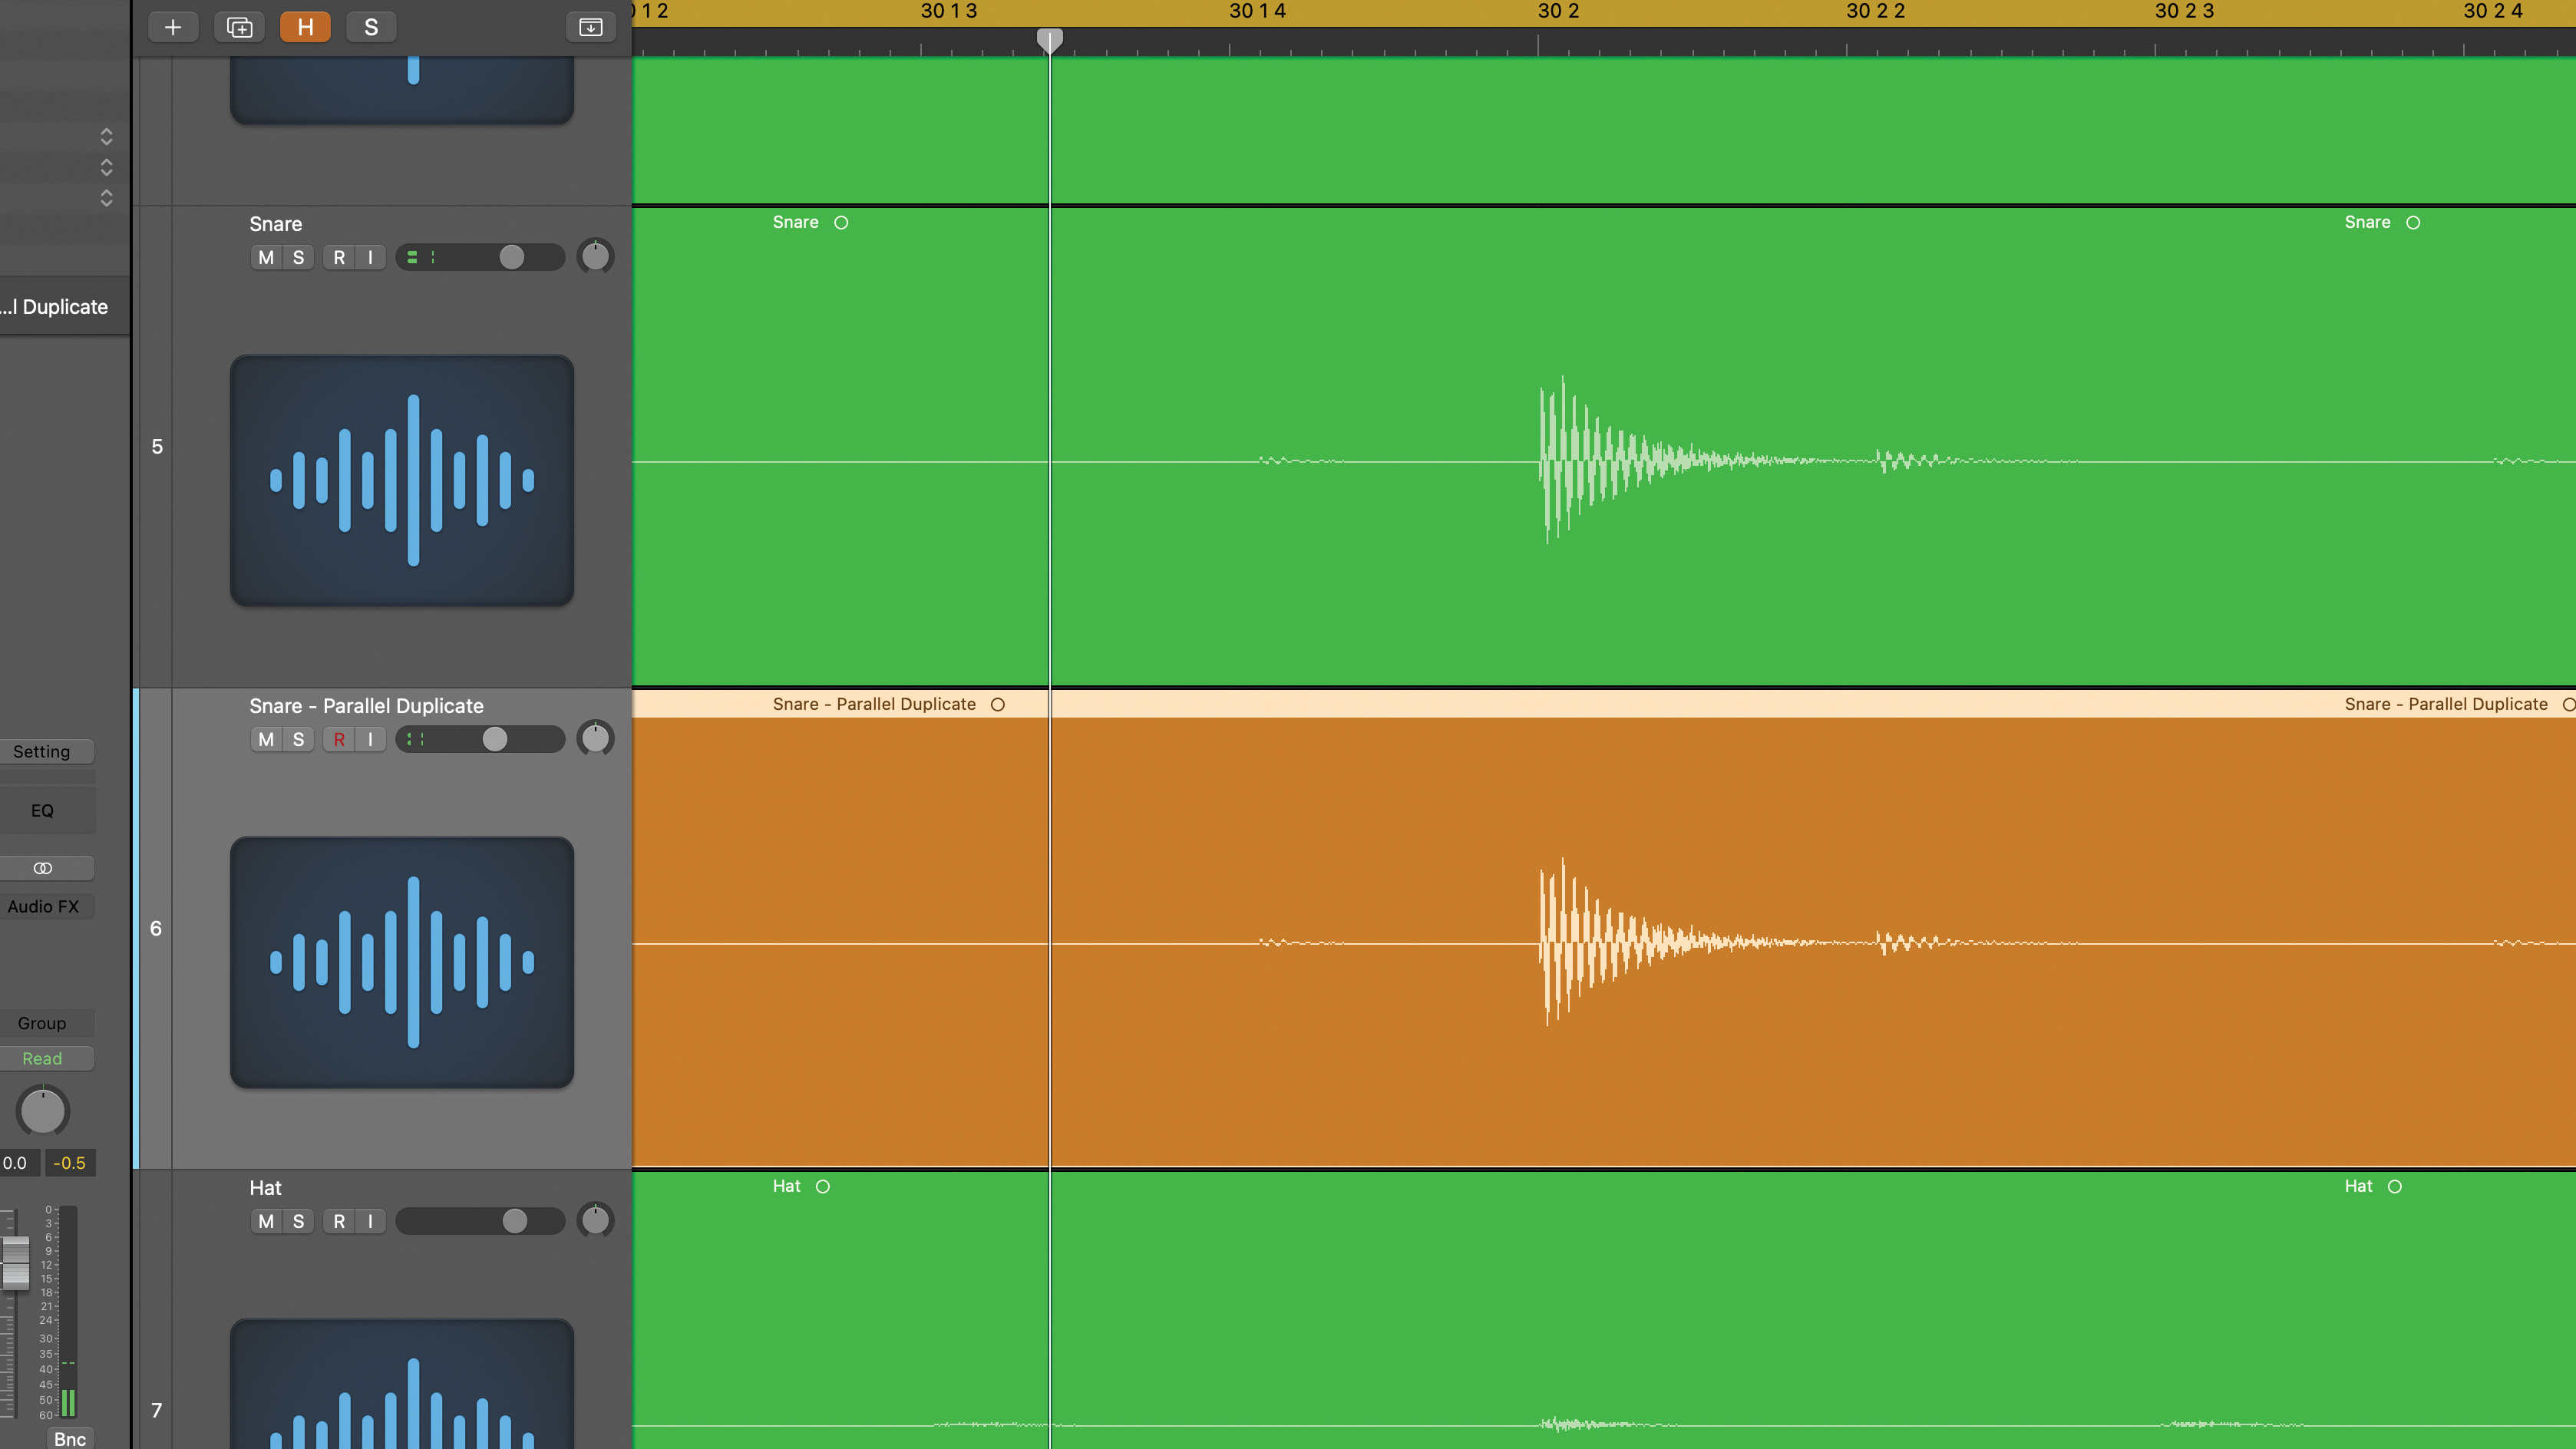
Compressor mix blends are convenient but don’t work as well if your main track has a chain of inserts. Here, a split parallel works better and there are two main approaches. The first method works for individual sounds and simply involves duplicating your existing track to create a compression-only parallel.
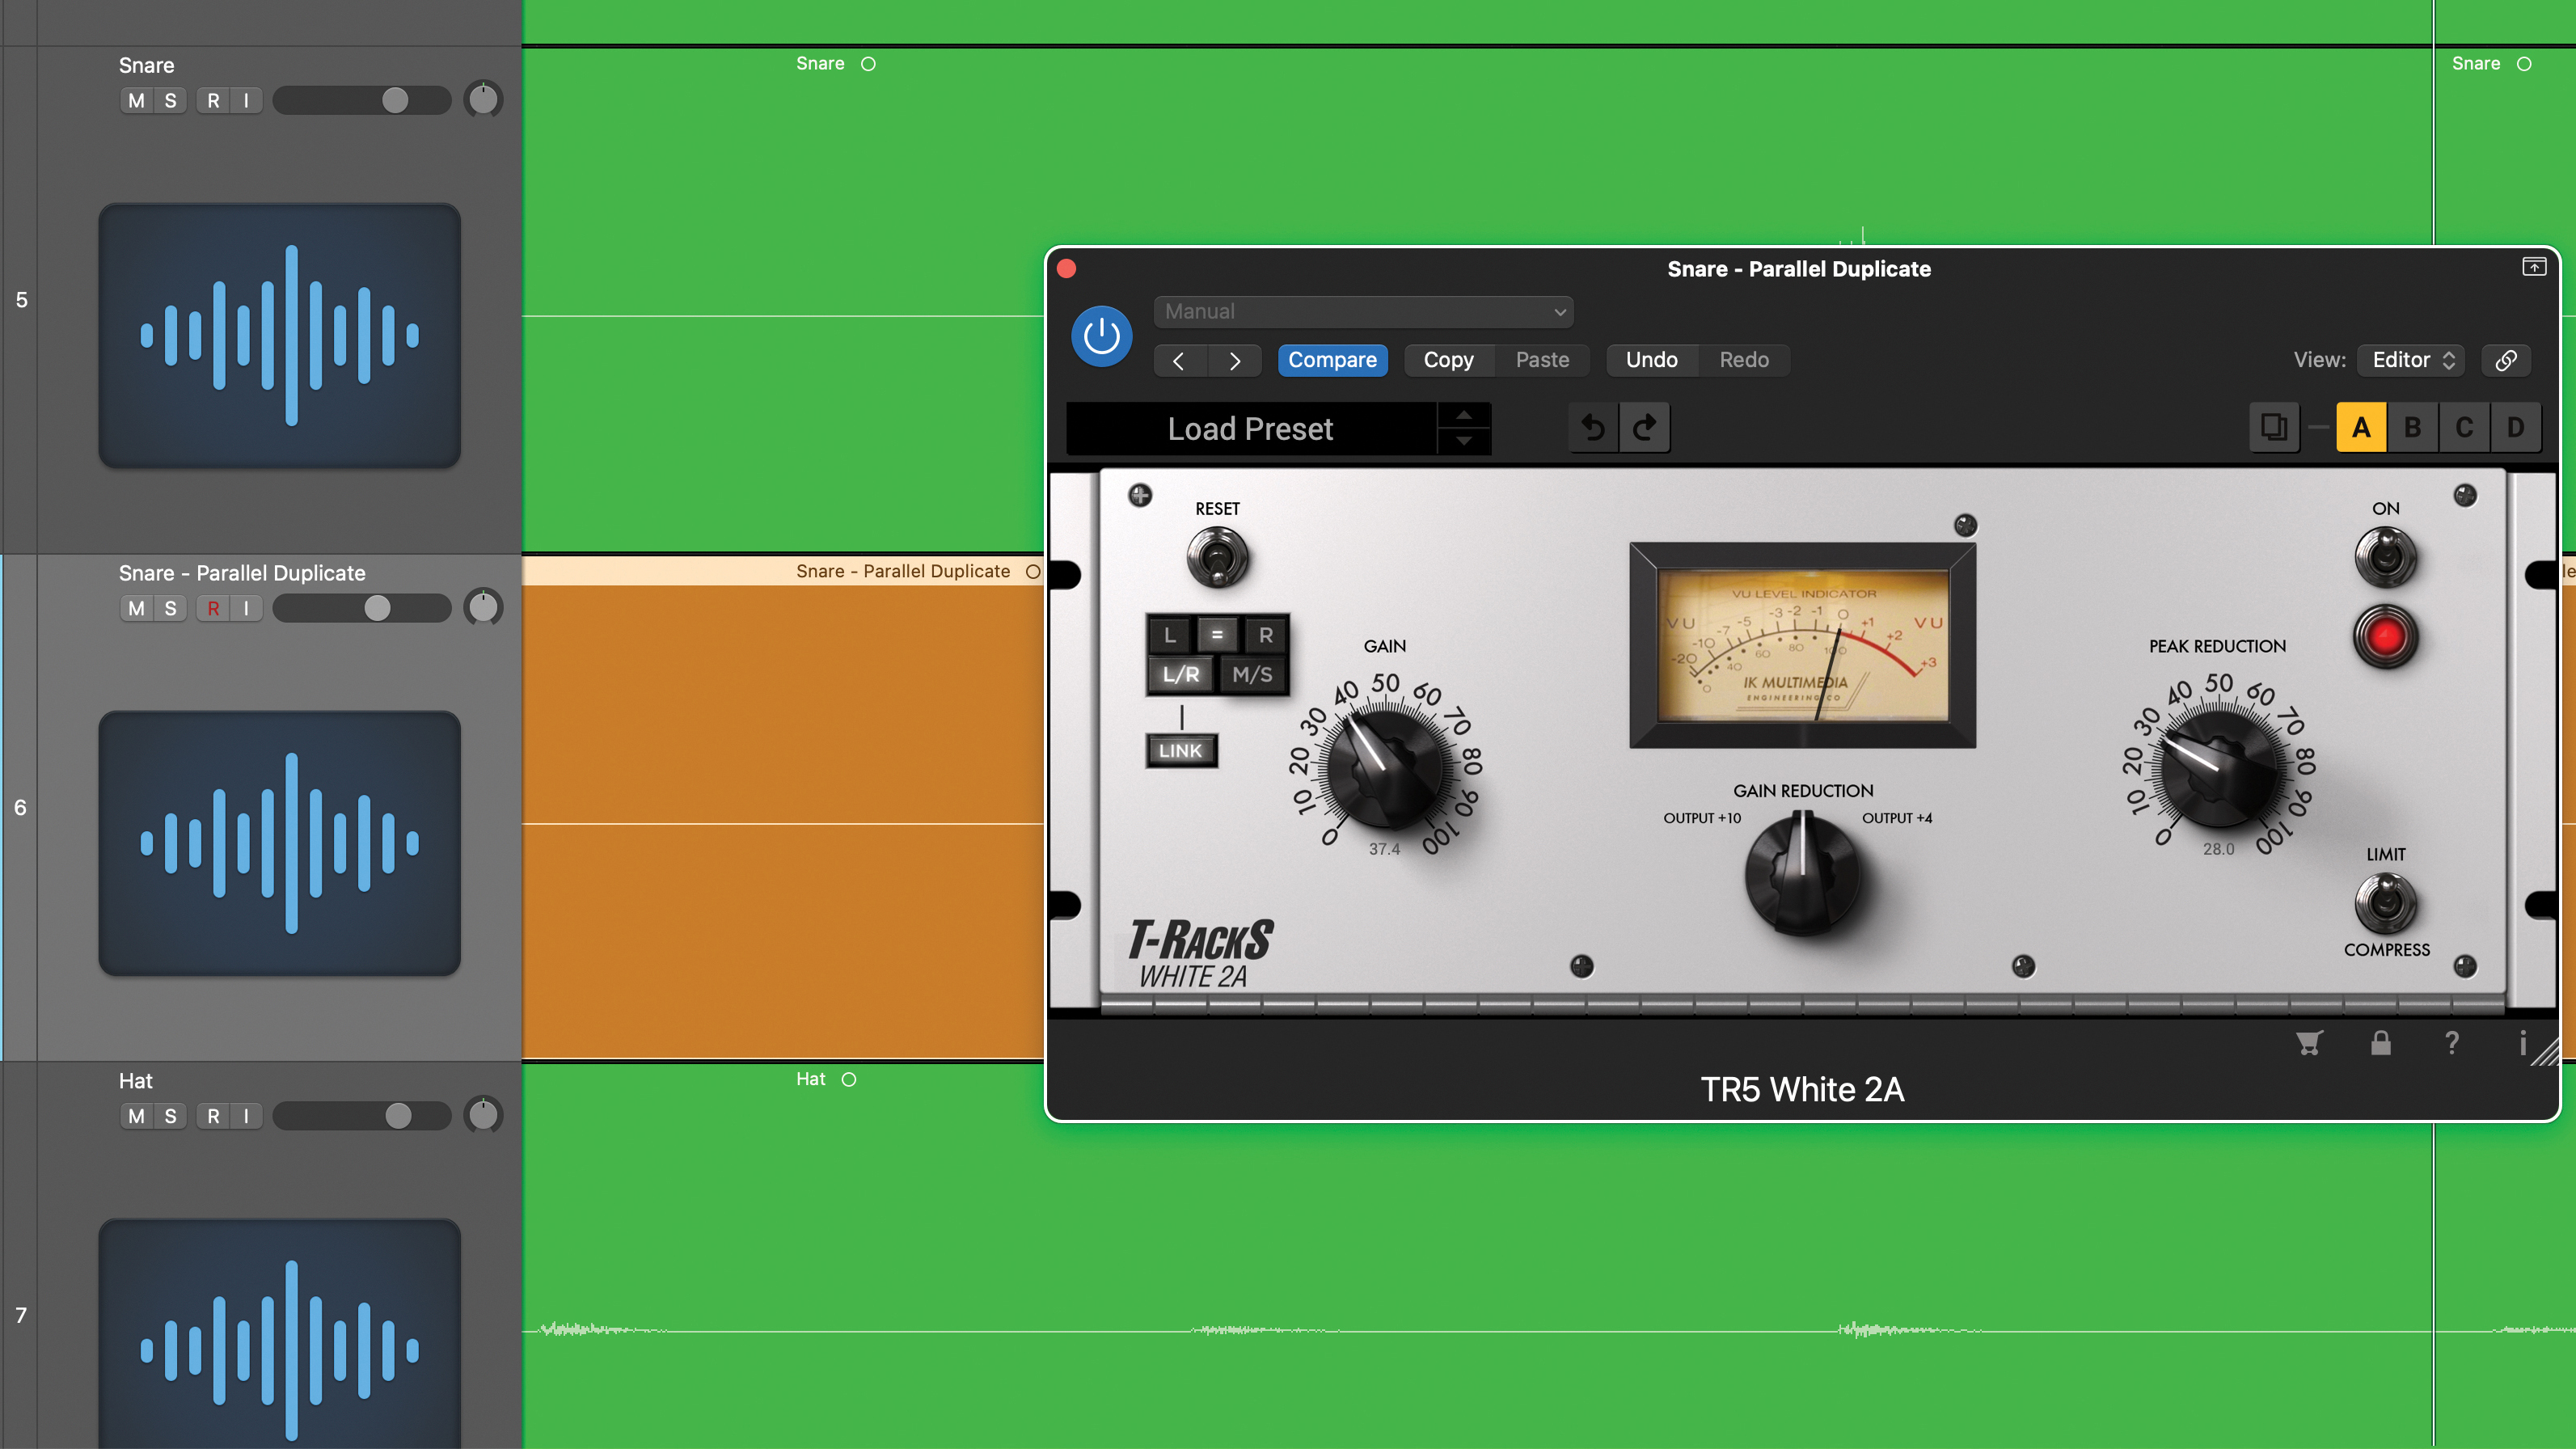
Here, we’ve got a basic beat with separated kick, snare and hats, and we’re going to add parallel compression to just the snare. The first job would be to create a new track and duplicate the snare part over. Then, insert a suitably coloured compressor. Here, we’ve gone for an opto design.
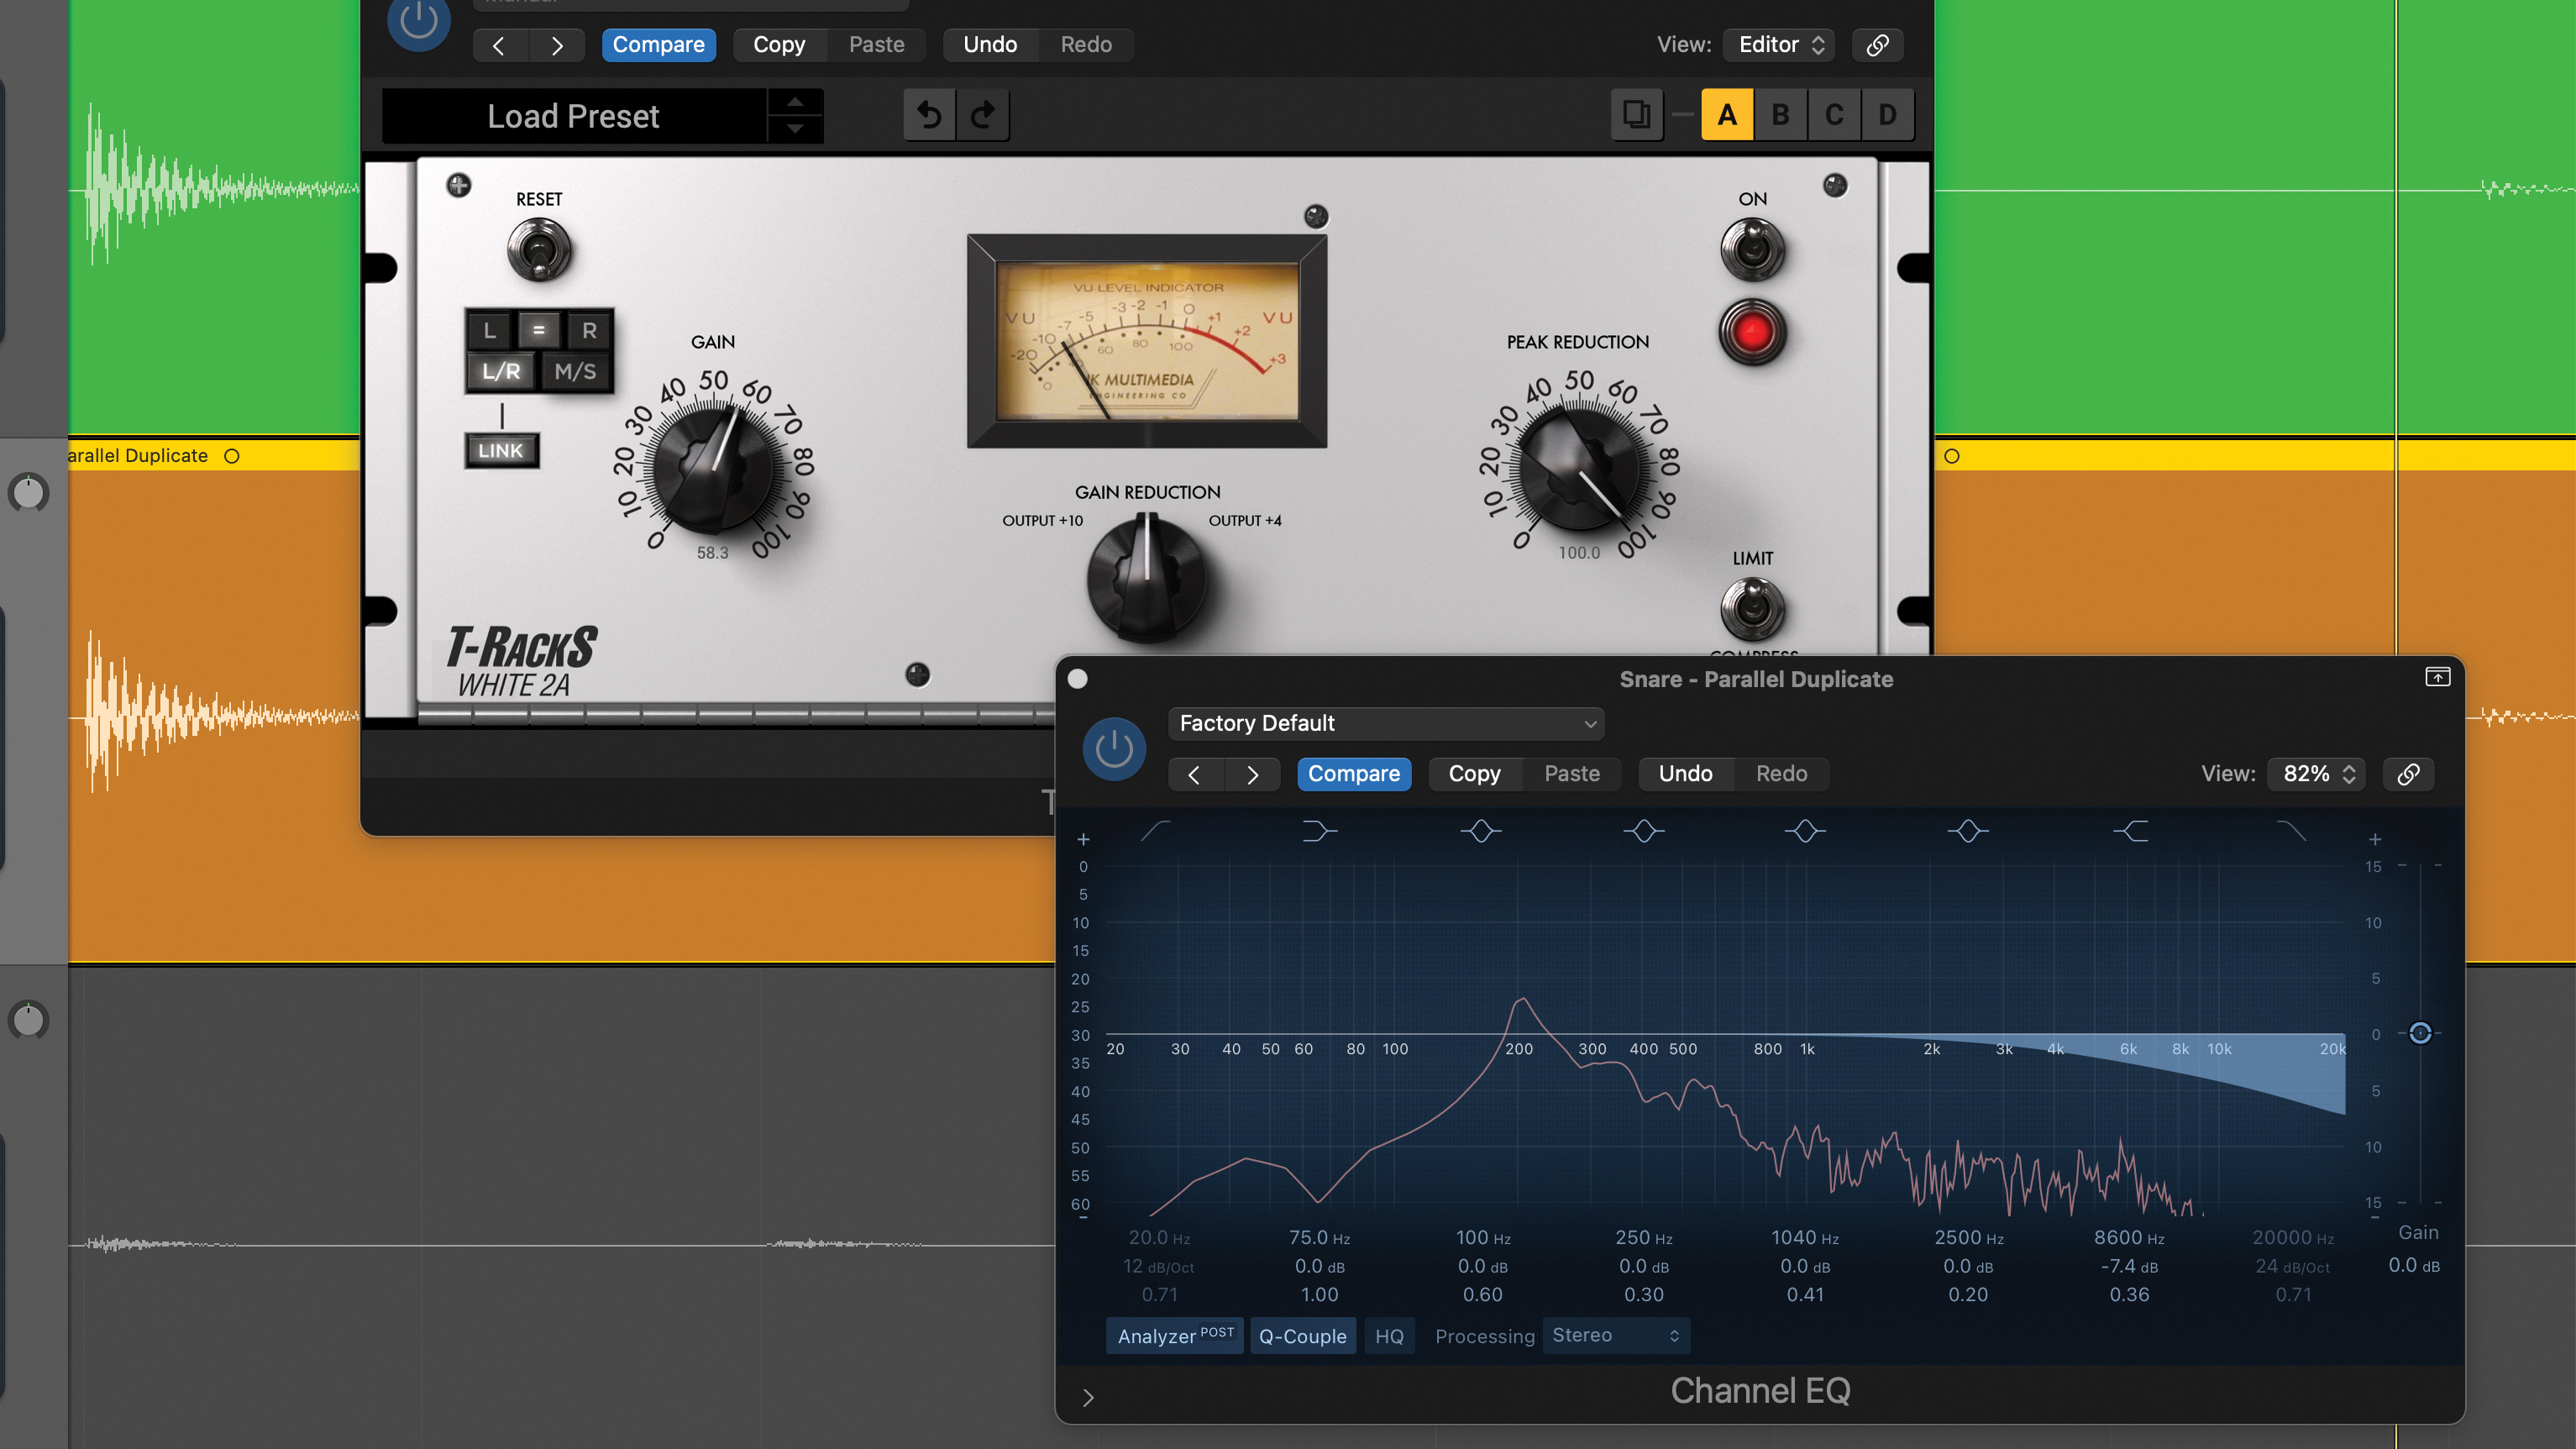
As before, you can really compress hard – we’re metering towards 10dB of gain reduction – and the opto design creates a fat sound without completely killing the transients. We’ve also added a post-compression EQ to shelve off some of the high frequencies. Then, blend this with the original track and turn both tracks down at once.
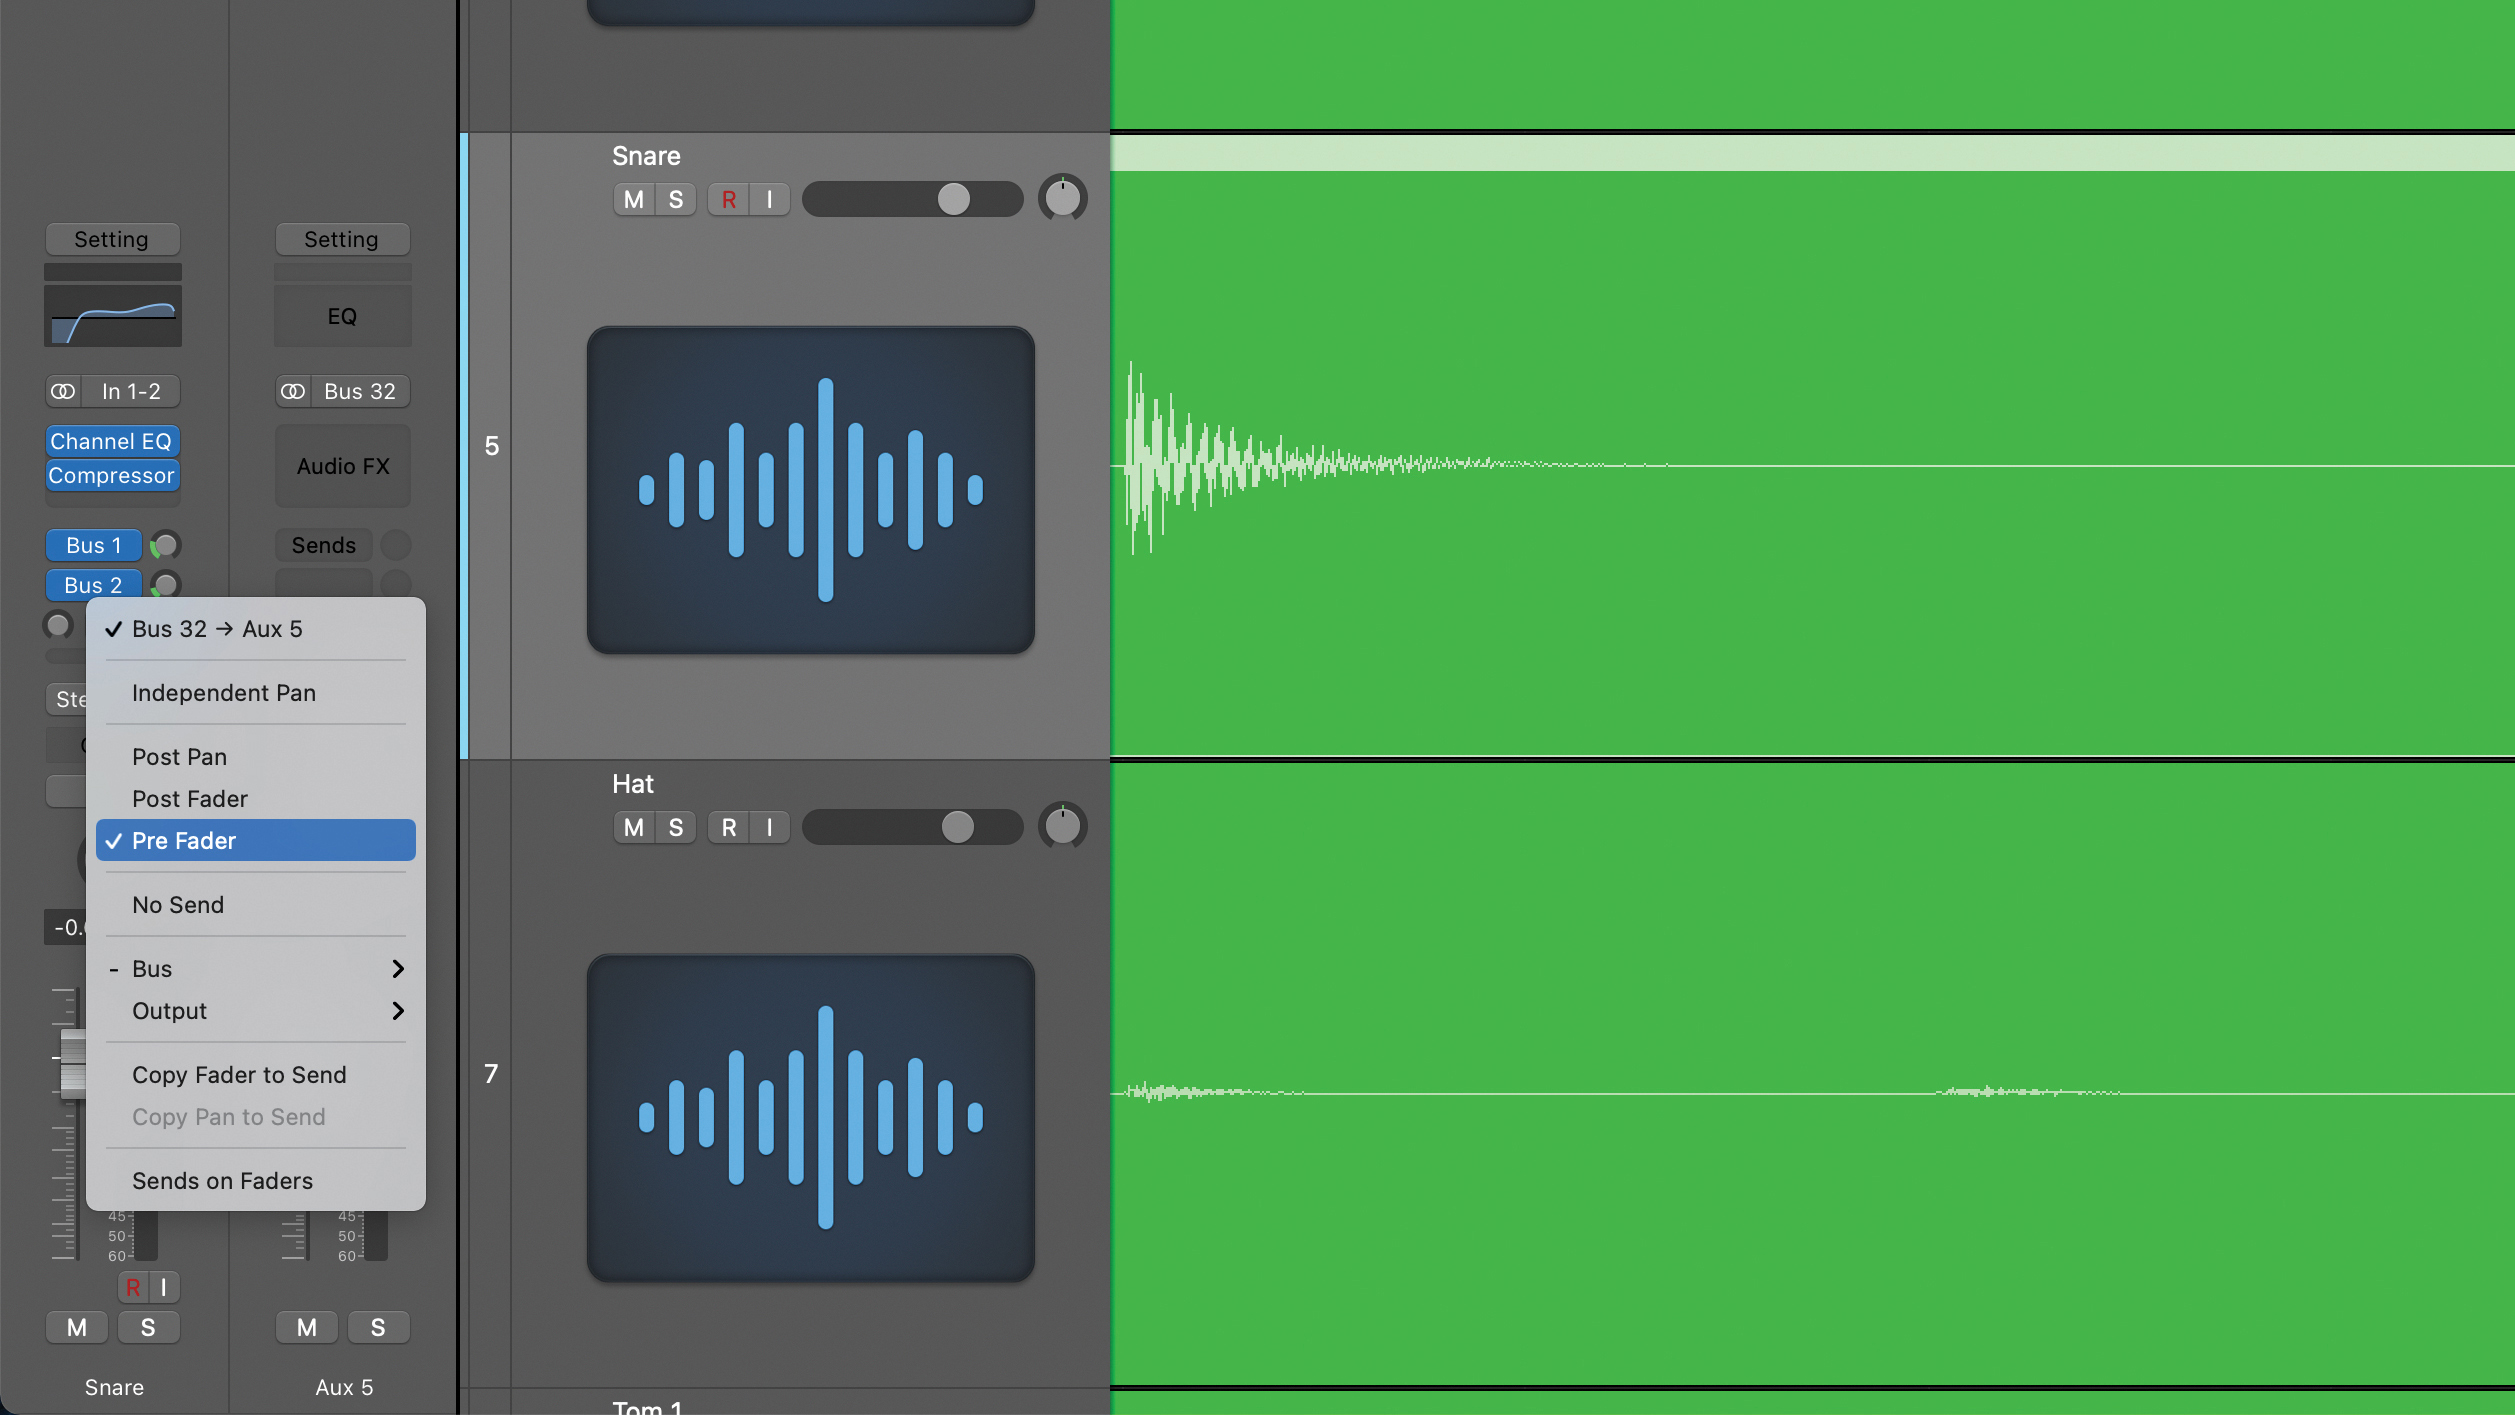
The second split parallel technique uses an auxiliary. The best way to set this up is as a pre-fader send, with your compressor on the auxiliary return. This allows you to send multiple tracks to the parallel compressor, although the sends will be post your insert processing, making this slightly different to the track duplicate technique.
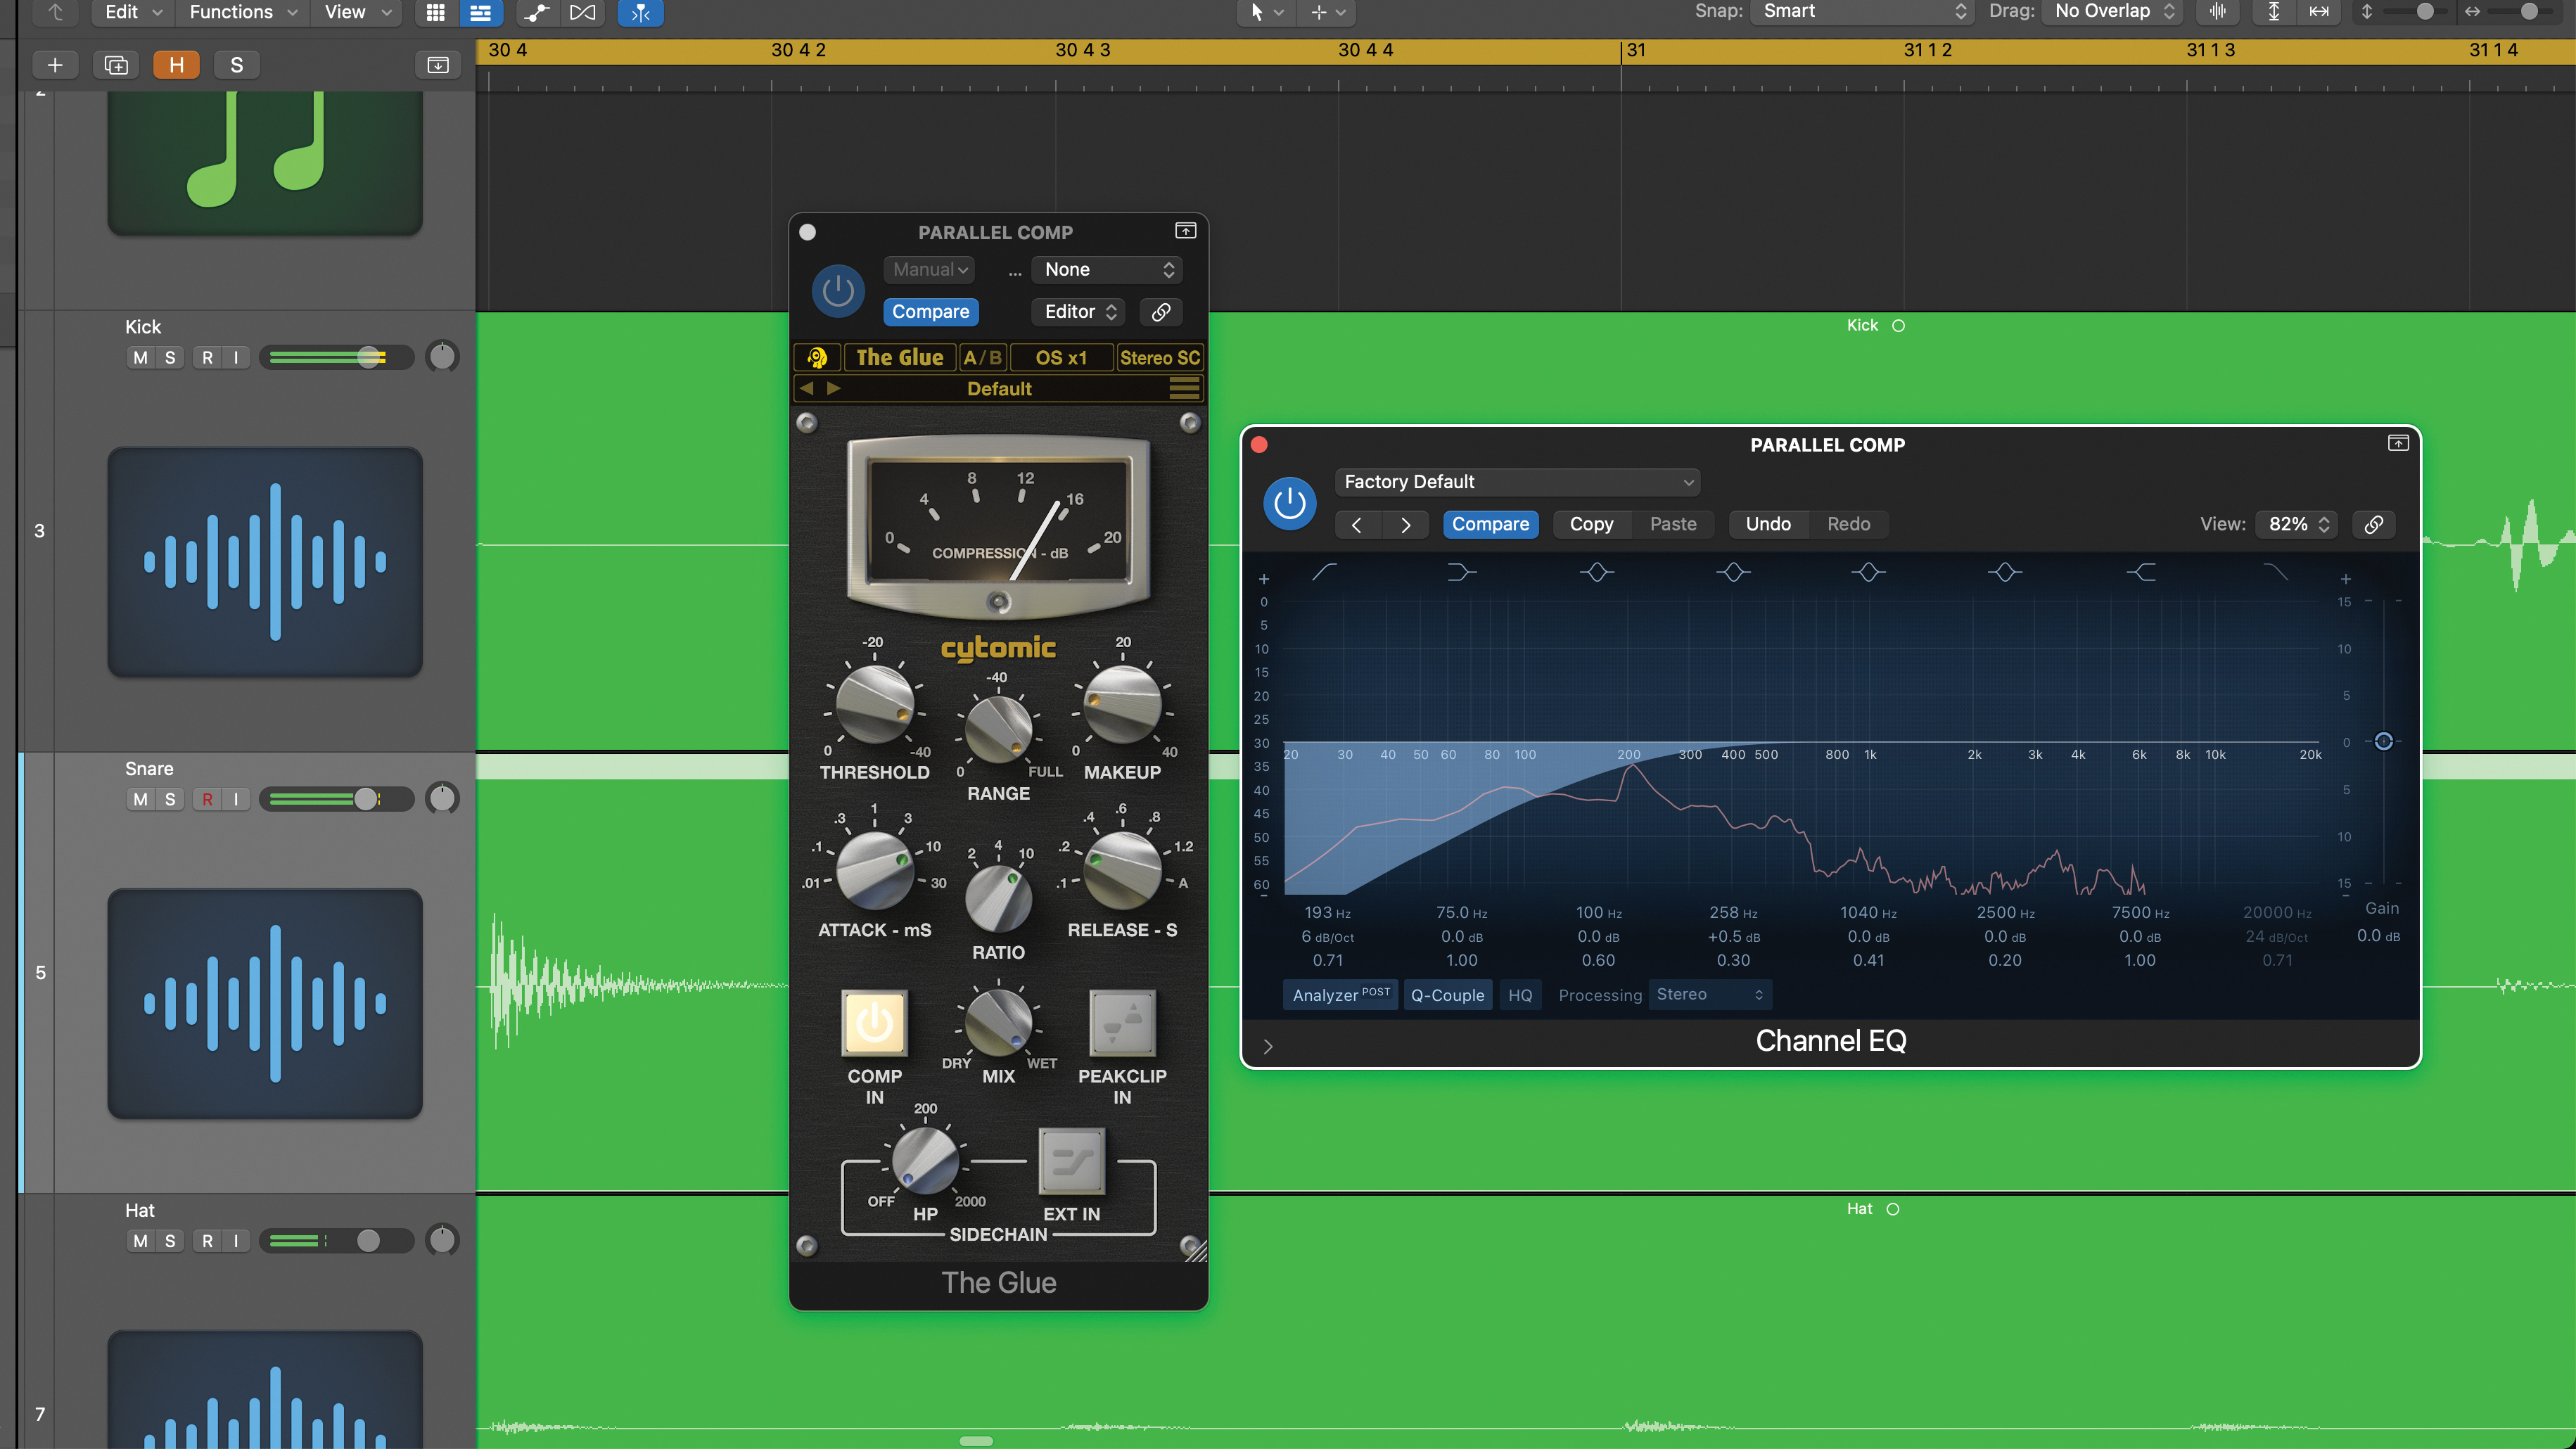
Here, we’ve set up a parallel auxiliary bus, and this time selected a classic bus-style compressor, using a slow attack (10ms), medium to fast release (200ms), low threshold and 10:1 ratio to achieve plenty of gain reduction. We’ve also added a post-compressor EQ to help tailor the parallel signal.
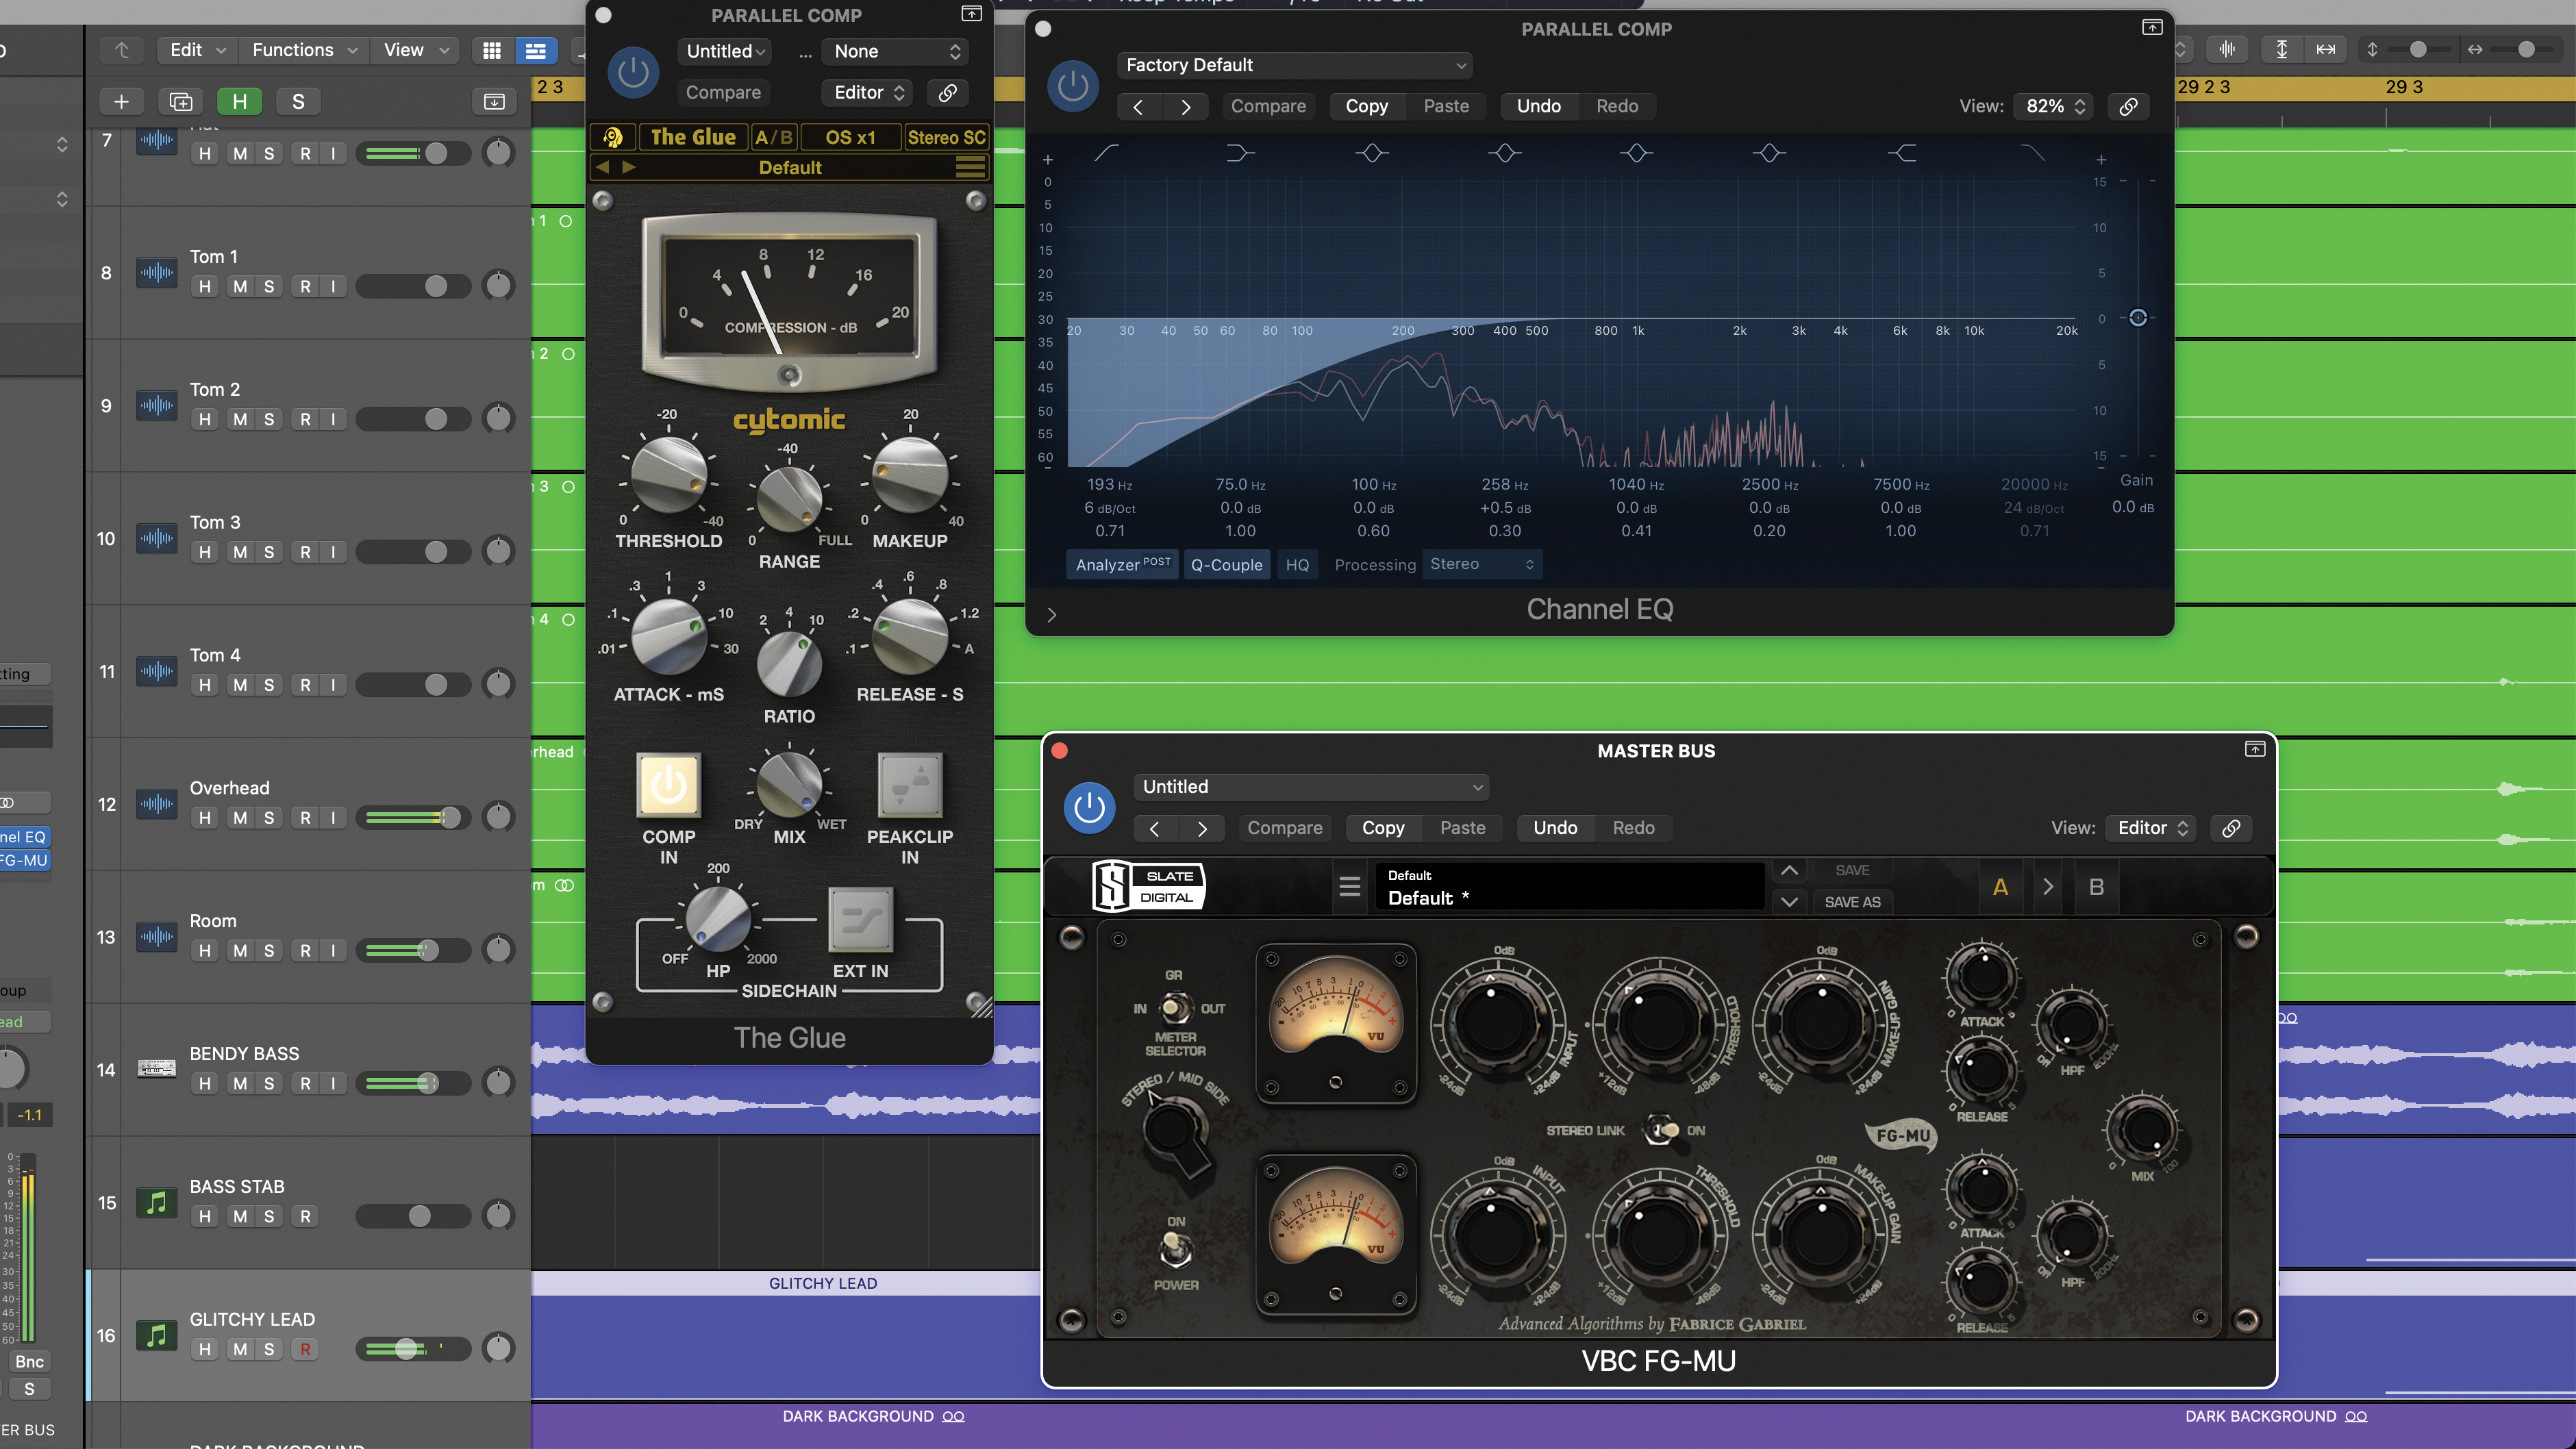
The auxiliary technique provides a great way to fatten up your overall mix, and by sending selected tracks to this slammed compressor, we can create flavour that we blend in to taste. It also works well alongside a bus compressor, which can then play a more gentle overall role.
Pro tip
Conventional wisdom suggests that we often set up our parallel compression at an early stage in the mix, designing an extreme compression split, sometimes with additional EQ, and then blend that in with our existing track, submix or full mix.
However, this planned approach doesn’t always play out. Indeed, we find that during a mix, the processing of individual sounds progresses over time. If these tracks already have multiple level dependent inserts (such as compressors) and already have established auxiliary effects (such as reverb and delay), we don’t want to be messing with them unnecessarily.
In these circumstances, a good approach, and one that works well with kicks and snares, is to add back in some uncompressed audio as a parallel process. However, if we try to blend in the full sound this will influence the level too much.
The solution is to set up a duplicate track and then EQ this track, filtering off most of the frequencies and leaving the required focus area. We can then blend this back in to regain the missing attack, body or weight without changing the existing compression and effects balance we have.
Recommended listening
1. Massive Attack - Teardrop
This Massive Attack classic uses various degrees of audible compression and parallel compression, delicately balancing both approaches.
2. Cardi B, Bad Bunny & J Balvin - I Like It
The powerful but controlled 808 and punchy vocals in this mix have all the hallmarks of parallel compression.
Jon is a London based platinum award winning mixer, producer, composer and club remixer with a diverse CV that spans dance, pop, rock and music for media. He’s also a long term contributor to MusicRadar's music technology tutorials and reviews. Whether working alone or collaborating he usually handles final mixdowns, so you’ll also find MusicRadar peppered with his handy mixing tips.
