How to make an ambient pad like Jean-Michel Jarre's Oxygene
Create evolving sonic atmospheres using Logic's Alchemy soft synth

This week, we're publishing a series of tutorials that cover the most essential, bread-and-butter synth patches that should be in every aspiring synthesist's arsenal, as part of our guide to the 15 synth patches every producer should know. Today, we design a pad sound using Logic's Alchemy synth.
The basic ‘pad’ sound has been a feature of music for hundreds of years – ensembles of string players were creating evolving atmospheres since long before electricity, and many factory preset pads show classical leanings today. But pads really became interesting with the invention of synths.
Jean Michel Jarre’s Oxygene (1976) may well be the perfect example of the modern electronic pad’s genesis. The philosophy was spacey, futuristic, evolving layers of swooshing synth soundscapes that fizzed and hummed across the entire range of frequencies.
These techniques and sounds weren’t just intended for isolation, though, as musicians looking to fill out sparse or uninteresting mixes chose to add similar layers in order to ‘pad it out’. From then to now, that ‘pad’ became a staple of music production.
The key to making these sounds interesting is creating subtle shifts in texture and timbre. Let’s look at the basics using Logic’s Alchemy.

We start from an initialised patch. First we’ll create an analogue-style layer using the first two oscillators. We choose a triangle on osc A and a square on osc B, and add a little detune and use Filter 1 to filter down using a low-pass filter for a darker sound.
Next we apply a filter envelope with soft attack and long release. We balance the filter cutoff, resonance and amp envelope settings together for something suitably atmospheric.
Want all the hottest music and gear news, reviews, deals, features and more, direct to your inbox? Sign up here.
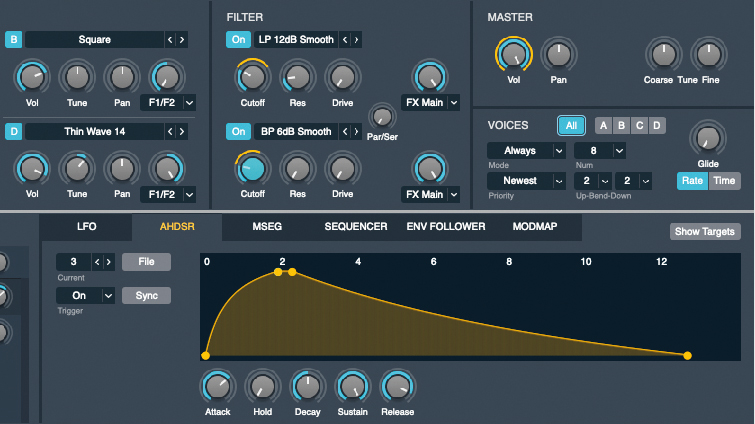
Next we’ll add in an airy digital layer. For this we use two icy, thin complex waves loaded into osc C and osc D, both pitched up 12 semitones. We send this layer to filter 2, this time using a band-pass filter with a slower attack and release on the filter envelope, to flatter the analogue layer. We tweak the volume between the analogue and digital layers to create a pleasing balance.
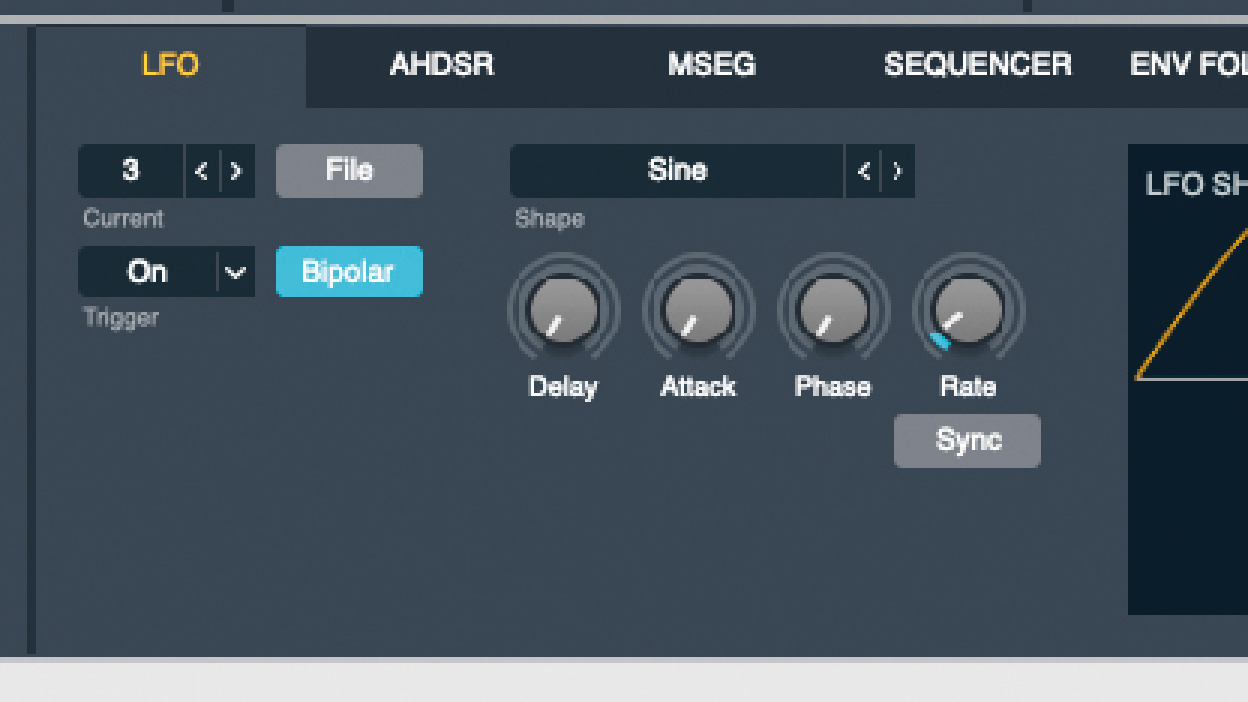
The key now is to add movement to our sound. To start, we route two slow moving, unsynced LFOs to modulate the Symmetry of each of our two complex wave oscillators.
Now we add another two unsynced LFOs and use these to subtly modulate the cutoff of the filters. The key is to have slightly different, unsynced rates to each of the four LFOs, introducing subtle changes to the overall sound that constantly shift over time.
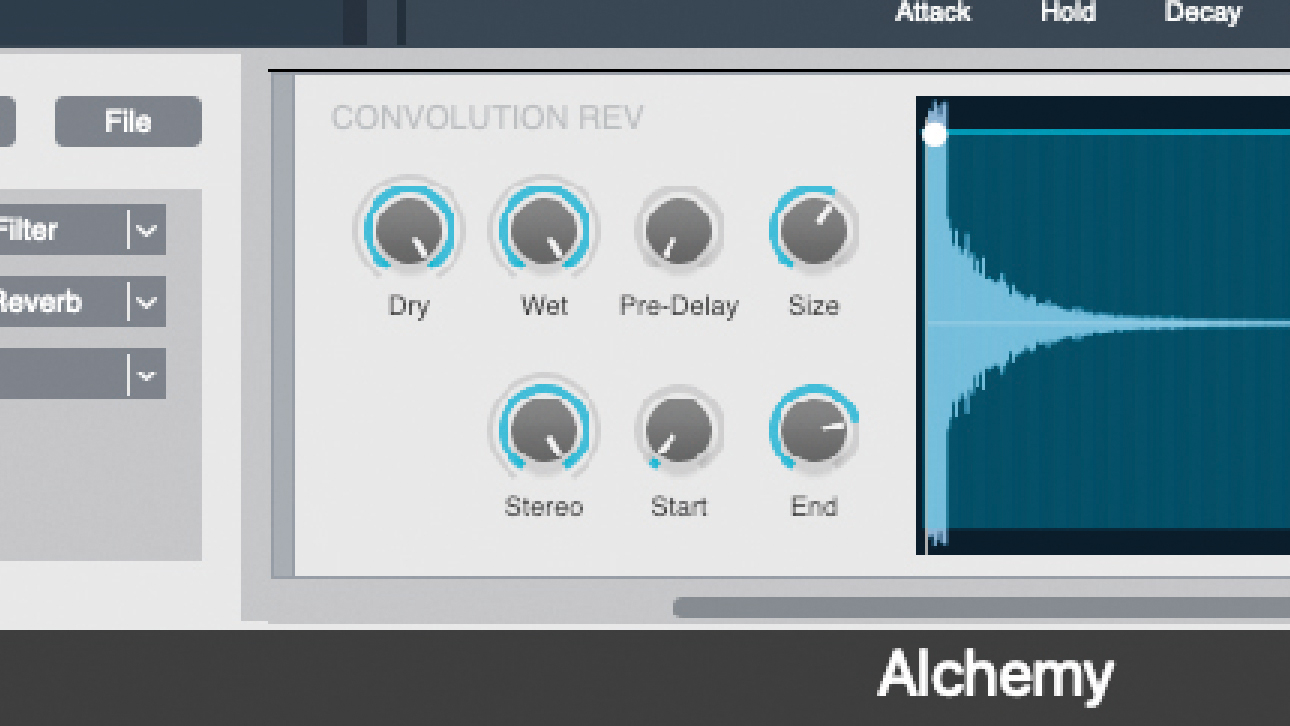
Now to add some effects. In the main effect slot we first add another low-pass filter, which cuts a little of the highs and ties the two layers together.
Next we add some reverb across the pad to add space and depth. You could add some delay too (if desired). We choose a reverb which has a long/warm tail and which becomes part of the sound, rather than sitting on top of it.
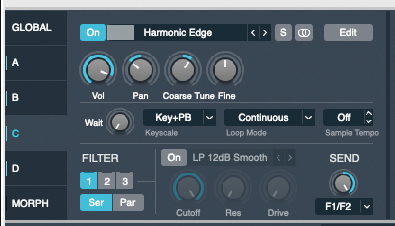
For extra width, 3D depth and movement, add a subtle chorus effect across the whole pad, then experiment with panning each layer within your pad. Keep the darkest sound down the middle of the mix, with the two brighter/breathy layers panned left and right.
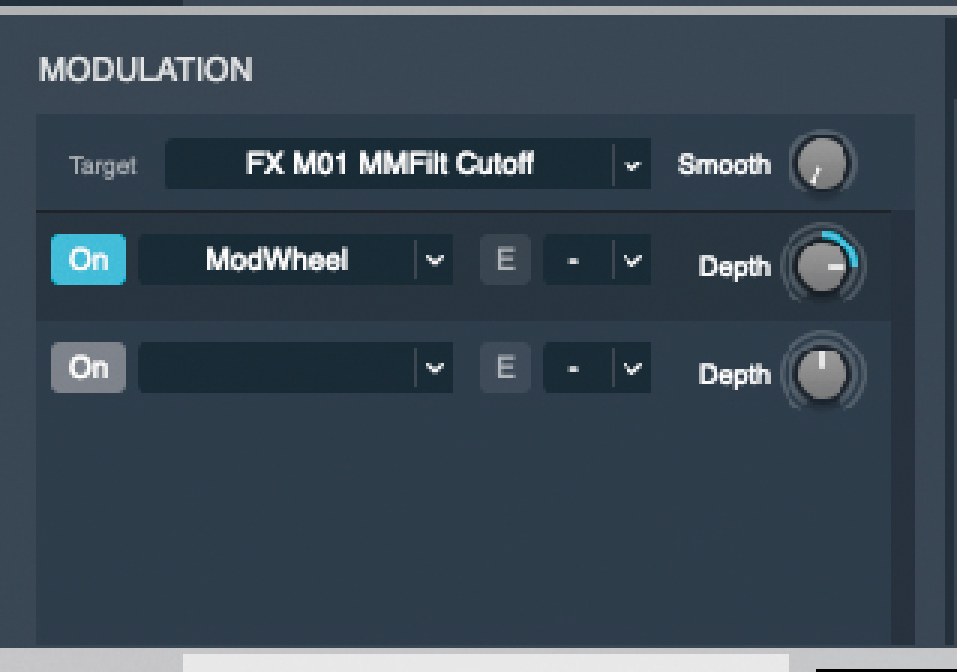
Finally, keep tweaking away and ‘massaging’ the sound until it sits exactly as you want. Save your sound, then experiment mapping controllers (such as aftertouch pedal and mod wheel) to control the fading in/out of layers, effect levels, LFO rate or anything else you fancy!
Jon is a London based platinum award winning mixer, producer, composer and club remixer with a diverse CV that spans dance, pop, rock and music for media. He’s also a long term contributor to MusicRadar's music technology tutorials and reviews. Whether working alone or collaborating he usually handles final mixdowns, so you’ll also find MusicRadar peppered with his handy mixing tips.
