How to make a remote music performance video
As quarantine has proven, you don’t need to be in the same room to make a ‘live’ recording - here’s how to record and assemble a remote band playthrough
Want all the hottest music and gear news, reviews, deals, features and more, direct to your inbox? Sign up here.
You are now subscribed
Your newsletter sign-up was successful
COVID-19 hit musicians hard, not only financially, but also creatively. The outlet of live music and even rehearsals was taken away - at least in the physical realm. In its place, a new phenomenon took hold of YouTube: remote playthrough videos.
Bands including heavyweights Metallica, Pearl Jam, Foo Fighters and many, many more posted clips of themselves performing in their respective homes, with the individual video and audio footage mixed together to form a cohesive - and engaging - whole. Besides offering a fascinating insight into your favourite artists’ decor, the medium allows creativity and collaboration from afar, without the need for fancy camera equipment.
These videos are far from a new phenomenon - YouTubers collaborating with other musicians across the globe have been making content this way for some time now. But if you’ve never assembled one yourself, you might be wondering how, exactly, you put together a remote music performance video.
Well, wonder no more! In this guide, we’ll cover the basic audio and video steps. These will vary from project to project, but this should give you a brief introduction to the concept and the execution.
Before we start, a brief introduction: I play instrumental prog/post/math-rock under the alias of Maebe. I had my first rehearsal with the project’s live line-up booked for the very weekend the UK went into lockdown. As a result, we ended up filming a quarantine playthrough instead, to promote the album I’d just released.
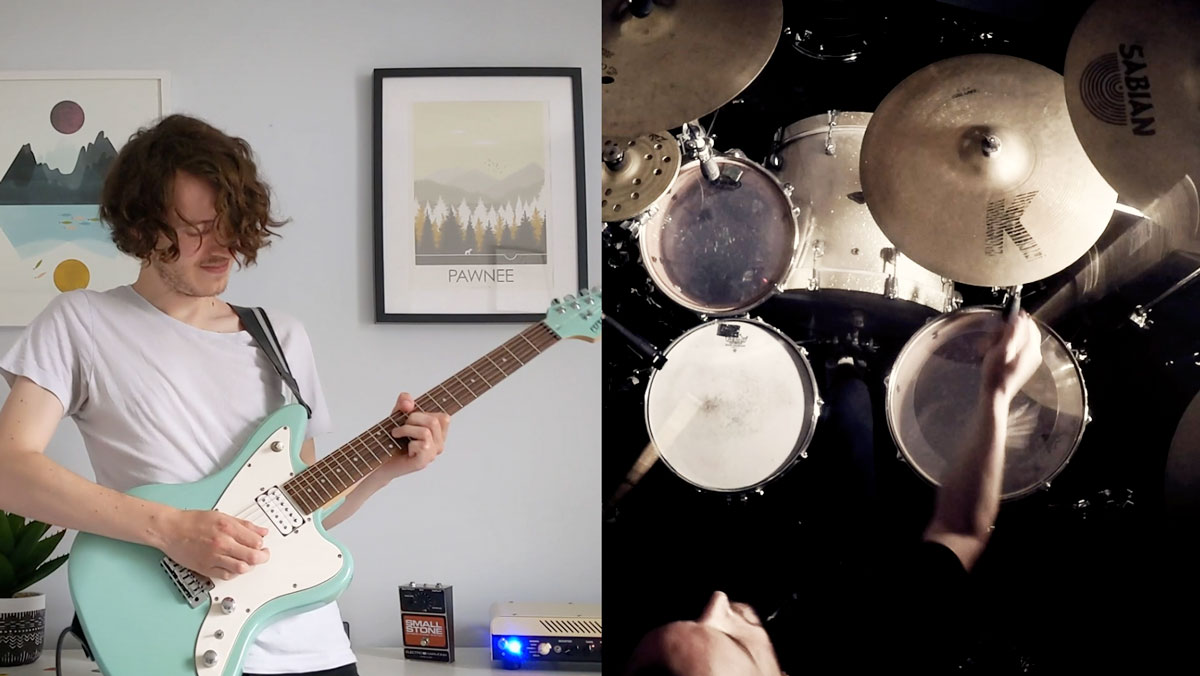
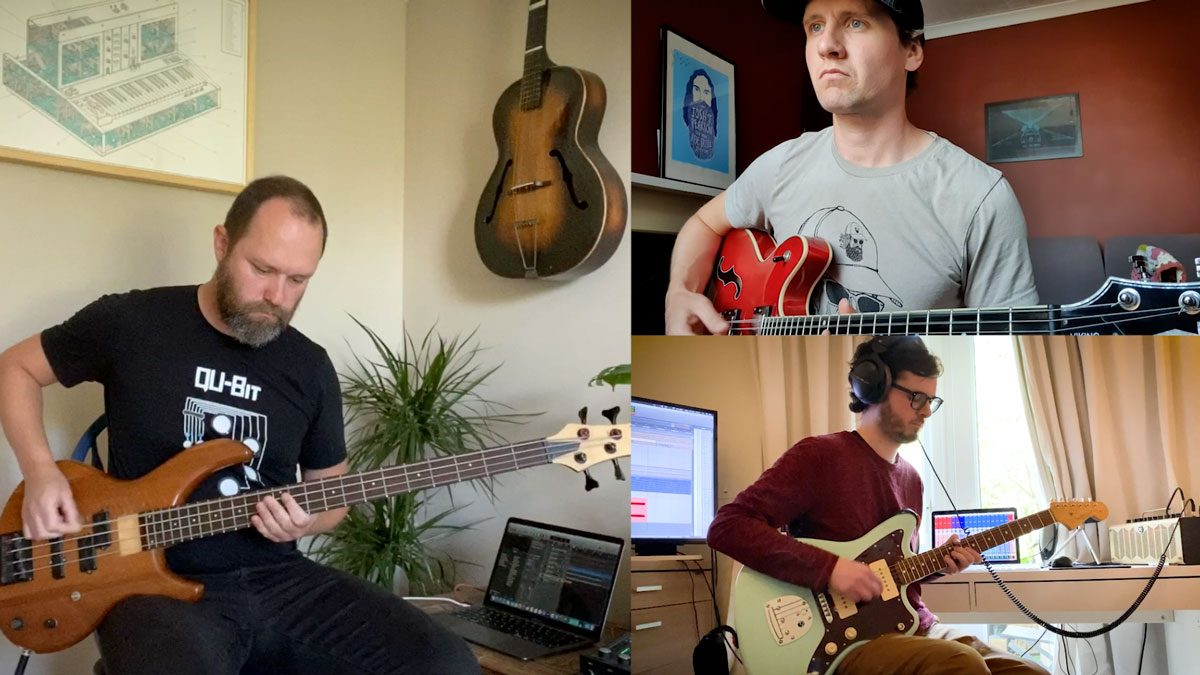
I’ll be using the video I put together as an example - it features three guitarists, a bass player and drummer. I used Steinberg Cubase 10 and its built-in plugins to mix the audio, and Adobe Premiere Pro to edit the video.
Capturing your performance
First thing’s first: you’ll need to do everything to a click track. Decide on a tempo, and stick to it! If you’re recording a live runthrough of your own track (as I did above), you can supply other musicians with stems of the original recording, so they can remove their parts and play along to other instruments from the off.
Want all the hottest music and gear news, reviews, deals, features and more, direct to your inbox? Sign up here.
The beauty of the remote playthrough is that having four or five performers affords you a wealth of footage without having to worry about multiple cameras (unless there’s only two of you, in which case an extra angle or two will give you more options when editing). Your phone’s camera will suffice, especially when it’s reduced to fill a quarter of a screen.
Try to set up a shot where the audience can clearly see what you’re playing - if you’re a drummer, that may involve mounting your phone to a stand of some description, while instrumentalists and vocalists can make do with a desktop stand. It may be tempting to use your laptop’s webcam, but your phone’s resolution will look infinitely better. And, of course, make sure you’re shooting in landscape.
If you’ve never listened back to a live recording of yourself playing before, this could be a real eye-opener
Your video should be reasonably well-lit, avoiding reflections if possible. Don’t be afraid to inject a little humour, either - you’re letting users into your personal space, so show some personality where appropriate.
The audio is the key here. Treat this like you would capturing audio for any recording project - but with an added live element. You’ll want to get your core sound right off the bat - if you’re a guitarist using pedals, make sure the volumes between different gain stages are as even as possible, and any delays or reverbs are clear and not overbearing. If you’re using amp-modelling plugins, you could even set them up to automatically switch between sounds at the relevant bar of the track (even if that does take some of that live performance magic away).
The most important advice we can share is the age-old mantra: practice, practice, practice. If you’ve never listened back to a live recording of yourself playing before, this could be a real eye-opener. It’s amazing how many small timing or intonation issues rear their head in a scenario like this. Playing as close to perfect as you can for five minutes is harder than it sounds - and drummers have by far the hardest job in this regard.
Assembling the audio track
Once everyone has recorded their performances, it’s up to one of you to put the whole thing together. Provided all the musicians recorded to a click and outputted their performances to the grid, syncing everything up should be straightforward. But the mix is a finer art. If you’re used to making home recordings, the temptation can be to spend days tweaking, but if you’re looking to retain a live feel, less is more.
Start by comparing the EQs of all the tracks - everyone has different ideas of tone, especially in isolation, so you may find you need to make some slightly more drastic frequency tweaks than you would normally, just to get everything in the same frequency ballpark. But otherwise, keep it simple.
Assuming everyone practiced thoroughly beforehand, you shouldn’t be diving in and tweaking timing or pitch issues. If there are literally one or two moments that spoil an otherwise perfect take, you could be forgiven for making a tiny adjustment here and there. If someone hasn’t quite set the volumes right for switching between pedals or synth patches, you might need to automate the gain here, too, but ultimately, you want to retain a live feel.
Pan the instruments so each has its own distinct space in the mix. You may want to double a hard-panned rhythm guitar, for example, to thicken out the track, but lead instruments can stay mono.
A dash of studio or room-style reverb across all the instruments can help to reinforce the live vibe, gel the band together and enhance the stereo spread, but overdo it, and you risk it sounding too clinical. The key is to not overthink the mix, and don’t go to the same lengths as you would a single or album recording.
Finally, give the track a straightforward master - take a live recording (or another remote band performance) you like, and use this as a reference for overall EQ. Add a little stereo enhancement and a brickwall limiter, using the latter to bring the volume up to a reasonable enough level to stand alongside similar videos, but without introducing harshness. Once you’ve got your audio sorted, it’s time to move on to video.
Editing the video
Let’s face it: it’s hard to conjure a sense of live energy when everyone is sat around on office chairs, trying not to make any mistakes, to an audience of zero - so you’ll be relying on those engaging audio takes and some dynamic video editing to inject your performance with some excitement.
First up, sync everyone’s videos together - if your raw phone/camera audio has the click track audible, this will be easy to do by eye: just line up the clicks before the playing starts. If you’re finding the video goes out of sync with the audio track, it may be because the footage was shot with a variable framerate, which is the standard setting on many phones. You can use a video-conversion tool such as Handbrake to convert this into a clip with a constant framerate, which should solve that syncing feeling.
Before you start editing, it’s advisable to do some colour correction/matching to achieve consistency between the different recording settings, and add a touch of vignette to focus attention on the player, rather than that well-populated bookcase at the edge of the frame.
The visual you’ll return to most frequently is most likely everyone in the same frame. To achieve this effect, you’ll need to get familiar with your video editing software’s Position and Scale tools - on Adobe Premiere, these can be found under Video Effects.
If you’ve got an even number of players, your job is easy: just reduce the size of all the clips evenly, and position them in each corner of the frame. If you have an uneven number (as I did), you’ll need to employ a little more creativity with the crop tool. Figure out which clips can be cropped on the left and right and play with the arrangement until it works. Either way, you’ll want to zoom in as much as possible to check your alignment between the squares before you start making cuts.


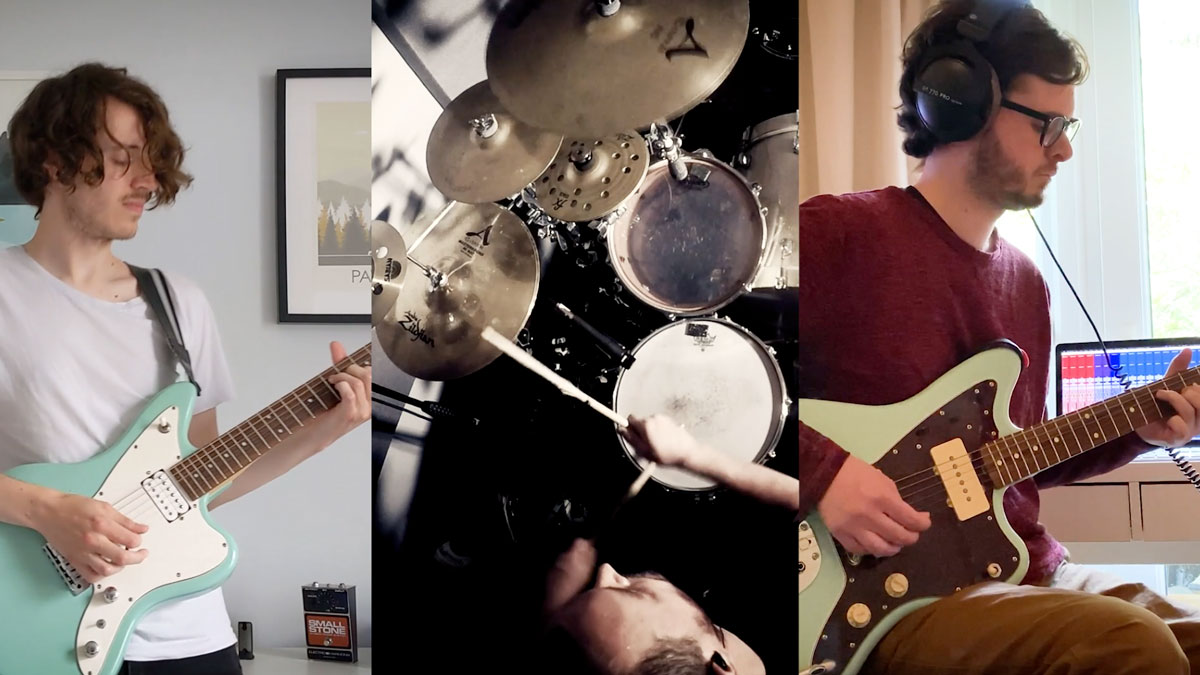
Now comes the creative part: cutting between players to keep the video dynamic and engaging. Play around with combinations of musicians, emphasizing key moments of the track. If there’s a big drum fill, give the drummer some fullscreen action. Or perhaps there’s a section with just guitar and vocals - a classic split-screen works here. By emphasising different combinations of instrumentalists, you’ll be drawing viewers’ ears to those sections, and you can use this to your advantage.
Try to introduce cuts where it feels natural - too many can feel disorentating for the viewer, but the right amount will maintain their interest, provide a sense of movement and highlight the song’s strengths. You may find it beneficial to return to your ‘all players in one frame’ shot at the height of a crescendo, but focus on one or two musicians for quieter sections. Transitions can look a bit cheesy unless used for a particular effect - again, keeping the video raw is what reinforces the live vibe, although you may want to fade/dissolve the beginning and end of the video.
Once you’ve finished, watch the resultant edit back very carefully, looking for any misaligned frames or cuts that feel odd, and invite feedback from the rest of the group. Then capture a particularly dynamic screengrab of all the players for your YouTube thumbnail, upload, and bathe in that sweet social media glory.
Mike has been Editor-in-Chief of GuitarWorld.com since 2019, and an offset fiend and recovering pedal addict for far longer. He has a master's degree in journalism from Cardiff University, and 15 years' experience writing and editing for guitar publications including MusicRadar, Total Guitar and Guitarist, as well as 20 years of recording and live experience in original and function bands. During his career, he has interviewed the likes of John Frusciante, Chris Cornell, Tom Morello, Matt Bellamy, Kirk Hammett, Jerry Cantrell, Joe Satriani, Tom DeLonge, Radiohead's Ed O'Brien, Polyphia, Tosin Abasi, Yvette Young and many more. His writing also appears in the The Cambridge Companion to the Electric Guitar. In his free time, you'll find him making progressive instrumental rock as Maebe.
