How to get series and parallel sounds from your guitar pickups
Grab a bonus sound from a humbucker with this neat hum-cancelling wiring mod
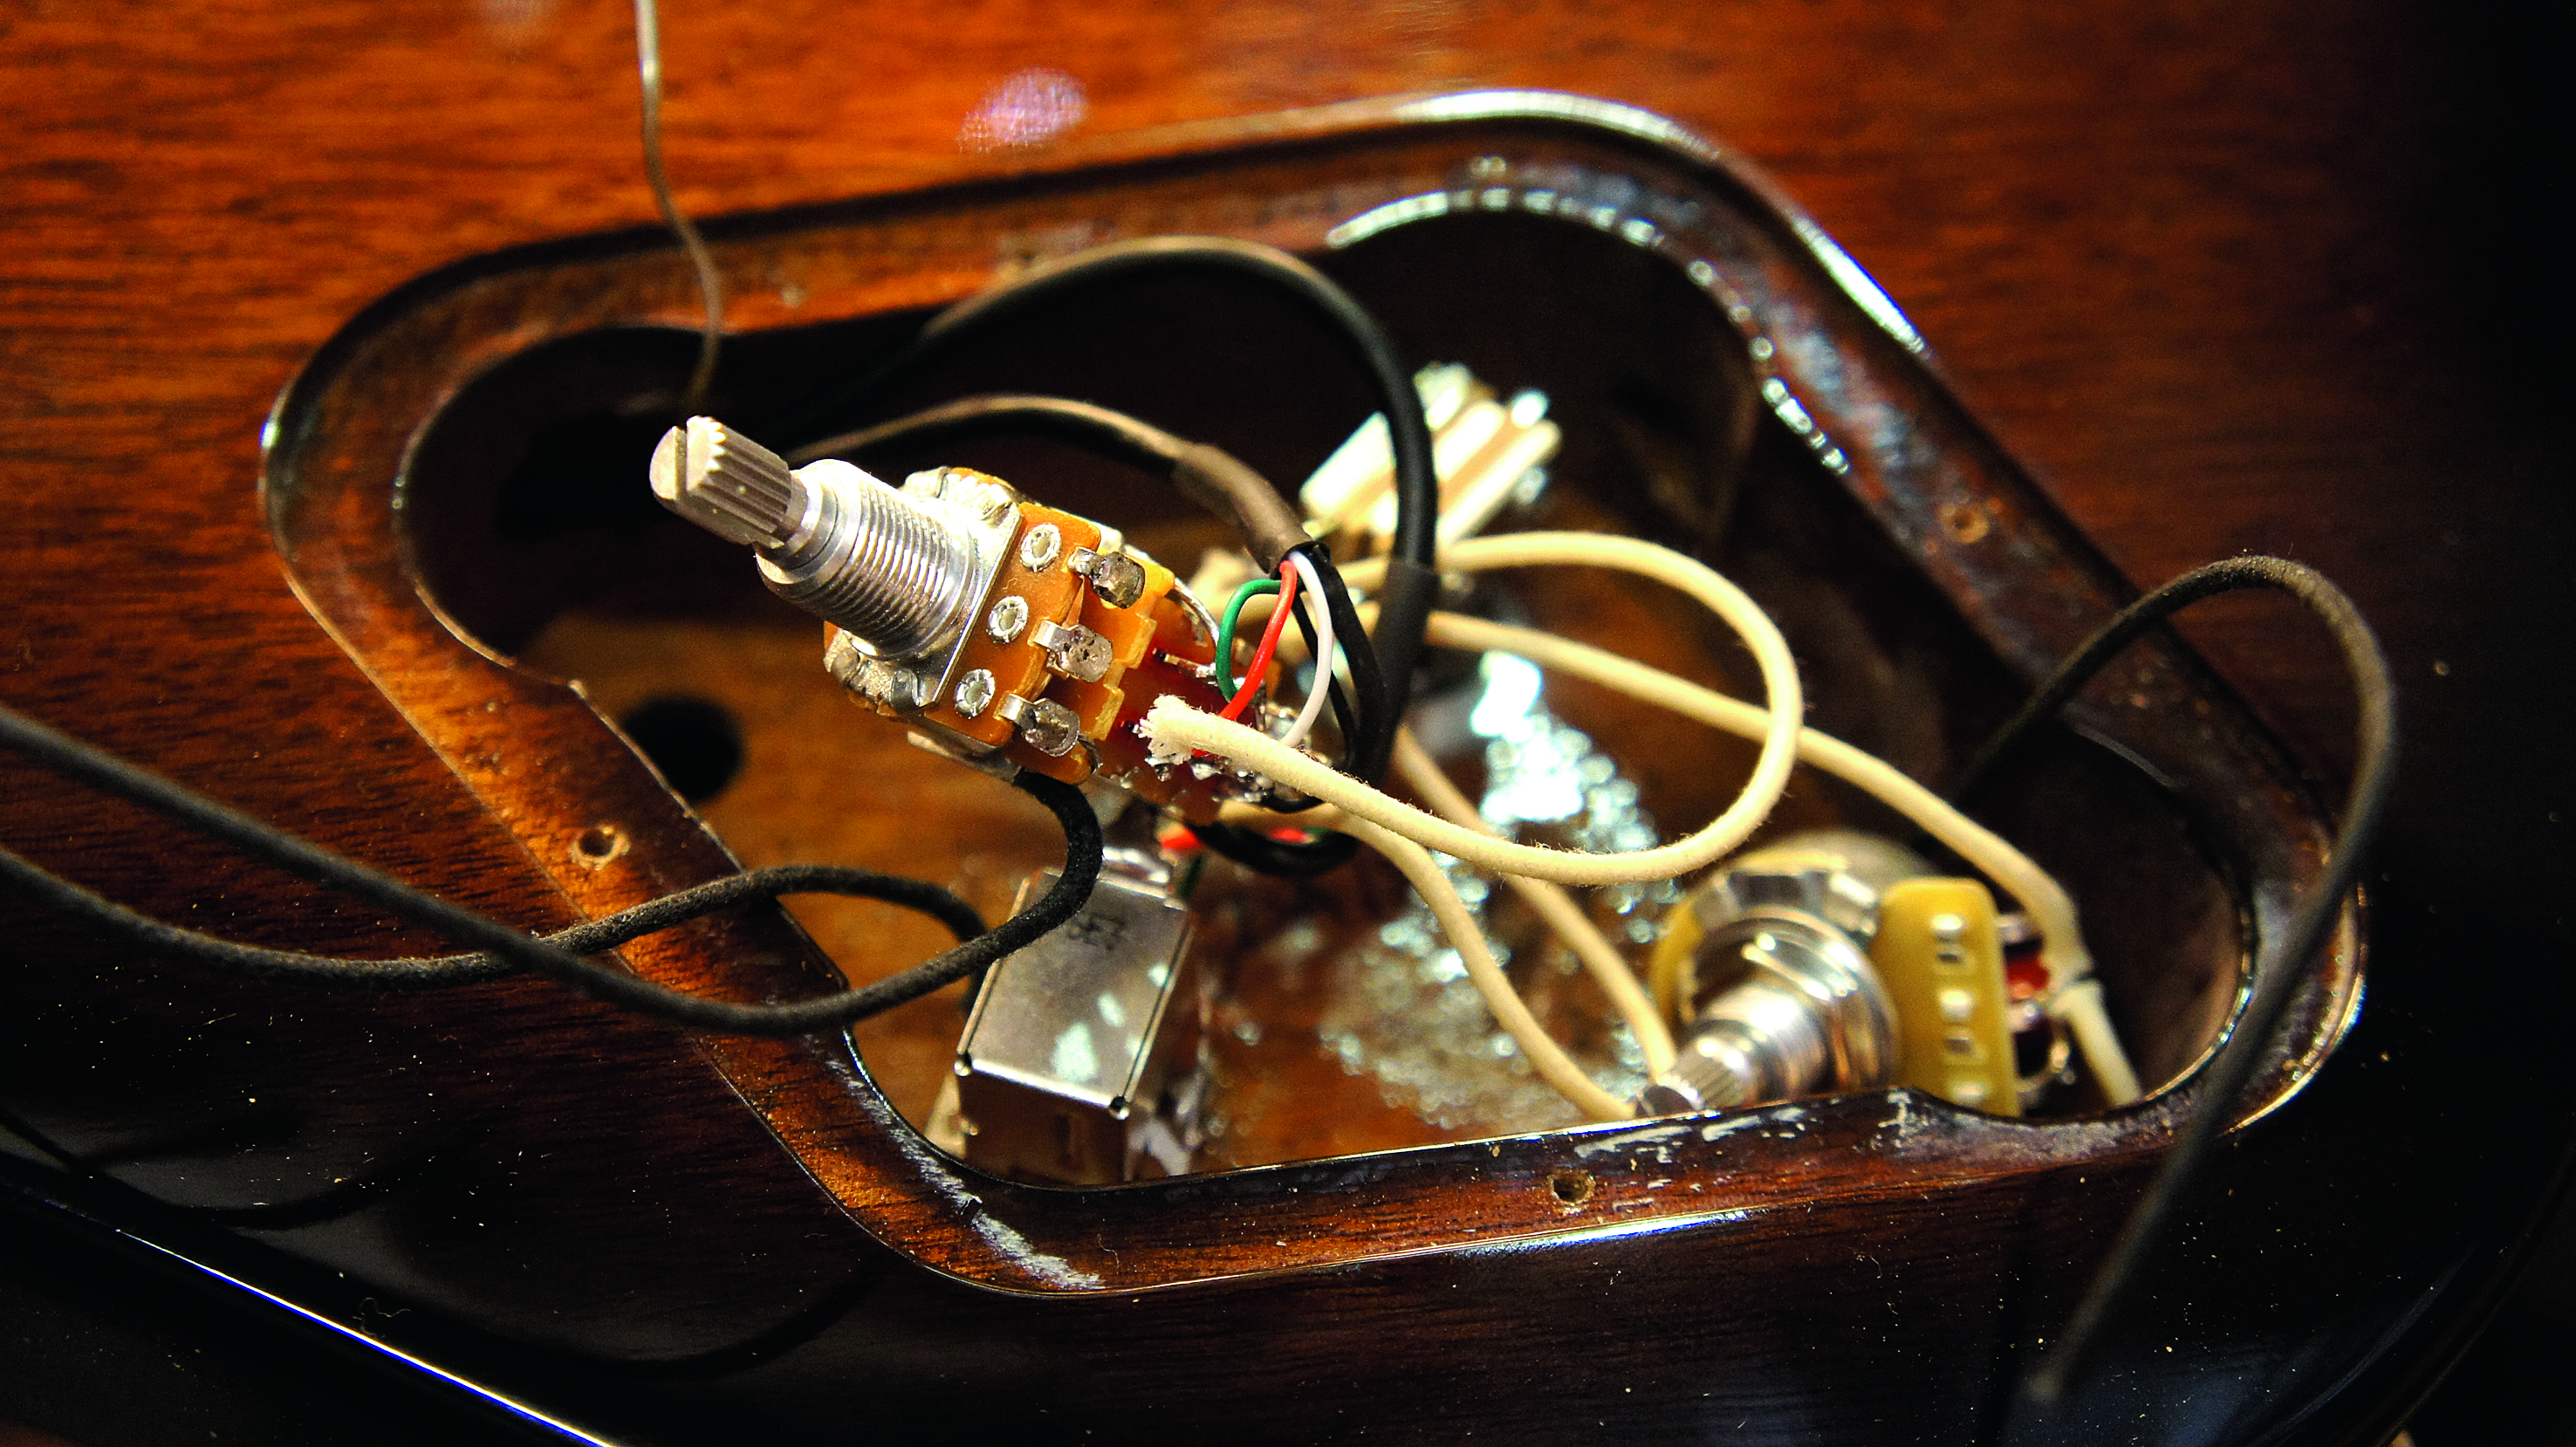
Everybody’s heard of coil splitting as an electric guitar wiring mod but the lesser known series/parallel wiring mod holds a key advantage.
When you coil-split a double-coil humbucker you create a thinner single-coil sound with some single-coil hum, too. The parallel coil connection sound is almost the same but still hum cancels.
A humbucker out of the box is connected in series for a warm round sound, whereas connecting the two coils in parallel gives a brighter, less weighty sound - very useful.
Our patient today is a Gibson RD Artist that is having its active pickups transplanted. In go a dashing pair of gold DiMarzios complete with the all important ‘4 wire’ cabling. The plan is to have a series/ parallel switch for each pickup and we’ll use two push-pull pots to do that so that there are no extra holes drilled in the guitar.
This specific diagram can easily be adapted with a little imagination to any guitar with a humbucker. So, let’s get soldering!
What you need
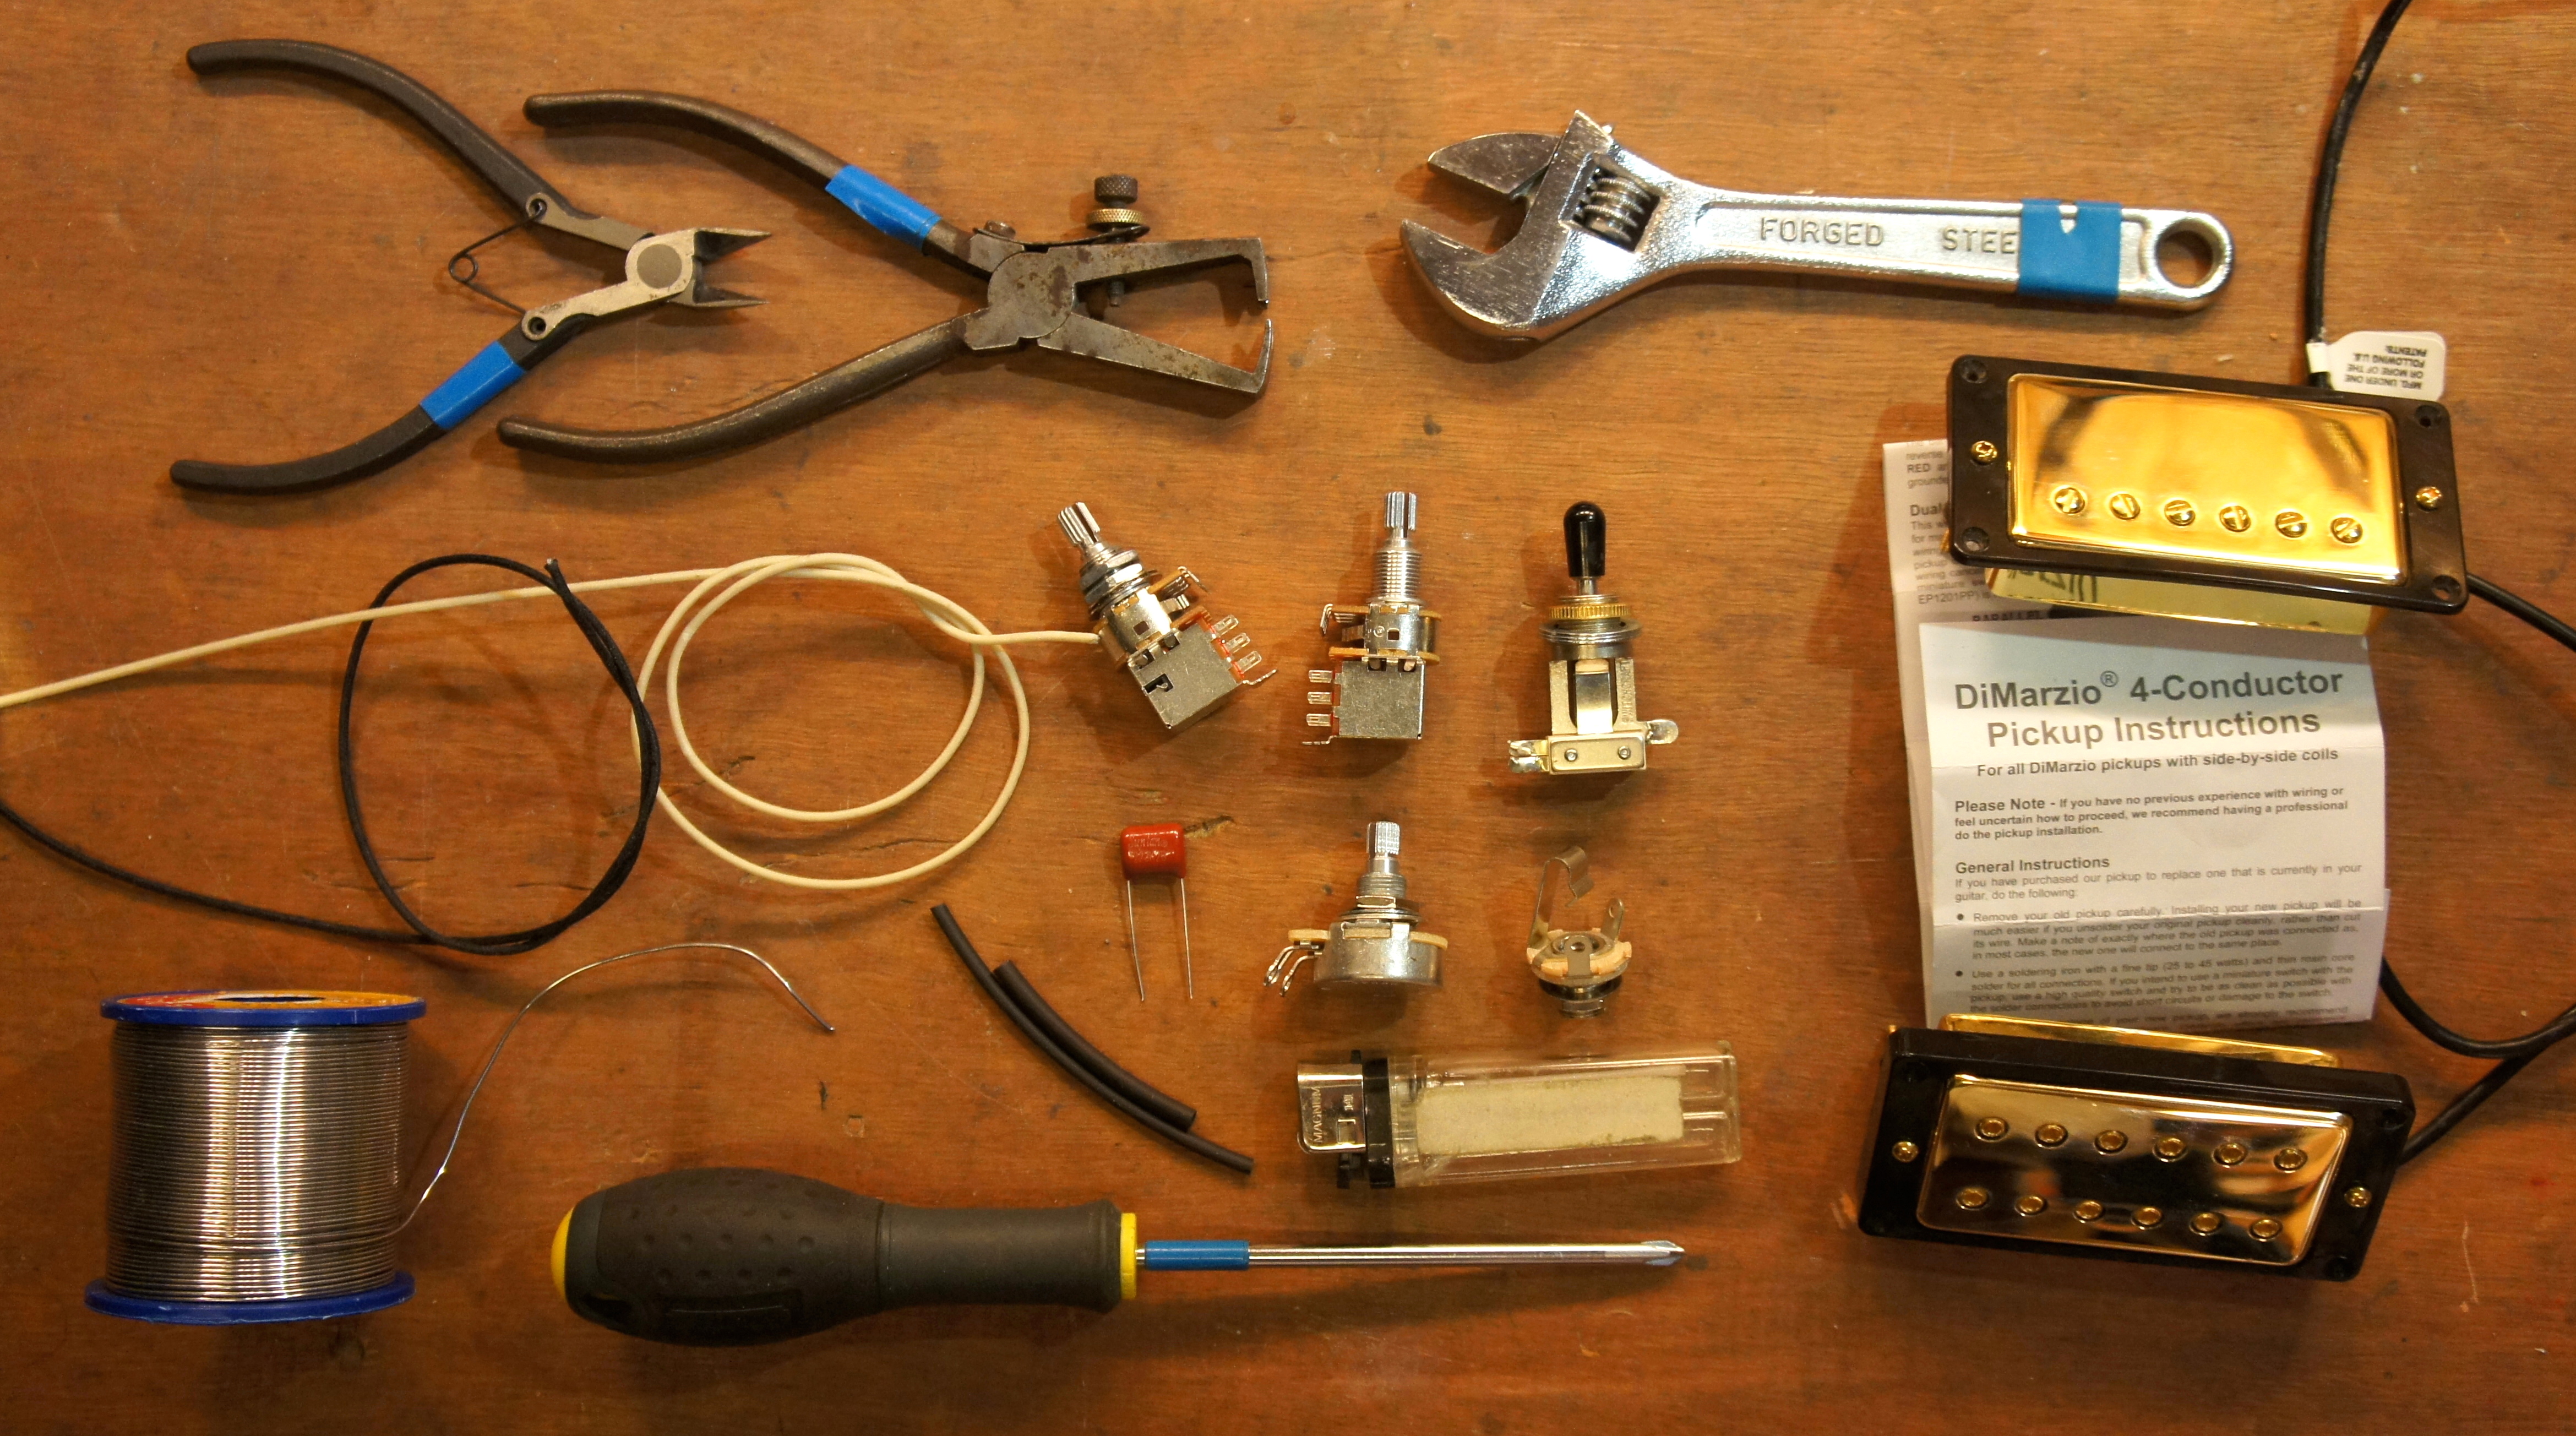
- Wire cutters
- Wire strippers
- Adjustable spanner
- New cable (we’ve got snazzy cloth wire)
- Solder
- Shrink tubing
- Lighter
- PH1 screwdriver
New parts
- Pair of pickups (with wiring colour code)
- A500k push-pull pots x2
- A500k pot
- 0.047μF capacitor
- Jack socket
- 3-way toggle switch
Step 1
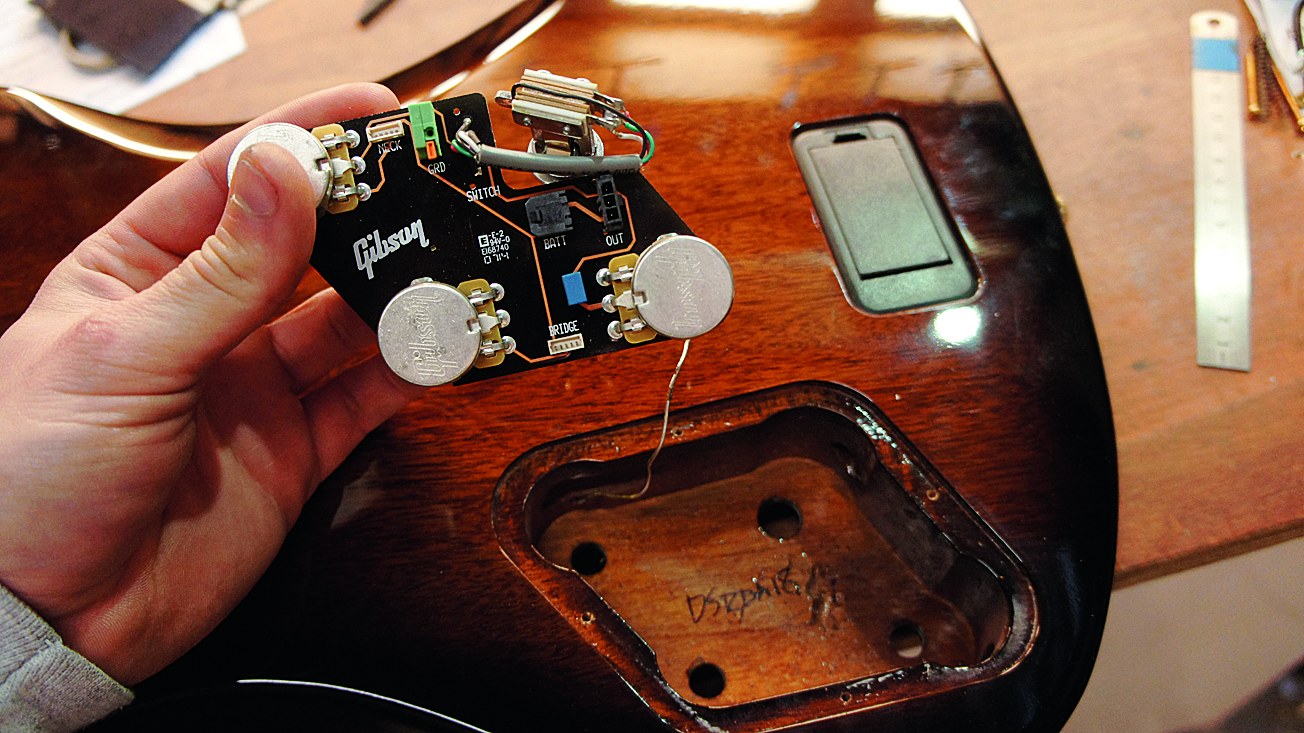
You can see the reason for removal; the old Gibson circuit used quick connect ports so installing our new DiMarzios would have been a pain. A rewire allows us to put in the new push-pull pots too for extra toys. Remove the old system to start out with a blank canvas - taking care not to scratch the paint job of course!
Step 2
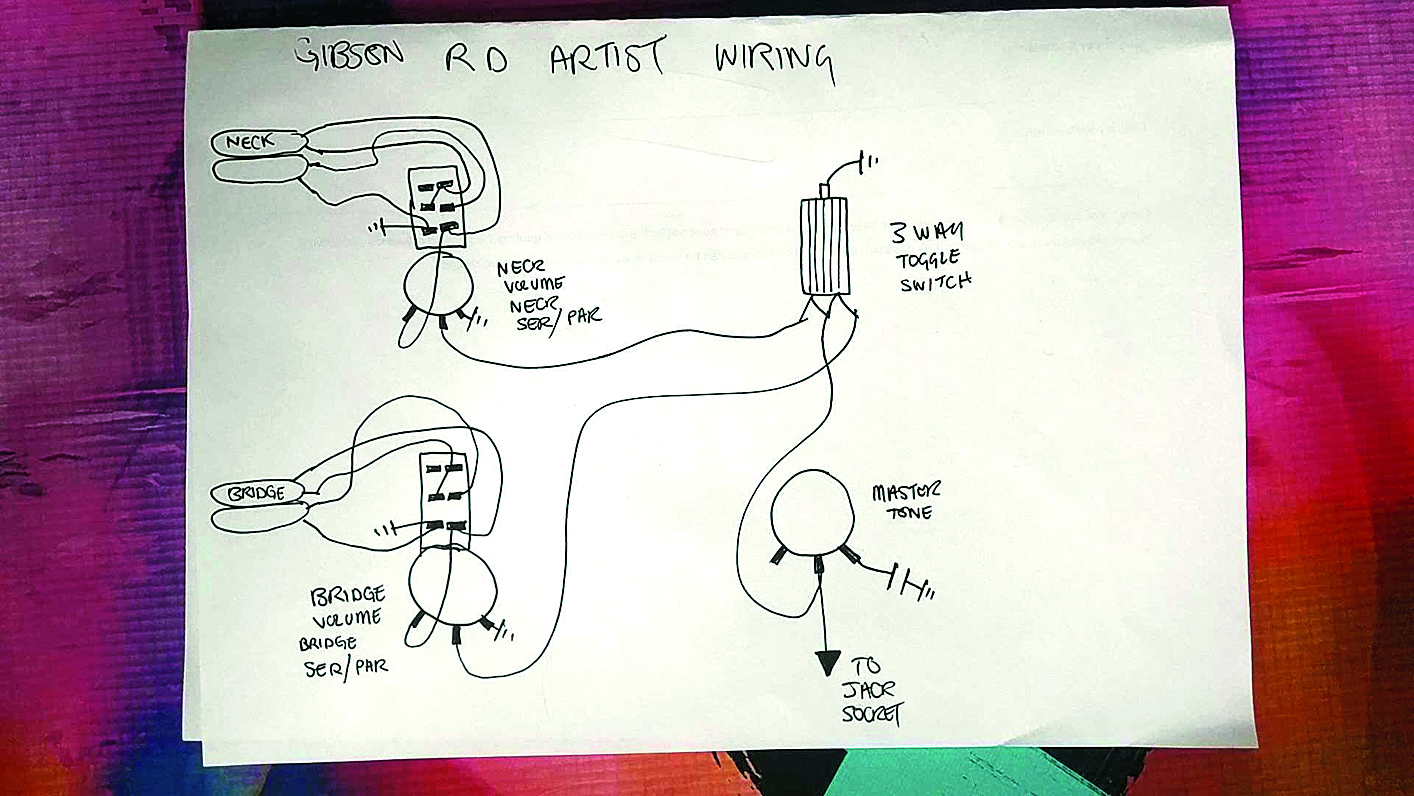
Here’s the diagram we’ll use. We’ve drawn this one out in a repairer’s eye view as it’s soldered. On the left are the two push-pull pots. Here’s the sequence: pickups ➔ series/parallel switch ➔ pickup selector switch ➔ master tone ➔ jack socket. This circuit uses the backs of the pots as a ground which makes soldering easier.
Want all the hottest music and gear news, reviews, deals, features and more, direct to your inbox? Sign up here.
Step 3
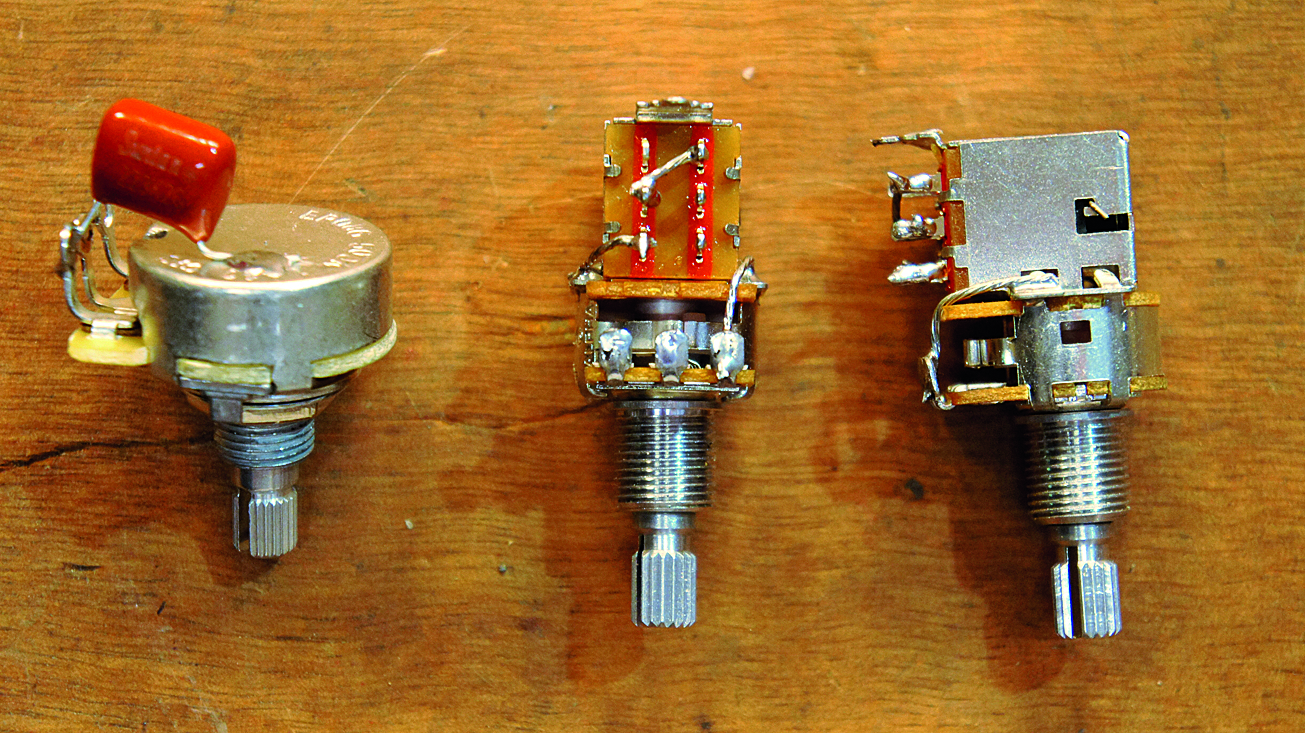
As this guitar doesn’t have a removable control plate or scratchplate to solder directly on to, we’ll need to solder what we can out of the guitar to make it easier. Paying close attention to the wiring diagram, add your small jumper wires onto the pots. We’re sending most earth symbols on the diagram ( ) to the back of the pots.
Step 4
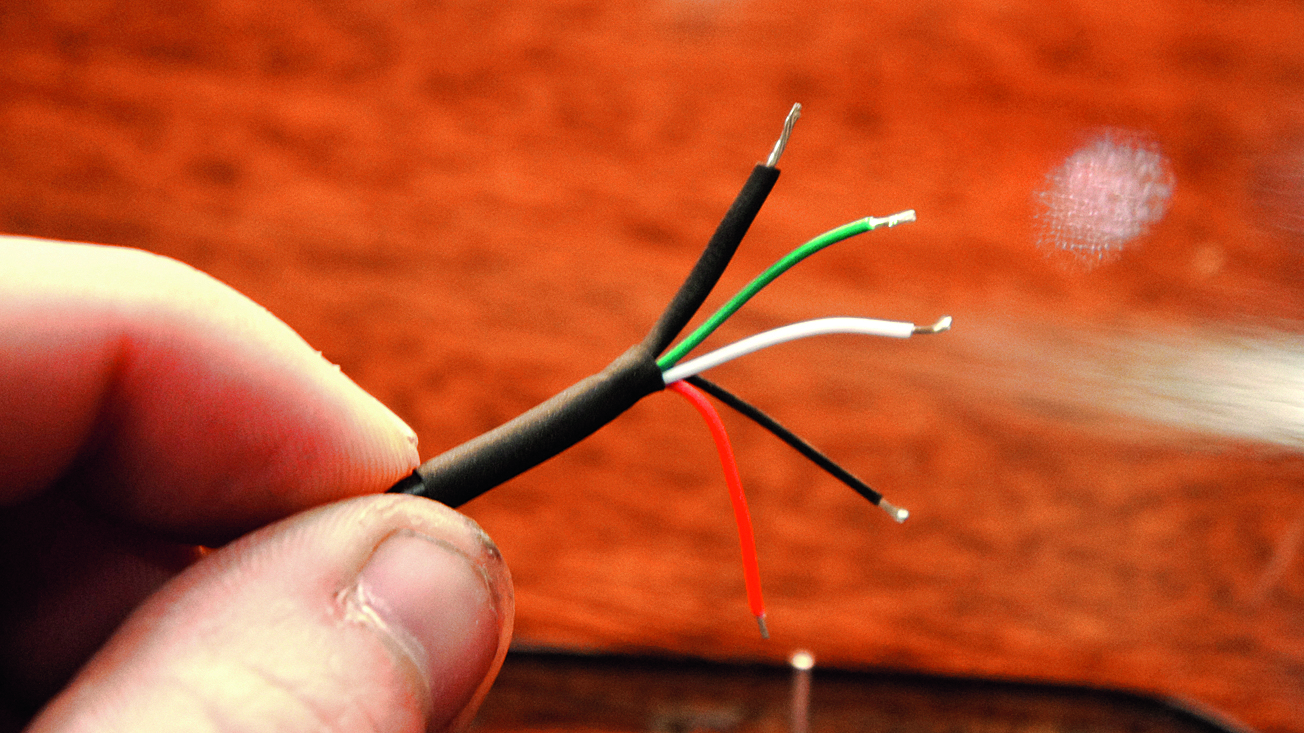
In this example we’re using a pair of DiMarzio humbuckers. Each pickup company has wiring diagrams to help you identify the different connections so make sure you check. These ‘4’ wire humbuckers clearly have a fifth wire. That bare wire is absolutely alwaysground. We’ve prepped the pickup wires with shrink tubing.
Step 5
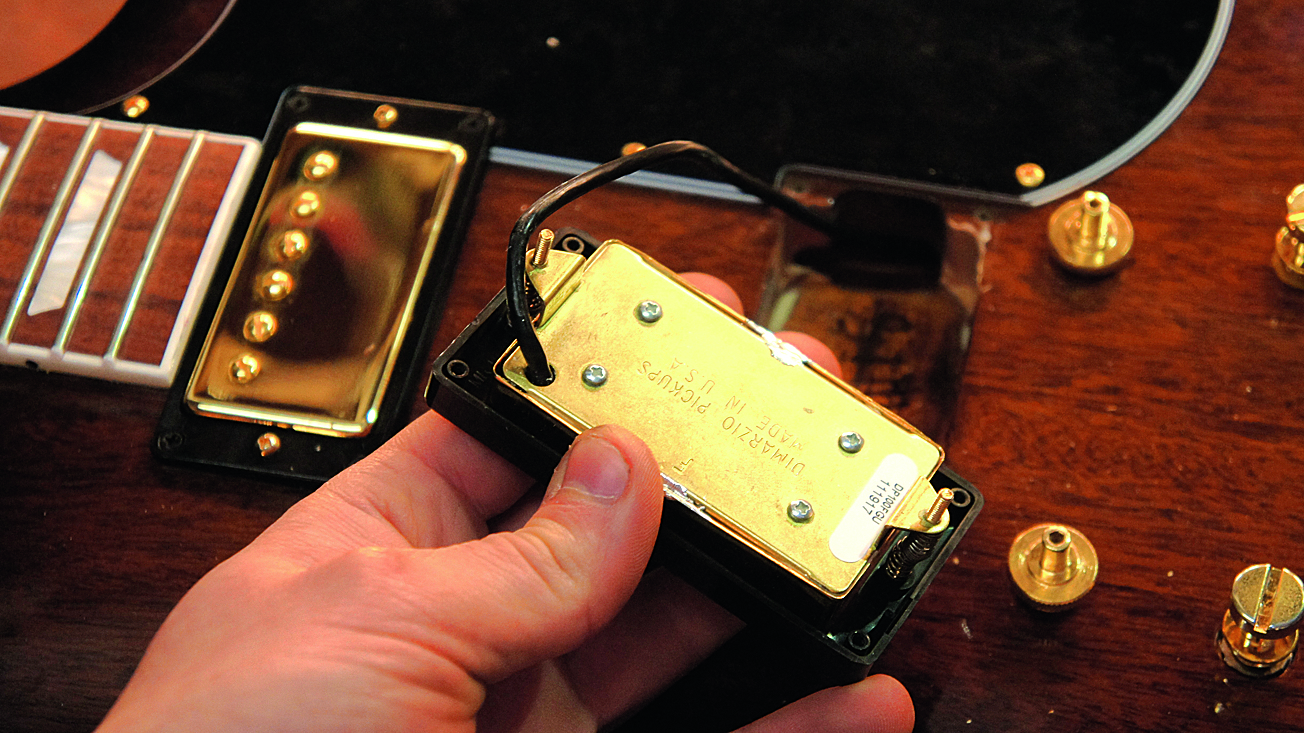
With the pickup wires prepped it’s time to install the pickups. Pop them into their pickup rings, making sure you have them the right way round. You must also get the rings the right way round or they tilt wrong! Feed in the neck pickup first (or you won’t get it past the bridge pickup wire) so the wires end up in the electronics cavity.
Step 6
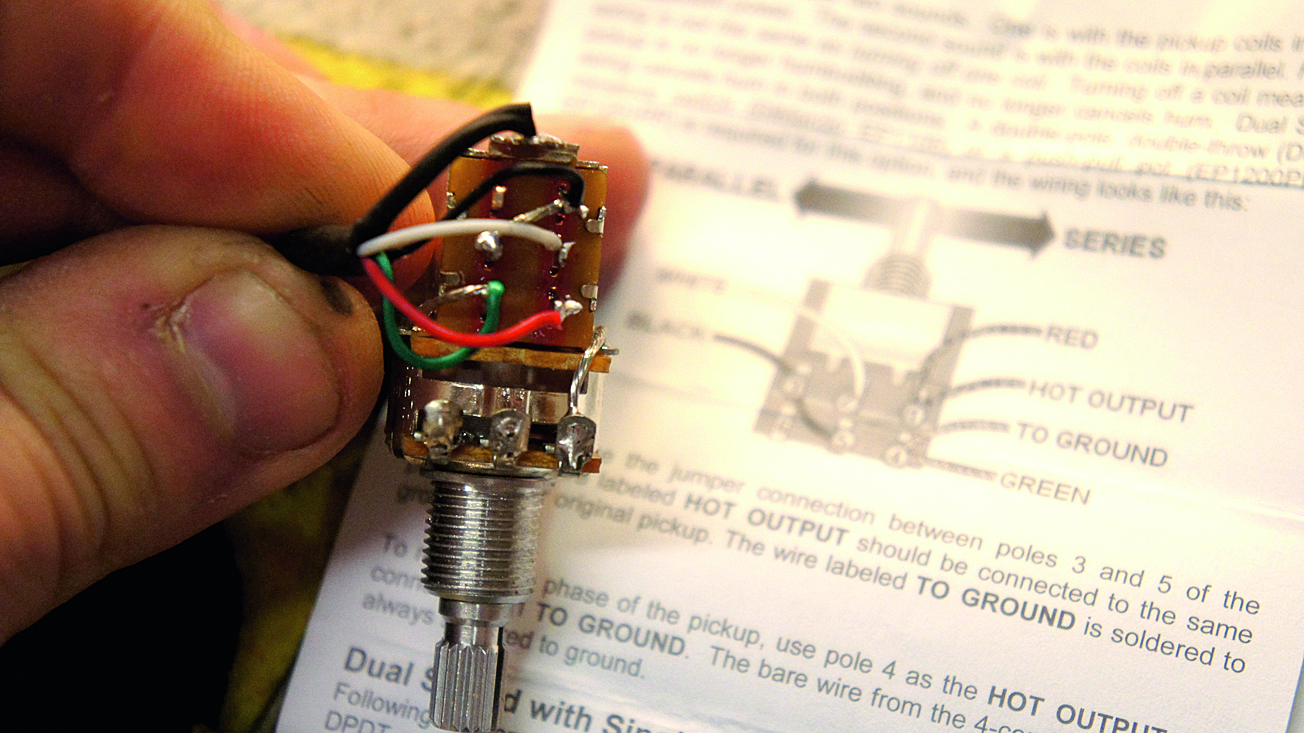
With a complicated circuit it’s a good idea to split up the process into stages. Time to connect the four coloured pickup wires to the push-pull pot according to their colour codes. Pre-tinning the solder terminals and the wires is a great help here. The tiny wires are easy to melt for sure...
Step 7
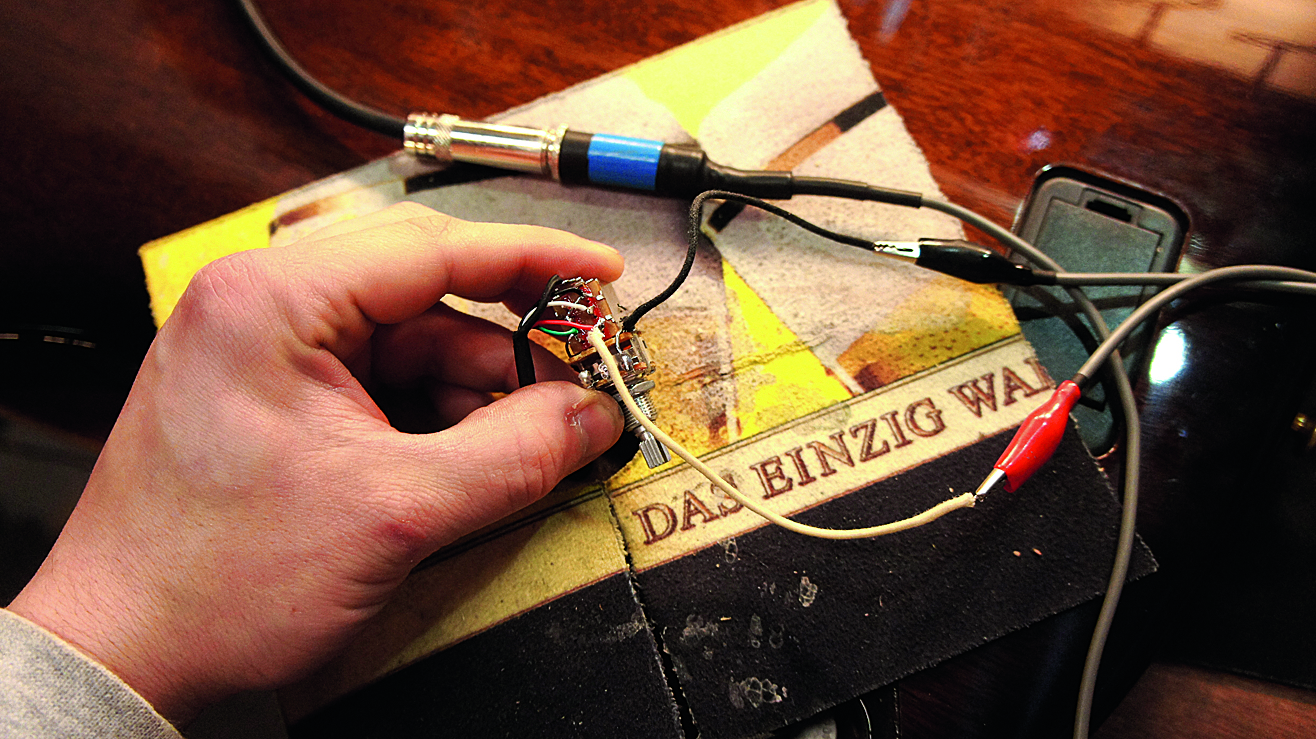
Solder the push-pull pots’ output wires onto the bottom two terminals of the pots’ six terminals. We’ve made a tester tool - a jack socket linked up to two crocodile clips. Attach onto the hot and ground wires, fire up the amp and with one guitar string on you should hear the series and parallel connections changing the sound.
Step 8
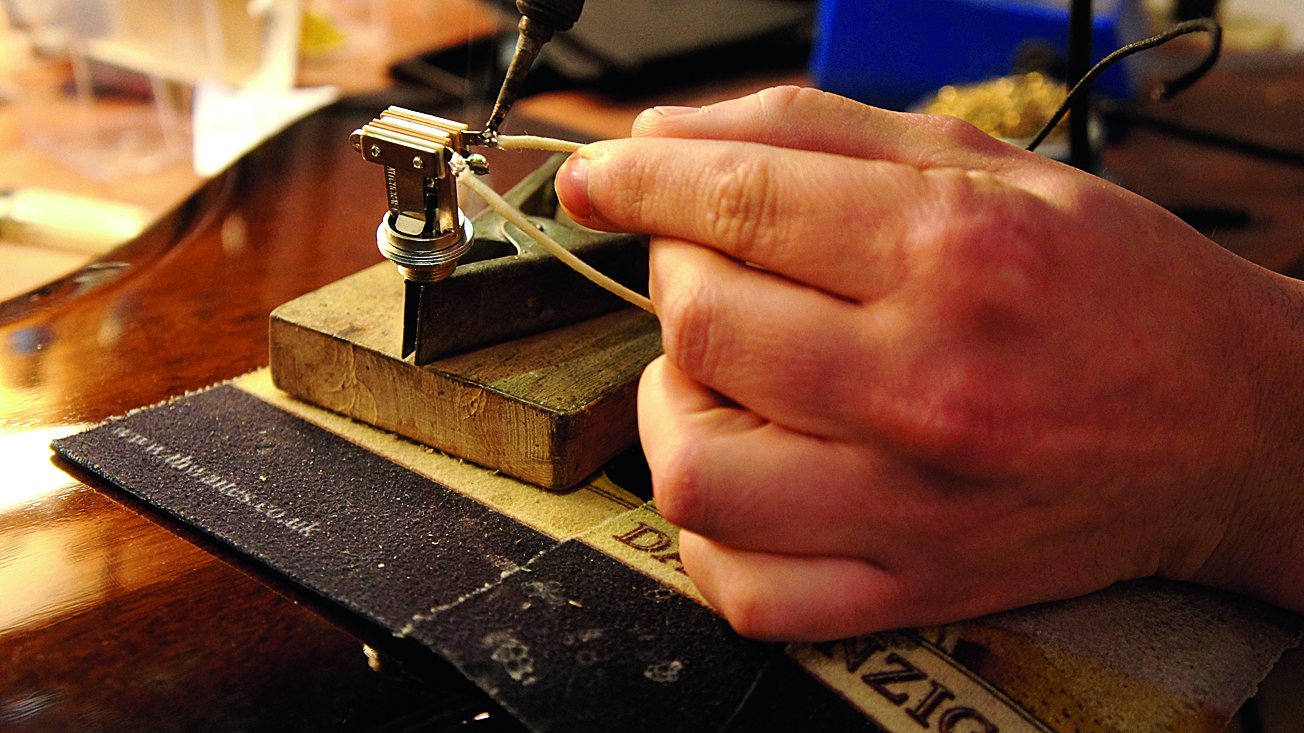
Assuming that’s all good let’s move on, leaving the ground connections off for now. The next step is to connect to the pickup selector. Sometimes those Gibson-style toggle switches take a bit of time to heat up properly. The enlarged tab usually on its own is another ground connection point.
Step 9
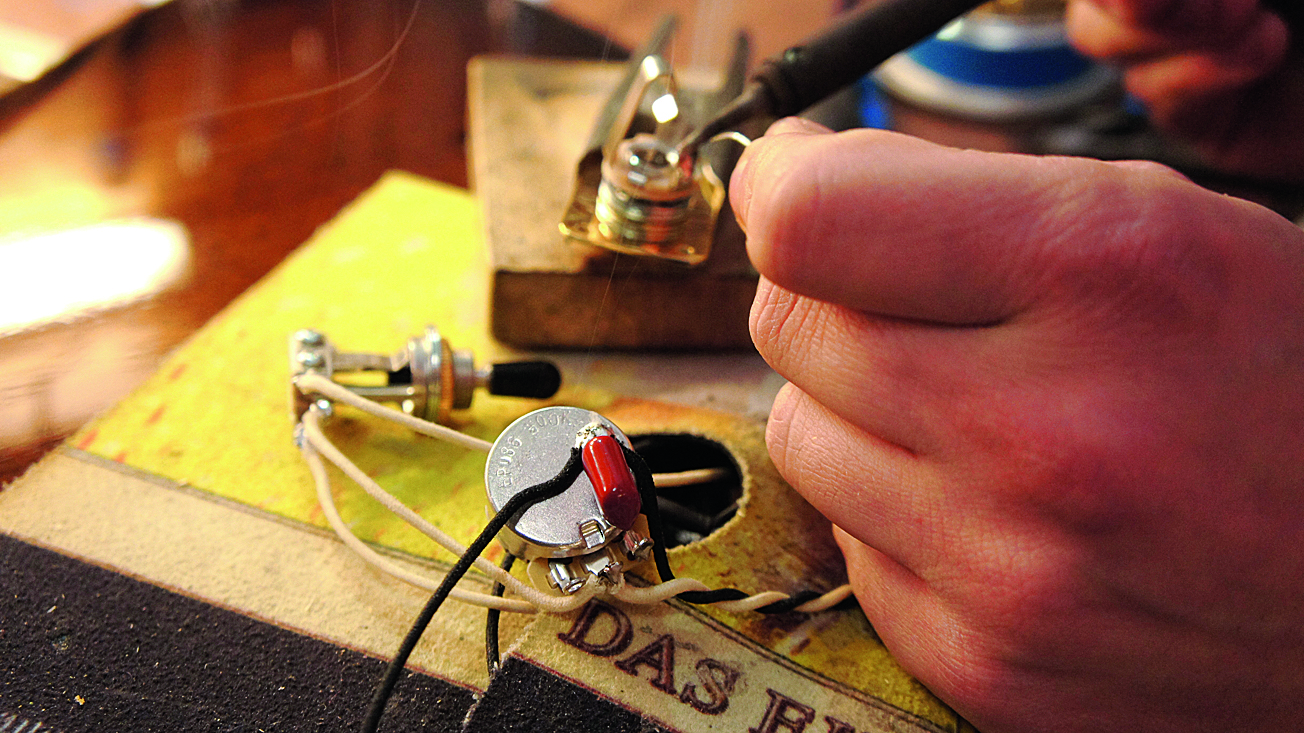
Next in the chain is the tone control. As this is a master tone control the output from the pickup selector is where the single hot wire comes from. The middle leg of the tone pot will need two wires; one from the pickup switch and one to the jack socket. Connect this up as well while we’re here.
Step 10
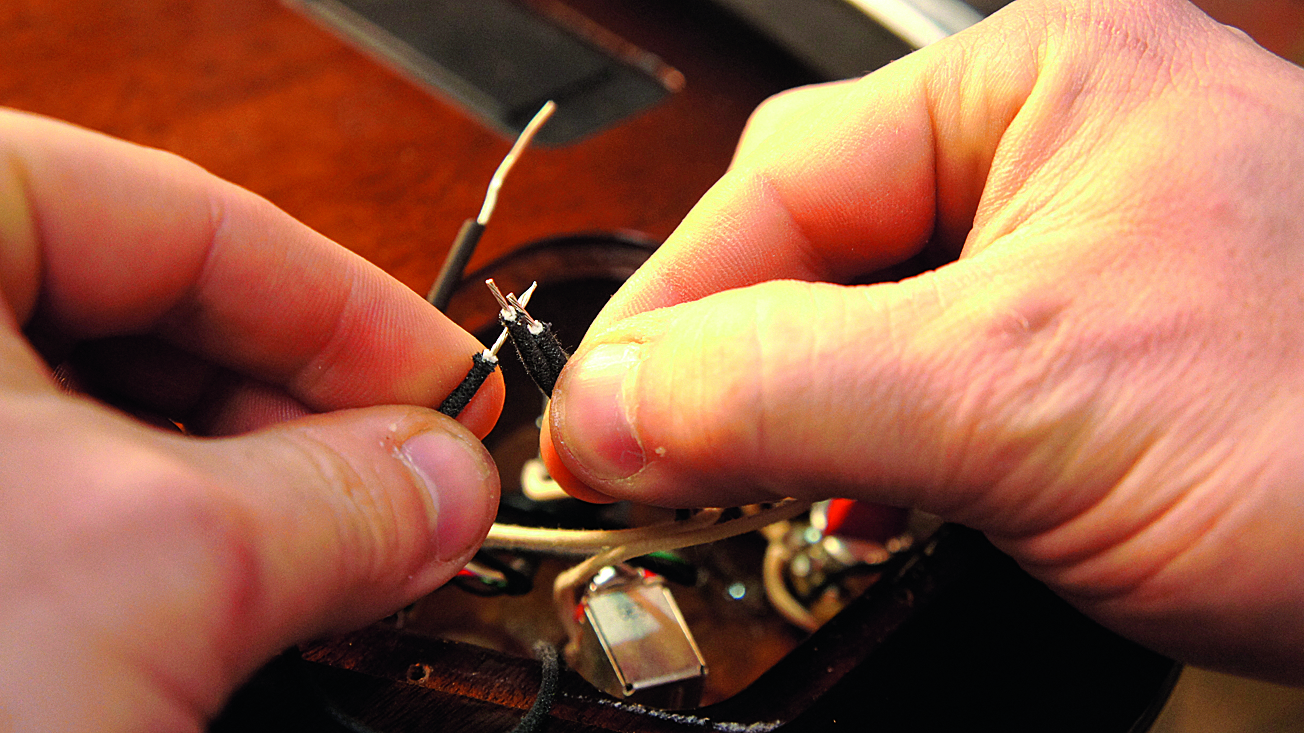
Primarily we’ve been dealing with hot wires and forgetting about those poor ground wires - this is their invite to the party. As they all go to the same place we can twist them together and blob them onto the back of a pot. The guitar has a string ground wire as well so we’ll bundle that into this same connection too.
Step 11
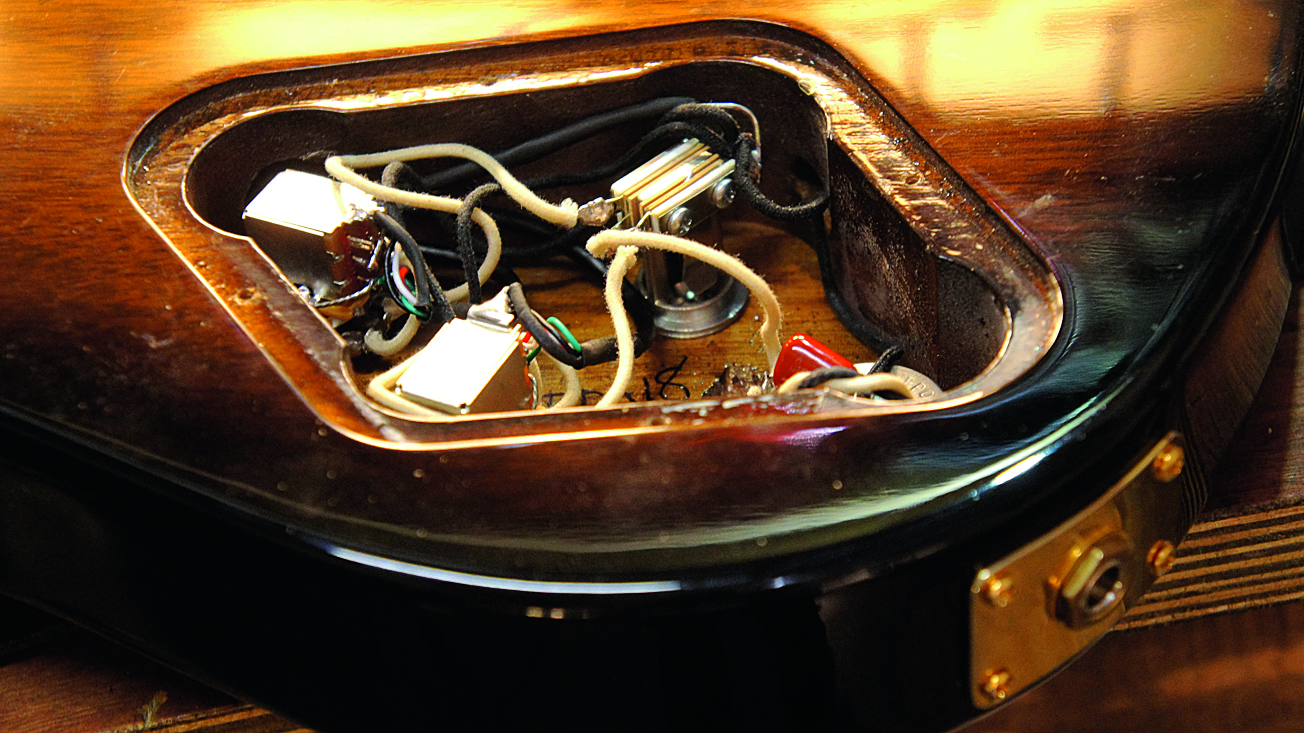
Time to test the circuit. If you didn't wind on one string earlier you can use a metal tuning fork to test output from each pickup or tap a screwdriver on the pickup. Test each push-pull pot and volume, and tone too. If you have a silent output it’s likely you have a short circuit; extreme humming can be the jack wires fitted the wrong way round.
Step 12
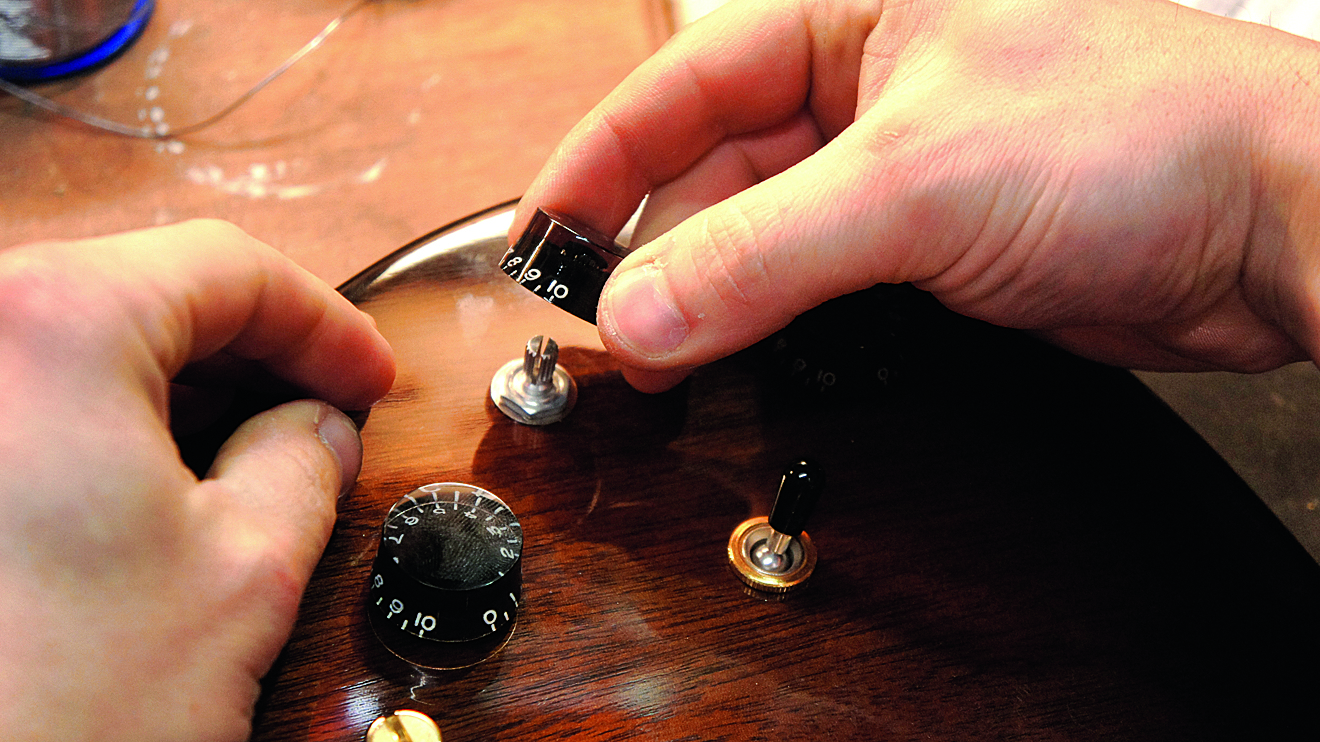
To finish up, tighten the front fastenings. Before you tighten the pickup selector check you have the right orientation - some people like it diagonal, some up/down! We personally like to get the knobs all facing the right way too so turn up the pots to 10 and make sure the numbers match up! Boom - we did it!
Jack runs an independent guitar setup and guitar repair service in Manchester, England. He serves the musicians of the Northwest of England, working on electric guitars, bass guitars, acoustic guitars and more. Jack has been writing the Fix Your Guitar column in Total Guitar Magazine since 2017.
