Ableton Live 10’s new Drum Buss device deconstructed
Analogue-style drum processing
Want all the hottest music and gear news, reviews, deals, features and more, direct to your inbox? Sign up here.
You are now subscribed
Your newsletter sign-up was successful
Drum Buss promises to be a “one-stop workstation for drums, capable of adding subtle character or completely bending and breaking drums.” While it is undoubtedly suited to working with your drum tracks, we also find that this new Live 10 device also works well with other signals too.
It’s time to put the Drum Buss through its paces. When watching the accompanying video, we recommend listening on good quality headphones or monitor speakers, as some of the subtleties here won’t come across properly on phones or tablets.
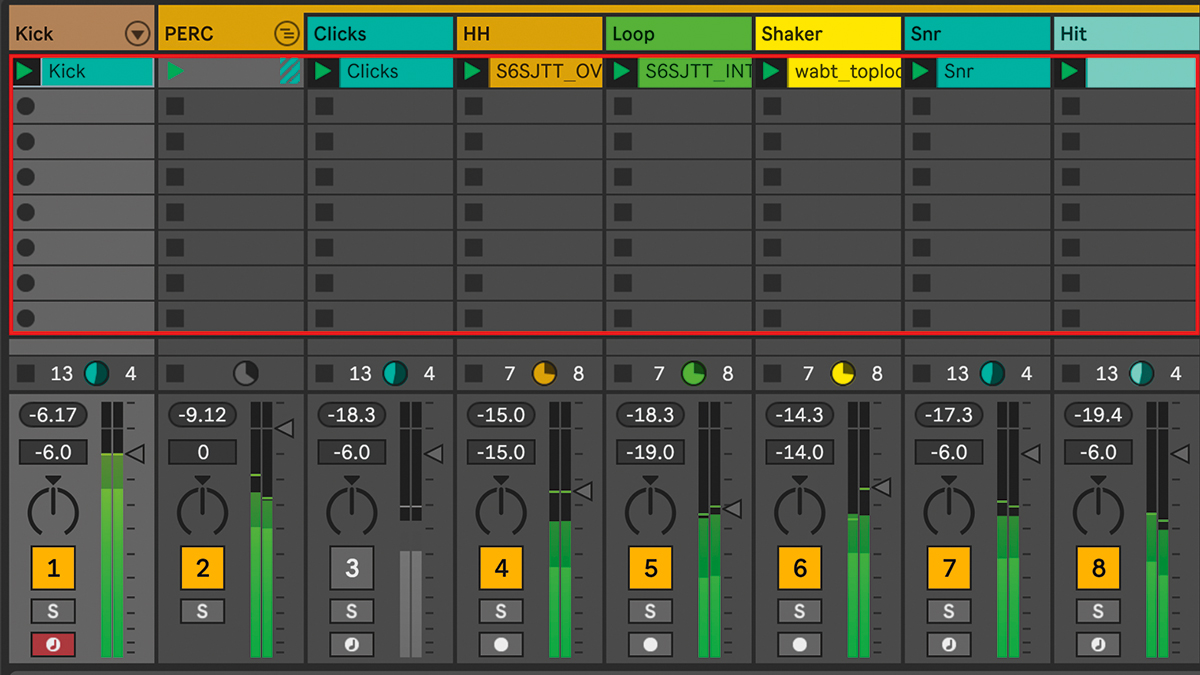
Step 1: We’ll need some drums to process, so here’s a very basic tech-house groove. First, we’ll load Drum Buss over our electronic kick drum. Ableton have filled us in on the device’s under-the-hood signal flow and operation, so let’s dive deeper into this multiband processor…
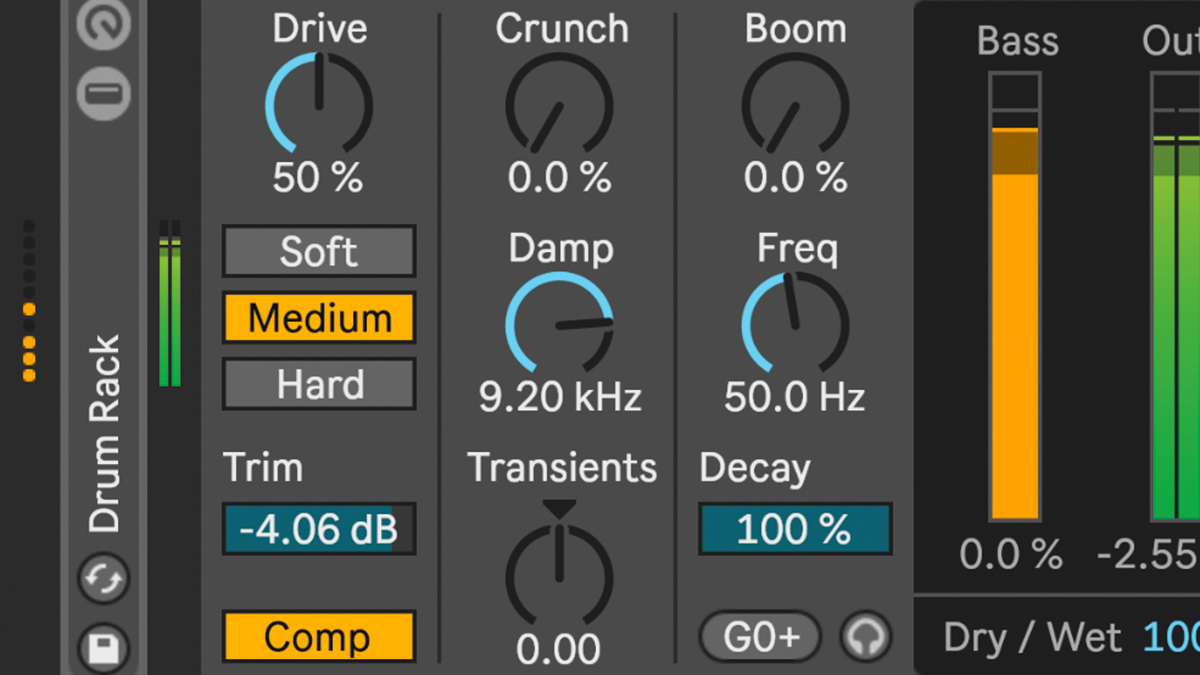
Step 2: The input signal first comes in and hits the fixed compressor section, engaged via the bottom Comp button. After that, signal flows into the tasty Drive stage. There are three Drive modes to choose from: Soft is a waveshaping distortion; Medium is limiting distortion; and Hard is clipping distortion with a bass boost. This Drive is input-dependent: use Trim to back off input levels if needed.
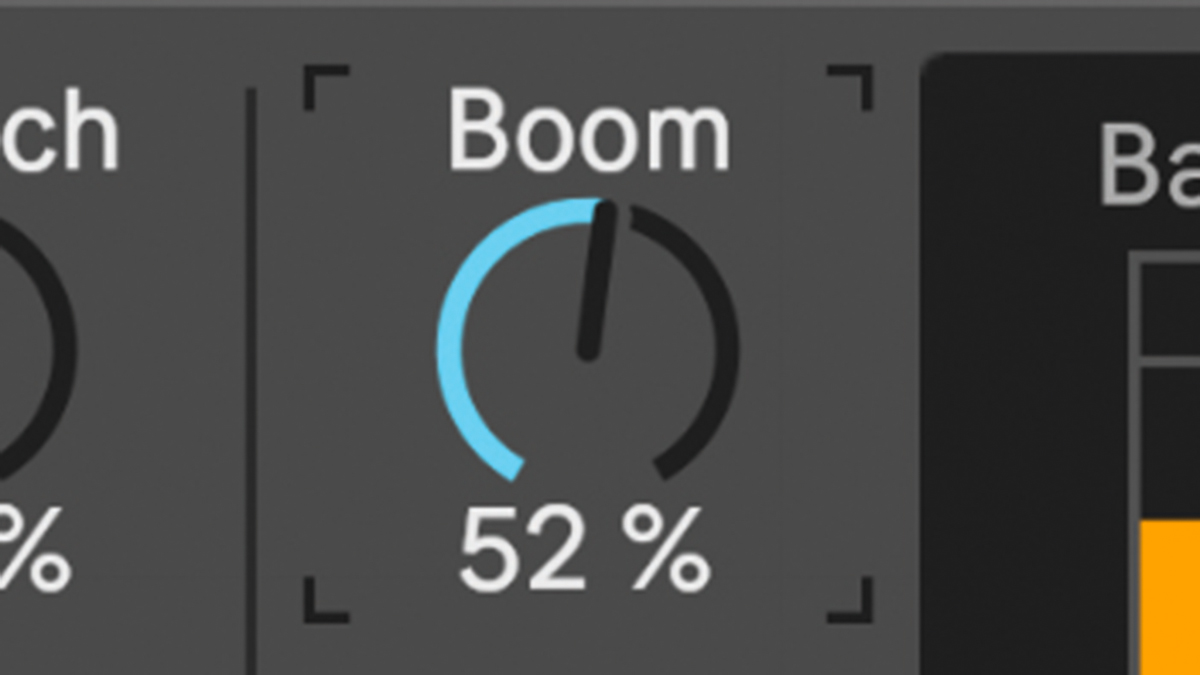
Step 3: After the Drive stage, the signal is split into three frequency bands behind the scenes: Lo, Mid and Hi. The Low part of the signal is piped into the Boom section, which is a Voice-Of-God-style non-linear resonant high-pass filter. Push up Boom to add new sub bass content. You can tune the Frequency of this filter with the knob.
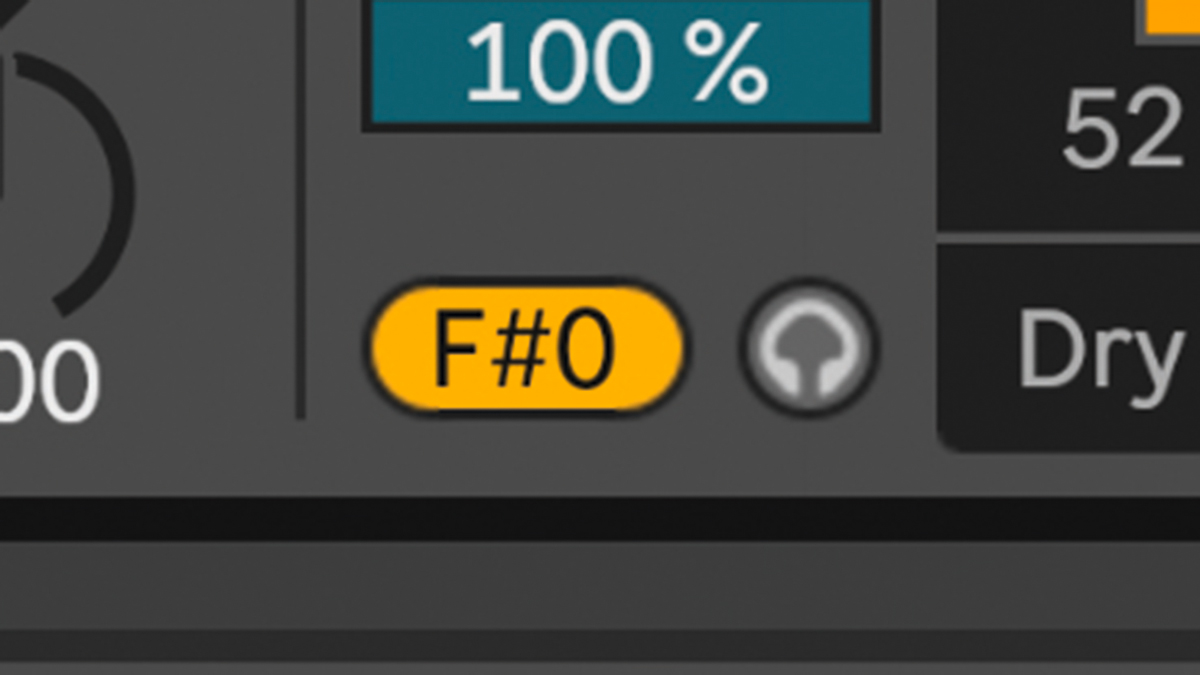
Step 4: To help tune the Boom that’s being added, the device displays the nearest MIDI note within the Force To Note button. When you click on this, it will lock the Frequency value to that note. That’s handy if you want to add low end to a kick, then tune that new sub content to the root key of your track.
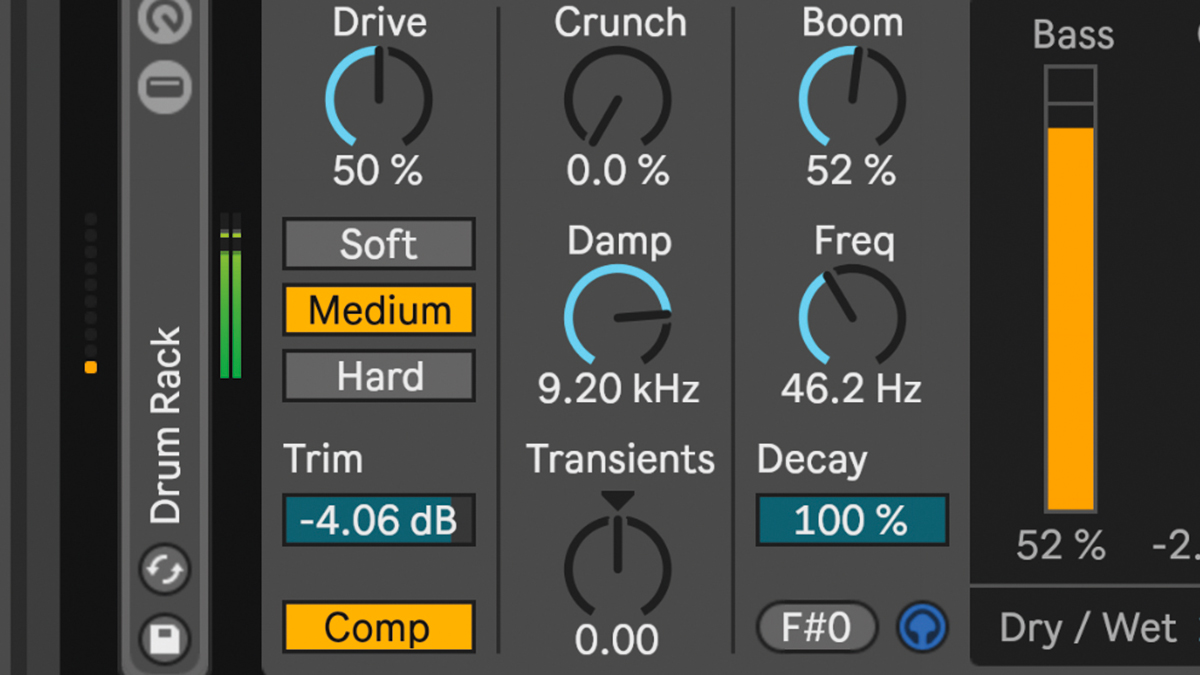
Step 5: The Bass meter gives you an idea of the bass content in your signal. This is independent to the Boom control, so you can view bass levels even with no Boom applied. Click the Audition (headphones) button to apply an overall low-pass filter and audition only the low frequencies.
Want all the hottest music and gear news, reviews, deals, features and more, direct to your inbox? Sign up here.
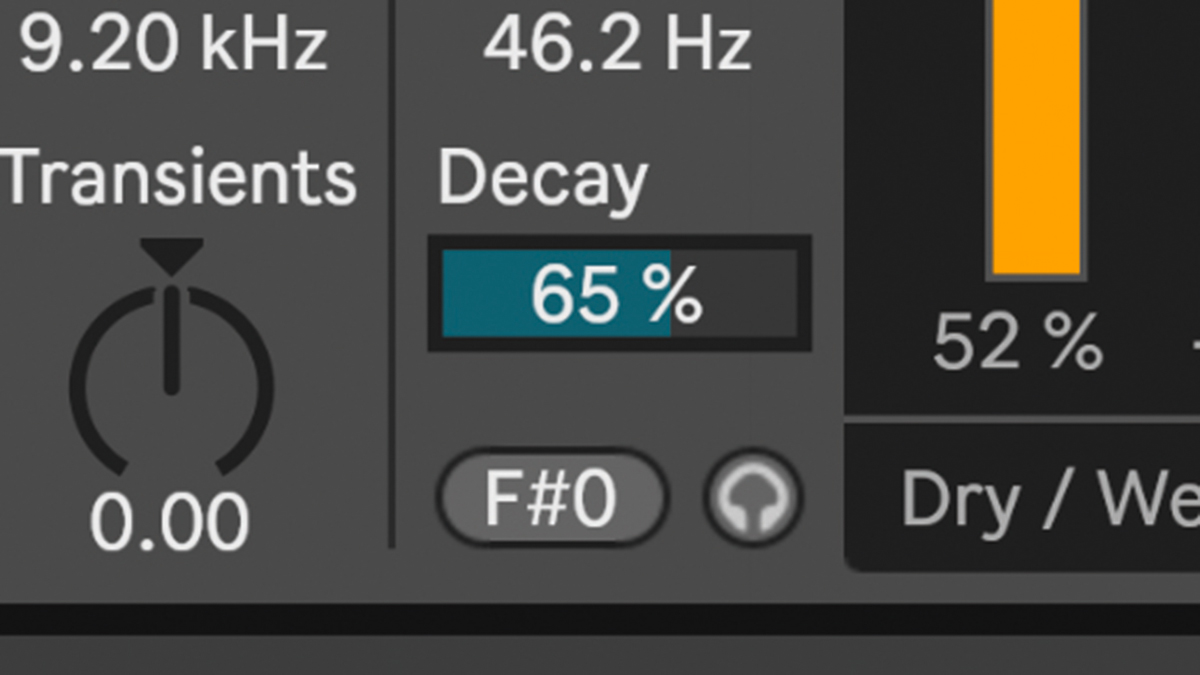
Step 6: The sub weight we’ve added to this kick has a very long tail, and you’ll have to be careful not to swamp the low end with seductive sub bass, so luckily, the length of the synthesised sub can be pulled back with the Decay slider. The final bass signal is sent to the main output.
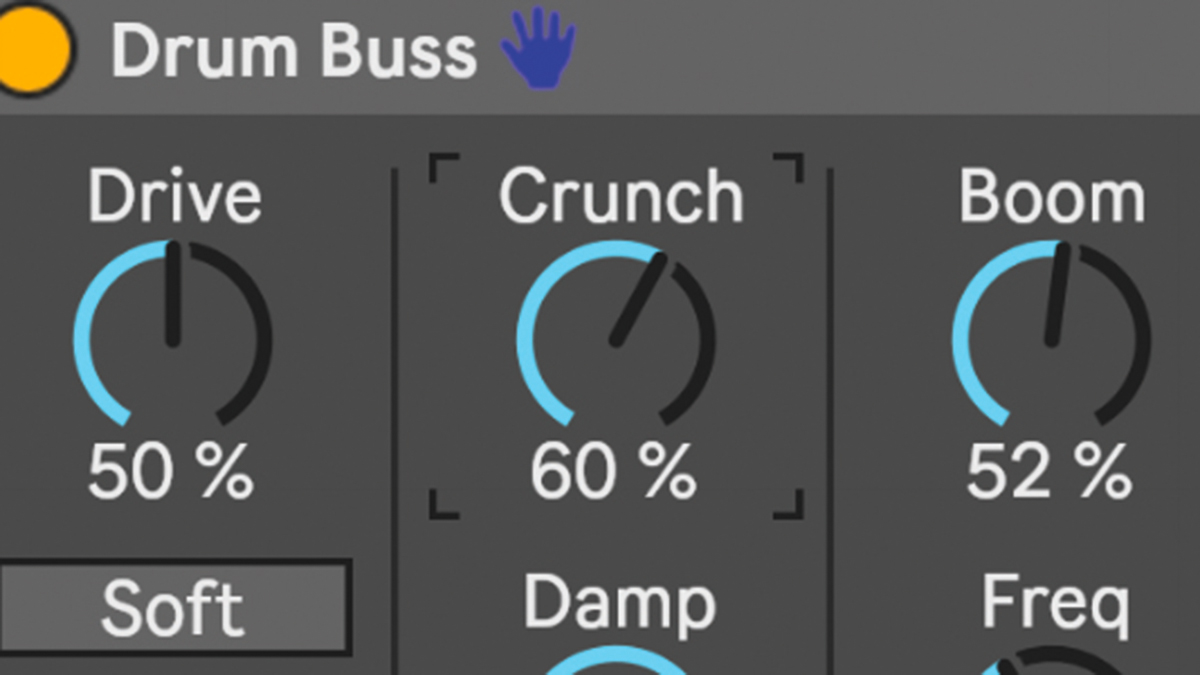
Step 7: Now to the mids. After the post-Drive crossover we mentioned earlier, the midrange part of the signal goes into the Crunch stage, so you can apply distortion to only the high-mid frequencies. This is handy for adding a bit more bite and presence to anything that needs to cut through the mix a little more.
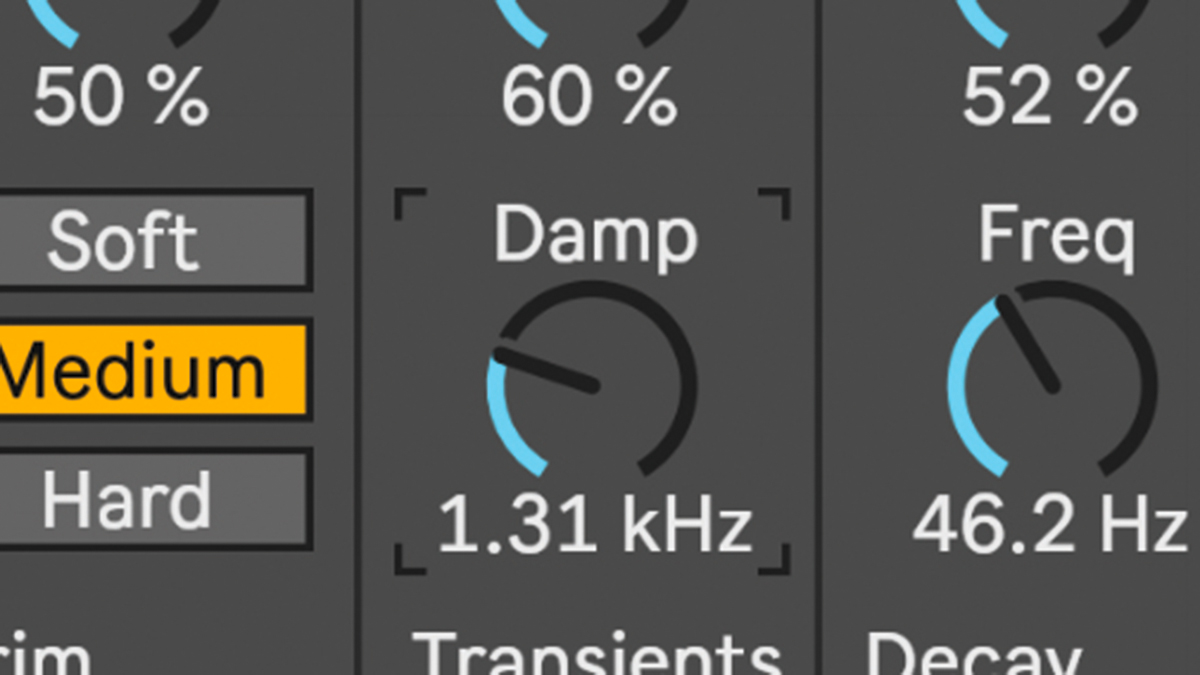
Step 8: The output of Crunch flows into into a combined Mid and Hi crossover stage. The unprocessed high signal also feeds into that Mid/Hi Mix. The overall Mid/High Mix signal can then be filtered back with the Damp parameter, which is useful if you’re finding these processes are bringing out too much top-end harshness.
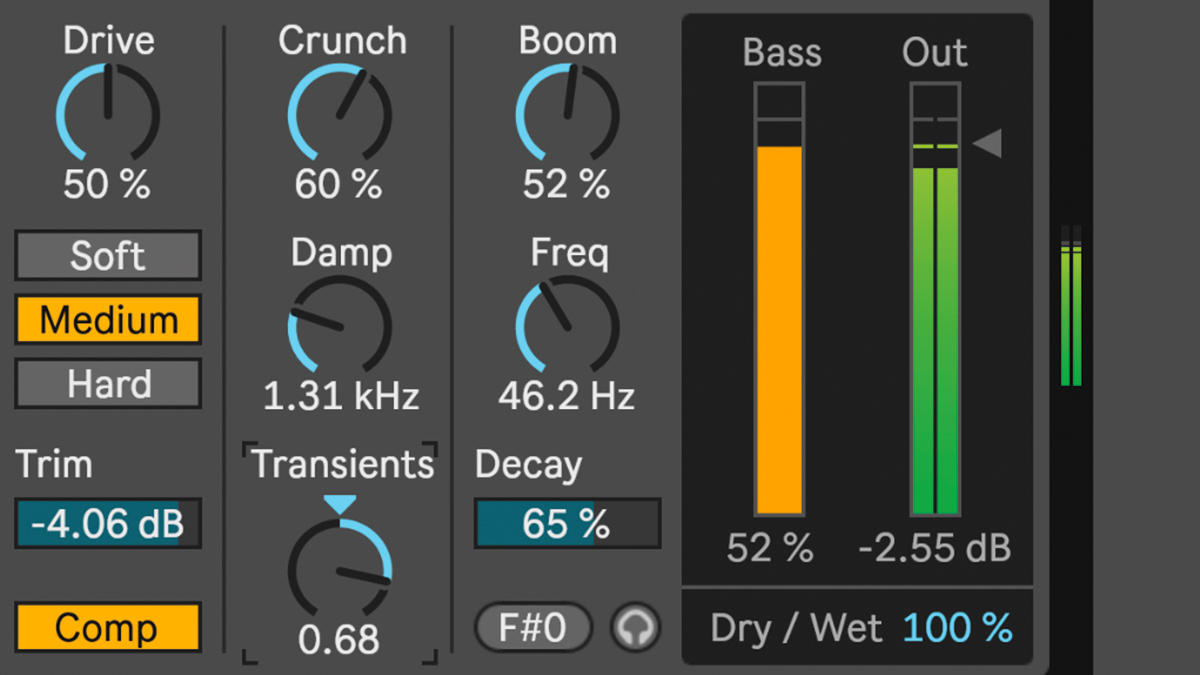
Step 9: That Mid/High Mix signal then hits a one-knob Transients processor. Turning the knob up does emphasise transients, but also sustain; pulling it back does reduce transients a little, but also pulls the sustain right down. Finally, you can back off the Output level to match the level of processed and unprocessed signals.
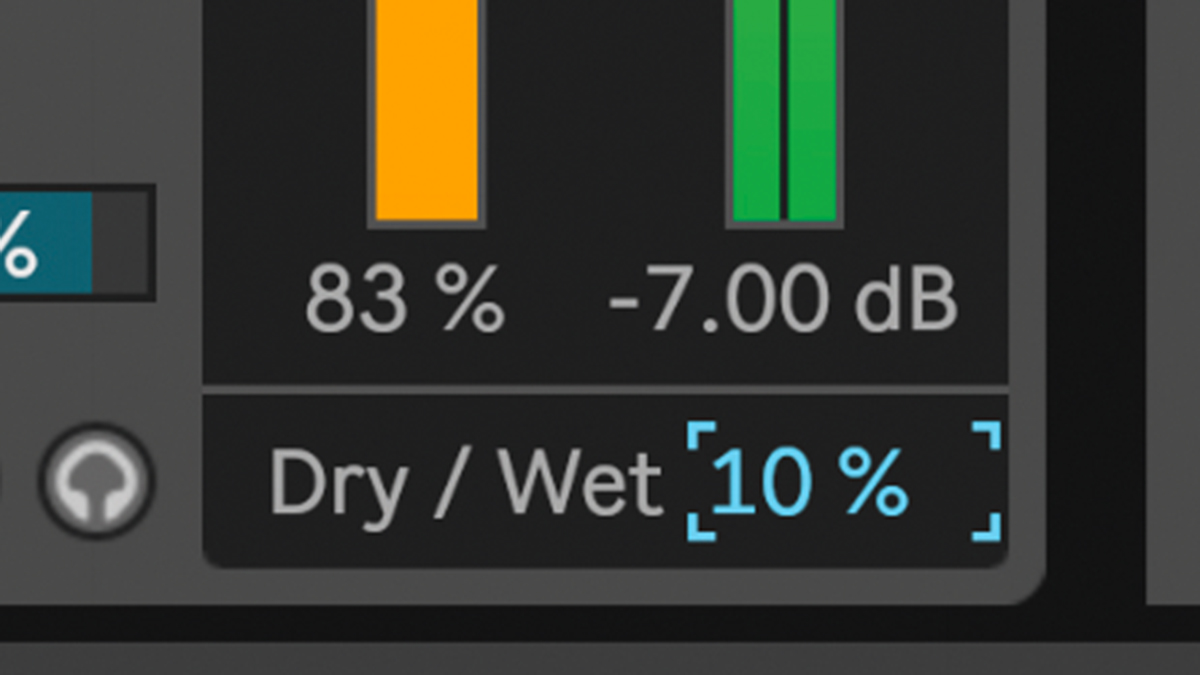
Step 10: That’s all the individual processors covered, but we’ve found Drum Buss to be most effective when using all of them in combination. As the processors can be very heavy-handed, it’s great to mix the effect in with the Dry/Wet mix amount. We’ve had great results when pushing all parameters to extremes, then pulling back Mix to a very low wet value (2-5% or so).
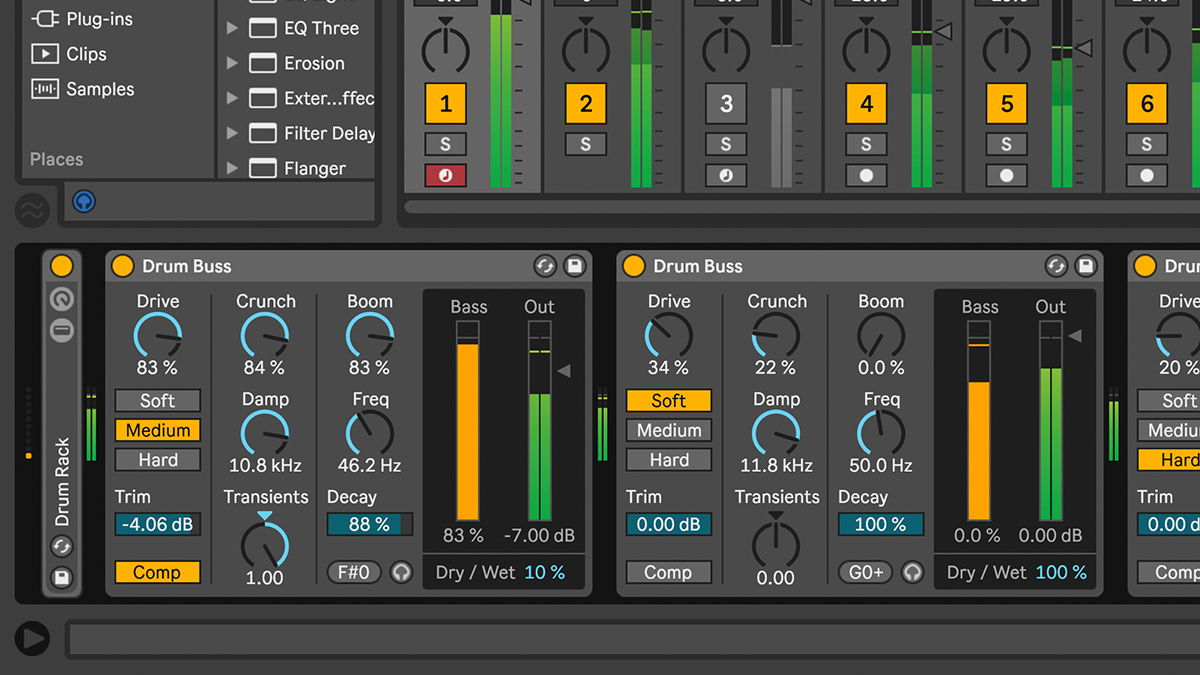
Step 11: We’ve found Drum Buss works great not just on drum groups, but also on individual drums, and other signals such as synths, vocals and bass. The processors aren’t particularly groundbreaking by themselves, though – you probably already have your favourite third-party plugins for these tasks – but they work well in combination.
Computer Music magazine is the world’s best selling publication dedicated solely to making great music with your Mac or PC computer. Each issue it brings its lucky readers the best in cutting-edge tutorials, need-to-know, expert software reviews and even all the tools you actually need to make great music today, courtesy of our legendary CM Plugin Suite.
