10 tips for maximizing stereo width
Our guide to fine-tuning your stereo image to create depth, contrast and impact in your mixes

To fully get a handle on width, and how to dial in the perfect balance of width and solidity at the mixing stage, it helps to first understand how stereo audio works in relation to human hearing.
In the real world, our brain uses a source sound’s level and timing differences to accurately pick out where that sound is positioned around us, how close or far away it is, and the speed of its movement.
Relating this to a stereo monitoring setup, we use a pair of speakers (or stereo headphones) to approximate how we hear with our two ears. If a signal contains the same information in the left and right channels, it will sit dead centre in the mix – it will be mono.
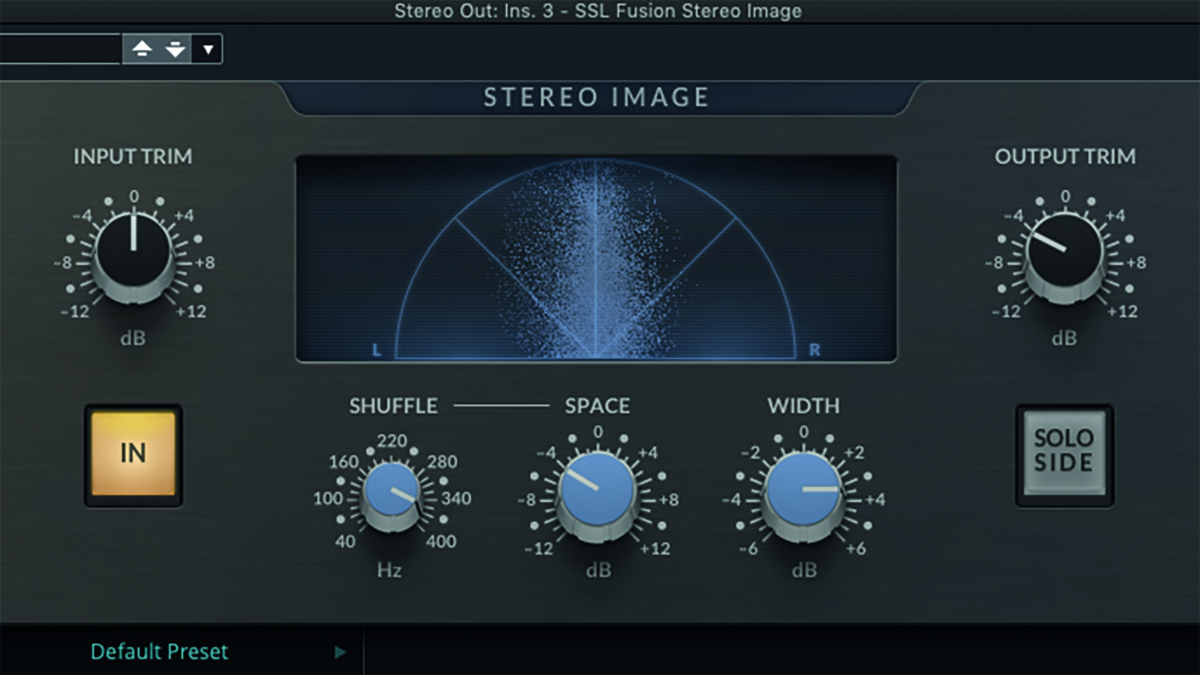
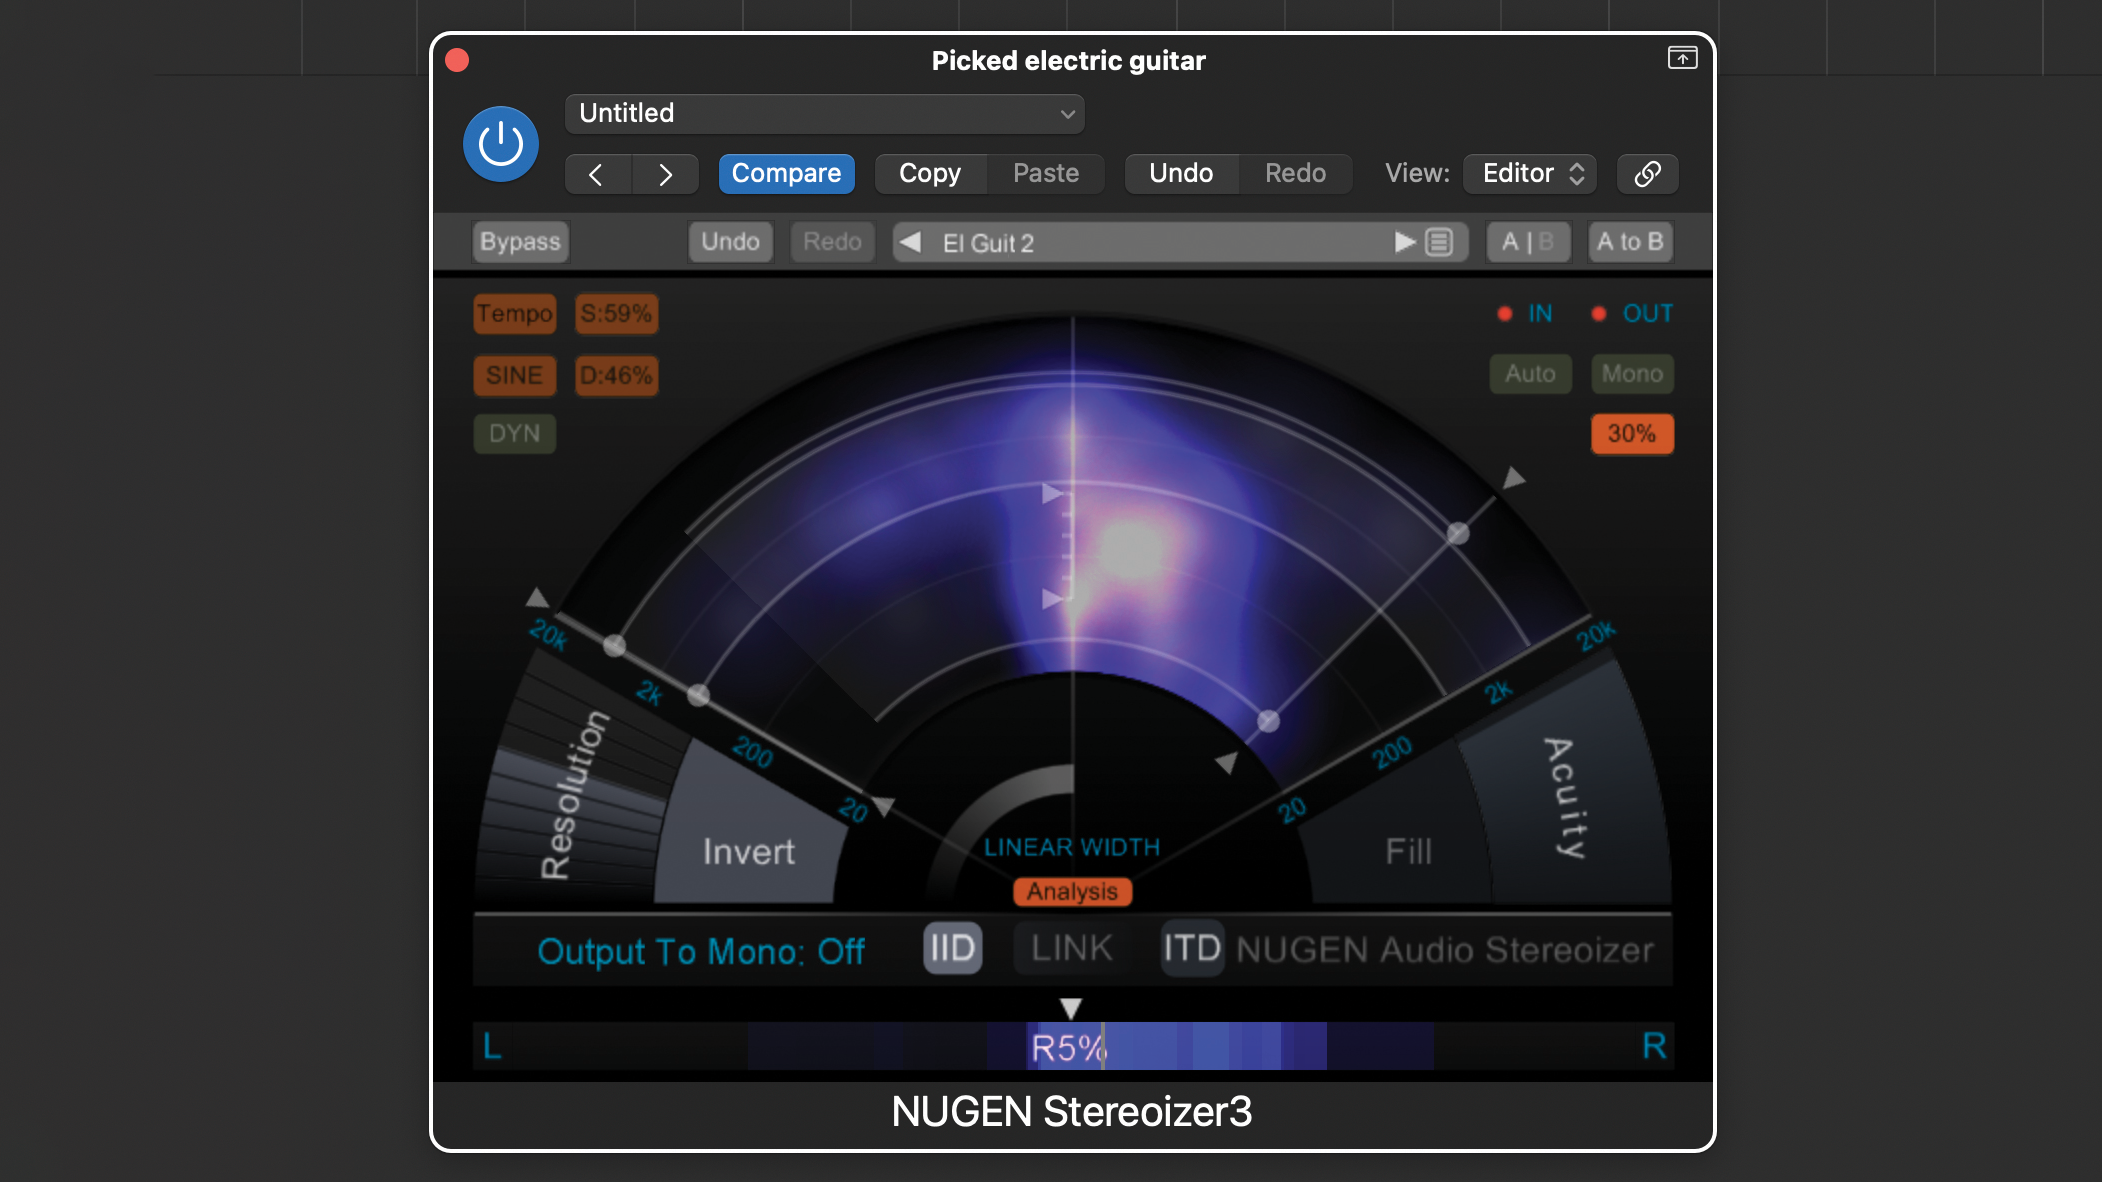
Stereo information is created when there is a difference between the information in the left and right channels. We can use mixing techniques to either position elements of a mix at different points around the stereo field, or even generate completely new stereo information.

Turn down a sound’s level in the right speaker in comparison to the left, and it’ll sound like it’s coming from your left side – panning, in other words! Delay a sound’s right channel by a few milliseconds, so the left side reaches your ears slightly sooner, and it’ll also sound like that sound is coming from your left, as you’ve created that difference in the left and right channels – this is the Haas effect.
In music production, we don’t necessarily want to position sounds to such a realistic degree, but instead create mix depth, contrast and interest by spreading out elements in various ways. When mixing a multi-track recording of a live band, for example, some engineers use panning to approximate the position of the band’s various elements as heard from the front of stage: drums down the middle, guitars on the left, keyboards to the right, and so on.

There are fewer rules in electronic music, but a few approaches are universal. Low frequencies are less directional than higher frequencies, so are usually more central in the mix. Stereo tricks can be seductive, but widening everything will cloud the stereo image – be sparing with panning and widening, and juggle wider parts against central elements to create depth and contrast.
Want all the hottest music and gear news, reviews, deals, features and more, direct to your inbox? Sign up here.
10 tips for maximizing stereo width
1. Sum your master output to mono regularly
Right from the start of the track-making process, religiously sum your master output to mono on a regular basis to check for mono compatibility.
2. Be subtle with your panning
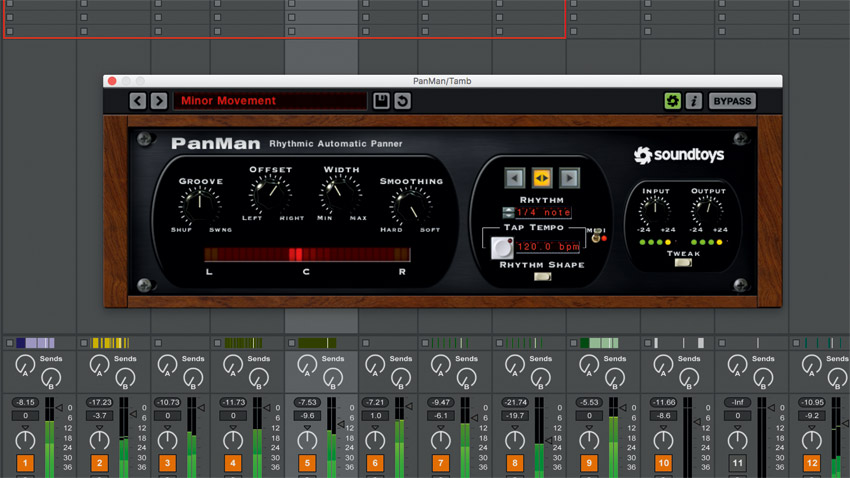
With panning less is often more. Subtly pan your drum bus two degrees in one direction, and your bass by the same in the opposite direction.
3. Automation is your friend
To make your main chorus or drop section more intense than the previous section, use automation to increase the width of key elements. Or, automate send levels to push parts harder into reverbs and delays.
4. Pan different layers separately
When layering claps and snares, pan out the hits by varying amounts to create a characterful, spread-out stereo effect.
5. Fine-tune reverb to emphasize width
Use a reverb with a mix control for blending between early and late reflections, then isolate only the short early reflections before tucking this almost-imperceptible dimension of width under the main sound.
6. Fix your acoustics
A poor listening environment will only hinder your ability to make reliable judgements and important decisions when it comes to the stereo field (and anything else!).
Listening on the best speakers you can get hold of is a good start, but the acoustic response of the room also plays a crucial role. If you think your speakers might be telling fibs, look carefully into their placement and your room treatment before you start saving up for pricey new monitors.
7. Solve Haas clashes
The Haas effect (two instances of a sound hitting the left and right channels a few milliseconds apart) can potentially be problematic because of the delayed transients it throws up - these can clash with other parts in the mix.
One solution to this undesirable side effect is to layer an additional sound (eg, a synth part with similar frequency content, played in unison) without any delay applied. You should be able to mix this new layer in quite quietly and pan it to the side slightly, counteracting the timing problem.
8. Counter EQ
Whenever you have two percussive sounds layered for thickness, you can easily add width to them using stereo EQ. Boost a key frequency on one layer on the left-hand side while cutting the same frequency on the other. On the right-hand side, do the reverse to the same frequency - ie, cutting the first layer and boosting the second.
9. Centre of attention
Using extreme stereo width on a specific part can make it appear to sit on top of the mix and create the illusion of the sound 'jumping out' of the speakers. However, this type of effect works best with a solid mono backing with which to contrast.
10. Keep the lows mono
As a general rule, it's a good idea to restrict the stereo width of material in the lowest frequency ranges. You'll typically find that a mix becomes tighter when pretty much everything below about 200Hz is mono.


I'm the Managing Editor of Music Technology at MusicRadar and former Editor-in-Chief of Future Music, Computer Music and Electronic Musician. I've been messing around with music tech in various forms for over two decades. I've also spent the last 10 years forgetting how to play guitar. Find me in the chillout room at raves complaining that it's past my bedtime.