When it comes to wantonly creative effects processing, Native Instruments' loon-ball modular Reaktor ensemble, Molekular, has everything you need to take your sounds to places new. From delays and distortions to filters and resonators, and with more routing and modulation possibilities than you'll know what to do with, it's a genuine one-stop sound design shop.
In this tutorial, we'll transform a sampled loop using this most extraordinary of plugins. For more advice on putting creative effects plugins to good use, get your mitts on the December edition of Computer Music (cm237).
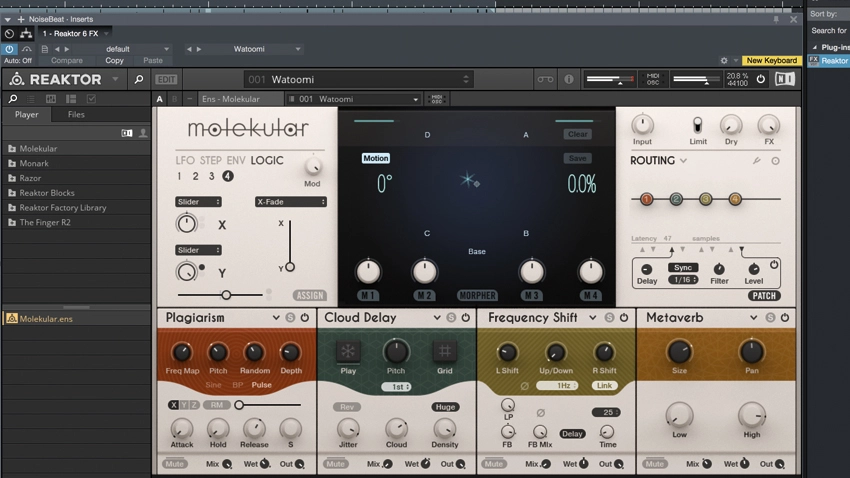
Step 1: Native Instruments' Molekular is not your average multieffect - it's packed with spectral gizmos, granular gadgets, and other freaky sound-transforming modules. Load up NoiseBeat.wav in a 60bpm project. Molekular is a Reaktor ensemble, so add Reaktor 6 FX to the NoiseBeat track and use the Browser to locate Molekular.ens. Drag it onto the main Reaktor workspace.

Step 2: The default patch sounds awesome, but we'd like to design our own from scratch. Click the patch name at the very top of the display and select 6: Single DSP > 6: 1 - INIT - Molekular. The four empty slots at the bottom are where we'll load the effects modules. Click the first one's down arrow to see the available modules, then click Spektral Smear to load it, turning it on with the upper-right power button.

Step 3: This module sustains and blurs frequencies over time. Increase the left-most Release to about 2 o'clock, so the spectral smearing sustains longer, giving a faux reverb effect. Increase Mix to just past 3 o'clock to make it more obvious. Now, twist Random to hear the sound range from cold and electronic to smooth and smeared.

Step 4: Double-click Random to reset it, then, in the LFO panel above, click Assign and move the slider next to Random up to 80%. Now the LFO controls the Random amount. It's a bit fast, so change Rate to 2 bar. Let's add another effect. Click the down arrow on the second module, load Ryuchi, a lo-fi pitchshifter, and turn it on.

Step 5: Decrease Fade to 9 o'clock for more attack, and set Mix to 50%. Adjusting Down Shift gives great effects, so let's animate it with a Step Sequencer. Reset Down Shift, click Step in the upper left, set Tempo to 2nd, then right-click the steps and click the tiny arrows to make the lane bipolar. Assign it at full strength to Down Shift. Now draw a pattern like ours.

Step 6: In slots 3 and 4, load Dual Delay and Modulo Fry. Set them up as shown here. Modulo Fry is an unusual three-stage distortion that we've used to add more sub-bass rumble, while the delay gives a familiar repeating effect. Bypass Reaktor 6 FX to fully appreciate the insane transformation this mental multieffect has lent to our simple beat.
