Struggling to get the most out of the latest version of Ableton´s performance-friendly DAW? Here are ten tips - some of which relate directly to the new instruments, effects and features - that´ll improve your Live life at a stroke.
• For many more Ableton Live guides go to our massive learning hub: Learn Ableton Live and Ableton Push: music production tips and tutorials
1. Other than the initial attack caused by the mallet striking the tone bar, the sound of the Electric synth is made up primarily of sine waves. As a result, using a filter afterwards can create mix-cluttering resonances, particularly in the low mid-range. To add movement to your Electric tracks, try using a phaser instead of Auto Filter for rich, warm modulations.
2. As well as being great for adding grit and dirt to your sounds, Live´s Saturator device can also be used as a limiter with the Soft Clip option enabled. Try using it as the last stage in your master effects chain, selecting either the Soft Sine or Analog Clip curve type to add warmth and punch to your mixes.
3. Although the new Tension synth is capable of producing a staggeringly wide range of sounds, certain parameter combinations can produce extremely loud results, or no sound at all, particularly using the bow. This is due to the dynamic nature of the model used. When programming new sounds in Tension, always keep the volume low to protect your speakers and your ears. If you run into one of the silent combinations, just continue adjusting parameters and the instrument will eventually come back to life.
4. We´re all familiar with the Ctrl/Cmnd+Z key command for Undo and Ctrl/Cmnd+C/P for Copy and Paste, but getting to know the rest of Live´s keyboard shortcuts is a great way to speed up your workflow. As relayed in Chapter 26 of the Live manual, commands such as F9 for Record, Ctrl/Cmnd+E for splitting a clip at the cursor position, and Ctrl/Cmnd+I to insert a new Scene will have you working faster than ever before.
5. EQ8´s new notch filter is an excellent tool for removing problem frequencies. To identify such a frequency, set one band to the bell shape with very high Resonance and Gain, then slowly sweep across the spectrum. When you find the unwanted frequency (you´ll know when it happens), switch the filter type to Notch to remove it. Taking a subtractive approach to problem frequencies, instead of boosting others to compensate, will leave your mixes sounding cleaner and punchier.
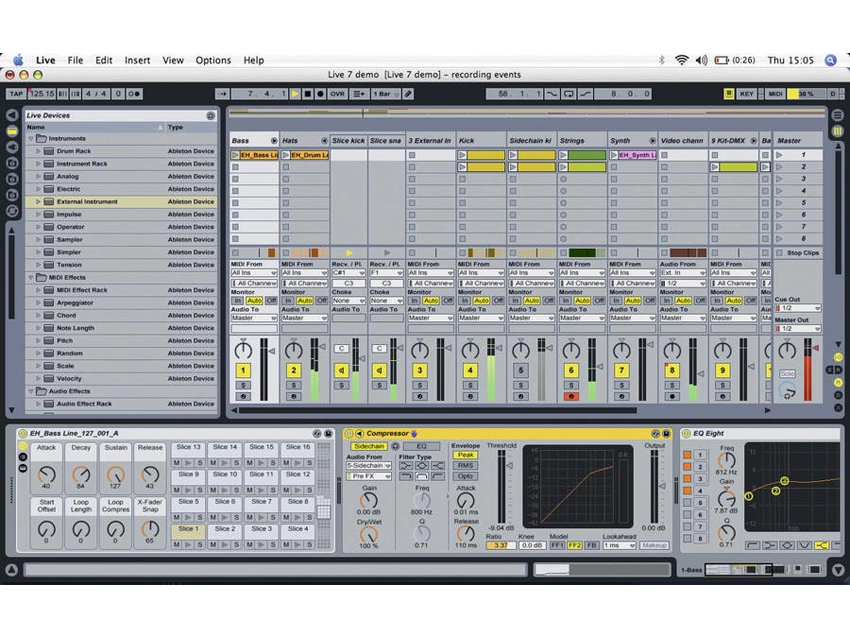
6. Sidechain compression is useful for making sure sounds that occupy similar frequency ranges aren´t fighting for space in the mix. One of the most common functions for this is separating kick drums and basslines: apply a subtle dose of compression to your bass track using the kick drum as the sidechain trigger for maximum fatness and clarity in the low end.
7. If you use certain instrument and effect presets time and time again, right-click on the title bar of any device and select Save as Default Preset. Now, your favourite preset will be automatically loaded every time you call up that instrument or effect.
8. Do you often find yourself writing great multitrack loops, but then struggling to flesh them out into full tracks? Starting with all clips deactivated, trigger your clips one by one. When you find a combination that works, hit Ctrl/Cmnd+Shift+I to capture all playing clips in a new Scene. Keep repeating this process until you have a few variations that you´re happy with, then try playing the Scenes in different combinations until you´ve got a basic arrangement.
9. Operator, Saturator and Dynamic Tube all feature a High Quality mode that´s accessed by right-clicking their title bars. Enabling this reduces aliasing and other digital artifacts, ensuring maximum sound quality, particularly when working at higher sampling rates.
10. Ever wished your MIDI controller had just one or two more controls to give you that extra bit of tweaking power? Live´s ability to map (for example) multiple beat-synced delays or LFO rates to a single control should put an end to that frustration.
