Introduction
Something lacking from your tone? Surprisingly few guitarists look to speakers for the answer. The results can be even more dramatic than a pickup swap, while the work itself is easier to perform at home.
‘Tone Doctor’ Simon Law shows you how to choose the right speaker for your rig and fit it in your amp. We’ll also be testing six classic speakers in the same amp to illustrate what a difference a change of cones can make...
For many guitarists, the thought of working on their own guitar or guitar amplifier may seem completely alien, maybe even totally out of the question. What I hope my Tone Doctor features have shown so far is, with a little common sense and a handful of fairly common tools you, too, can service, mend and tweak away until your tonal heart is content.
Changing the speaker in a 1x12 amp is within the skills of anyone who is basically competent with simple tools and soldering
In this feature I will be showing you just how easy it is to swap out a speaker in an amplifier or cabinet. I’ll also be discussing what to consider when choosing a new speaker along with dos and don’ts - and mind your fingers!
Changing the speaker in a 1x12 amp is within the skills of anyone who is basically competent with simple tools and soldering, and requires only elementary electronics knowledge. But keep your fingers and tools well away from the amp’s internal circuitry at all times, even if it’s switched off and disconnected from the mains (which it should be if you’re working on it) as some amp components can retain a lethal charge even when the amp is off. And if you feel at all unconfident in being able to safely complete the work on your own amp or cab - especially multi-speaker cabinets, which may have a complex wiring scheme - take it to a pro and let them do the hard yards.
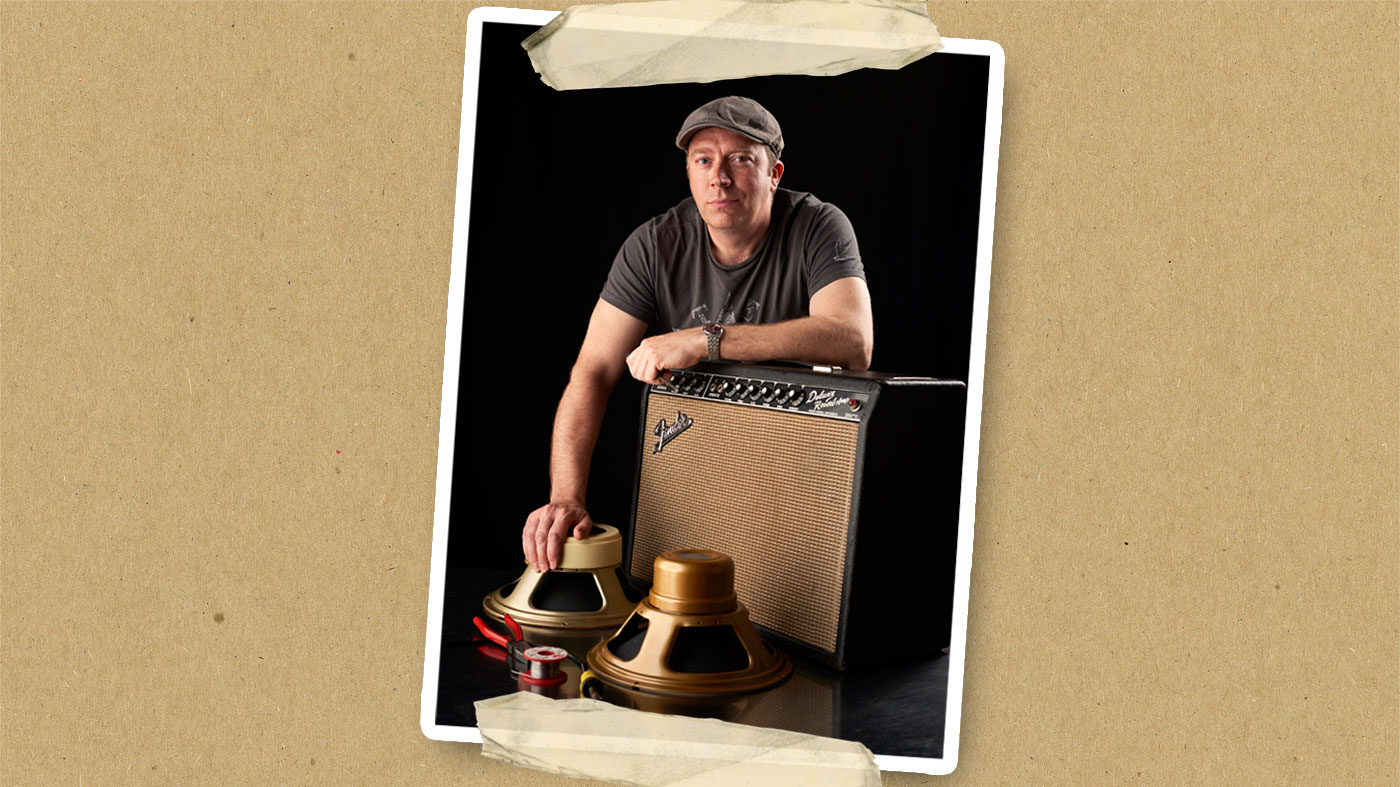
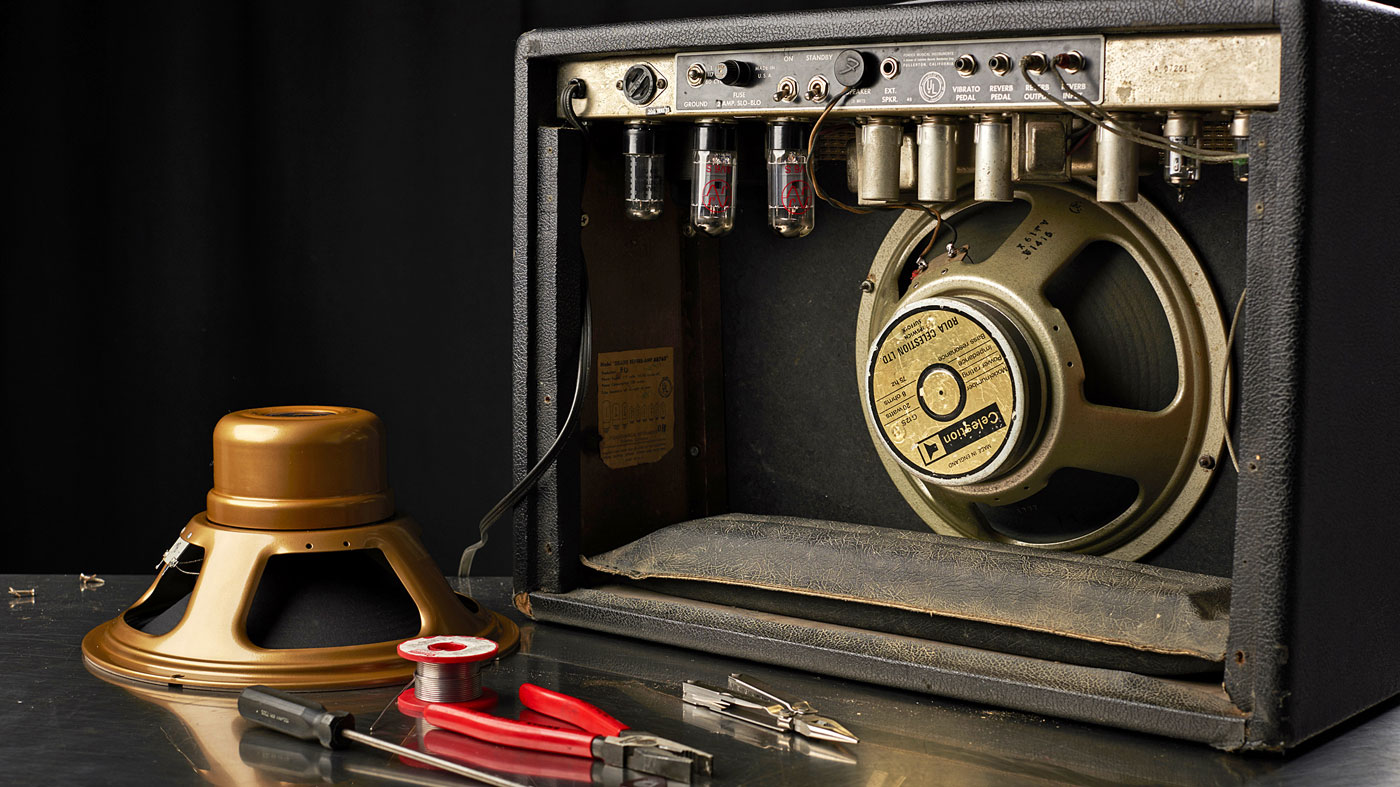
For this Tone Doctor feature, I’ll be using my own ’65 Fender Deluxe Reverb, which is an open-back combo amplifier, along with a small but perfectly formed selection of Celestion speakers.
There are dozens of high-quality speaker manufacturers worldwide to consider when upgrading your speakers. Eminence from the US is one of the big boys, while British speaker manufacturer Tayden makes some very nice high-quality speakers. From Jensen to Electro-Voice, each manufacturer has its own merits, in tonal terms, from vintage to immaculately modern sounds - and they’re all well worth trying.
Celestion selection
However, for the sake of starting somewhere familiar while we cover the essentials, we’re rocking with the most common size of guitar speaker from (arguably) the best-known maker of all: 12-inch speakers by Celestion.
No special favouritism here - we happened to have a wide stock of Celestion 12s to hand - and the differences between the speakers examined here are mirrored in the ranges of other makers, in terms of different magnet types and power ratings.
There are a few basic things to consider when choosing a speaker, firstly wattage. The rating of the speaker doesn’t mean that the speaker will instantly self-destruct if used with an amp of greater power - it’s there as a rough guide. There’s nothing to stop you putting a 25-watt speaker in a 50-watt amp, or a 50-watt speaker in a 25-watt amp.
The rating of the speaker doesn’t mean that the speaker will instantly self-destruct if used with an amp of greater power
In fact, mis-matching speakers with amp wattages can have great results. As a rule of thumb, the lower the wattage of speaker, the easier it will be to provoke it into natural speaker distortion, where the speaker can no longer reproduce even the clean output of an amp clearly.
By contrast, speakers rated at more than three times the output of the amp will tend to stay clearer-voiced at higher volumes. This will lend extra punch and definition to overdrive coming from the amplifier itself, or drive from pedals, rather than mushing out.
Another consideration is the type of cabinet you have. Closed-back like a Marshall 4x12 cab? Or an open- or partially open-back, such as my Fender used here or a Vox AC30? To my ears, closed-back cabinets work well with higher-powered speakers such as ‘H’ magnet Celestions, or even the speakers made by the classic high-power speaker company ElectroVoice.
These closed-back cabs control the speakers by reducing the air pressure at the back of the speaker. This, in turn, softens harsh top end and increases bass response - think Jimi Hendrix, Paul Kossoff or early Pete Townshend. Open-back cabinets and combos suit lower-powered speakers such as the Alnico Blue and Golds by Celestion, or the US-made Jensen range of speakers. A quick note on terminology first...
Jargon busting
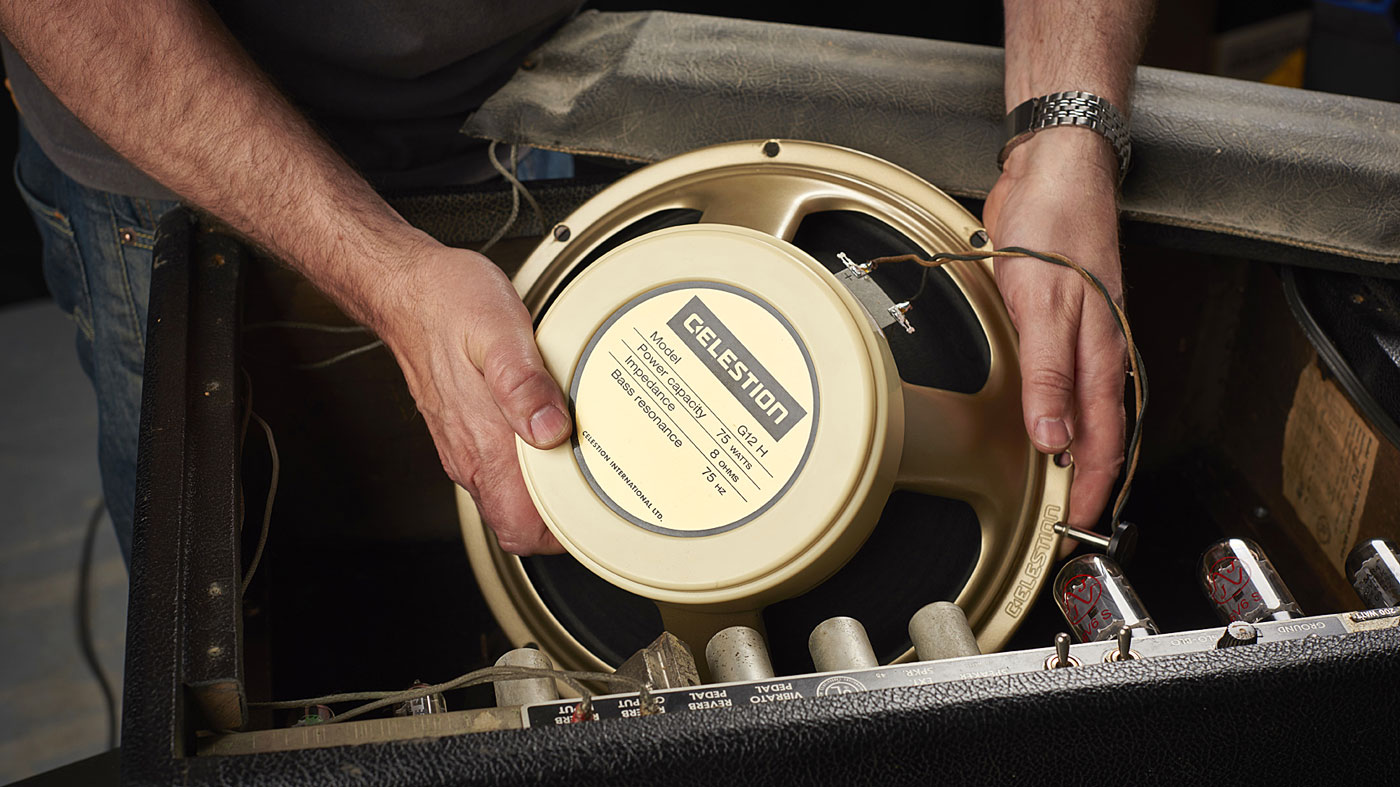
Celestion magnet weights are normally denominated S, L, M and H, which mean Superlight, Light, Medium and Heavy. Usually, the heavier the magnet the higher the power handling and so forth, but again let your ears be the final judge.
Speaker impedances are also a consideration; most valve amplifiers have impedance selectors on them. The easiest thing to do is replace like with like. The three common impedances are four, eight and 16 ohms.
Most valve amplifiers have impedance selectors on them. The easiest thing to do is replace like with like
These values denote the speaker resistance and, like any resistor, they can be wired in such ways as to change the overall impedance. Single speakers are simple to wire: just attach negative to negative, positive to positive. It’s in multi-speaker cabinets and amps that things can get a little more interesting…
Series and Parallel are the common wiring methods. Series means you wire the positive output of the amp to the positive of the first speaker, then link from the negative of that speaker to the positive of the second speaker, and then from the negative of that speaker back to the negative of the speaker output. This sounds hugely complicated but in practice is very simple. Wiring in series doubles the impedance of one speaker, so 2x 8-ohm speakers, for example, become 1x 16-ohm load.
Parallel means that you simply link both speakers together: the positive of the amp goes to the positives of both speakers, and the negative of the amp goes to both the negatives of both the speakers. This parallel wiring halves the total speaker impedance. So, 2x 8-ohm speakers will become a 4-ohm load.
When wiring 4x12 cabinets such as Marshalls, things can get really fun and tricky… Marshall traditionally wires its cabinets series/parallel! This means two pairs of speakers are wired in series and then both pairs are linked together in parallel.
I remember the first time I re-wired one of these monsters - my eyes nearly popped out on comedy springs: there were wires literally everywhere! However, I persevered and worked out exactly what was going on. From that point on nothing was as tricky as it once seemed.
Making The Swap
If you decide to try to fit a used or vintage speaker in your amplifier, then there are a few things you should do to confirm its functionality beforehand.
Firstly, examine the speaker for any tears or holes. There should be none. If there are any, these will cause the speaker to sound bad and possibly tear more and then fail altogether. The next thing to look for are the small linking wires from the tags to the speaker cone. These should be perfect and not broken or damaged.
Lastly, lie the speaker on its magnet and very carefully place your hands on the cone itself. Try gently moving the cone in and out, carefully feeling for any scraping or resistance between the voice coil and magnet as you do so. If it moves smoothly and freely, hopefully you should have a good speaker.
Fitting a new speaker in the old one’s place is a simple reversal job
For replacing the speaker itself, you will need a good soldering iron or solder station, between 25 and 40 watts will be perfect. You will need some solder; lead-free is the norm these days, but I do still like the oldschool lead solder. You’ll also need some pliers and screwdrivers and possibly a small socket set to fit the various nuts and bolts holding the speaker into the cabinet.
Now, lie your amplifier or cabinet on its face and remove any back panels and so on that may be in the way. On my own amplifier, I found it much easier to also remove the reverb tray from the bottom part of the amplifier. This made for much easier access to the lower speaker nuts. My amplifier has a separate plugged-in speaker cable, so it was a simple unplug job. With a hard-wired speaker output that some amps have, we would have to unsolder the two wires from the speaker - taking notice of which is positive and negative.
Next, unscrew the four or eight screws, nuts or bolts holding the speaker in, being careful not to drop these into the speaker or, worse, into the amp itself , never to be seen again! You should then be able to lift the speaker out of the amp. You may need to give it a little jiggle to get past transformers and valves, but it shouldn’t be too tricky.
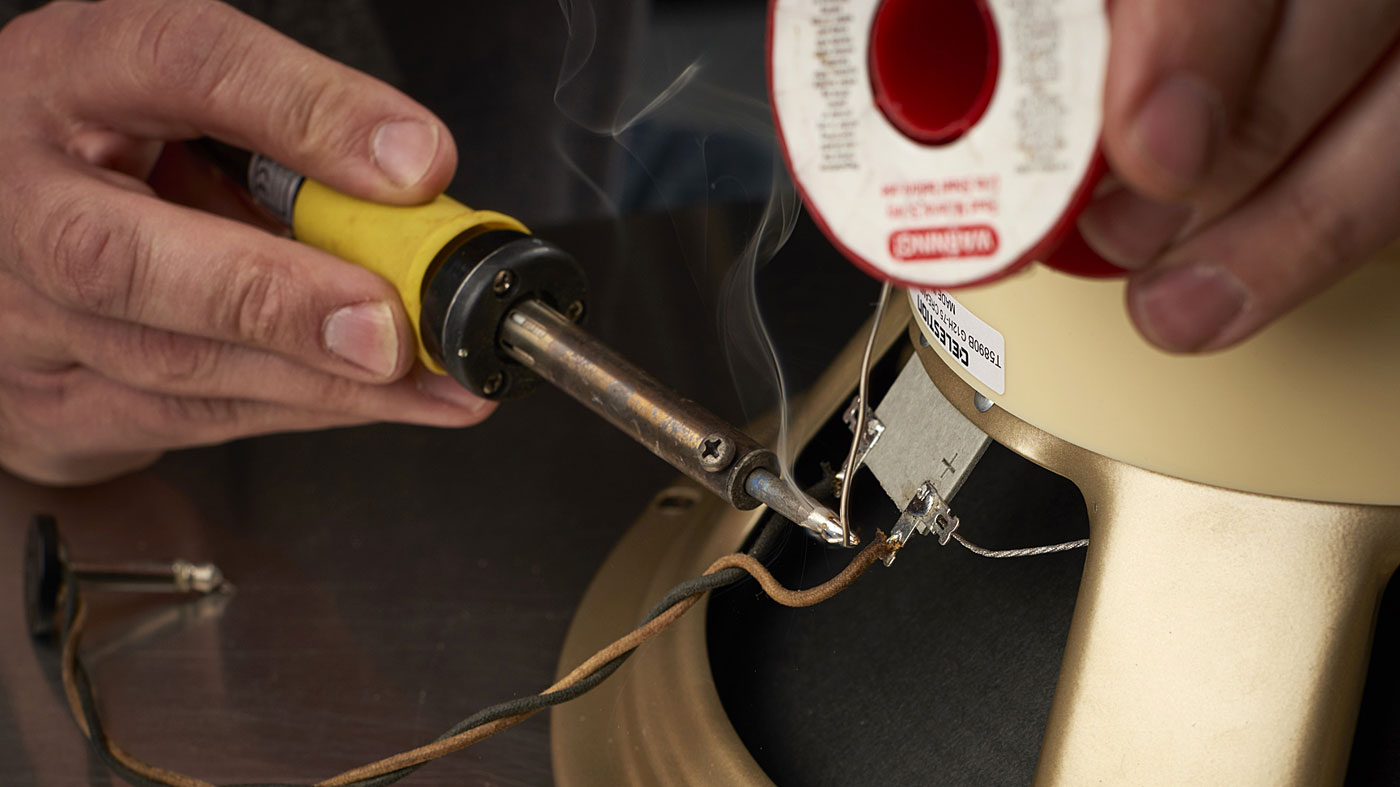
Fitting a new speaker in the old one’s place is a simple reversal job. If your speaker cable was a plug-in job then now is the best time to re-solder it onto the new speaker. Don’t overheat the wiring tags and try not to drop solder down onto the speaker cone.
Fit the speaker back into the cabinet and start to screw or bolt it back down. At this point I must stress, as I have done before, please do not over-tighten the speaker bolts. On a pressed-chassis speaker it can be very easy to bend it out of true, and this can cause speaker distortion and odd overtones. A simple rule is get it finger-tight and then go a quarter-turn more. It’s also good to tighten bolts in ‘opposite-to-opposite’ sequence, so the speaker gets pulled down evenly.
Now, put the panels back on and it’s time to play ‘test your amp’. Firstly, let’s play quietly and listen for any little noises that could indicate a duff speaker or a wire off. Then you can get cranked and listen to your new baby sing. Every new speaker will have a break-in period, so give it time to soften up and it will get better every time you play. At this point you should be pretty happy with yourself, as I was after my first rewire of the big old monster Marshall.
Read on to see how our group of 12-inch speakers, all built to different power ratings with different musical applications in mind, changed the sound and feel of our test amp when we fitted them, one after the other, into the same Deluxe Reverb…
The Contenders: a Celestion speaker comparison
During the making of this feature, I was able to fit and compare six different types of 12-inch Celestion speaker in my old Deluxe Reverb, including original vintage models, writes Simon Law. Here, I’ve included my ‘tasting notes’ for each speaker, which reveal how dramatically a 10-minute speaker swap can change the voice and character of your amp.
After putting each speaker through its paces with clean tones first, a Maxon SD9 Sonic Distortion was used for overdrive. Here are the results...
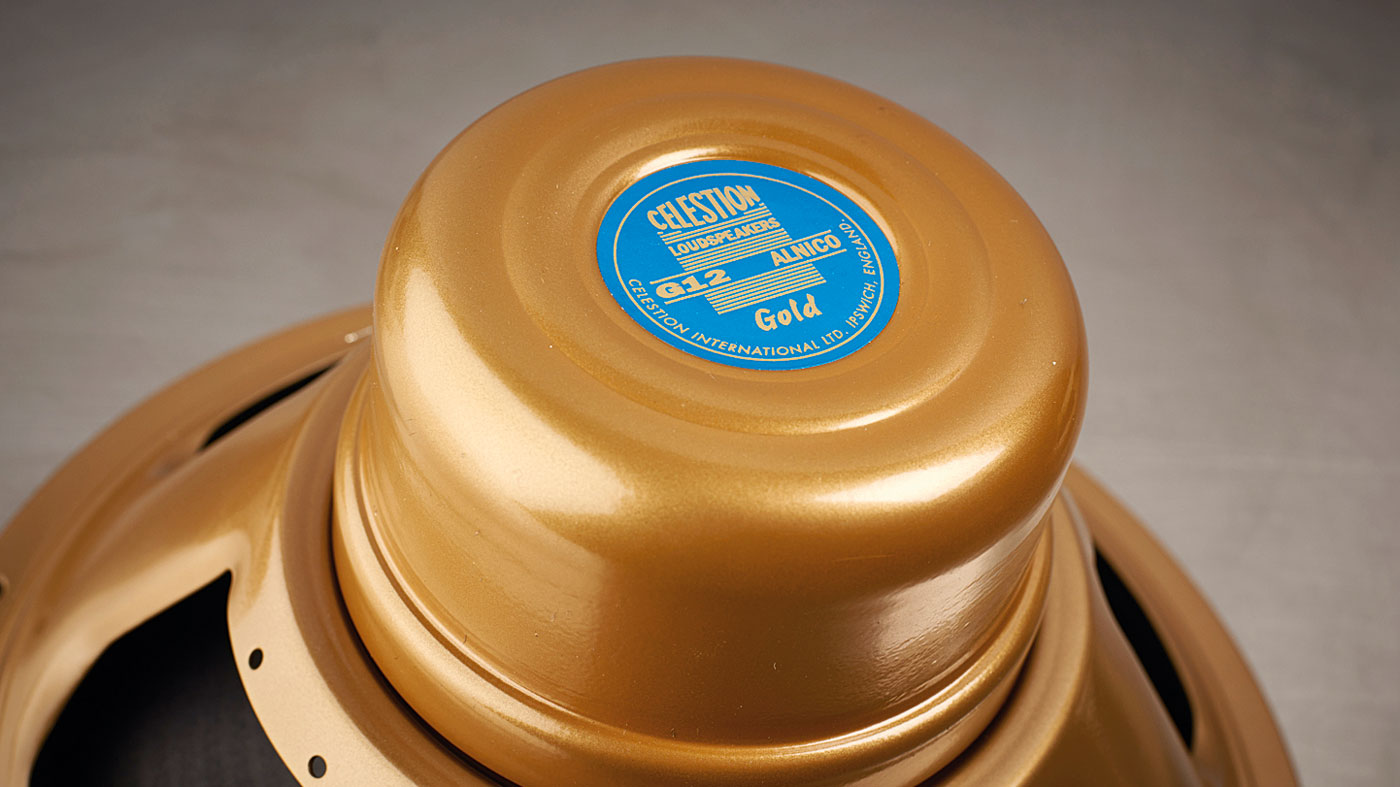
The first speaker on the test bench was the Celestion Alnico Gold. The Alnico Gold driver is an up-rated version of the fabled Alnico Blue that was famously fitted in the early Vox AC30 amplifiers.
The rating of this speaker is 50 watts as opposed to the 15-watt rating of the original Blue variety. It features an Alnico magnet and a small voice coil, and all of this adds up to a very vintage and sweet-sounding speaker.
According to Celestion, these speakers are modelled on a nicely worn-in original, and I can hear this during our test. Straight out of the box, it’s organic and slightly loose sounding with a lovely warmth in the bottom end. The treble response is chimey with a hint of natural compression.
I would rate this speaker highly for early blues and rock tones - but even for country playing, where the compression helps a clean note sing.
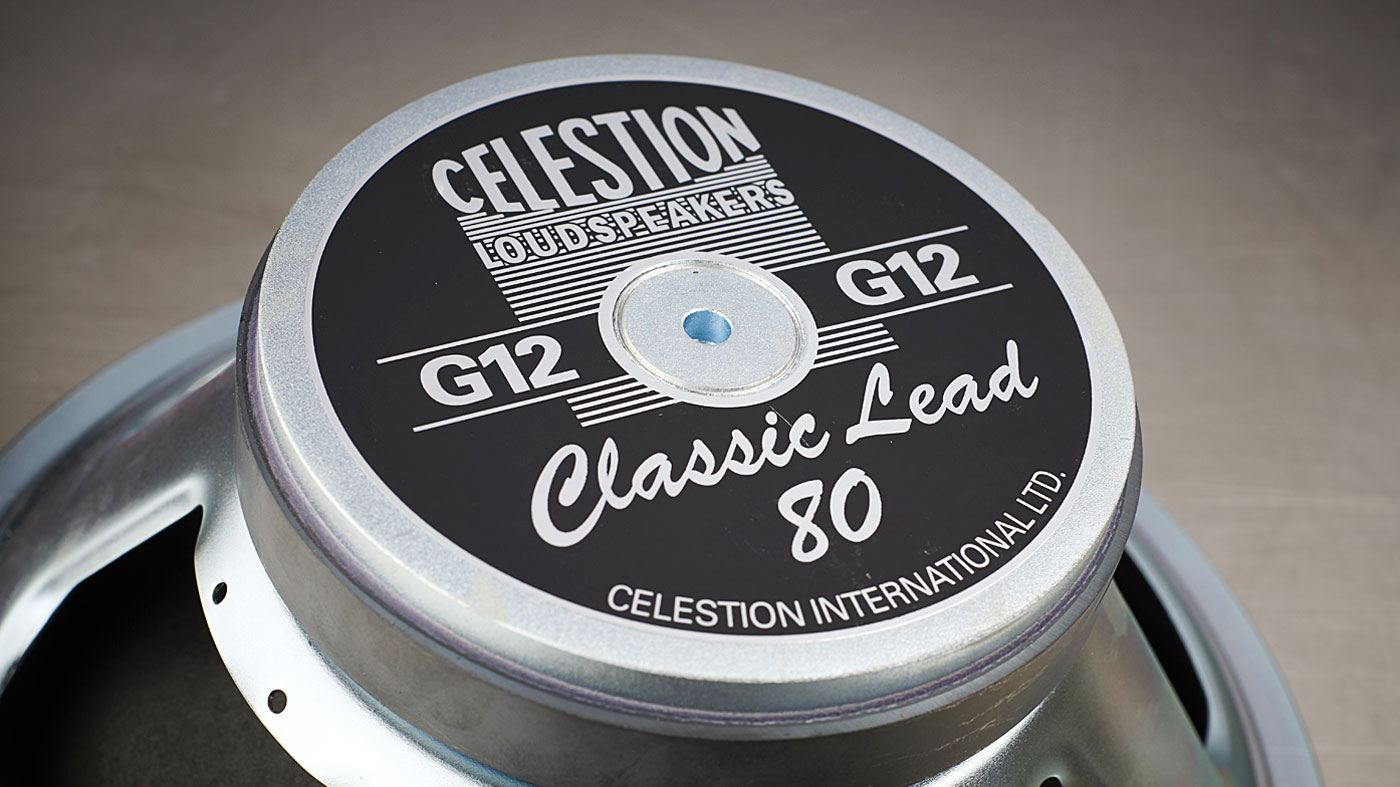
Next up was an old favourite of many players, the Classic Lead 80. This speaker is rated at 80 watts. It came onto the scene in the late 1970s when guitarists needed a bigger, bolder speaker for lead playing.
I found this speaker sounded best when used with the amp cranked up loud and not so much when used with an overdrive pedal. It had an enormous bass response, yet, for me, the top end was slightly dull sounding - that doesn’t mean it’s a ‘bad’ speaker, but it wasn’t ideally suited for my amp.
I would rate this speaker for big, powerchord playing and old-school hair metal where you need to move air without making ears bleed! And it gets a big thumbs up for those Spandex and hairspray moments…
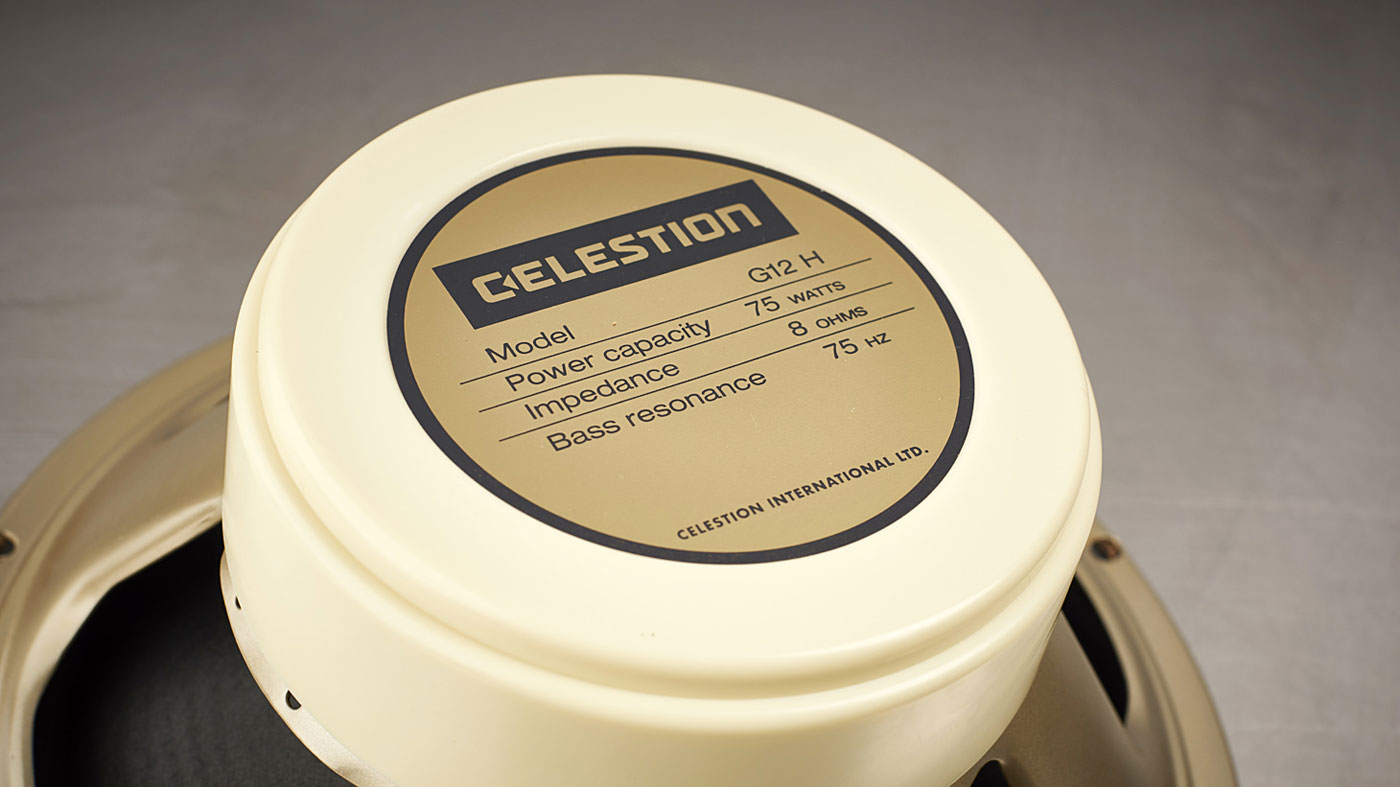
Third on the test bench was a huge favourite of mine, the 75-watt G12 H75 Creamback.
This speaker’s name derives from the colour of the back cover, which changed from green to cream in the early 70s, using Pulsonic (pre-’73) and RIC (to ’75) cones. It’s similar in a lot of ways to the Classic Lead, but, to my mind at least, has way more character and finesse.
Once again, the bass response was massive with a definite ‘squawk’ in the midrange. The top end was smooth with no harshness at all. This speaker sounded great when pushed hard and when used with an overdrive pedal.
Again, maybe not the best match to this particular amplifier. However, I would rate this speaker highly for classic 60s and 70s rock, as it has a real ‘British rock’ voice.
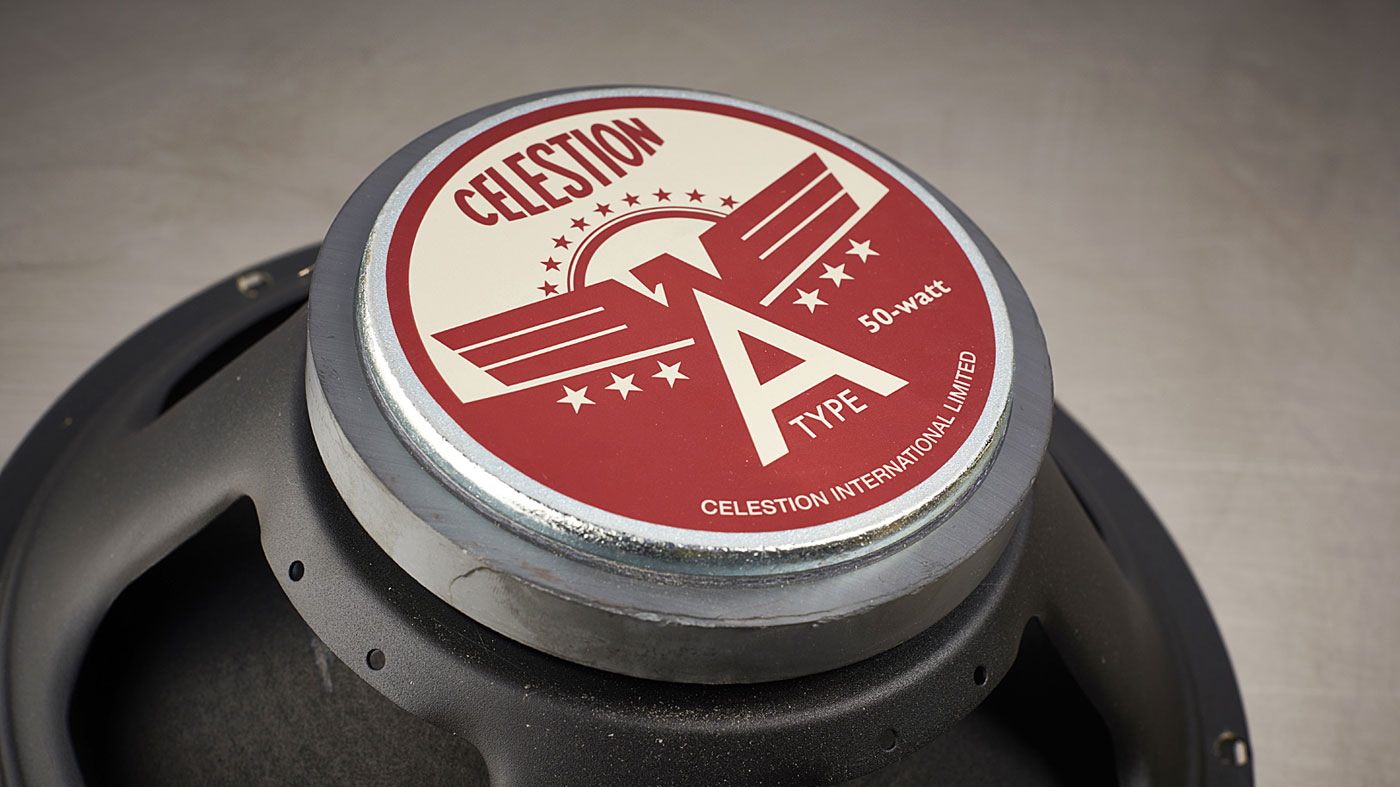
Fourth on the test bench was a fairly new 50-watt model and this was my absolute favourite of all the speakers - the Celestion ‘A-Type’.
Usually, Celestions have a bold midrange and unmistakable top and bottom, but this speaker is totally different - it’s designed to be ‘American’ voiced, from which we may infer that the sound of classic Fender amps was a benchmark.
The first thing that hit me was the scoop in the midrange making it sound way more ‘forgiving’ and less brash and upfront. For me, this helped the chimey sound of my amp really shine through without being muddied by excess midrange. The bass response was also slightly ‘tamer’ than the other speakers making it sit better in the mix generally.
When pushed hard, there was a lovely amount of overdrive that was consistent right through the spectrum. When I hit the overdrive pedal it stayed strong and didn’t weaken anywhere. This is a very good speaker. It had such a three dimensional tone, you almost imagine you were playing in stereo!
Personally, I find it hard to imagine many players who wouldn’t enjoy this speaker’s natural articulation and response. But again, there are no ‘rules’ to what sounds good to you - try as many as possible in your amp, with your rig, and let your ears be the judge.
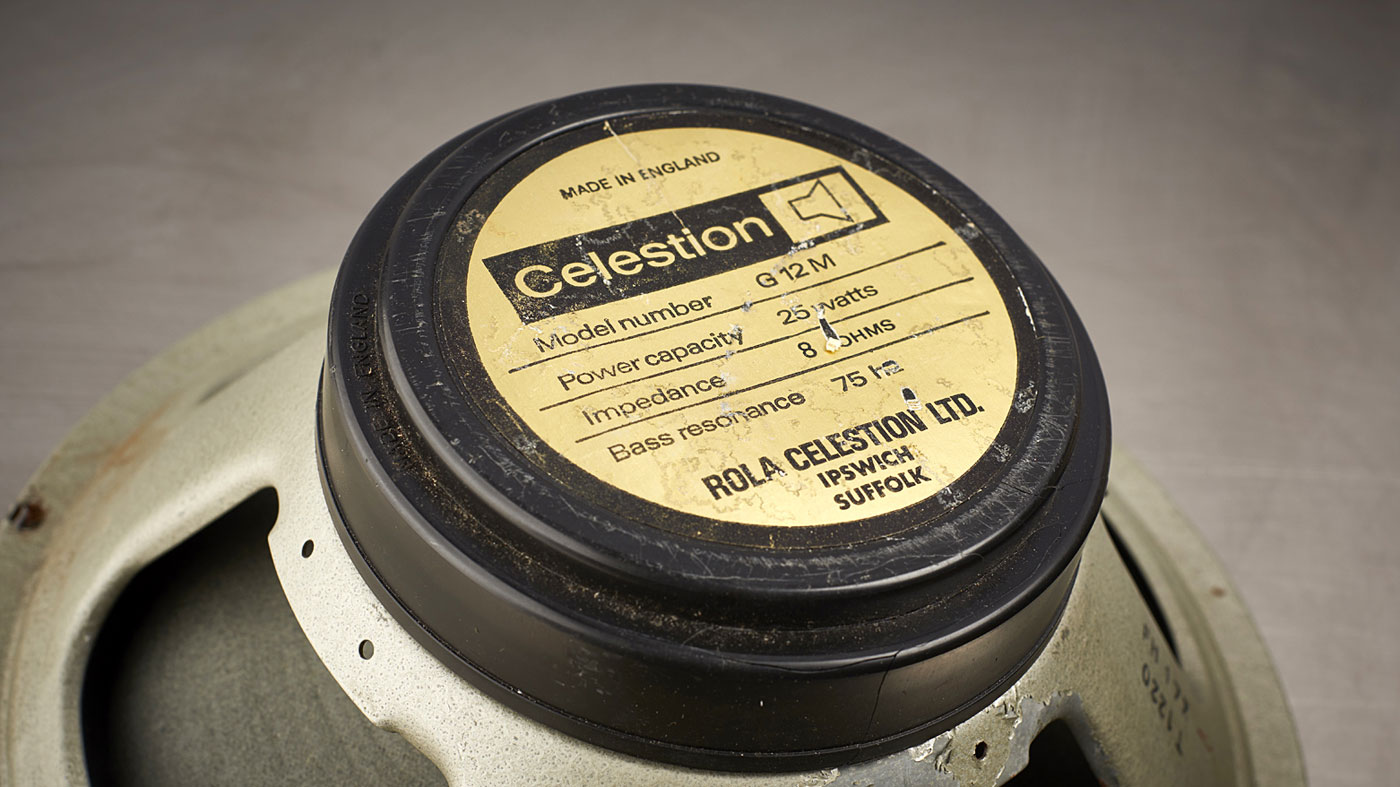
The last two speakers on the bench were a couple of original vintage drivers, both well-loved types harking back to the 1970s.
First up was the 25-watt G12 M ‘Blackback’. This speaker was a classic speaker used in many of the Marshall 4x12s from ’75 when Kurt-Mueller cones were introduced and creambacks went dark.
Used alone, it has its work cut out handling even a small combo’s output, but in a four-speaker cabinet it comes completely alive. As you’d expect with its relatively low power rating, this speaker exhibited classic speaker ‘breakup’ when you hit it even a little hard, which again was instantly recognisable.
It’s a true rocker: not all that useful for clean playing, so country and smooth jazz is probably out. But for rock, especially at lower volume levels, it gets a big thumbs-up. It’s not the most versatile - but it’s woody, dirty character will put a smile on your face.
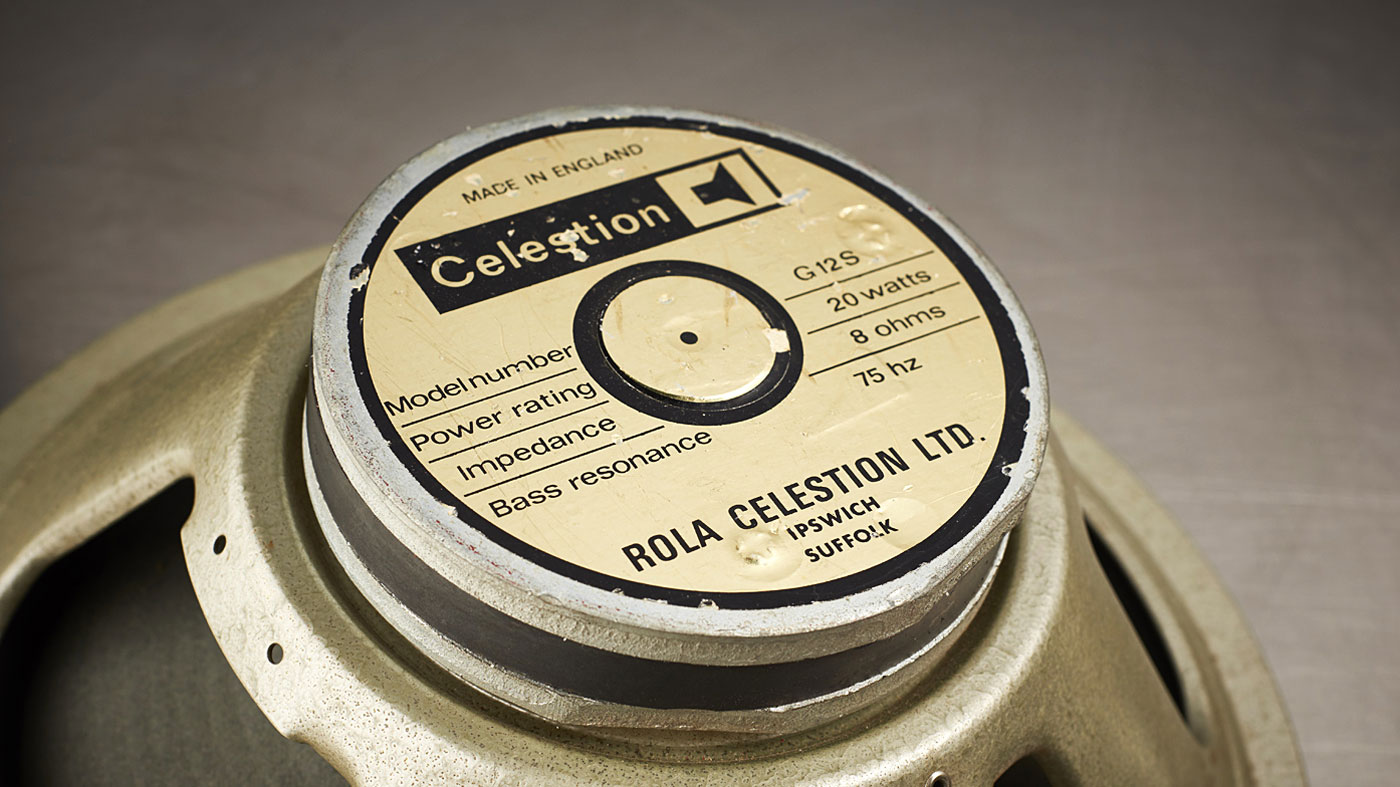
Finally, I got to try a G12-S rated at a lowly 20 watts that was kindly loaned to us, like the G12M, by the ever-helpful Paul Gough at Zilla Cabs.
Well, what can I say about this speaker? If mushy peas decided to play guitar, then they would need this speaker! That said, this vintage driver would be perfect in a tiny studio amp, especially in an amp set aside for dirty tones.
Maybe two or four of them (if you could find them) would work better in a cab together, but for me this was just a bit of fun. It did sound good though, just not for me or for any real volume. However, another player might disagree. One thing it ain’t, though, is clean and pristine!
Conclusion
Speaker replacement can be fulfilling and transform the tone of your amp, so don’t be deterred. With a little care, you can attain your perfect sound.
If a little care is taken over installation, you should not be afraid to try different speakers until you hit upon the perfect combination
To sum up, this was a fun afternoon of interesting insights and a bit of tonal self-indulgence, but there was a serious outcome. The winner? Yes, you’ve guessed it: the Celestion ‘A’ type got my vote on the day. But please note that if we had used speakers from the ranges of Eminence or Jensen or EV, or indeed any of the quality makers out there, we would have found other strong matches with this amp.
The important takehome message is that, if a little care is taken over installation, you should not be afraid to try different speakers until you hit upon the perfect combination for your rig and your ears, especially if you make some educated guesses as to what might suit you based on some of the considerations we’ve discussed here.
Speaker swaps are a very easy and rewarding thing to do - in fact, as we have seen, they are really cheaper and easier to do than most pickup swaps. Within 20 or 30 minutes, you could transform your amp and possibly even your playing - dig in and get down. Till the next time, happy pickin’.