Create the perfect kick drum sound for your track
A good drum track starts with the bass drum – find out how to make sure yours kicks ass
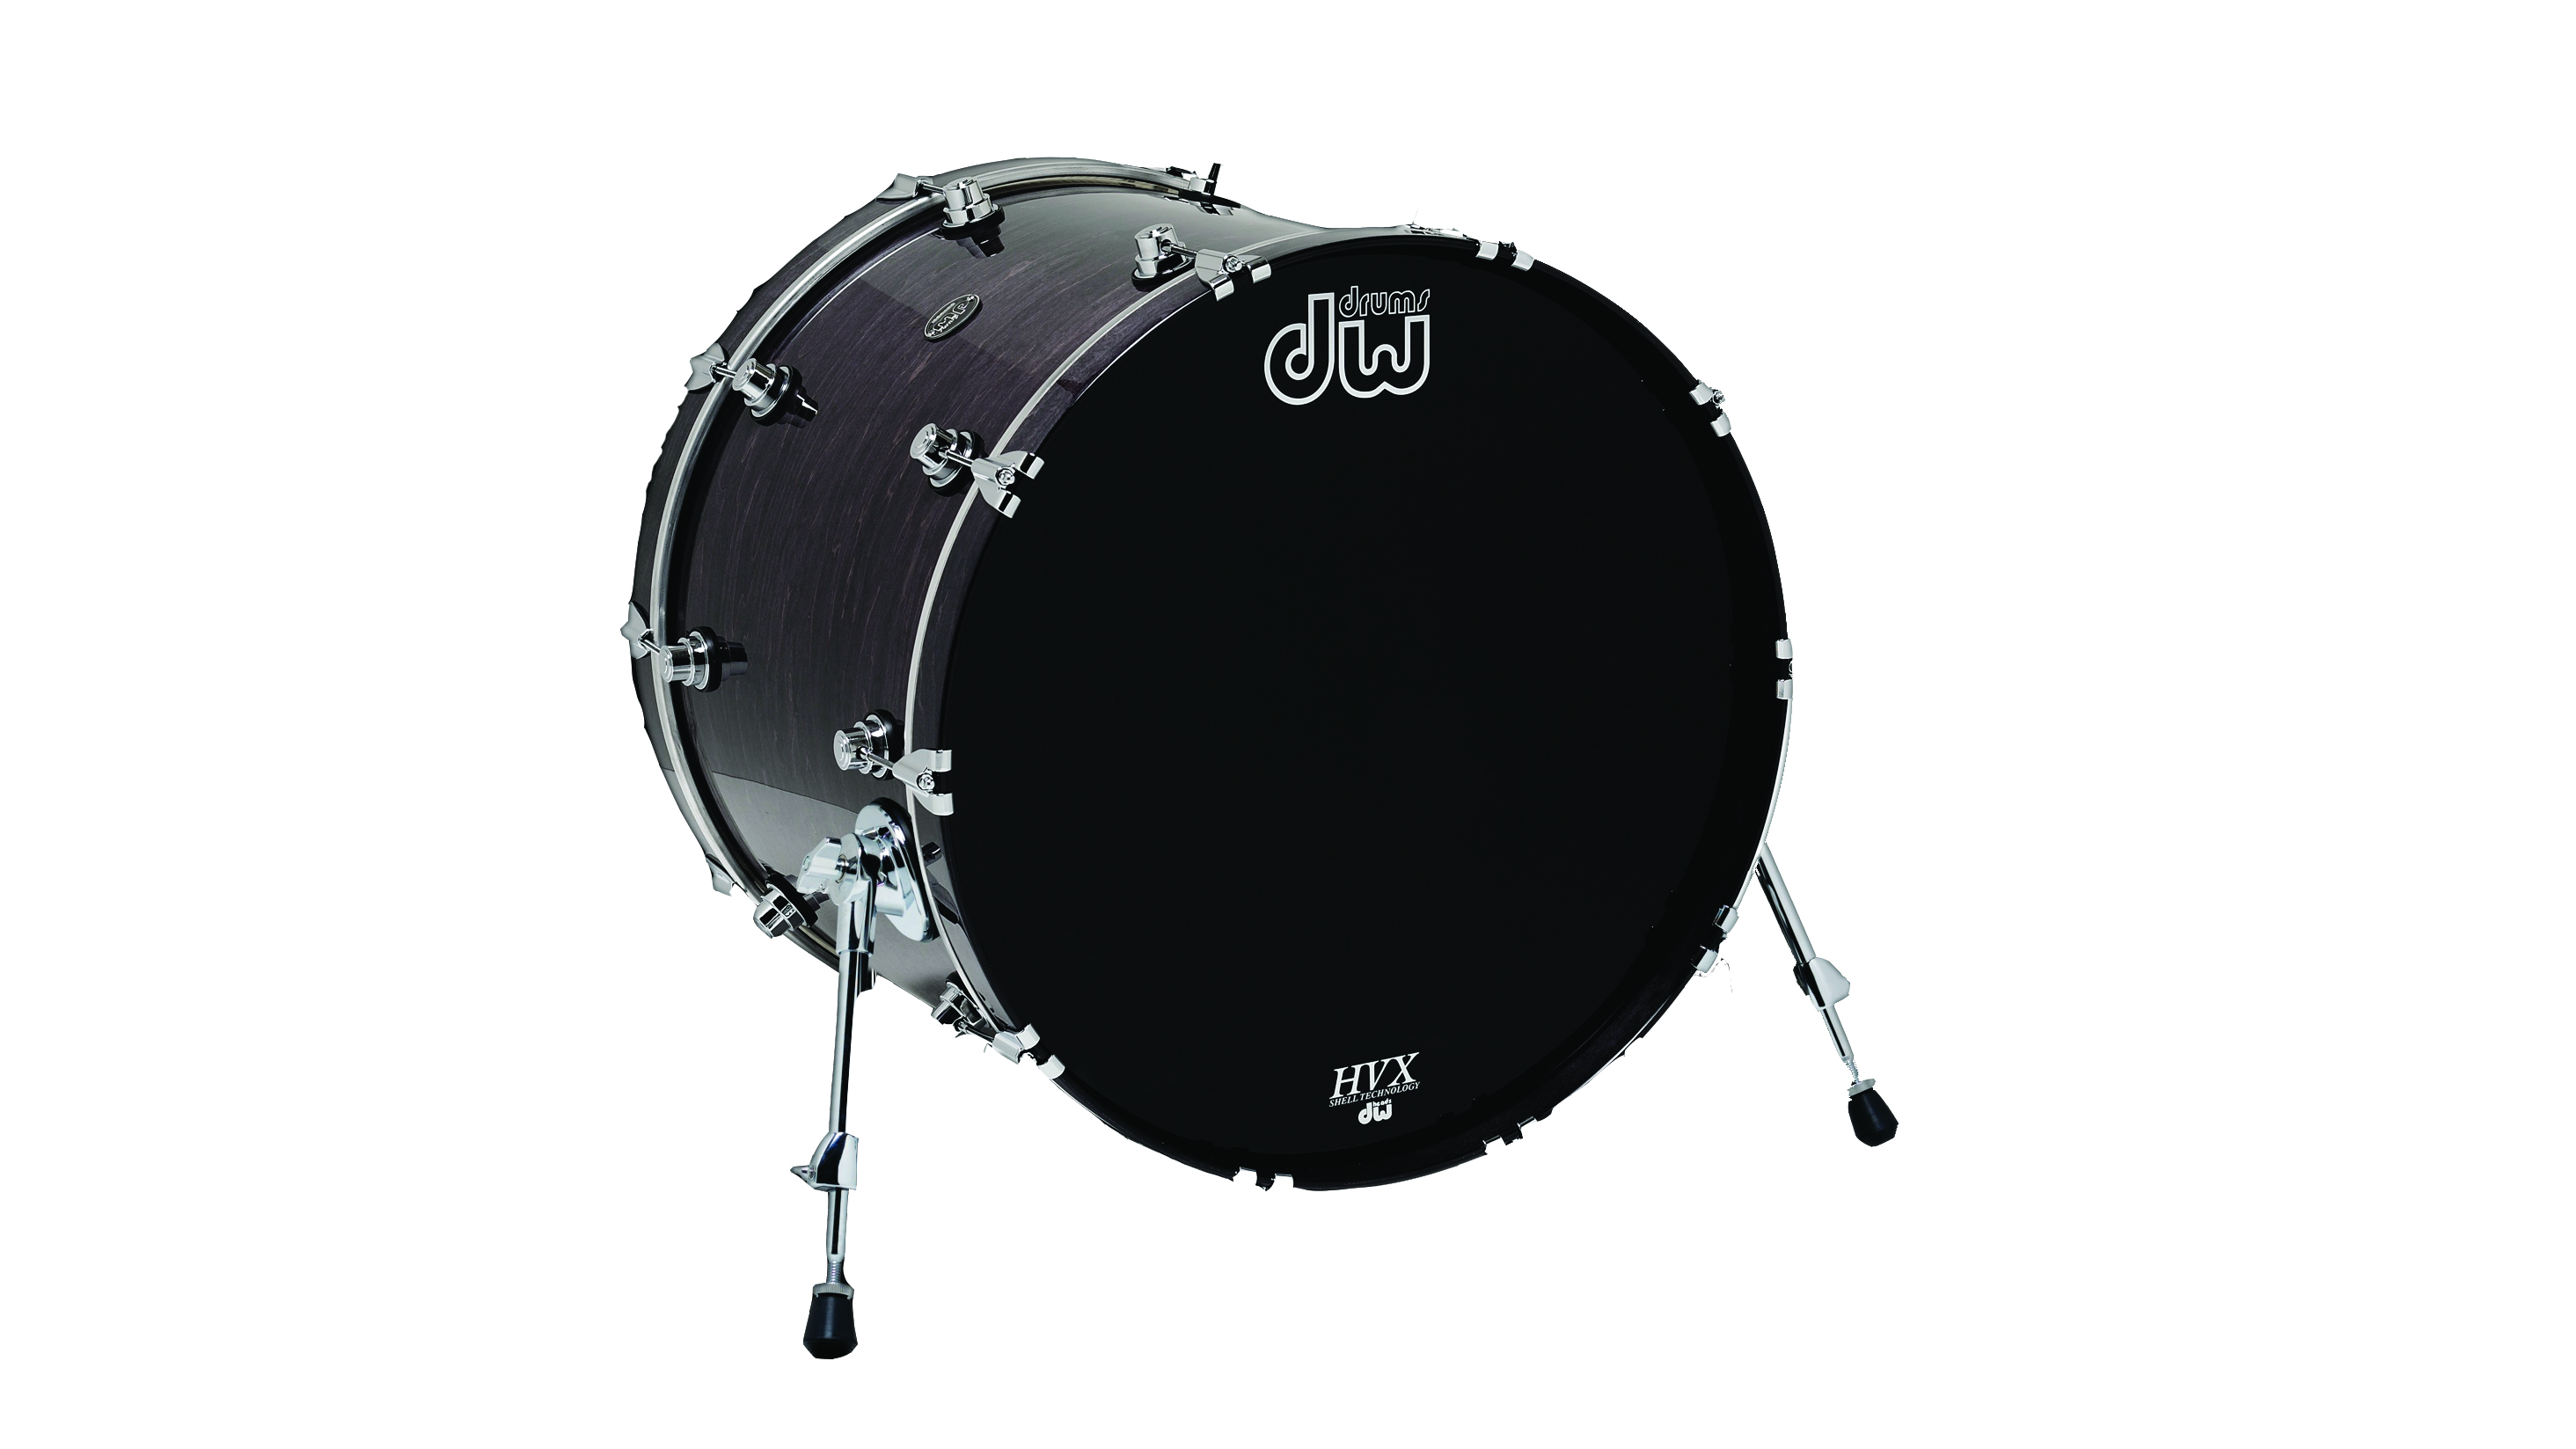
The kick drum, or bass drum, is the powerhouse behind the music. In a club, it’s the kick that’s nailing the four to the floor, and at a rock gig it’s the kick that’s making your chest compress.
This ‘bottom end’ is a wild beast – it’s the hardest element to contain within a mix
The kick started life as a hollow log being whacked by one of Dave Grohl’s ancestors about 60,000 years ago, and evolved via marching bands to its current status as the logo-bearing centrepiece of the modern drum kit. Now, of course, it also exists as a sequence of zeros and ones, filed away in your sample collection.
The kick drum is all about low frequencies. It has mids and highs, but its full weight can be felt from 150Hz all the way down to 45Hz, where your speaker cones (and possibly you if it’s too loud) will start farting uncontrollably.
This ‘bottom end’ is a wild beast – it’s the hardest element to contain within a mix, demands the most power to deliver live through a big sound system, and is the area in which most rooms will misbehave when monitoring or performing.
The spice of life
Of course, despite our snappy title, there’s no such thing as the ‘perfect’ kick drum – a subby 808 from a minimalist electro-house anthem won’t work in a metal track. We have the basic acoustic kicks that the drummer plays using his foot and a pedal. We also have electronically synthesised kicks like those of the classic Roland TR-808 and 909.
Then we have amazing hybrid kicks sampled from acoustic kits, machines and records, then blended and resampled into infinite variations on the bass drum theme. Context is key, as anyone who’s trawled through 300 kick drum samples and still not found the right one will know. So how do you control and perfect all these different sounds?
Easy. Regardless of their origins, all kicks break down into three sonic elements: low, mid and top. Grab a few kick samples, put them up in your DAW, insert a graphic equaliser and experiment with cutting and boosting frequencies using a narrow Q (making a thin, pointy spike).
Want all the hottest music and gear news, reviews, deals, features and more, direct to your inbox? Sign up here.
As a rough guide, the mid and top frequencies (1kHz and 7kHz) comprise the clicky part of the sound, and are often the area in which you’ll hear reverb or ambience, if there is any. The low part is the boomy bit, and it breaks down into three elements: sub (60Hz), punch (150Hz) and ‘honk’ (350Hz). Getting the perfect kick drum sound begins with balancing sub, punch, honk, mid and top (see opposite).
When recording an acoustic kick with a microphone inside the drum, you have the added problem of internal shell resonance. This wouldn’t normally be heard, but with a microphone stuffed in there you’ll need to know how to get rid of the parts of the sound that you don’t want.
This is all done with filters and EQ. As with any acoustic recording, a huge amount depends on how you tune the drum, how it’s played and the shape of the room it’s in. Turn to p34 for a tutorial on acoustic drum recording.
What next?
Once you’ve shaped your basic sound, you have the option of layering several kick drums together to combine their different qualities, and using compression and limiting to alter their dynamics.
Our walkthrough demonstrates these basic processes and shows you how to create a kick sound that’ll give your track the backbone it deserves.
You’ll recognise perfection when you can hear the kick drum sitting nicely with your bass, punching through the mix without being too loud, and sounding deep and fat without making the speakers distort.
Cleaning up, layering and compressing a kick drum
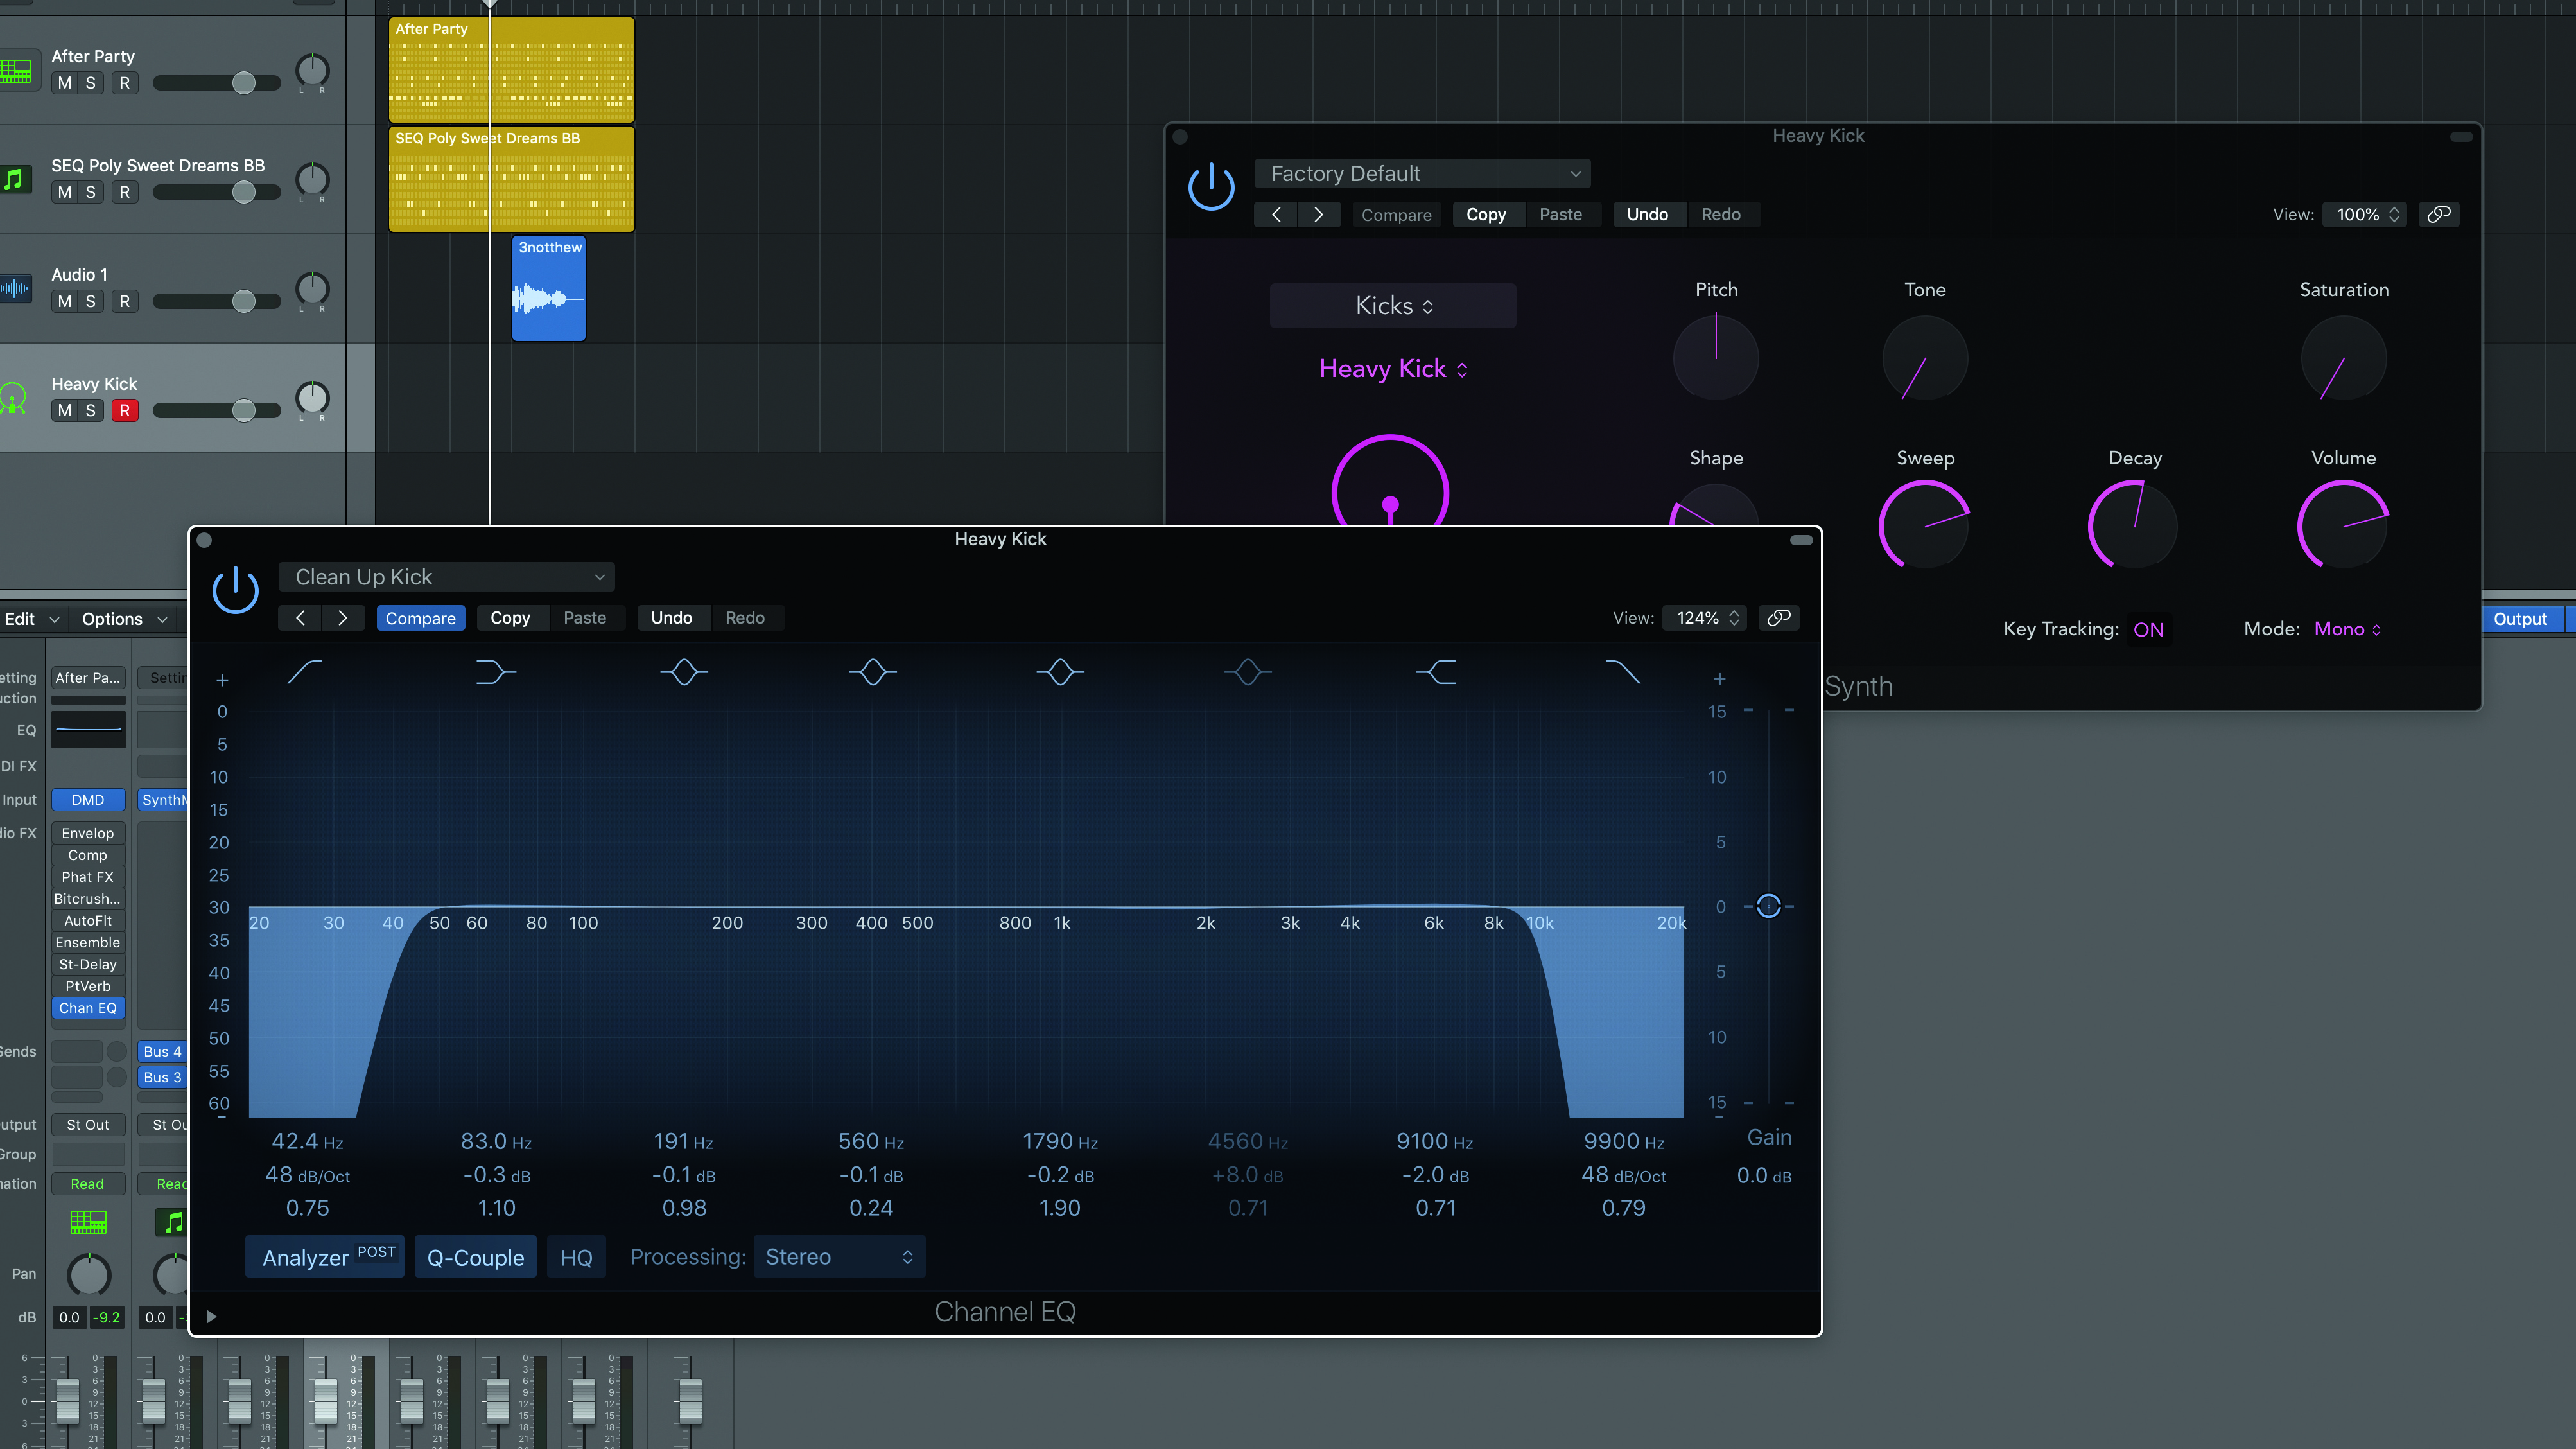
Step 1: Filtering out unnecessary frequencies is good practice with all sounds, but essential with kicks and other low-frequency instruments. It’s almost always good to remove everything below 40Hz and above 10kHz. Rogue frequencies in these areas might be inaudible but can still affect compressors on the kick and over the whole mix.
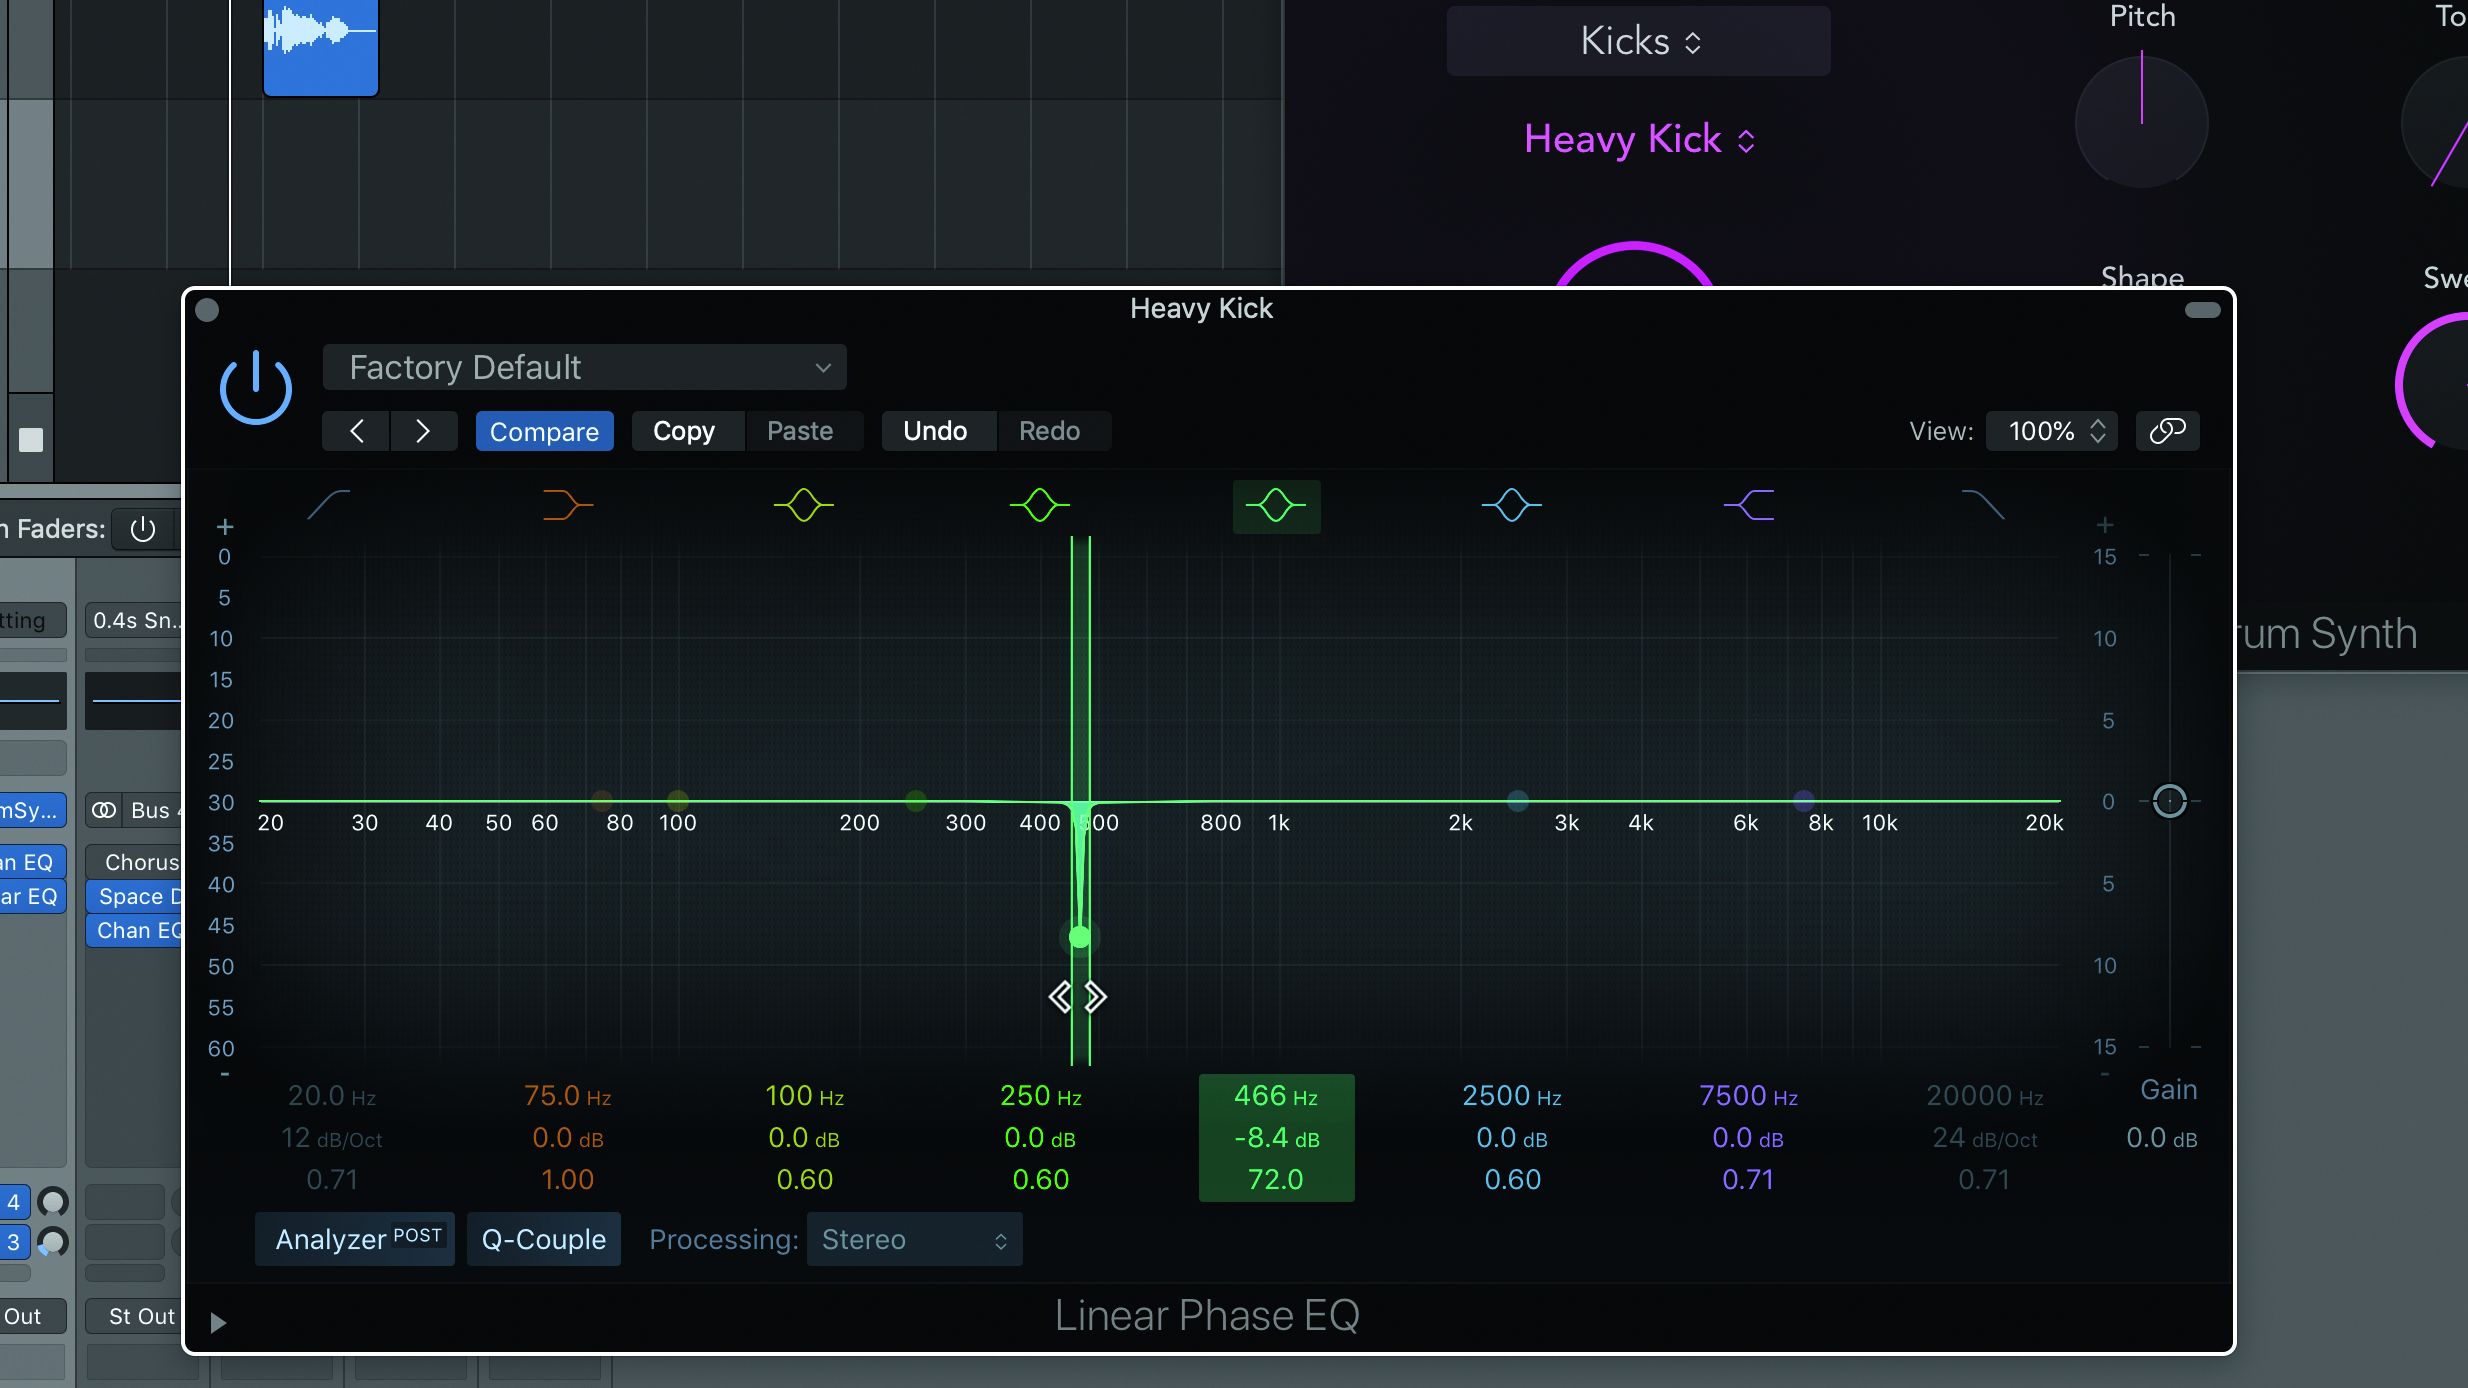
Step 2: Find unwanted resonances by inserting a graphic EQ with a big boost and narrow Q, and sweeping upwards from 500Hz until you find the most resonant notes, which will seem to sound almost continuously. When you’ve settled on the offending frequency, switch the boost to a cut. Repeat with other resonances until you hear a good, clean kick.
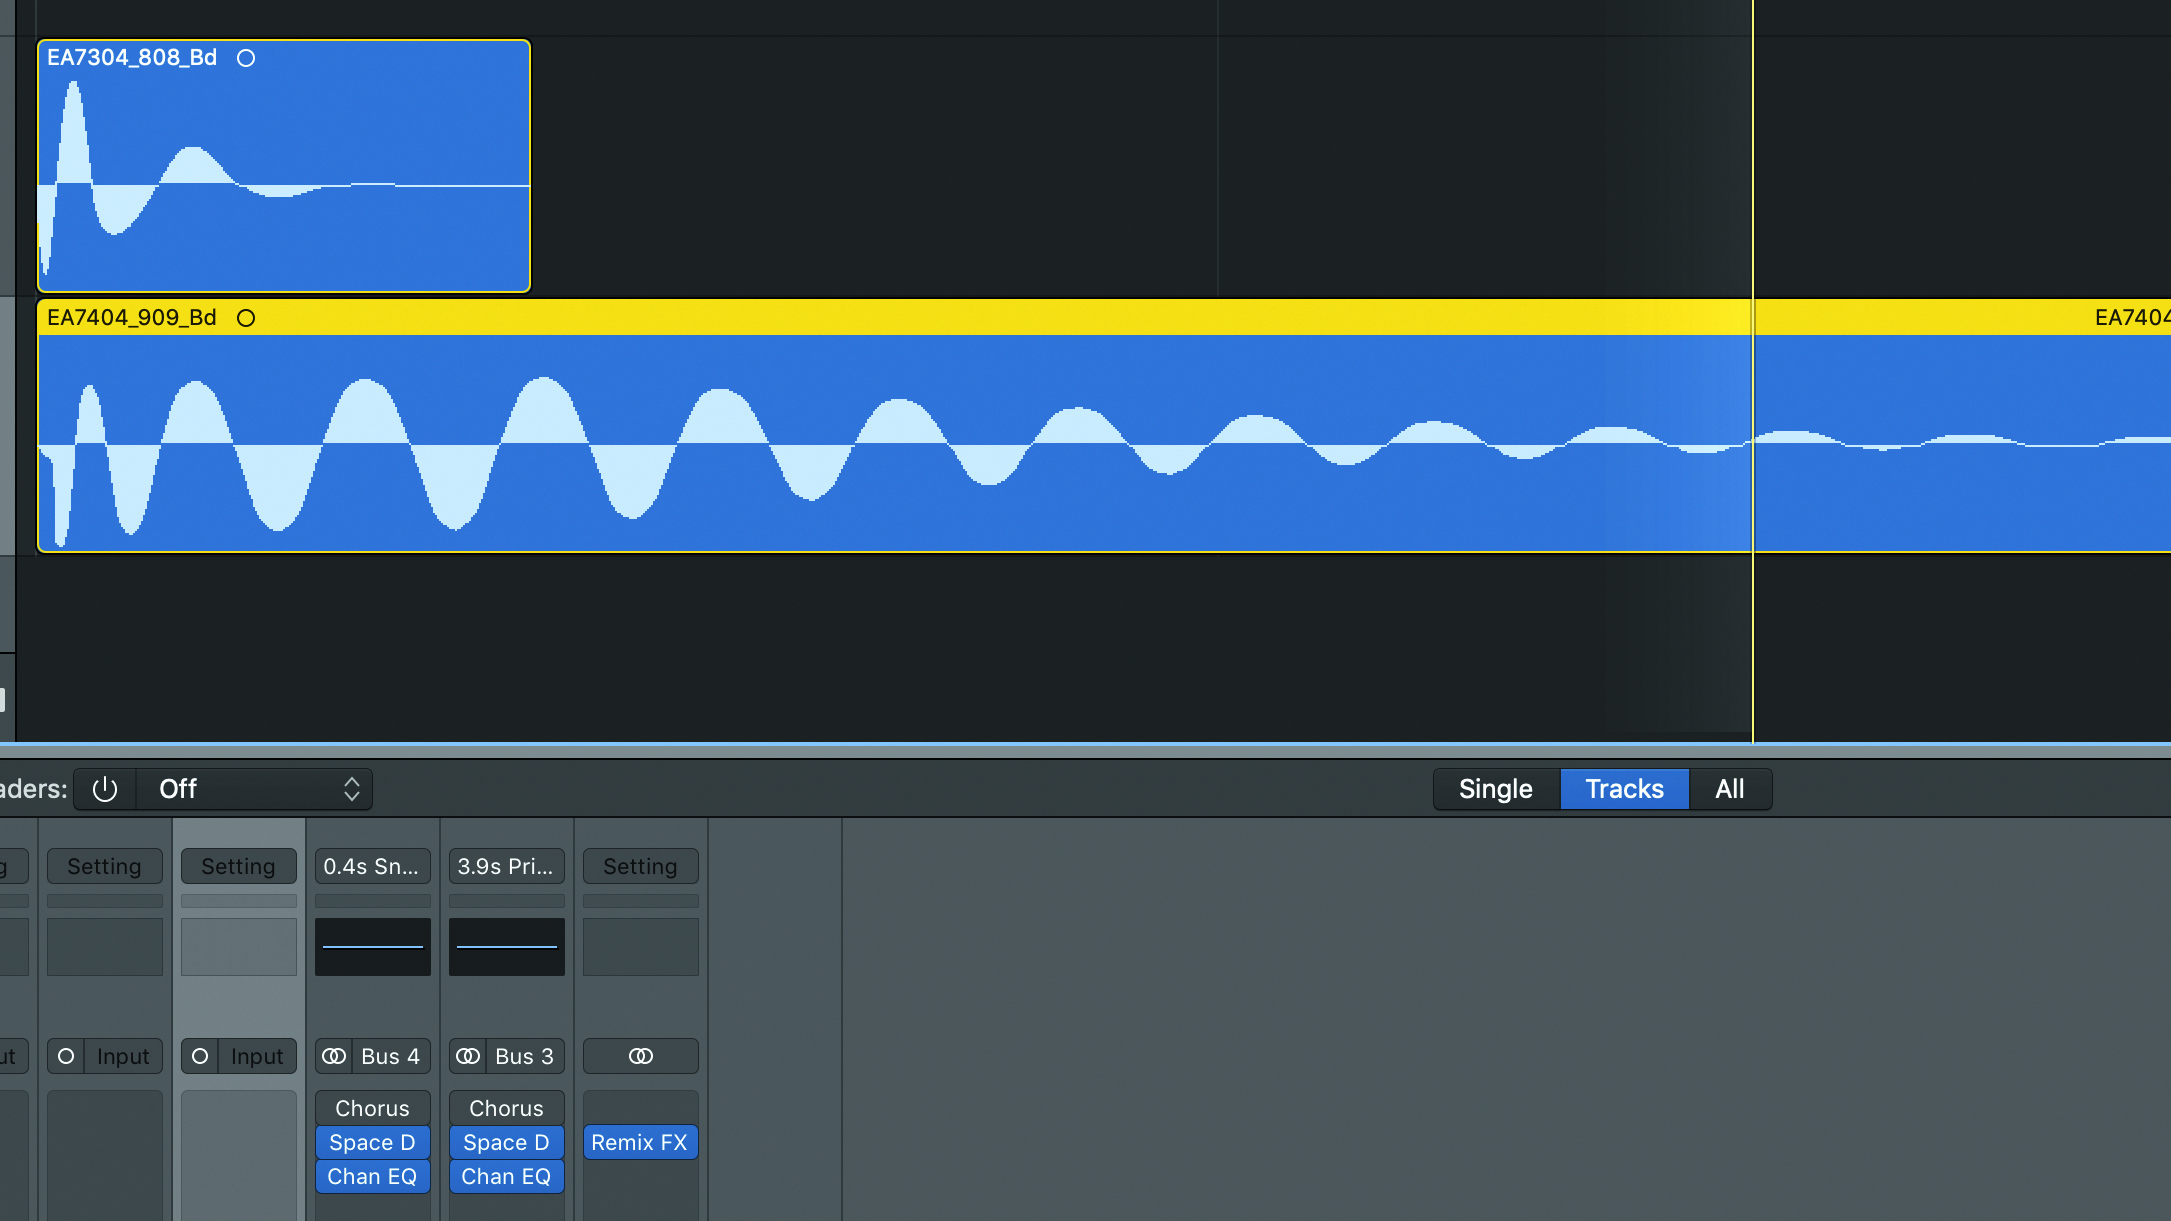
Step 3: You may be using two kick drum samples for the ‘in’ and ‘out’ channels, or have recorded two microphones. The best way to layer kick sounds is to have them as audio files rather than MIDI so that they’re always locked together. The waveforms should look like this – this means the sounds are ‘in phase’ and the low frequencies won’t muddle up the sound.
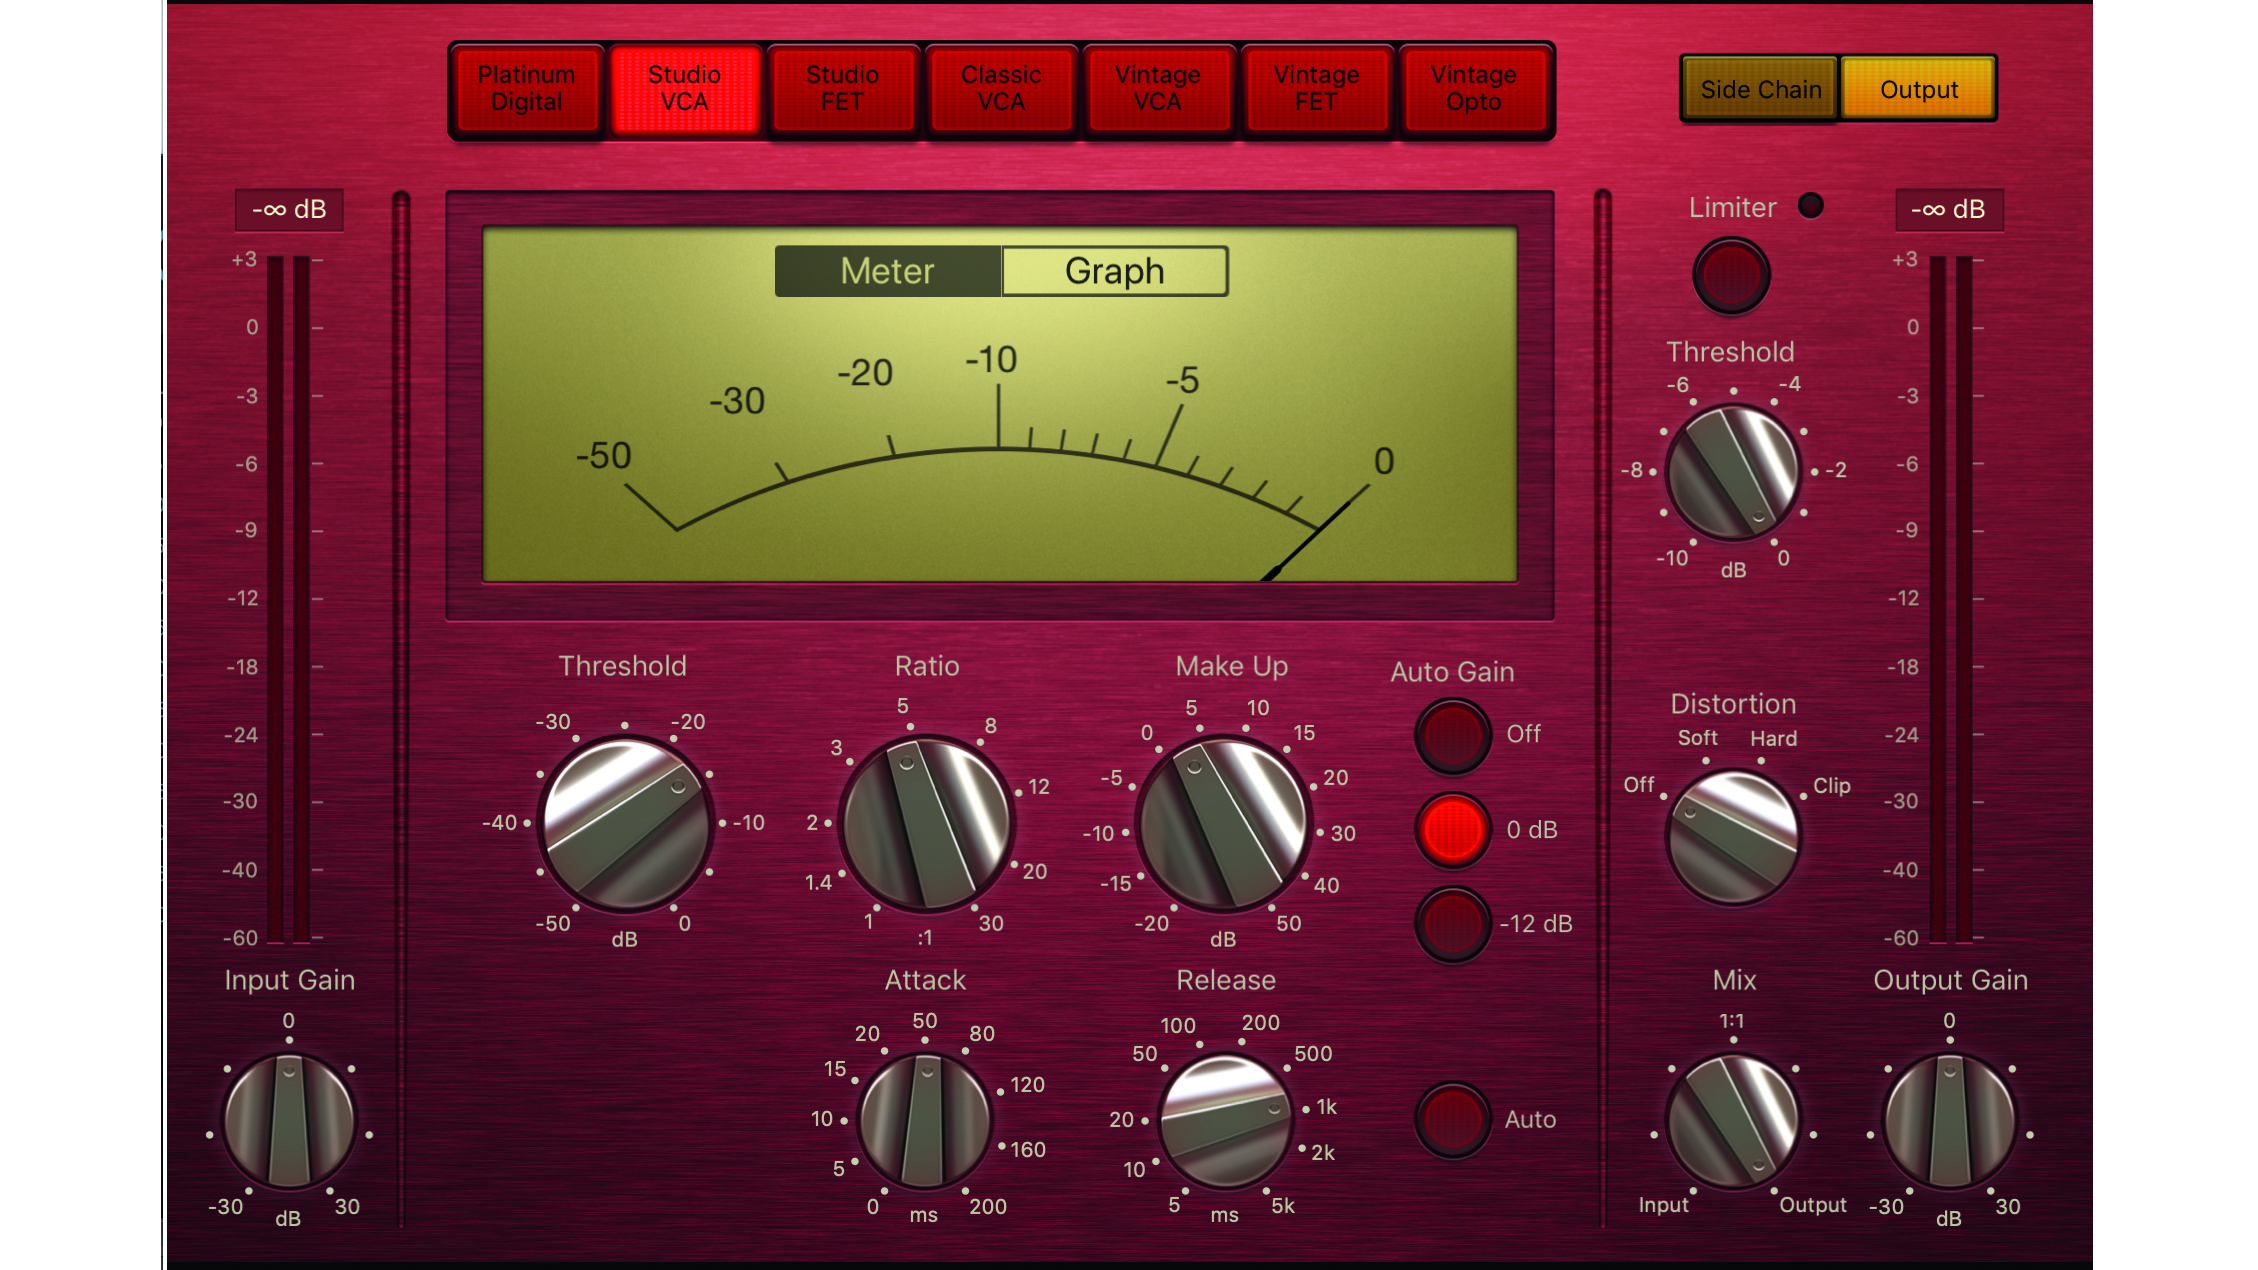
Step 4: You should almost always send your kick drum sound through a compressor. This automatically adjusts volume and is of particular help with acoustic drums performed by a live player, where the volumes will vary somewhat. Adjusting the compression parameters while listening to the kick in the context of the mix is a good way to get it sitting correctly.
Sub, punch and honk
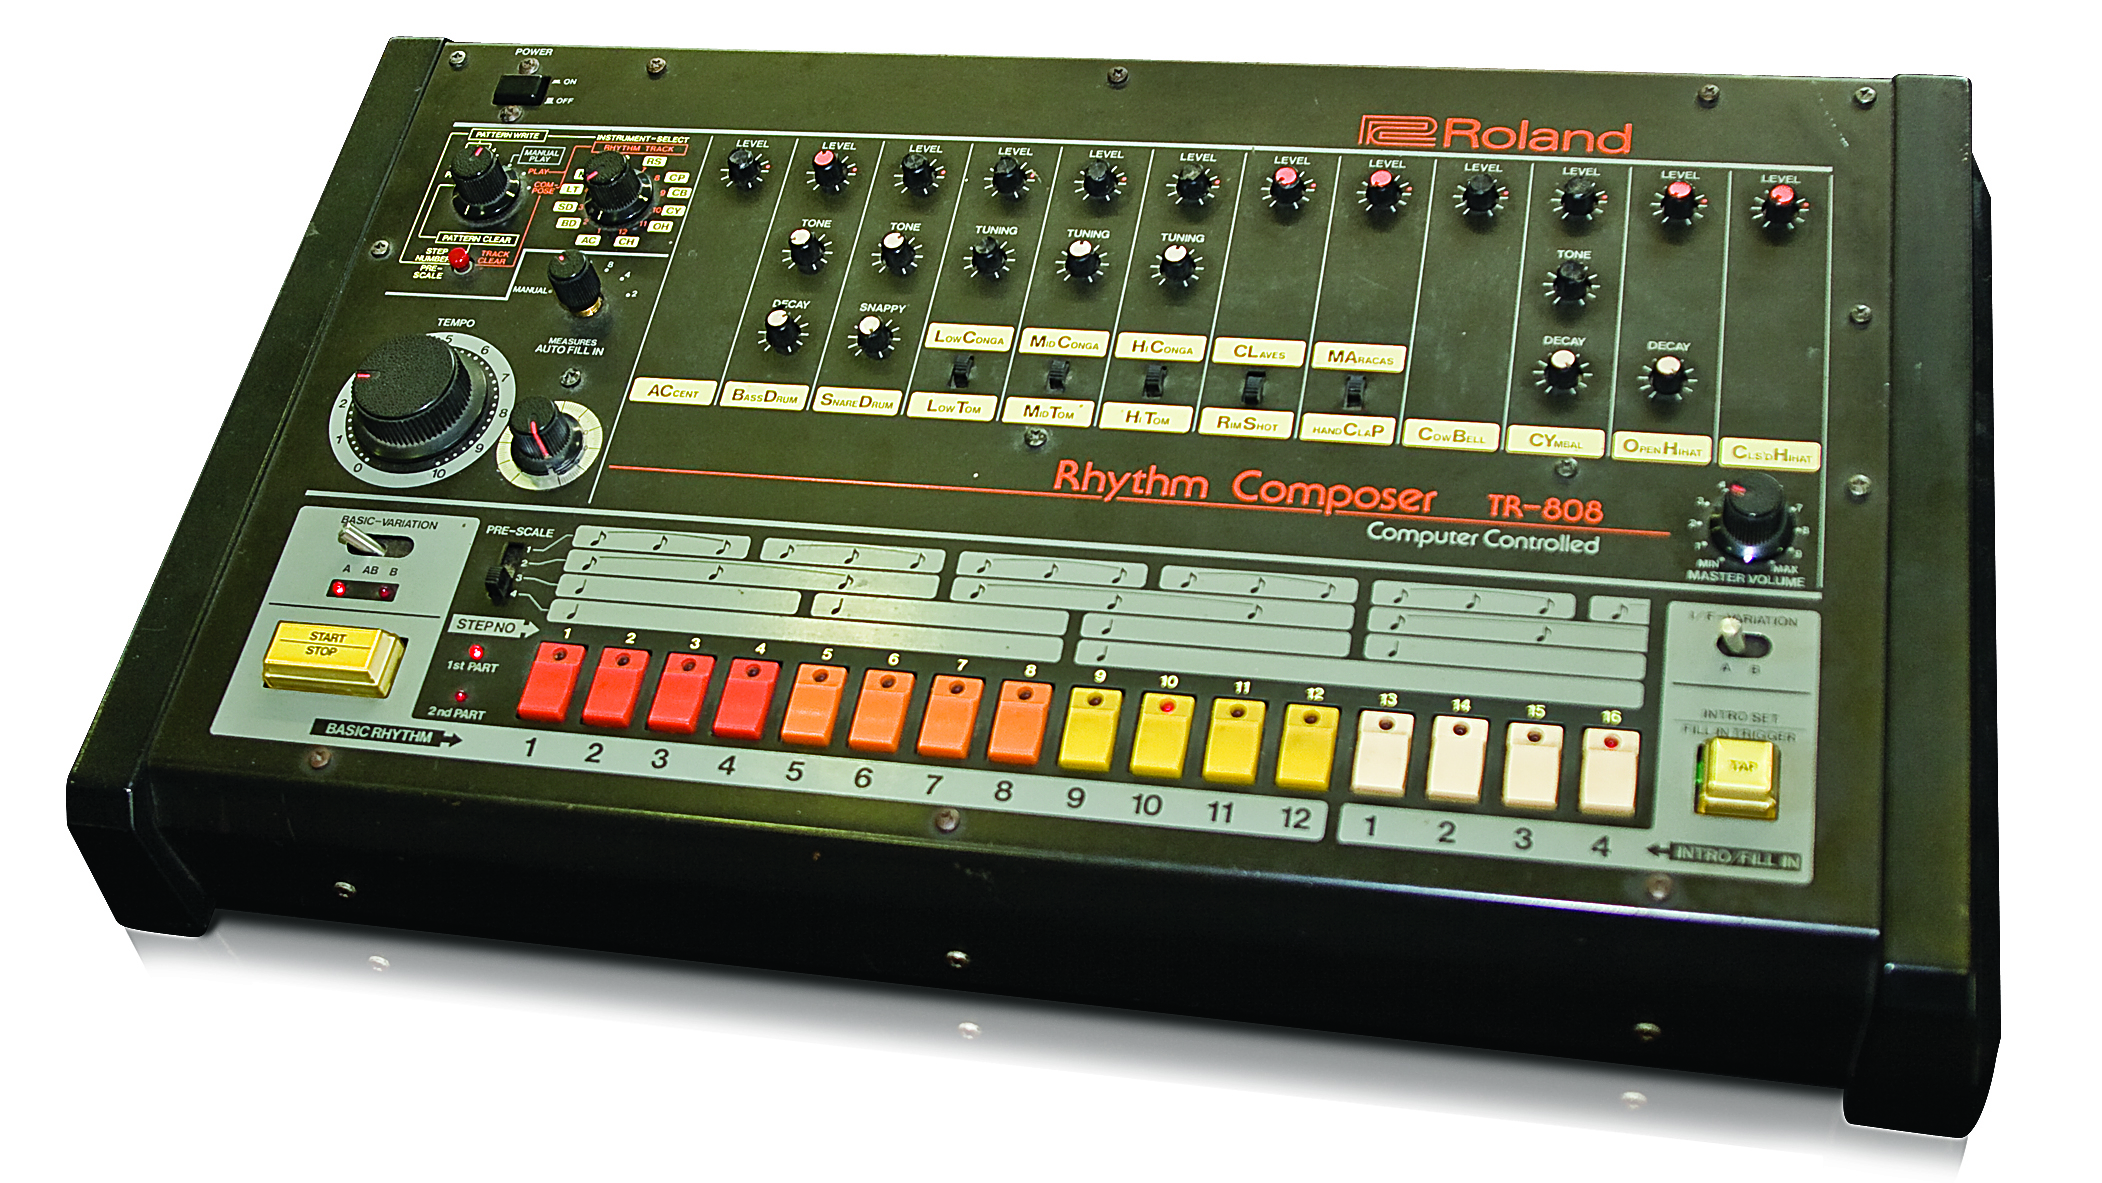
Together with mid and high click, the balance and length of the sub, punch and honk elements are what shape the bass drum sound. These combine to give you a either a long, subby, 808-style kick, a house-esque, clicky all-rounder, or a top-heavy Metallica rocker. Start with the nearest thing you can find to what you ultimately want – whether that’s a sampled sound or a synthesised one – then go ahead and sculpt away.
Sub happens at around 60Hz. Make sure you cut or boost in this area using a narrow Q, otherwise you might unhelpfully add or remove frequencies on either side of your chosen range – even small adjustments at 30Hz or 100Hz will have a surprisingly big effect on the sound. The sub element is what makes the kick drum really sound like it’s deep, and it’s the main element of any
808-type kick.
Punch happens around 150Hz, providing the ‘thwack’ of the bass drum sound. Adjusting this frequency area of the kick at the same time as playing with a compressor placed on the drum kit bus can be very effective when working out how to make your kick ‘voice’ the way you want. Punch is essential in both rock and dance genres.
The honk element of the sound is very important, as it really determines the character of the kick. If you remove everything at 350Hz from a kick, you’ll hear it become increasingly ‘dead’ or ‘solid’. A lot of old-school hip-hop and jazz/vintage-type kick sounds have a lot of honk, so cranking up this element will help evoke these styles.
Computer Music magazine is the world’s best selling publication dedicated solely to making great music with your Mac or PC computer. Each issue it brings its lucky readers the best in cutting-edge tutorials, need-to-know, expert software reviews and even all the tools you actually need to make great music today, courtesy of our legendary CM Plugin Suite.
